1.Why did my sopaipillas turn out dense instead of light and pillowy?
▾
This almost always traces back to one of three common missteps: using expired baking powder (which can’t create the air pockets needed for lift), overworking the dough (which develops tough gluten that blocks rise), or using water that’s too hot or cold instead of the recommended 105°F. Letting rolled dough rest 20 minutes before frying also helps build that fluffy texture.
2.Can I substitute butter for vegetable shortening in this recipe?
▾
You can, but know the final texture will be slightly different. Shortening has a higher melting point, which creates that signature crisp edge and hollow, pillowy interior. If using unsalted butter, chill it first and cut it into the flour the same way; expect a slightly richer, less crisp pastry that may not puff quite as evenly.
3.What temperature should I fry sopaipillas at for the best results?
▾
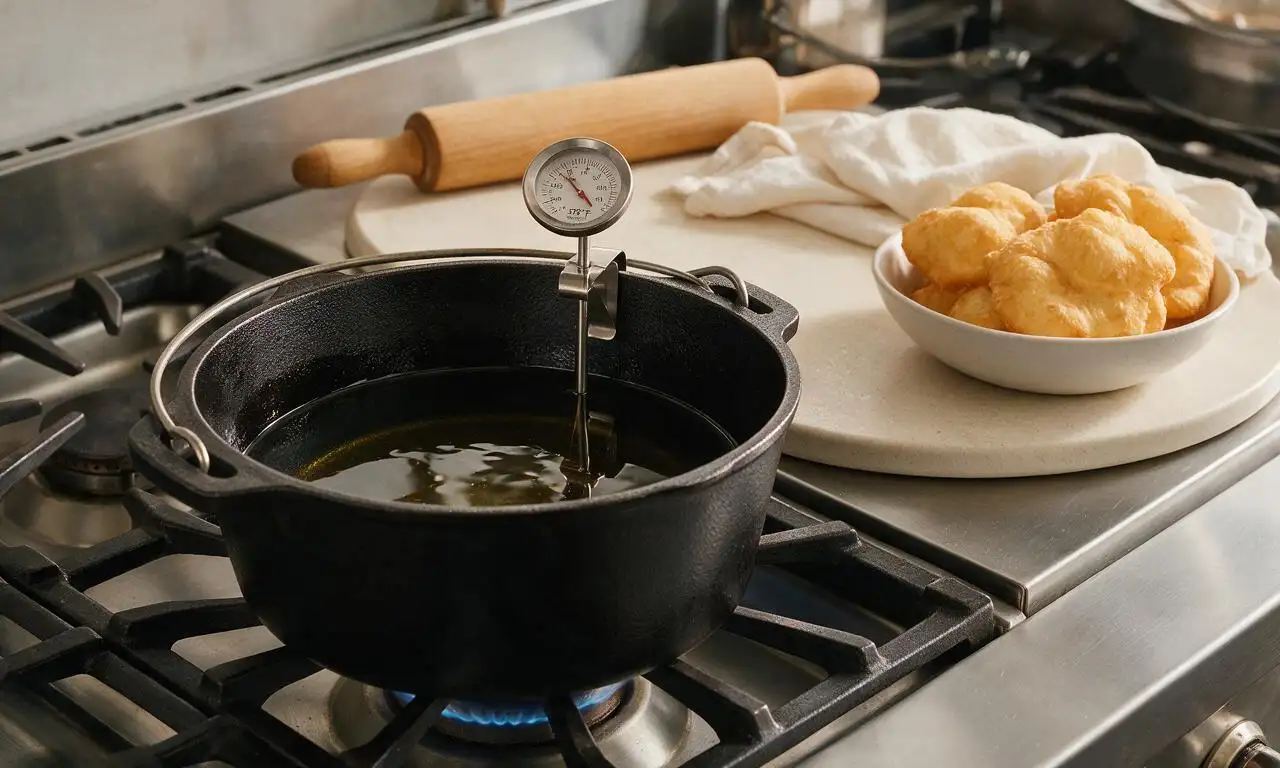
Aim for a consistent oil temperature of 375°F, measured with a candy or deep-fry thermometer. If oil is too cool, sopaipillas will soak up excess grease and turn heavy; if too hot, outsides will burn before the interior cooks through. Fry 2-3 at a time so the oil temp doesn’t drop sharply when you add dough.
4.Why won’t my sopaipillas puff up when I fry them?
▾
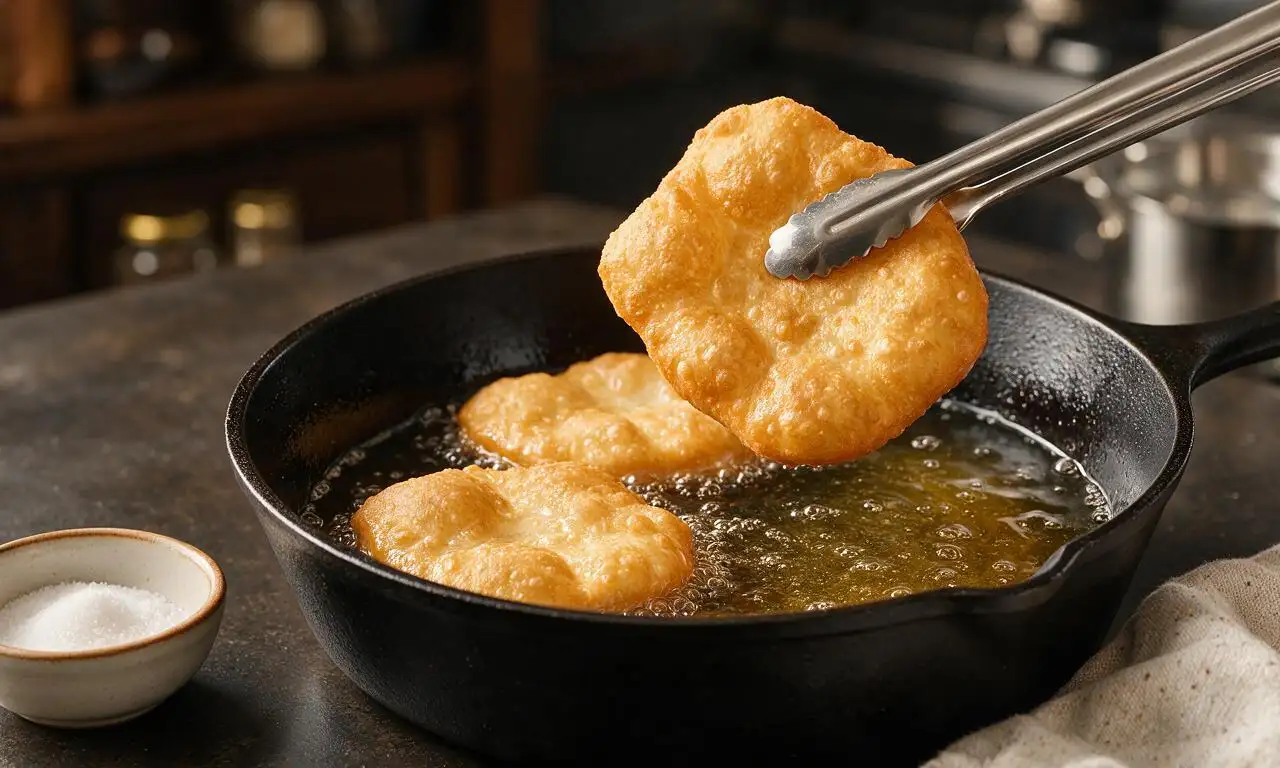
Lack of puff usually happens if dough is rolled too thick (stick to 1/8-inch thickness for best results), the oil is too cold, or you skipped the dough resting step. You can encourage puff by gently spooning hot oil over the top of dough as soon as you drop it in—this helps the top set quickly so steam pushes the pastry upward.
5.Do I have to serve sopaipillas with cinnamon sugar and honey, or are there other serving options?
▾
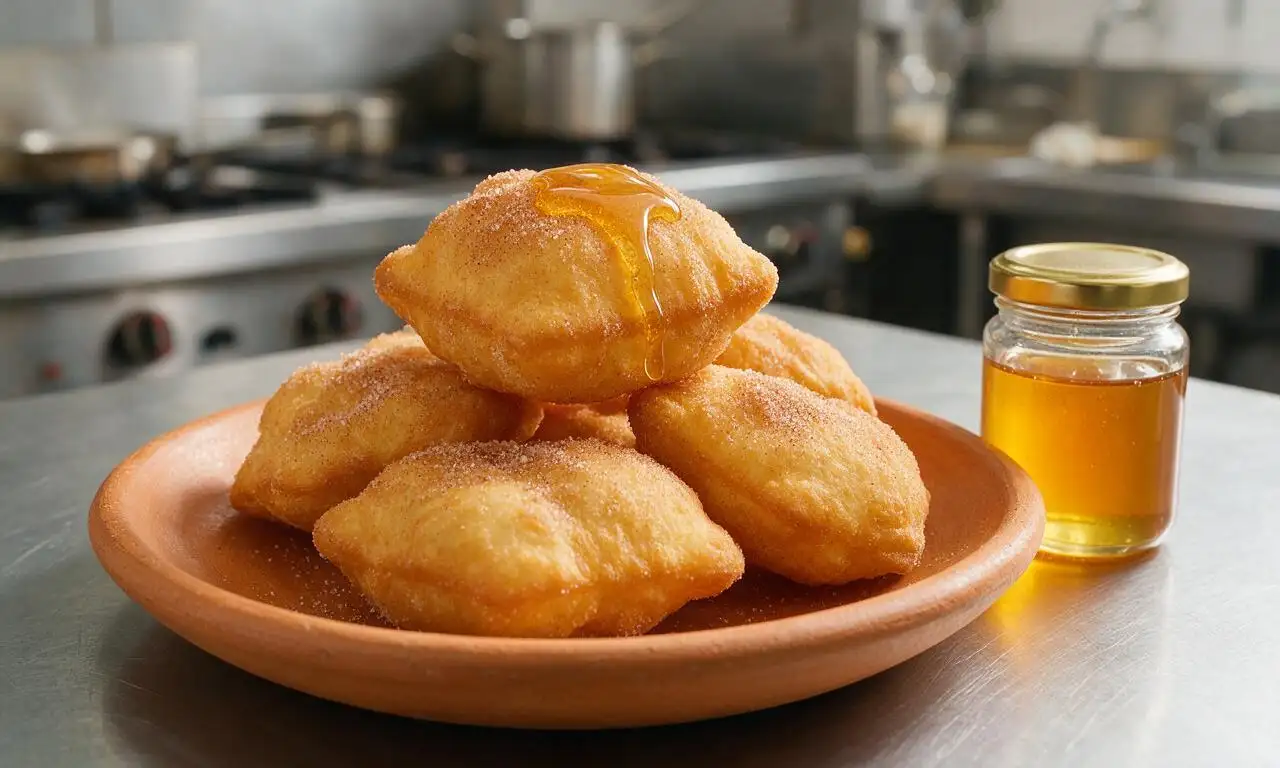
Cinnamon sugar and honey are the classic, nostalgic pairing, but you have tons of flexible options! Try dusting them with powdered sugar, stuffing them with sweetened whipped cream or cajeta, serving with chocolate dipping sauce, or even filling them with savory refried beans and cheese if you skip the sweet topping.
6.How warm does the dough water need to be, and why does temperature matter?
▾
Stick to 105°F, which feels like pleasantly warm bath water to the touch. Water that’s too hot will disrupt the leavening reaction from baking powder before it hits the fryer, while too-cold water won’t help shortening soften evenly into flour, leading to dense, uneven spots in the finished pastry. Use a quick-read thermometer if unsure.
7.Can I make the sopaipilla dough ahead of time?
▾
Absolutely! Mix the dough, wrap it tightly in plastic wrap, and store it in the fridge for up to 2 days before rolling and frying. Let chilled dough sit on the counter for 15 minutes to take the chill off so it rolls easily without shrinking back, then cut and fry as directed for the same fresh, pillowy result.
8.What kind of oil is best for frying sopaipillas?
▾
Opt for a neutral, high-smoke-point oil to avoid off-flavors in your finished pastries. Vegetable oil, canola oil, peanut oil (for anyone without nut allergies), or refined avocado oil all work beautifully. Avoid olive oil or toasted sesame oil, which have low smoke points and strong flavors that overpower the mild, sweet pastry.
9.How thick should I roll the sopaipilla dough for perfect results?
▾
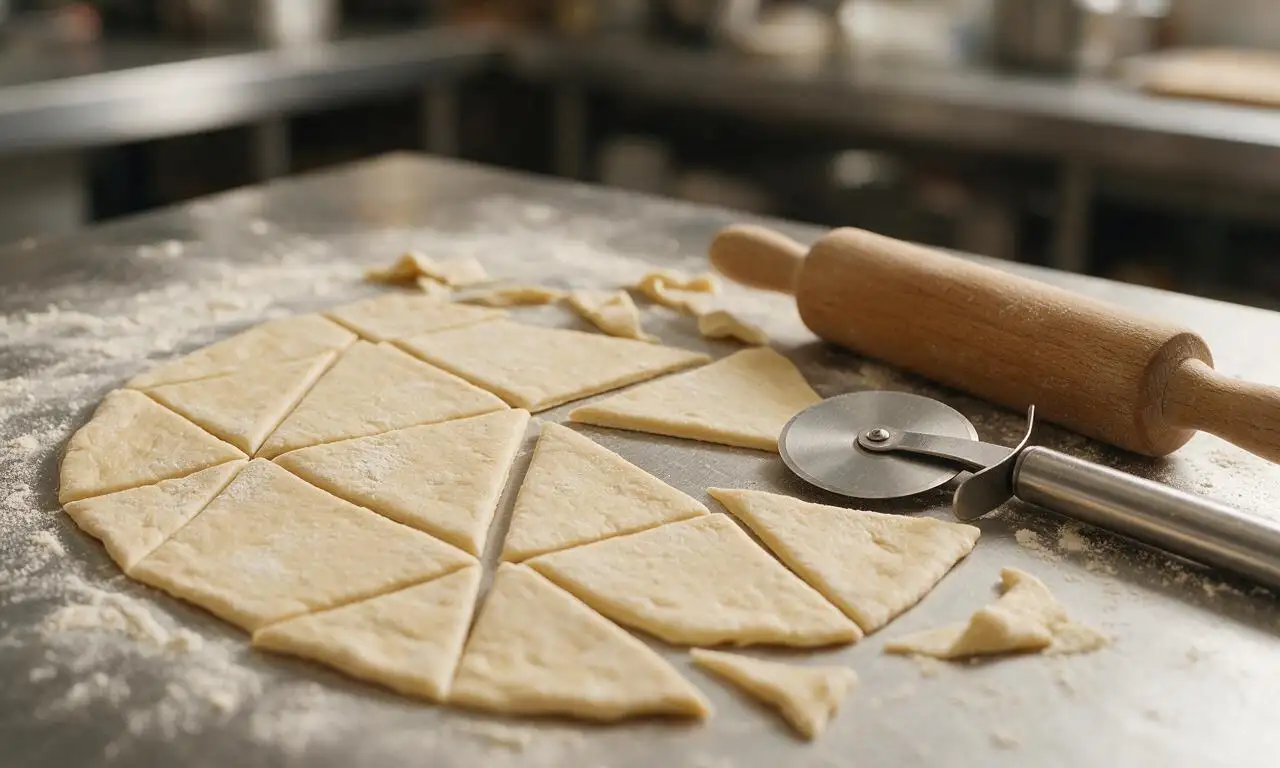
Roll the dough to a uniform 1/8-inch thickness across the entire sheet before cutting. If it’s thicker than that, the center will stay doughy and heavy instead of puffing into that light hollow pocket; if rolled too thin, the pastry will turn overly crisp and crack instead of holding that soft, pillowy center when fried.
10.How do I keep fried sopaipillas crisp instead of getting soggy?
▾
As soon as you pull them from the fryer, set sopaipillas on a wire rack set over a paper-towel-lined baking sheet, instead of piling them directly on a plate of paper towels. This lets air circulate around every side so condensation doesn’t build up and soften crisp edges. Wait 1-2 minutes after frying to dust with cinnamon sugar.
11.Can I bake these sopaipillas instead of frying them for a lighter version?
▾
You can bake them, but note they won’t have the same signature crisp edges or fully hollow pillowy center. If baking, brush cut dough pieces with melted butter, arrange on a parchment-lined sheet, and bake at 425°F for 10-12 minutes until puffed and golden. They’ll be more biscuit-like than classic fried sopaipillas, but still tasty.
12.Can I use a different type of flour instead of all-purpose flour for this recipe?
▾
Stick to plain all-purpose flour for the most consistent, classic results. Self-rising flour will throw off the baking powder and salt ratio, leading to over-risen, collapsed pastries, while whole wheat flour will create a denser, nuttier final product. If using whole wheat, swap in 25% whole wheat for AP flour to keep the light, pillowy texture.
13.How long do leftover sopaipillas stay fresh, and how do I reheat them?
▾
Leftover sopaipillas are best stored in an airtight container at room temperature for up to 2 days. To recrisp them and bring back that fresh-fried texture, warm them in a 350°F oven for 3-4 minutes, or pop them in an air fryer for 1-2 minutes. Avoid microwaving, as that turns the pastry chewy and tough.
14.Do I need a special deep fryer to make sopaipillas at home?
▾
Not at all! You can make perfect sopaipillas with a heavy-bottomed Dutch oven or deep skillet, as long as you have a clip-on thermometer to monitor oil temperature. You only need 2 to 3 inches of oil in the pot—just leave a few inches of headspace to prevent oil bubbling over when you add dough pieces.
15.Why do my sopaipillas have a raw, doughy center even when the outside is golden?
▾
This usually happens if your oil is too hot, which browns the exterior fast before the interior has time to cook through, or if you rolled the dough too thick. Double check that oil holds a steady 375°F, roll dough to a consistent 1/8-inch thickness, and fry each piece 1.5 to 2 minutes total, flipping once halfway.
16.Can I freeze uncooked sopaipilla dough to use later?
▾
Yes, this dough freezes really well! After mixing the dough, divide it into two flat disks, wrap tightly in plastic wrap and a layer of aluminum foil, and freeze for up to 3 months. Thaw in the fridge overnight, let rest at room temp for 15 minutes, then roll, cut, and fry as normal for fresh-tasting results.

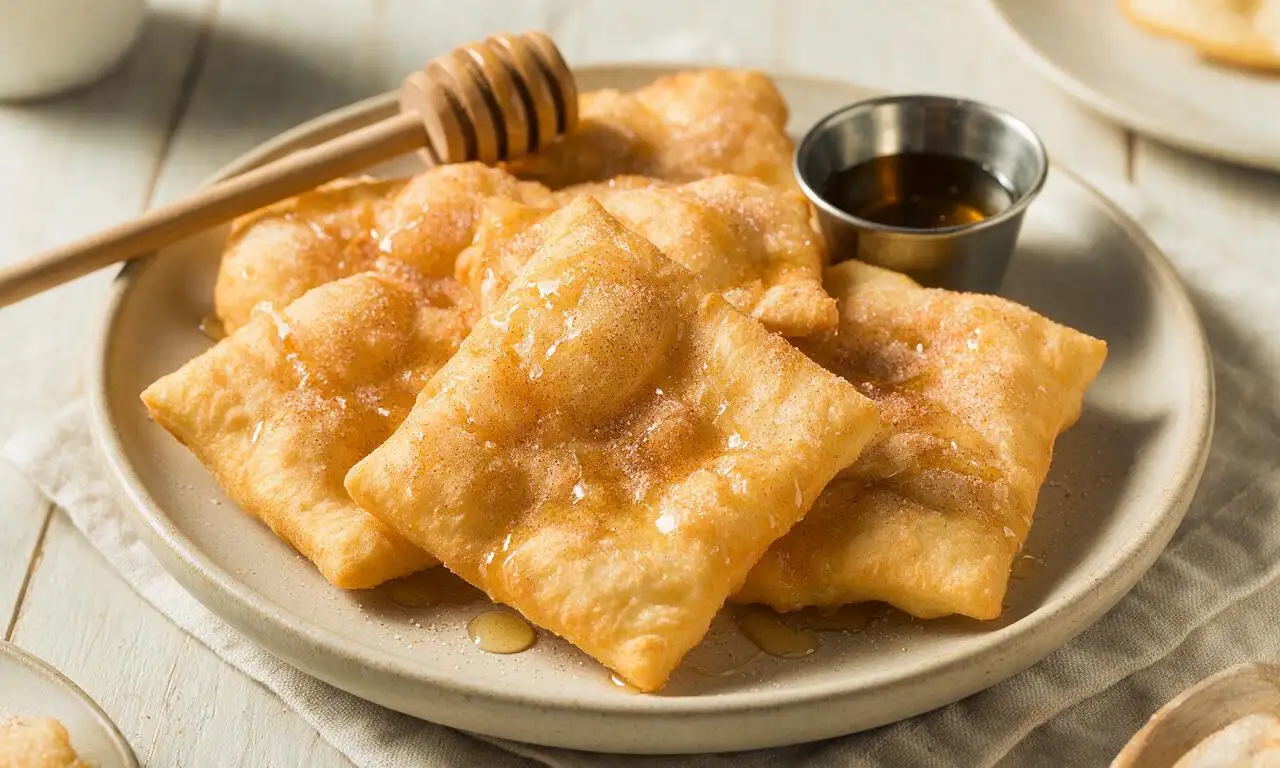






OMG these sopaipillas were such a hit at our family taco night last night! I’ve tried a couple other recipes before that always turned out too dense, but these puffed up perfectly and were so light and crispy. Dusted them with cinnamon sugar and served with honey, my kids begged for seconds before they even finished their first. 10/10, will be making these again for next month’s church potluck!
Super easy recipe, came together way faster than I expected for a fried dough treat! Only note is that my first batch came out a little oilier than I wanted—turns out my oil temp was too low, once I cranked it up to 375F like the recipe says they turned out perfect. Drizzled with a little chocolate sauce for my roommate and he said they’re better than the ones we get at our local New Mexican spot.
Game changer! I’ve been intimidated to make homemade sopaipillas for years because I thought they’d be super fussy, but this recipe was genuinely easy even for a beginner like me. Made a big batch for meal prep to have with breakfast this week—warm one up for 10 seconds in the microwave, spread a little butter on it, chef’s kiss. SO good.
Made these for my kids’ after school snack yesterday and they demolished the entire batch in 10 minutes flat! I added a tiny pinch of extra cinnamon to the dough like my abuela used to do and it gave them such a cozy, warm flavor. Even my picky 7 year old who turns his nose up at almost everything asked if we can have these every Friday.
Took these to a neighborhood potluck over the weekend and people were asking me for the recipe left and right! I served them with both honey and a side of cajeta for dipping, and the combo was unreal. Who knew something so simple could taste that good? 10/10, no notes.
Really solid easy recipe! Made these after a long day of hiking up in the mountains and they were the perfect cozy, warm treat. Mine were a little less puffy than the photos but I think that’s because my kitchen was super cold when I was letting the dough rest. Still tasted amazing, will absolutely make again once it warms up a little!