1.Why didn’t my sopapillas puff up when frying?
▾
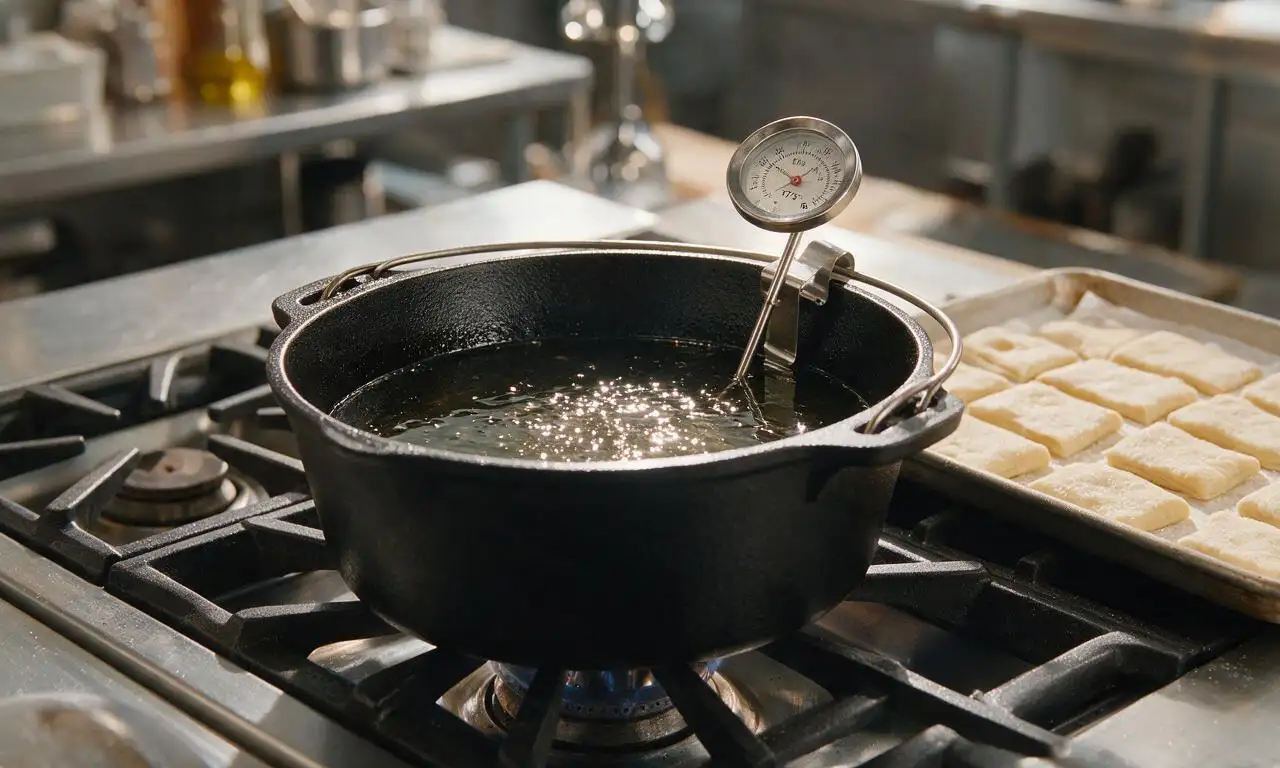
Puff failure usually ties to three key issues: oil that’s too cool (aim for 375°F, use a candy thermometer to check), dough rolled thicker than 1/8 inch (which prevents steam build-up), or dough that dried out before frying. Keep cut pieces covered with a damp towel while you work, and don’t overcrowd the fryer, which drops oil temp fast.
2.Can I use butter instead of vegetable shortening in the dough?
▾
You can substitute an equal amount of cold unsalted butter, but note your sopapillas will have a slightly richer, denser crumb and won’t puff quite as high as those made with shortening. Shortening has a higher melting point that creates light, airy structure to trap steam for that signature dramatic puff, so it’s still my top pick for classic results.
3.How thin should I roll the sopapilla dough?
▾
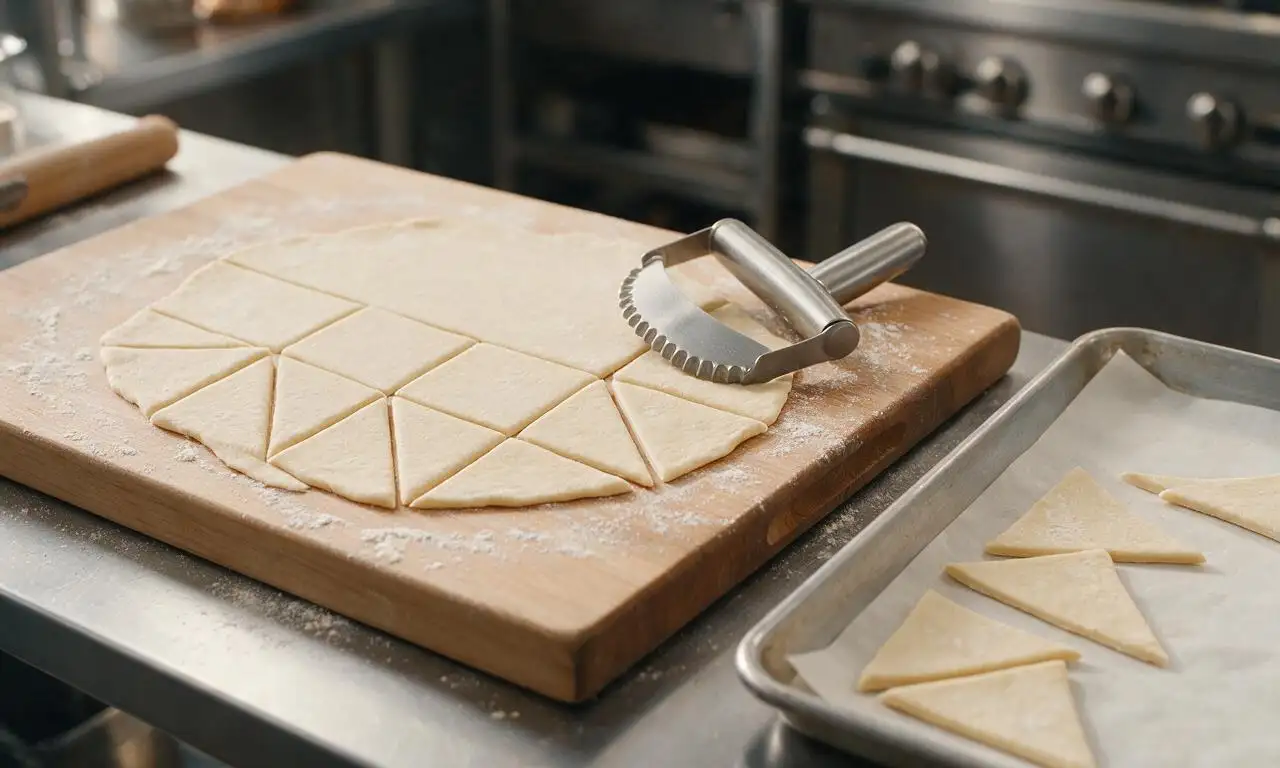
Aim for a consistent 1/8-inch thickness across the entire rolled-out dough sheet. If you roll it thicker than 1/4 inch, the center will stay doughy and won’t puff fully; if you roll it paper-thin, the pastries will turn crisp and cracker-like instead of soft and pillowy. Cut rolled dough into 3 to 4 inch squares or triangles for even cooking.
4.What oil is best for frying sopapillas?
▾
Reach for a neutral, high-smoke-point oil like canola, peanut, or regular vegetable oil for the most classic, clean flavor. Avoid olive oil, toasted sesame oil, or other strongly flavored low-smoke-point oils, which will burn at the 375°F frying temp and leave sopapillas with a bitter, off taste. Use at least 2 inches of oil in your pot for even puffing.
5.Do I have to coat sopapillas in cinnamon sugar right after frying?
▾
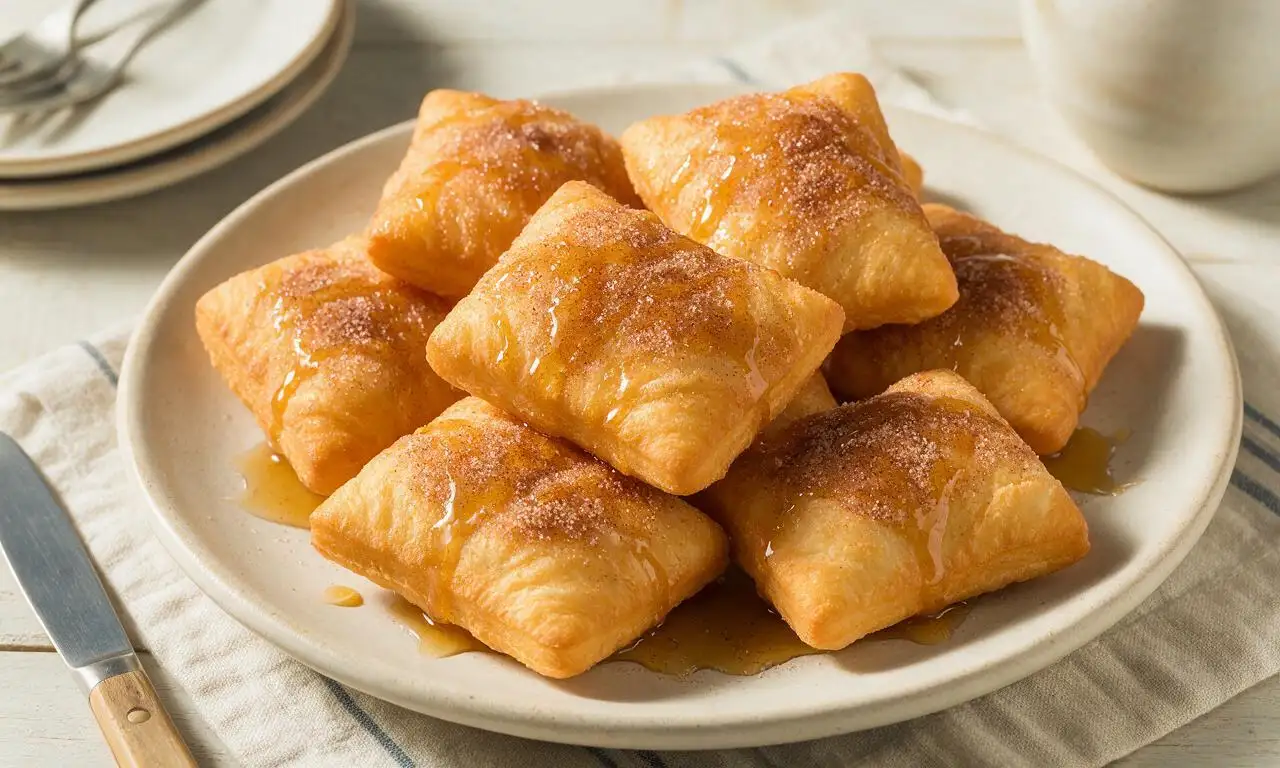
Yes, for the best adhesion, toss freshly fried sopapillas in cinnamon sugar within 30 seconds of pulling them from the oil. The light residual grease on the warm pastry surface acts as a natural glue so the sugar sticks evenly instead of sliding off. If you wait too long, the surface dries out and cinnamon sugar won’t coat uniformly, leaving bland bare patches.
6.Can I make the sopapilla dough ahead of time?
▾
Absolutely! You can mix the dough (made with flour, baking powder, fine sea salt, shortening, and warm water), wrap it tightly in plastic wrap, and store it in the refrigerator for up to 24 hours before rolling and frying. Let chilled dough rest on the counter for 15 to 20 minutes to take the chill off so it rolls out easily without shrinking back, then cut and fry as directed.
7.Why are my sopapillas dense and chewy instead of light and fluffy?
▾
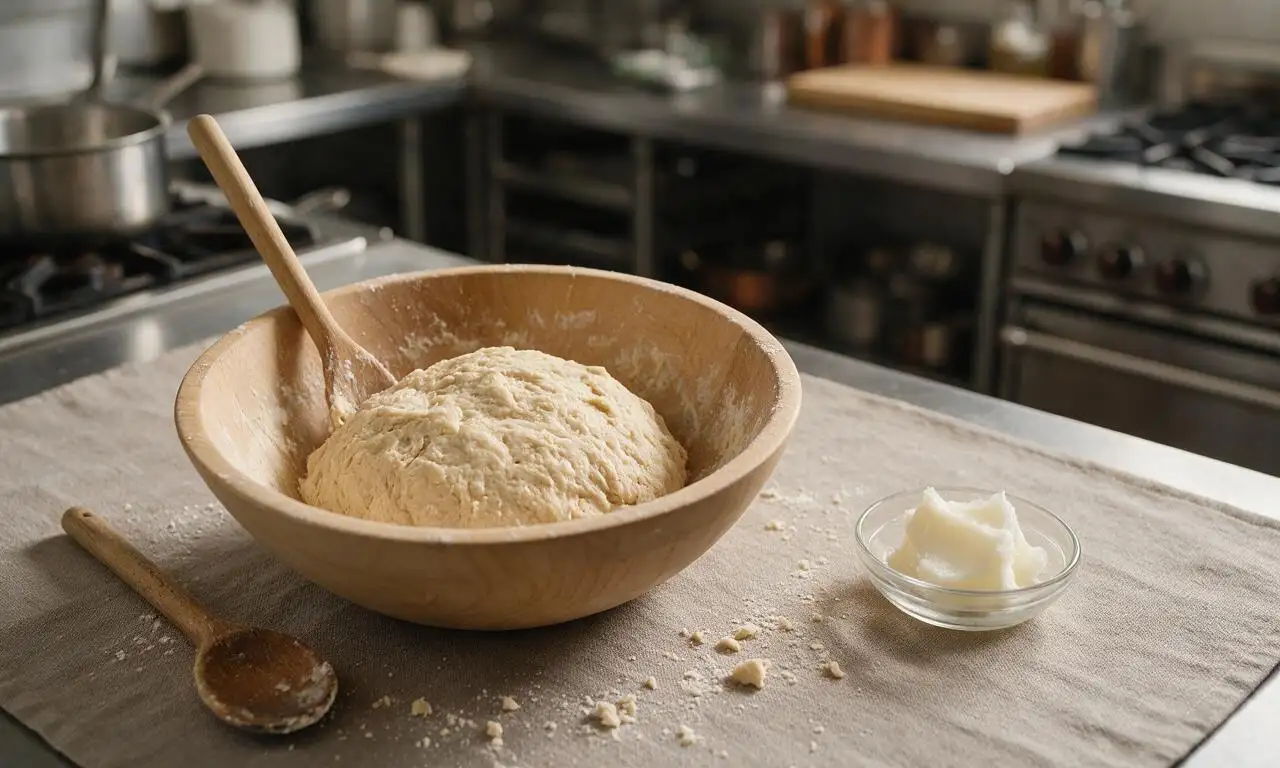
Dense, chewy sopapillas usually come from overworking the dough (which develops too much gluten in the all-purpose flour), using too little baking powder, or using water that’s too hot or cold to activate the leavening. When mixing, use comfortably warm (not scalding) water, stir just until ingredients form a soft shaggy mass, and knead no more than 2 minutes total to keep the crumb light.
8.Is there a way to make baked sopapillas instead of fried for a lighter option?
▾
While baked sopapillas won’t get that same dramatic, hollow puff as fried versions, you can bake them for a lighter treat: brush rolled, cut dough pieces with melted butter, bake at 425°F for 8 to 10 minutes until puffed and golden, then toss in cinnamon sugar. Note they will be a bit more bread-like than the classic crispy, pillowy fried version.
9.How do I keep sopapillas crisp when serving them for a party?
▾
Skip piling fried sopapillas in a sealed container or covered bowl, which traps steam and makes them soggy fast. Instead, place freshly fried, sugar-coated sopapillas on a wire rack set over a baking sheet in a 200°F oven for up to 30 minutes before serving. This keeps them warm, crisp, and puffy without turning them greasy or soft.
10.What kind of honey pairs best with classic sopapillas?
▾
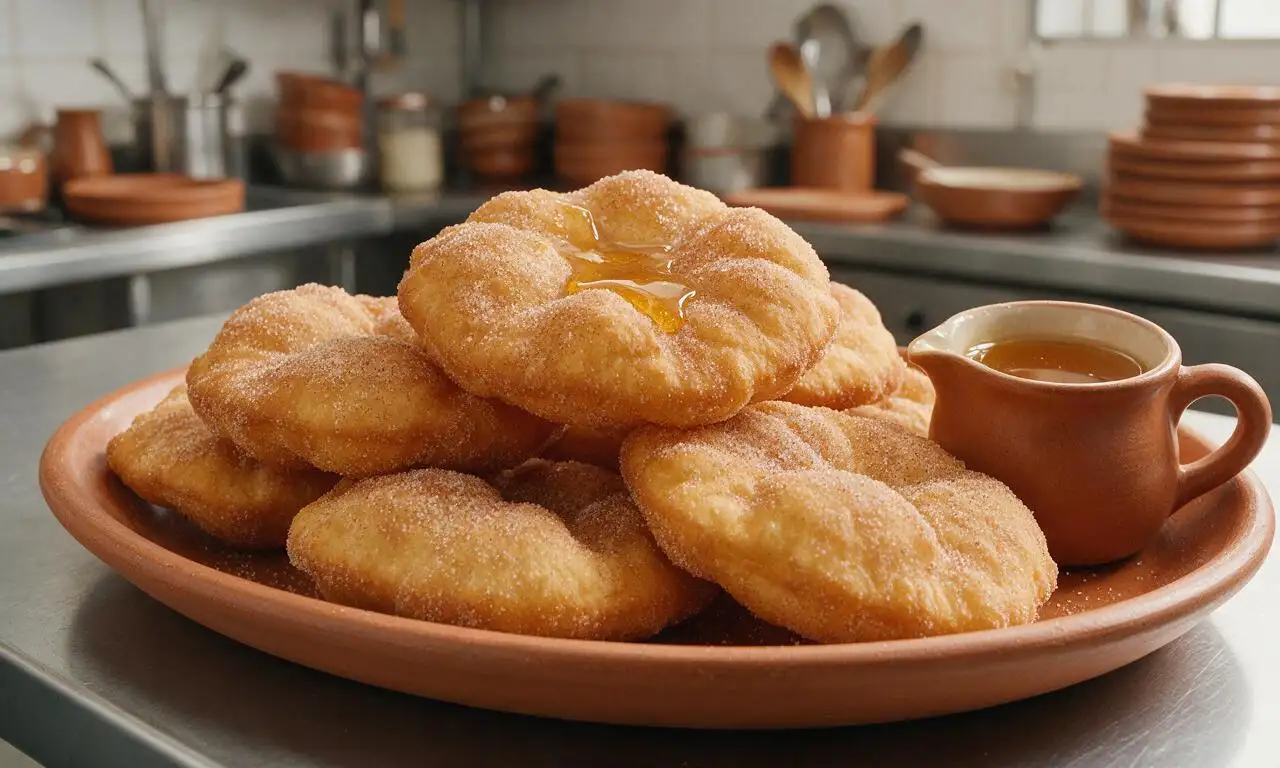
For the most traditional, nostalgic flavor, reach for mild, light wildflower or clover honey to drizzle over warm sopapillas. Strong, bold honeys like buckwheat or manuka will overpower the delicate, buttery pastry and warm cinnamon sugar. If you want a fun touch, warm honey slightly for 10 seconds in the microwave so it pours easily over every bite.
11.Can I freeze leftover uncooked sopapilla dough?
▾
Yes! Form the mixed, kneaded dough into a flat disk, wrap it tightly in two layers of plastic wrap, and freeze for up to 3 months. Thaw it in the refrigerator overnight, let it rest at room temp for 20 minutes, then roll, cut, and fry as normal. I don’t recommend freezing already fried sopapillas, as they turn soggy and tough when reheated.
12.Why do my sopapillas absorb too much oil when frying?
▾
Greasy, oil-soaked sopapillas almost always mean your frying oil is too cool, below 350°F. When oil is not hot enough, the dough doesn’t form that quick, sealed crispy outer layer, so it soaks up excess grease as it cooks. Use a candy thermometer to hold a steady 375°F, and don’t add too many pieces at once, which drops oil temperature sharply.
13.Do I need any special equipment to make homemade sopapillas?
▾
No fancy tools are required! All you need is a mixing bowl, rolling pin, sharp knife or pizza cutter to cut the dough, a heavy-bottomed pot for frying, a candy or deep-fry thermometer to track oil temp, and a slotted spoon to pull finished sopapillas from the oil. You don’t need a stand mixer, pasta roller, or special pastry cutter for great results.
14.Can I add fillings to these sopapillas?
▾
Classic sopapillas are traditionally served hollow, drizzled with honey, but you can absolutely fill them once fried! Let them cool for 1 to 2 minutes after frying, then poke a small hole in the side and pipe in fillings like sweetened whipped cream, cajeta, vanilla pastry cream, or even Nutella. Just don’t add fillings before frying, as they will leak out and burn in hot oil.
15.How long do I fry each sopapilla for?
▾
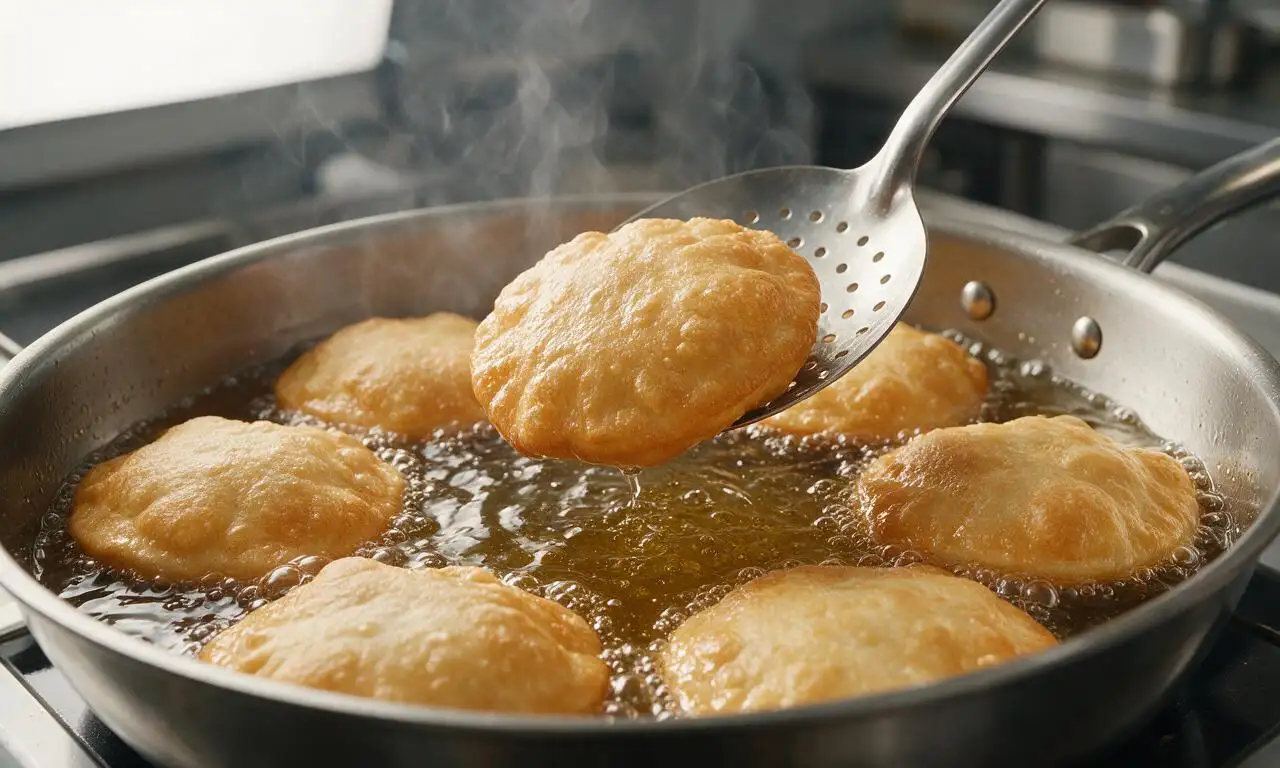
Each piece only needs 15 to 30 seconds per side in 375°F oil to turn perfectly golden and fully puffed. Wait for the dough to balloon up and turn pale golden on the bottom, then flip it with a slotted spoon to cook the other side for another 15 to 20 seconds. Overfrying makes them too hard and crispy, while underfrying leaves a raw doughy center.
16.Can I use self-rising flour instead of all-purpose flour for this recipe?
▾
You can use self-rising flour, but you’ll need to adjust the other leavening and salt to avoid overly salty, too-puffy sopapillas. If using self-rising flour, omit the added baking powder and cut the fine sea salt in half, since self-rising flour already has both leavening and salt mixed in. The final texture will be nearly identical to the classic AP flour version.
17.Why does my dough shrink back when I try to roll it out?
▾
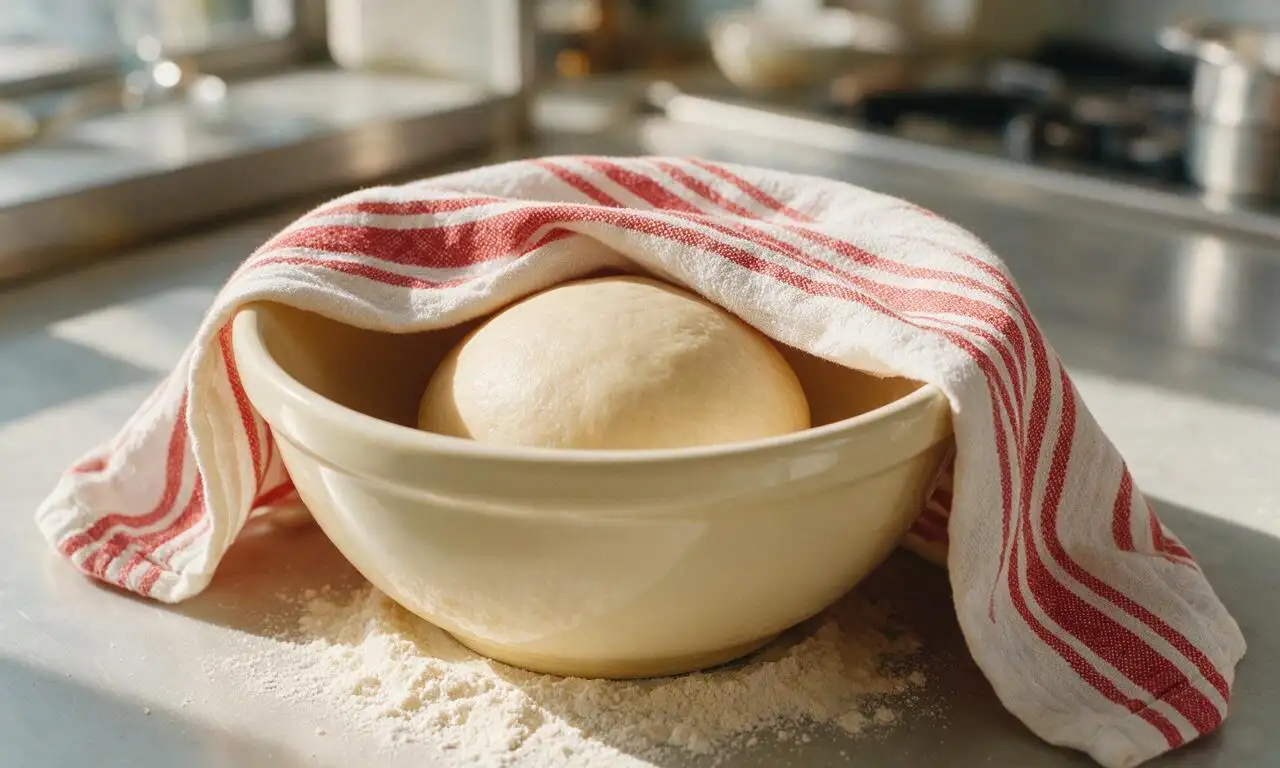
Dough shrinkage happens when the gluten in the flour gets tight from overmixing or rolling too quickly. If your dough springs back as you roll, stop, cover it with a clean kitchen towel, and let it rest for 10 minutes to let the gluten relax. After that short rest, it will roll out smoothly without shrinking, so you can get that perfect 1/8-inch thickness easily.
18.Are sopapillas supposed to be crispy or soft?
▾
Perfectly made classic sopapillas have a delicate, lightly crisp outer shell coated in cinnamon sugar, and a soft, hollow, pillowy, almost bread-like interior. They shouldn’t be rock-hard and crispy all the way through like a churro, nor should they be soft and doughy like an uncooked dinner roll. The hot quick fry creates that ideal balance of textures.
19.How should I store leftover fried sopapillas?
▾
Leftover fried sopapillas will stay fresh for up to 2 days stored in an airtight container at room temperature, lined with a paper towel to absorb any excess moisture. Don’t refrigerate them, as that makes them go stale and tough fast. To refresh them, pop leftovers in a 350°F oven for 3 to 4 minutes until warm and crisp again before serving with extra honey.







OMG these sopapillas were such a hit at our Sunday family dinner! I dusted them with a little extra cinnamon sugar and served them with warm honey, and my kids begged for seconds before they even finished their first helping. So easy to throw together too, I was shocked how fluffy they got when frying. 10/10 will be making these for every potluck from now on!
Game changer! I’ve tried making sopapillas a couple times before and they always turned out dense and greasy, but this recipe was perfect. The dough came together so smoothly, and they puffed up like little pillows immediately when I dropped them in the oil. Only thing I did different was add a tiny pinch of nutmeg to the sugar coating, chef’s kiss.
Wait, quick question—my dough kept shrinking when I tried to roll it out! Did I do something wrong? Flavor was still amazing once I got them fried, but it was a struggle to get them thin enough. My whole roommates devoured them anyway, so no real complaints, just curious what I can fix for next time!
SO good! I made a double batch on Sunday to have as a little treat throughout the week, and they even reheated perfectly in the air fryer for 2 minutes at 350. Crispy on the outside, soft inside, just as good as fresh. I served some with chocolate drizzle for my partner and he said they’re better than the ones we get at our local Mexican restaurant. Obsessed!
Made these for my kid’s end of season soccer team potluck yesterday and they were gone in 10 minutes flat! All the other parents were asking for the recipe, I felt so fancy. I was worried they’d be too fussy to make with a house full of crazy kids running around, but it was genuinely so easy even with constant interruptions. Will be a staple in our house for sure!
I tried making these with a 1:1 gluten free all purpose flour last night and they turned out so good! I was fully prepared for them to fall apart or not puff up, but they were just as fluffy as the regular ones I remember from growing up. Only heads up is I needed to add an extra tablespoon of water to get the dough to come together right. 10/10, even my non-gluten free dad loved them!