
Sorghum Syrup
intro
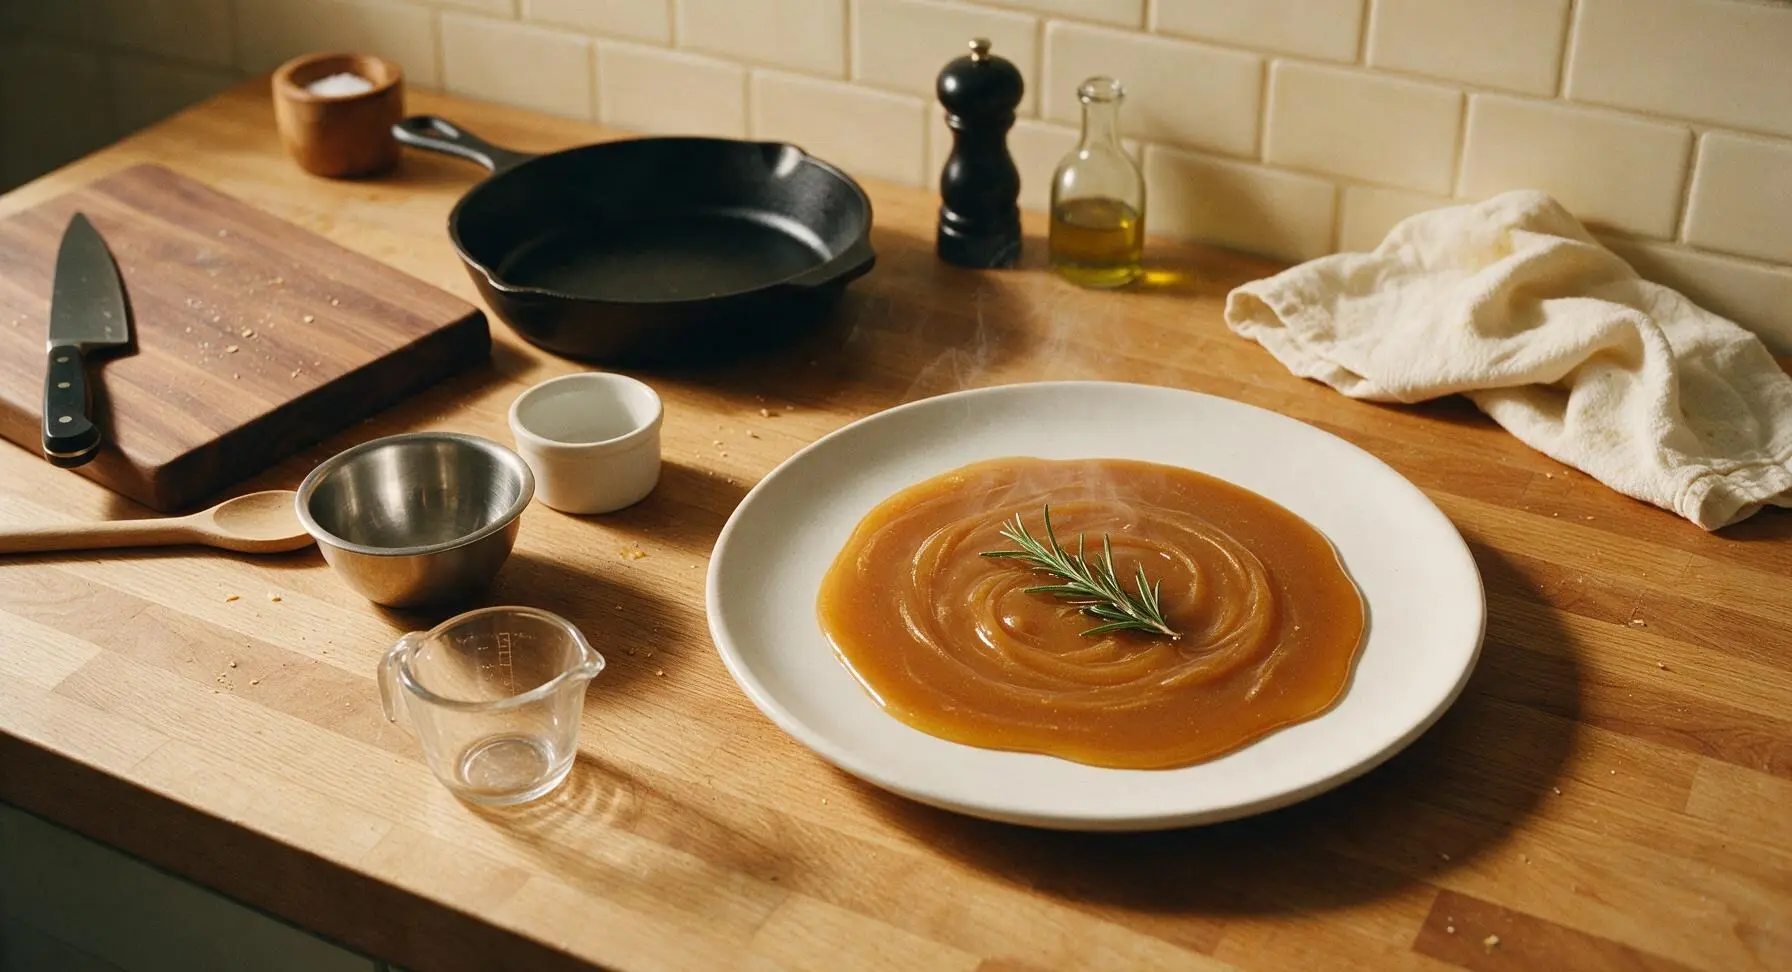
Rich, earthy, molasses-kissed traditional Southern sorghum syrup, slow-pressed and simmered to thick golden perfection, ideal for baking, drizzling, and homemade gifting.
Ingredients
Steps
Scrub Sorghum Stalks
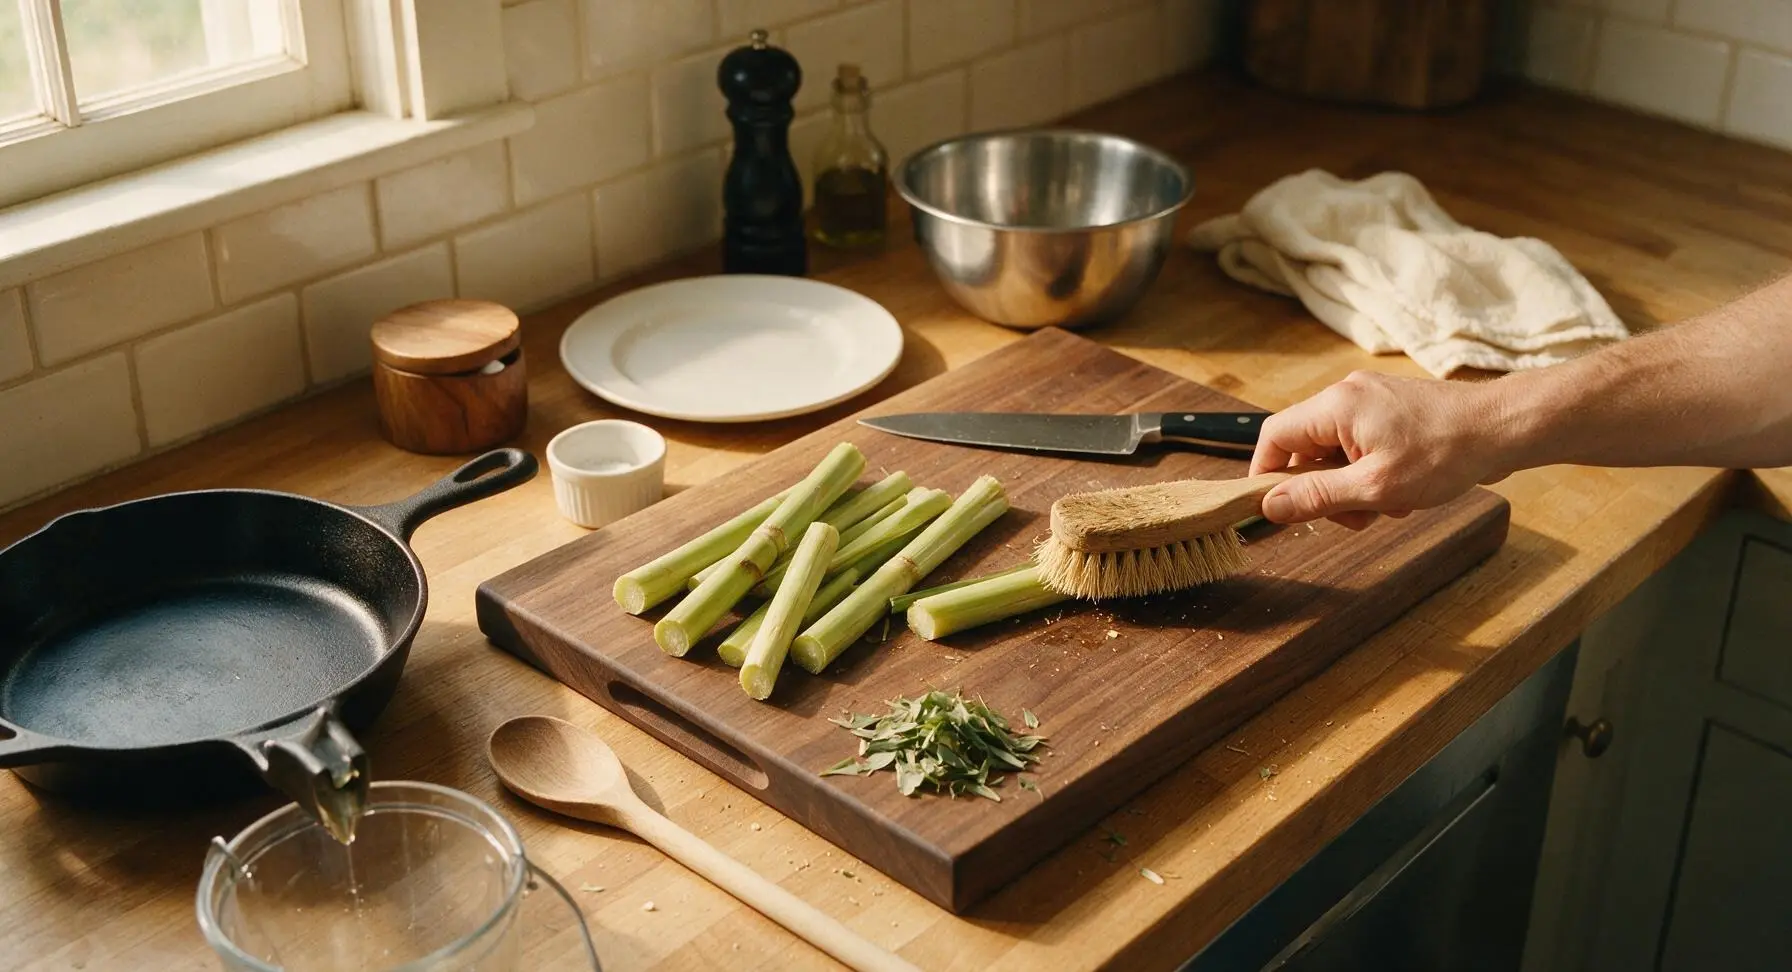
Rinse the leaf-stripped sorghum stalks under cool running water, then use the stiff natural bristle brush to scrub away any remaining dirt, leaf debris, or field residue from the outer rind. Pat stalks lightly dry with the edge of the linen towel. Cut stalks into 15cm sections that fit easily into the cast iron press feed opening; discard any dried, moldy, or damaged stalk sections. Visual cue: Stalks should feel smooth, with no clinging dirt when you run a finger along the rind.
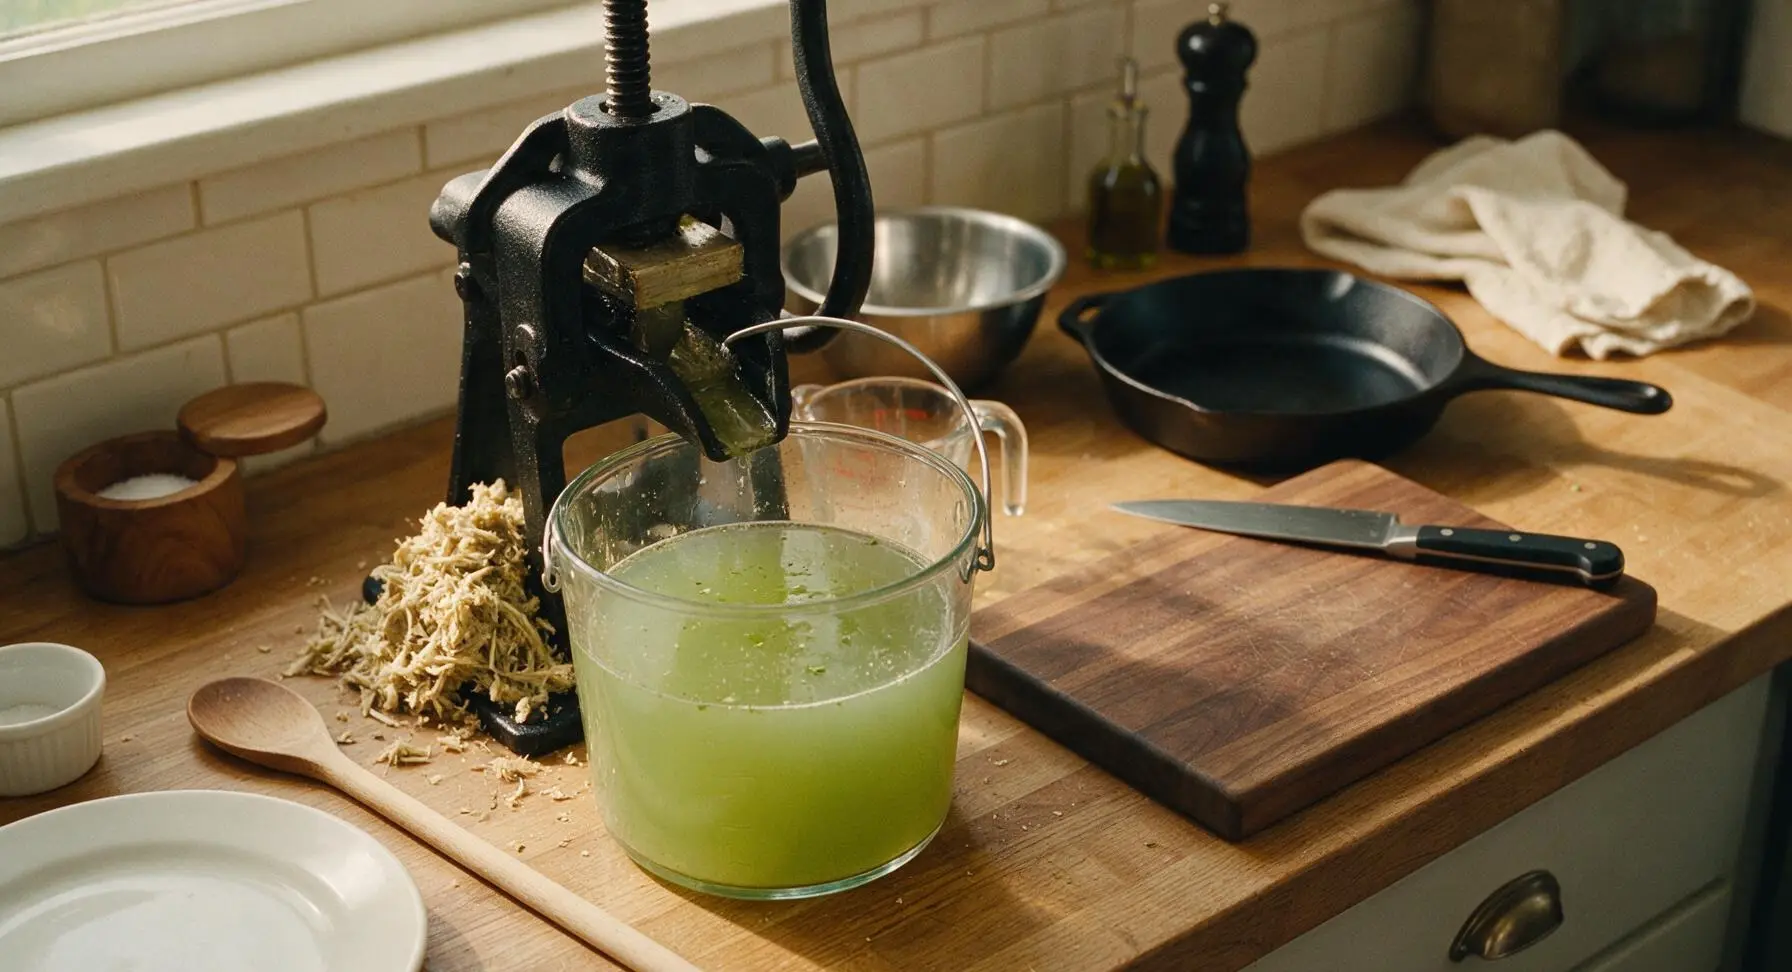
Press Fresh Sorghum Juice
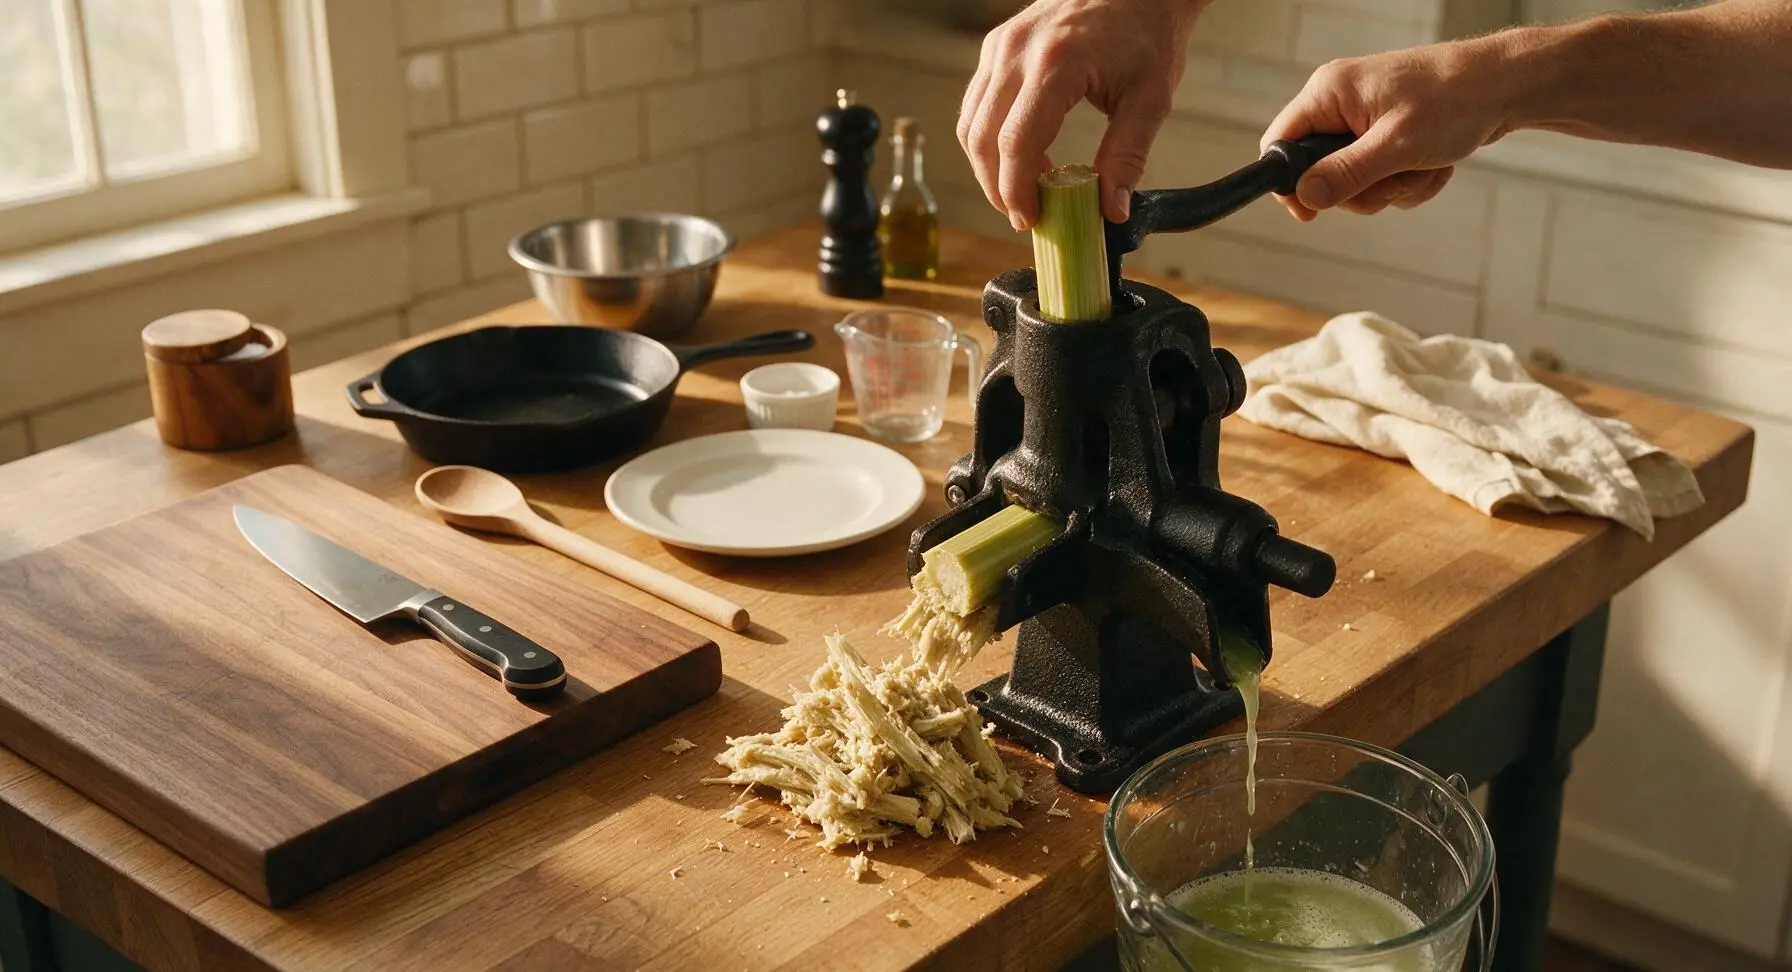
Feed the cut sorghum stalk sections one at a time into the cast iron press, turning the press handle clockwise with steady, even pressure to squeeze out the pale green, sweet raw juice. Collect all expressed juice in the 4L glass bucket positioned under the spout. Continue pressing until all stalk sections are fully crushed, leaving dry, pale tan pulp in the press (pulp can be composted after use). Expected yield: roughly 3.5L (14 cups) of raw juice from 5kg of stalks. Timing: 35-40 minutes of steady pressing.
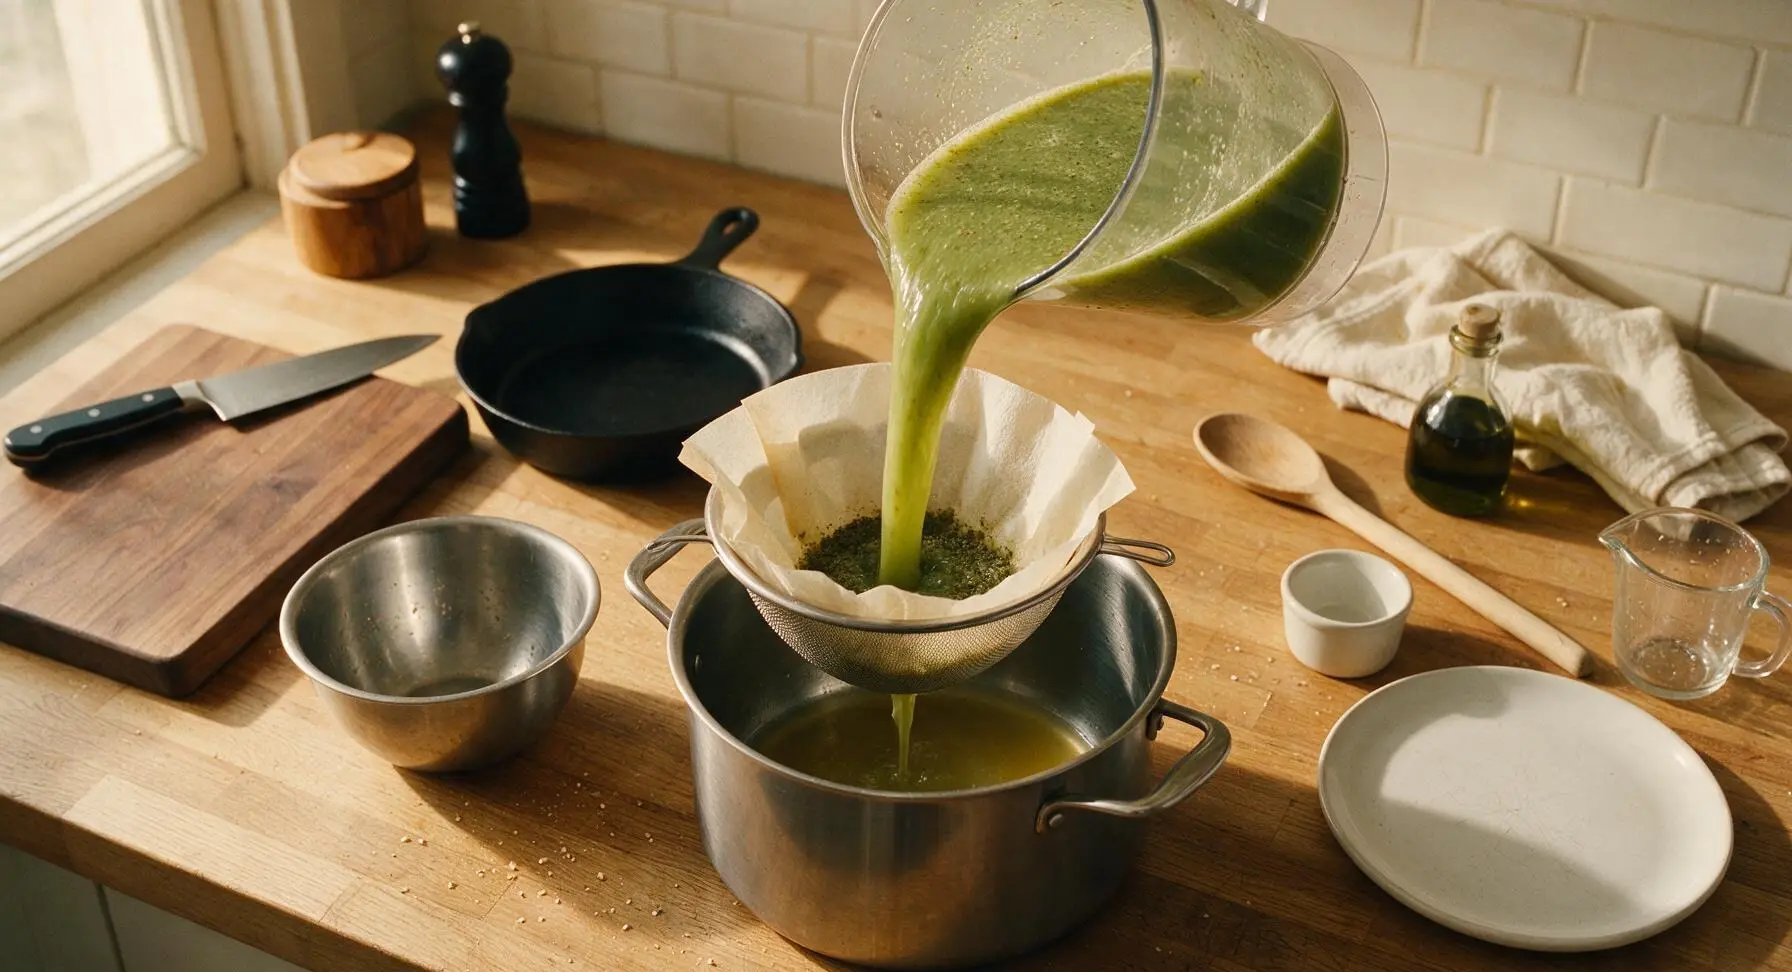
Strain Raw Juice
Line the fine-mesh stainless steel strainer with two layers of unbleached coffee filter, set the strainer over the top of the 8L stainless steel stock pot. Slowly pour the raw sorghum juice through the filter-lined strainer to remove fine plant debris, pulp bits, and sediment. Do not press on the solids in the filter to avoid pushing fine sediment into the strained juice. Discard the used filters, collected sediment, and pressed pulp once all juice is strained. Visual cue: Strained juice will be a clear, pale golden-green, free of floating particles.
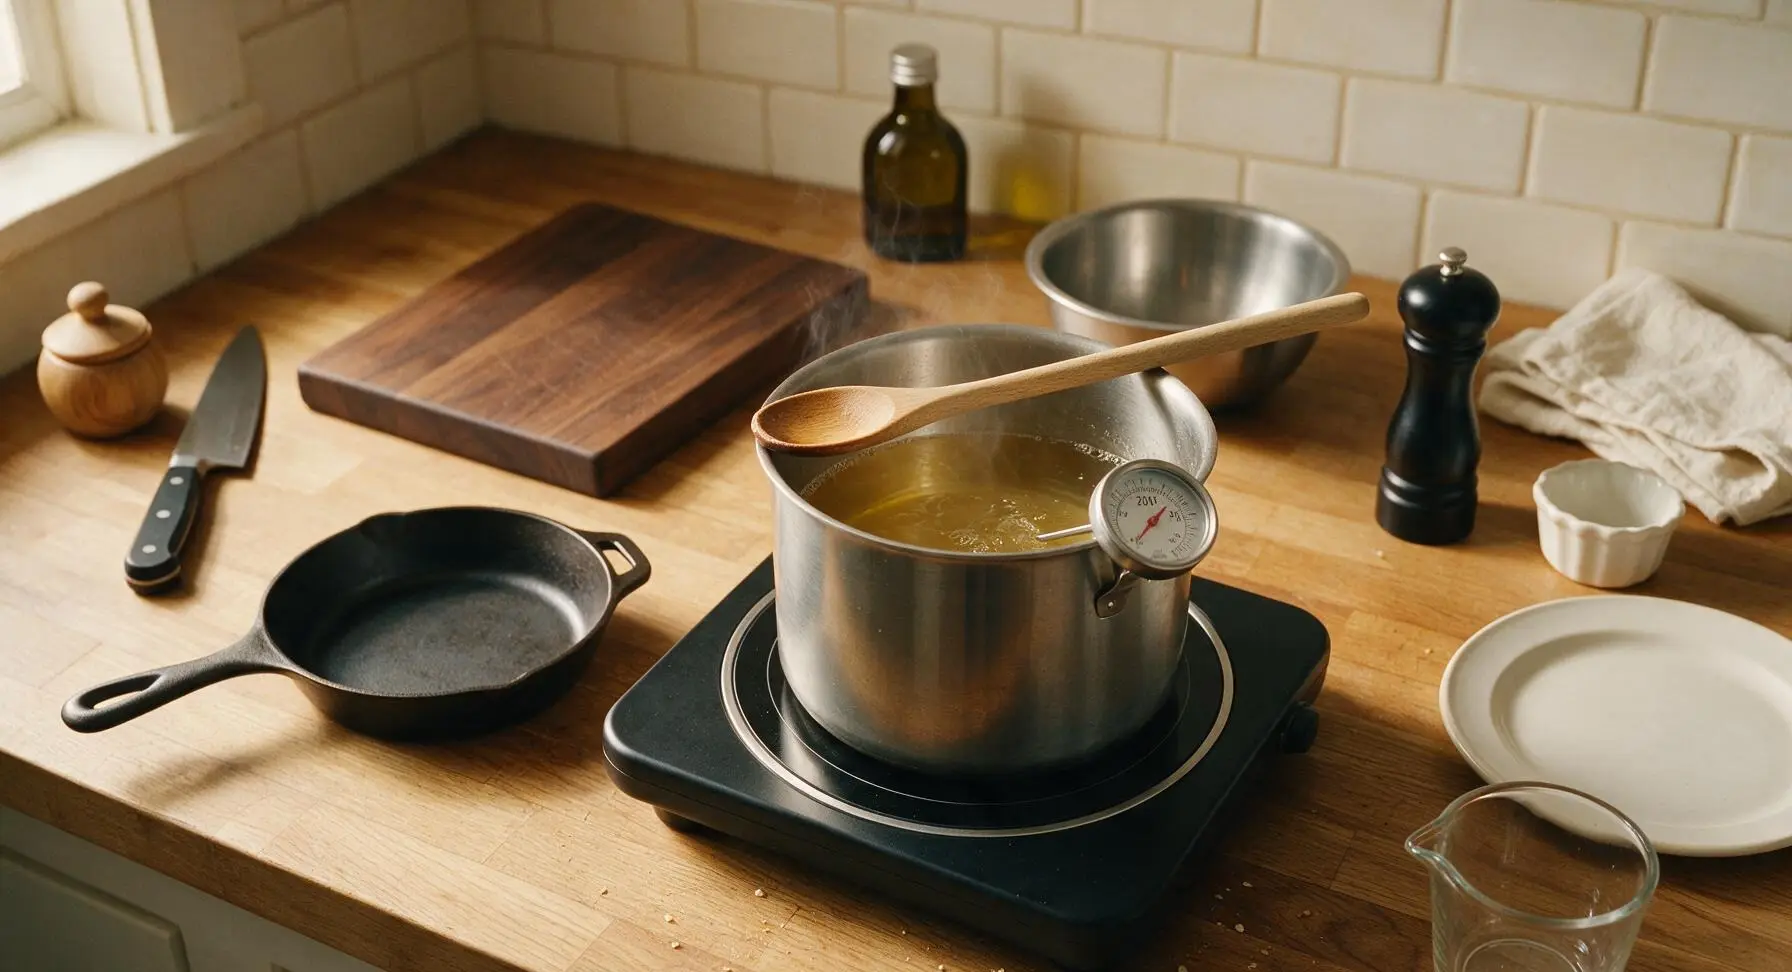
Heat Juice to Simmer
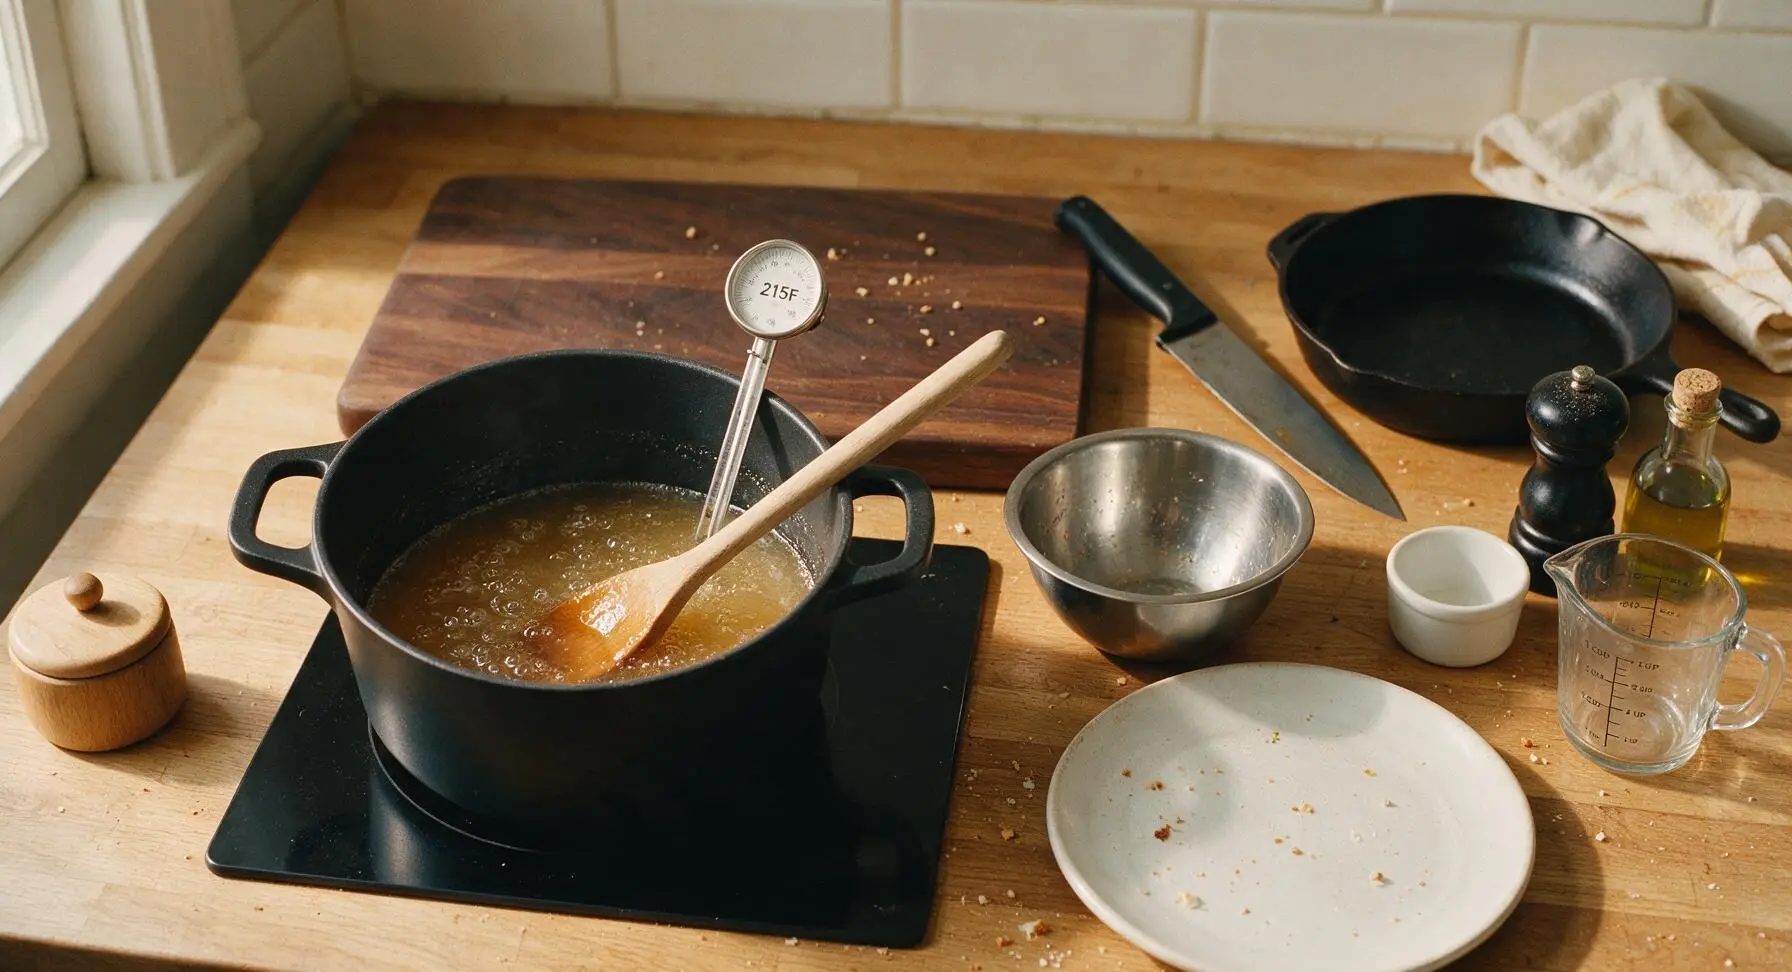
Place the stock pot of strained juice on the matte black induction burner set to medium-high heat. Clip the stainless steel candy thermometer to the side of the pot, ensuring the tip is fully submerged in juice but not touching the pot bottom. Bring the juice to a gentle, rolling simmer (210F / 99C), stirring occasionally with the maple wood spoon to prevent scorching on the pot bottom. Do not cover the pot, as water needs to evaporate freely.
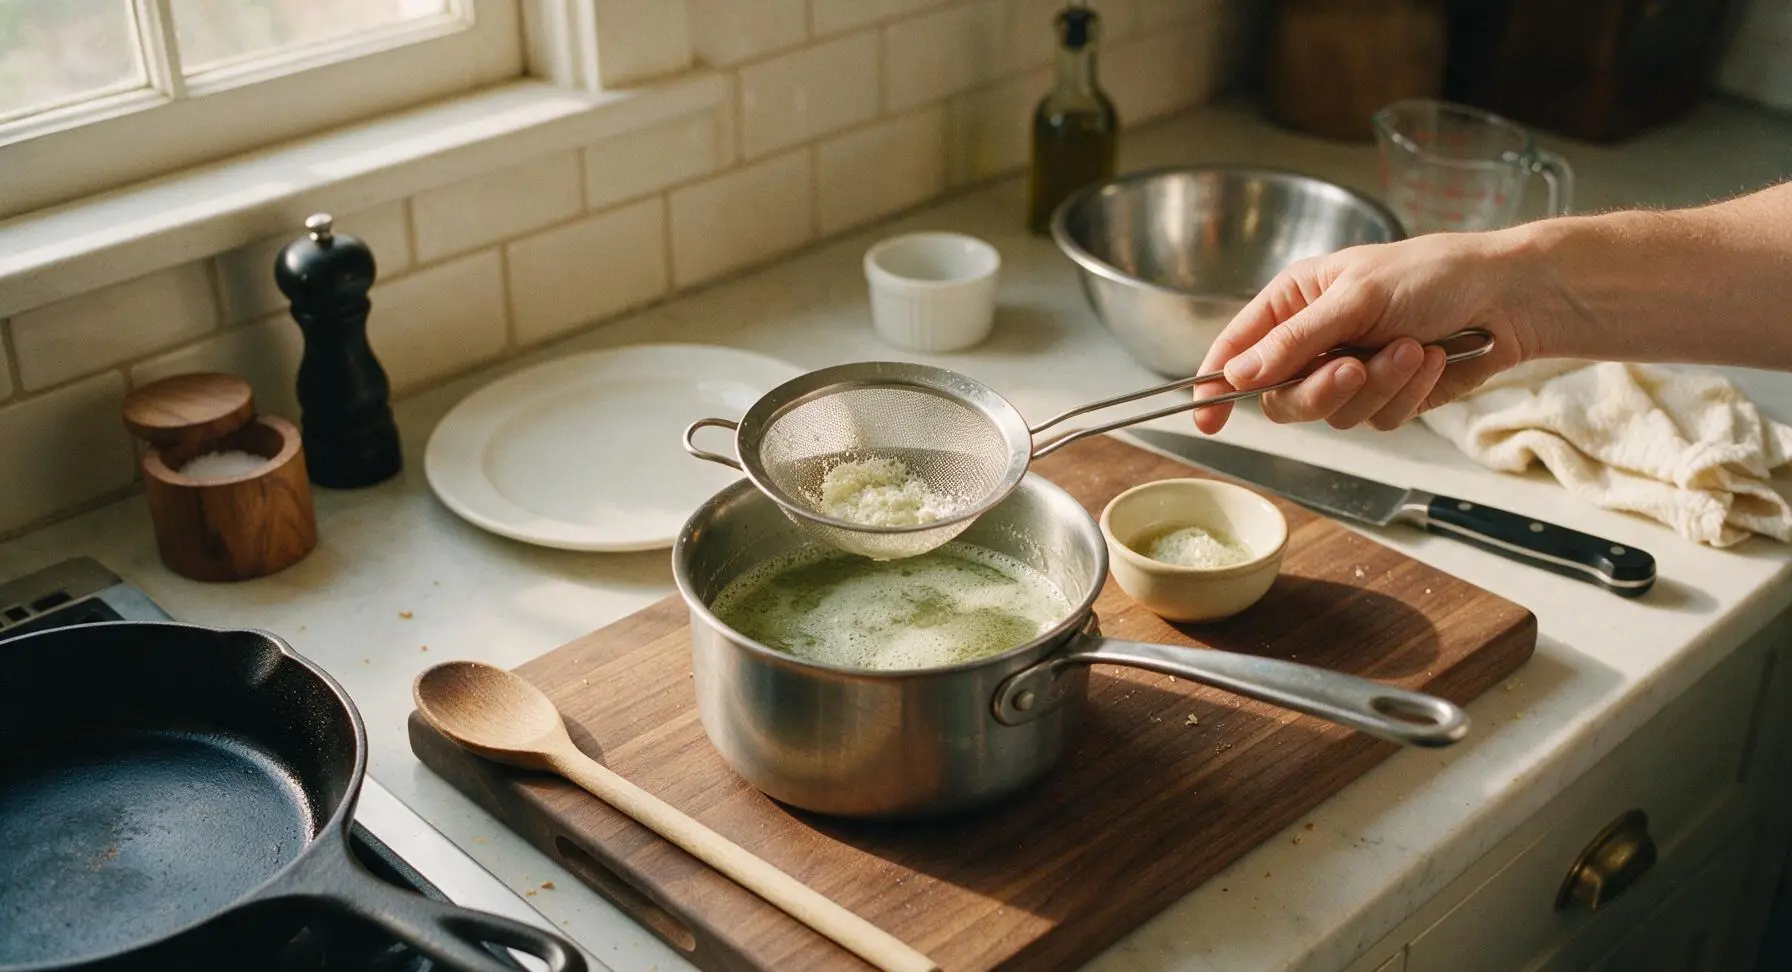
Skim Floating Impurities
As the juice simmers, a pale green, foamy layer of impurities will rise to the surface. Use the fine-mesh stainless steel skimmer to gently scoop off this foam every 5-7 minutes, depositing the collected foam into the small cream ceramic waste bowl. Continue skimming regularly as the juice reduces; failing to remove foam will result in cloudy, bitter-tasting syrup. Timing: Skim consistently for the first 45 minutes of simmering, until no more foam rises to the surface.
Reduce to Syrup Thickness
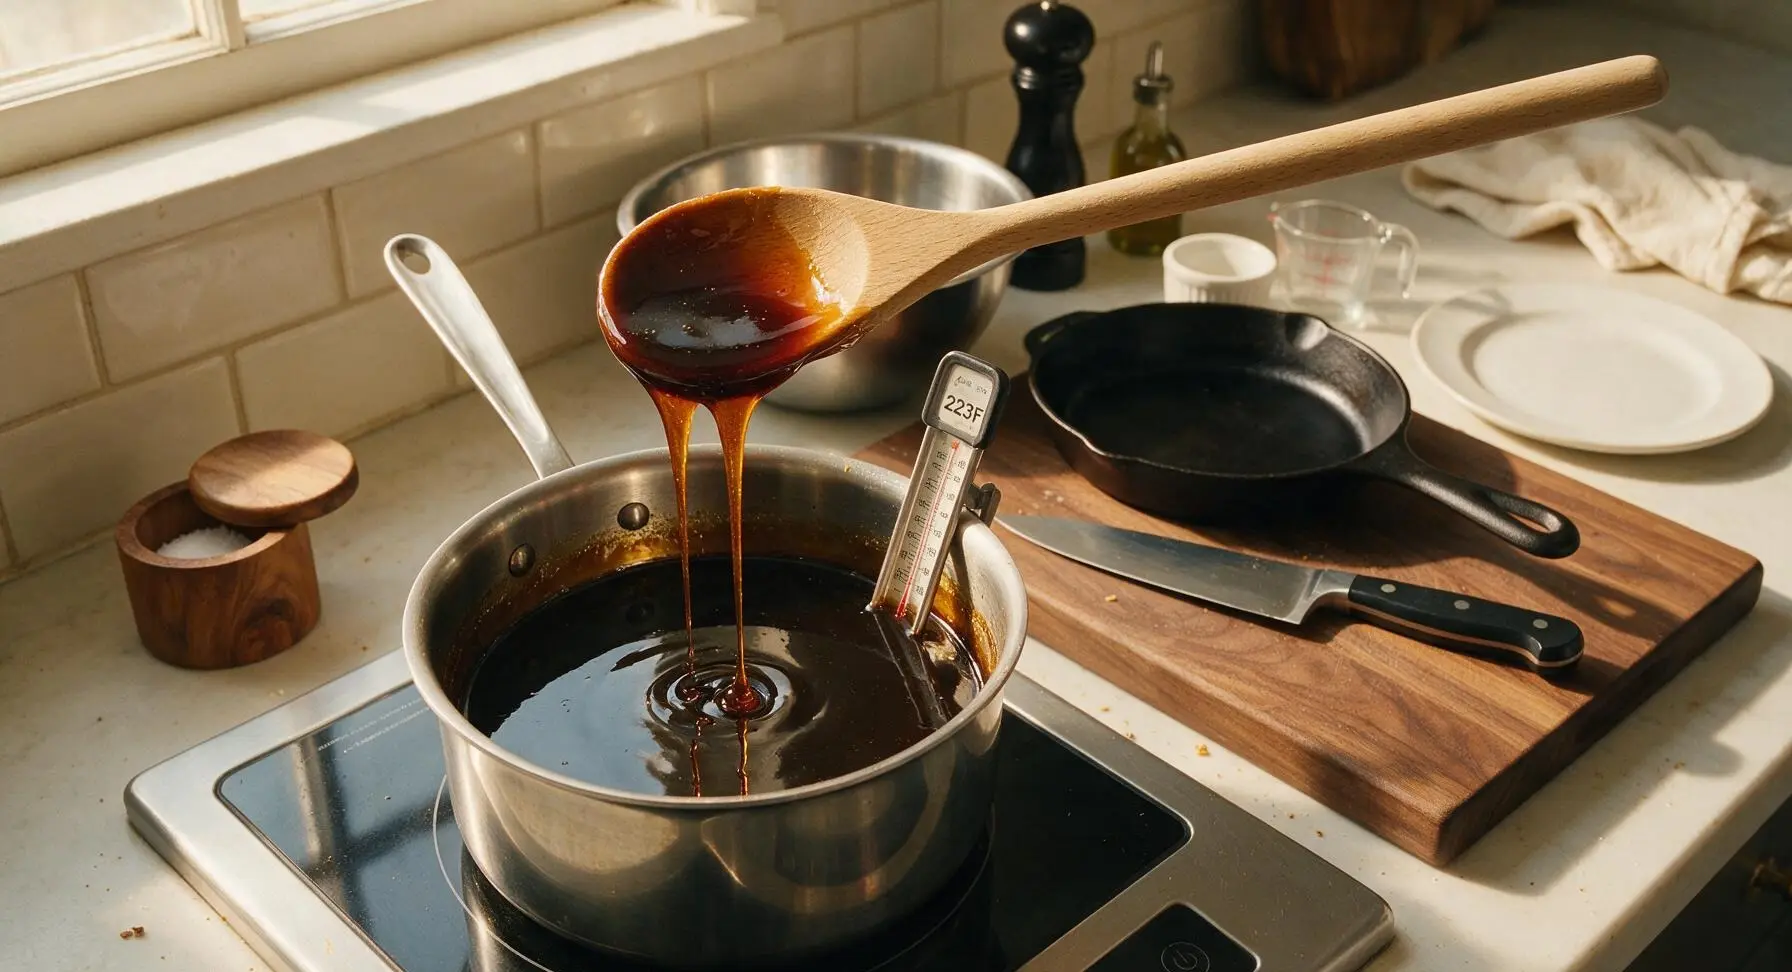
Reduce the induction burner heat to medium-low to maintain a gentle simmer (do not boil rapidly, as this will burn the syrup and create a bitter flavor). Continue simmering, stirring every 10 minutes to prevent scorching, until the juice reduces to 1/8 of its original volume (roughly 440ml / 1.75 cups from 3.5L of raw juice) and reaches 220F - 225F (104C - 107C) on the candy thermometer. Visual cue: The liquid will have turned a deep, glossy amber gold, and will coat the back of the wood spoon in a thick, slow-dripping layer. Timing: 1 hour to 1 hour 15 minutes of slow reduction.
Strain Finished Syrup
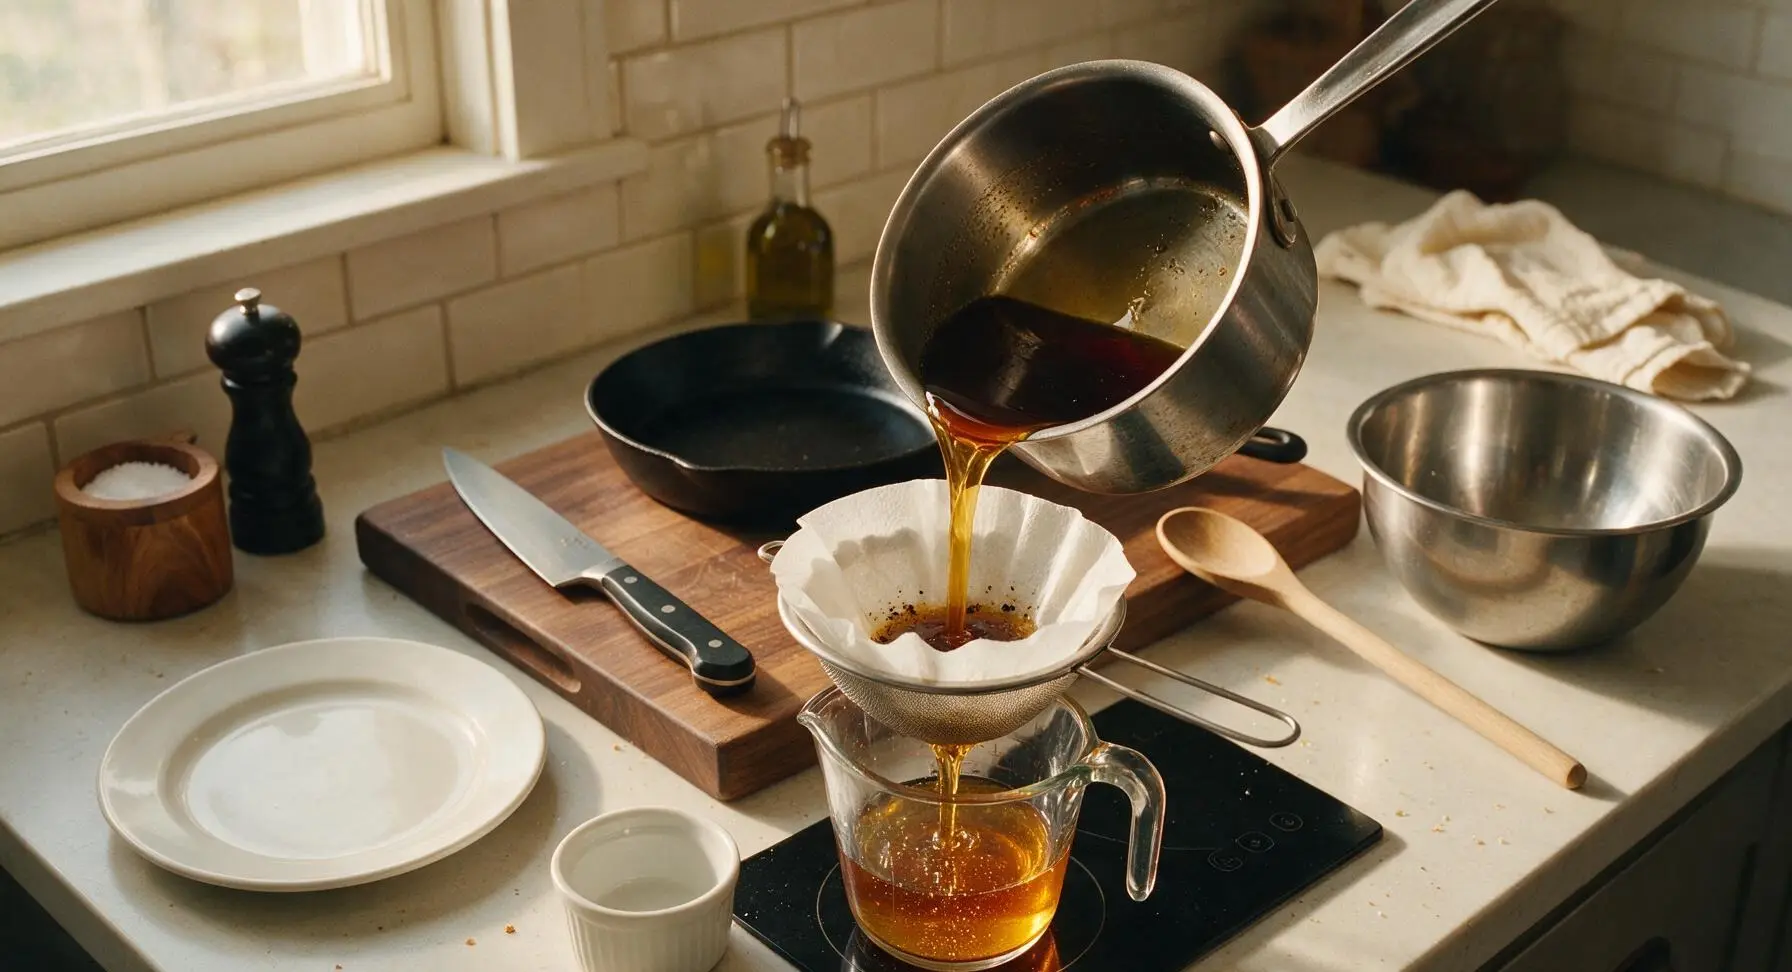
Remove the pot from heat and let the syrup cool for 10 minutes. Line the clean fine-mesh strainer with a fresh coffee filter, set the strainer over the clear glass measuring cup. Pour the warm syrup through the filter to catch any remaining fine sediment, resulting in a perfectly clear, smooth syrup. Let the syrup drain through the filter without pressing, to keep the texture silky.
Jar and Seal Syrup
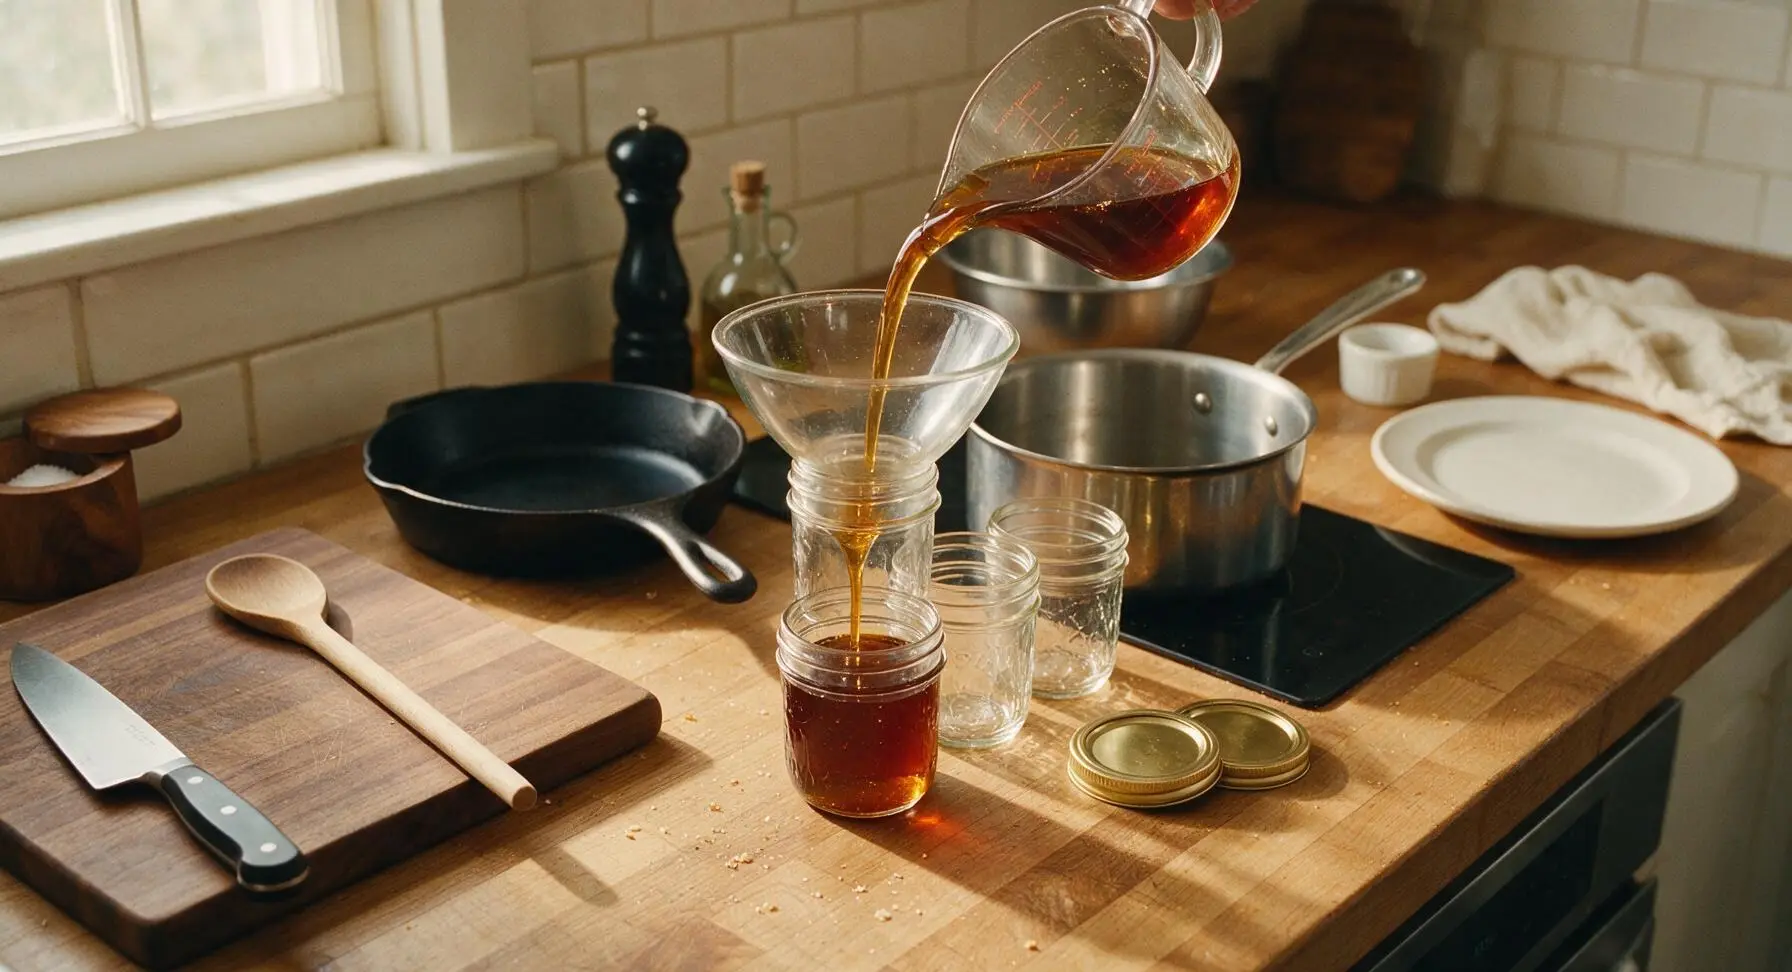
Set the wide-mouth glass canning funnel on top of each sterilized half-pint mason jar. Pour the strained warm syrup through the funnel into the jars, leaving 1cm of headspace at the top. Wipe the jar rims clean with a corner of the linen towel, then secure the gold metal lids tightly. Let the jars cool completely to room temperature on the counter; the syrup will thicken further as it cools. Sealed jars will keep in a cool, dark pantry for up to 1 year; opened jars keep in the refrigerator for 3 months.
Tips
2.Never let the simmering syrup exceed 230°F (110°C): at higher temperatures, sorghum’s natural unrefined sugars will scorch quickly, creating a harsh, burnt bitter flavor that cannot be strained or diluted out. Reduce heat immediately if the syrup starts to boil rapidly.
3.If crystallized sugar forms in stored syrup, set the open jar in a small pot of gently simmering water for 5–10 minutes until crystals fully dissolve. Sorghum’s high natural mineral content makes it slightly more prone to crystallization than refined sugar syrups, but this is harmless and does not mean the syrup has spoiled.






OMG this homemade sorghum syrup is SO good! I grew up eating my grandma’s sorghum on biscuits but never thought I could make it myself. Drizzled it over our Sunday breakfast pancakes and my kids loved it, even asked for seconds! Worth every minute of cook time, no store-bought stuff even comes close.
Took me almost 3 hours total because I kept the heat a little too low at first, but the end result was chef’s kiss. Used it to glaze smoked pork ribs for our neighborhood potluck last weekend and people were begging for the recipe! Only knock is I wish the cook time note mentioned how easy it is to burn if you crank the heat too high after the initial simmer.
Game changer! I grow my own sorghum out on our small family farm and have been looking for a no-fuss traditional recipe for years. This came out exactly like the syrup I remember buying from the old mill when I was a kid, thick, nutty, perfectly sweet without being cloying. Already made a second batch to jar up as holiday gifts!
Meal prep win! I made a big batch on Sunday and have been using it on everything all week — oatmeal, yogurt bowls, even stirred into my iced coffee instead of simple syrup. It has such a warm, toasty flavor that regular maple syrup just can’t match. My picky 7 year old even asked to dip his apple slices in it after school!
Brought a jar of this to our church potluck along with a pan of warm cornbread and people went absolutely wild for it! Multiple people asked if I’d bought it from that fancy artisanal syrup shop downtown, they couldn’t believe I made it from scratch. The cook time looks long but it’s mostly hands off, super doable even if you’re not a super experienced canner.
As someone who’s strictly gluten free and avoids refined sugars, this syrup is an absolute dream come true! I’ve been paying $12 a jar for imported sorghum syrup at the health food store for years, and this homemade version tastes better for a fraction of the cost. Drizzled it over gluten free waffles for brunch last Saturday and my roommate who hates 'healthy food' went back for thirds.
This was really tasty, but I think I messed up the skimming step? My syrup turned out a little cloudier than the clear golden stuff I remember from my childhood in Alabama. It still tastes great, just not as pretty as I was hoping for. Might try again next weekend when I have more time to be patient with skimming the impurities off the top.
Just finished my first batch and had to leave a review immediately — this stuff is liquid gold! I stirred a spoonful into my morning bourbon cocktail last weekend when I tested a small batch and it was the best old fashioned I’ve ever made. Can’t wait to use it on all my fall baking and cocktail recipes this season. 10/10, will be making this every fall from now on.
Super solid recipe! I will say it took me closer to 3.5 hours total because I had to source the sorghum juice from a farm an hour away, but the active time was way less than I expected. Tastes amazing on warm buttermilk biscuits, just like my great aunt used to make. Only reason it’s not 5 stars is I wish there was a note about how much finished syrup you end up with — I only got about 3 pints and was expecting more based on how much juice I started with.
Made this for our annual fall family dinner last night and it was the star of the show! I set out a little jar next to the biscuit platter, the roasted sweet potatoes, and the pancake breakfast bar this morning, and every single person asked for the recipe. The warm, earthy sweetness pairs so perfectly with all the cozy fall foods, I don’t know why I waited so long to try making homemade sorghum syrup!