
Sourdough Discard Hoagie Rolls
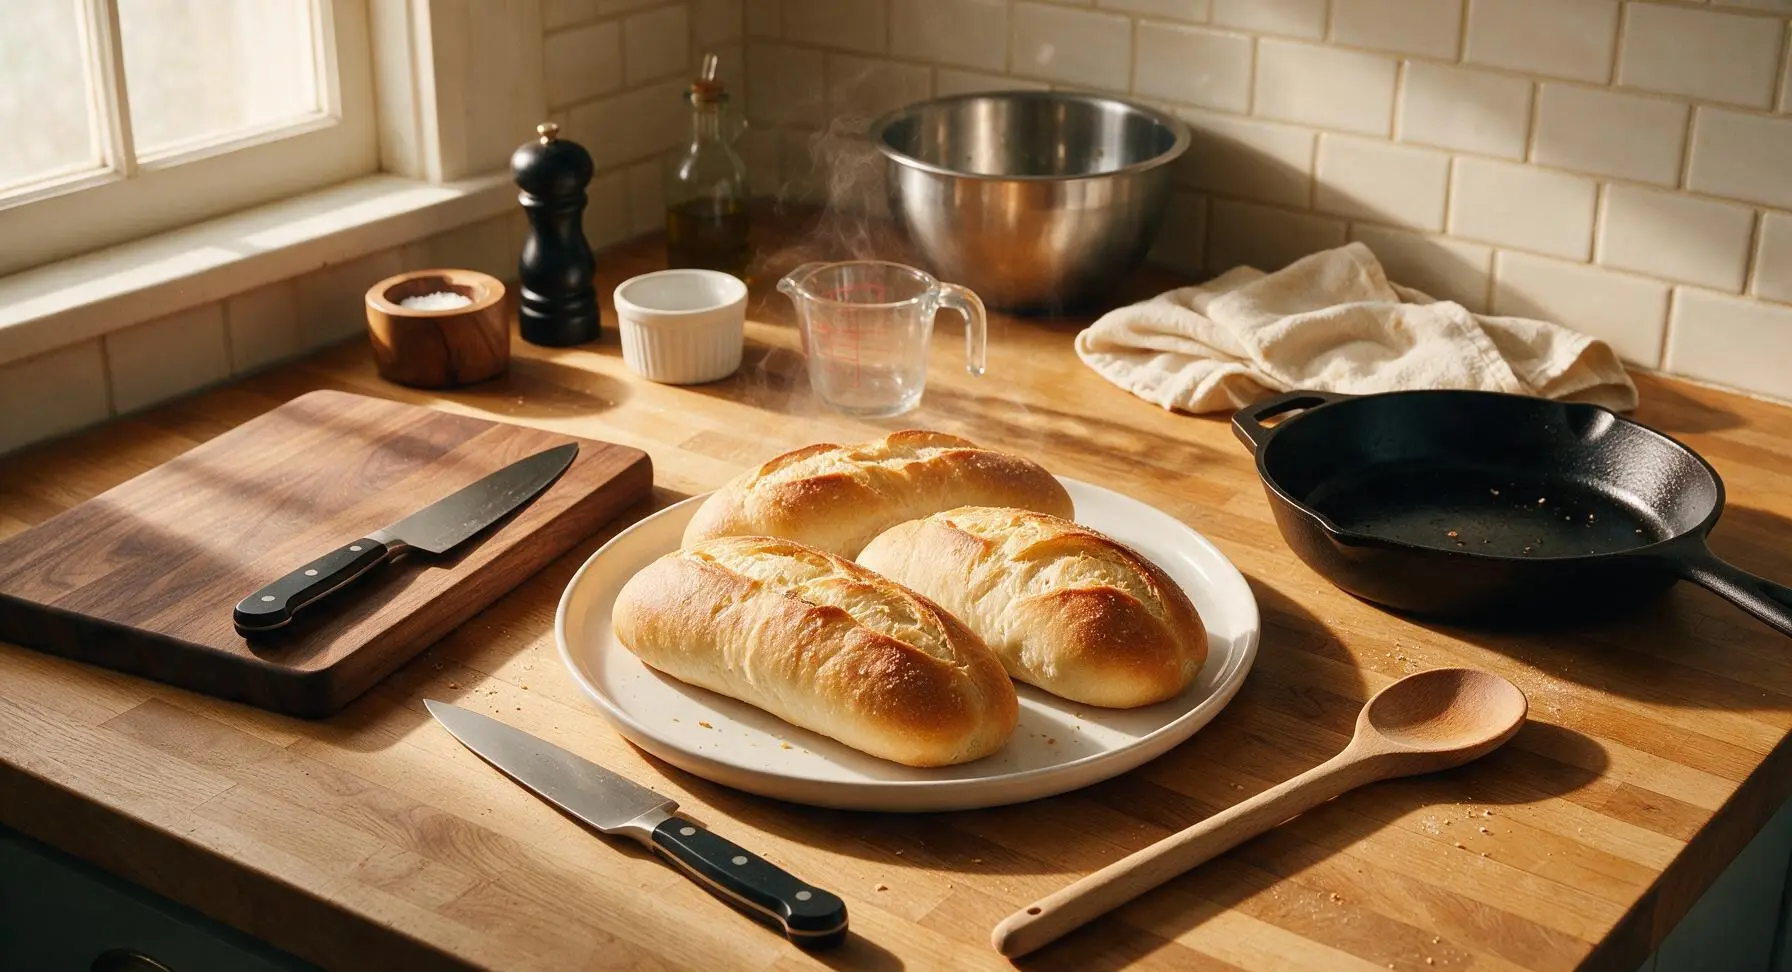
intro
Soft, chewy sourdough discard hoagie rolls with a crisp golden crust—ideal for piling high with grilled fillings at summer cookouts.
Ingredients
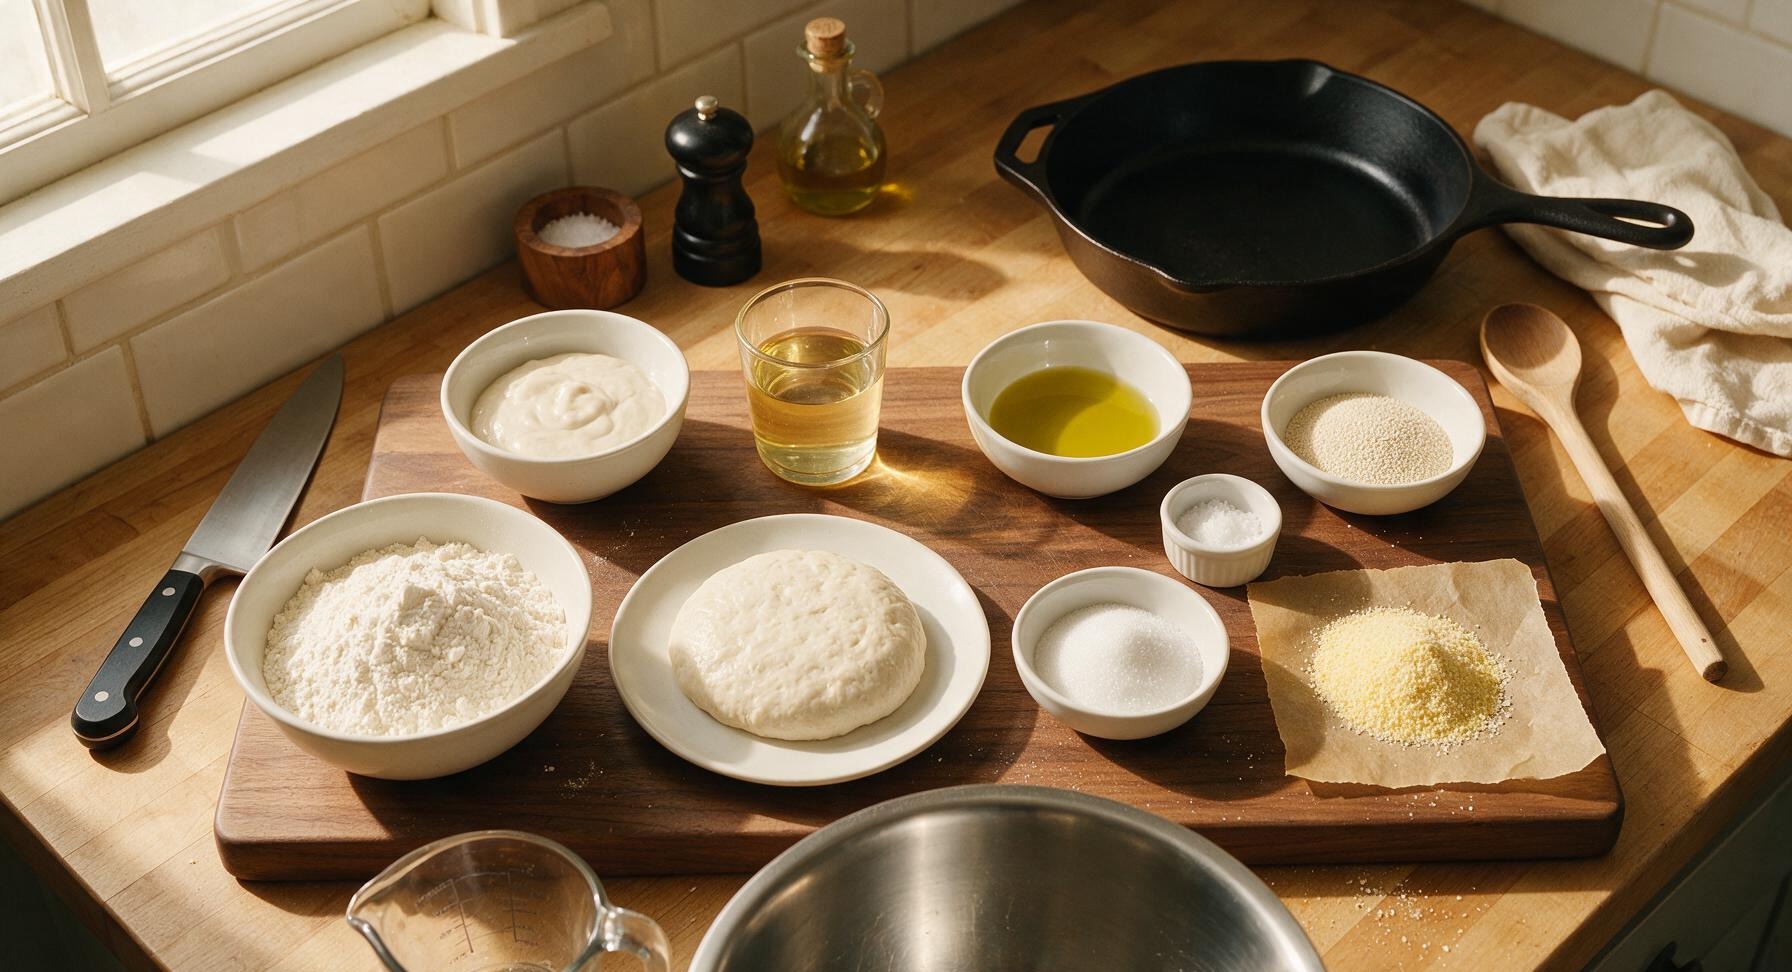
Steps
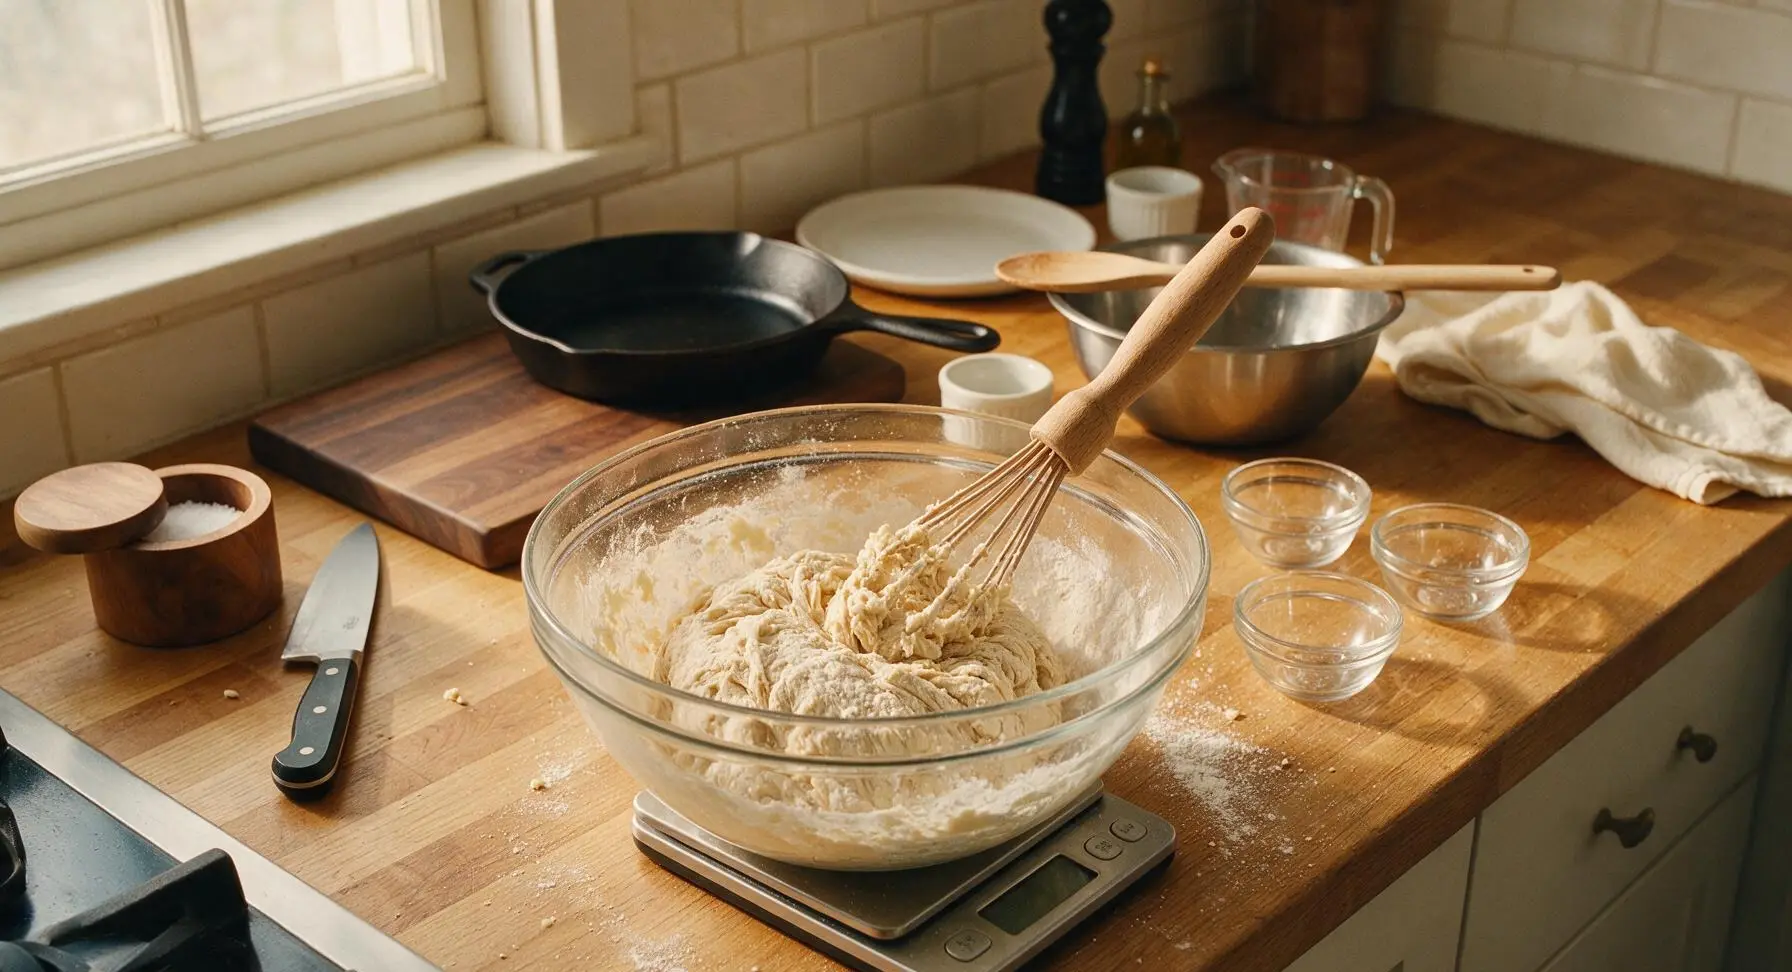
Mix Dough Base
Place the large clear glass mixing bowl on the digital kitchen scale, and tare to zero. Weigh in 320g bread flour, 200g room-temperature unfed sourdough discard, 120ml lukewarm water, 1 tbsp olive oil, 1 tsp granulated sugar, 1.5 tsp fine sea salt, and 1 tsp instant yeast. Use the dough whisk to stir the ingredients until a shaggy, sticky mass forms, with no dry flour pockets remaining at the bottom of the bowl. The dough will pull slightly away from the bowl sides but will stick to clean fingertips when touched.
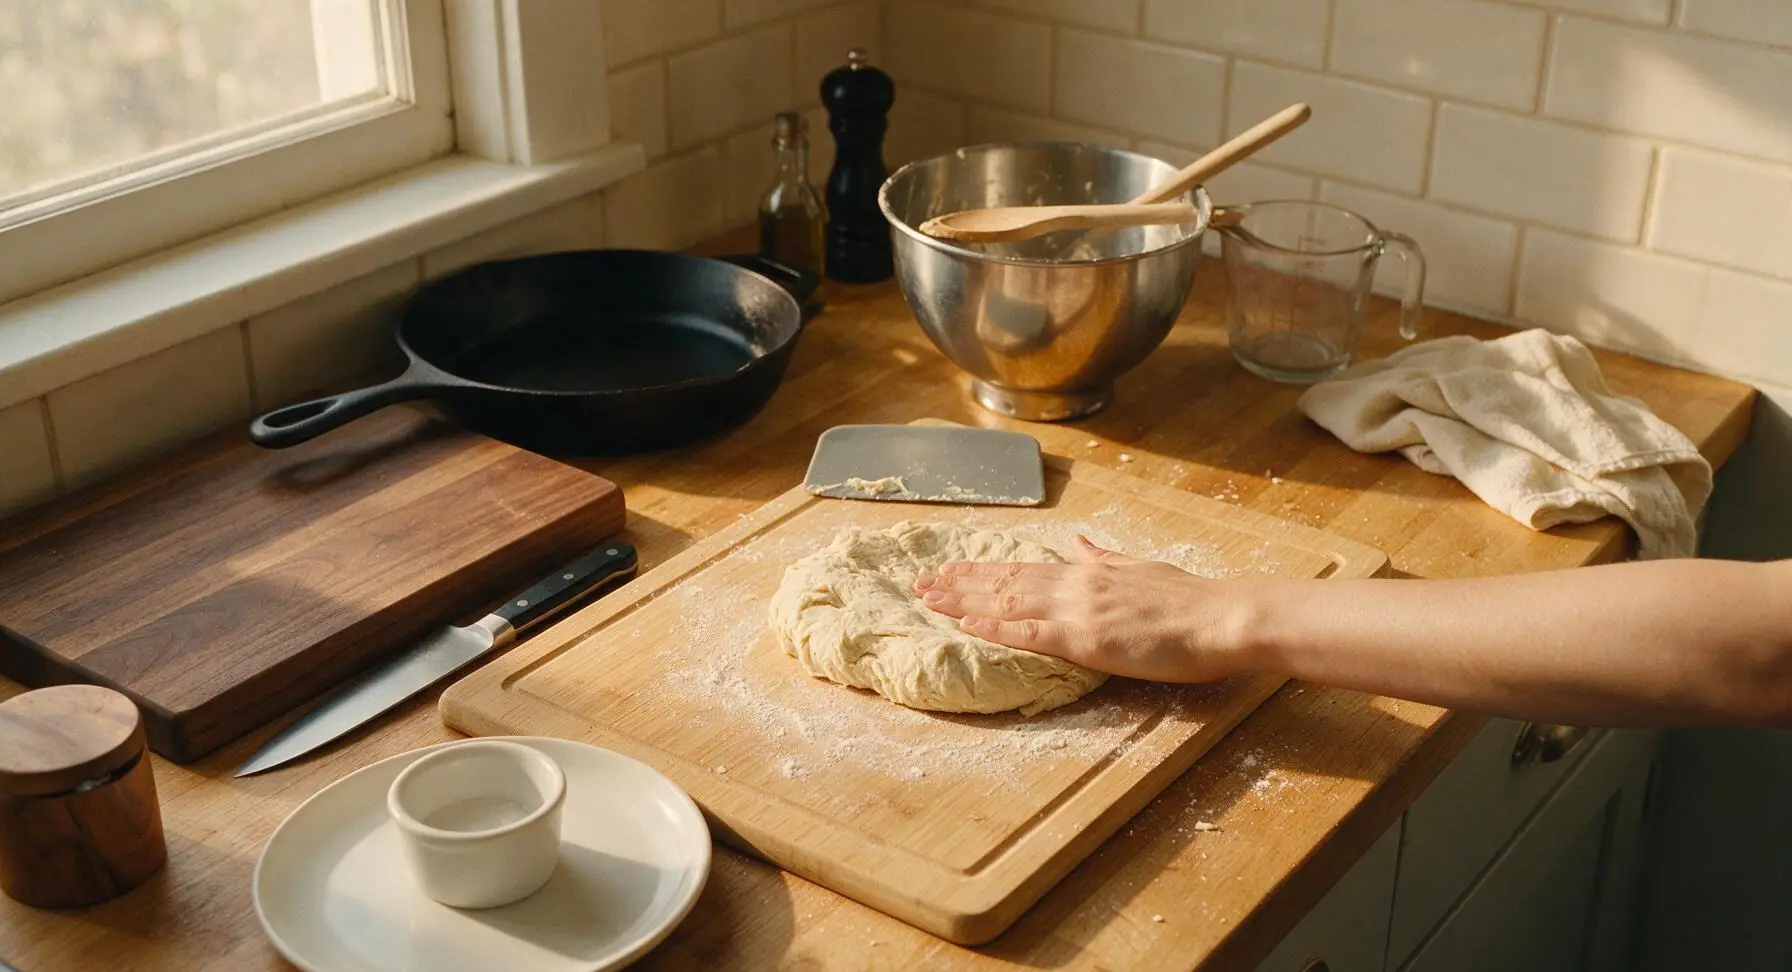
Knead Until Smooth
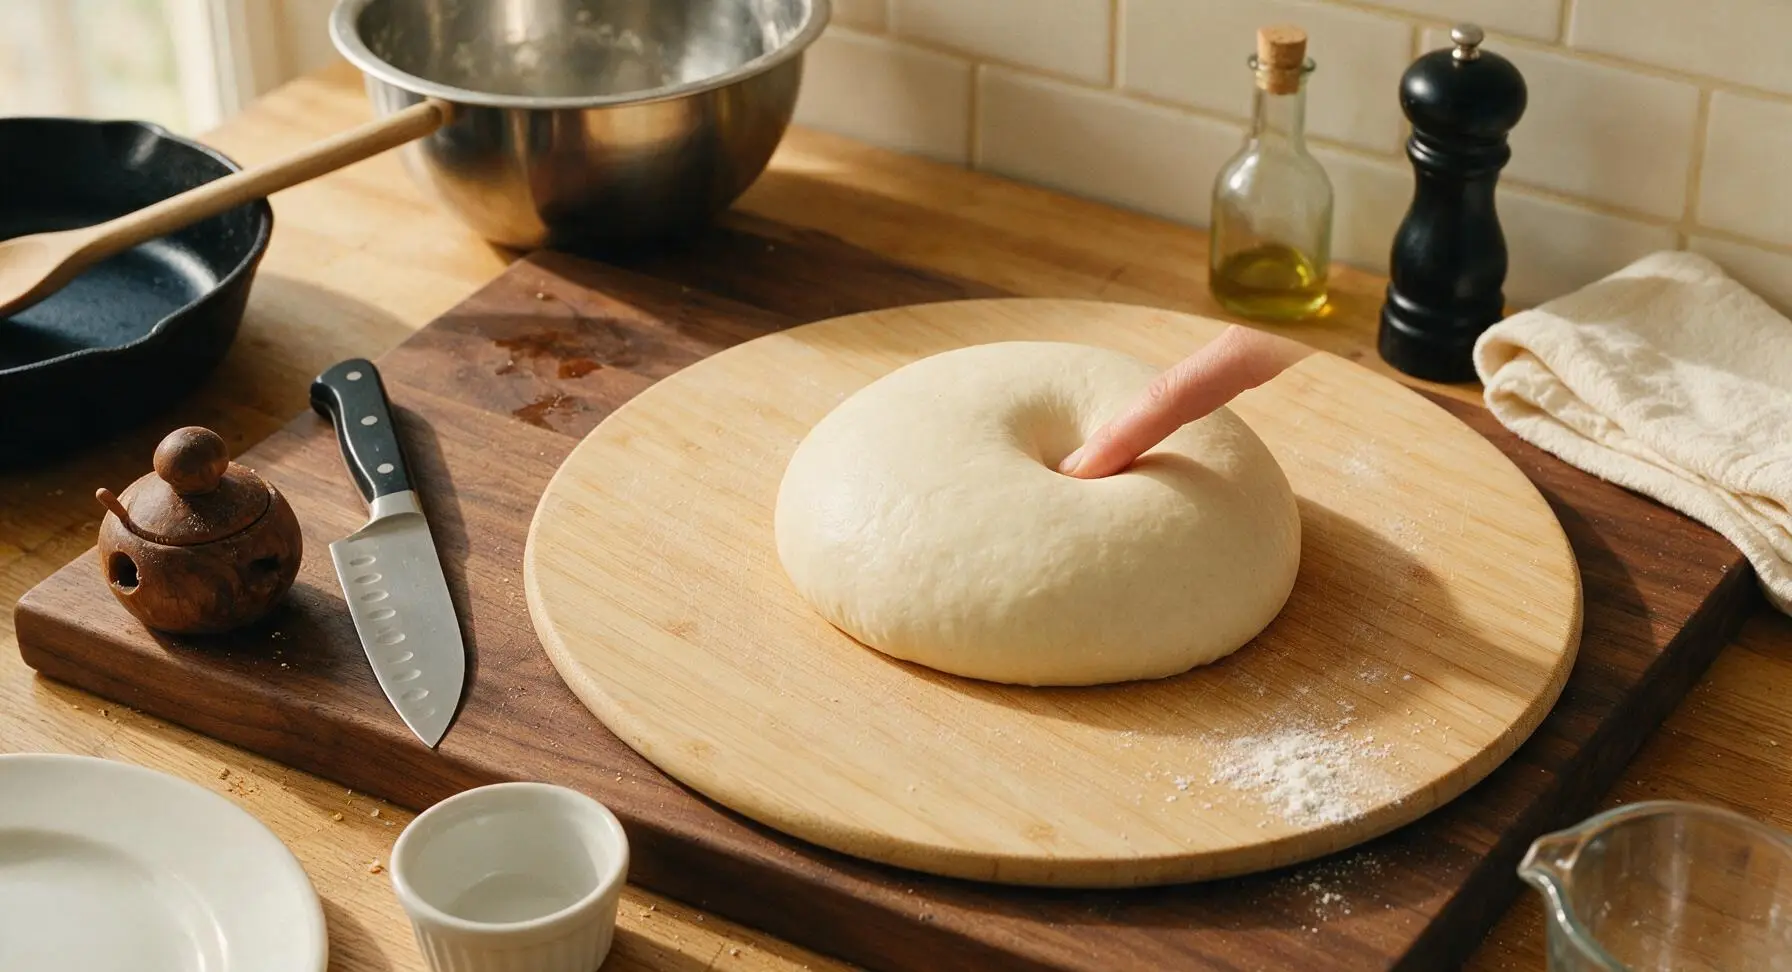
Lay the large bamboo pastry board flat on the center of the counter, and dust lightly with a pinch of bread flour. Turn the shaggy dough out of the mixing bowl onto the board. Use the silicone dough scraper to help fold and knead the dough for 8-10 minutes: press the dough away from you with the heel of your hand, fold it back over itself, turn a quarter turn, and repeat. The dough is ready when it is smooth, elastic, and springs back slowly when poked with a finger, leaving a 1cm deep indent. Avoid adding excess flour during kneading, as this will result in dense, tough rolls.
Let Dough Rise
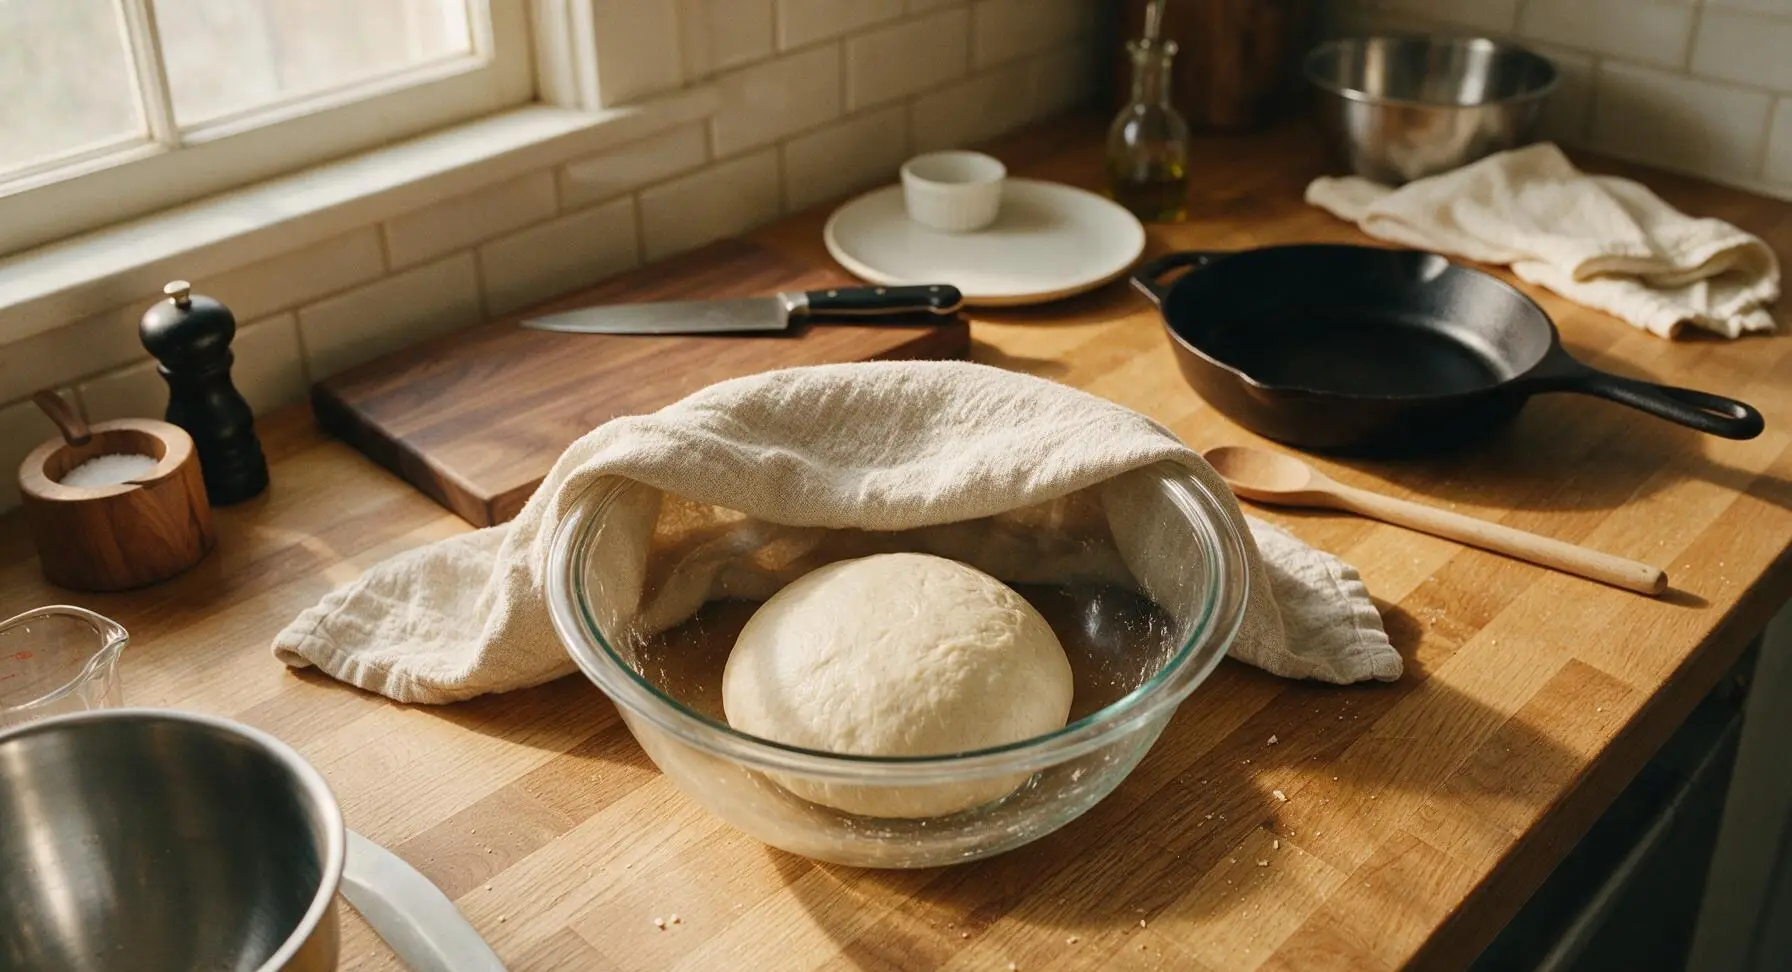
Lightly coat the inside of the large glass mixing bowl with a thin swipe of olive oil to prevent sticking. Form the kneaded dough into a tight ball, place it back in the oiled bowl, and cover the bowl loosely with the oatmeal linen tea towel. Let the dough rest in a warm, draft-free spot on the counter for 1 to 1.5 hours, until it doubles in volume and leaves a persistent indentation when poked that does not immediately fill back in.
Shape Hoagie Rolls
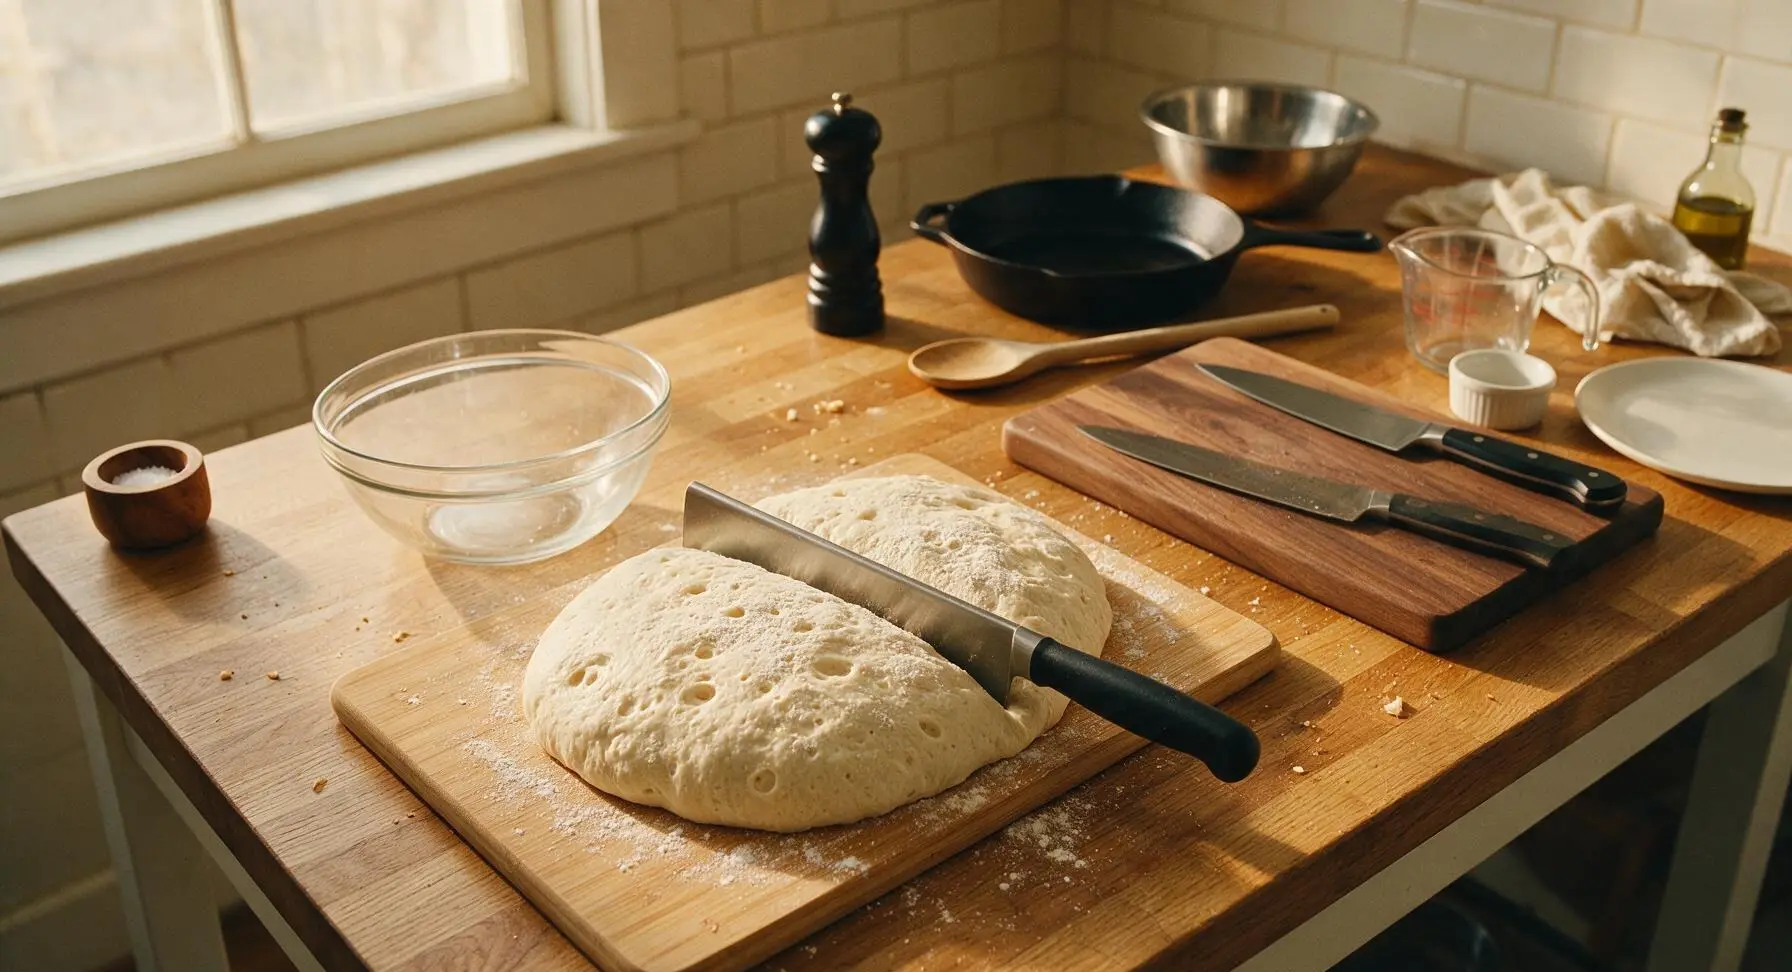
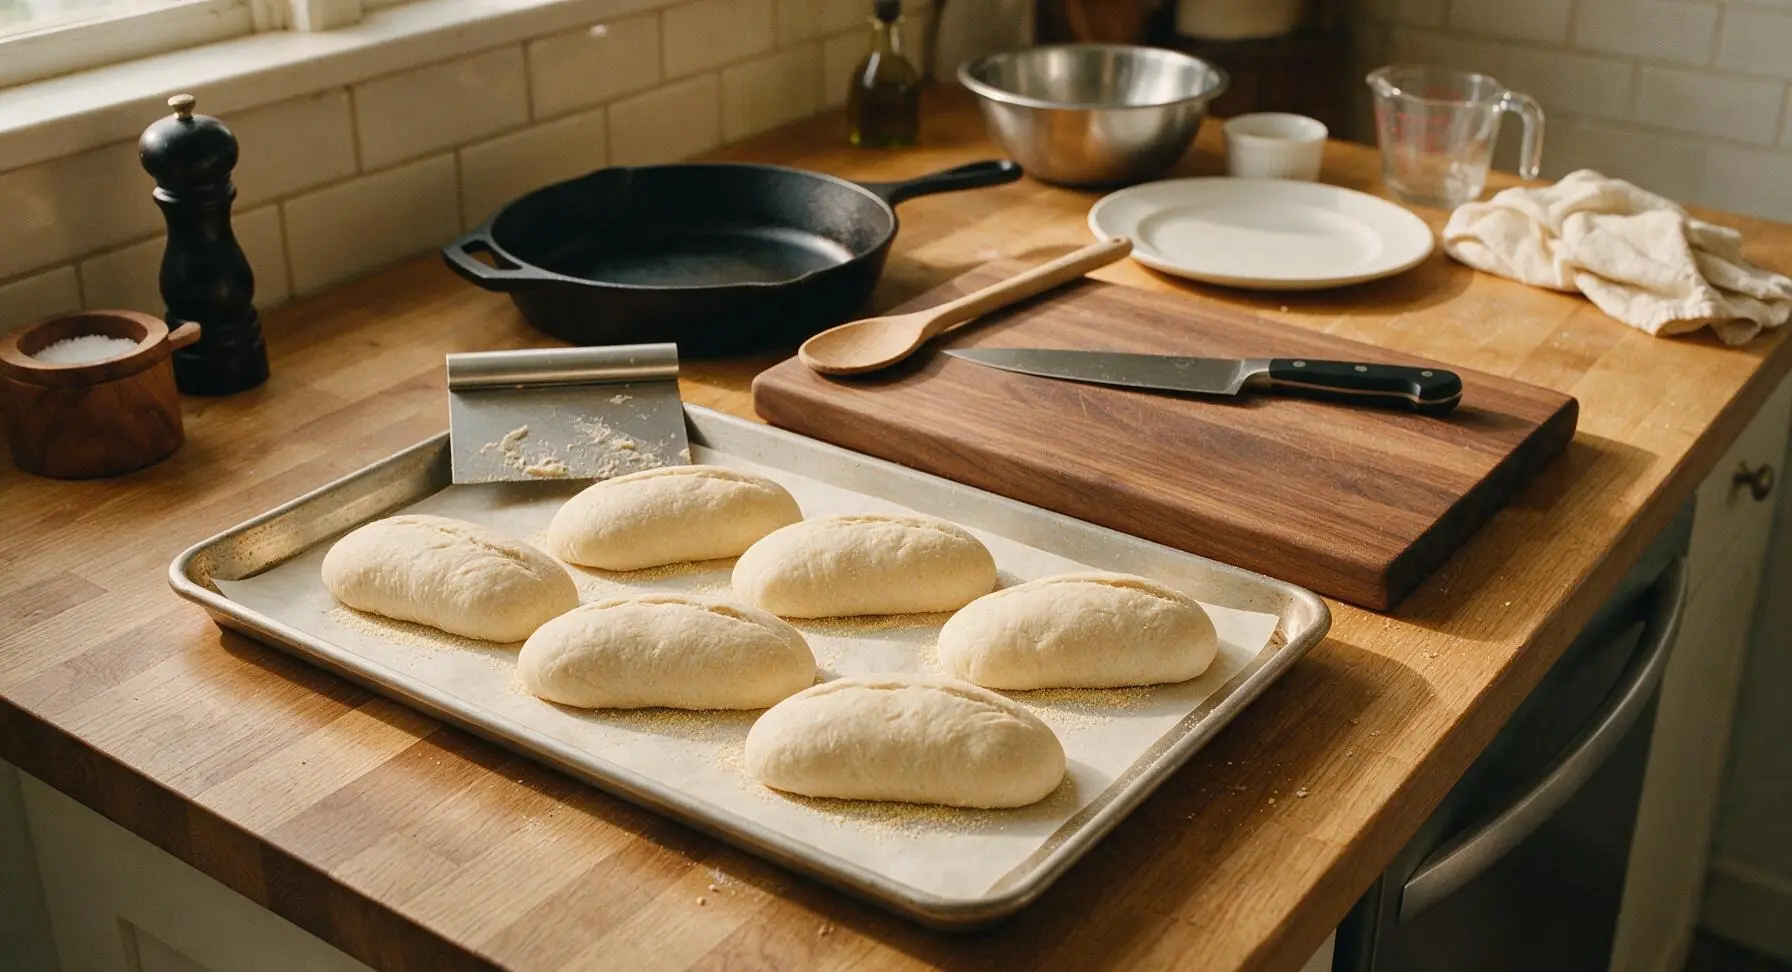
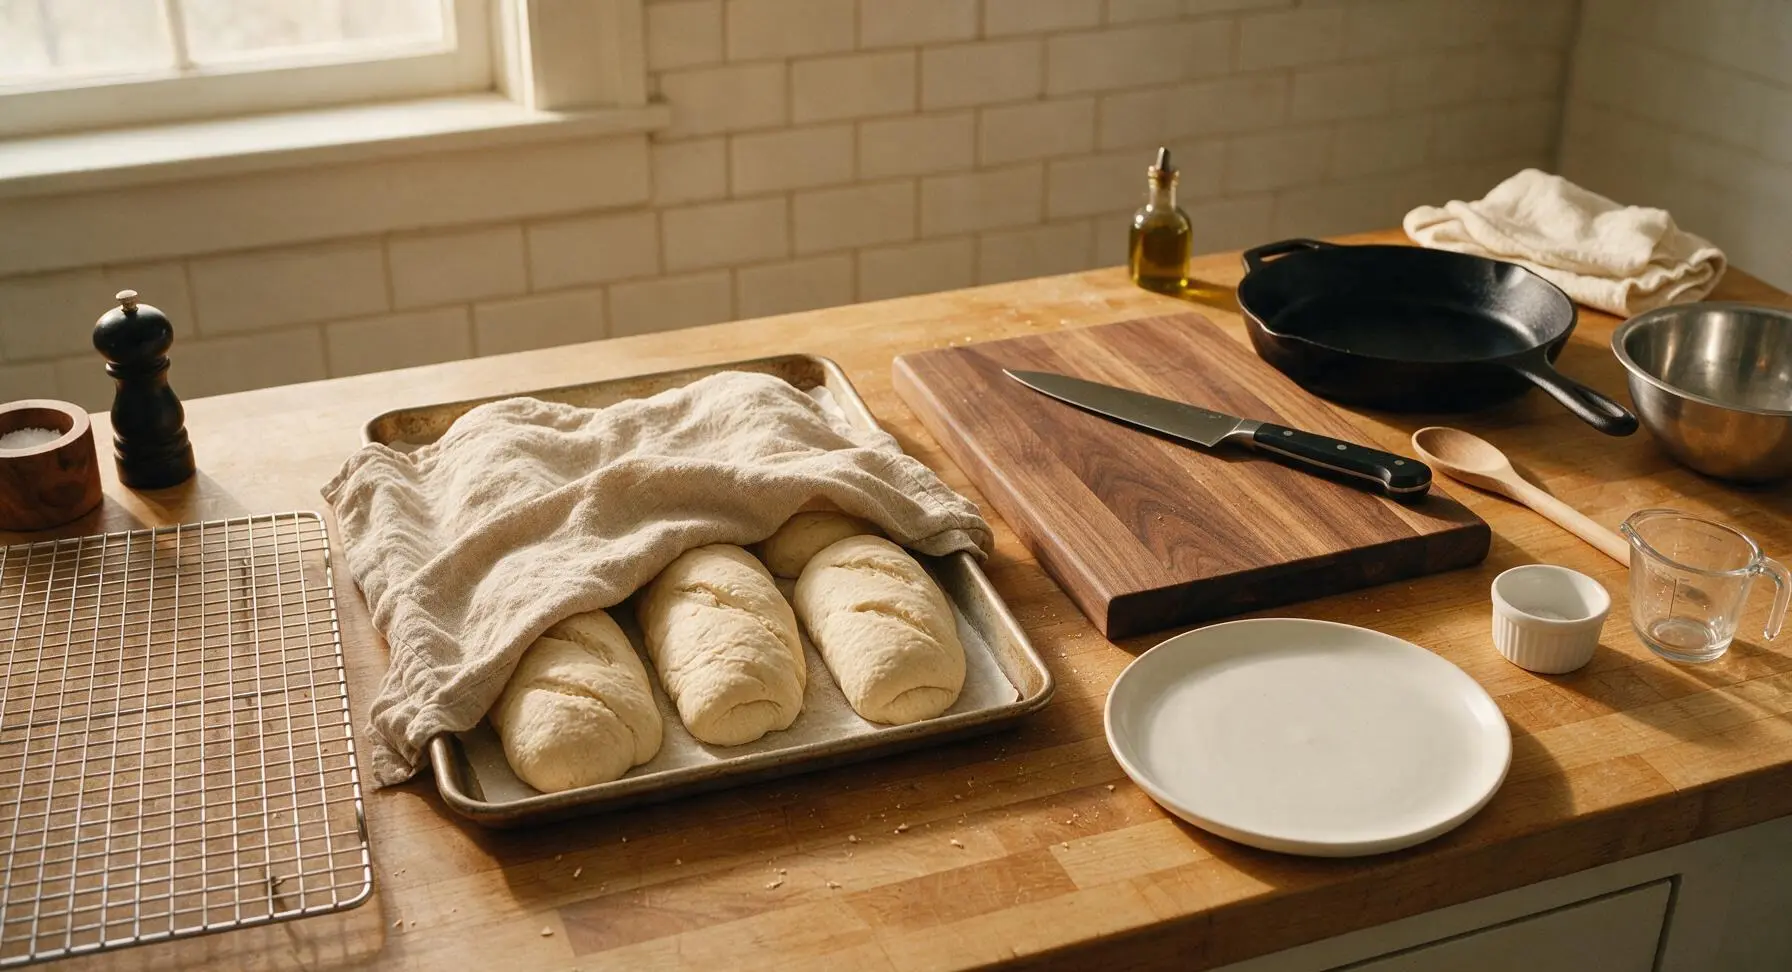
Once the dough has doubled, lay the bamboo pastry board flat again and dust lightly with flour. Gently tip the risen dough out of the bowl onto the board, taking care not to deflate all the air bubbles. Use the stainless steel bench scraper to divide the dough evenly into 6 equal pieces, each weighing approximately 115g. Shape each piece into a 15cm (6-inch) oblong roll: fold the outer edges of the dough piece into the center, pinch the seam tightly closed, then roll gently under your palm to taper the ends slightly. Sprinkle the parchment-lined aluminum baking sheet with 1 tbsp of semolina flour, then place the shaped rolls seam-side down on the sheet, leaving 5cm of space between each roll to allow for expansion.
Proof Shaped Rolls
Loosely cover the baking sheet of shaped rolls with the oatmeal linen tea towel, and let them proof on the counter for 30-40 minutes, until they are puffy and spring back slowly when gently poked on the side. Ten minutes before proofing is complete, adjust your oven rack to the middle position and preheat the oven to 200C (400F).
Bake to Golden Brown
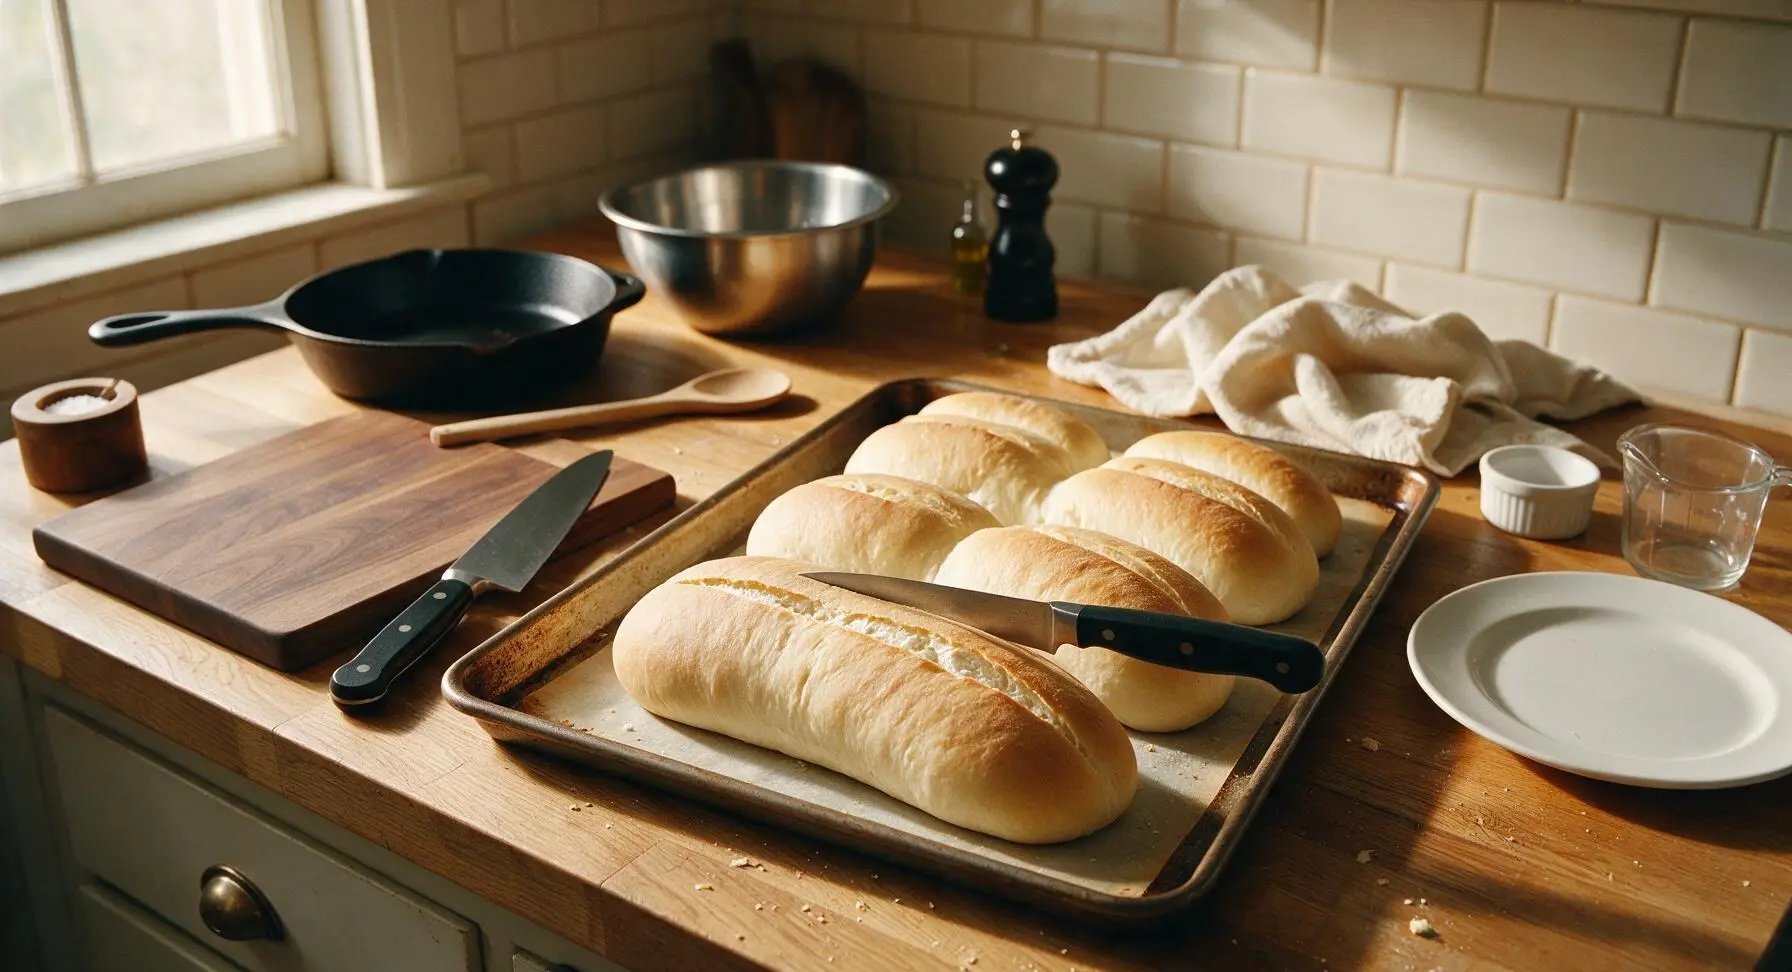
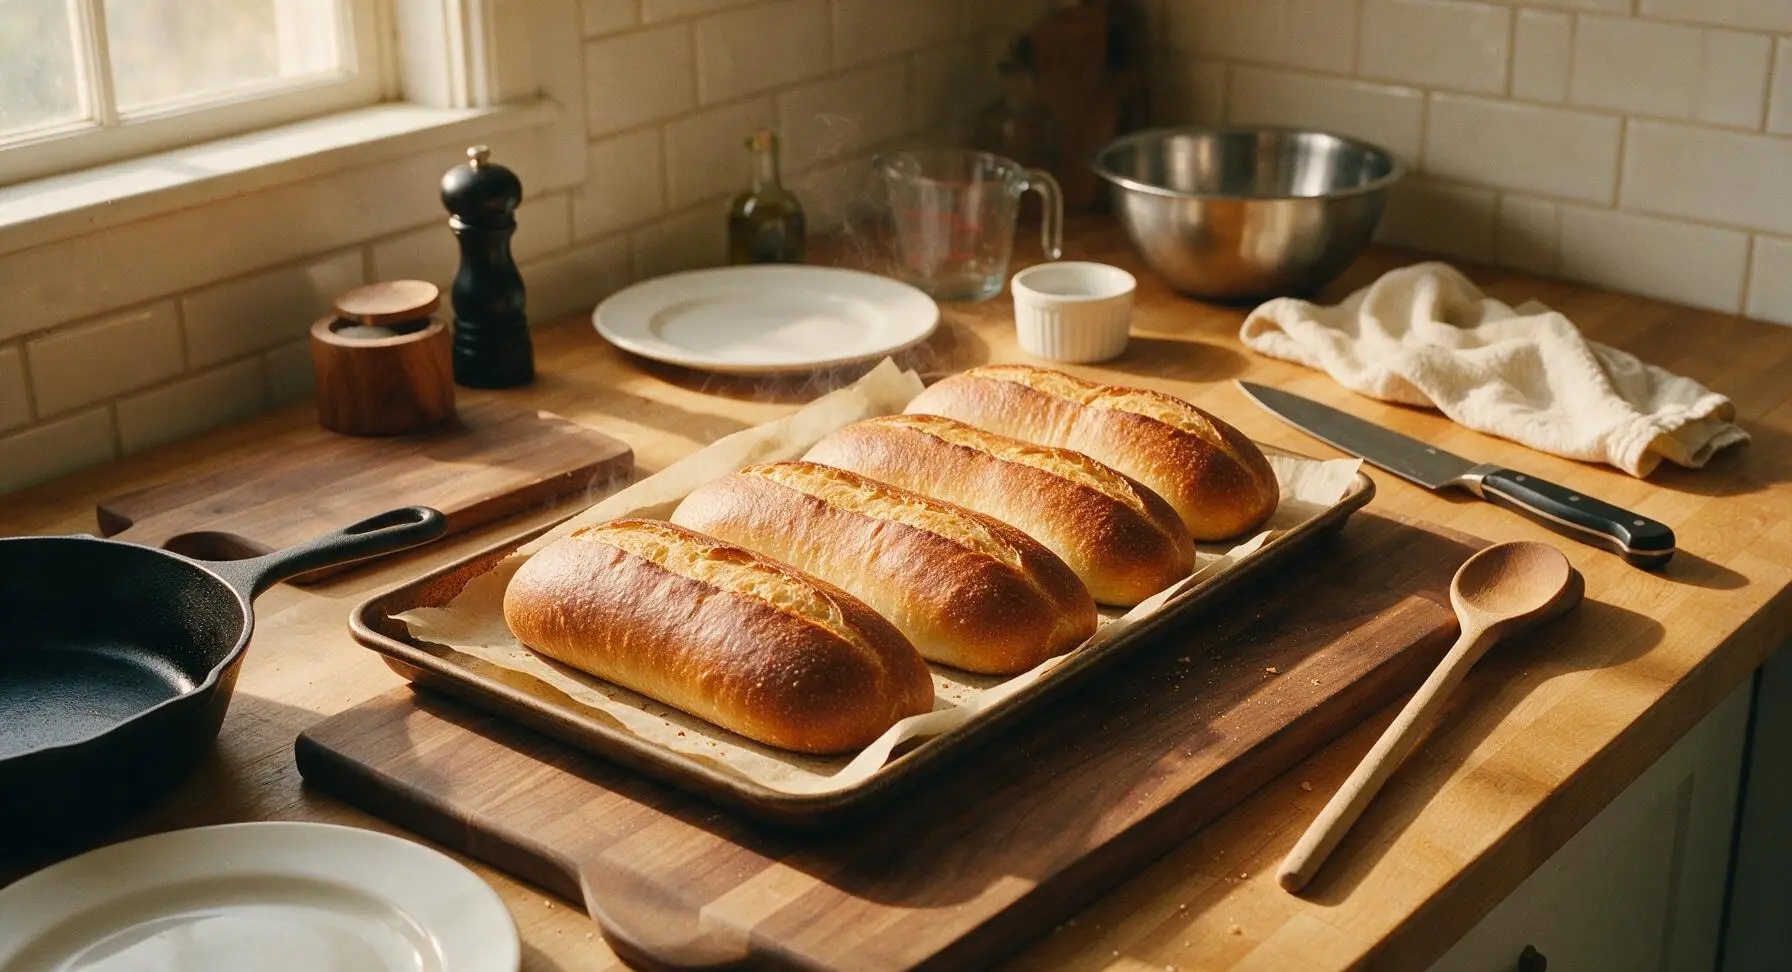
Once the rolls are fully proofed, uncover the baking sheet. Use the 4-inch paring knife to make a single shallow, 1cm-deep lengthwise score down the top of each roll. Carefully place the baking sheet on the middle oven rack, and bake for 18-20 minutes. The rolls are done when they are a deep, even golden brown all over, sound hollow when tapped on the bottom, and reach an internal temperature of 93C (200F).
Cool Before Serving
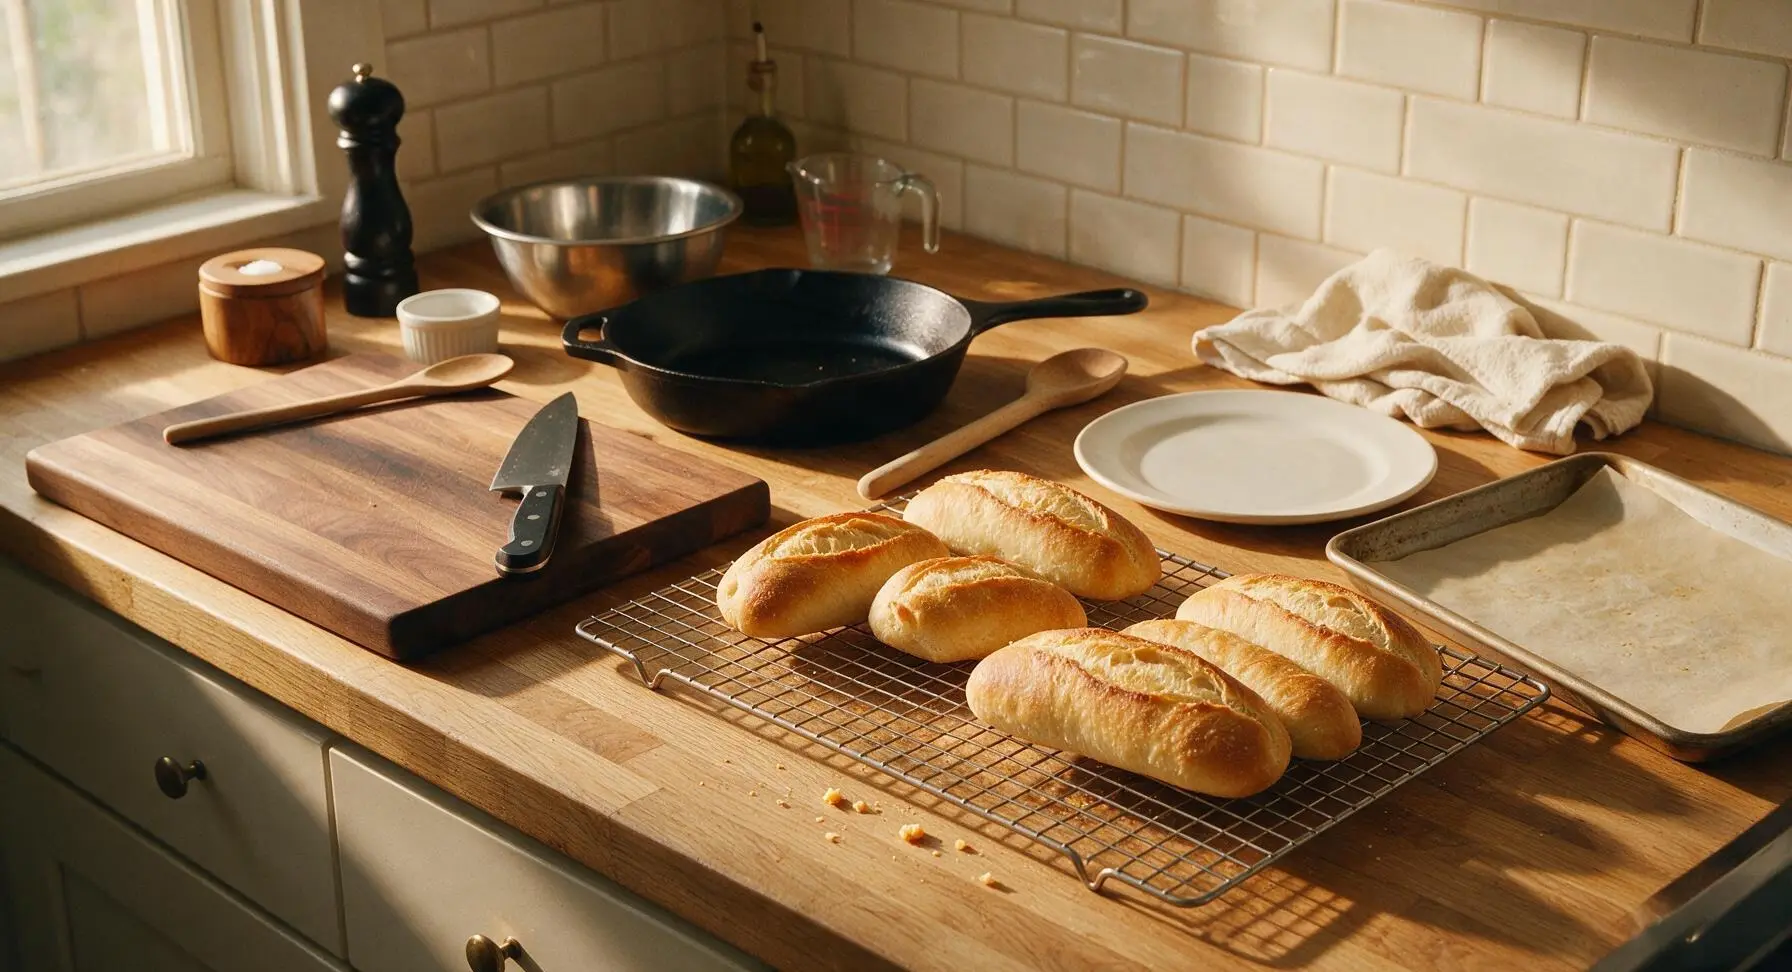
Use the silicone dough scraper to lift the hot baked rolls from the baking sheet, and transfer them to the wire cooling rack set on the counter. Let the rolls cool for a minimum of 20 minutes before slicing or assembling sandwiches; cutting warm rolls too early will cause the soft crumb to turn gummy and dense as trapped steam escapes.
Tips
2.For extra-crusty rolls with maximum oven spring, place a shallow metal baking pan on the lower oven rack while preheating, and pour 1 cup of hot water into the pan right before adding the rolls. The created steam keeps the dough surface soft as it rises, leading to taller rolls with a shatteringly crisp crust.
3.Resist the urge to cut into rolls immediately after baking: as the bread cools, the internal crumb structure sets. Cutting hot rolls releases trapped steam too quickly, resulting in a gummy, dense crumb instead of the soft, chewy texture these hoagie rolls are designed for.






OMG these sourdough discard hoagie rolls are an absolute game changer! I had a giant jar of discard building up because I’ve been slacking on my weekly sourdough loaf bakes, and this recipe was exactly what I needed. Made meatball subs for Sunday family dinner and my two teen boys ate THREE each, no exaggeration. Crusty outside, soft chewy inside, perfect crumb for holding all the sauce and cheese without getting soggy. Already got a request to make a double batch for our neighborhood potluck next weekend!
These turned out way better than I expected for a medium difficulty recipe! I’m still pretty new to working with sourdough discard so I was nervous I’d mess up the rise, but the instructions were super clear. I pre-portioned them out and baked half on Sunday for weekly lunches, stashed the other half of the dough in the fridge to bake later in the week. Only note is I wish they were a little softer out of the oven, but that’s probably because I overbaked them by a couple minutes since my oven runs hot.
Was really excited for these since I hate wasting sourdough discard, but I think I messed up the hydration because my dough was way too sticky to shape into proper hoagie rolls. Ended up with more of a lumpy ciabatta situation? Flavor was great, just couldn’t get the shape right. Might try again with a little extra flour next time.
Brought these to our church potluck last week stuffed with cold cuts and Italian fixings and people were asking me for the recipe before we even finished saying grace! The slight tang from the sourdough discard pairs so perfectly with salami, provolone, and pickled veggies. Game. Changer. I even made a mini version for sliders for my kid’s soccer snack and the whole team went crazy for them.
I hate to leave a low rating but mine turned out super dense and didn’t rise at all? I followed the recipe exactly, used discard that was a week old, let it rest the full time, but they came out like hard little bread bricks. Really wanted these to work since hoagie rolls are my favorite for cheesesteaks.
Just pulled these out of the oven and my whole apartment smells insane. The crust crackles when you tap it, exactly like a good bakery roll. Can’t wait to pile them high with fried chicken for dinner tonight. Already bookmarked this to make again!
I’ve tried literally every sourdough discard hoagie roll recipe on the internet and this one is hands down the best. No weird fancy ingredients, no fussy shaping techniques that require a culinary degree, and the cook time is only 20 minutes which is perfect for weeknights. I make a batch every Sunday and use them for sandwiches, garlic bread, even quick breakfast sandwiches with egg and cheese. 10/10, no notes.
These are so good! I swapped the all purpose flour for whole wheat to make them a little heartier and they turned out great for roasted veggie hoagies. Only issue is they went stale a little faster than store bought rolls, but that’s because there’s no weird preservatives in them, right? Wondering if anyone has tips for keeping them fresh longer.
As a guy who takes his cheesesteaks extremely seriously, I can confirm these rolls are the real deal. Soft enough to fold around the meat and cheese, sturdy enough not to fall apart when you dip it in au jus, that little sourdough tang cuts through the richness perfectly. My wife said I’m never allowed to buy store bought hoagie rolls again, lmao.
First time ever making any kind of bread from scratch and these actually worked??? I was so sure I’d mess it up but they look exactly like the photos! Can’t wait to impress my roommates when they get home from work. So proud of myself right now lmao
Turned these into garlic bread hoagies for spaghetti night and holy cow, they were so good. I brushed them with garlic butter before baking and sprinkled parmesan on top, *chef’s kiss*. Only reason I’m not giving 5 stars is the shaping step was a little trickier than the recipe made it sound — my rolls were a little lopsided, but no one at dinner cared because they tasted too good.
I am the worst about letting my sourdough discard pile up until I have like 3 full jars in the fridge, so this recipe is perfect because it uses a whole cup of discard! Made these for pulled pork sandwiches over the weekend and they were the perfect vessel — held all the saucy pulled pork and coleslaw without getting soggy, even when I loaded mine up way too full. My dad asked if I bought them from the fancy bakery down the street, win.
As someone who tries to make zero food waste a priority, I’m obsessed with any recipe that uses up sourdough discard instead of me pouring it down the drain (guilty!). These rolls are so versatile, I’ve used them for breakfast sandwiches, lunch hoagies, even as a side for soup when I cut them into strips and toast them. Super easy to fit into my weekly meal prep rotation, 10/10.