
sourdough discard sandwich bread
intro
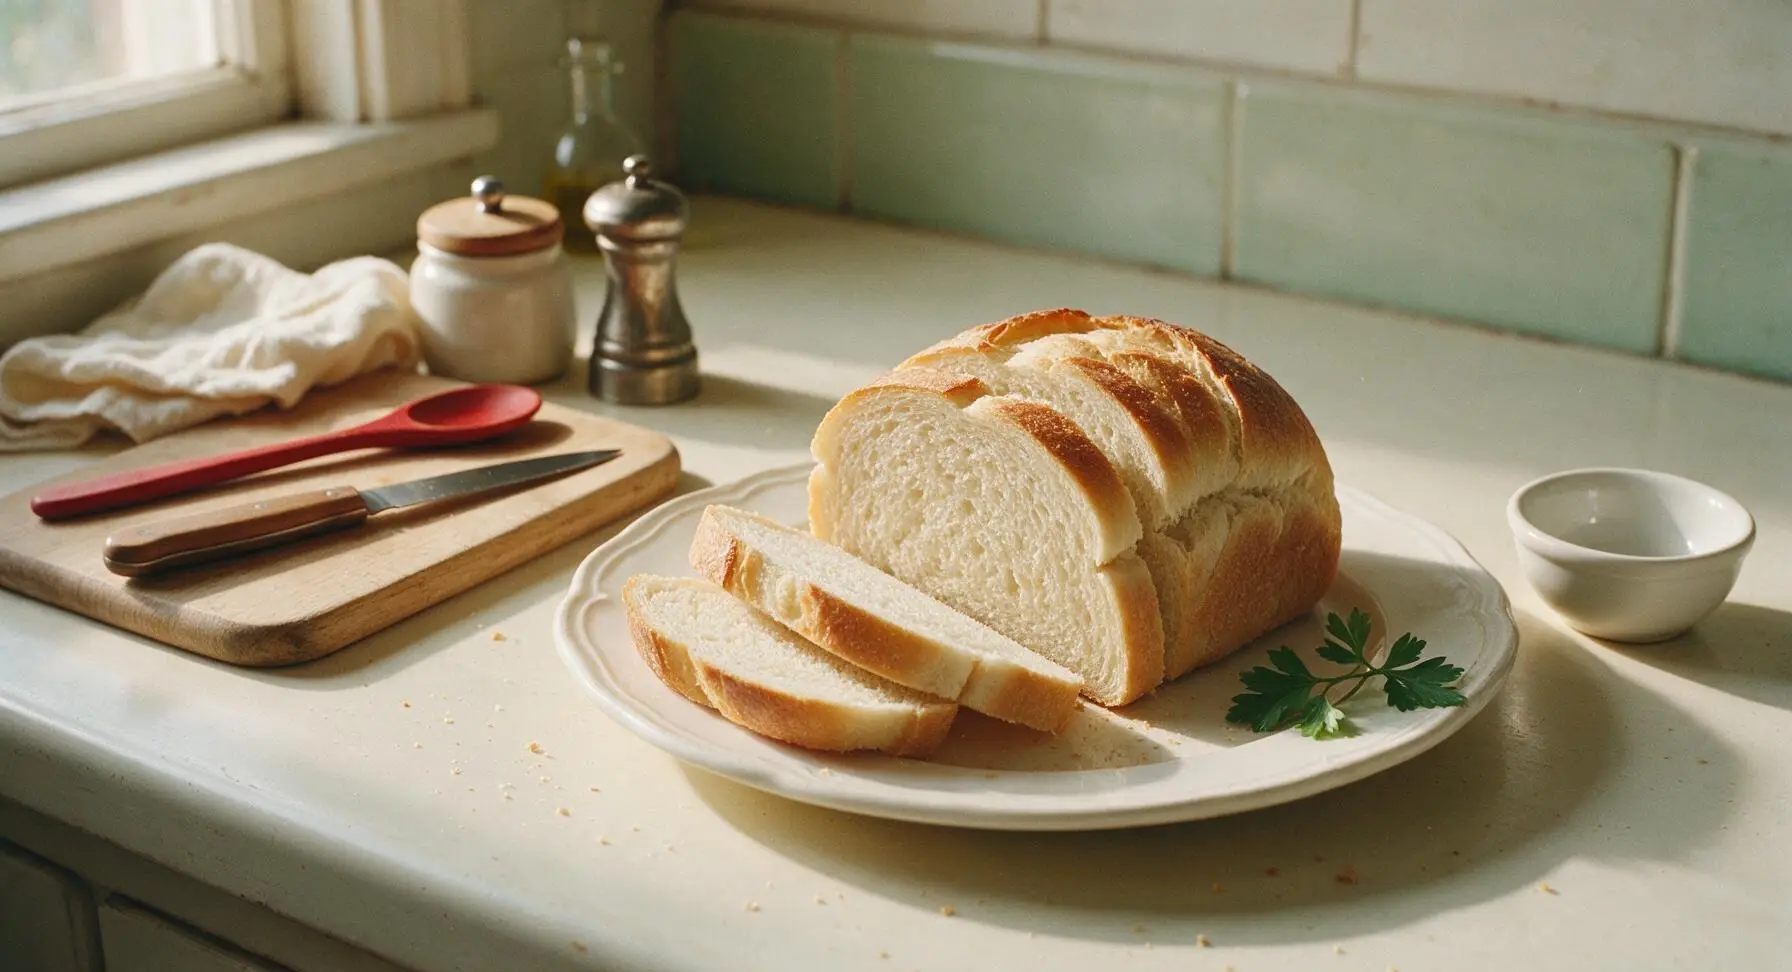
Soft, pillowy sourdough discard sandwich bread with a tender, mild-tang crumb and thin golden crust—perfect for toast, lunch sandwiches, and using up leftover sourdough starter with zero waste.
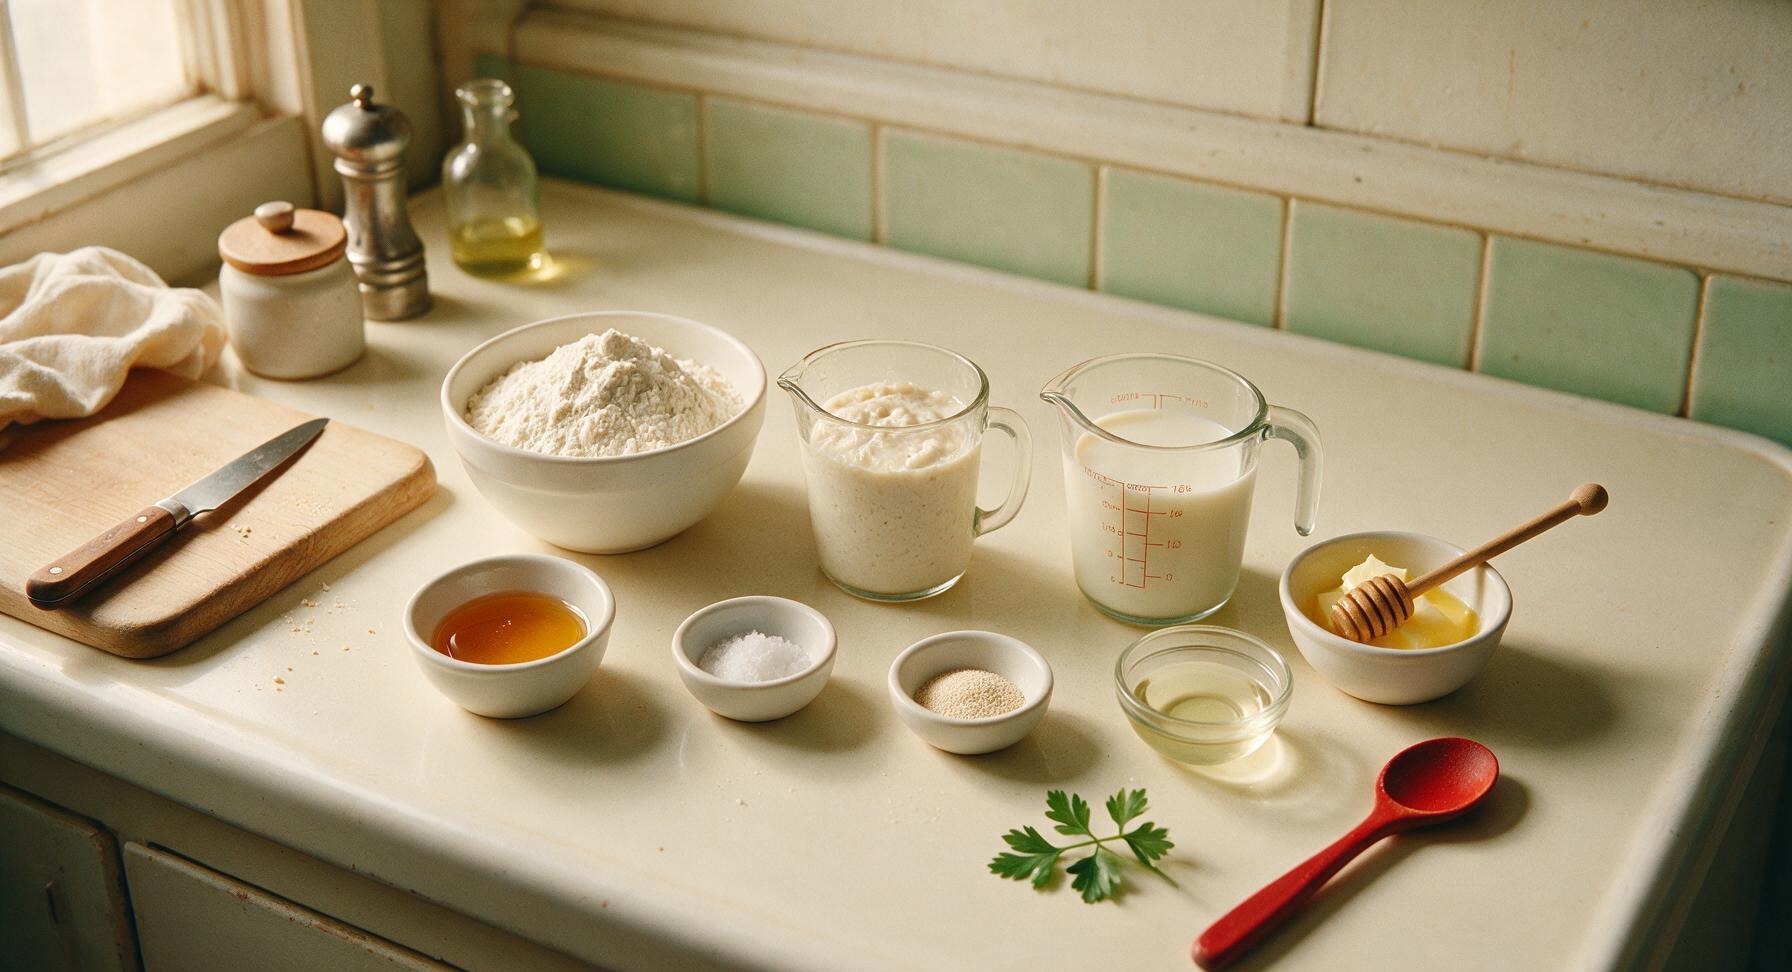
Ingredients
Steps
Mix Dough Base
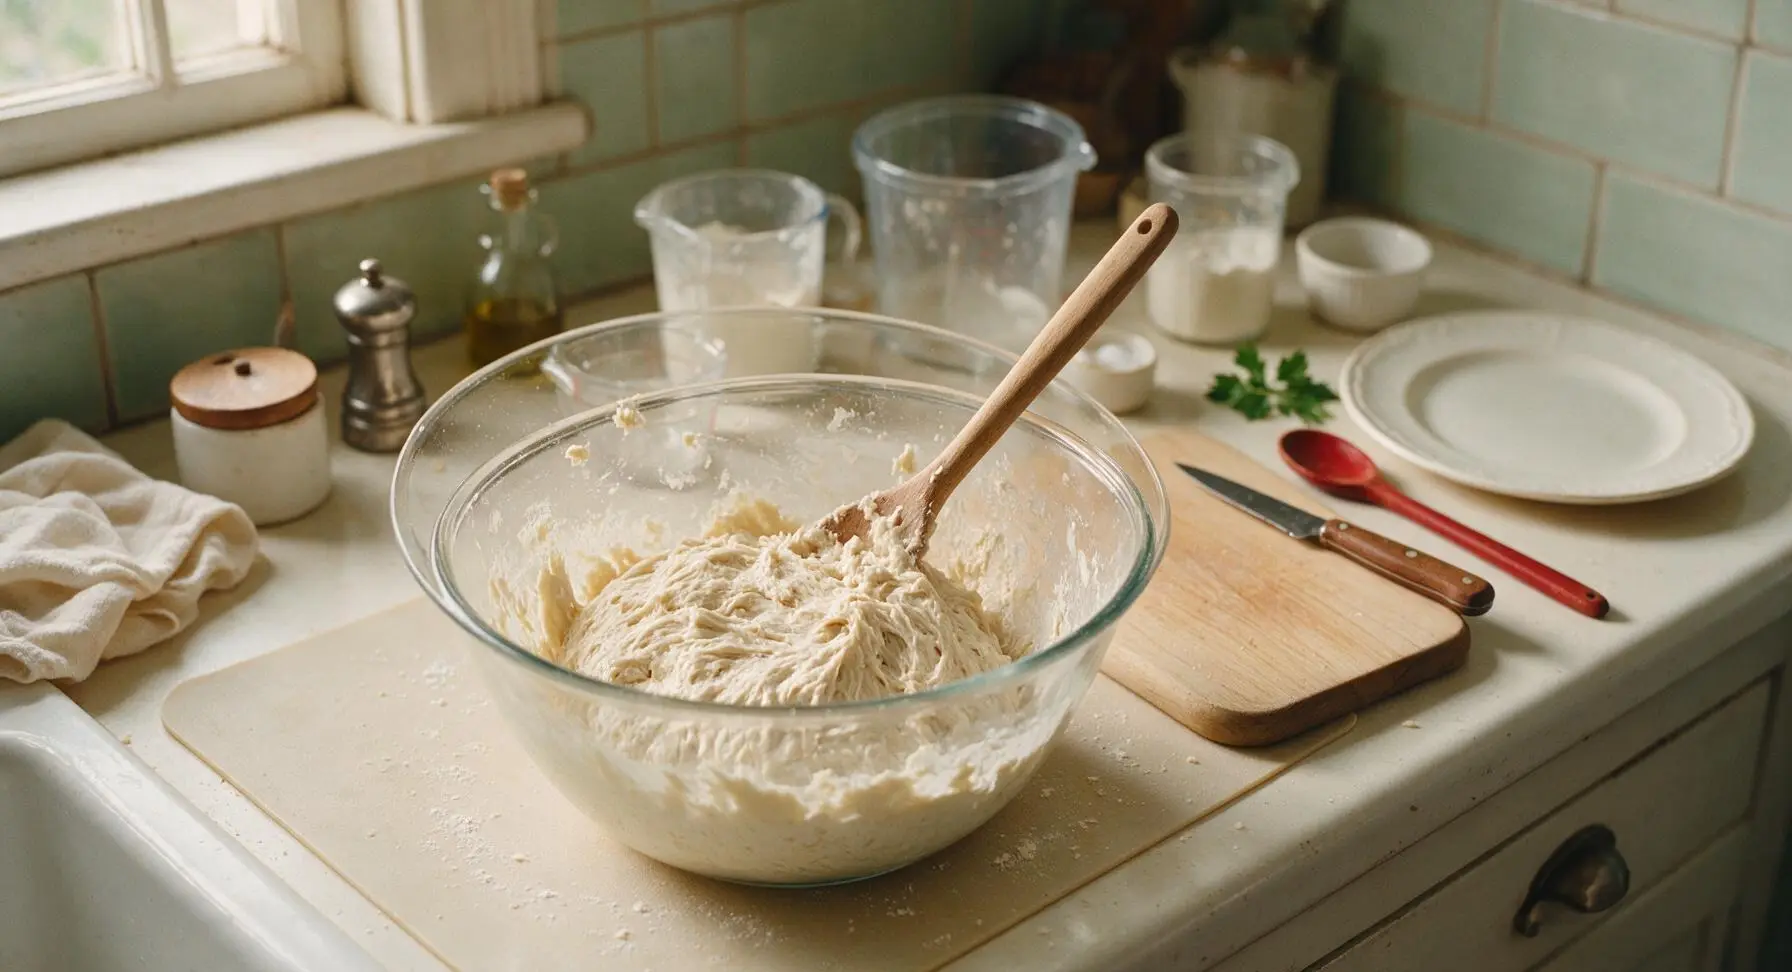
Add 180ml warm whole milk (110°F/43°C), 3g instant yeast, and 21g raw honey to the clear glass 2L mixing bowl, stirring gently with the long beech wood spoon to dissolve. Let rest 5 minutes until the surface foams lightly to confirm yeast activity. Add 227g room temperature sourdough discard, 20g of the cooled melted butter (reserve 8g for brushing the finished crust), and 9g fine sea salt, stirring until the discard breaks into a smooth, lump-free slurry. Add 360g all-purpose flour, stirring with the beech wood spoon until no dry flour pockets remain, forming a shaggy, sticky dough that pulls away from the bowl sides.
Knead and First Rise
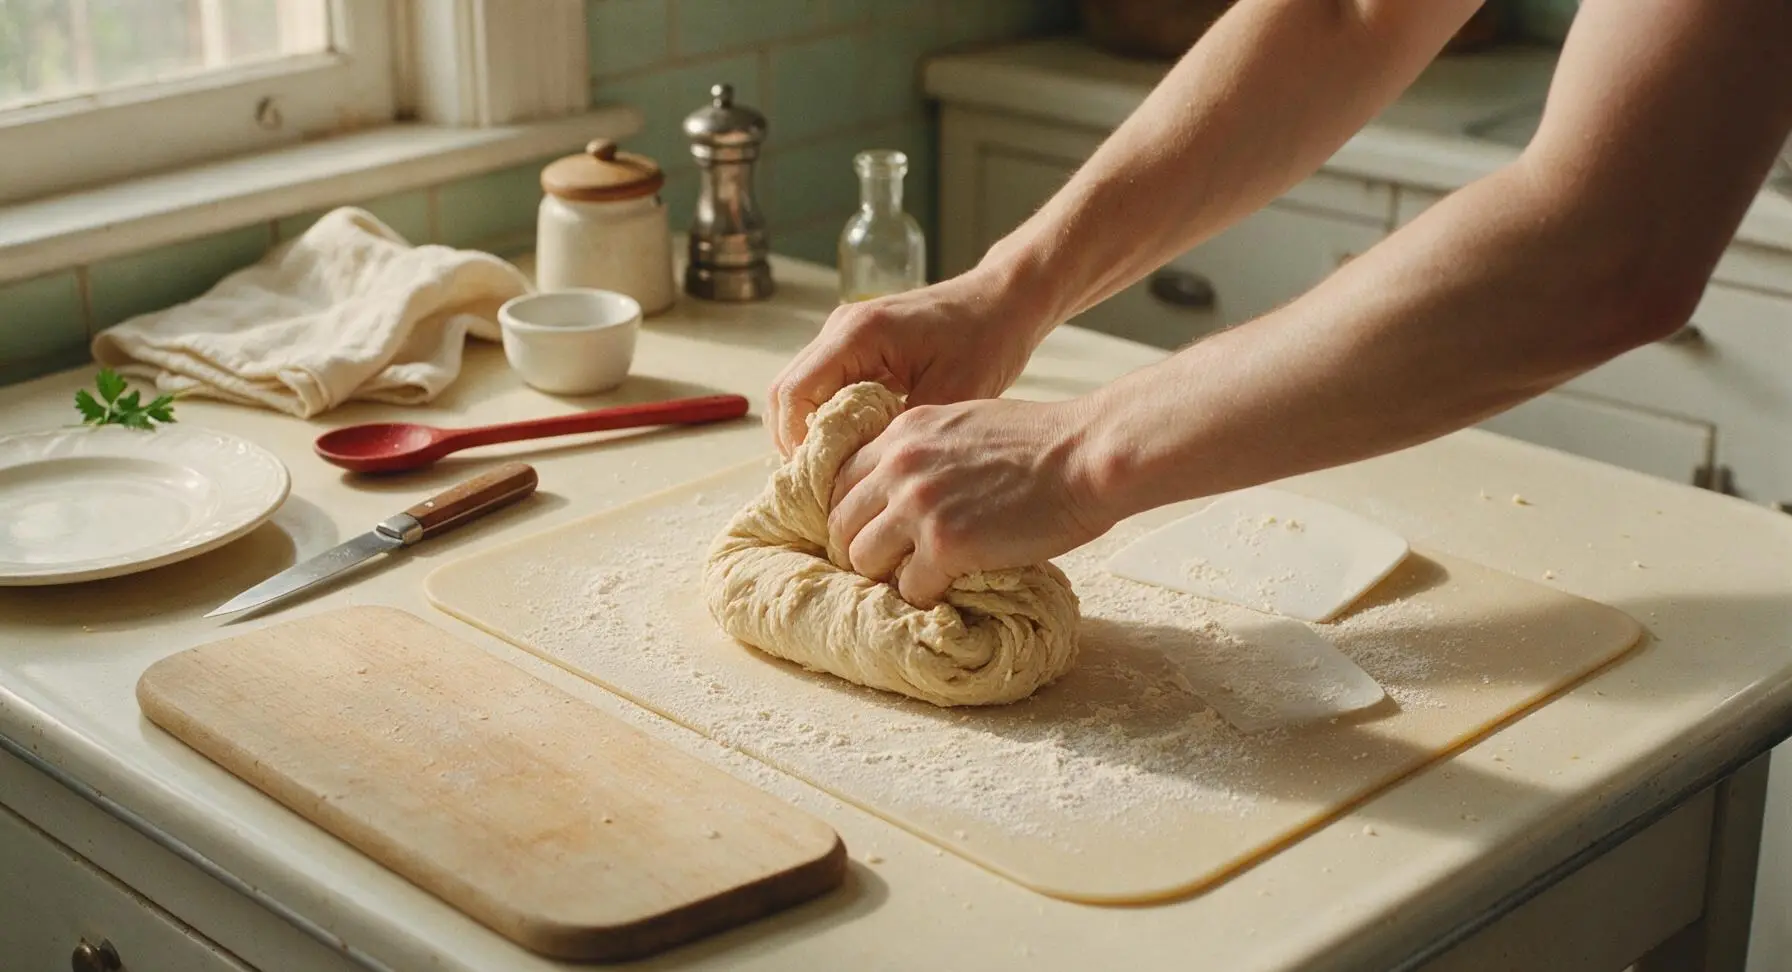
Turn the shaggy dough out onto the lightly floured light beige silicone baking mat. Knead by hand for 8–10 minutes, using the flexible dough scraper to lift sticky dough from the mat as needed, until the dough is smooth, elastic, and springs back slowly when poked with a floured finger. Form the dough into a tight ball, wipe out the mixing bowl lightly, coat with 1g of the neutral oil, and return the dough to the bowl. Cover with the striped cotton kitchen towel and let rise in a draft-free warm spot for 1–1.5 hours, until the dough has doubled in volume.
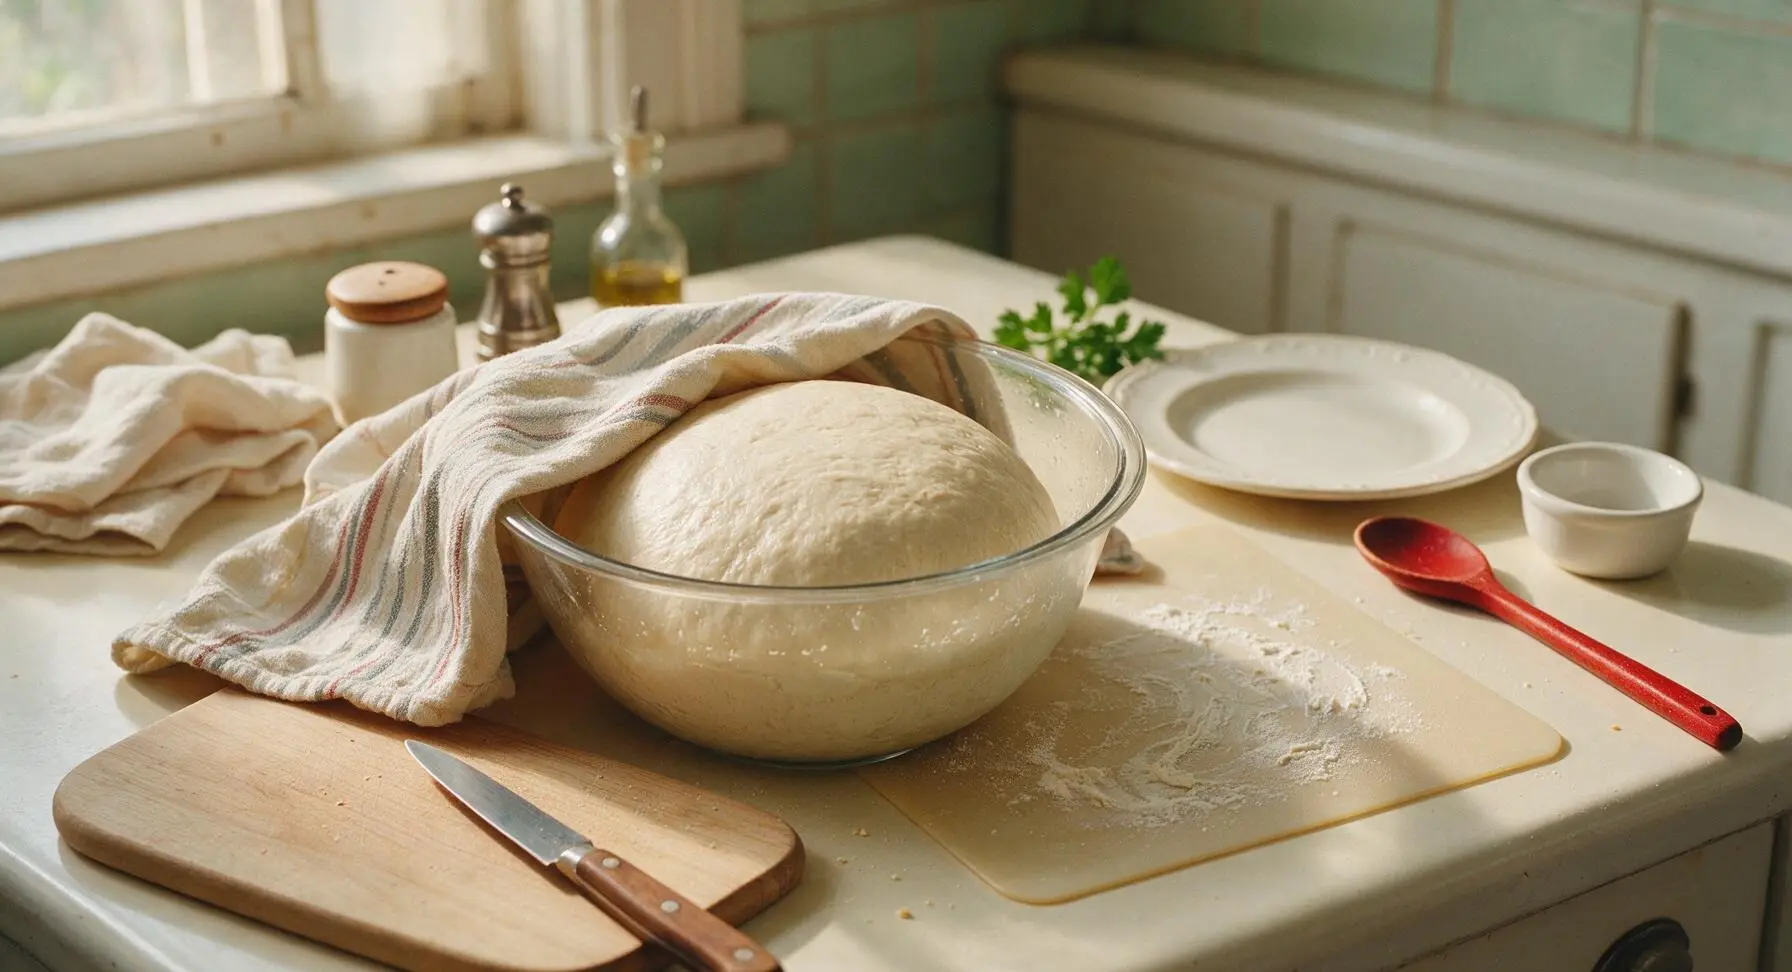
Shape the Loaf
Once doubled, punch the dough firmly in the center to release all trapped air, then turn out onto the lightly floured silicone mat. Use your hands to press the dough into an even 9x12 inch (23x30cm) rectangle, popping any large visible air bubbles as you go. Starting from the short edge closest to you, roll the dough into a tight cylinder, pinching the long seam and both ends firmly to seal, tucking the ends under to form a neat log the exact length of the 9x5 loaf pan. Use the remaining 4g neutral oil to grease the inside of the aluminized steel loaf pan thoroughly.
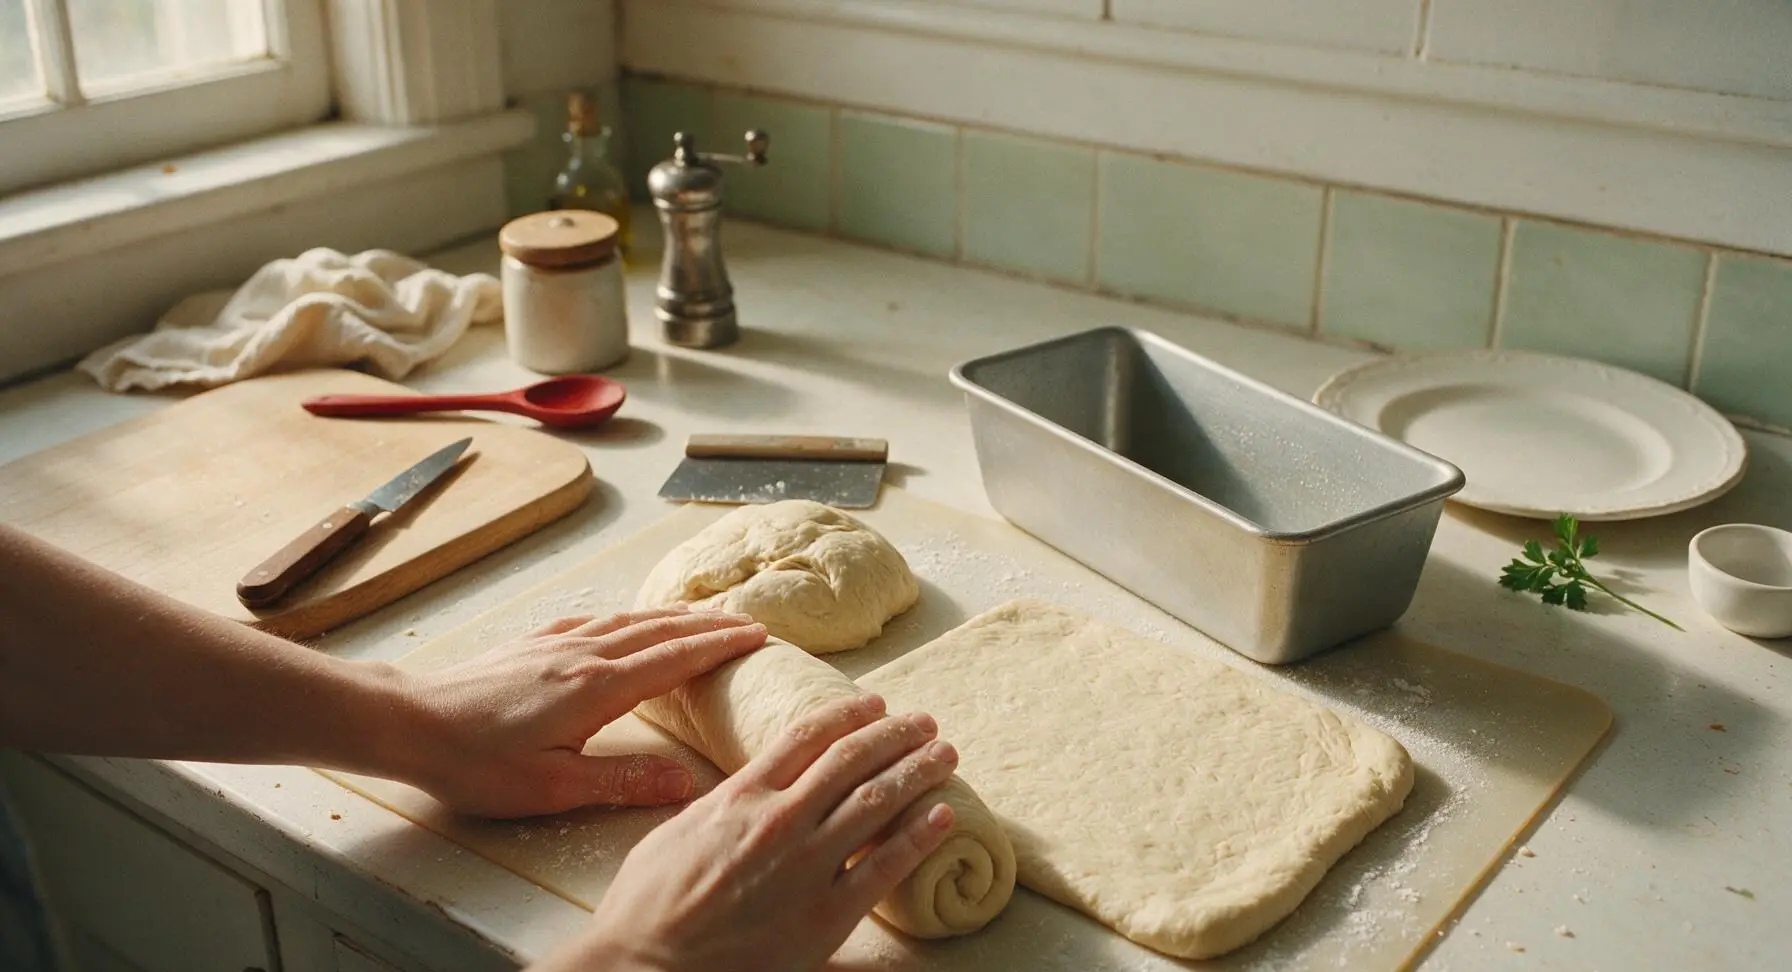
Final Pan Proof
Place the shaped dough log seam-side down into the greased loaf pan, pressing gently so the dough makes even contact with the pan bottom. Cover loosely with the striped cotton towel and let rise for 45–60 minutes, until the dough domes 1 inch above the pan rim, and a floured finger pressed into the dough leaves an indent that slowly refills halfway. While the dough proofs, preheat the oven to 375°F (190°C).
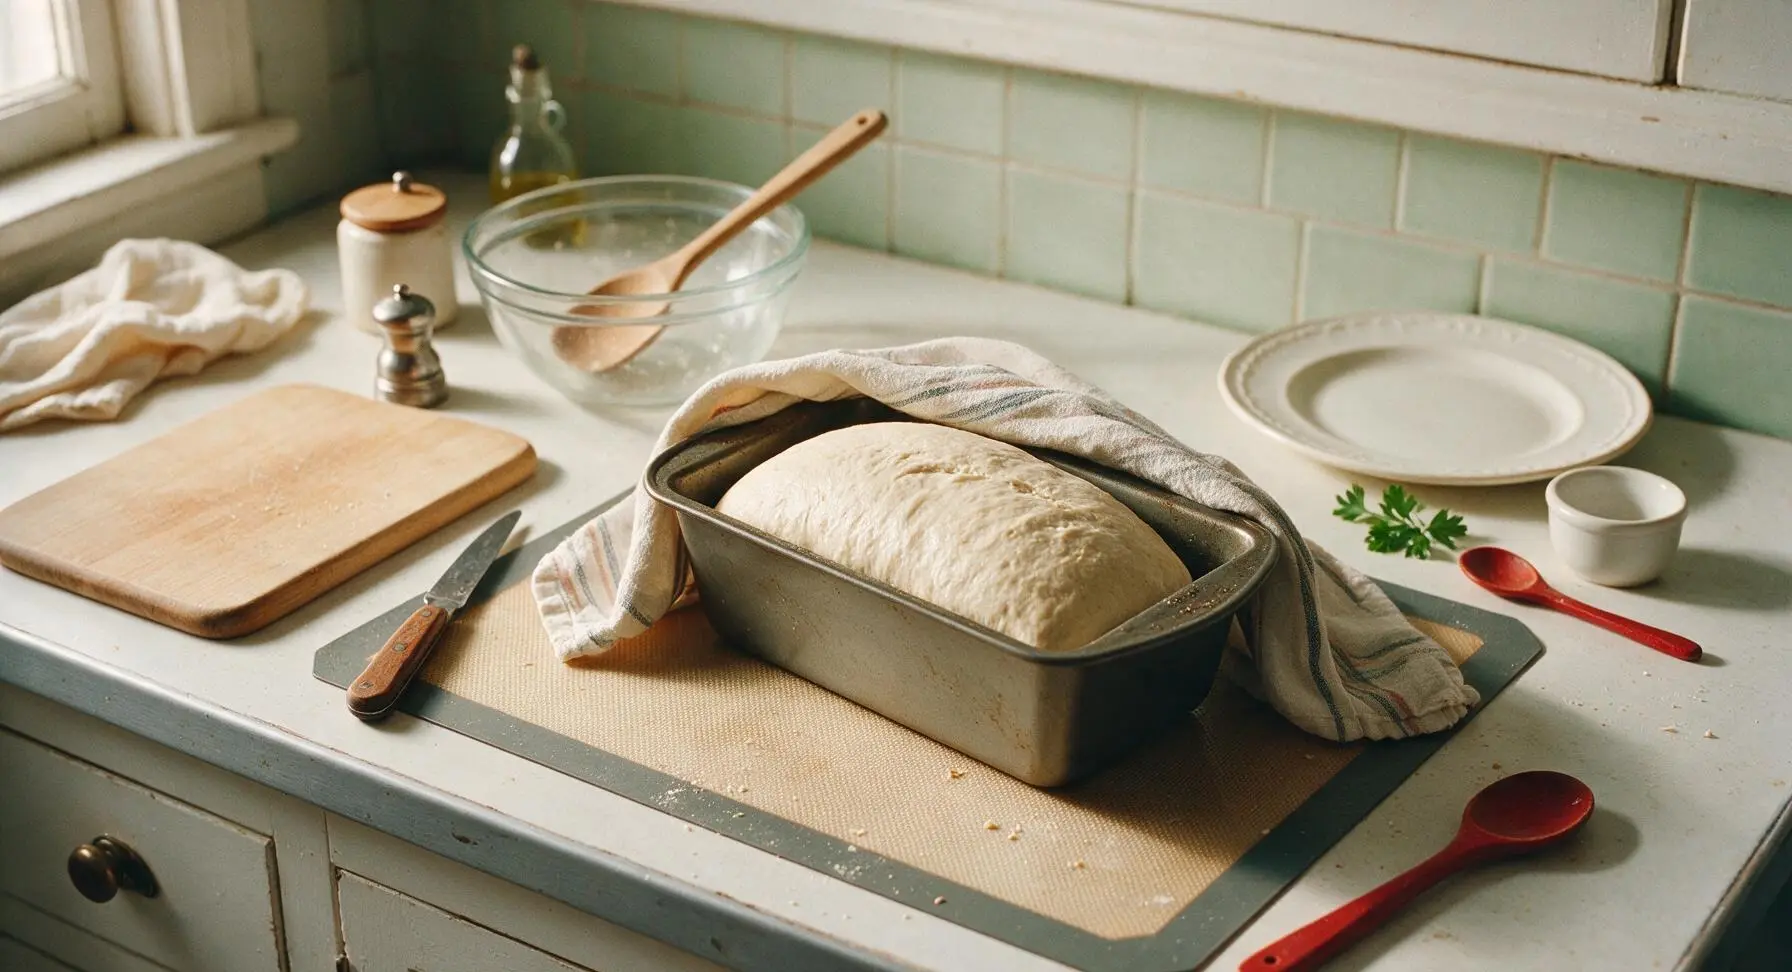
Bake to Golden
Once proofed, remove the towel from the pan and place the loaf on the middle oven rack. Bake for 35–40 minutes, until the top crust is a deep, even golden brown, and the internal temperature at the center of the loaf reads 195°F (90°C) on an instant-read thermometer. If the top begins to darken too quickly after 25 minutes of baking, tent loosely with a small sheet of aluminum foil to prevent burning.
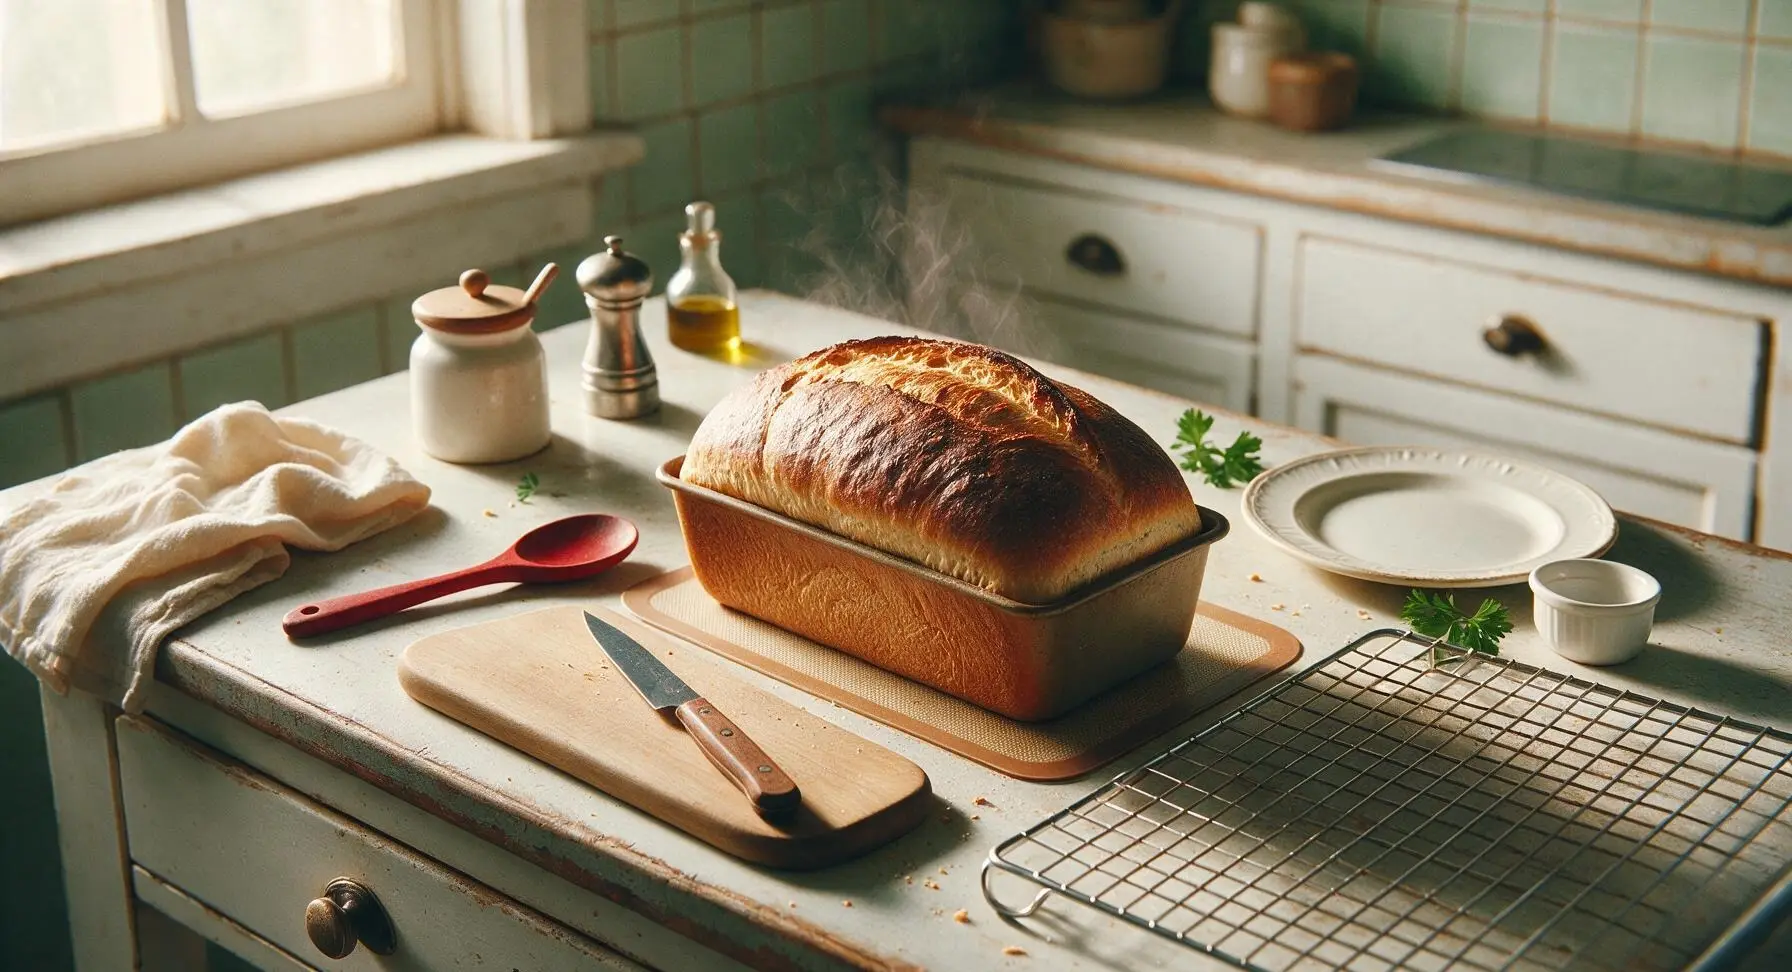
Cool Loaf Fully
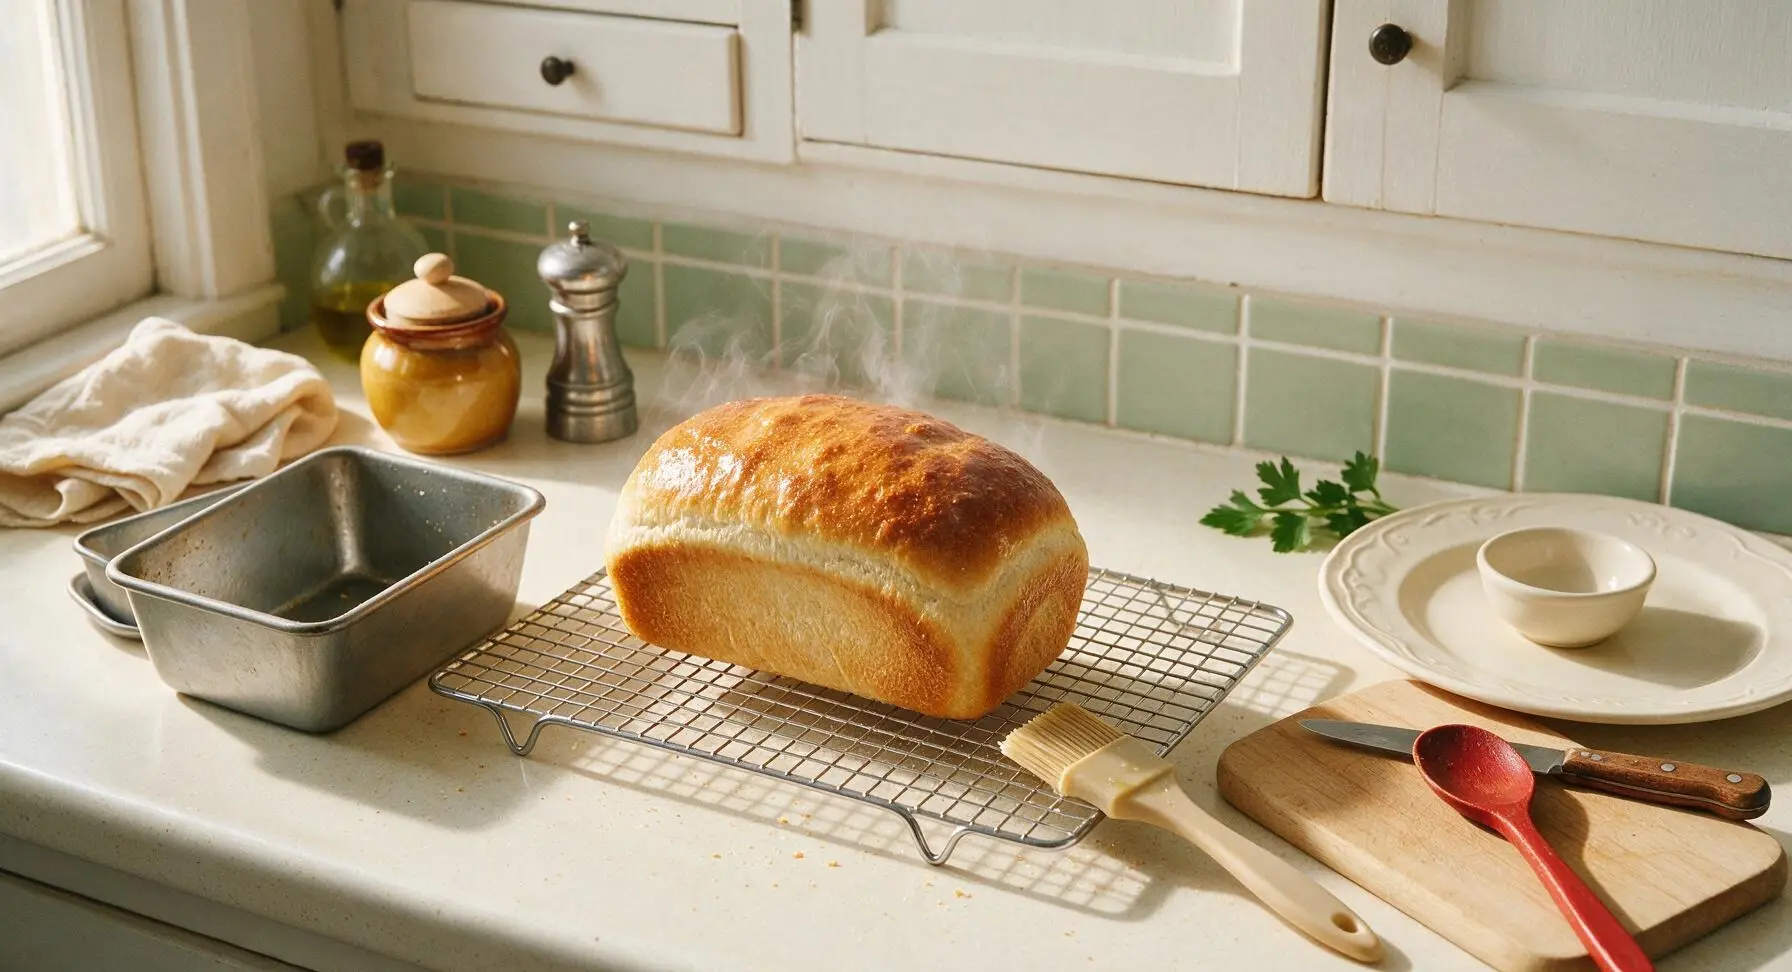
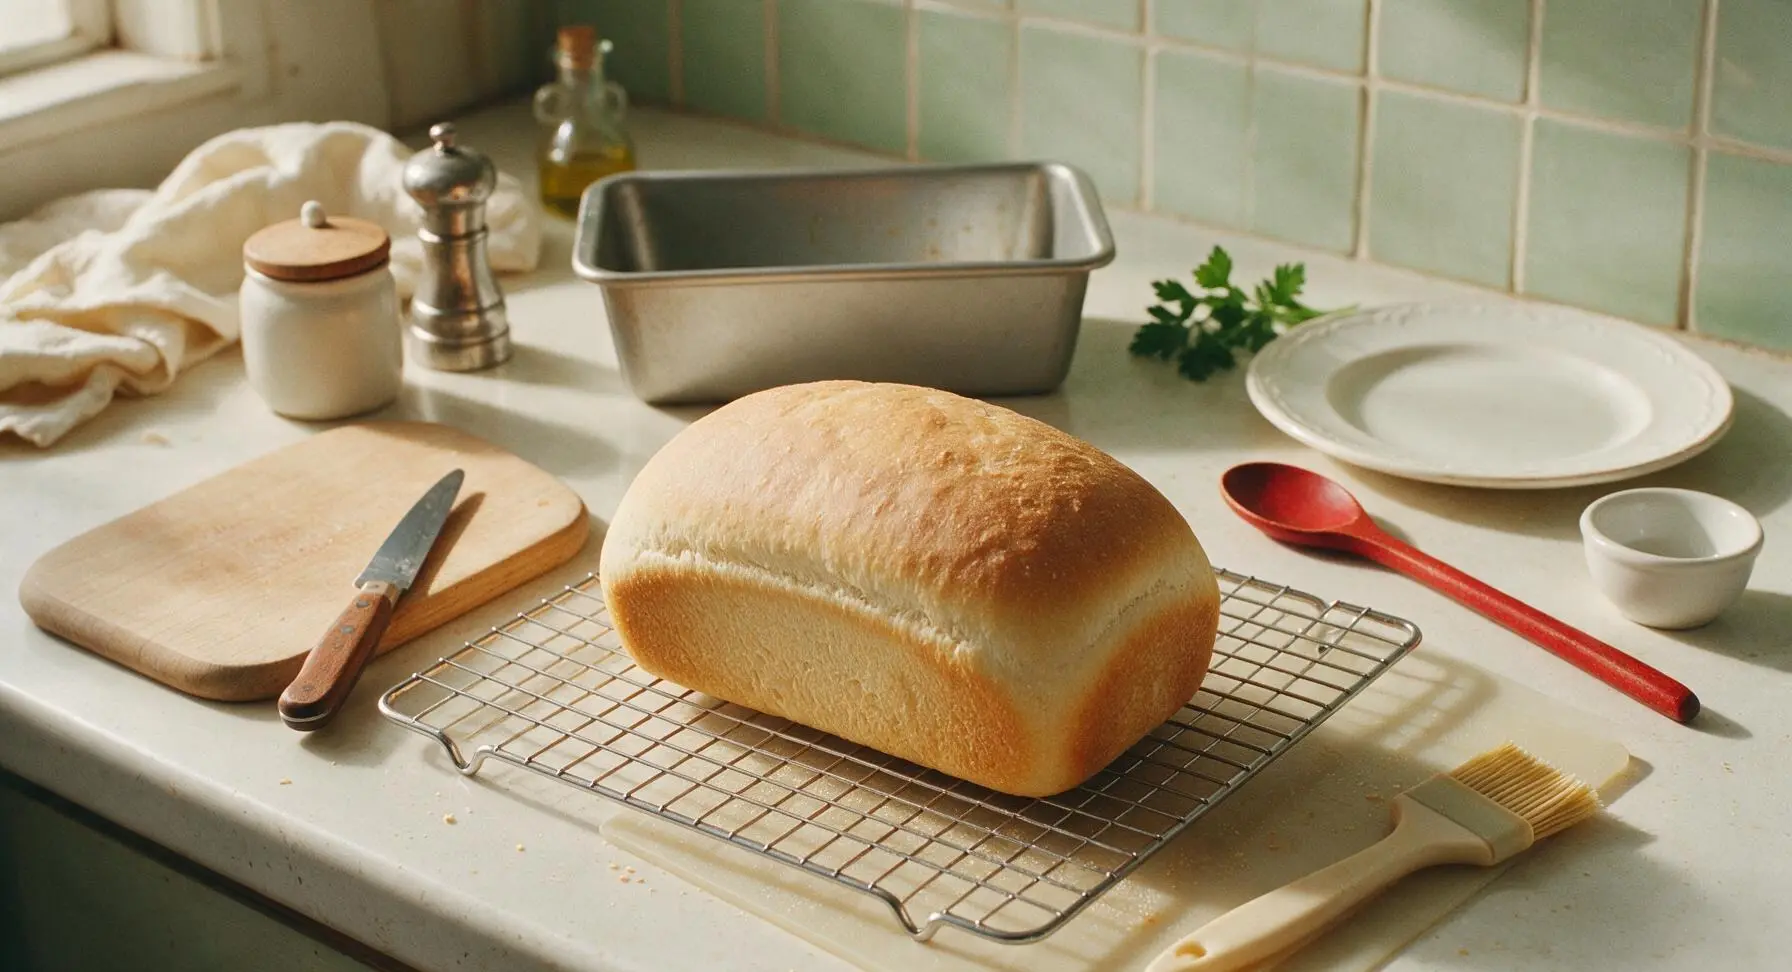
When baking is complete, transfer the hot pan to the silicone mat and let the loaf rest in the pan for 10 minutes to set. Run a thin knife around the pan edges to loosen the loaf, then turn it out onto the chrome wire cooling rack. Use the silicone pastry brush to coat the top and side crusts with the reserved 8g melted butter for a soft, rich crust. Let the loaf cool completely for 1–2 hours before slicing; cutting warm bread will compress the soft crumb and create a gummy texture.
Slice and Serve
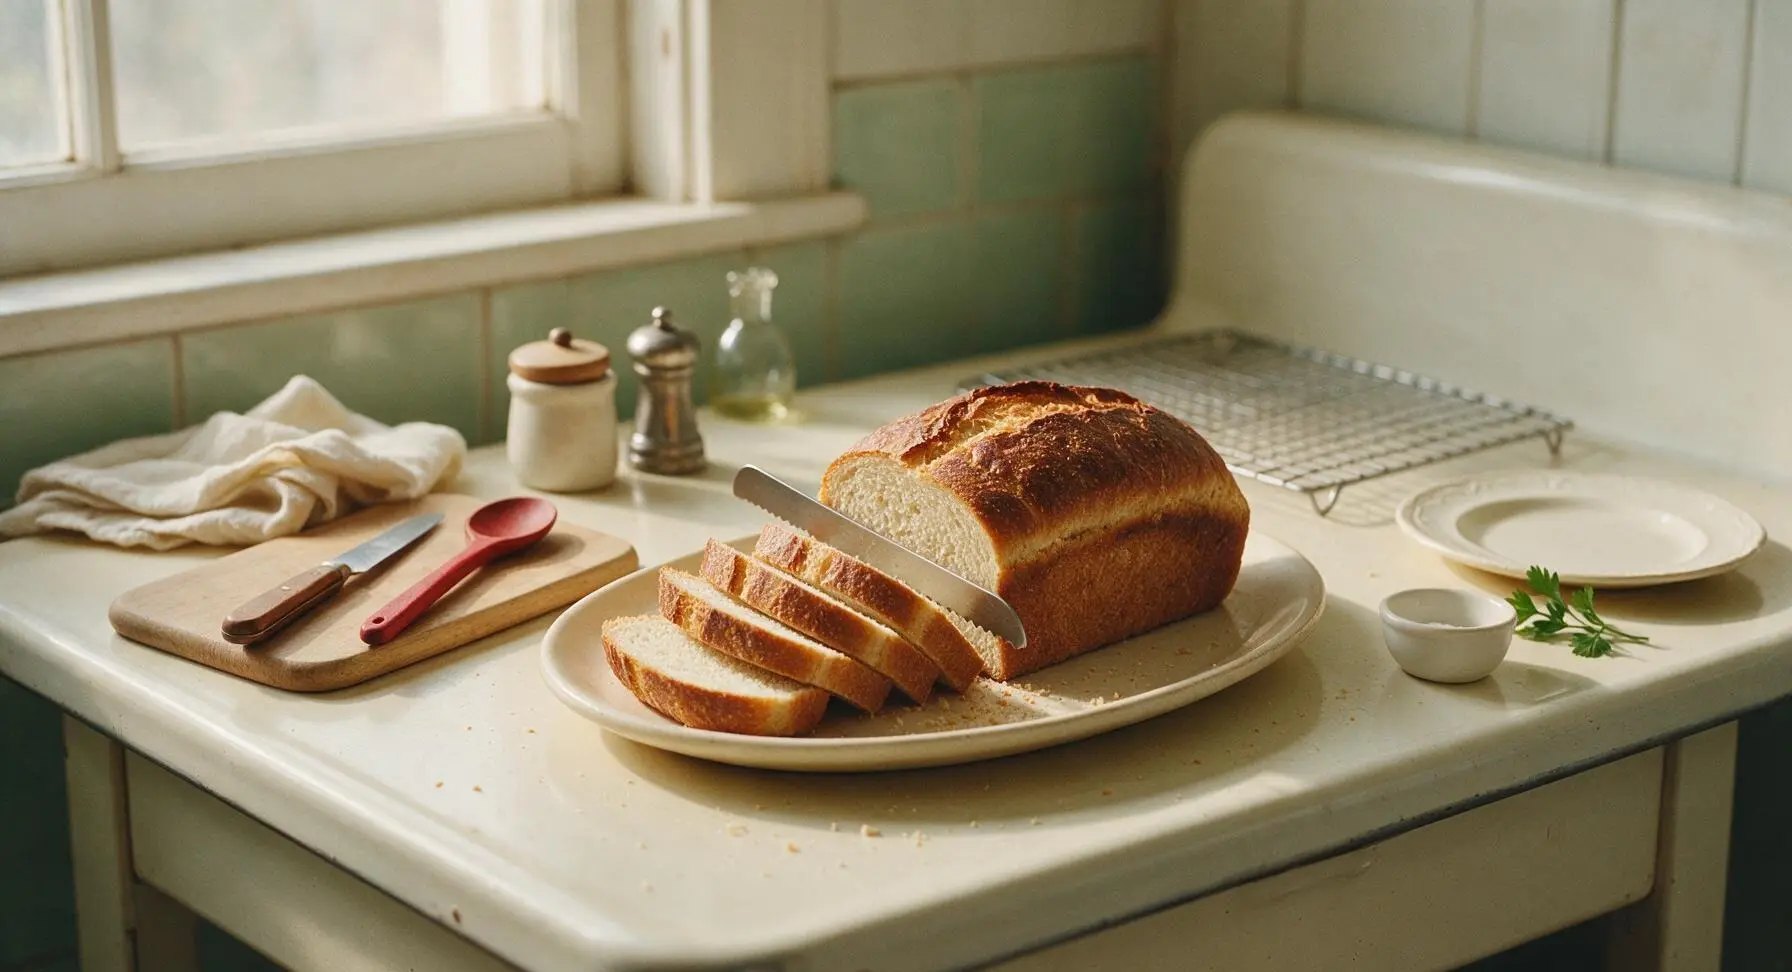
Once fully cooled, transfer the loaf to the matte cream ceramic oval serving platter. Use the serrated bread knife to cut even ½-inch thick slices, fanning 4–5 slices next to the remaining half-loaf for serving. Store leftover bread in an airtight container at room temperature for up to 5 days, or freeze slices for up to 3 months.
Tips
2.Resist the urge to slice the loaf while warm: as bread cools, the internal crumb structure sets; cutting warm bread compresses the soft interior, leading to gummy, uneven slices that tear easily when loaded with sandwich fillings.
3.If your kitchen is cooler than 70°F (21°C) during proofing, place the covered dough inside your turned-off oven with the interior light on: the bulb generates a consistent 75°F (24°C) environment that cuts rise time by half and prevents a thick, dry skin from forming on the dough surface.






OMG this sourdough discard sandwich bread is a total game changer! I’ve been throwing out so much discard for months and this recipe made the softest, perfect sandwich loaf ever. My kids devoured half of it warm with butter after school, and it held up great for turkey sandwiches for our family hike yesterday. Will 100% be making this every week for meal prep!
Tried this last weekend for a potluck with my neighbors and it was a huge hit! Only reason I’m not giving 5 stars is I had to bake it an extra 8 minutes because my oven runs cold, and the crust got a little crispier than I wanted for soft sandwich bread. Flavor was unreal though, definitely will adjust my oven temp next time.
As someone who’s totally new to working with sourdough, I was so nervous this would be too hard (medium difficulty had me sweating!) but the steps were so straightforward! My loaf came out fluffy, had that perfect subtle tang, and made the best grilled cheese I’ve ever had. My picky 7 year old asked for seconds, which never happens. SO good!
Meal prep win! I make a loaf every Sunday now, slice it up, and use it for lunches all week. It holds up way better than store-bought sandwich bread, doesn’t get soggy even when I pack it with hummus and roasted veggies the night before. Wish I’d found this recipe months ago, it’s saved me so much money on fancy bakery bread.
First time making any kind of yeast bread ever and I was shocked how well this turned out! I was worried my discard was too old (it had been in the fridge for almost 2 weeks, oops) but it worked perfectly. The only mishap was I forgot to score the top so it split a little weird on the side, but it still tasted amazing. Can’t wait to make it again and actually remember to score it!
This was good, but I felt like the tang was a little too mild for my taste? I love super sour sourdough, so I was hoping for a stronger flavor. Texture was perfect though, super soft and great for sandwiches. Any tips for amping up that sour flavor next time I make it?