
Sourdough Rolls
intro
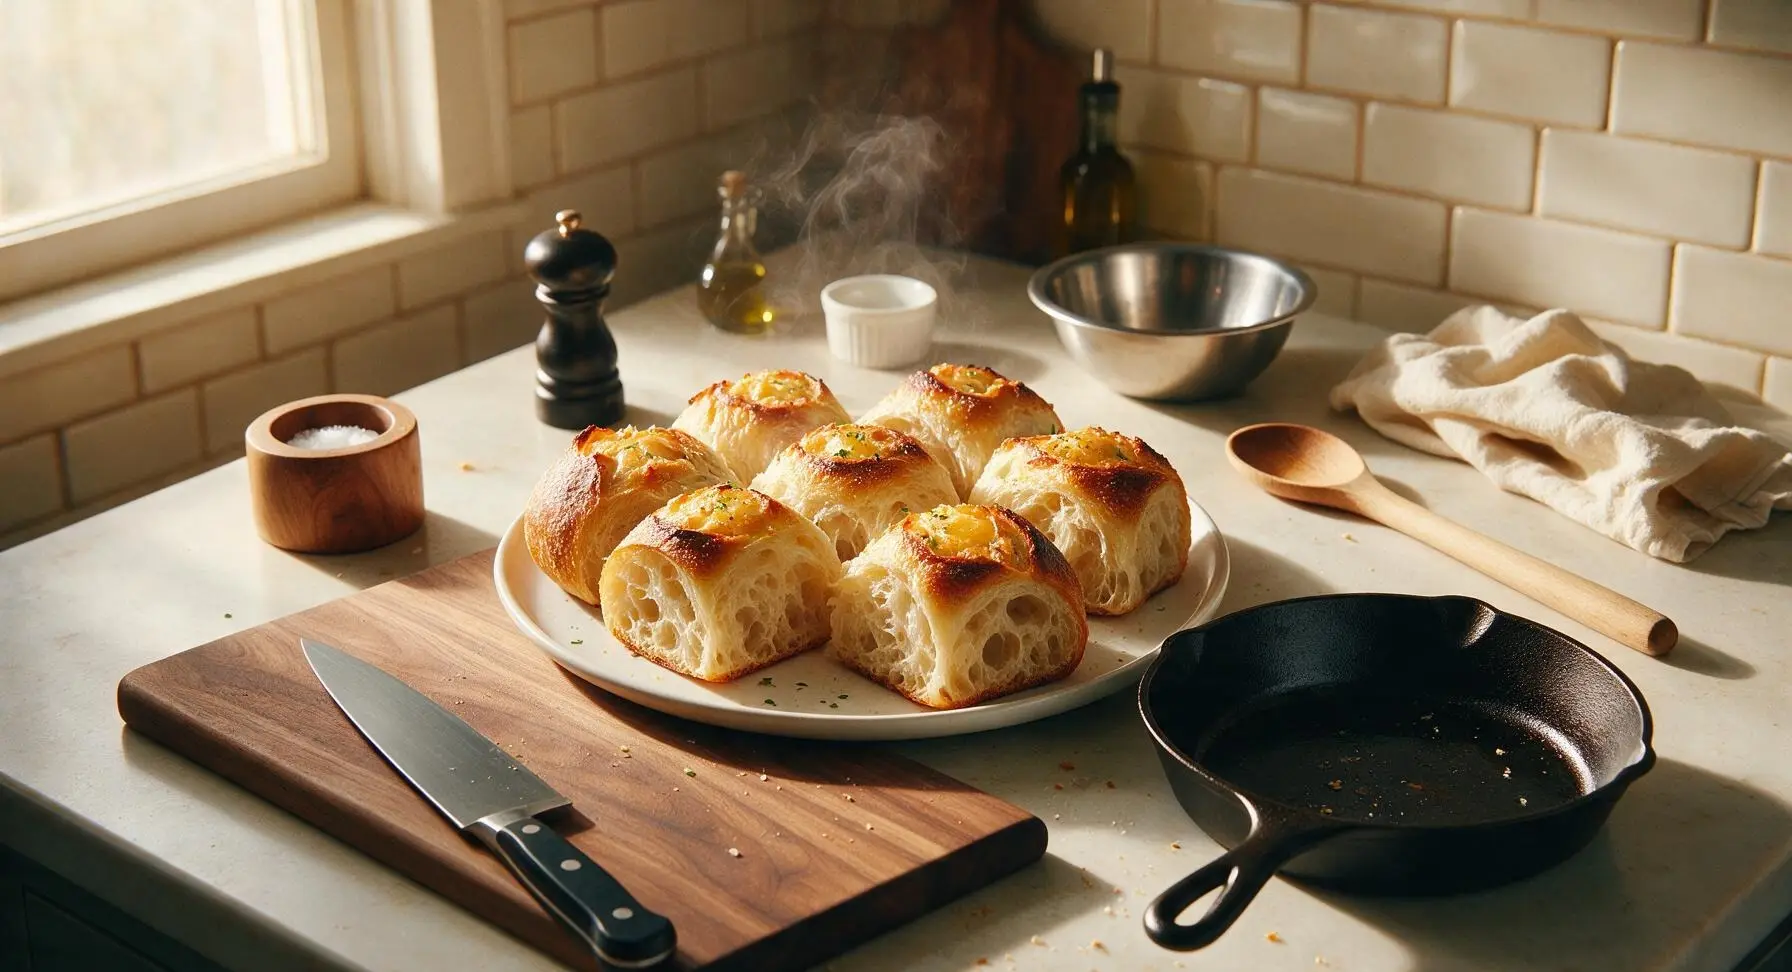
Crusty on the outside, soft and tangy on the inside, these homemade sourdough rolls have a chewy open crumb and golden buttery top, perfect for weeknight meals or holiday spreads.
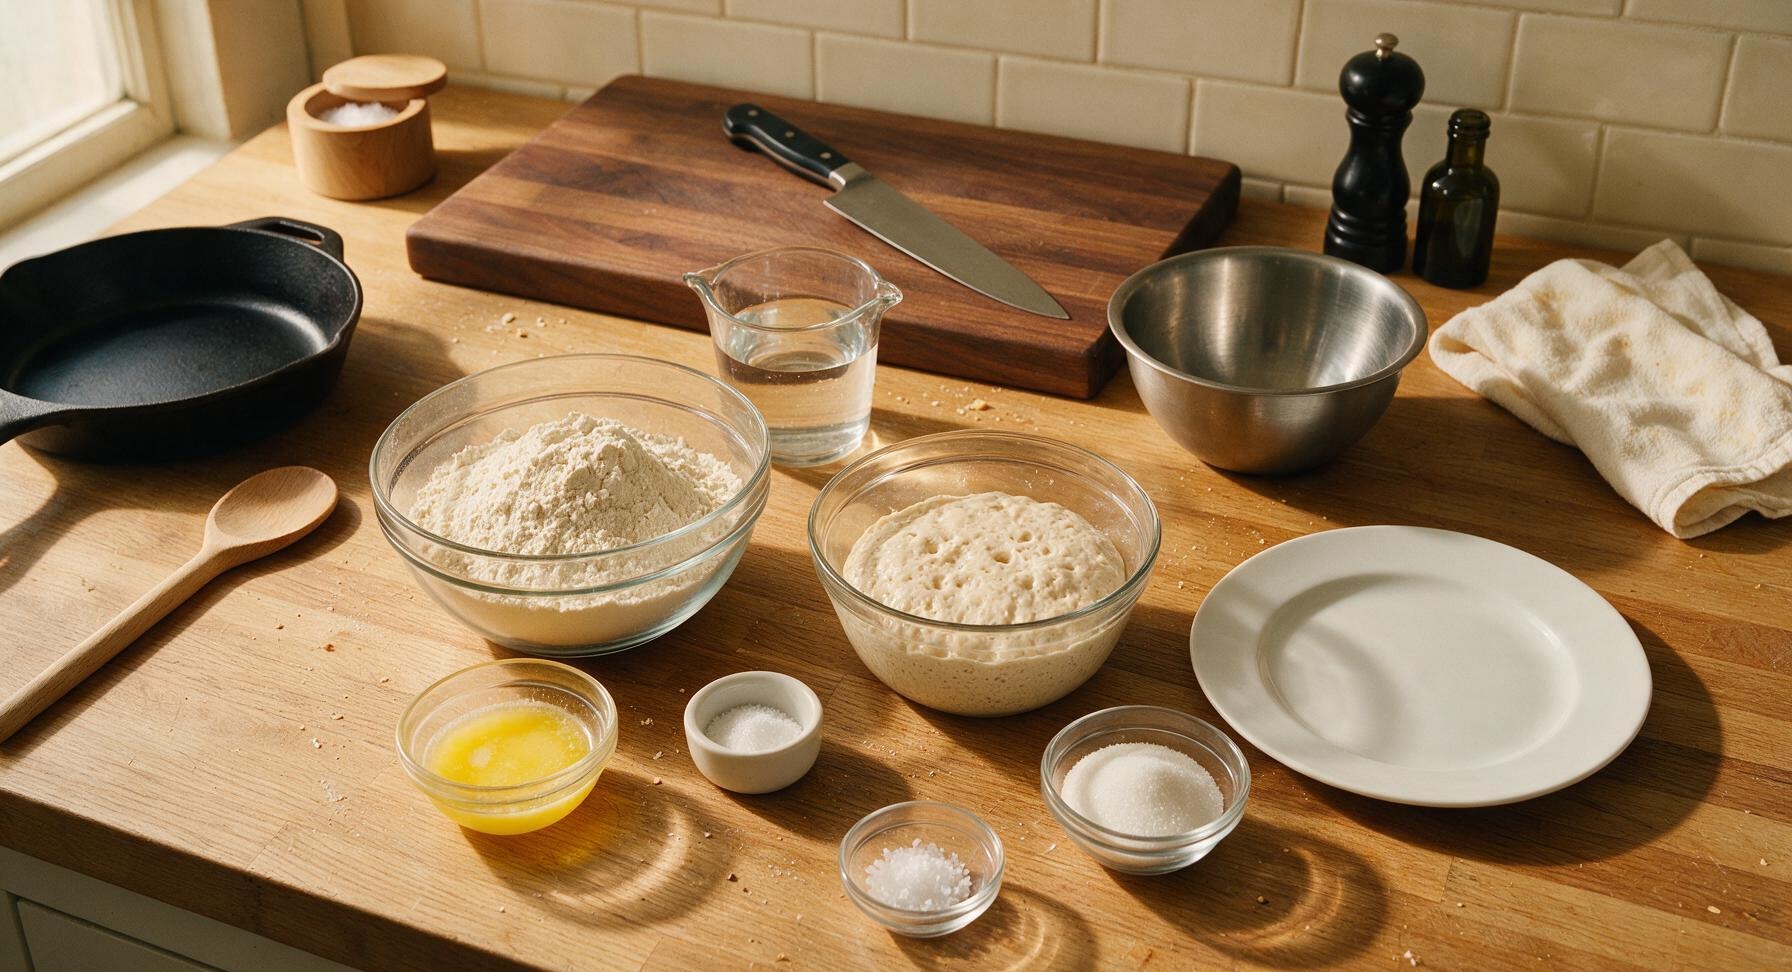
Ingredients
Steps
Mix Base Dough
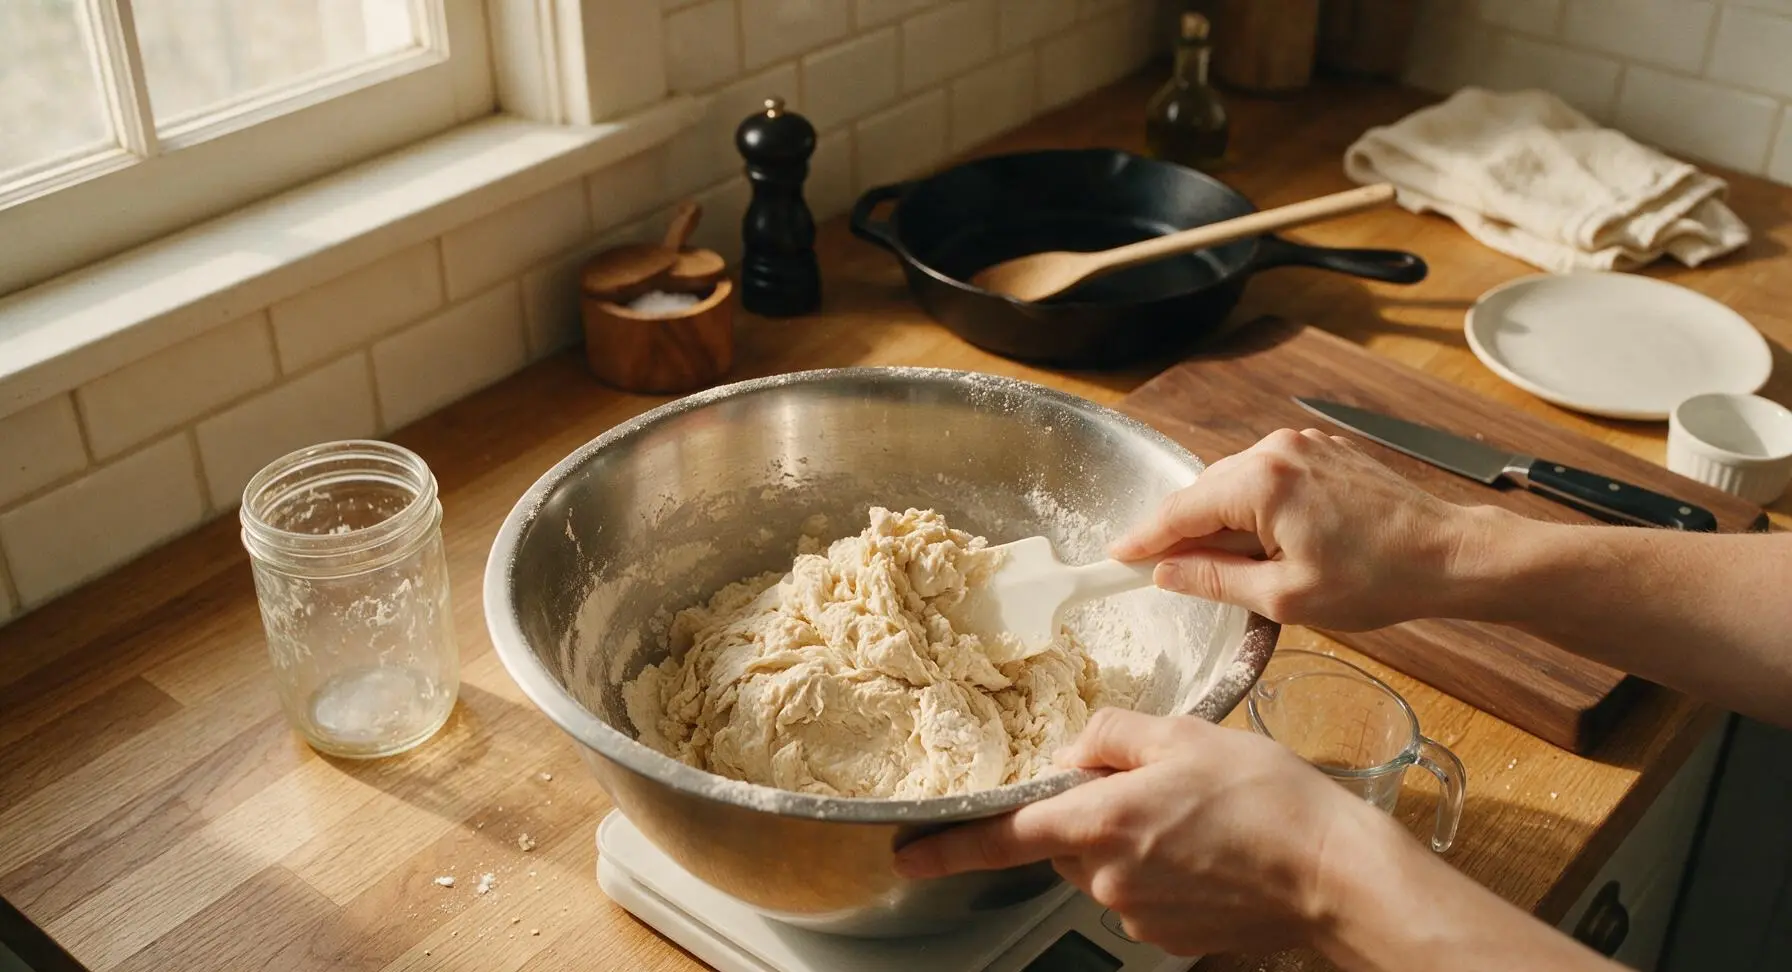
Set the large brushed stainless steel mixing bowl on the matte white digital scale, taring the scale between each ingredient addition. Add 227g active bubbly sourdough starter, 240ml lukewarm filtered water, 12g granulated sugar, and 40g of the cooled melted butter, stirring gently with the white silicone dough scraper to combine. Gradually add 480g unbleached all-purpose flour and 10g fine sea salt, mixing until no dry flour remains and a shaggy, sticky dough mass forms. Loosely cover the bowl with the oatmeal linen towel and let rest for 30 minutes at room temperature (21C / 70F).
Stretch and Fold Dough
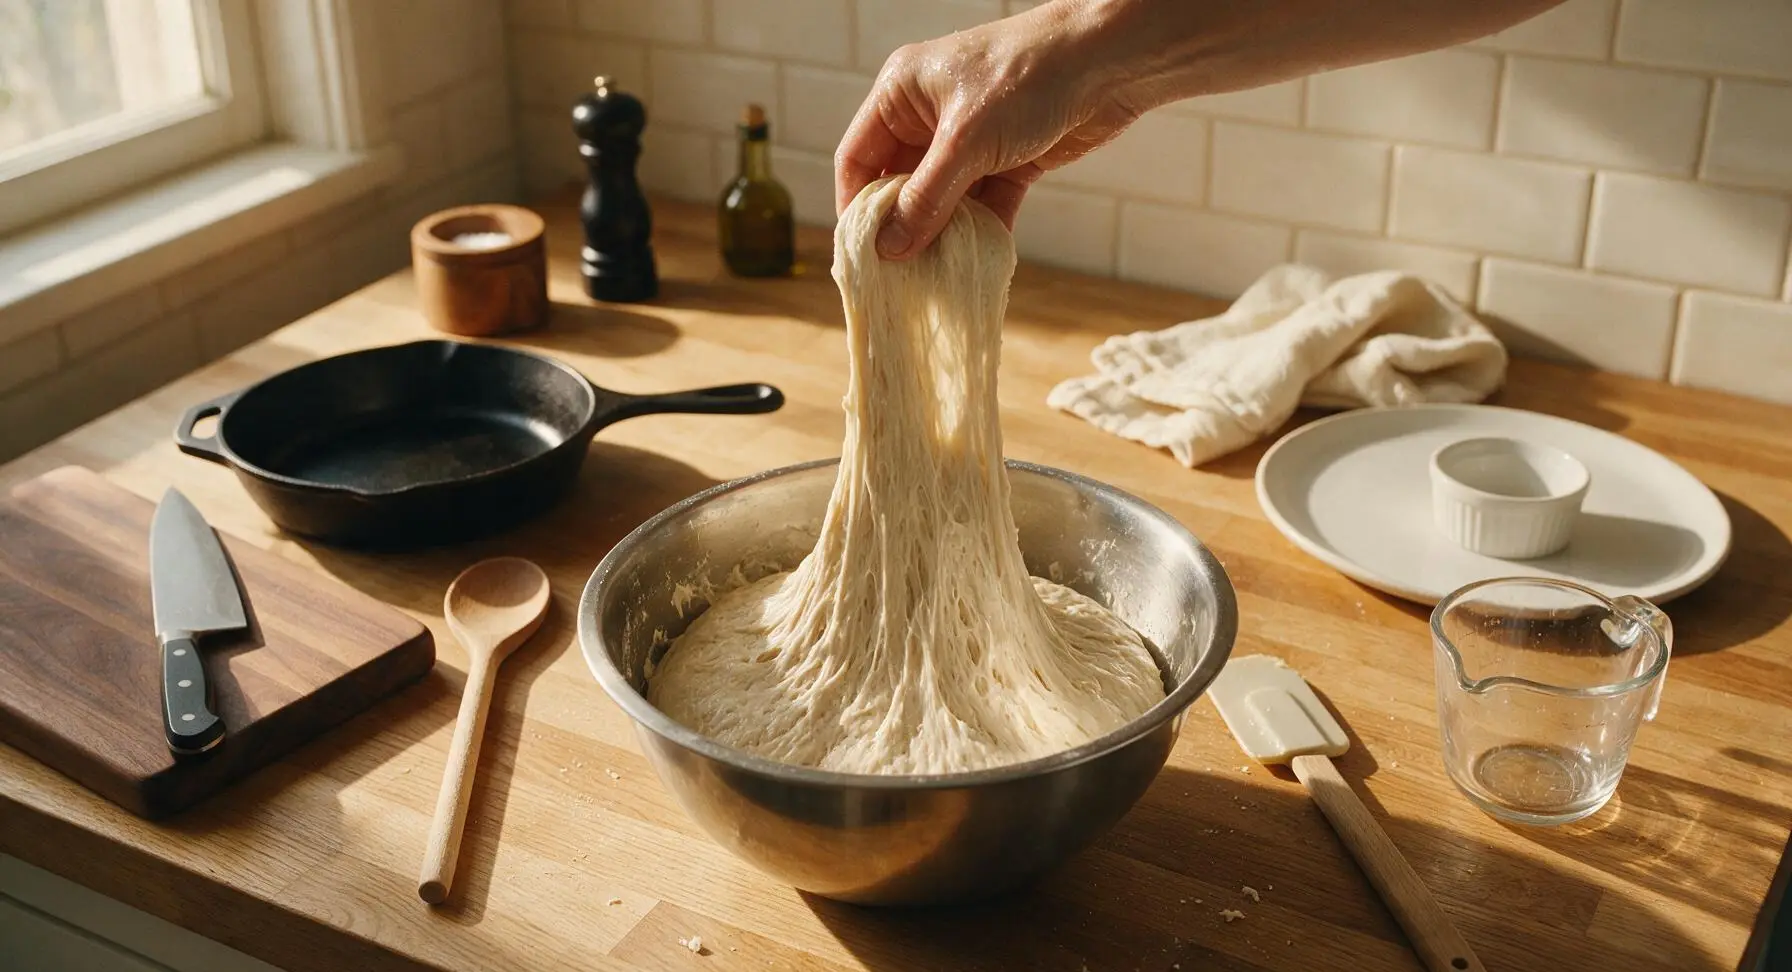
After the 30-minute rest, lightly wet your hands to prevent sticking. Grab one edge of the dough, lift it until it resists tearing, then fold it over the top of the dough mass. Rotate the bowl a quarter turn, repeating the stretch and fold motion three more times to complete one full set. Perform 3 total sets of stretch and folds, 30 minutes apart, covering the bowl with the linen towel between sets. After the final set, cover the bowl and let the dough bulk ferment at room temperature for 4-5 hours, until it doubles in volume, feels light and bubbly, and jiggles slightly when the bowl is tapped.
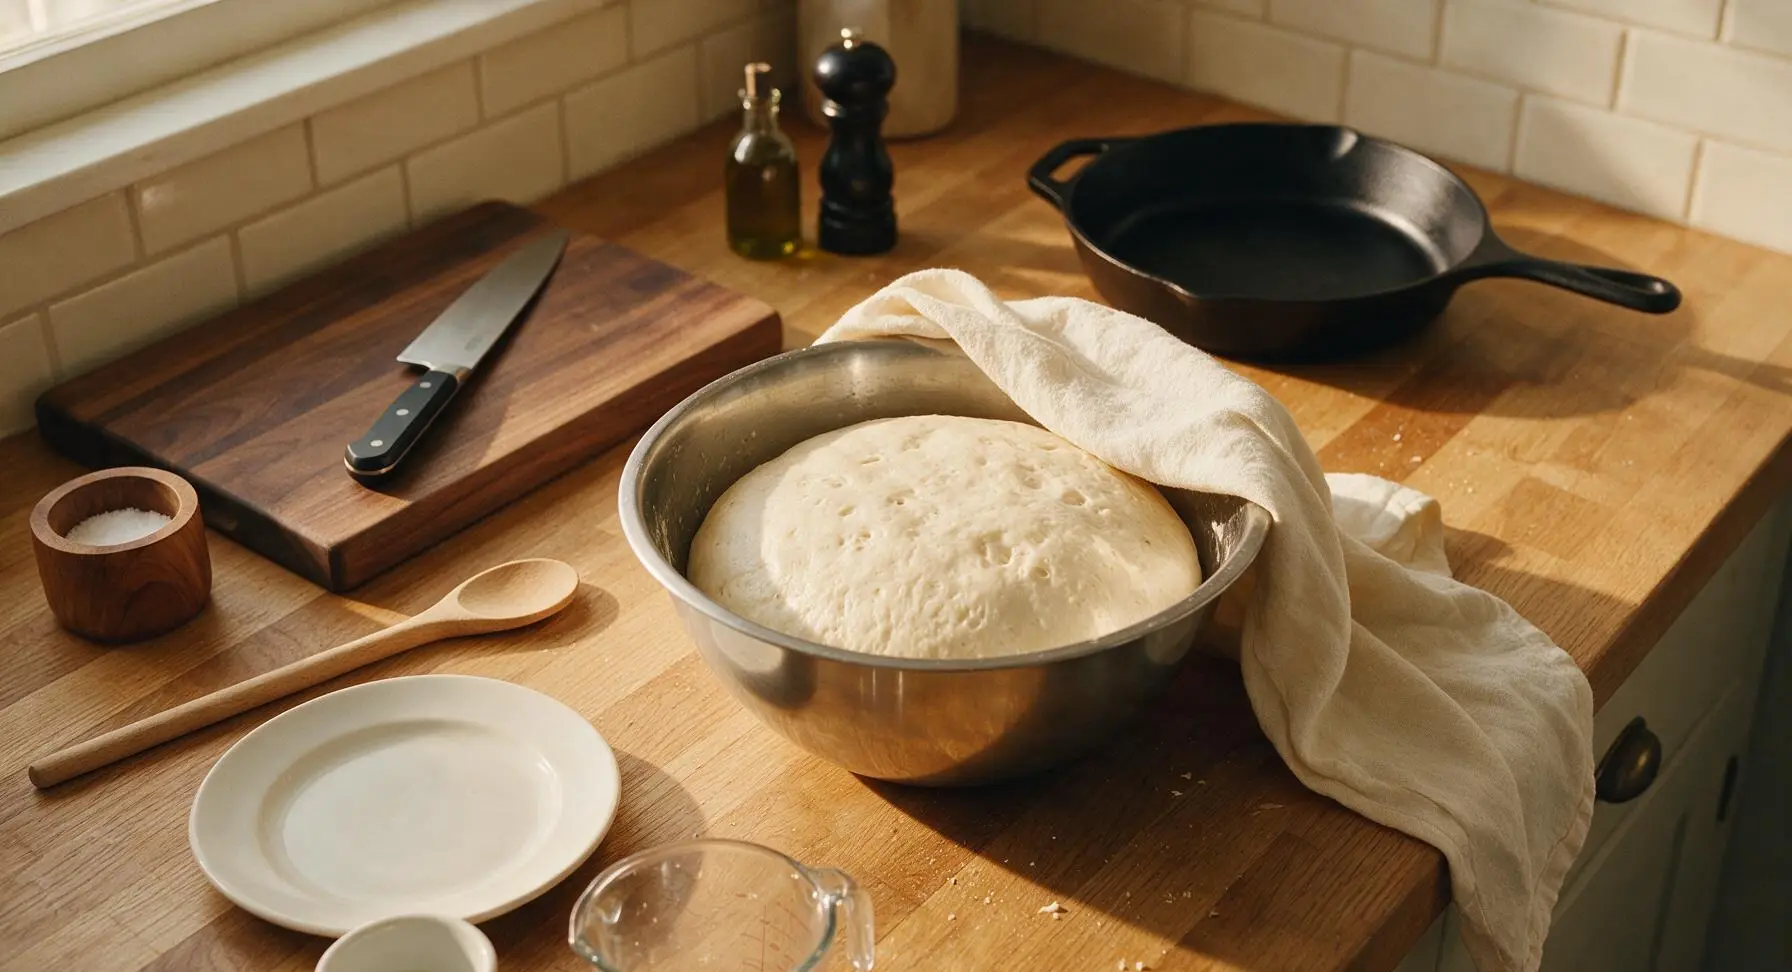
Divide and Shape Dough
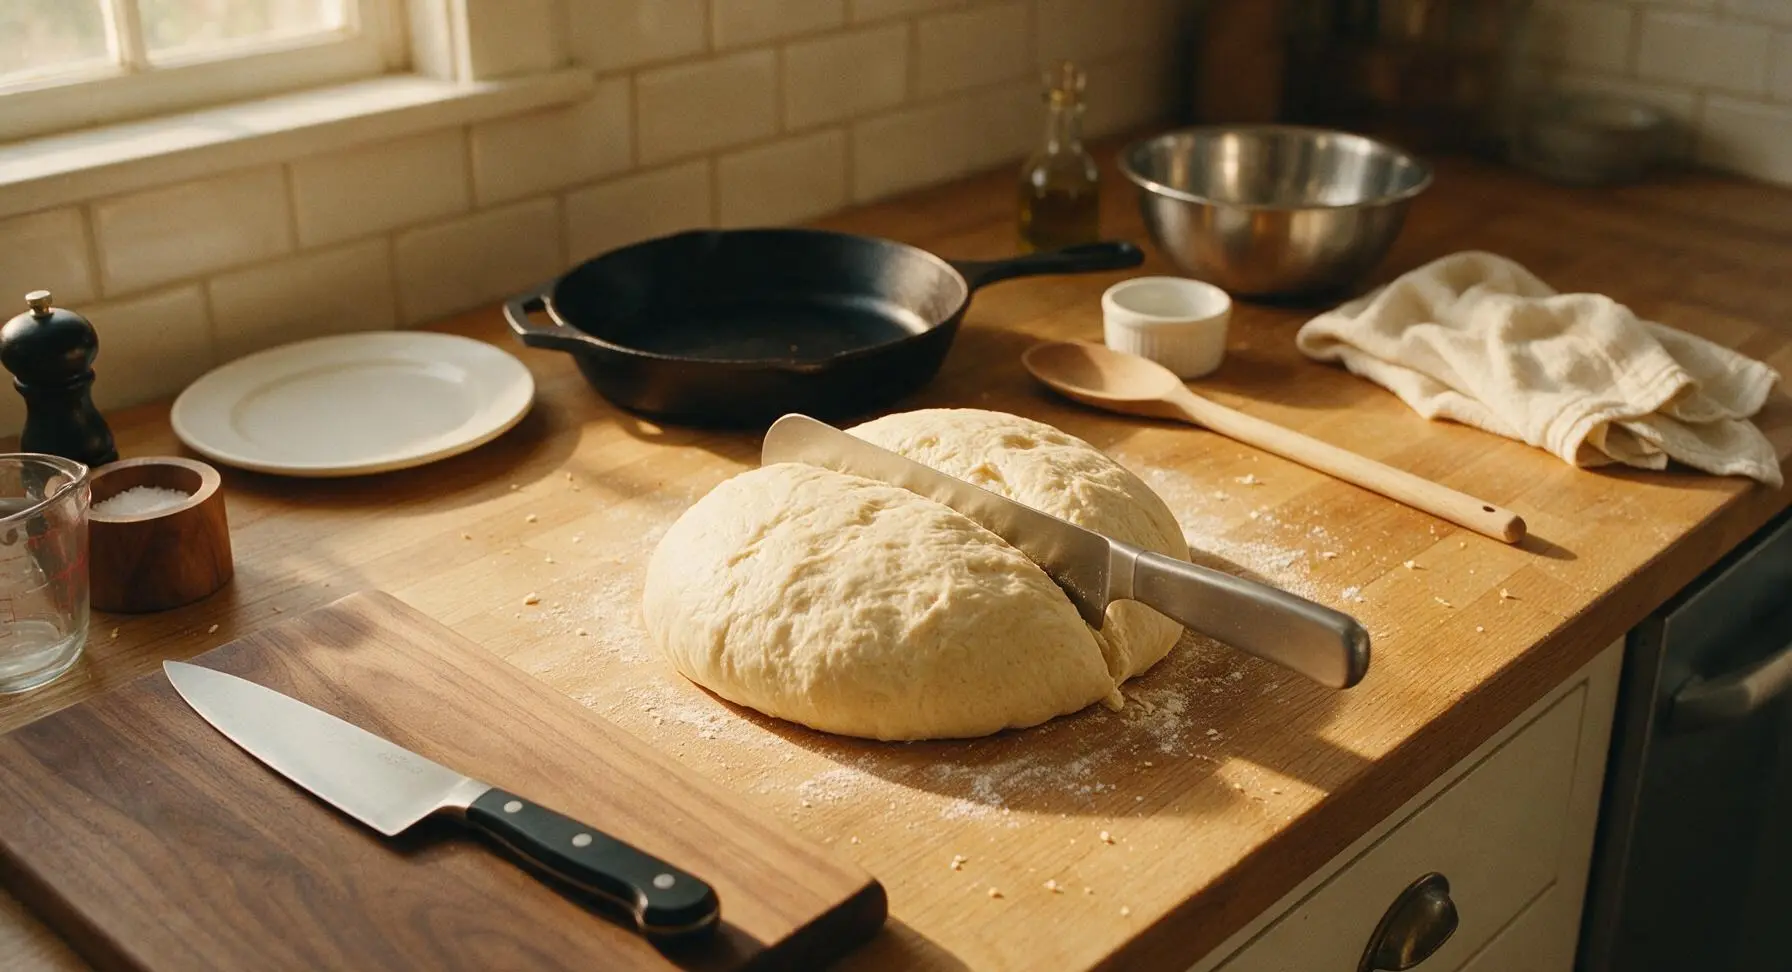
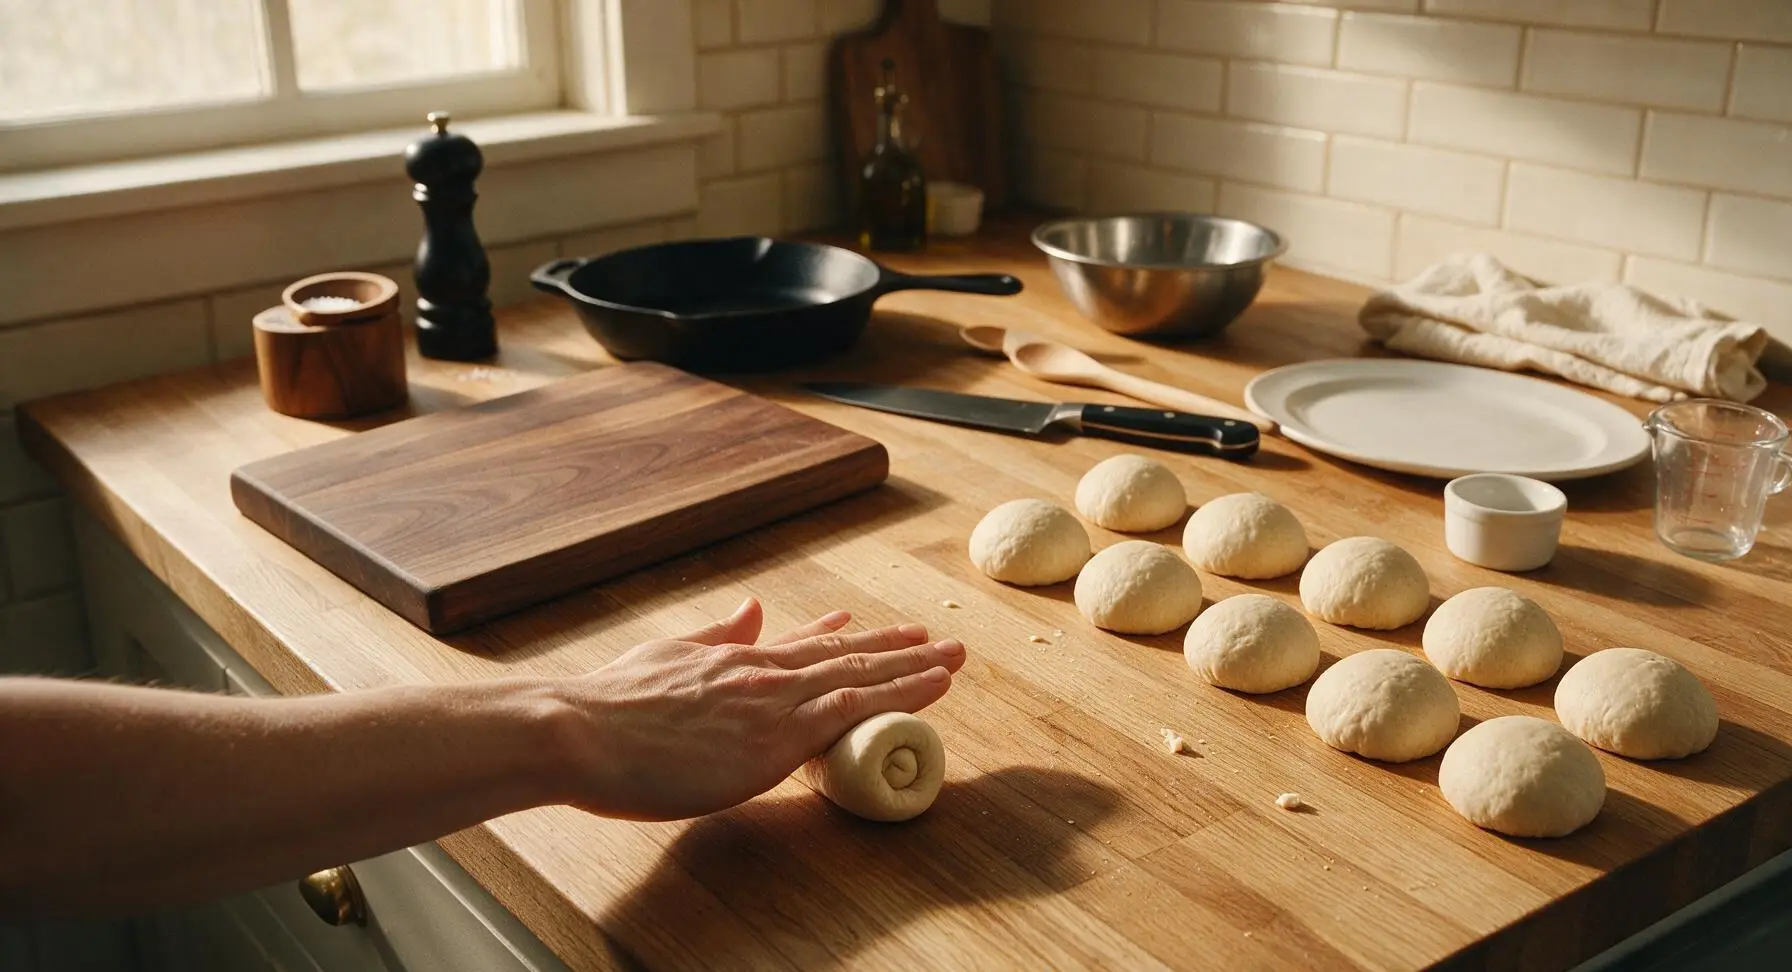
Lightly dust a small 15cm section of the maple counter with flour, then turn the risen dough out onto the floured surface using the silicone scraper. Use the stainless steel bench knife to cut the dough into 12 equal pieces, each roughly 85g. To shape each roll, pull the edges of each dough piece down toward the base to create a tight, smooth top surface, then roll the dough in small circles on the unfloured section of counter with a cupped hand to build strong surface tension.
Proof Shaped Rolls
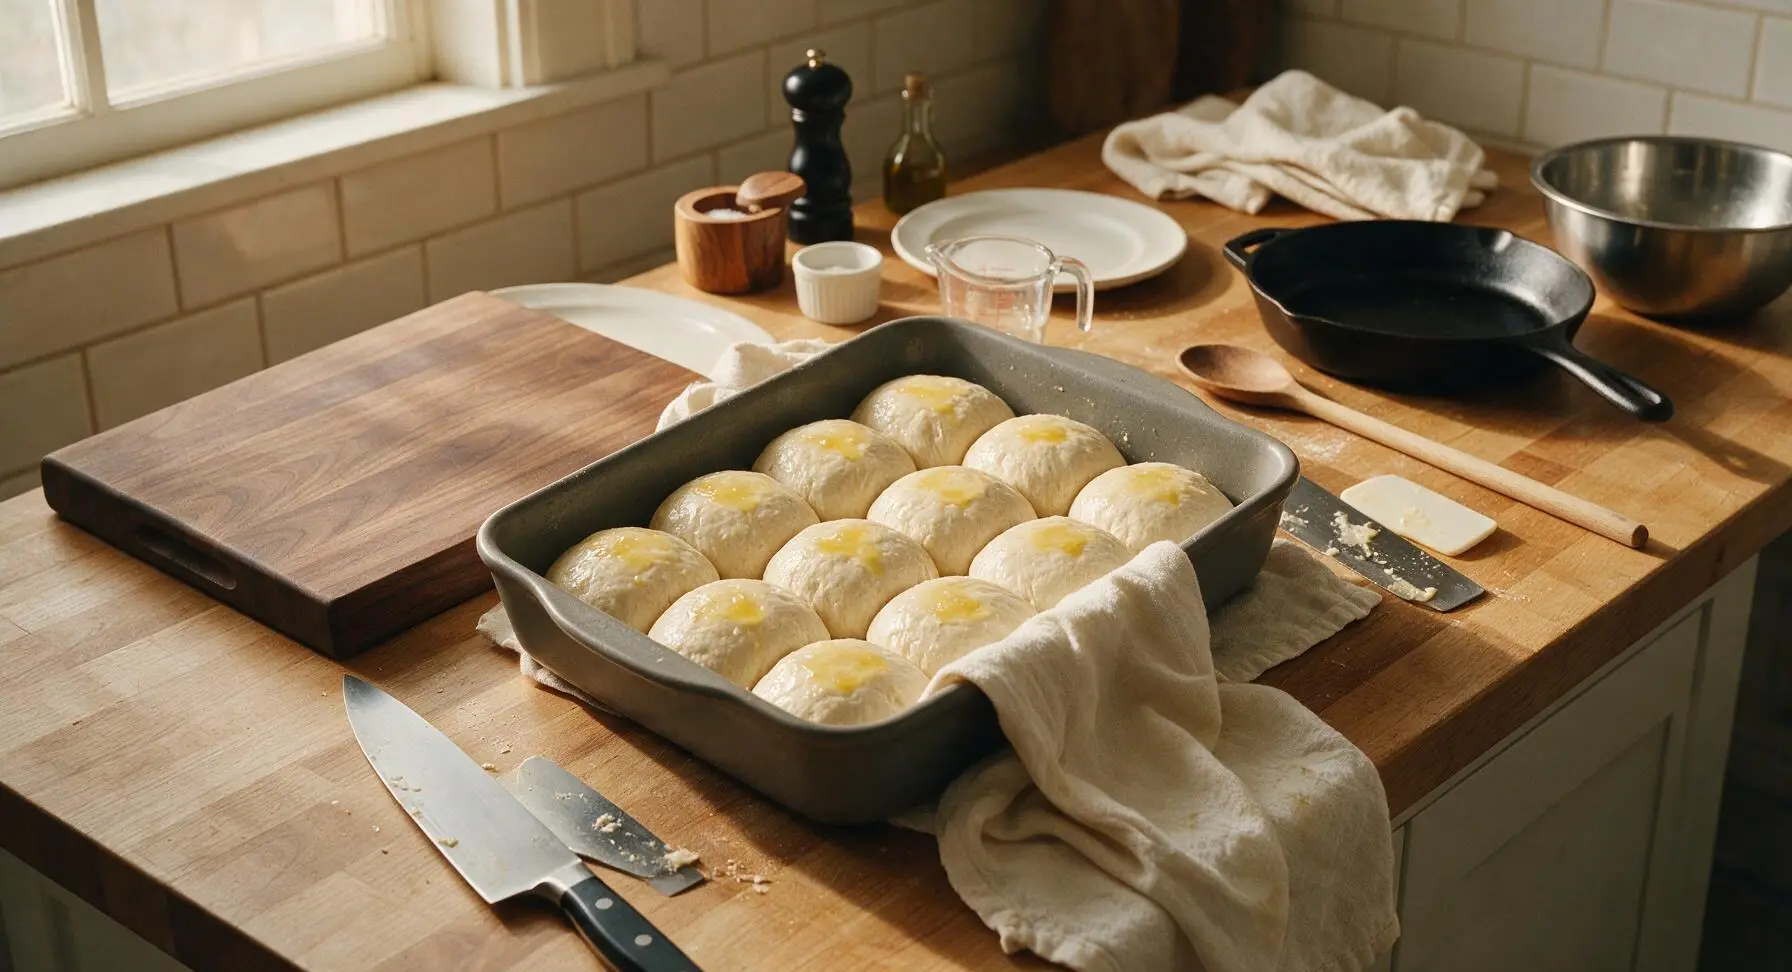
Arrange the shaped rolls evenly in the matte dark gray 9x13 inch ceramic baking dish, leaving 1cm of space between each roll to allow for rising. Brush the tops of the rolls lightly with 1 tablespoon of the remaining melted butter, then cover the dish loosely with the linen towel. Let the rolls proof at room temperature for 1.5-2 hours, until they puff up to fill all gaps between them, and a finger pressed into a dough indentation springs back slowly halfway.
Score Roll Tops
Once rolls are fully proofed, adjust the oven rack to the middle position and preheat the oven to 190C / 375F. Use the walnut-handled serrated bread lame to make a single shallow 5mm deep slash across the top of each roll, to allow for even oven spring and expansion during baking. Sprinkle the tops lightly with flaky sea salt from the small white ramekin.
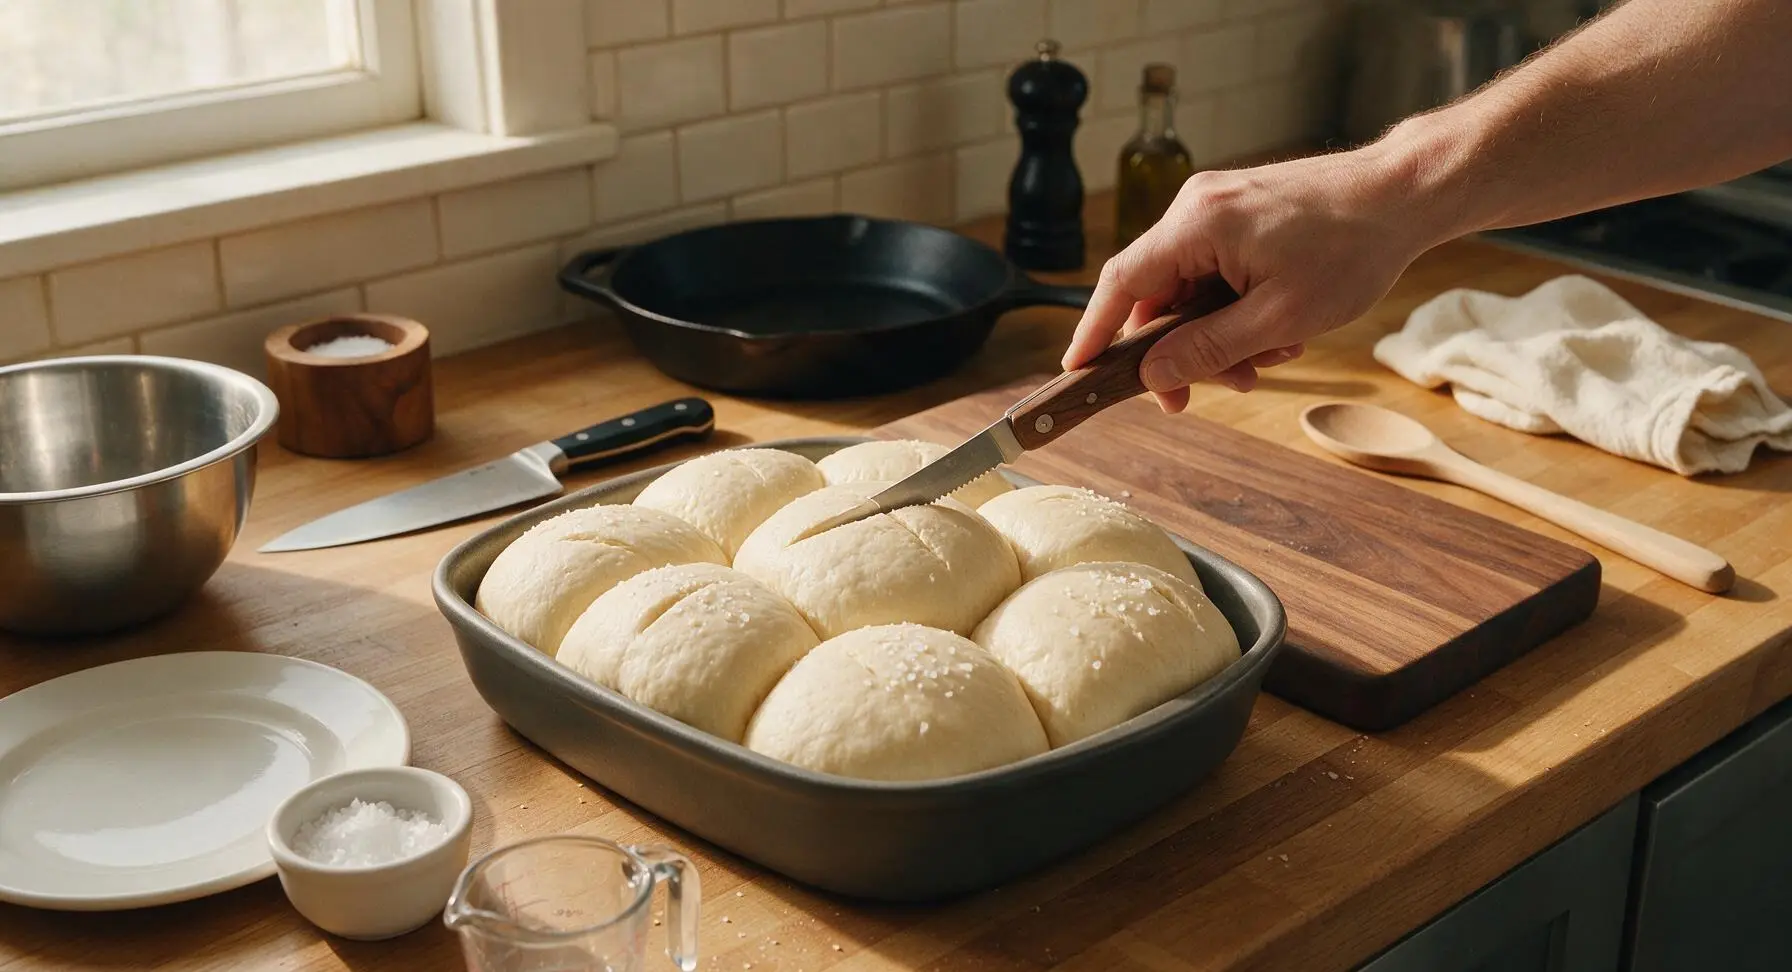
Bake to Golden Brown
Place the baking dish on the middle oven rack and bake for 22-25 minutes, rotating the dish halfway through baking, until the roll tops are deep golden brown, the internal temperature of the center roll reads 94C / 200F, and the crust sounds hollow when tapped lightly.
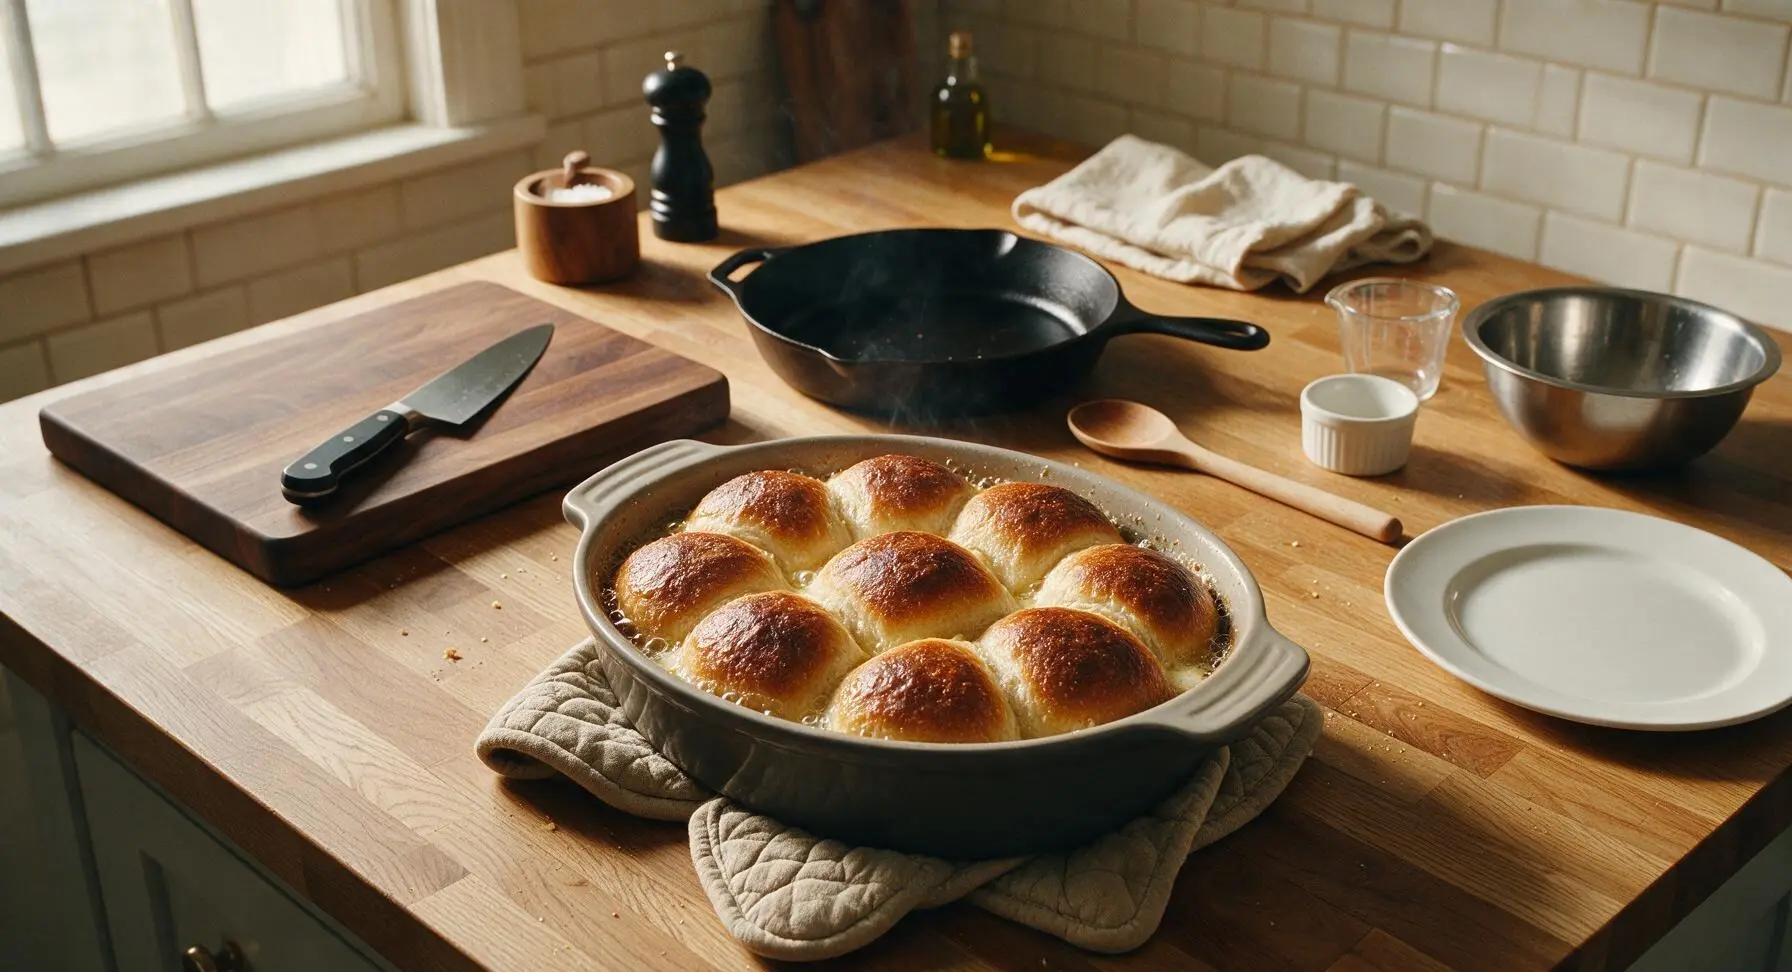
Butter Hot Crusts
Immediately after removing the rolls from the oven, use the beech-handled silicone basting brush to brush the tops of the hot rolls with the remaining 1 tablespoon of melted butter, which will soak into the warm crust to create a soft, flavorful top. Let the rolls cool in the baking dish for 5 minutes.
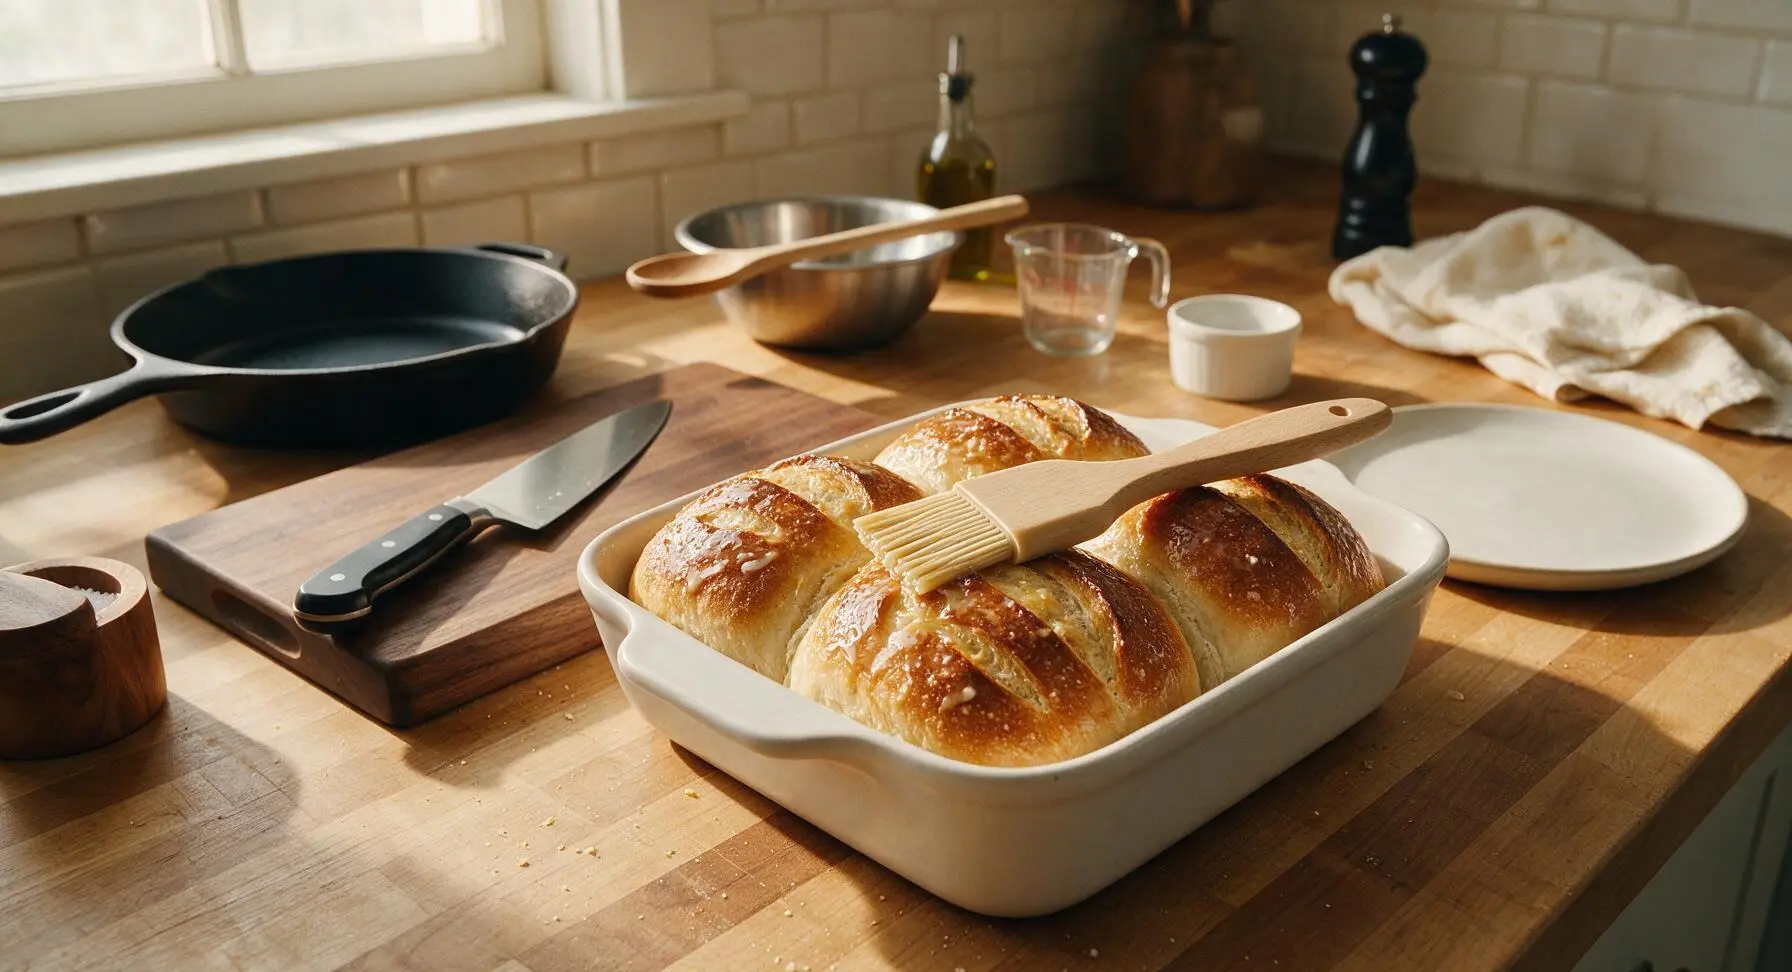
Cool and Serve
Use the bench knife to gently separate the connected rolls from each other, then transfer them to the matte chrome wire cooling rack to cool for 10 minutes before serving. Transfer the cooled rolls to the matte cream ceramic serving platter to serve.
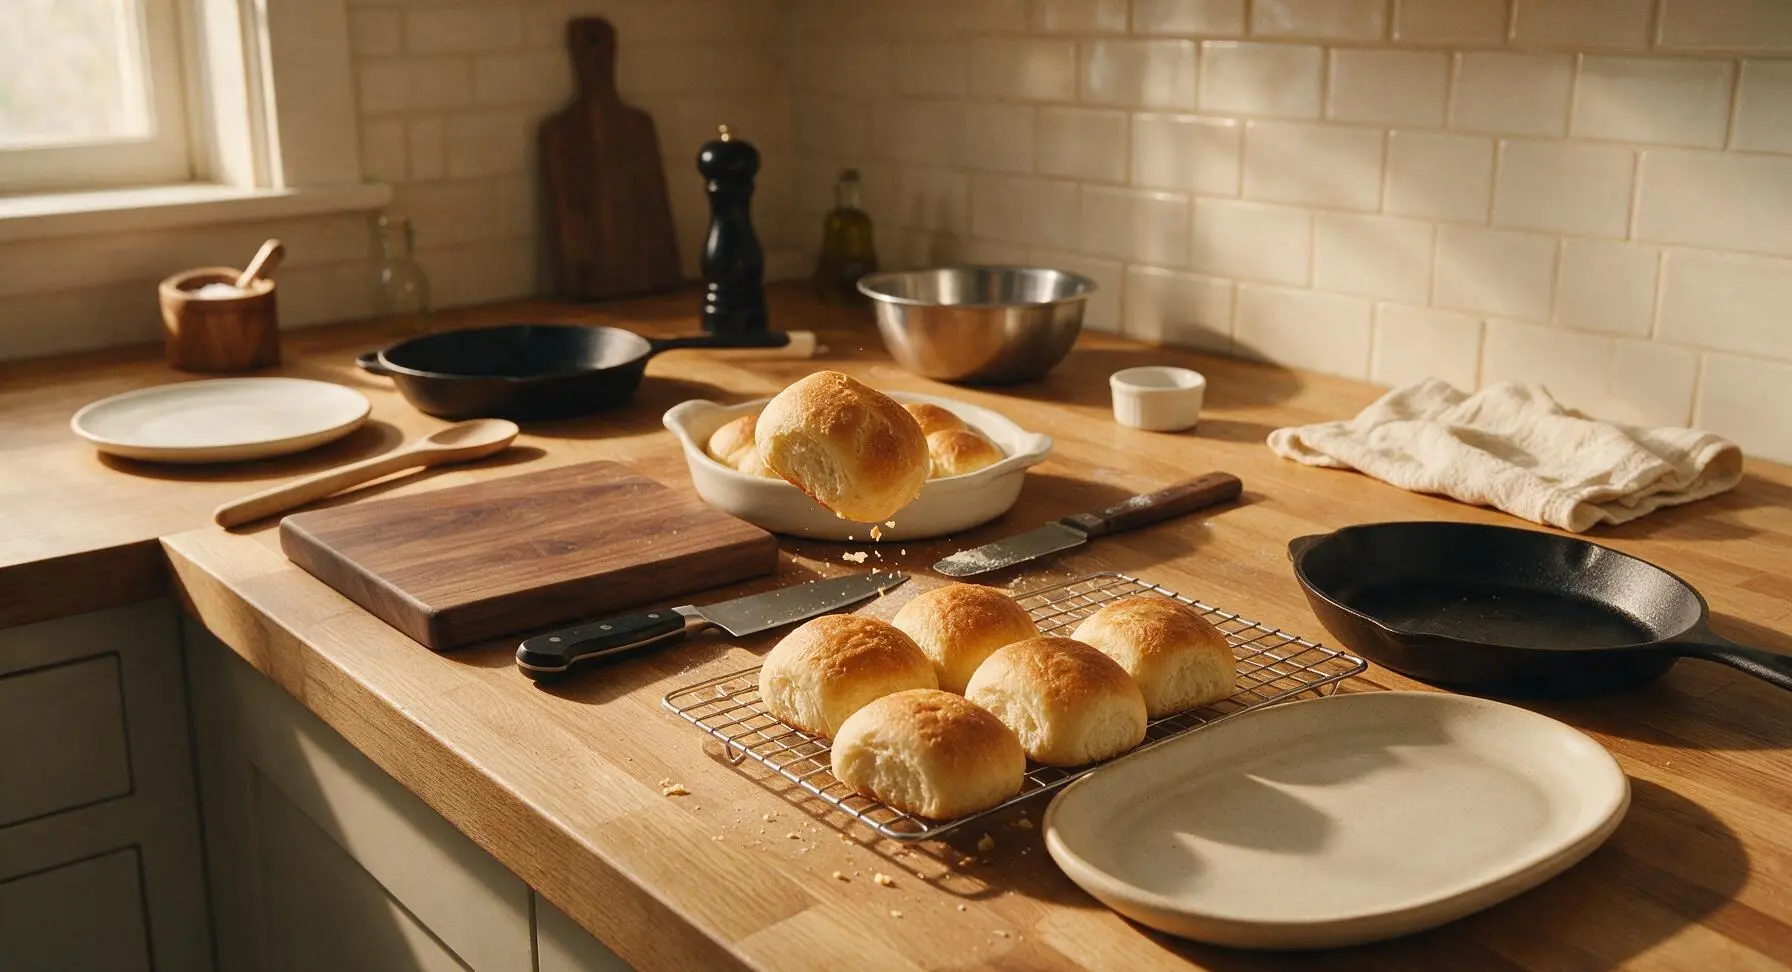
Tips
2.Use minimal flour when shaping rolls: too much flour on the counter will prevent you from creating the tight surface tension needed for round, high-rising rolls that hold their shape through proofing and baking.
3.Adjust rise times to match your kitchen temperature: if your space is cooler than 21C / 70F, add 30-60 minutes to bulk fermentation and proofing; if warmer, reduce rise time by 20-30 minutes to avoid over-fermentation, which leads to gummy, overly sour rolls.






OMG these sourdough rolls are a total game changer! I made them for our Sunday family dinner last night and even my super picky 7 year old asked for seconds. The crust was perfectly crispy and the inside was so soft and tangy, exactly what I was looking for. I was nervous because medium difficulty felt intimidating at first, but the steps were super clear and easy to follow. Will absolutely be making these for our next neighborhood potluck!
These were SO good, but I had a little trouble getting the rolls to rise as much as the photos show. I used my 6-month-old starter that was super bubbly and ready to go, but I think my kitchen was way too cold since it’s still freezing here this time of year. I baked them anyway and they tasted amazing, just a little denser than I expected. Definitely will try again once it warms up a bit!
Made these to go with my smoked brisket chili last weekend and wow. I’ve tried a handful of sourdough roll recipes before and they always turn out too tough or barely tangy, but this one nailed the perfect balance. The 25 minute cook time was spot on for my oven — no burnt bottoms, perfect golden crispy top. My roommate ate three straight out of the pan before I could even get the butter dish on the table lmao.
Such a great base recipe! I brushed the tops with garlic butter and sprinkled parmesan on right before baking and they were insane. Brought them to a work potluck earlier this week and people were begging for the recipe before I even finished my lunch. Only tiny note is I had to bake mine an extra 4 minutes because I love an extra crispy crust, but that’s just personal preference!
Took me two tries to get these right, but man was it worth it. First batch I overproofed them because I got distracted running errands and they spread out flat instead of puffing up tall, but the second batch I set timers like the recipe recommended and they turned out perfect. Chewy, tangy, sturdy enough to use for sandwich sliders too, not just as a dinner side. Saved this recipe to my regular weekly meal prep rotation!