
sourdough sandwich bread
intro
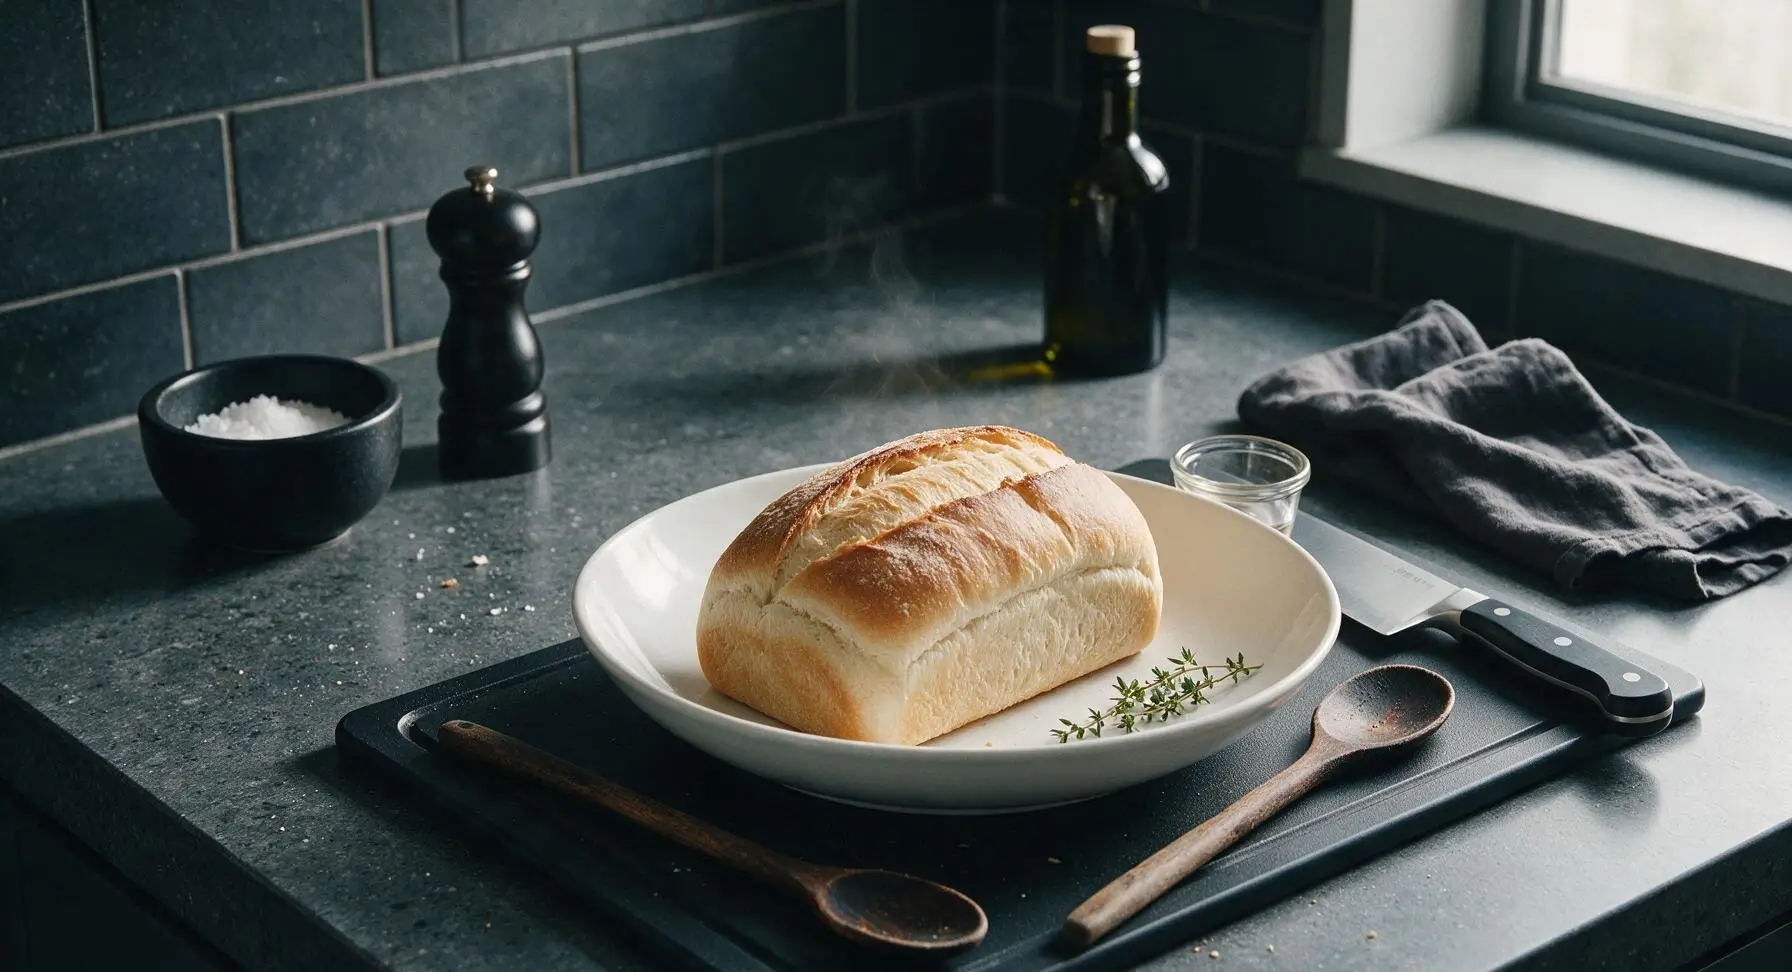
Soft, chewy sourdough sandwich bread with a delicate crisp crust, mild tang, and tight even crumb perfect for sandwiches, toasting, and slathering with butter. No commercial yeast needed.
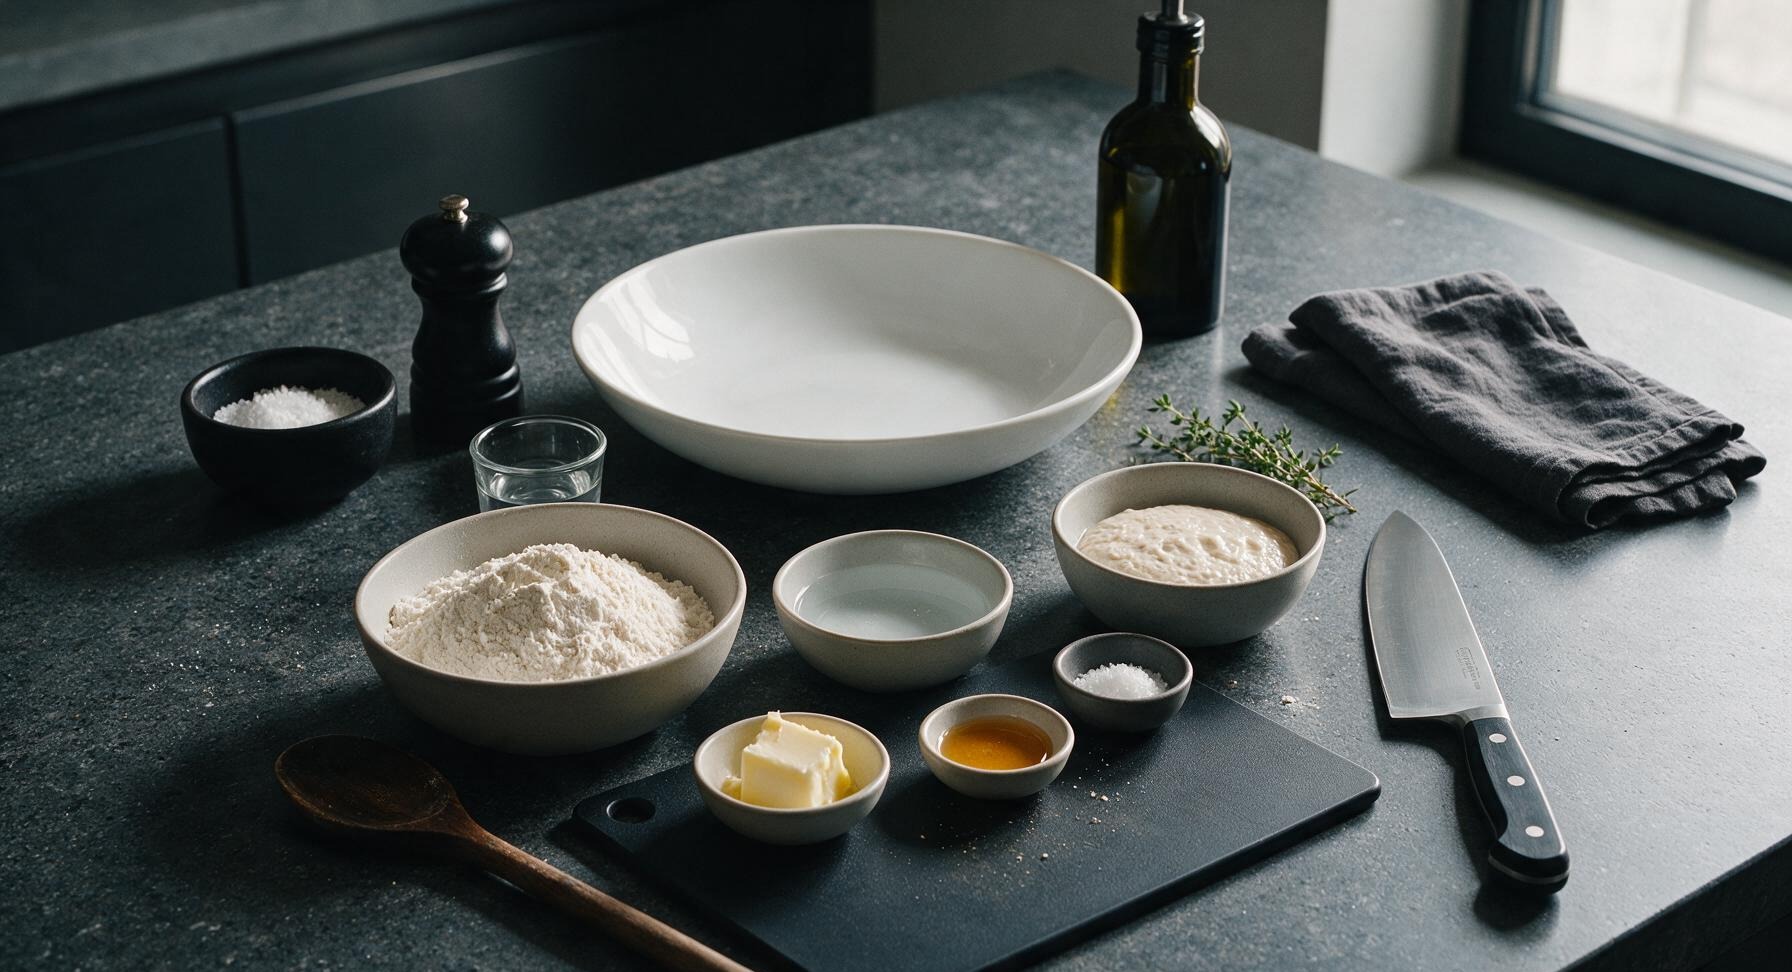
Ingredients
Steps
Mix Initial Dough Base
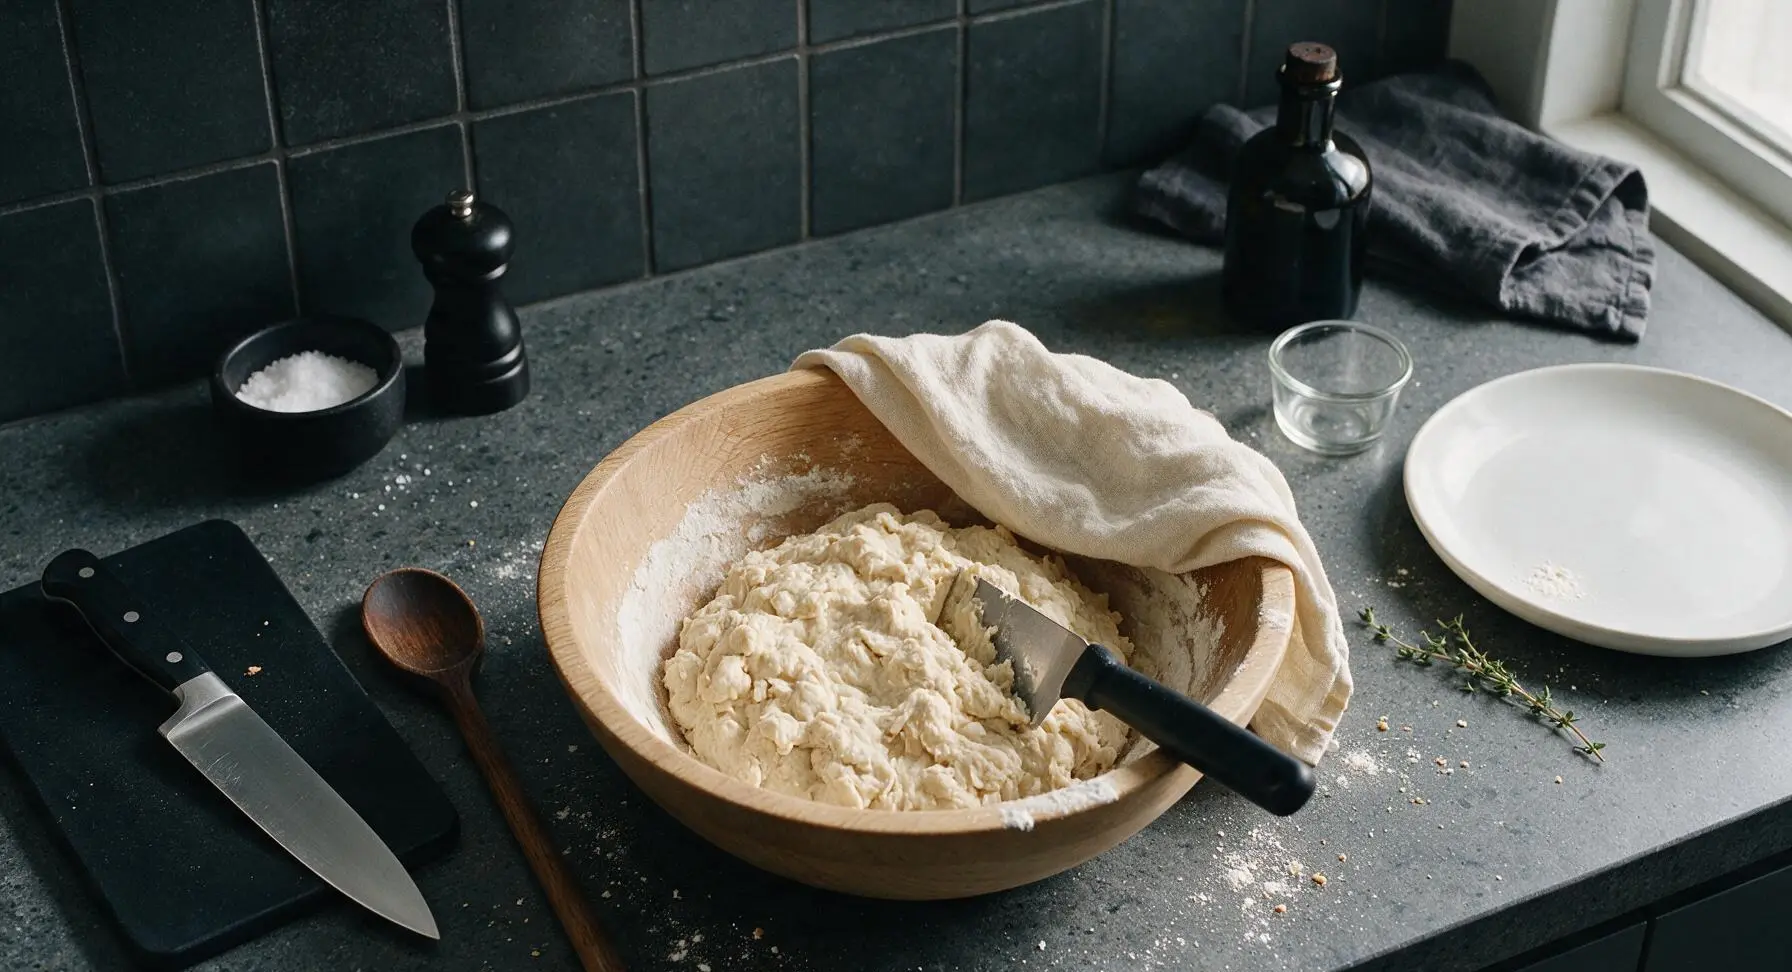
Add 300g lukewarm 90°F (32°C) water, 100g active bubbly sourdough starter, 15g raw honey, and 30g cooled melted unsalted butter to the light oak mixing bowl. Stir with the flexible dough scraper until the starter and honey are fully dissolved into the water. Add 500g bread flour and 10g fine sea salt, stirring until no dry flour pockets remain and a shaggy, sticky dough forms. Cover the bowl loosely with the cream linen towel and let rest for 30 minutes at room temperature (70°F/21°C).
Complete Stretch and Folds
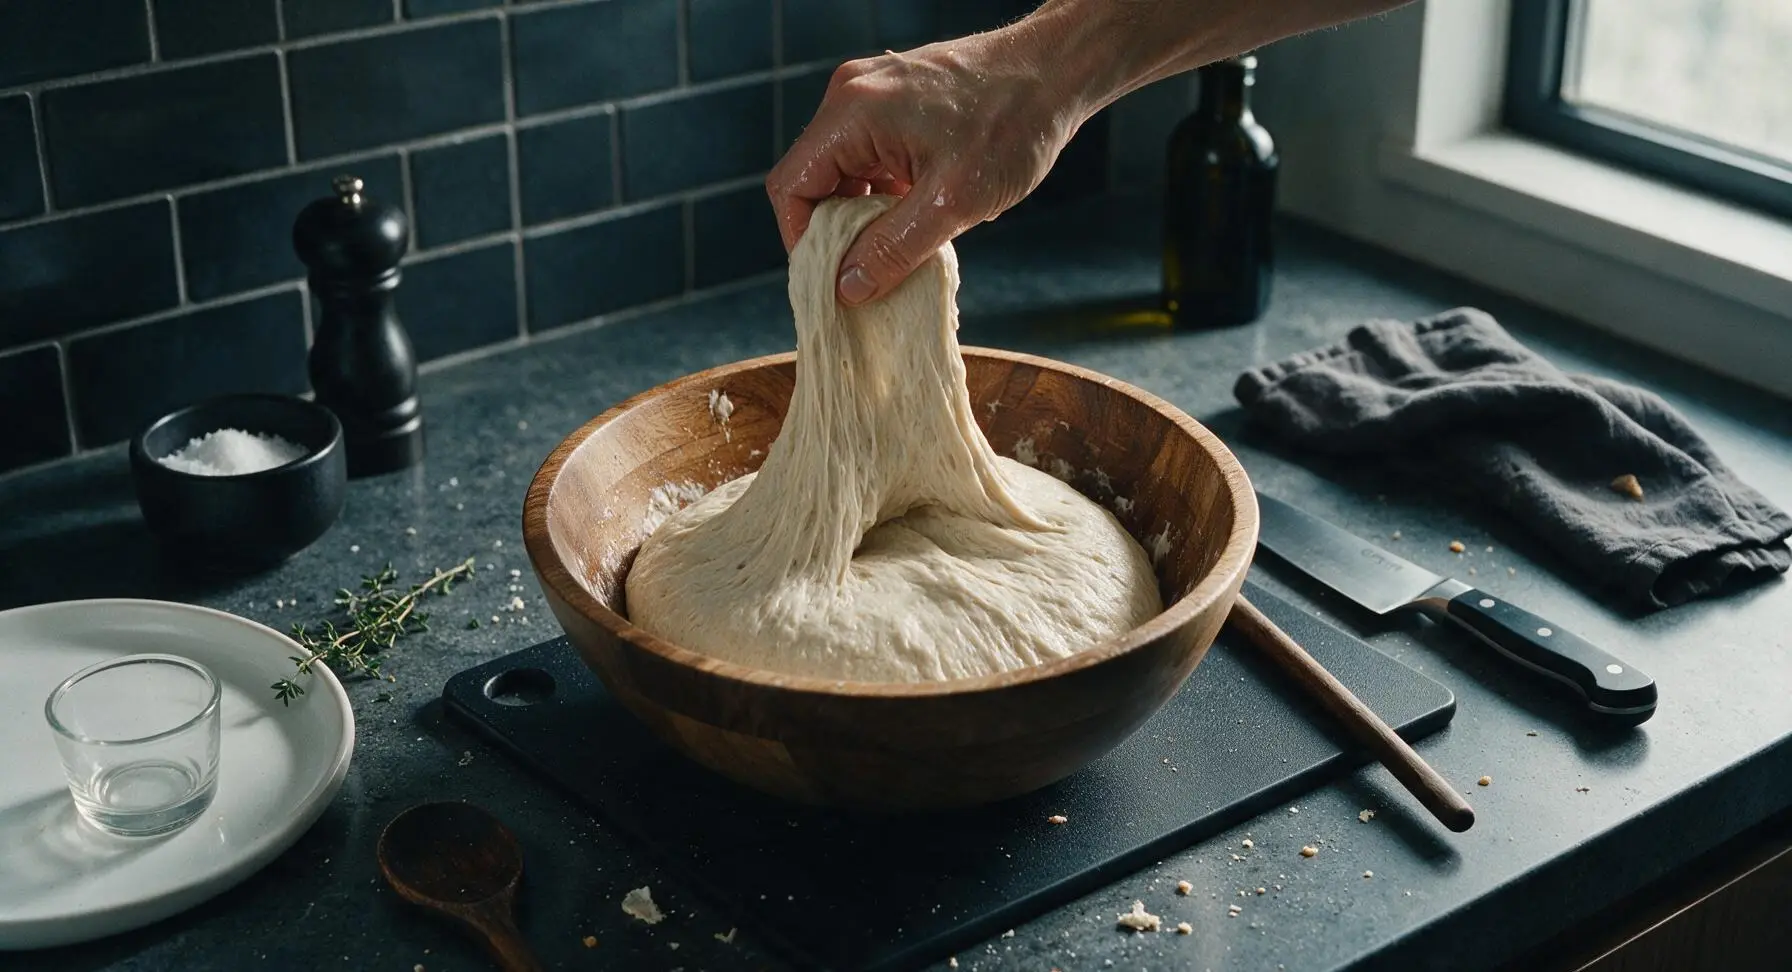
After the 30-minute rest, uncover the dough. Lightly wet your hand to prevent sticking, grab one edge of the dough, lift it until it resists tearing, then fold it over the top of the dough mass. Rotate the bowl a quarter turn and repeat for 4 total folds per set. Perform 3 total sets of stretch and folds, 30 minutes apart, covering the bowl with the linen towel between sets. After the final set, the dough will feel smoother, tighter, and less sticky. Cover and let bulk ferment at room temperature for 4-5 hours, until the dough doubles in volume, jiggles when tapped gently, and has small bubbles visible across its surface.
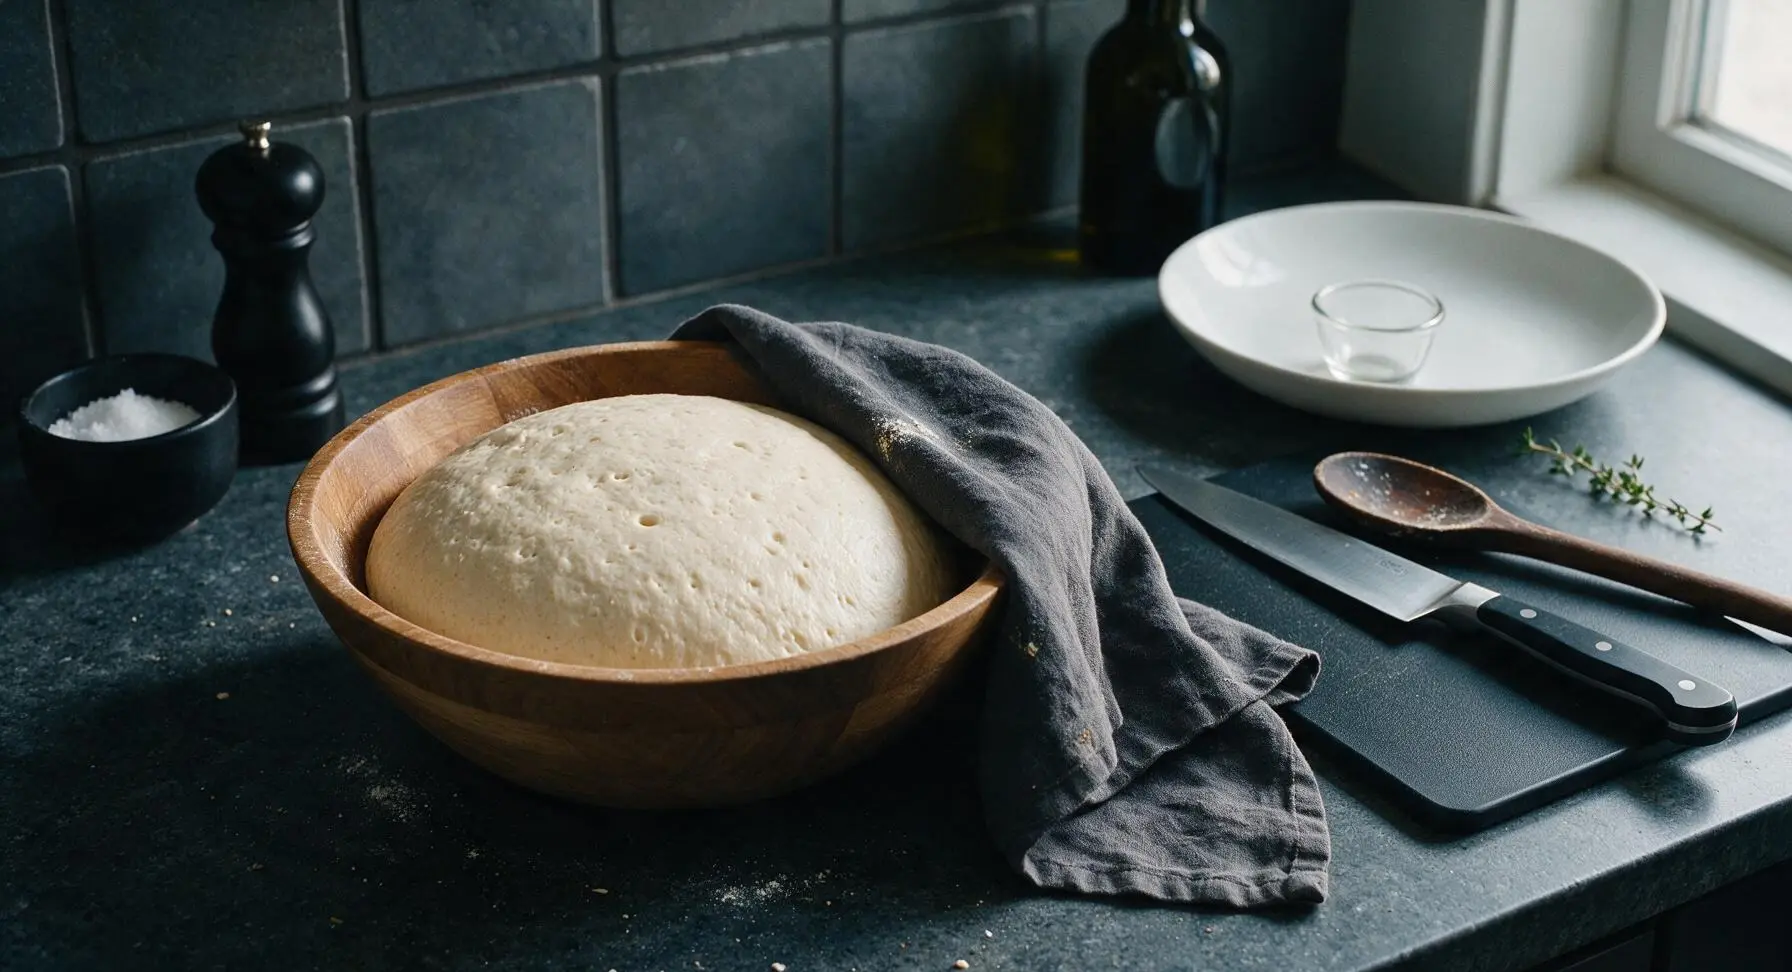
Shape the Loaf
Lightly dust the clean counter space in front of the mixing bowl with a thin layer of flour. Use the flexible dough scraper to gently turn the risen dough out onto the floured surface, taking care not to deflate it completely. Pat the dough into a rough 9x12 inch rectangle, with the short edge facing you. Fold the left third of the dough over the center, then the right third over the top like folding a business letter. Starting at the short edge closest to you, roll the dough tightly into a log, pinching the long seam closed with your fingertips. Tuck the loose ends of the log under to create a smooth, tight loaf shape sized to fit the 9x5 inch Pullman pan.
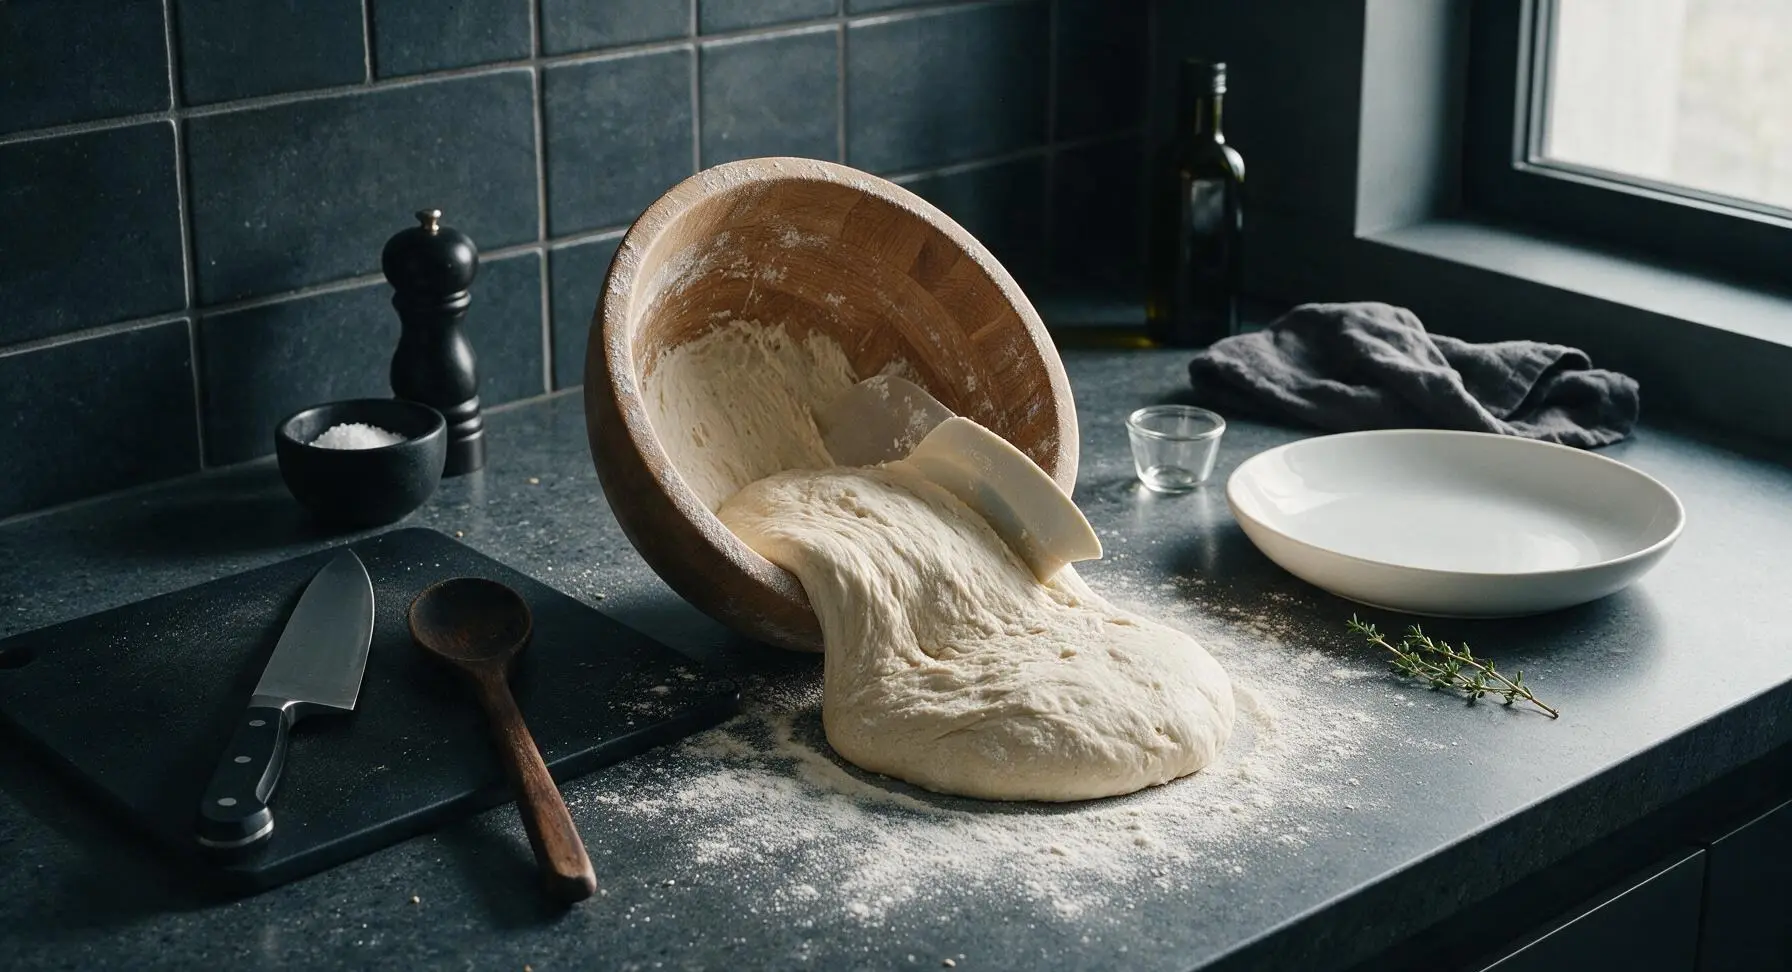
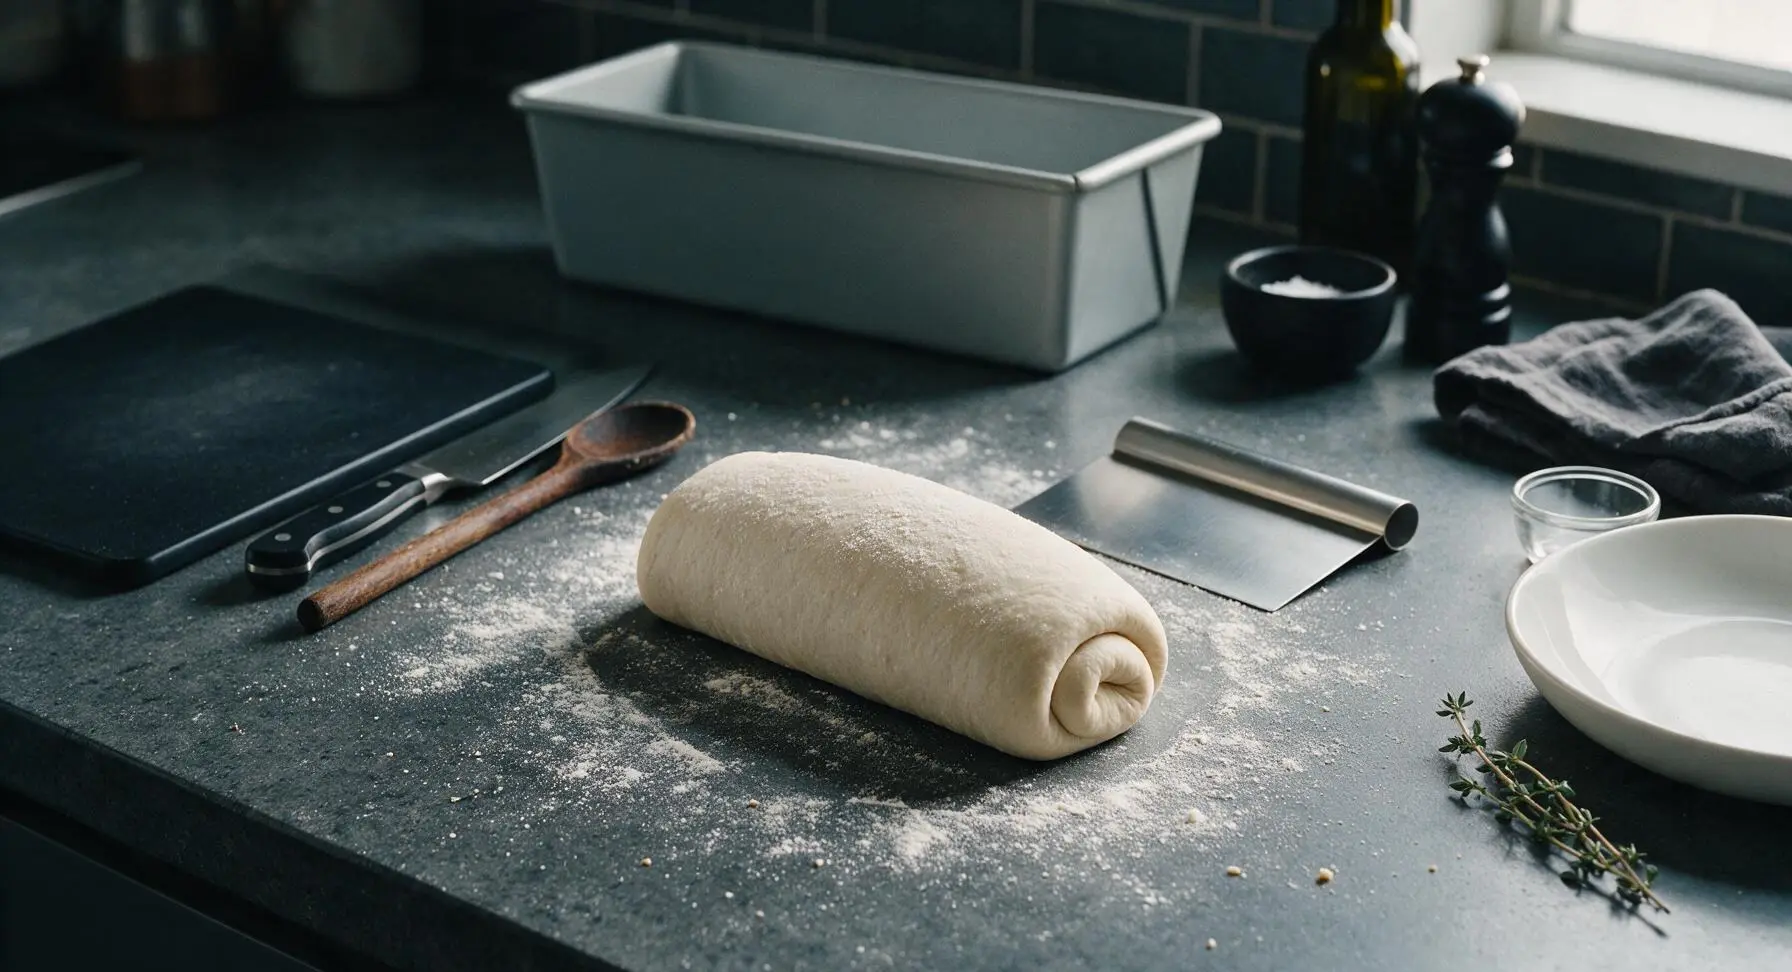
Proof the Shaped Loaf
Gently lift the shaped dough log and place it seam-side down into the light gray 9x5 inch Pullman loaf pan. Cover the pan loosely with the cream linen towel, and let proof at room temperature for 2-3 hours, until the dough rises 1 inch above the pan rim, and a gentle finger indent pressed into the dough springs back slowly halfway. While the dough finishes proofing, preheat your oven to 400°F (200°C) with a rack positioned in the middle.
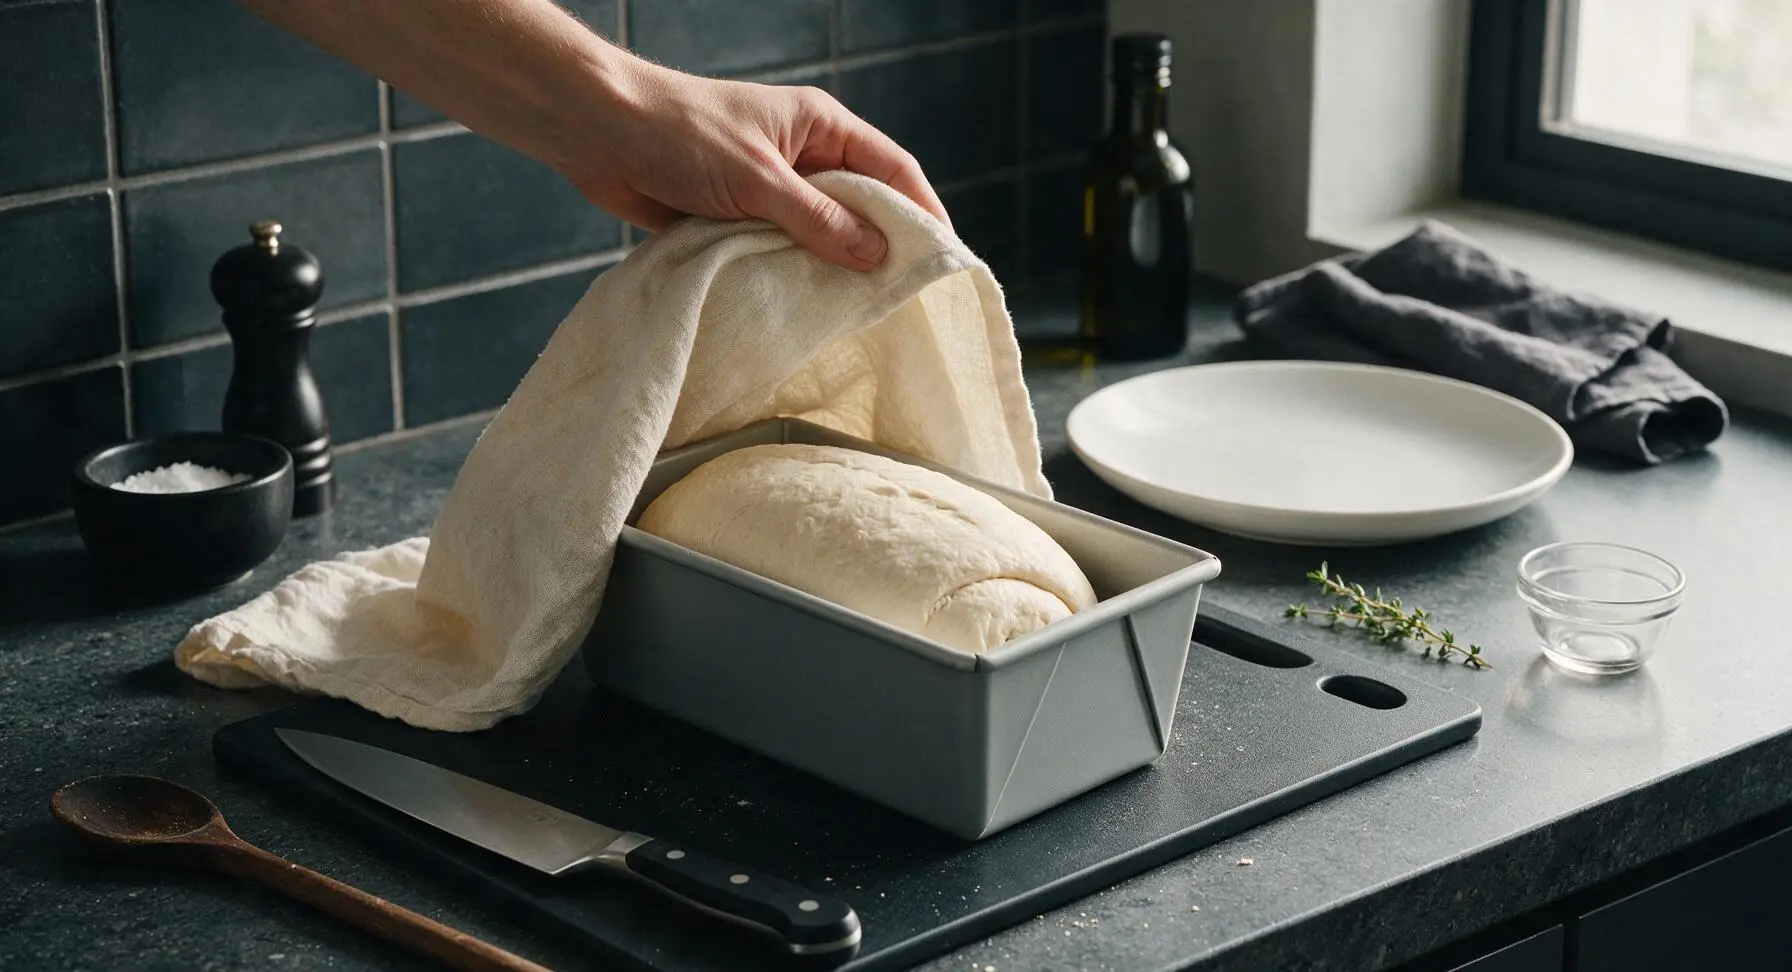
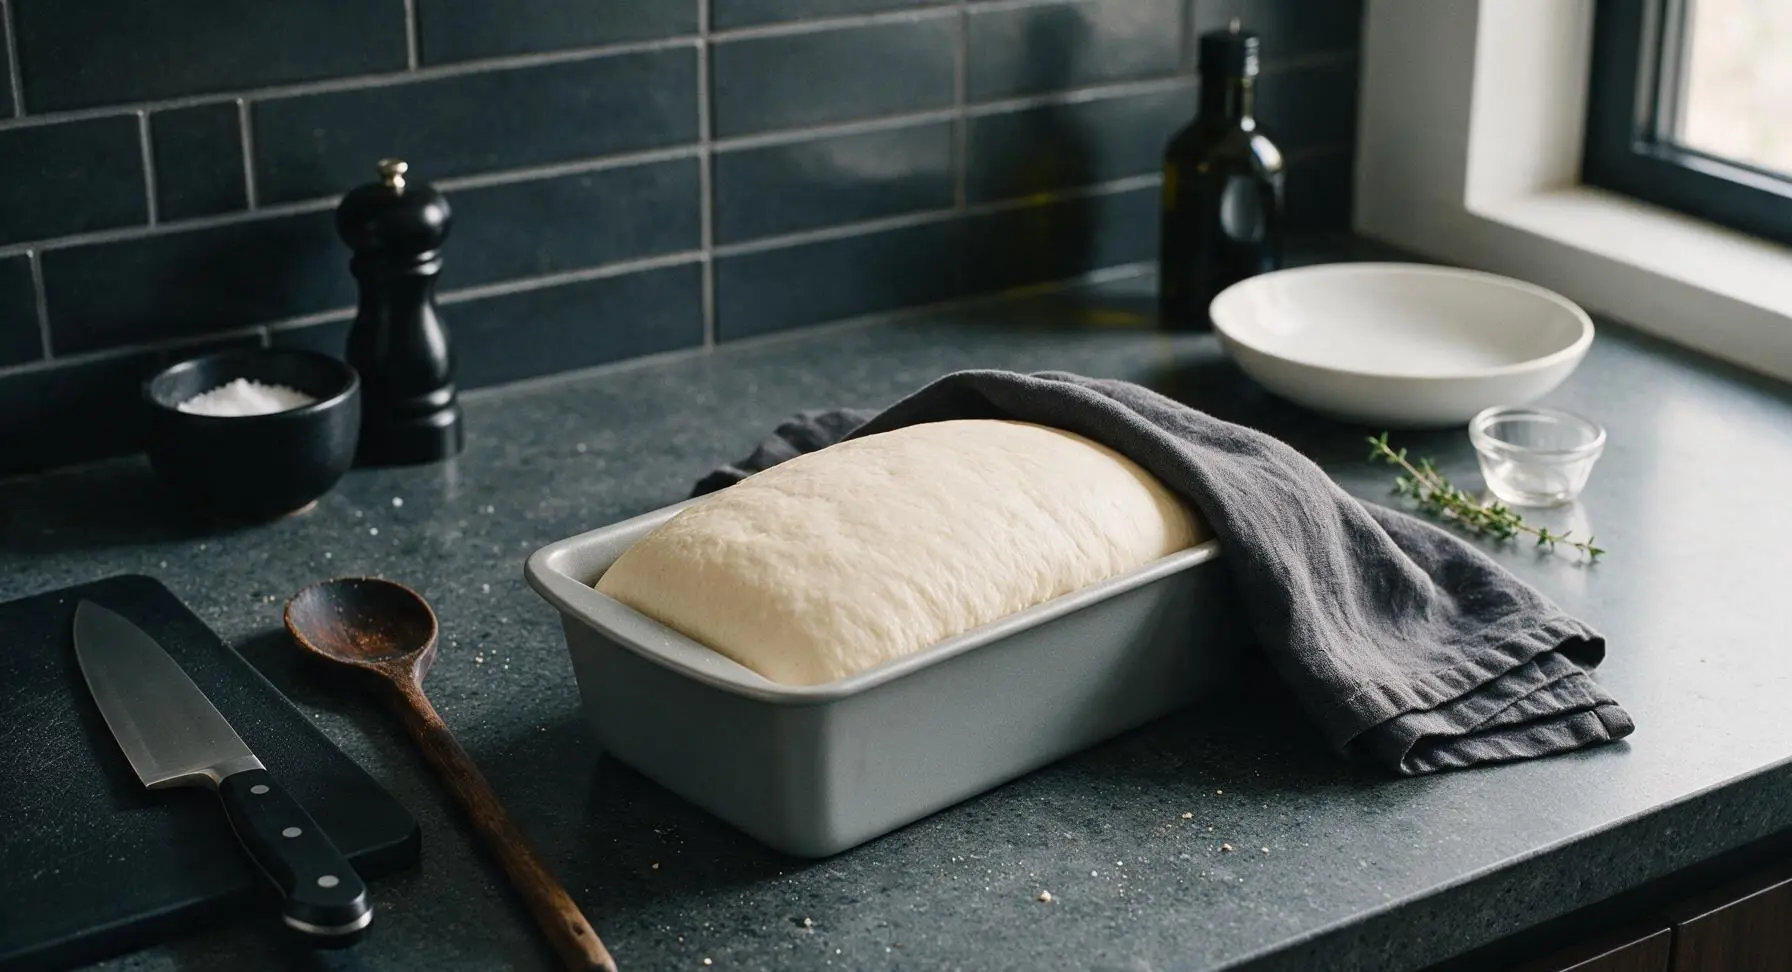
Bake to Golden Brown
Once the dough is fully proofed, remove the linen towel. Place the loaf pan on the middle rack of the preheated 400°F (200°C) oven. Bake for 10 minutes, then lower the oven temperature to 375°F (190°C) and bake for an additional 35 minutes. The finished loaf will have a deep golden brown crust, sound hollow when tapped on the bottom, and register 205-210°F (96-99°C) on an instant-read thermometer.
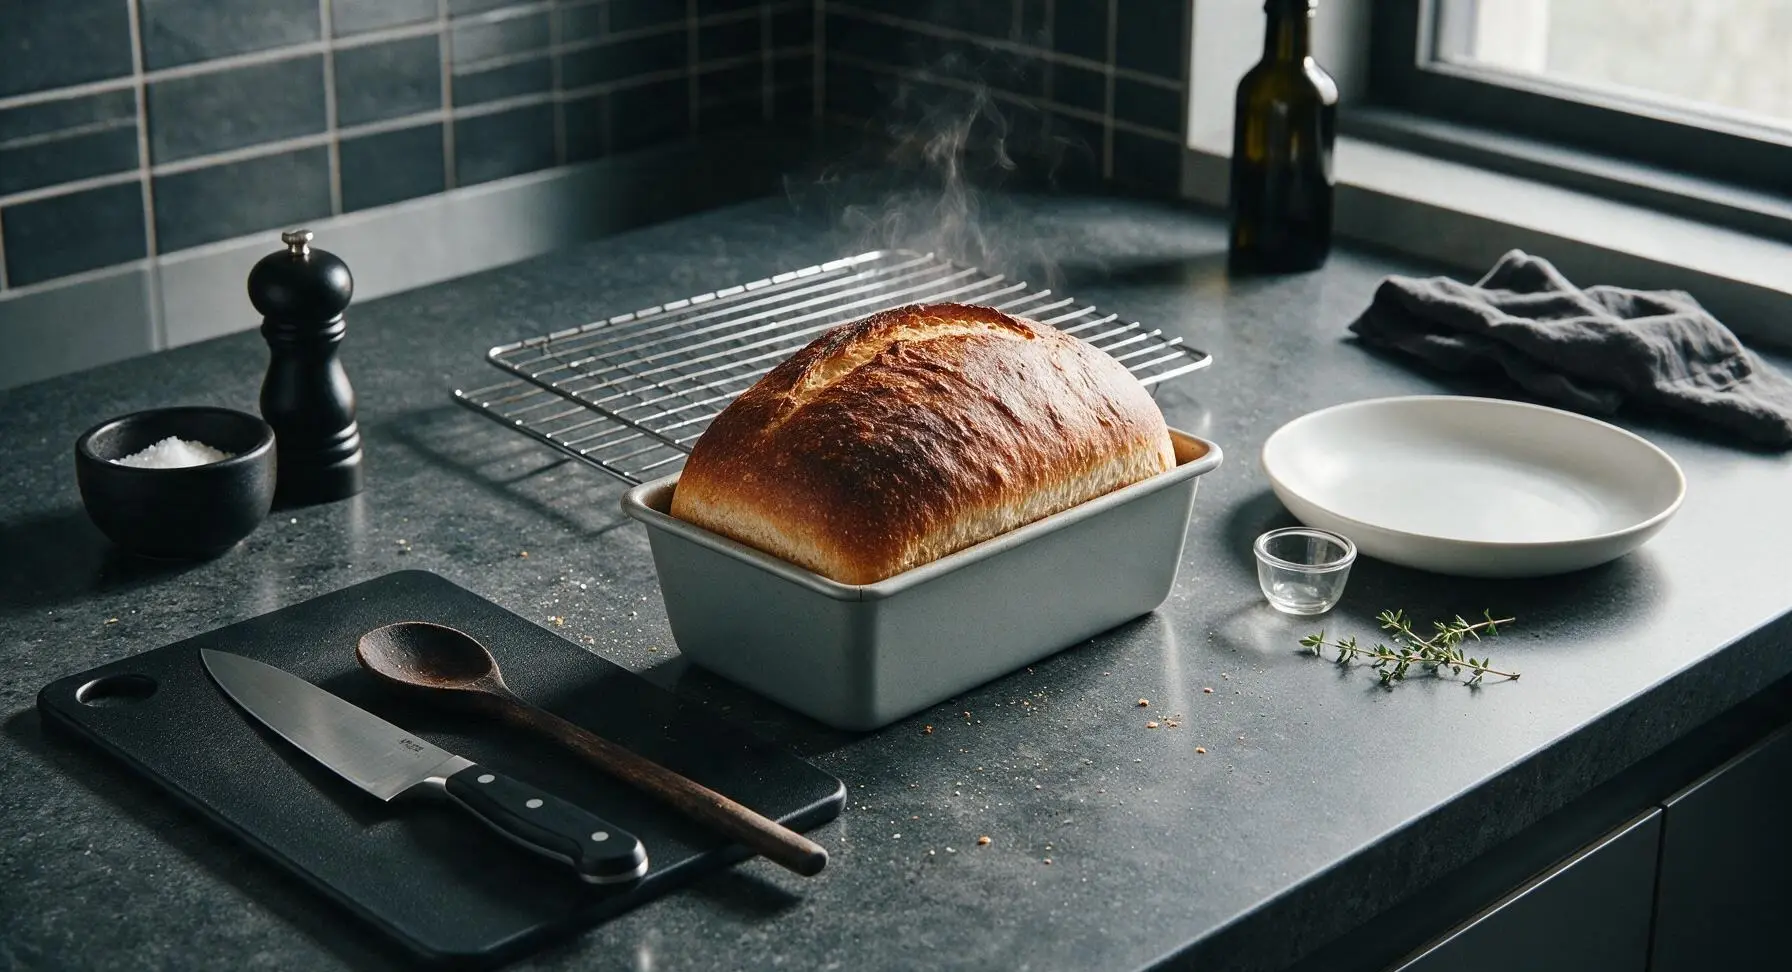
Cool Loaf Completely
Immediately after removing the pan from the oven, use oven mitts to tip the hot loaf out of the pan and transfer it directly to the chrome wire cooling rack. Let the loaf cool completely for a minimum of 2 hours at room temperature before slicing. Cutting warm bread will cause the crumb to compress and turn gummy, so do not rush this critical step.
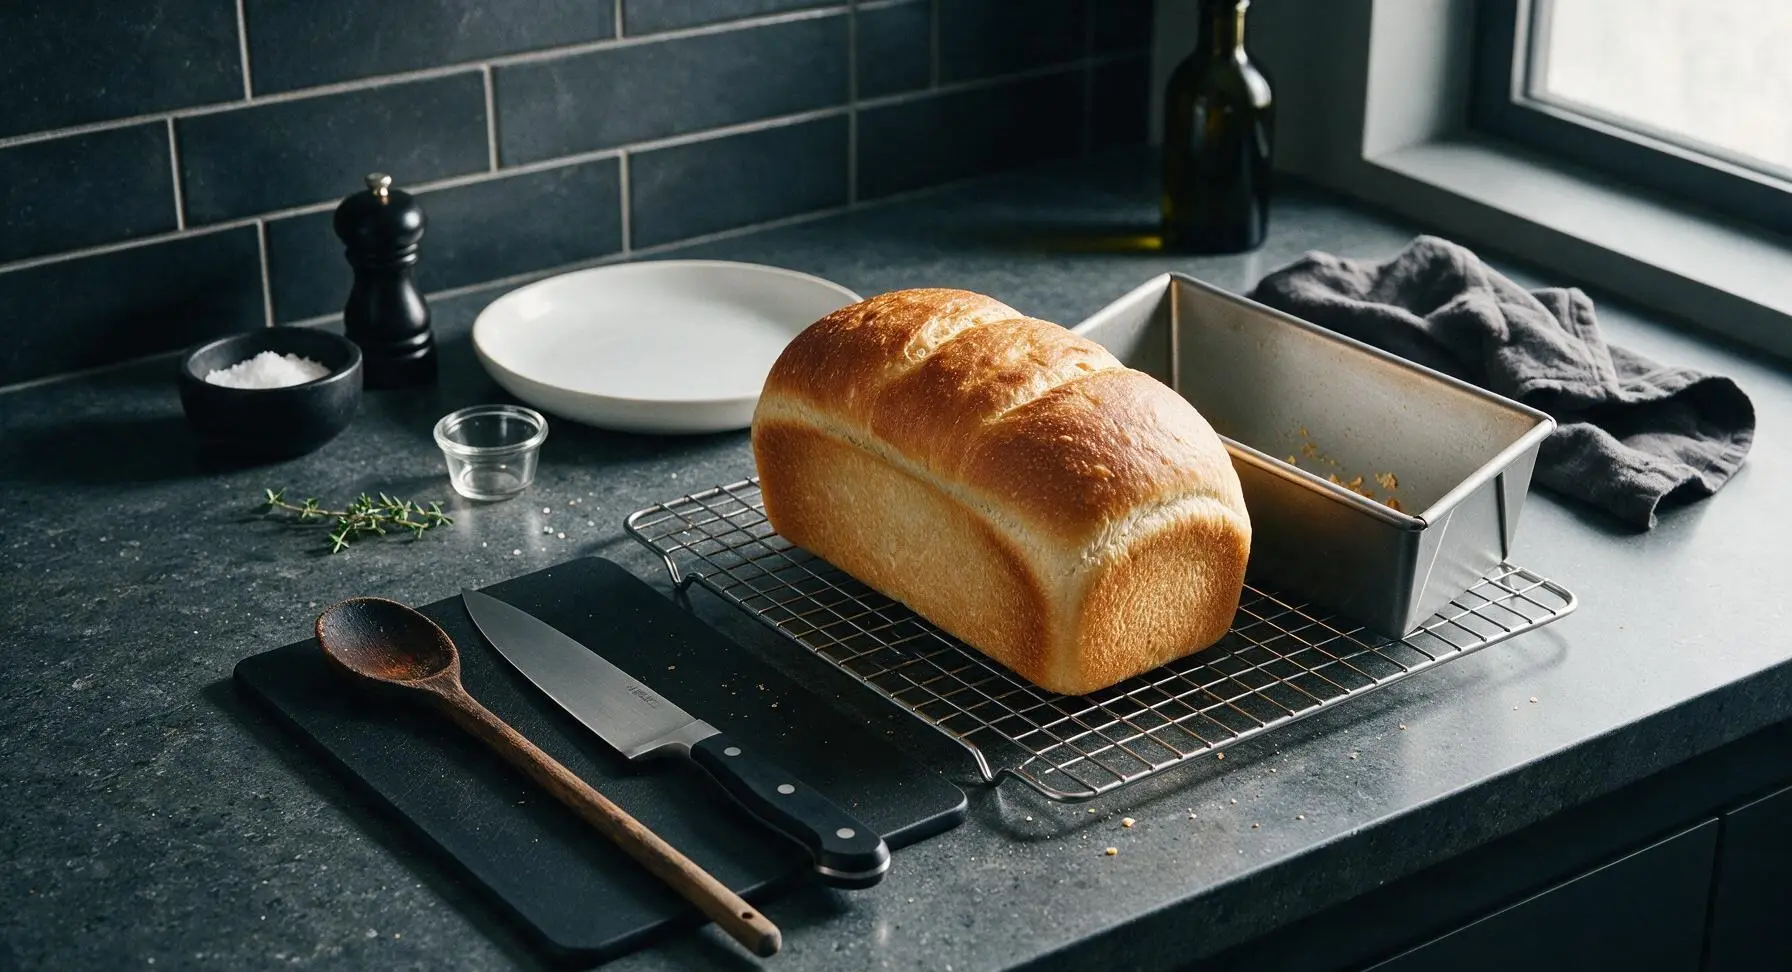
Slice and Serve
Once the loaf is fully cooled to room temperature, transfer it to the matte cream oval serving platter. Use the serrated bread knife to cut even 1/2-inch thick slices. The crumb will be soft, tight, and evenly textured with a mild tangy sourdough flavor. Serve with salted butter, jam, or use for your favorite sandwiches. Store leftover bread wrapped tightly in linen or beeswax wrap at room temperature for up to 5 days, or freeze individual slices for up to 3 months.
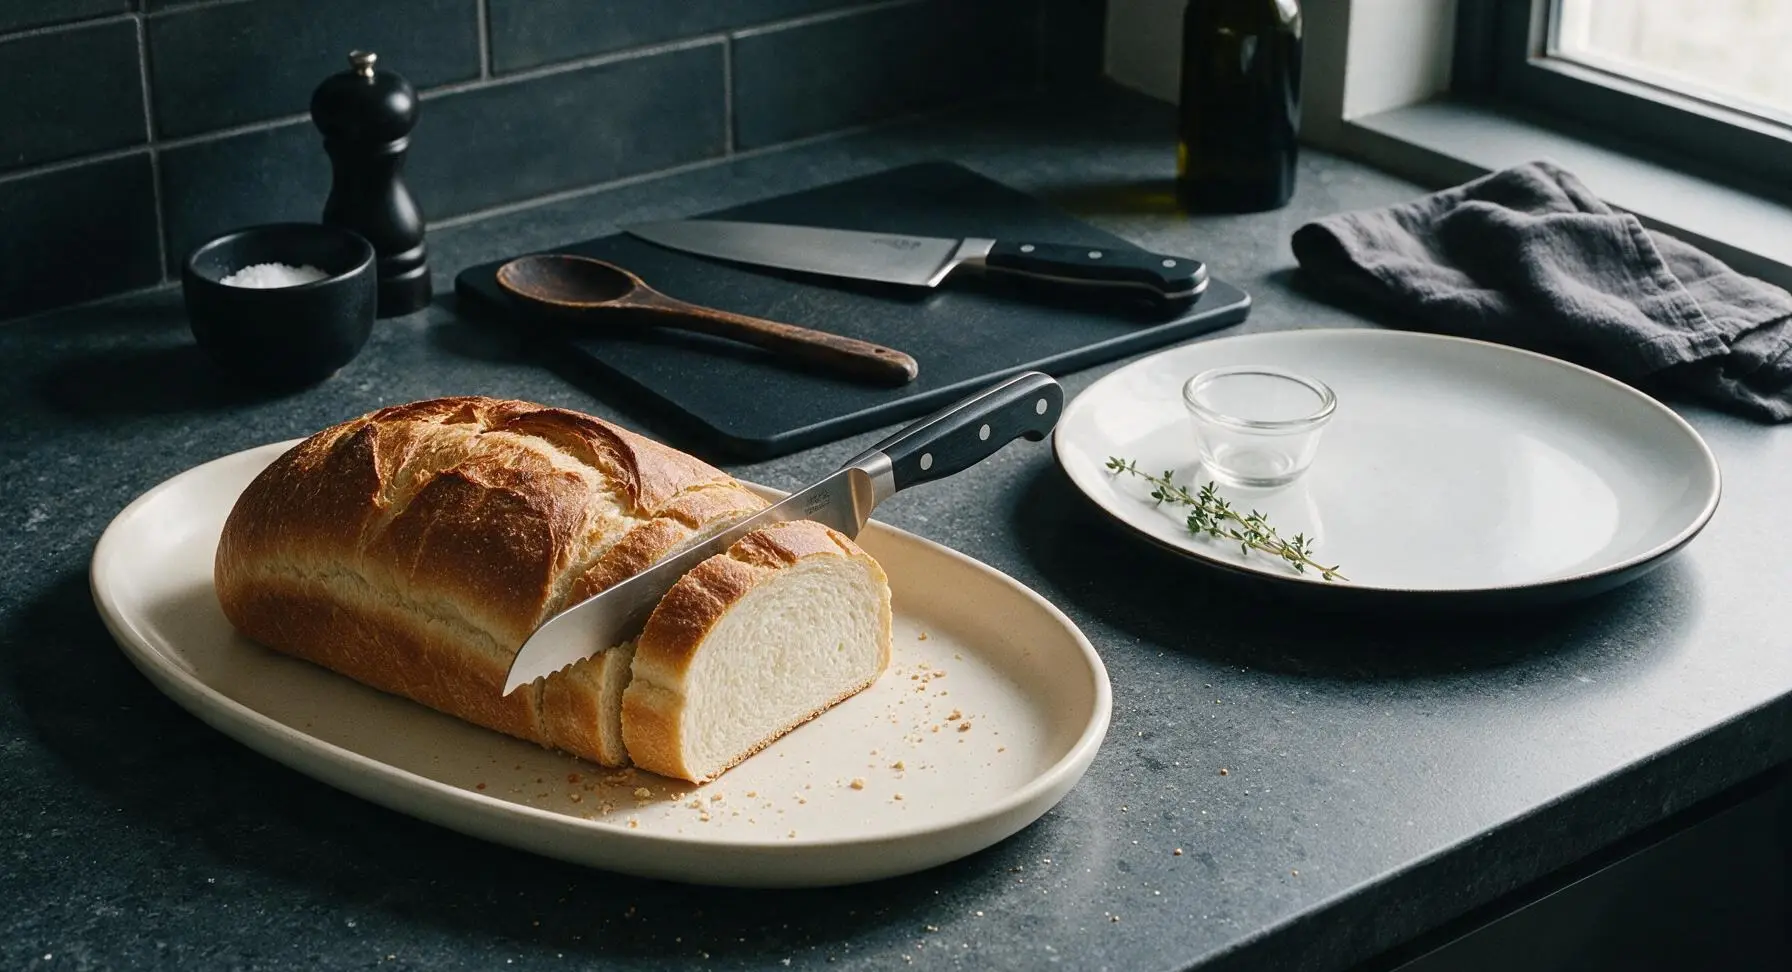
Tips
2.Use high-protein bread flour (12-14% protein content) for this recipe: the stronger gluten network creates the structure needed for a tall, soft loaf that holds its shape without collapsing during proofing or baking, and creates the tight, even crumb perfect for sandwiches.
3.If your autumn kitchen is cooler than 68°F (20°C), place the proofing dough inside your turned-off oven with the interior light on: this creates a consistent 70-75°F (21-24°C) environment for predictable, even fermentation without over-rising or developing an overly sour flavor.






OMG this bread is a total game changer! I’ve been struggling to get a soft sourdough that doesn’t turn into a brick for sandwich use for MONTHS, and this recipe nailed it on the first try. My kids devoured half the loaf after school with peanut butter and jelly, already planning to make a double batch for our neighborhood potluck next weekend.
Solid recipe, but I had to add an extra 2 tbsp of water because my dough was super shaggy and dry even after 10 minutes of kneading. Turned out great once I adjusted that, held up perfectly for turkey avocado sandwiches all week for meal prep.
Is there a good swap for half the all purpose flour to whole wheat? I tried doing a 50/50 swap on my first go and it came out a little denser than I wanted, but I’m trying to slip more whole grains into my family’s lunches. Still tasted amazing, though!
SO good!!! I baked this yesterday and it was the star of our Sunday family dinner — we sliced it thick to dip in minestrone soup, and even my super picky 7 year old asked for a second slice. The crust is perfectly chewy but the inside is so soft, it’s better than the store bought sourdough I used to pay $8 a loaf for!
Okay as someone who has literally never baked bread successfully before in my life, I was so intimidated by the medium difficulty rating, but this came out perfect??? I followed every step exactly, even waited the full rise time even though I was impatient, and I have a beautiful, squishy loaf on my counter right now. I’m so proud of myself lmao.
Tastes great, but my loaf sank a little in the middle when I took it out of the oven. Did I overproof it? I let it rise for 2 hours on the counter because my apartment is pretty warm right now. Still made amazing toast for breakfast this morning, though.
Game changer for weekday lunches! I slice the whole loaf as soon as it cools, pop it in the freezer, and pull out slices as I need them for sandwiches or toast. It stays so soft even after toasting from frozen, no weird freezer burn taste at all. 10/10 will be a weekly bake for me.
Brought this to my office potluck last week and people were literally asking me for the recipe before they even finished their first slice. A couple people thought I bought it from the fancy bakery downtown lmao. The only change I made was adding a little honey butter to the top right when it came out of the oven, *chef’s kiss*.
I was worried this would have that super tough sourdough crust that cuts the roof of your mouth (looking at you, every artisanal loaf I’ve ever bought) but no! The crust is soft and chewy, perfect for little kid mouths too. My 4 year old has been asking for “the squishy bread” for every snack since I made it.
For anyone baking at 5,000ft+ like me: I cut the rise time by about 20 minutes and added an extra tbsp of flour, and it turned out perfect! First sourdough loaf I haven’t completely messed up since moving to Colorado, so I’m calling that a win.
Made this vegan by swapping the honey for maple syrup and using plant based butter to brush the top, and it came out exactly as described! Super soft, great tang, held up perfectly for hummus and veggie sandwiches for my lunch all week. Will definitely be making this on repeat.
Just pulled my very first loaf out of the oven an hour ago and I’m already obsessed! Quick question though — how long does this stay fresh stored on the counter? I want to bring a loaf to my book club next week and I’m trying to figure out when to bake it so it’s perfectly soft for everyone.