
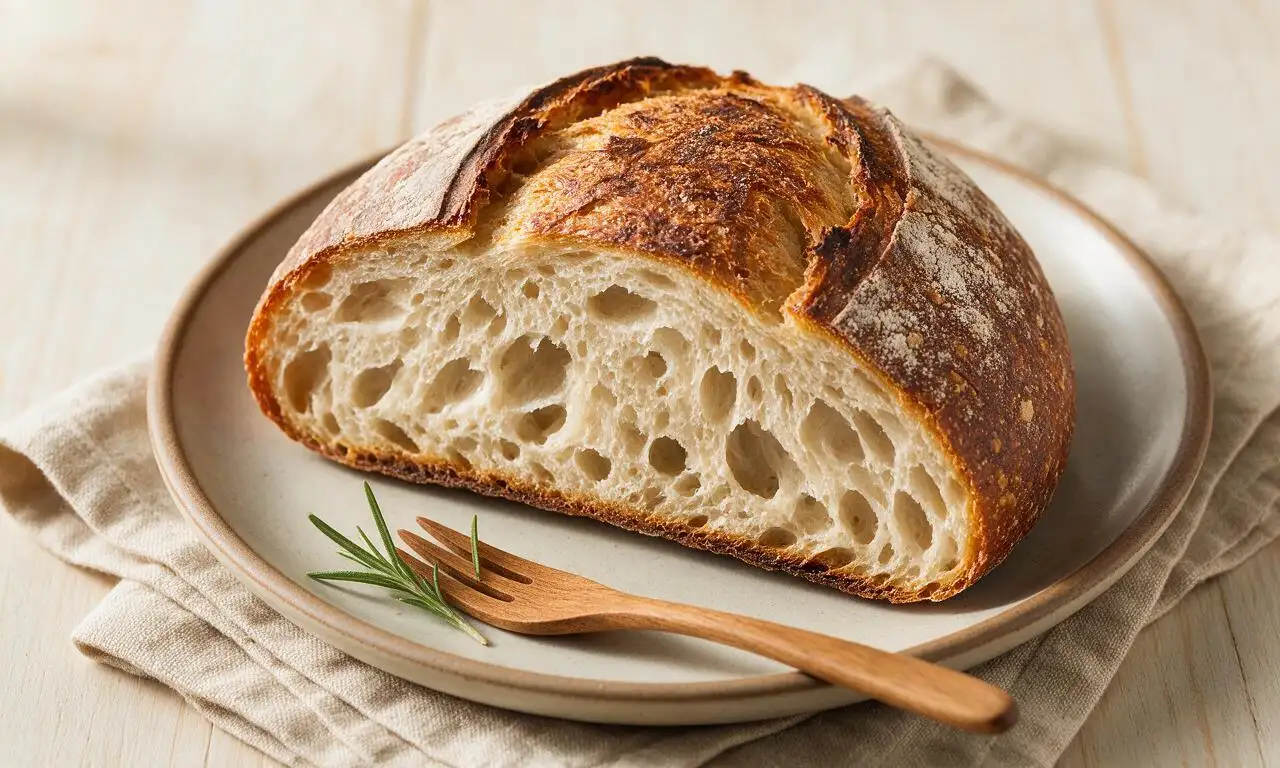
Sourdough (SF)

title 1
Sourdough (SF)
⏱️ cook time 23.5 hours (85 minutes total active prep/bake, 22 hours slow fermentation and cooling)
🍽️ servings 8
⚡ Difficulty hard

intro

Tangy, crisp-crusted San Francisco sourdough with a chewy, open crumb, leavened with wild yeast for that iconic Gold Rush-era Bay Area flavor.

Ingredients

High-protein bread flour (12-14% protein) 500g (4 cups)
Mature 100% hydration sourdough starter (fed 4-6 hours prior, bubbly) 100g (scant 1/2 cup)
Lukewarm filtered water 375g (1.5 cups, 32°C/90°F)
Fine sea salt 10g (2 teaspoons)
White rice flour (for dusting) 15g (2 tablespoons)

Steps

1

Mix autolyse base

In a large non-reactive glass or ceramic bowl, combine 500g high-protein (12-14%) bread flour and 375g lukewarm (32°C/90°F) filtered water, stirring with a stiff spatula until no dry flour pockets remain. Cover the bowl with a damp cotton tea towel and let rest for 60 minutes at a steady room temperature of 21°C/70°F to build gluten strength before adding starter or salt.
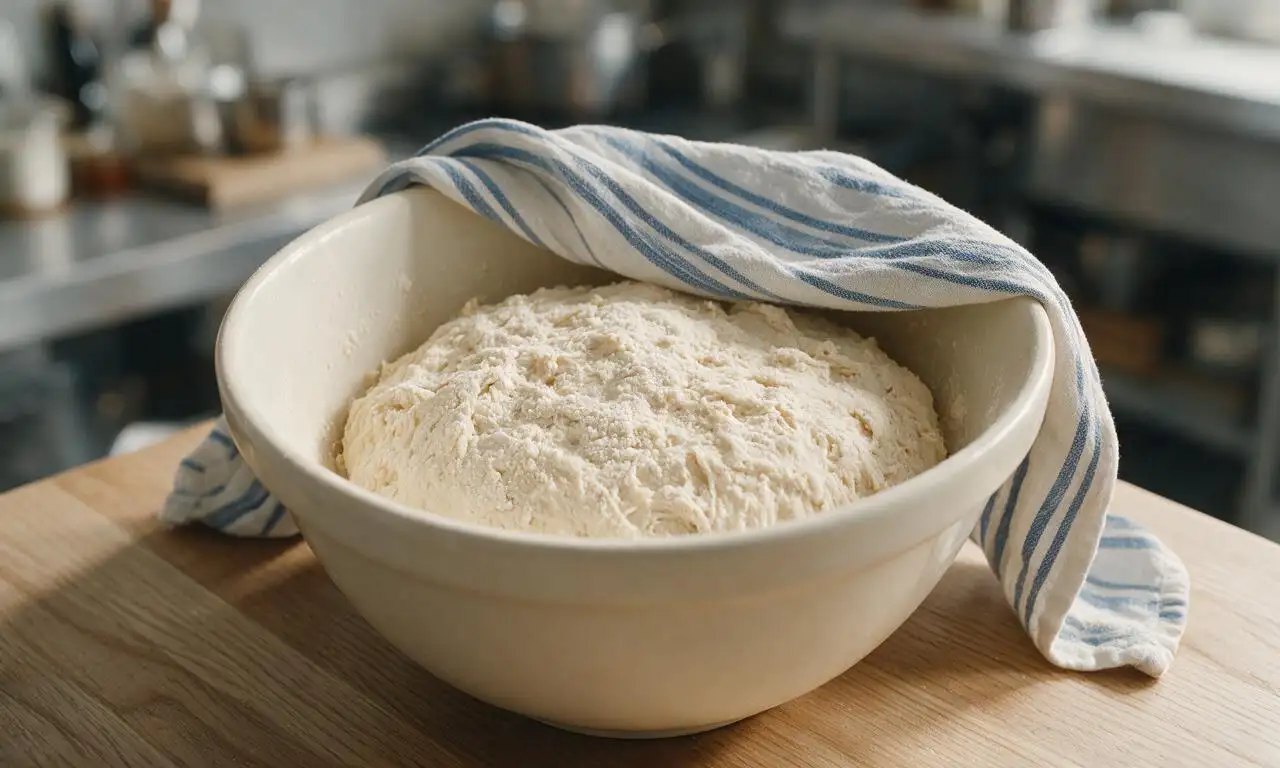
Step 1
step1:Mix autolyse base
2

Incorporate starter and salt

Uncover the rested autolysed dough, add 100g bubbly, peak-risen mature sourdough starter and 10g fine sea salt. Use wet hands to pinch and fold the dough repeatedly for 3 to 4 minutes until starter and salt are fully integrated, and the dough pulls slightly away from the bowl sides as you work. Re-cover with the damp tea towel.
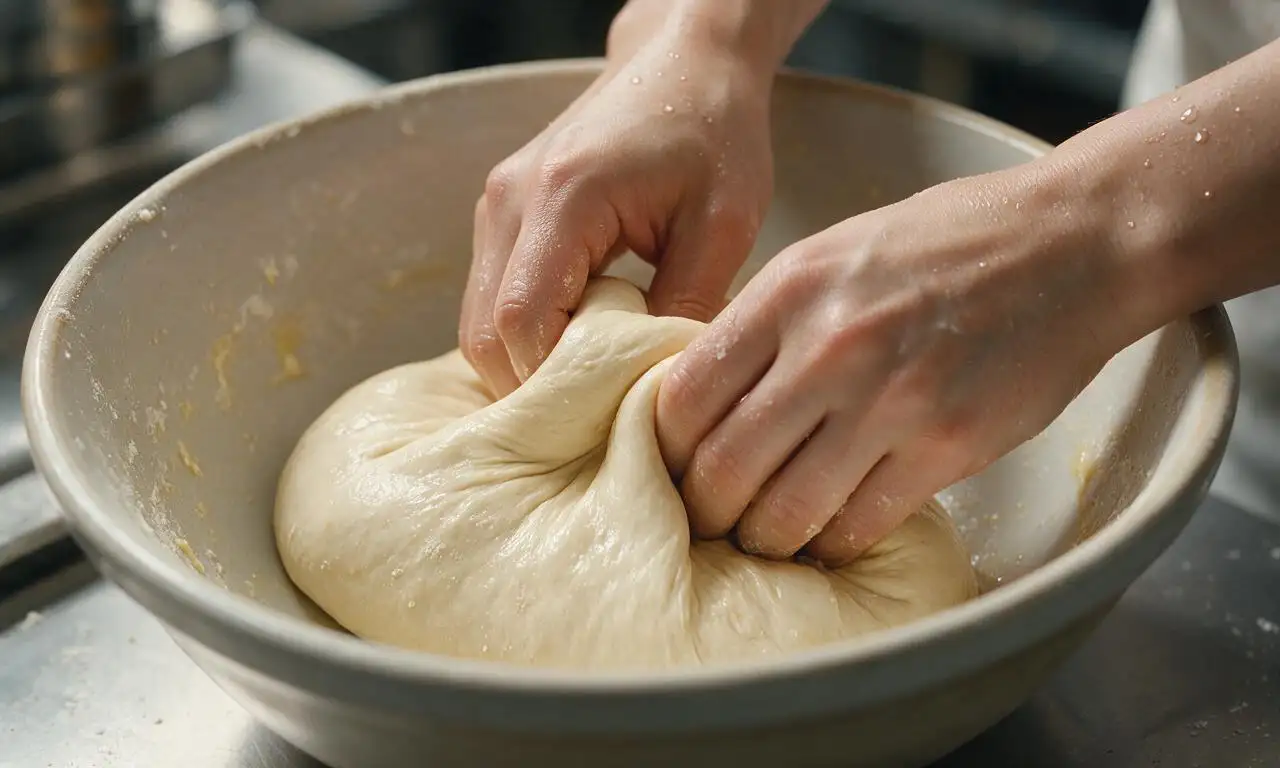
Step 2
step2:Incorporate starter and salt
3

Complete bulk fermentation

Keep the covered dough at 21°C/70°F for 4.5 hours total bulk rise. For the first 2 hours, perform one set of stretch and folds every 30 minutes (4 total sets): grip one edge of the dough, pull it upward gently until it resists tearing, then fold it over the dough top, rotating the bowl a quarter turn after each fold. After the final fold, let the dough rest undisturbed for the remaining 2.5 hours, until it grows by 50% in volume, shows small surface bubbles, and jiggles slightly when you tap the bowl side.
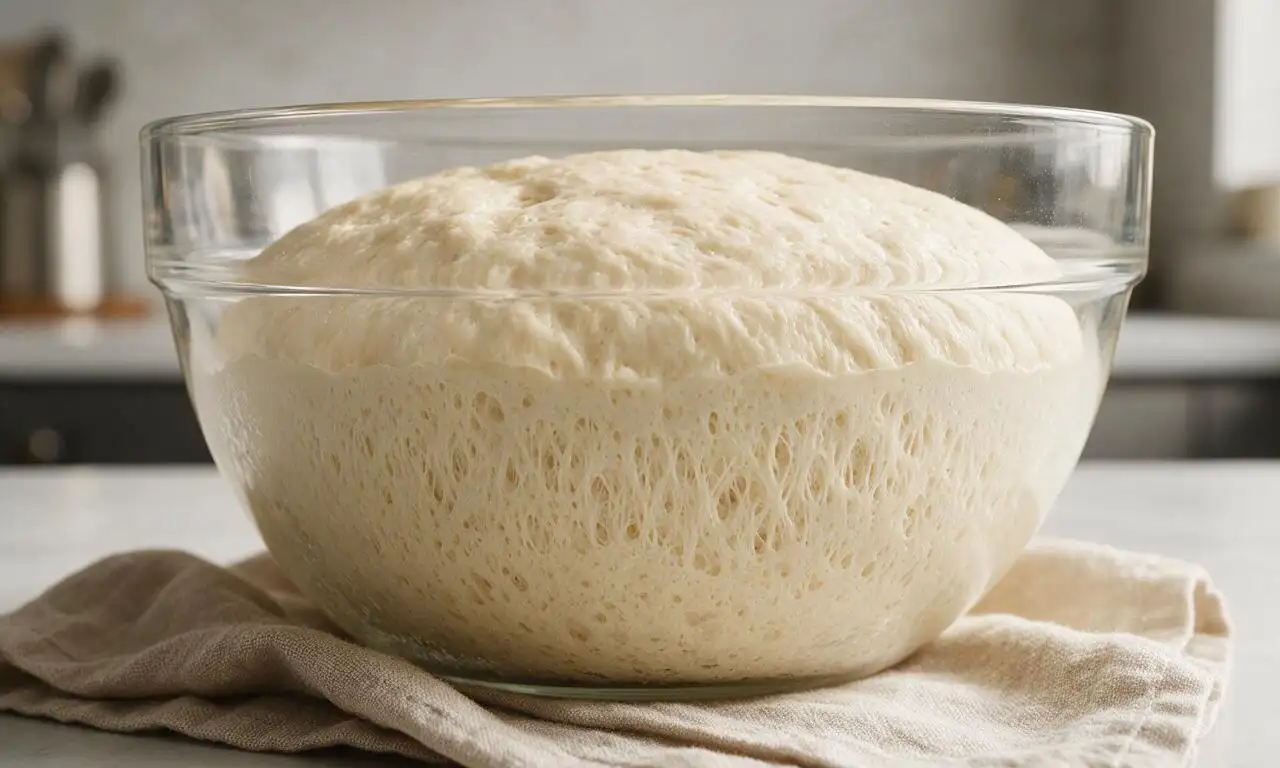
Step 3
step3:Complete bulk fermentation
4

Shape and cold proof

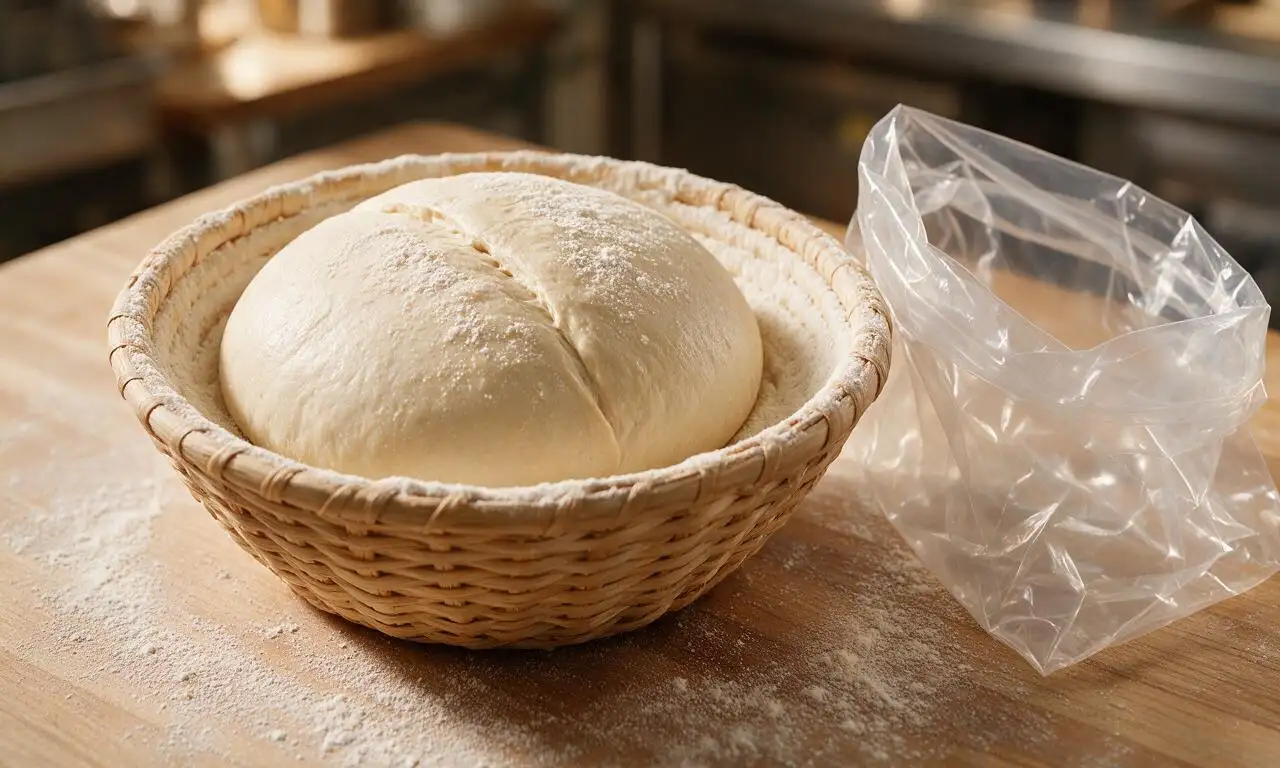
Lightly dust a clean work surface with 7.5g (1 tbsp) white rice flour, gently turn the risen dough out onto the surface, and shape into a tight round boule: fold the four outer edges of the dough into the center, then flip the dough seam-side down and drag it across the counter with cupped hands to build smooth, tight surface tension. Dust a 23cm (9-inch) round wicker banneton proofing basket with the remaining 7.5g (1 tbsp) rice flour, set the dough seam-side up in the basket, tuck into a sealed plastic bag, and refrigerate at 4°C/39°F for 16 hours (overnight) to develop the signature tangy San Francisco flavor.
Step 4
step4:Shape and cold proof
5

Preheat and score loaf

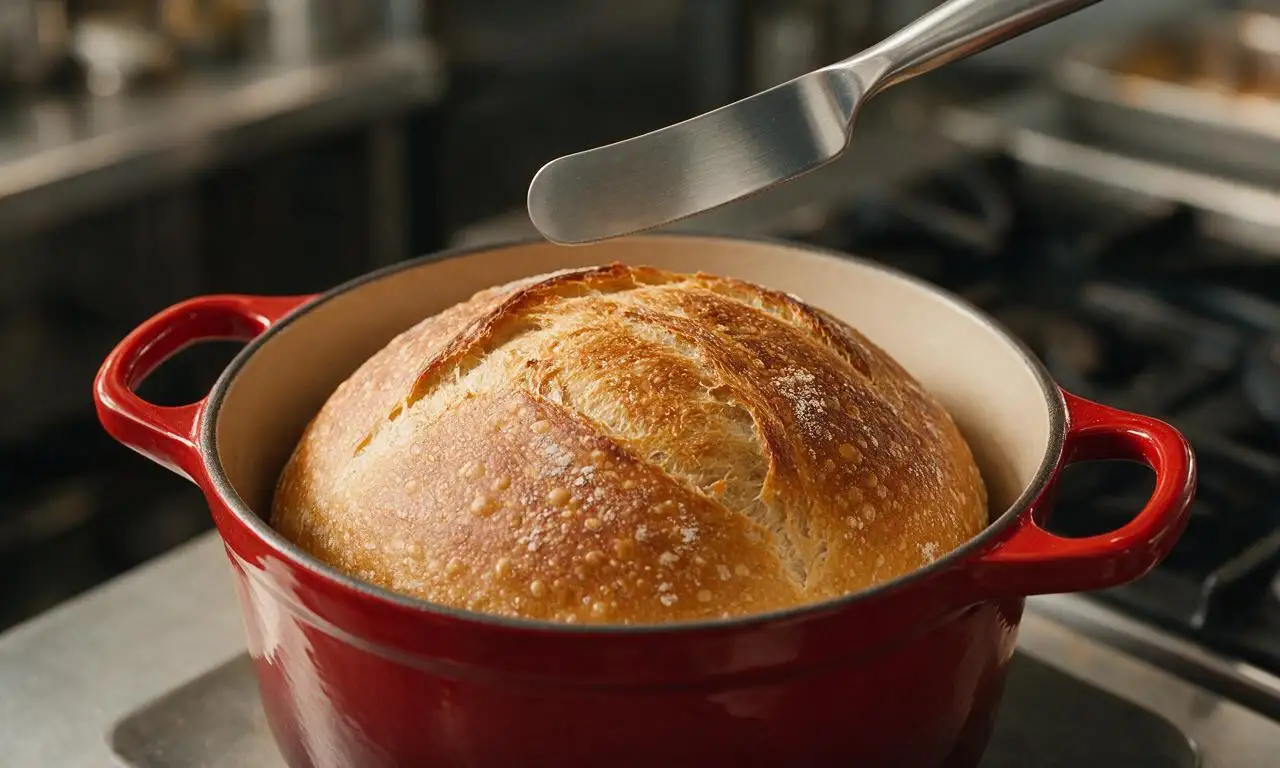
After 15.25 hours of cold proofing, place a 5.2L (5.5-quart) enameled cast iron Dutch oven with its lid on the middle oven rack, and preheat the oven to 245°C/475°F for 45 minutes (this overlaps with the final 45 minutes of cold proof to save time). Carefully pull the hot Dutch oven out, tip the proofed dough seam-side down into the pot (the floured seam becomes the loaf top), and use a sharp, floured bread lame to score a single 15cm (6-inch) long, 6mm (1/4-inch) deep diagonal slash across the loaf top to allow controlled oven spring.
Step 5
step5:Preheat and score loaf
6

Bake to crisp crust

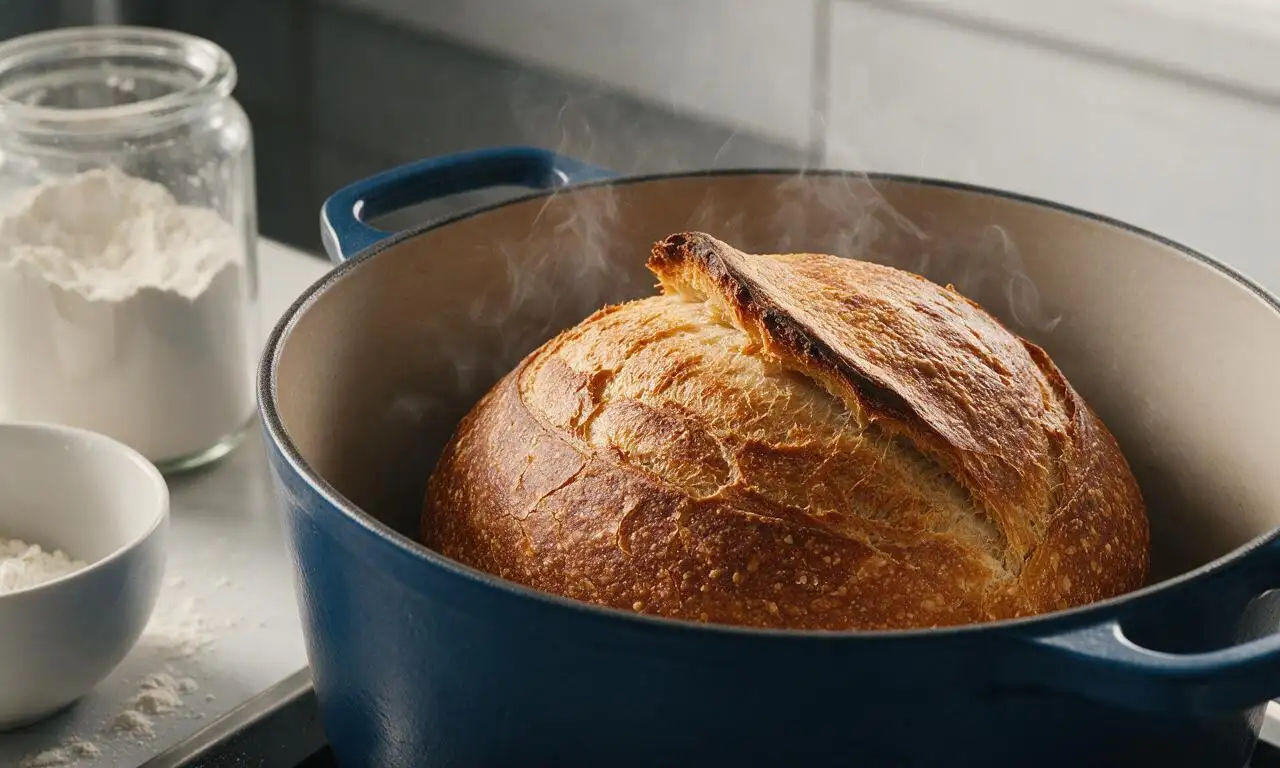
Secure the Dutch oven lid, return the pot to the oven, and bake covered for 25 minutes at 245°C/475°F to trap steam for maximum oven spring. Carefully remove the lid (watch for escaping hot steam), reduce the oven temperature to 230°C/450°F, and bake uncovered for 22 more minutes, until the crust is a deep, caramelized golden-brown and the loaf’s internal temperature reads 96°C/205°F on an instant-read thermometer.
Step 6
step6:Bake to crisp crust
7

Cool fully before slicing

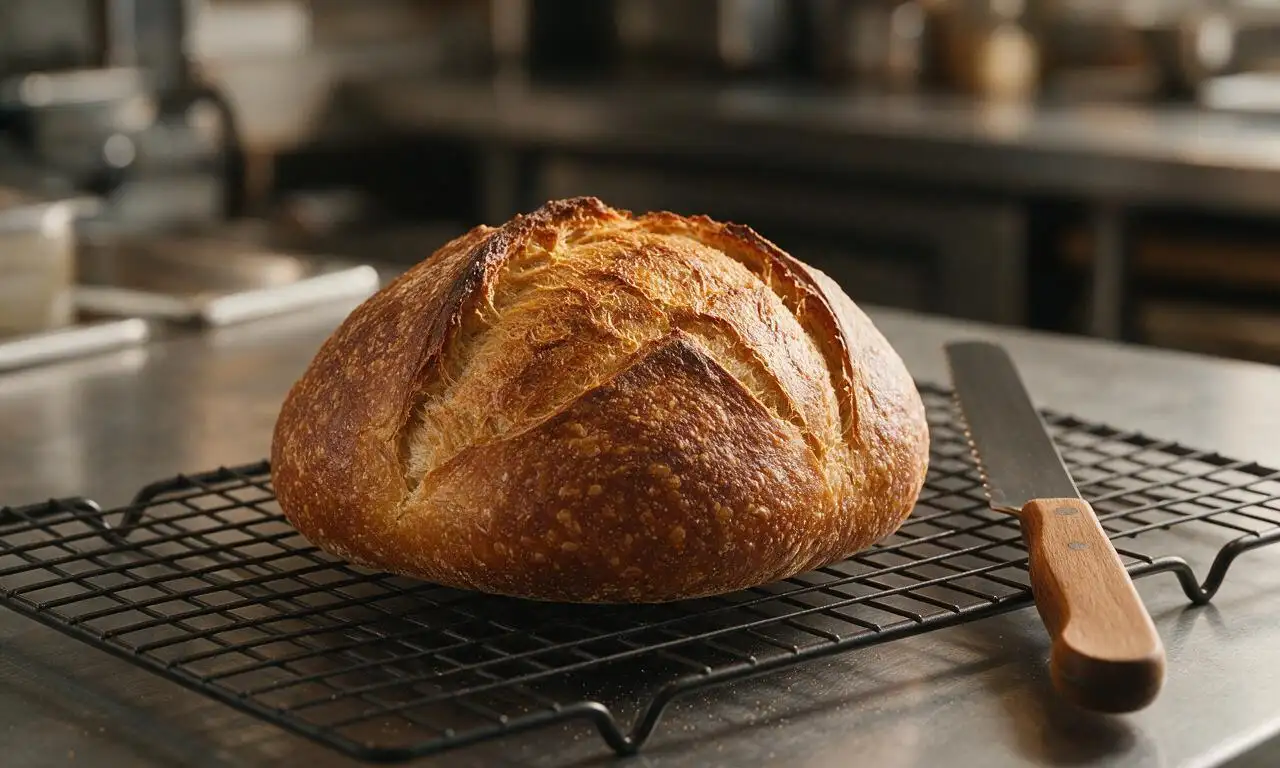
Use heat-resistant oven mitts to transfer the baked loaf from the Dutch oven to a wire cooling rack. Let the loaf rest completely uncovered for 2 full hours at room temperature before slicing, to allow the internal crumb to set fully and avoid gummy, compressed slices.
Step 7
step7:Cool fully before slicing

Tips

1.Do not use all-purpose flour for this recipe: high-protein bread flour is required to build the strong gluten network needed to trap gas from the wild starter and create an open, chewy crumb.
2.Use white rice flour instead of bread flour for dusting your banneton and work surface: it does not absorb into the dough, prevents sticking without leaving a raw, floury residue on the finished crust, and works perfectly for high-hydration sourdough.
3.Resist the urge to slice the loaf hot: the 2-hour cool down allows the gelatinized starch in the crumb to set, so slices hold their shape instead of turning gummy or dense when cut too early.


✨ You May Also Like

Desserts & Baking
🍜 Italy

Creamy, coffee-kissed classic Northern Italian no-bake dessert, with layers of rum-spiked mascarpone cream, soft ladyfingers, and a rich cocoa dusting.

⏱️ 4 hours 3Desserts & Baking ★ 4.7
Desserts & Baking
🍜 France

Flaky, shatteringly crisp, buttery French croissants with golden exteriors and soft, airy layered interiors, perfect for pairing with coffee for a special morning treat.

⏱️ 12 hours Desserts & Baking ★ 4.5
Desserts & Baking
🍜 United States

Warm, spiced baked apples topped with a fluffy golden biscuit crust, this cozy dessert pairs perfectly with vanilla ice cream for cool-weather comfort.

⏱️ 55 minuteDesserts & Baking ★ 4.6
Desserts & Baking
🍜 United States

A star-spangled classic American blueberry pie with buttery flaky crust and bright sweet-tart filling, perfect for summer patriotic gatherings.

⏱️ 1 hour 25Desserts & Baking ★ 4.7
Desserts & Baking
🍜 United States

A beloved no-bake regional Maine candy with a chewy coconut-potato center coated in rich dark chocolate, a New England holiday staple since the 1870s.

⏱️ 2 hours 3Desserts & Baking ★ 4.8
Desserts & Baking
🍜 France

Luxuriously creamy, floral frozen custard made with aromatic Tahitian vanilla beans, boasting a smooth, rich texture that melts slowly on the tongue.

⏱️ 3 hours 3Desserts & Baking ★ 4.5

Sourdough (SF):Frequently Asked Questions

1.Can I use all-purpose flour instead of high-protein bread flour for this recipe? ▾
You can, but you won’t get that signature chewy, open crumb and crisp, sturdy crust that defines classic SF sourdough. All-purpose flour only has 10-11% protein, so it can’t trap as much wild yeast gas during fermentation. If you substitute, add 2 tablespoons of vital wheat gluten per cup of AP flour to hit that 12-14% protein target, and expect a slightly softer crumb.
2.How do I know my sourdough starter is mature and active enough to use for this bread? ▾
Your starter is ready when it has doubled or tripled in volume 4-6 hours after feeding, is full of tight, bubbly pockets across its surface and throughout, and passes the float test: drop a 1-teaspoon dollop into room-temperature water, and it should float immediately. If it sinks, give it 1-2 more hours to ferment, or feed it once more before mixing your dough.
3.Why do you recommend white rice flour for dusting instead of regular wheat flour? ▾
White rice flour doesn’t absorb into the dough surface the way wheat flour does, so it won’t leave a dry, powdery crust on your finished loaf or stick to your banneton or baking stone even during long, cool proofing. It also creates a slightly crispier, more evenly blistered crust than wheat flour dusting, which is a hallmark of classic SF-style sourdough.
4.The recipe calls for fine sea salt—can I use table salt instead, or cut back on salt for a lower-sodium loaf? ▾
Fine sea salt dissolves evenly into the dough to regulate wild yeast activity, boost that signature tangy flavor, and round out the bread’s overall taste. You can substitute table salt, but use 25% less by volume since table salt is denser than sea salt. You can reduce salt by up to 25% for lower-sodium loaves, but don’t skip it entirely—dough will be bland and may over-ferment quickly.
5.Do I have to use filtered water for this recipe, and how warm should it be? ▾
Most tap water works fine, but avoid heavily chlorinated tap water, which can kill wild yeast and lead to a flat, less tangy loaf. If your tap smells strongly of chlorine, leave it out on the counter for 24 hours to let the gas dissipate, or use affordable bottled filtered water. Aim for 80-85°F (barely warm to the touch) to avoid shocking or killing your active starter.
6.How do I get that iconic crisp, blistered crust on my finished loaf? ▾
The two non-negotiables are steam during the first 20 minutes of baking, and a sufficiently hot baking surface. Preheat a Dutch oven or baking stone to 500°F for at least 30 minutes before baking, add 2-3 ice cubes to the closed Dutch oven right after loading the dough to create trapped steam, and leave the lid on for those first 20 minutes of bake time.
7.My dough is super sticky and hard to shape—did I add too much water? ▾
High-hydration sourdough dough is supposed to feel sticky at first! Resist the urge to add extra flour, which will make your final crumb dense and heavy. Instead, wet your hands lightly with cool water when handling and shaping the dough to prevent sticking, and make sure you complete 3-4 sets of stretch and folds during bulk ferment to build enough dough strength to hold its shape.
8.Why is my final crumb dense and tight instead of open and chewy? ▾
Dense crumb almost always traces back to one of three common issues: an underactive starter that didn’t produce enough leavening gas, under-proofed dough that didn’t have time to inflate before baking, or too few stretch and folds during bulk ferment to build the gluten structure needed to trap gas. Double-check those three factors for your next batch.
9.Can I make authentic-tasting San Francisco sourdough if I don’t live in the Bay Area? ▾
Absolutely! While the Bay Area’s native Lactobacillus sanfranciscensis bacteria is famous for that signature tang, those same bacteria exist in most mature, well-fed sourdough starters across the world. You can amp up that classic tang by doing a long, cool 12-18 hour fridge ferment, which encourages tang-producing bacteria to thrive no matter where you live.
10.Can I do the bulk fermentation in the refrigerator to fit it into my work schedule? ▾
Absolutely! That slow, cold ferment is actually what amplifies that signature tangy SF sourdough flavor many bakers chase. After you finish your stretch and folds, cover the dough tightly and let it rest in the fridge for 12-18 hours instead of doing a room-temperature bulk ferment. Just let the dough warm to 60-65°F for 30 minutes before shaping and final proof.
11.Do I need a special banneton proofing basket to make this bread? ▾
You don’t absolutely need one, but it helps hold the soft, high-hydration dough in its classic round shape during the final proof. If you don’t have a banneton, line a regular 8-inch mixing bowl with a clean, lint-free cotton towel, dust it generously with white rice flour, and set your shaped dough seam-side up in it to proof exactly as you would in a banneton.
12.How do I know when my shaped dough is done with its final proof and ready to bake? ▾
The poke test is the most reliable home baker method: lightly flour a finger and press it ½ inch into the surface of the shaped dough. If the indentation springs back slowly and leaves a small ¼-inch dimple, it’s ready to bake. If it springs back immediately, it needs more time; if it doesn’t spring back at all, it’s over-proofed and may collapse in the oven.
13.I don’t have a Dutch oven—can I still bake this bread successfully? ▾
You absolutely can! Preheat a heavy baking stone or thick-rimmed sheet pan on the middle rack for 45 minutes, and set a metal baking pan on the lowest rack while it preheats. Load your scored dough onto the hot stone, pour 1 cup of hot water into the lower pan to create a burst of steam, and close the oven door quickly to trap steam for the first 20 minutes.
14.How long should I let the loaf cool before slicing it? ▾
I know it’s tempting to slice into warm, fresh bread right out of the oven, but you need to let it cool completely on a wire rack for 2 to 3 hours before slicing. The crumb is still setting as it cools, and cutting it early will leave you with gummy, compressed crumb instead of that signature chewy, open texture you’re working for.
15.What’s the best way to store leftover sourdough to keep the crust crisp? ▾
Skip the plastic bag, which will make your crisp crust turn soft and leathery within a few hours. Store your fully cooled leftover loaf cut-side down on a wooden cutting board at room temperature for up to 3 days, or wrap it tightly in a breathable cotton bread bag. For longer storage, slice the loaf, freeze slices in an airtight bag, and toast straight from the freezer.

Comments (3)

2 days ago

OMG y’all, I’ve been chasing that perfect tangy SF sourdough for literal YEARS and this recipe finally delivered! I was nervous about the super long slow ferment because my apartment runs a little cold, so I let it go an extra hour on the counter before popping it in the Dutch oven, and the crust? *Chef’s kiss* So crackly, the crumb had those perfect little irregular air pockets, and that classic sour tang hit exactly right. Brought a loaf to our neighborhood potluck last weekend and people were asking me for the recipe before I even set it down! 10/10, will be making this every other week from now on.

yesterday

Wait, your apartment runs cold too? Mine hovers around 65 degrees all winter long—did you only add that extra hour of ferment time, or did you tweak anything else? I’ve been scared to try long ferment sourdough recipes because I never can tell if I’ve let it rise enough!

2 hours ago

Great question! If your space is cooler than the 70-72°F recommended for bulk fermentation, adding 1-2 hours of rise time (just keep an eye out for that doubled, bubbly, jiggly texture!) works perfectly. So glad the loaf was such a hit at your potluck, Meg!

1 week ago

Okay, full transparency: this recipe is definitely as hard as the label says, don’t go into it thinking you can whip it up after work on a random weekday! I messed up my first starter feeding schedule and had to scrap that attempt entirely, but my second loaf turned out SO good. My kids devoured half of it slathered with salted butter before dinner even hit the table, and my husband asked if we could have it with every soup night we do this fall. Only heads up for new bakers: make sure you read all the steps twice before you start, there are a lot of little timing cues that are easy to miss when you’re juggling after school activities!

5 days ago

So glad you stuck with it after that first misstep, Liz! You’re totally right that this is a more time-intensive, skill-building loaf — that 22 hours of slow fermentation and cooling is what gives it that signature tangy SF sourdough flavor, so it’s absolutely worth the extra planning. Sourdough and warm soup is the ultimate fall comfort combo, if you ask me!

30 minutes ago

Total game changer for my Sunday meal prep routine! I usually make a basic sandwich loaf for the week, but switching it up with this sourdough? Next level. I let the loaf cool completely like the recipe says, sliced the whole thing up, popped half in the freezer for quick breakfast toast during the week, and used the other half for turkey sandwiches and avocado toast for the whole workweek. The tang is so much brighter and deeper than the sad grocery store sourdough I used to grab, I don’t think I can go back. Worth every single minute of the wait, even with the super long timeline!



