
Sourdough Starter
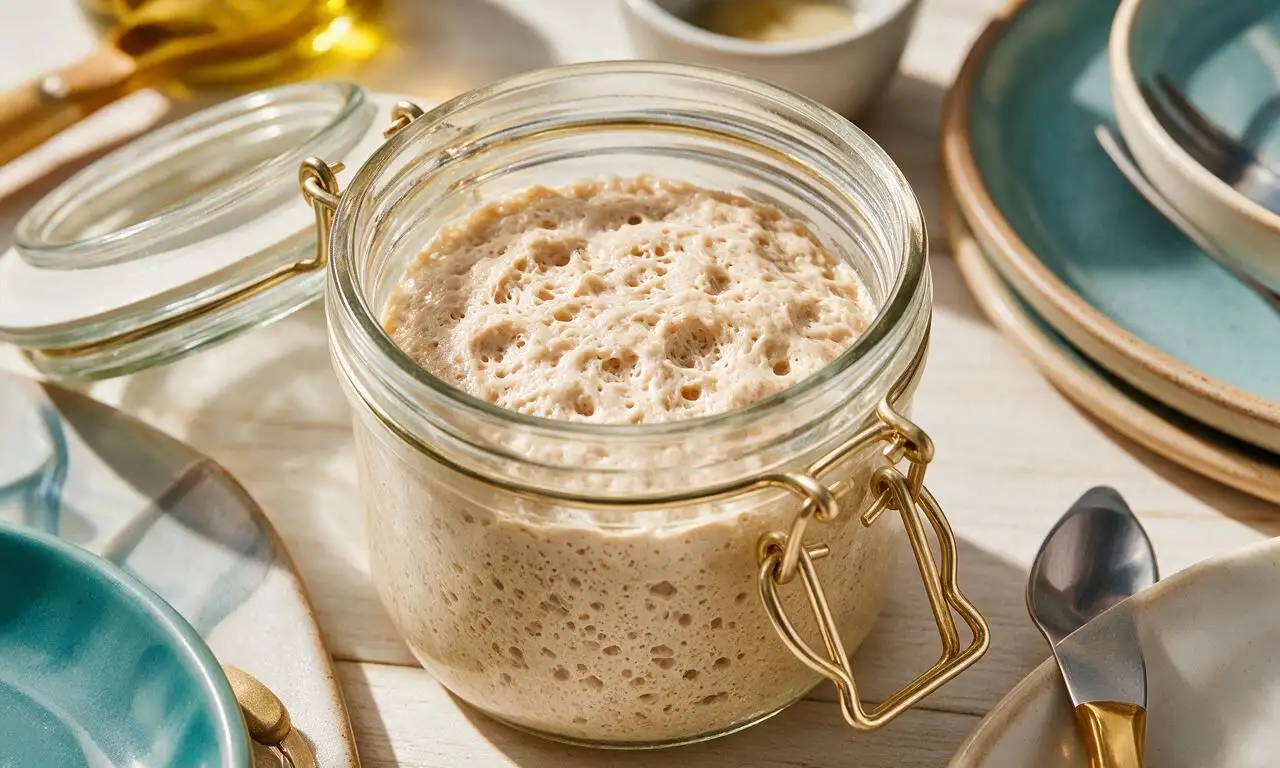
intro
A simple wild yeast culture made with just flour and water, used to leaven tangy, crusty sourdough bread, rolls, and baked goods without commercial yeast.
Ingredients
Steps
Mix initial starter base
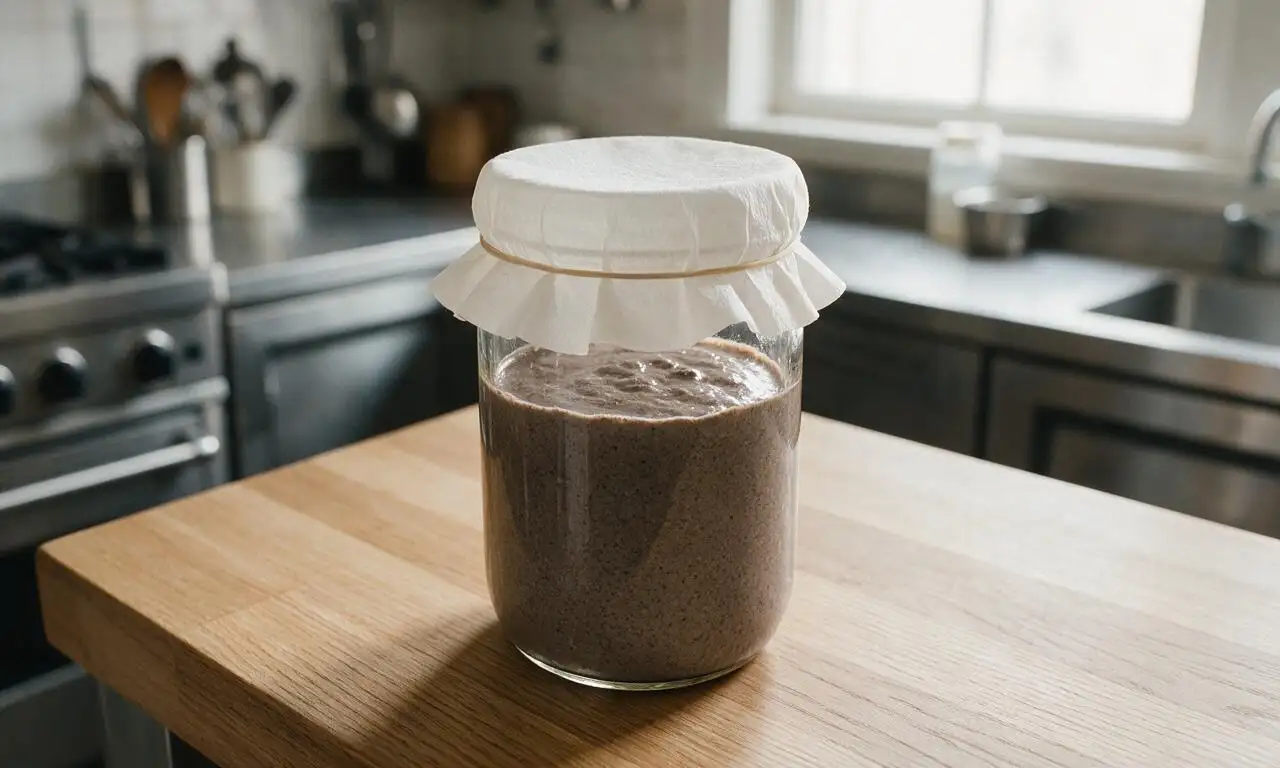
On Day 1, in a clean 1-quart glass jar, combine 50 grams (approx 1/3 cup) whole grain rye flour and 50 ml (approx 1/4 cup) room-temperature filtered water. Stir thoroughly until no dry flour clumps remain, forming a thick, paste-like consistency. Loosely cover the jar with a breathable cover (coffee filter secured with a rubber band, or a jar lid left 1/4 turn open) and place in a consistent 70-75°F (21-24°C) spot away from direct sunlight for 24 hours.
Complete first feeding
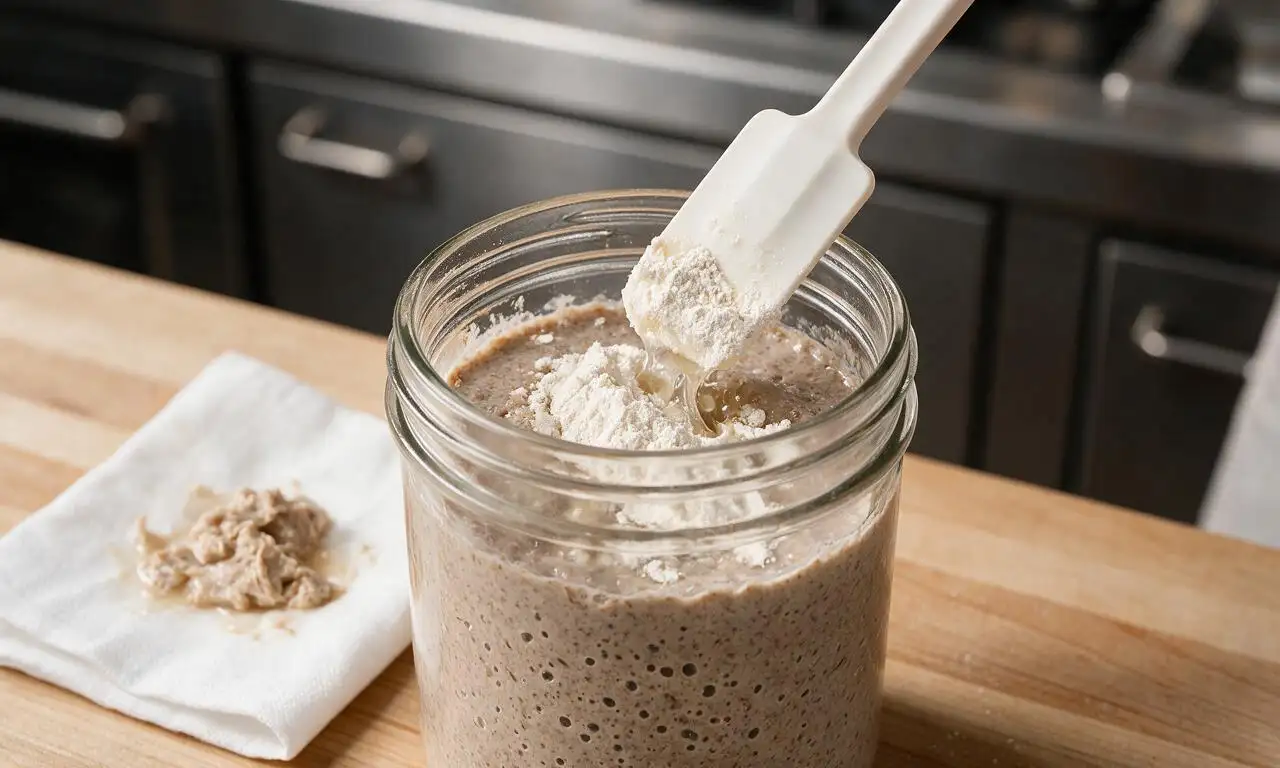
After 24 hours (Day 2), check for small bubbles or a faint sour, fruity smell (it is normal if no activity appears yet). Discard all but 25 grams (approx 1 1/2 tablespoons) of the initial mixture. Add 25 grams (approx 3 tablespoons) whole grain rye flour and 25 ml (approx 1 1/2 tablespoons) room-temperature filtered water to the jar, stir until fully smooth, re-cover loosely, and return to the same warm spot for another 24 hours.
Transition to AP flour feedings
On Days 3 and 4, repeat the feeding process every 24 hours: discard all but 25 grams of starter, then feed with 25 grams unbleached all-purpose flour and 25 ml room-temperature filtered water, stirring until smooth. By Day 4, you should see visible bubbling, a 20-30% rise in volume after feeding, and a tangy, yogurt-like aroma. If no activity appears, move the jar to a slightly warmer (75-78°F/24-25°C) spot for subsequent feedings.
Increase feeding frequency
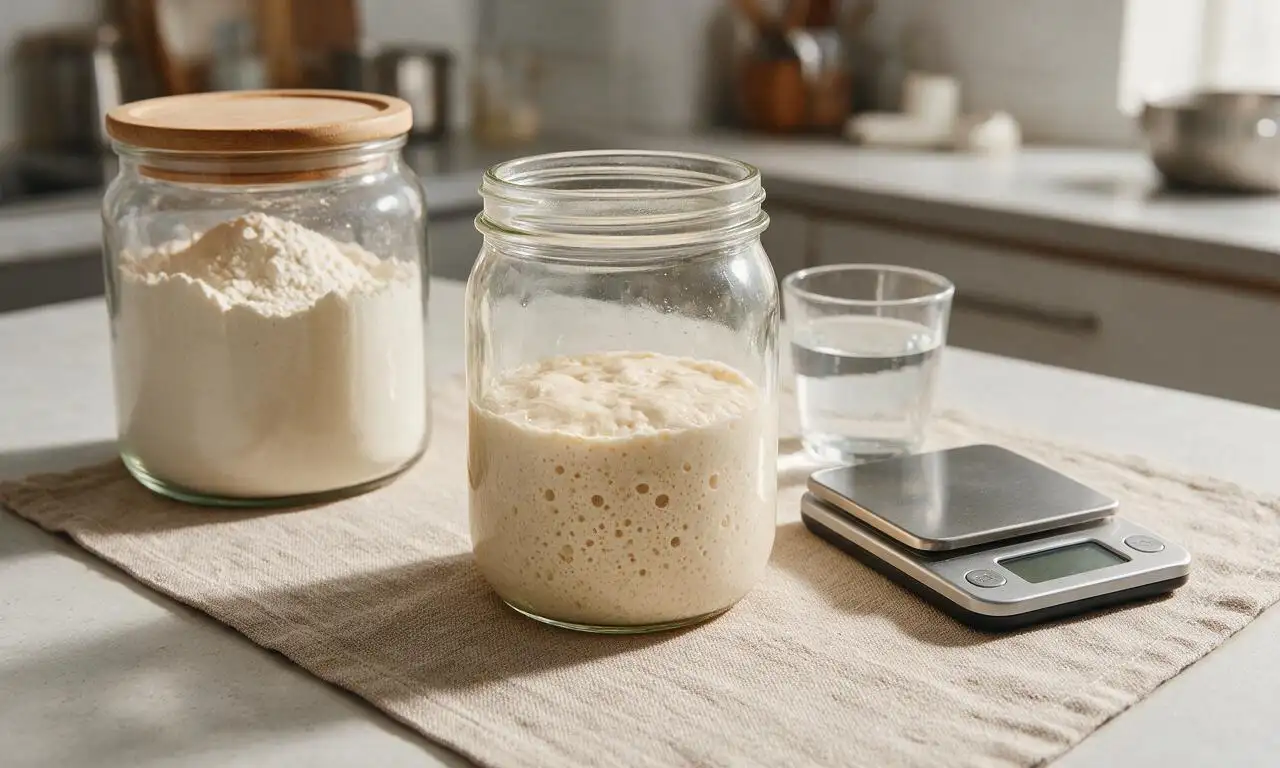
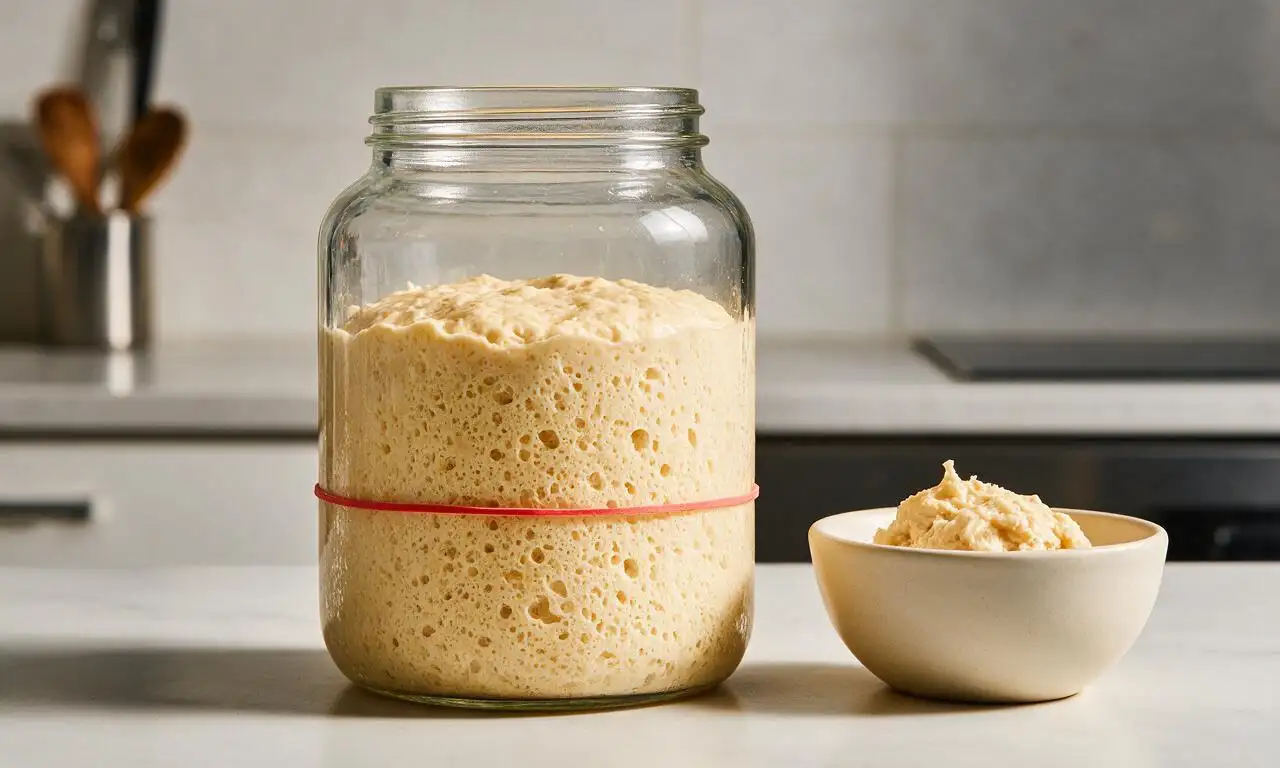
Once the starter shows consistent bubbling, move to 12-hour feeding intervals (twice daily, e.g., 8AM and 8PM) on Days 5 and 6. For each feeding, discard all but 50 grams of starter, then mix in 50 grams unbleached all-purpose flour and 50 ml room-temperature filtered water, stirring until no dry lumps remain. The starter will show faster, more dramatic rise, doubling in volume 4-6 hours after each feeding, with a light, tangy, apple-cider-like smell.
Test starter readiness
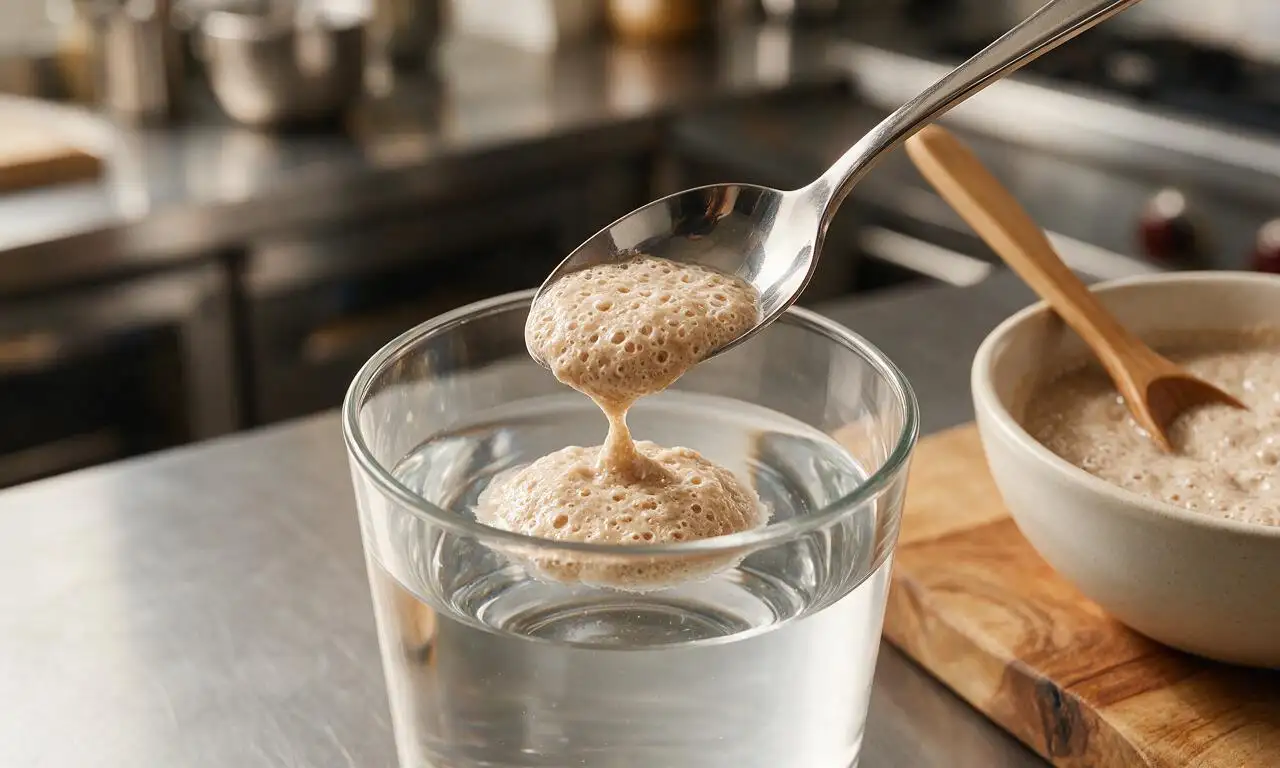
On Day 7, perform the float test to confirm readiness: drop 1 teaspoon of starter (collected 4-6 hours after a feeding) into a glass of room-temperature water. If it floats, it is active and ready to use for baking. If it sinks, continue 12-hour feedings for 1-2 more days until it passes the float test and doubles reliably within 4-6 hours of feeding.
Store for long-term use
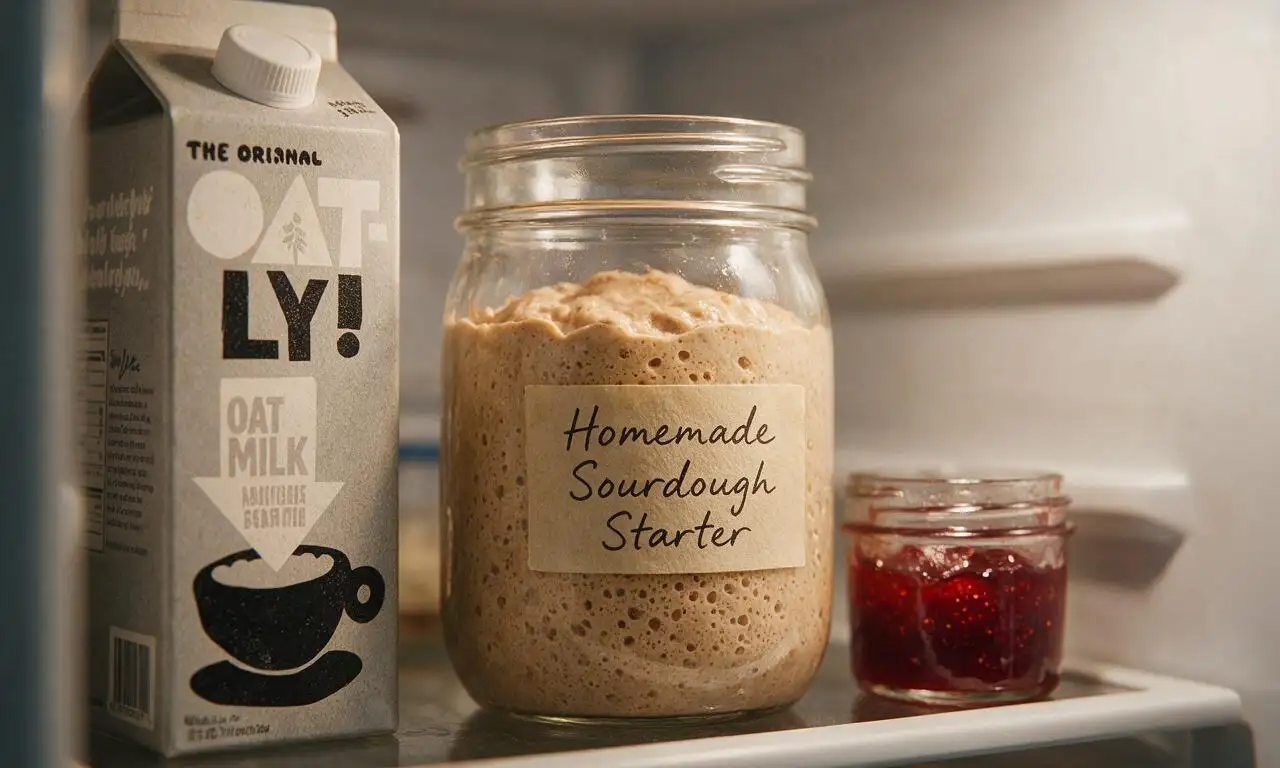
Once active, store the starter in the refrigerator in a loosely sealed jar for up to 1 week between feedings. For weekly maintenance feedings, discard all but 50 grams of starter, add 50 grams all-purpose flour and 50 ml room-temperature water, let it sit at room temperature for 2 hours to activate, then return it to the fridge. Bring starter to room temperature and complete 2 consecutive 12-hour feedings before using it for baking.
Tips
2.Never seal the jar lid tightly during room-temperature fermentation: the culture releases carbon dioxide that needs to vent to prevent pressure buildup, and wild yeast requires small amounts of oxygen to thrive.
3.Avoid adding sugar, honey, commercial yeast, or fresh fruit to jumpstart the process: these can introduce unwanted mold or bacteria, and a healthy starter will reliably grow with only flour and water.






OMG I was so intimidated to try making a sourdough starter from scratch but this guide was SO easy to follow! I’m on day 5 and it’s already bubbling like crazy, smells tangy and perfect. Can’t wait to bake my first loaf this weekend for our family dinner. Total game changer for anyone who thought sourdough was too fancy to make at home!
Took me a full 8 days instead of 7 but my starter is finally active enough to pass the float test! Used it to make sourdough pancakes for the kids this morning and they devoured them, asked for seconds before I even sat down. Only knock is I wish the guide mentioned how variable the timeline can be depending on kitchen temp, but otherwise solid instructions.
I’ve killed three sourdough starters in the last year so I went into this super skeptical, but holy cow this method worked! I keep my house pretty cool in Colorado so I stuck my starter on top of the fridge where it’s a little warmer, followed the daily 10 minute feeds exactly, and now I have a starter that’s doubling 4 hours after every feed. Brought sourdough rolls to our neighborhood potluck last night and everyone asked for the recipe. 10/10!
Quick question — can I use tap water if I leave it out on the counter for 24 hours to let the chlorine evaporate? I don’t want to buy gallons of distilled water just for this, that feels wasteful. Also, do I really have to discard half every day? That feels like so much wasted flour.
SO good, I cannot believe I waited this long to make my own starter. I’ve been buying $8 loaves from the bakery every week for ages, this is gonna save me so much money long term. The 10 minutes a day thing is no joke, I was worried it would be a huge time suck but it’s literally just stir and feed while I wait for my coffee to brew in the morning.
First time baking anything that isn’t from a box mix and this starter made me feel like a professional baker! My first loaf came out with that perfect crispy crust and chewy inside, my roommate thought I bought it from the fancy bakery downtown. Already told all my friends about this recipe, it’s foolproof even for total newbies like me.
Wait has anyone tried this with rye flour for the initial feeds? I have a half bag of rye flour in my pantry I need to use up and I’ve heard rye can make a super active starter. Don’t want to waste it if it’s not gonna work though!
I started this starter last week with my 8 year old as a little summer science project and it’s been so fun! We named our starter Gary, check on him every morning after breakfast, and he’s nice and bubbly ready for his first bake. We’re gonna make sourdough pizza crust for pizza night this Friday, the kiddo is so excited to pick the toppings.