
sourdough toast
intro
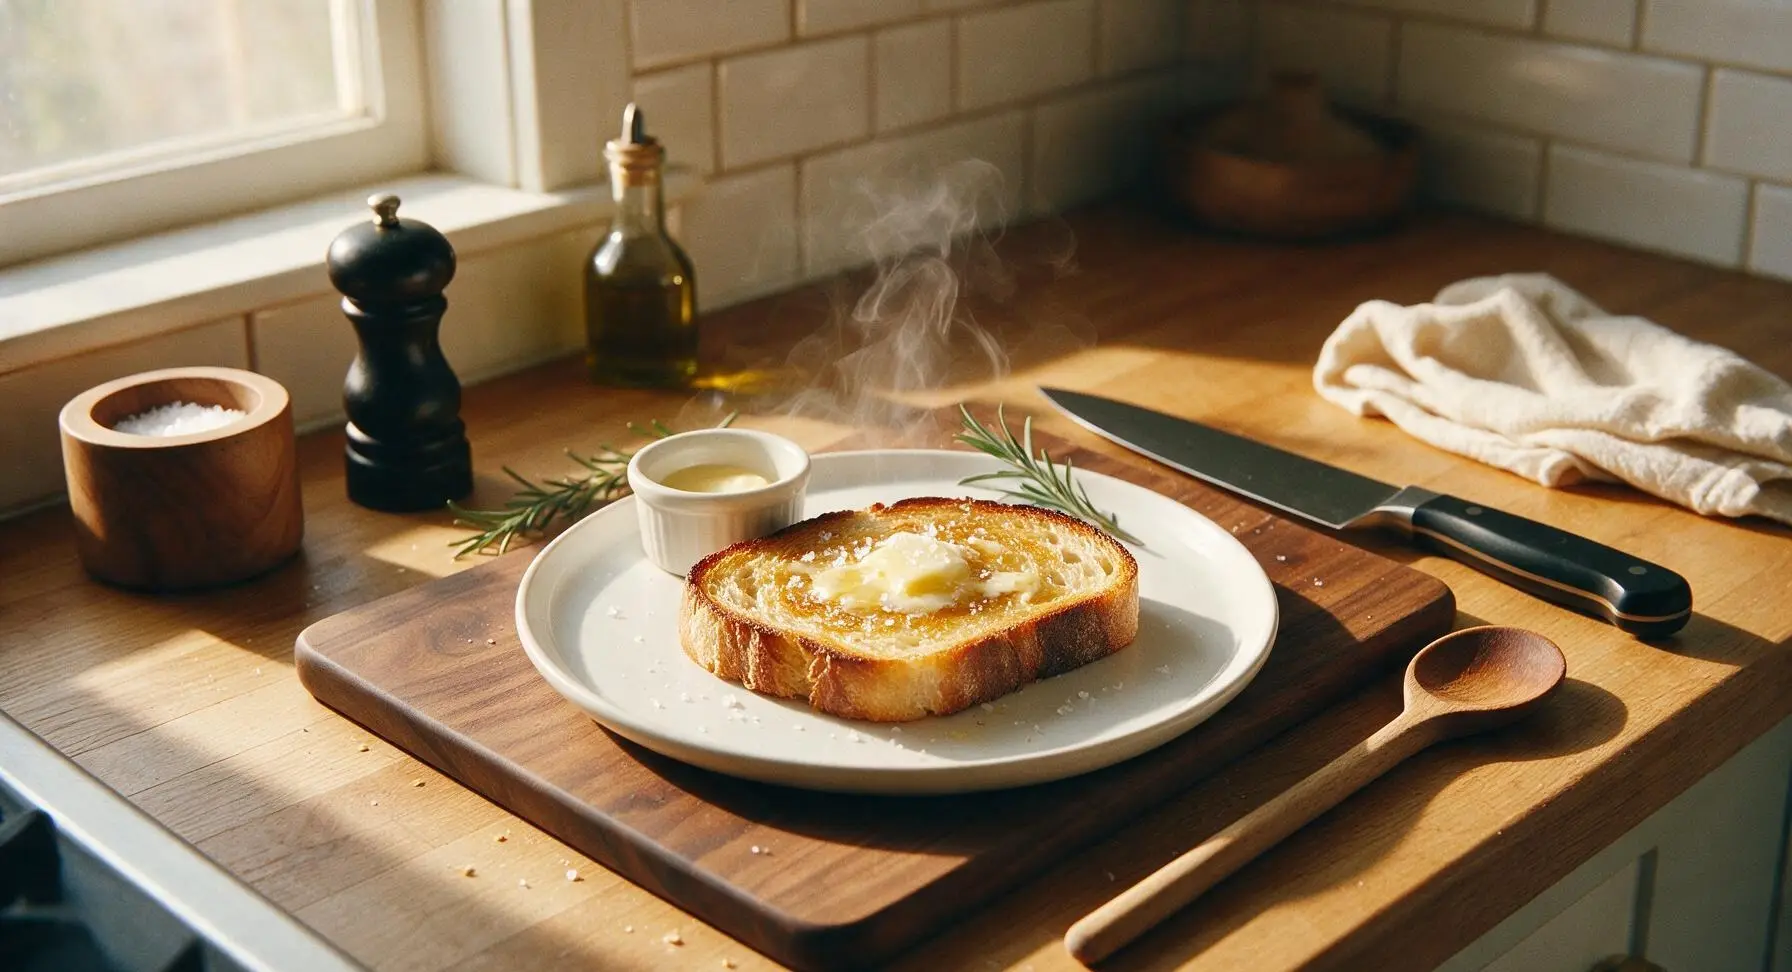
Crispy golden sourdough toast with a tangy, chewy crumb, slathered in melted salted butter and finished with flaky sea salt—simple, satisfying, ready in under 10 minutes.
Ingredients
Steps
Preheat Cast Iron Skillet
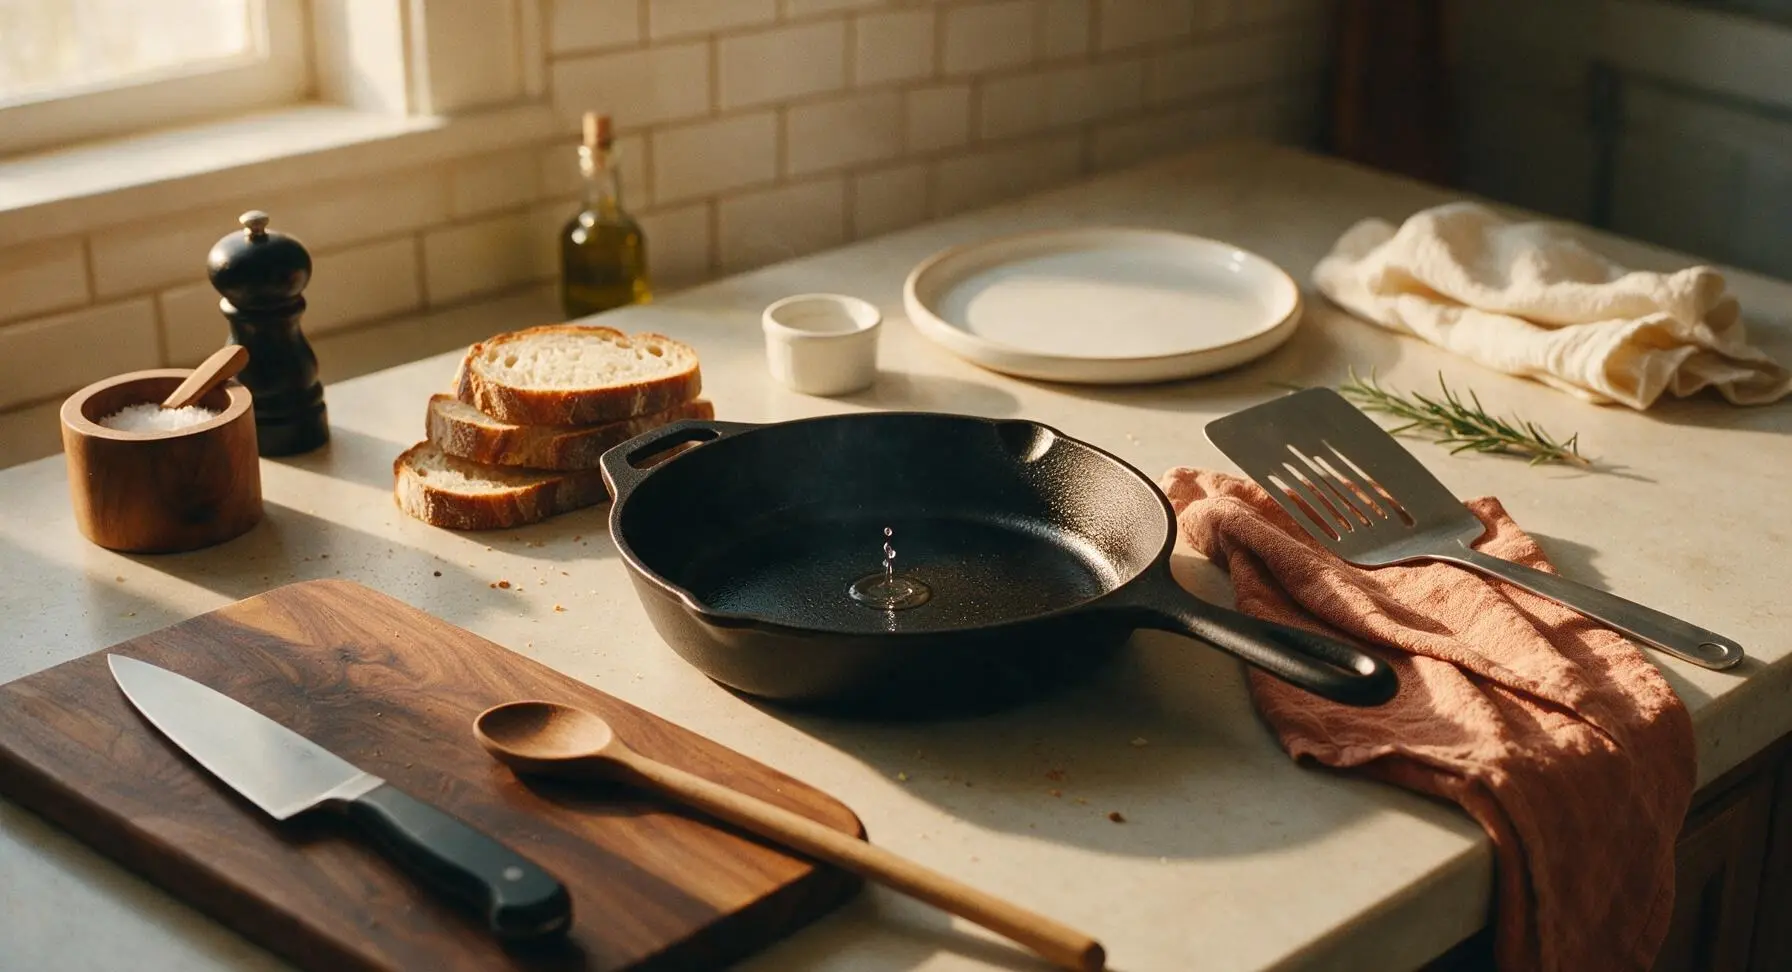
Retrieve the 10-inch cast iron skillet from its permanent right rear resting position and place it in the center of the work zone. Heat over medium heat for 3 minutes, until a single drop of cold water flicked onto the pan surface dances across the metal and evaporates in 2-3 seconds. Do not let the pan reach smoking point, as this will burn the bread before it toasts evenly. No oil is added to the pan at this stage.
Prep Sourdough Slices
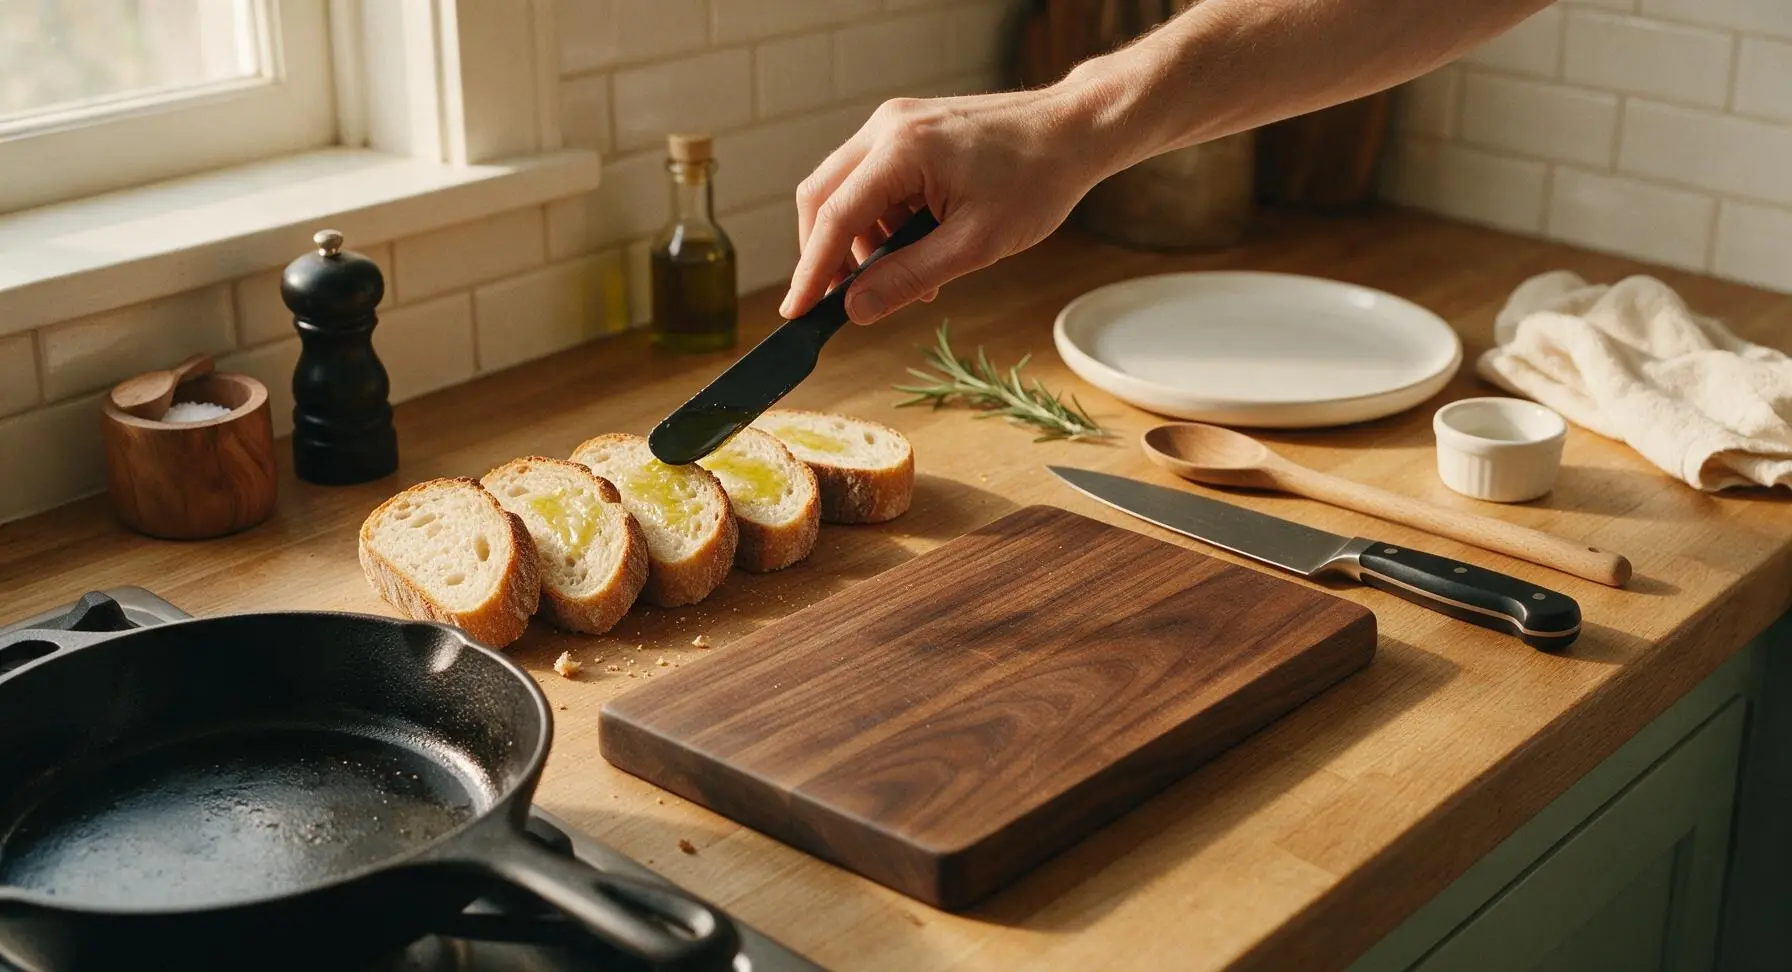
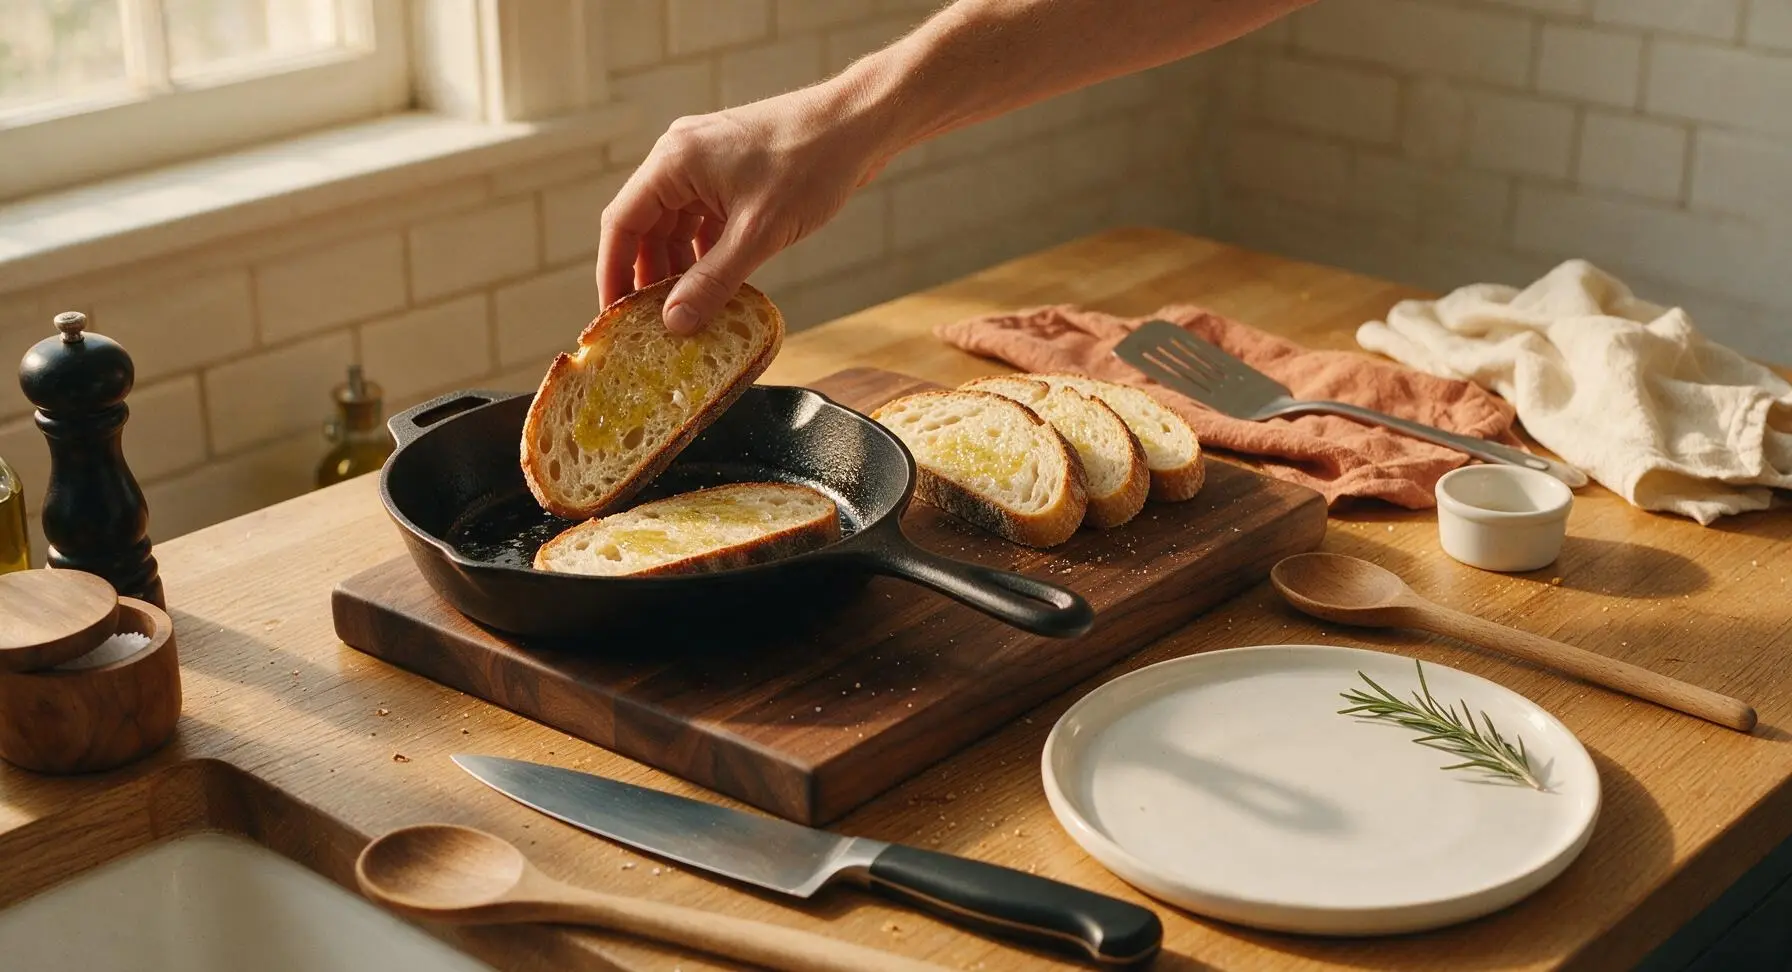
Take the 4 thick sourdough slices and pat both sides lightly with a clean corner of the terracotta linen towel to brush away loose excess crumbs, taking care not to press down hard and compress the airy crumb. Use the matte black butter knife to spread 1/4 tsp of extra-virgin olive oil into a paper-thin, even coat across one side of each slice; the oil will help create a shatteringly crisp crust as the bread toasts.
Toast First Bread Side
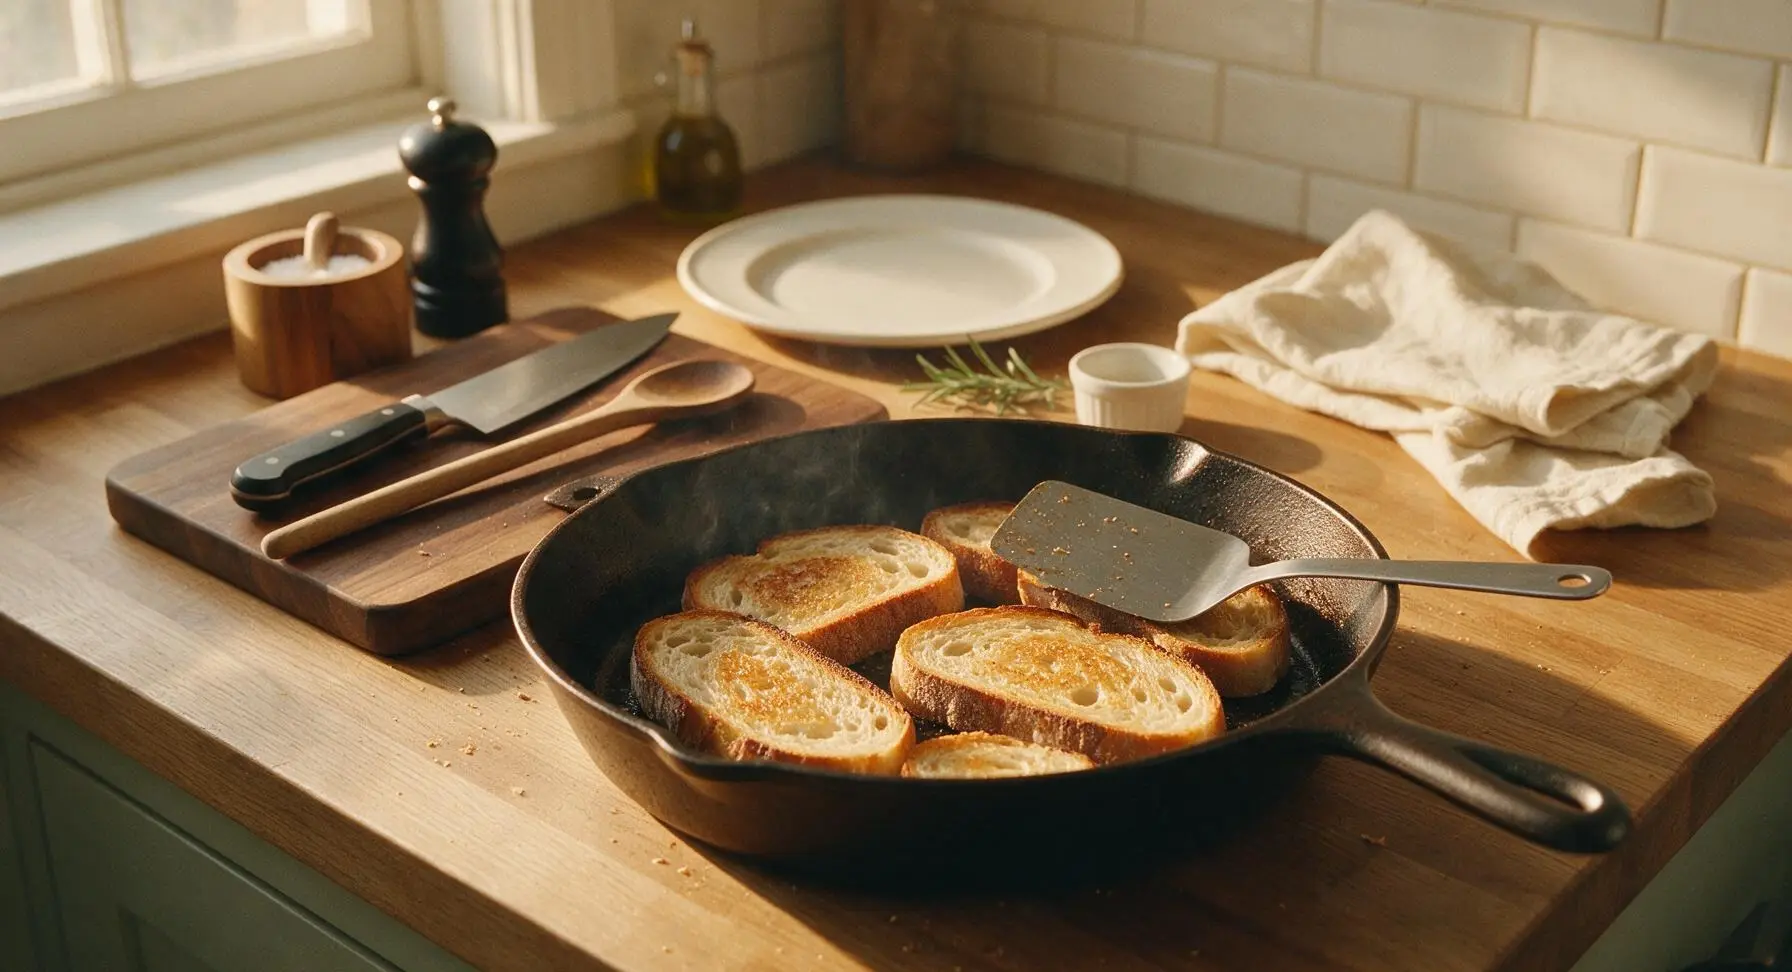
Lay the oiled side of each sourdough slice down in the preheated skillet in a single layer, cooking 2 slices at a time to avoid crowding the pan (crowding traps steam and leads to soggy, not crisp, toast). Cook for 3 full minutes over medium heat without moving or pressing the slices, until the down-facing side is deep golden brown with darker, caramelized crispy edges and faint pan marks. Pressing the bread with a spatula during cooking squeezes out moisture and creates tough, dense toast.
Toast Second Bread Side
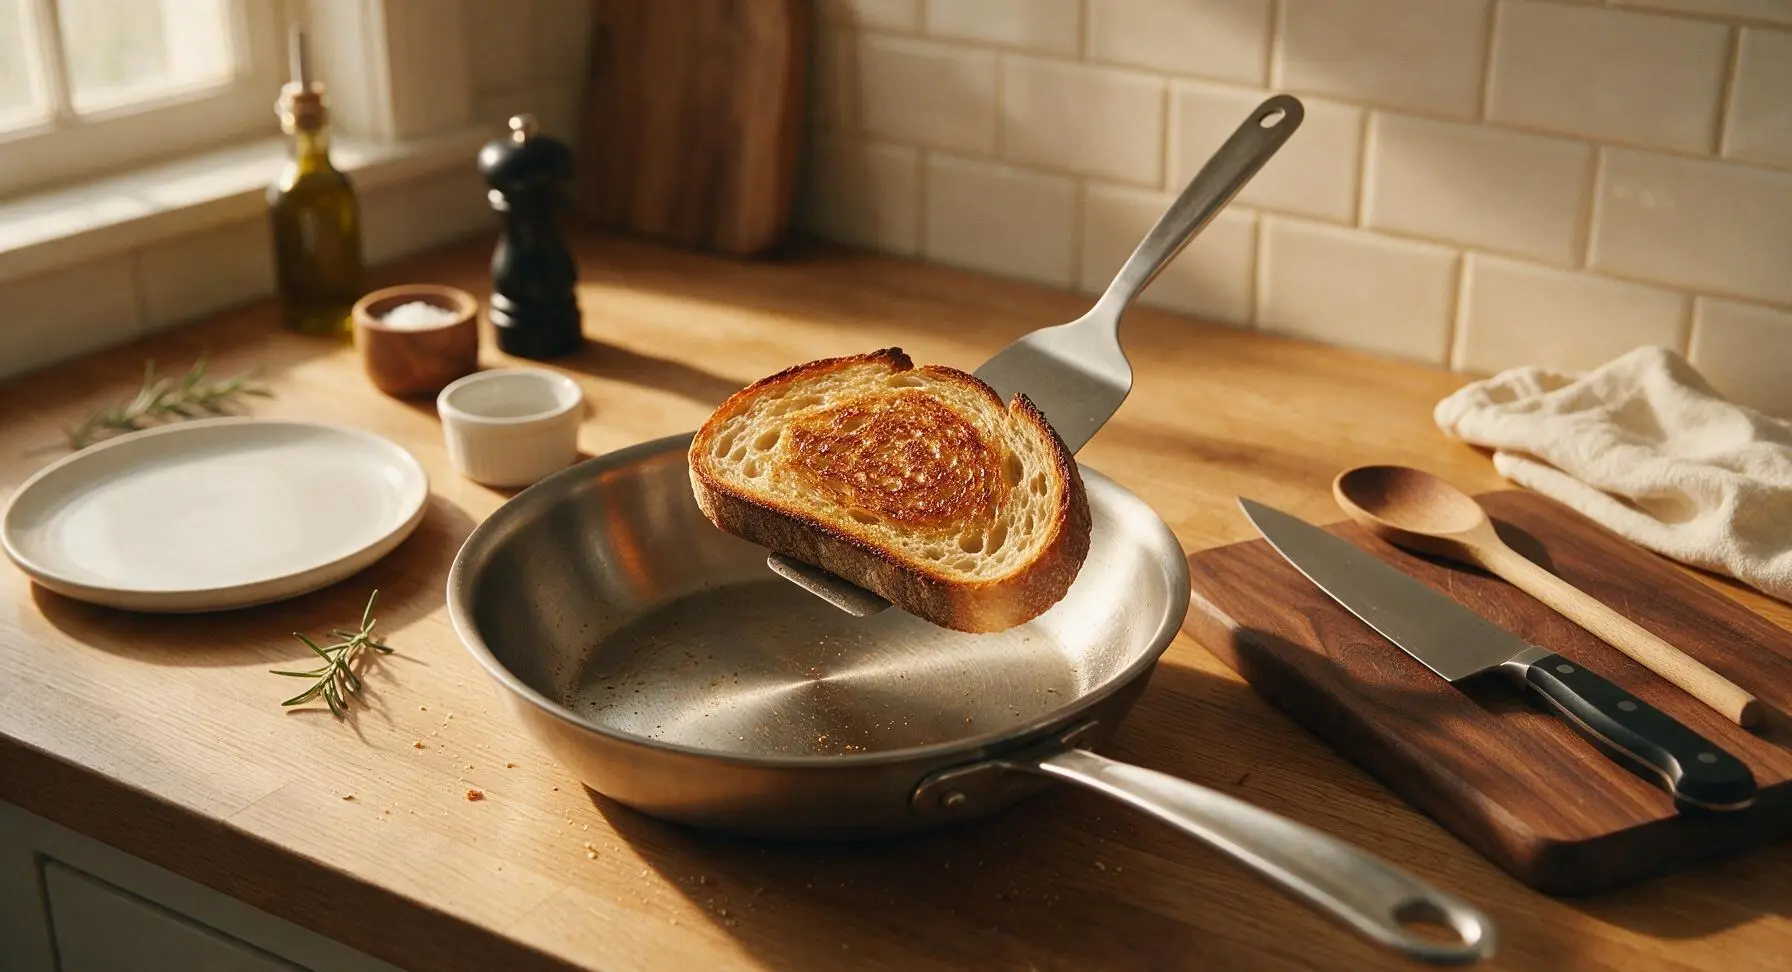
Use the stainless steel spatula to flip each sourdough slice carefully to its unoiled side. Cook for an additional 2-3 minutes, until the second side is evenly light golden brown and crispy, and the center of each slice feels soft and warm when pressed lightly with the edge of the spatula. Total toasting time per batch is 5-6 minutes, producing a crisp exterior and chewy, tangy interior with no raw doughy spots in the center.
Butter Warm Toast
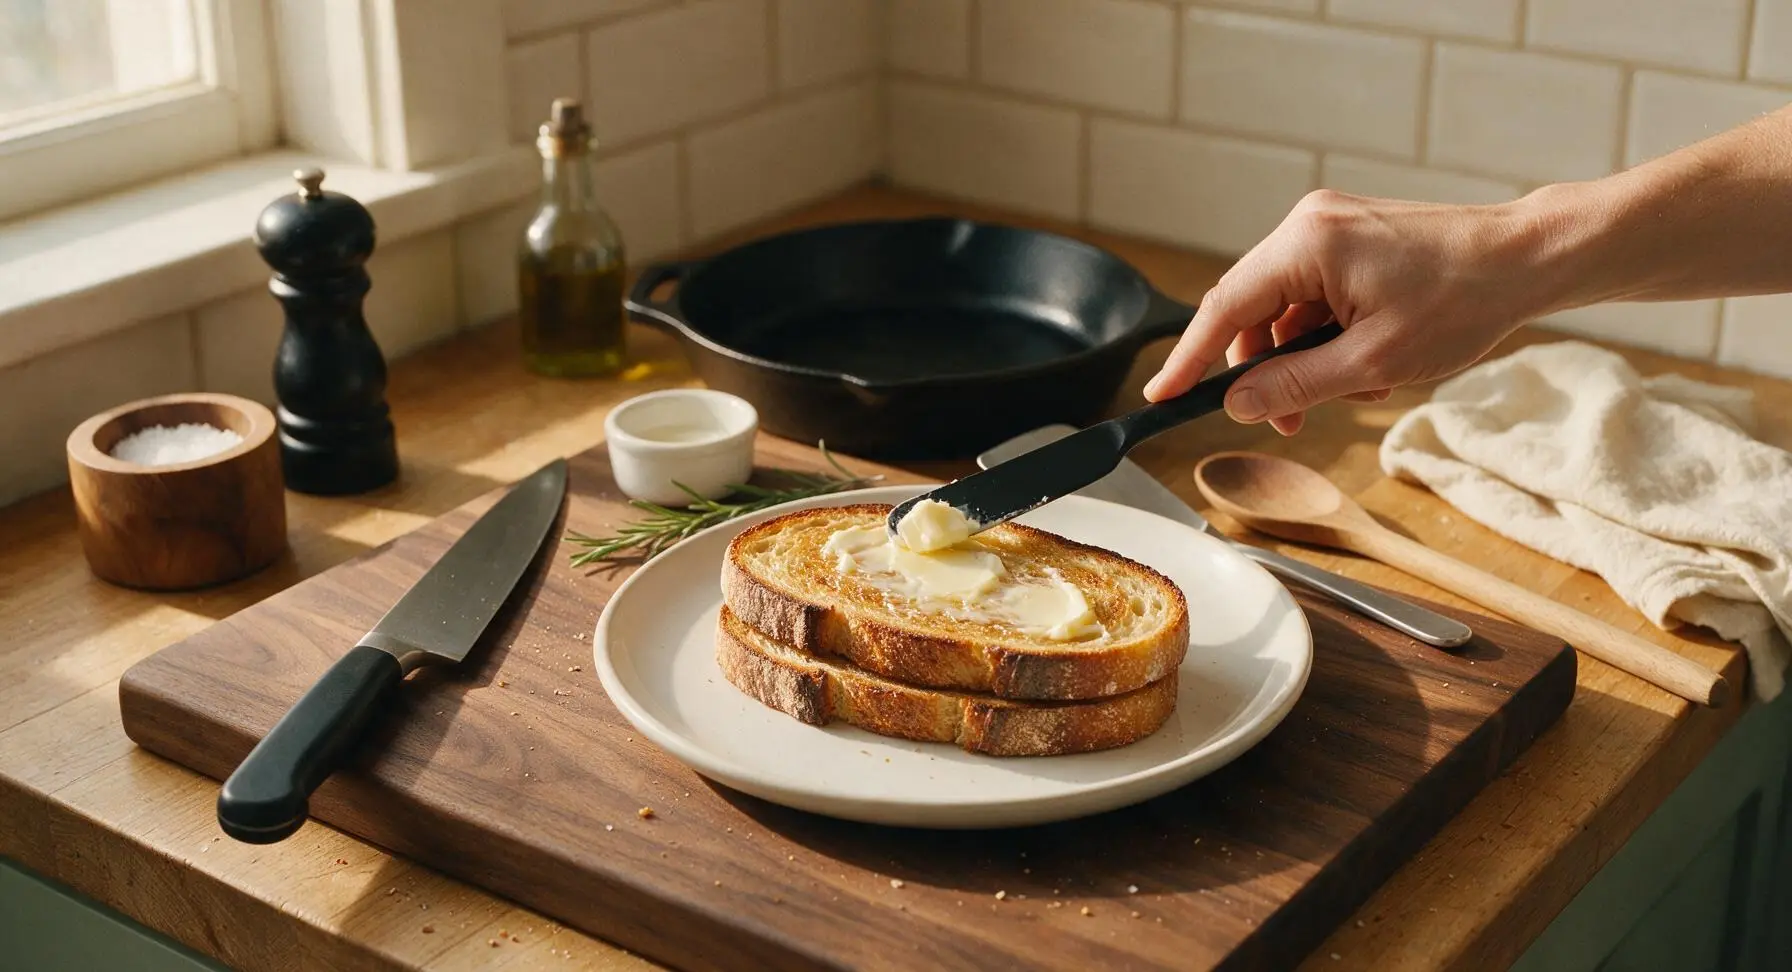
Use the stainless steel spatula to transfer all fully toasted sourdough slices from the skillet to the matte cream ceramic plate, moved temporarily from its right front position to sit immediately beside the skillet. Immediately use the matte black butter knife to spread 1/2 tbsp of slightly softened salted butter evenly across the top surface of each hot slice; the residual toast heat will melt the butter so it soaks lightly into the warm crumb. Leave a 1/8-inch unbuttered crispy rim around each slice for textural contrast.
Season Toast Lightly
Sprinkle a tiny pinch (approximately 1/16 tsp per slice) of flaky sea salt evenly across the buttered top of each toast slice, taken from the small cream ceramic ramekin. The coarse salt cuts through the richness of the butter and amplifies the natural tangy, fermented flavor of the sourdough. Set aside two small fresh thyme sprigs for garnish.
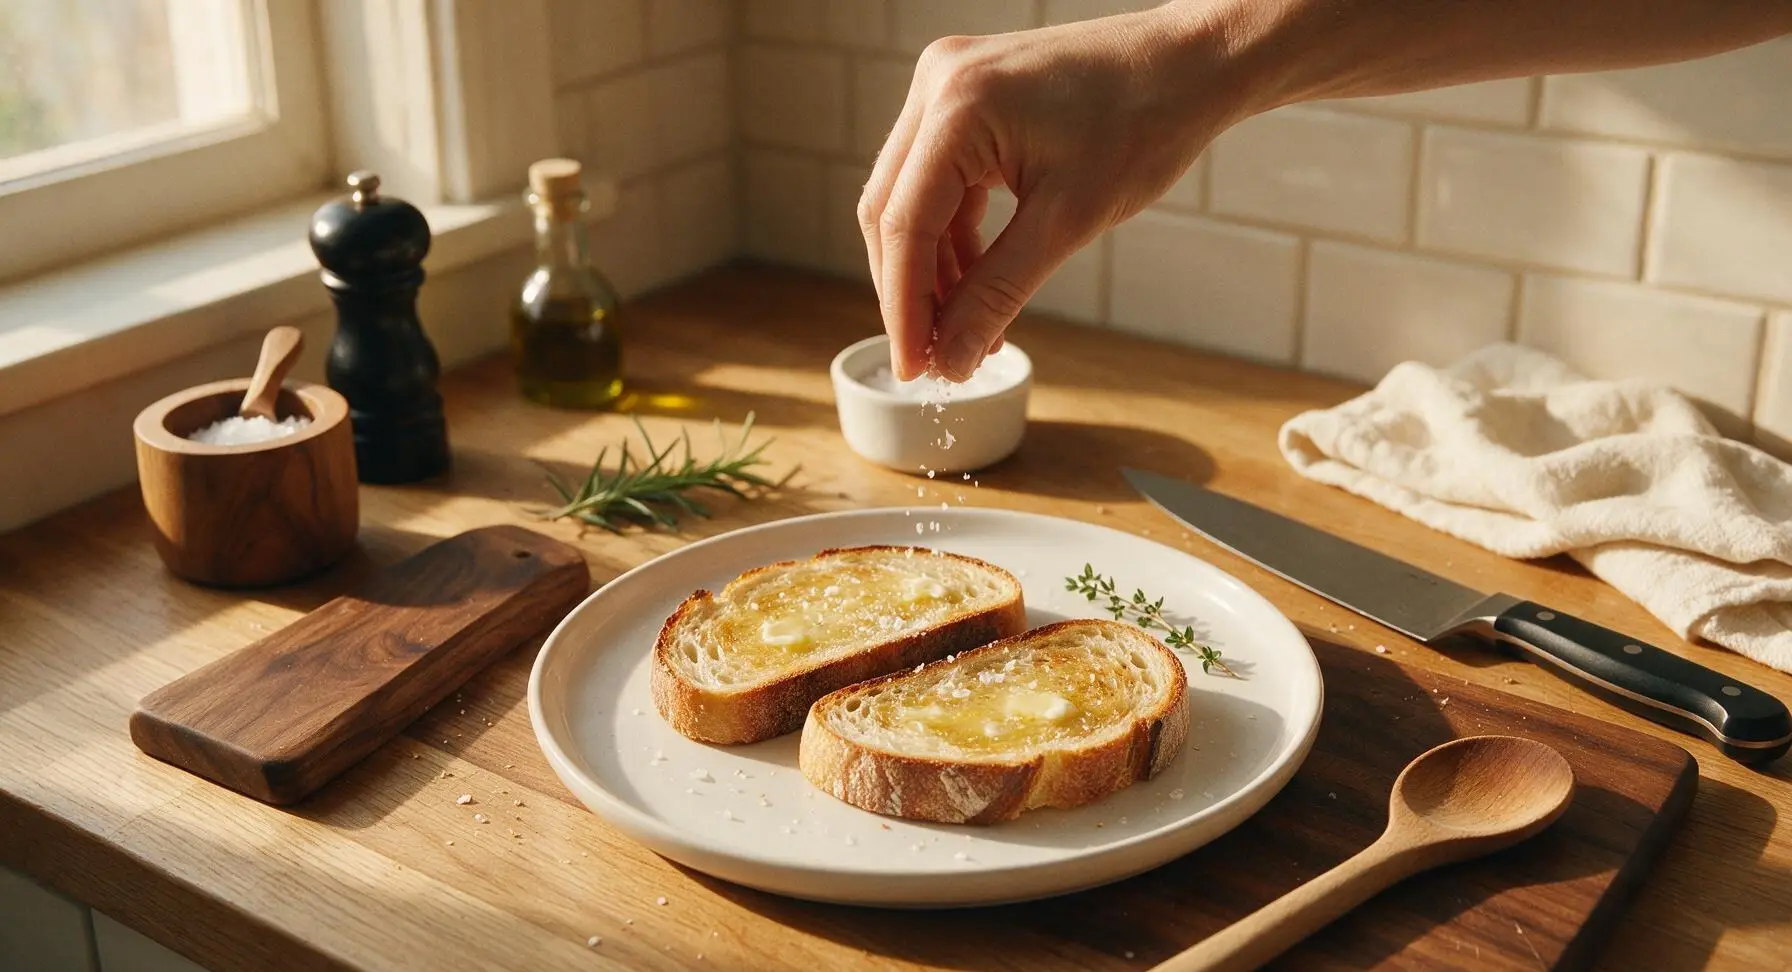
Plate and Serve Warm
Arrange the finished sourdough toast slices slightly offset on the matte cream ceramic plate, moving the plate back to its permanent right front position on the counter. Leave a few natural crumbs on the plate rim for a relaxed, home-style presentation, tucking one thyme sprig at the edge of the plate as garnish. Serve immediately, while the toast is hot and crisp, before the exterior softens and the butter fully absorbs into the crumb.
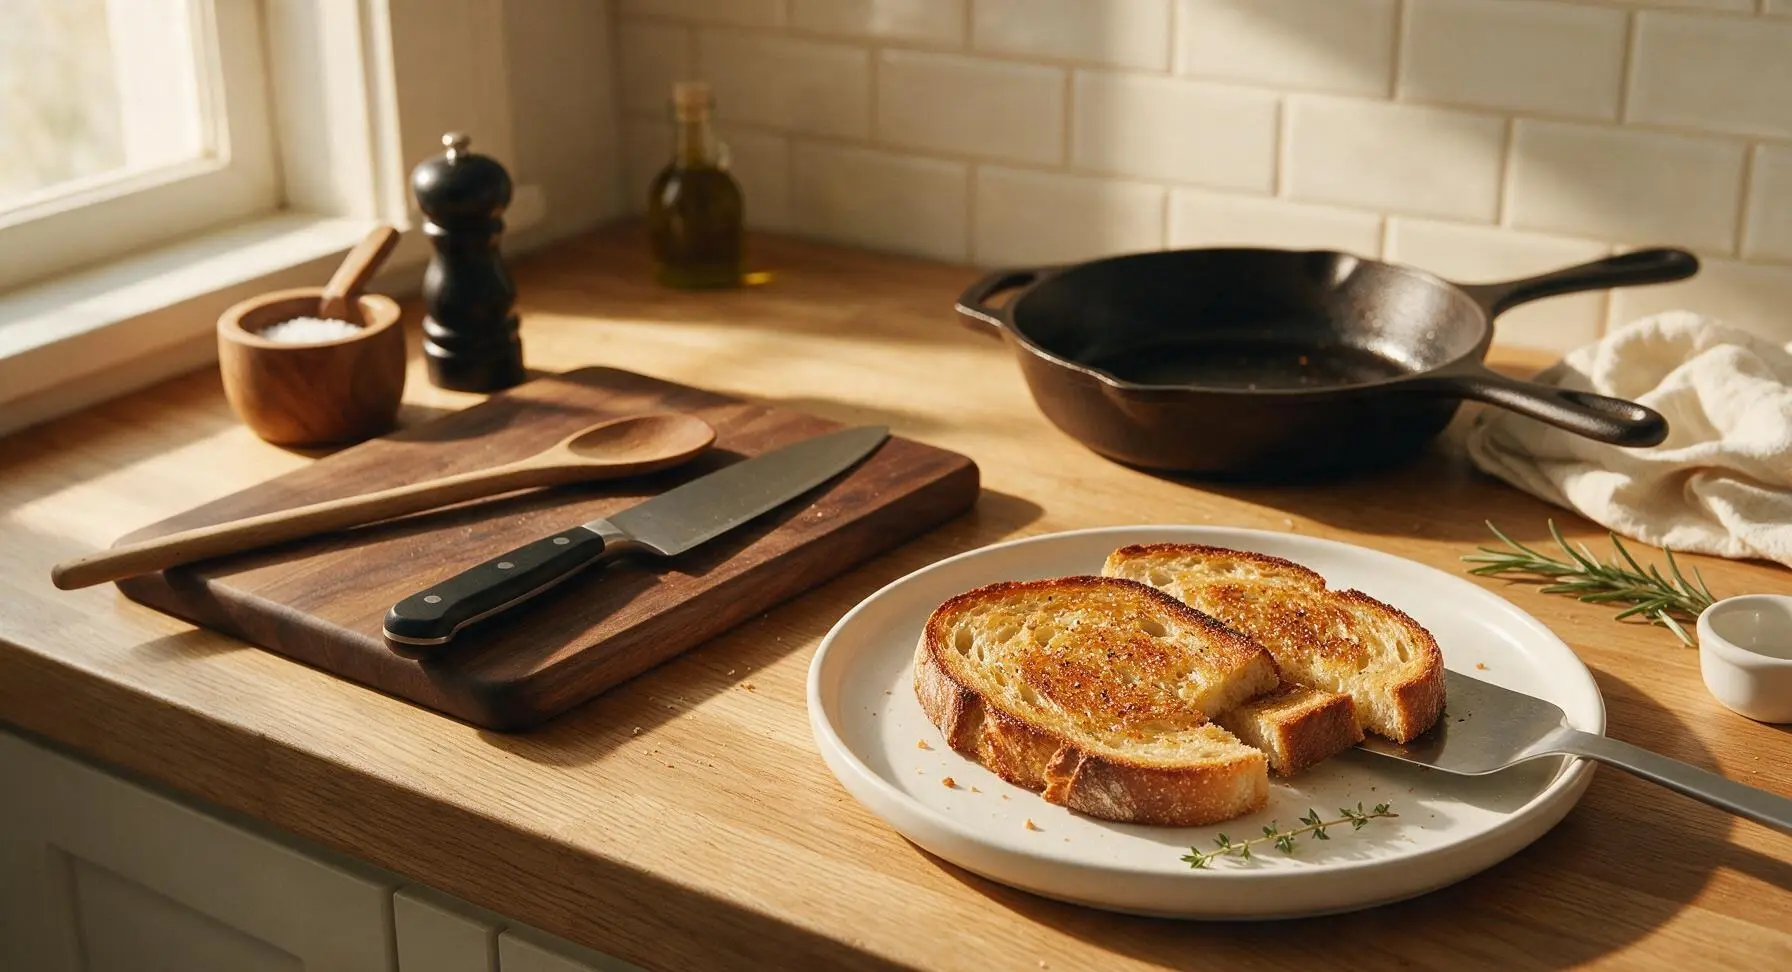
Tips
2.Avoid high heat when toasting: medium heat allows the bread to crisp slowly without burning the outer surface before the center warms through. If your pan starts to smoke at any point, turn the heat down slightly and wait 1 minute before adding bread, as burnt surfaces leave a bitter aftertaste.
3.Butter toast immediately after removing it from the pan: residual heat from the bread melts the butter evenly so it absorbs lightly into the top crumb, rather than sitting in a thick, cold clump on the surface. For extra depth, replace half the butter with high-quality extra-virgin olive oil for a fruitier, peppery finish.






OMG this is the sourdough toast hack I’ve been searching for my whole adult life! I always ended up with either burnt edges or soggy middles before, but following these exact steps gave me perfectly shatteringly crisp toast every single time. Served it with smashed avocado and red pepper flakes for my friend’s brunch potluck last weekend and everyone asked for the recipe! SO good.
As someone who only has a beat-up toaster and a tiny dorm kitchen, I was shocked how easy this was! 6 minutes total, no fancy equipment needed. I slathered mine with peanut butter and banana slices for a quick post-class breakfast and it kept me full all the way through my 3 hour lecture. Game changer for busy weeks.
Made this for my grandkids when they visited over the weekend, they kept asking for “extra crispy grandpa toast” the whole time they were here! Used my cast iron skillet just like the recipe said, and even tried a sprinkle of cinnamon sugar on a few slices for the little ones. My kids loved it too, said it tasted just like the toast I made them when they were small.
I used my homemade gluten-free sourdough loaf for this and it worked PERFECTLY! I was worried the texture would be off and get too crumbly, but that crisp crust held up even when I loaded it up with cream cheese and smoked salmon. 10/10 will be making this every Sunday from now on.
Tried this for a quick weeknight dinner side with our tomato soup last night, and even my pickiest eater who hates “crunchy bread” ate two whole slices! Who knew a few simple tweaks (like not overcrowding the pan, duh, that was my mistake before) would make such a huge difference. Way better than the sad toast I usually pop out of the toaster oven.
Wait, I’ve been making sourdough toast wrong for YEARS? I always used the highest heat possible to get it crispy fast and ended up with charred outside and soft, barely warm inside. This medium heat method? Life changing. Had it this morning with salted butter and a drizzle of honey alongside my latte, absolute perfection.
Made this for my meal prep this week, toasted up a whole loaf on Sunday and stored the slices in an airtight container. They stayed crisp for 3 whole days! I just pop them in the toaster oven for 30 seconds to reheat and they’re good as new. Perfect for quick breakfasts before work when I don’t have time to cook from scratch.
This was so easy even my teen who can barely boil water made it for himself after school yesterday! He added a sprinkle of parmesan and garlic powder on top and said it’s better than the garlic bread we get from our local pizza place. Total win for getting him to cook for himself instead of ordering takeout every afternoon.
Brought this to our neighborhood block party potluck last weekend, served it with a little whipped feta dip on the side and people were hovering around the platter the whole time! I was worried it would get soggy sitting out, but it stayed crispy for almost two hours. 10/10, will be bringing this to every potluck from now on.
Used my sourdough discard loaf and a little vegan butter to make this, and it came out so crispy and flavorful! I’ve tried so many stovetop toast methods that leave bread greasy, but the thin layer of butter and preheated pan meant every bite was perfect, no soggy grease spots anywhere. Served it with tomato and basil from my garden, total summer breakfast goals.
I was skeptical that stovetop toast could be that much better than my regular toaster, but wow, I’m a convert. The crust gets that perfect shattery crisp, and the inside stays soft and chewy, exactly what good sourdough should be. It takes a whole extra 3 minutes vs popping it in the toaster, but it’s 100% worth the extra effort. Only knocking off one star because I wish the recipe noted you should use a really heavy-bottomed skillet – my thin nonstick made the first batch cook a little unevenly, but once I switched to my cast iron it was perfect.
Made this for my partner’s birthday breakfast in bed, served it with scrambled eggs, crispy bacon, and a little homemade jam on the side. They said it was the best toast they’d ever had, and honestly? I agree. I’ve been wasting so much good sourdough by toasting it wrong this whole time. Easy, quick, zero fancy ingredients required.
This is now my go-to quick after school snack for my kids! I make a big batch when they get home, top some with peanut butter, some with cinnamon sugar, some with melted cheese, and they devour every single slice. No more fighting about who gets the “least burnt” toast from the toaster, every slice is perfectly even and crispy. Total mom win.
I added a little garlic salt and a sprinkle of parmesan the last 30 seconds of cooking and it tastes exactly like the fancy sourdough toast they charge $12 for at my local brunch spot! For 6 minutes of cook time and pennies worth of ingredients, you can’t beat it. I’ve already made it 4 times in the last week.
I’ve tried so many sourdough toast recipes that promised crispy results and came out floppy, but this one actually delivers! I followed the instructions exactly, didn’t flip too early, used a little butter, and it was crispy enough to hold up to a mountain of avocado and pickled onions without getting soggy. 10/10, no notes.
Wait, the trick of toasting both sides first then adding butter? Game changer. I always buttered the bread before putting it in the pan and it would get all greasy and heavy, but adding the butter right after it comes off the pan means it melts perfectly into all the little nooks without making the toast soggy. I’ll never make toast any other way again.