
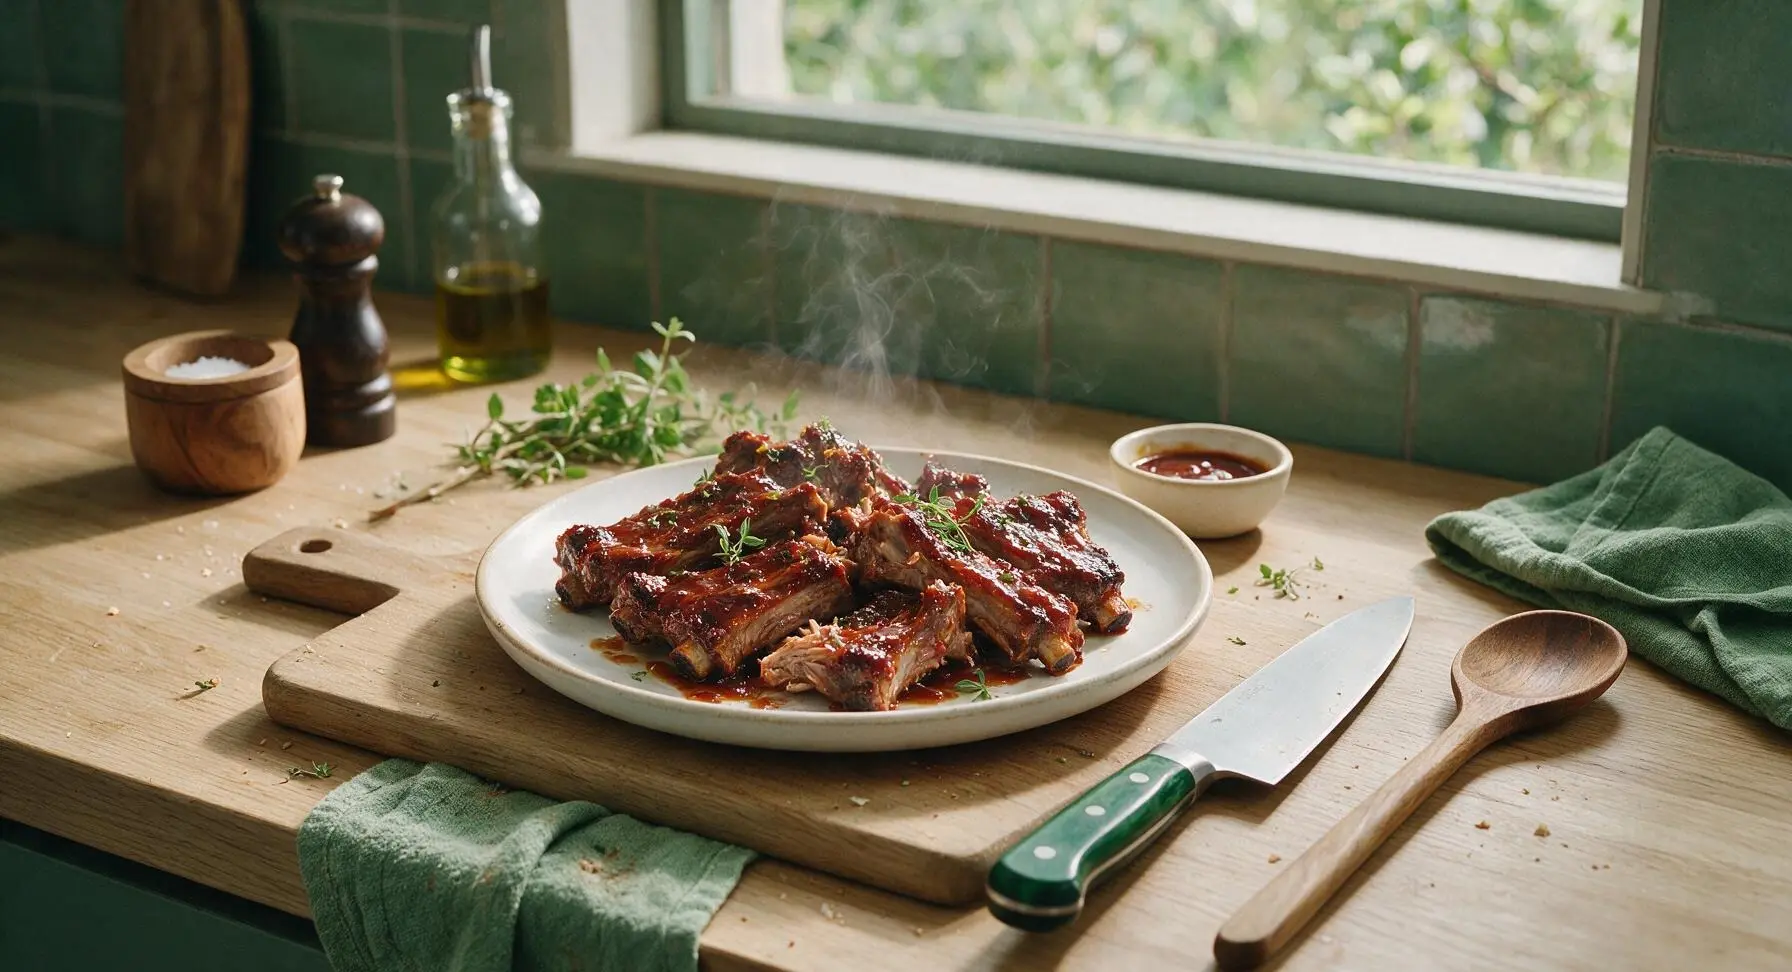
spare ribs in oven

title 1
spare ribs in oven
⏱️ cook time 2 hours 15 minutes
🍽️ servings 4
⚡ Difficulty medium

intro

Tender, sticky spare ribs slow-roasted in the oven, coated in tangy-sweet BBQ sauce, with fall-off-the-bone meat—no smoker or grill required for crowd-pleasing results.

Ingredients
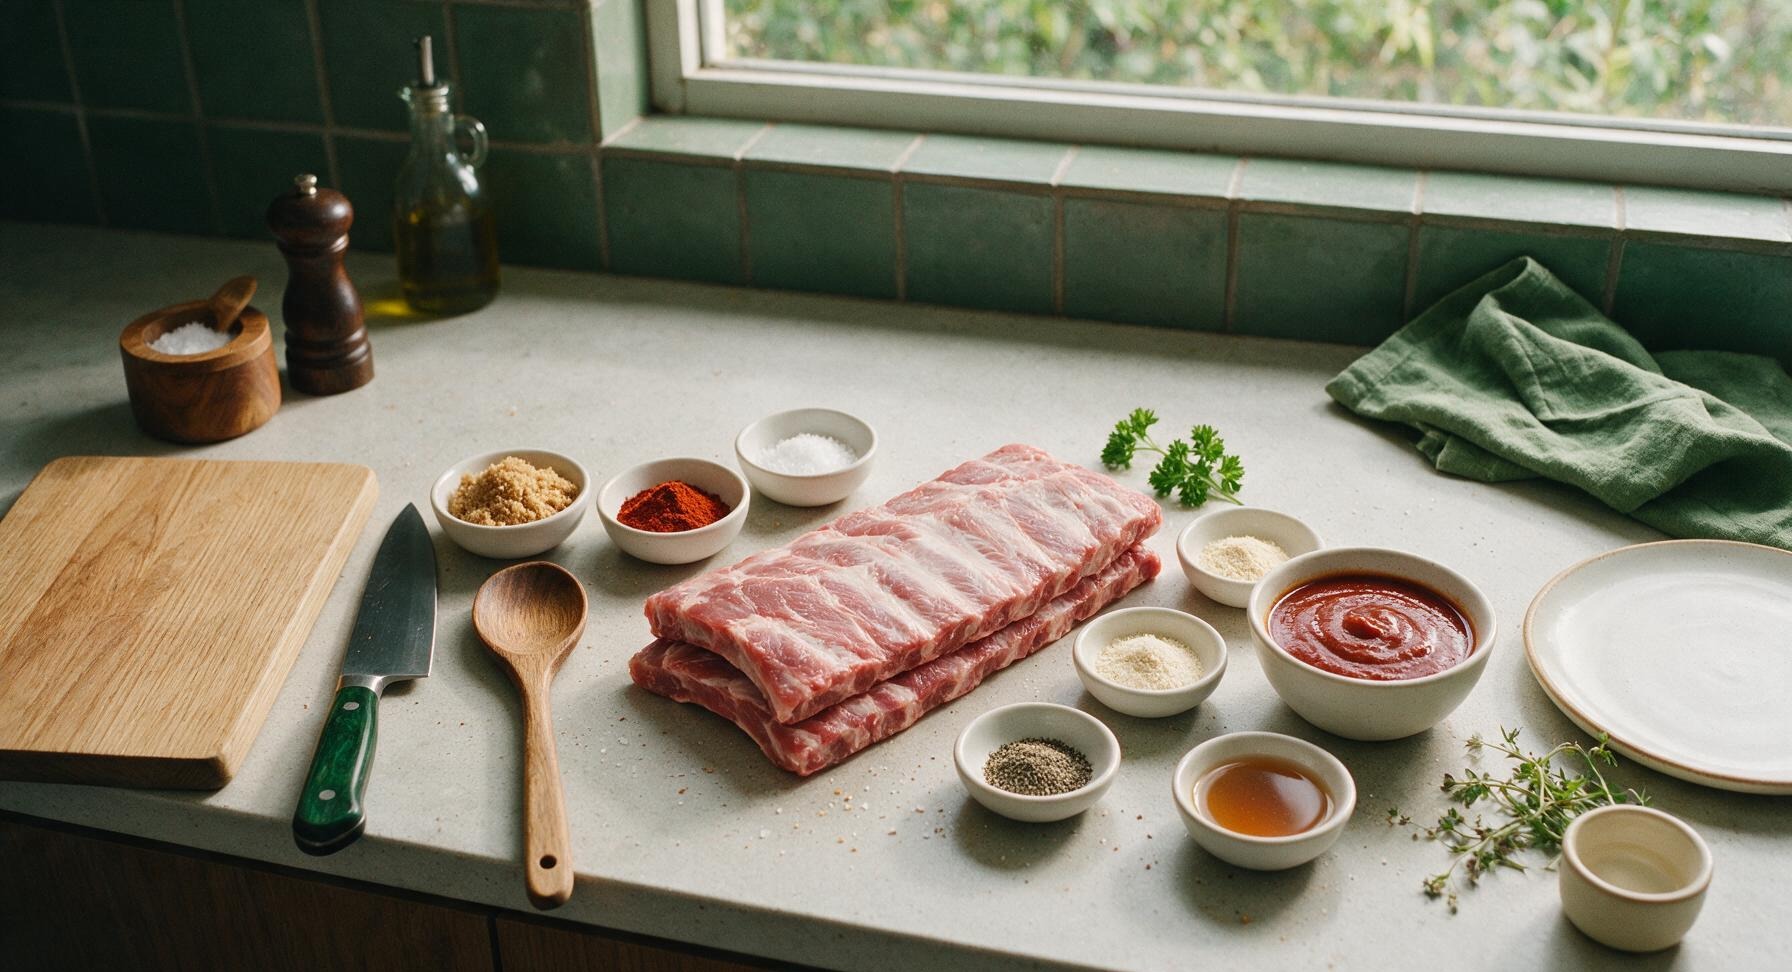
St. Louis cut pork spare ribs 1.5kg (2 full racks)
Light brown sugar 3 tbsp, packed
Smoked paprika 2 tbsp
Kosher salt 1 tbsp
Garlic powder 1 tsp
Onion powder 1 tsp
Freshly ground black pepper 1 tsp
Apple cider vinegar 2 tbsp
Tomato-based tangy BBQ sauce 180ml (3/4 cup)
Fresh curly parsley 2 sprigs

Steps

1

Trim and Prep Ribs

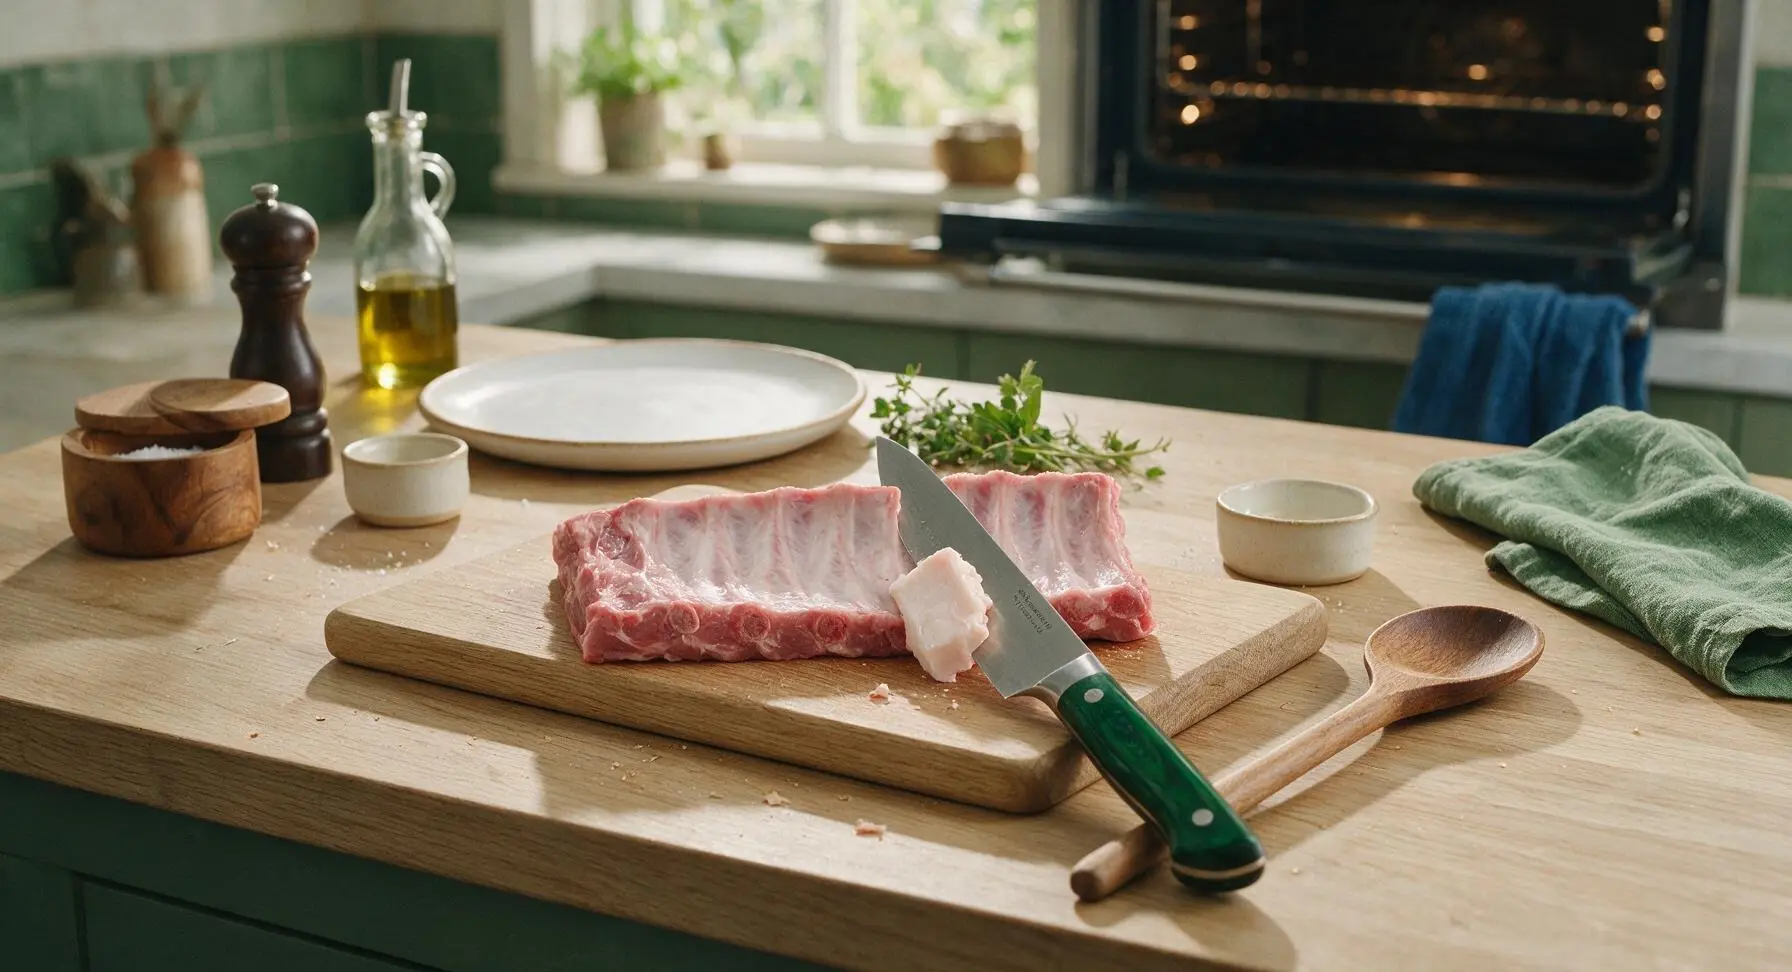
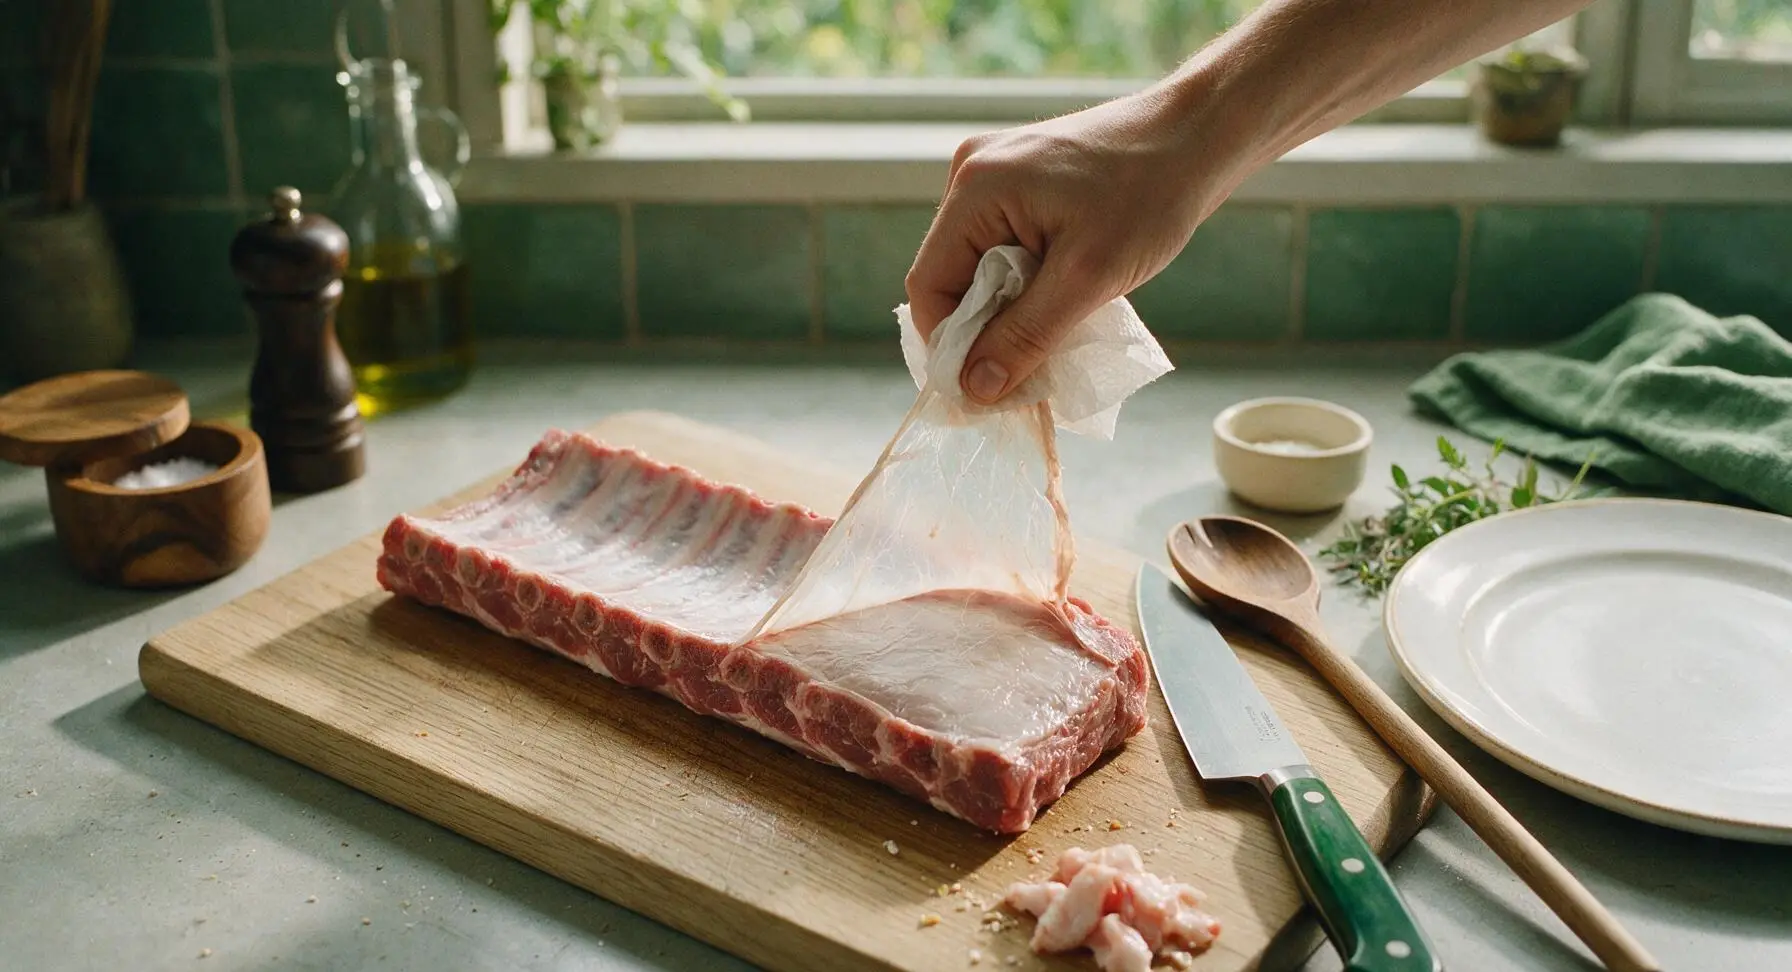
Adjust your oven rack to the middle position and preheat oven to 150C (300F). Place the raw spare ribs on the bamboo cutting board. Use the chef knife to trim off any thick, hard chunks of excess fat from the rib surface, then peel off the thin papery silver skin (membrane) from the bone side: slide a knife tip under the membrane at one narrow end, grip it with a paper towel for traction, and pull it off in one smooth sheet. Pat both sides of the ribs completely dry with the corner of the indigo cotton kitchen towel.
Step 1
step1:Trim and Prep Ribs
Step 1
step1:Trim and Prep Ribs
2

Mix the Dry Rub

In the stainless steel small mixing bowl, combine the packed light brown sugar, smoked paprika, kosher salt, garlic powder, onion powder, and black pepper. Stir with the handle end of the chef knife until all spices are evenly combined, breaking up any clumps of brown sugar. The finished rub will be a deep rusty red-brown, with a slightly gritty texture from the sugar and salt.
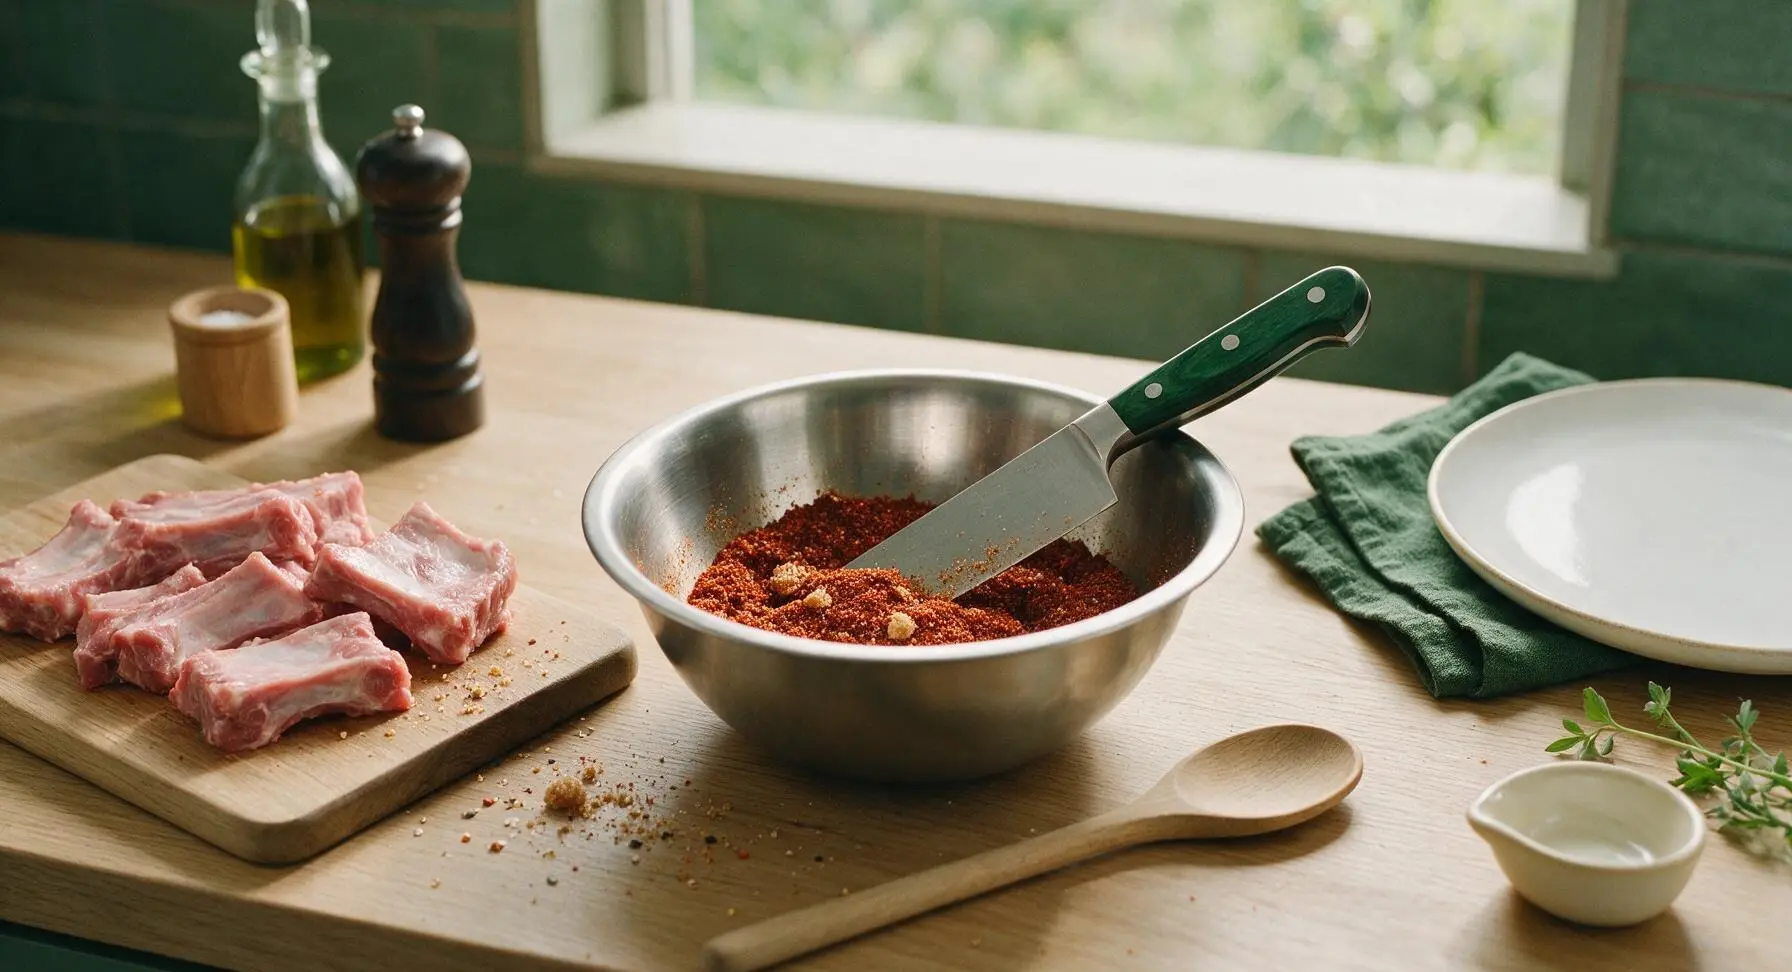
Step 2
step2:Mix the Dry Rub
3

Coat Ribs with Rub

Drizzle 1 tablespoon of apple cider vinegar over both sides of the rib racks, rubbing lightly to help the spice mix adhere. Sprinkle the dry rub evenly over every surface of the ribs—top, bottom, and narrow edges—pressing gently with your fingertips to ensure the rub sticks in a thin, even layer with no bare spots, using all of the rub mixture across the two racks. Let the ribs rest for 10 minutes at room temperature so the rub starts to dissolve into the meat surface, which builds a flavorful crust.
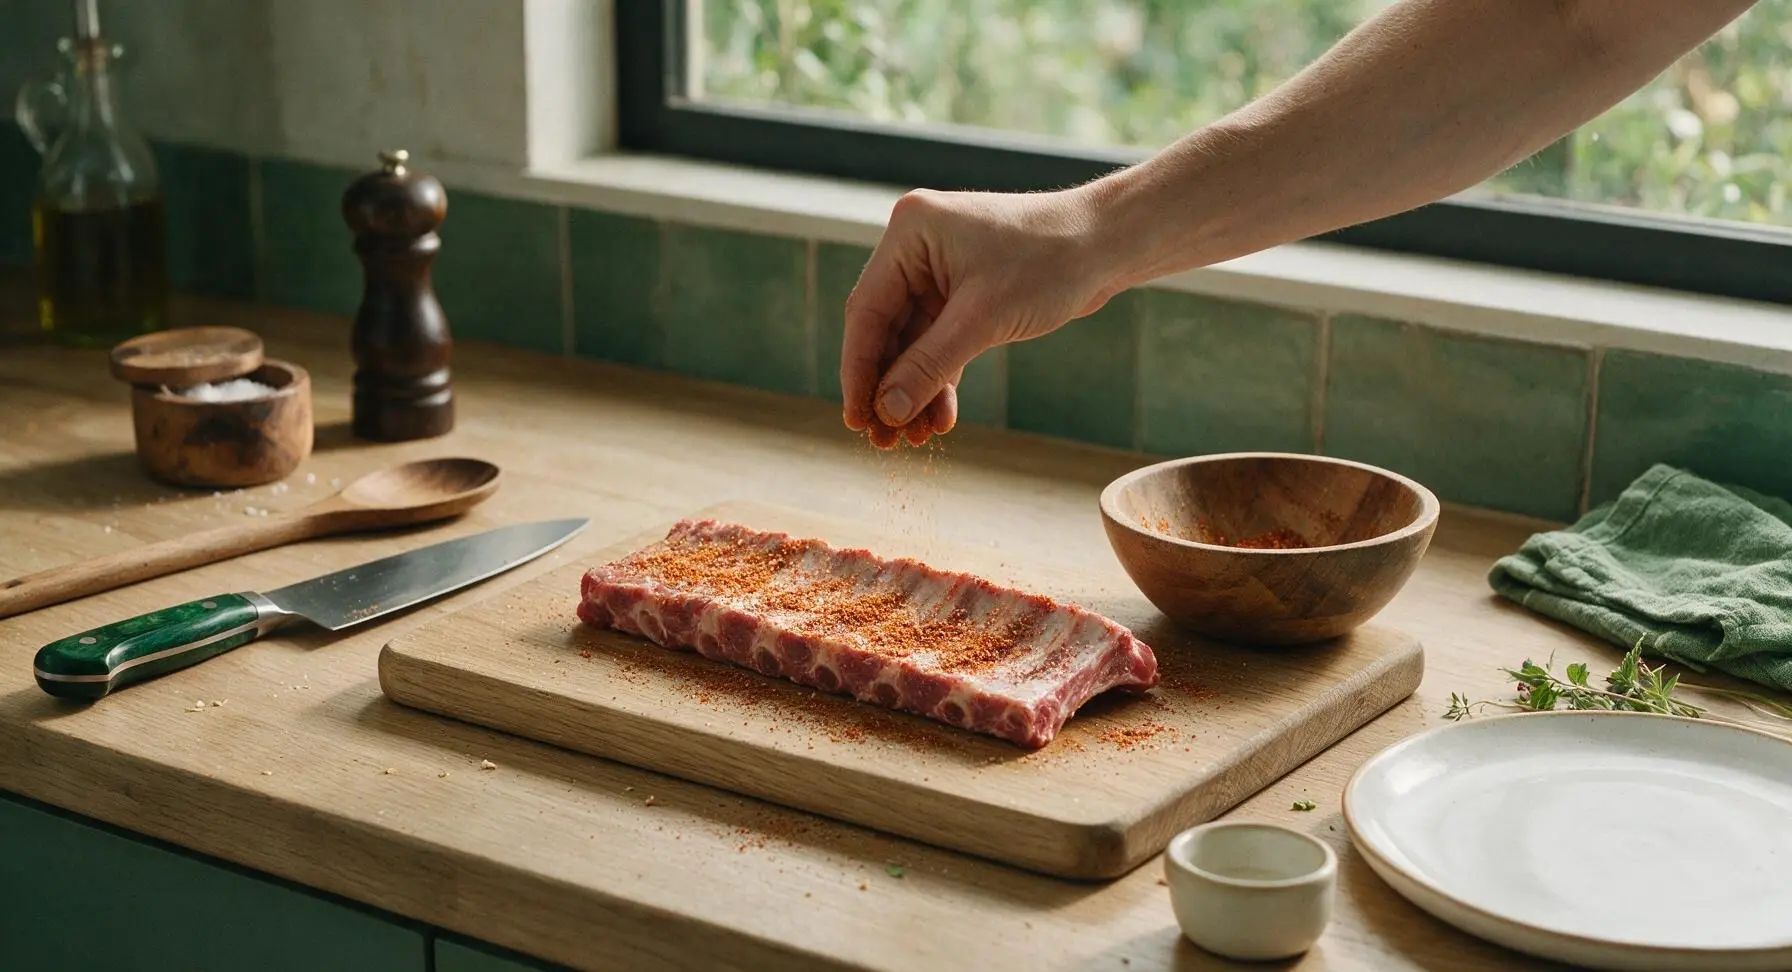
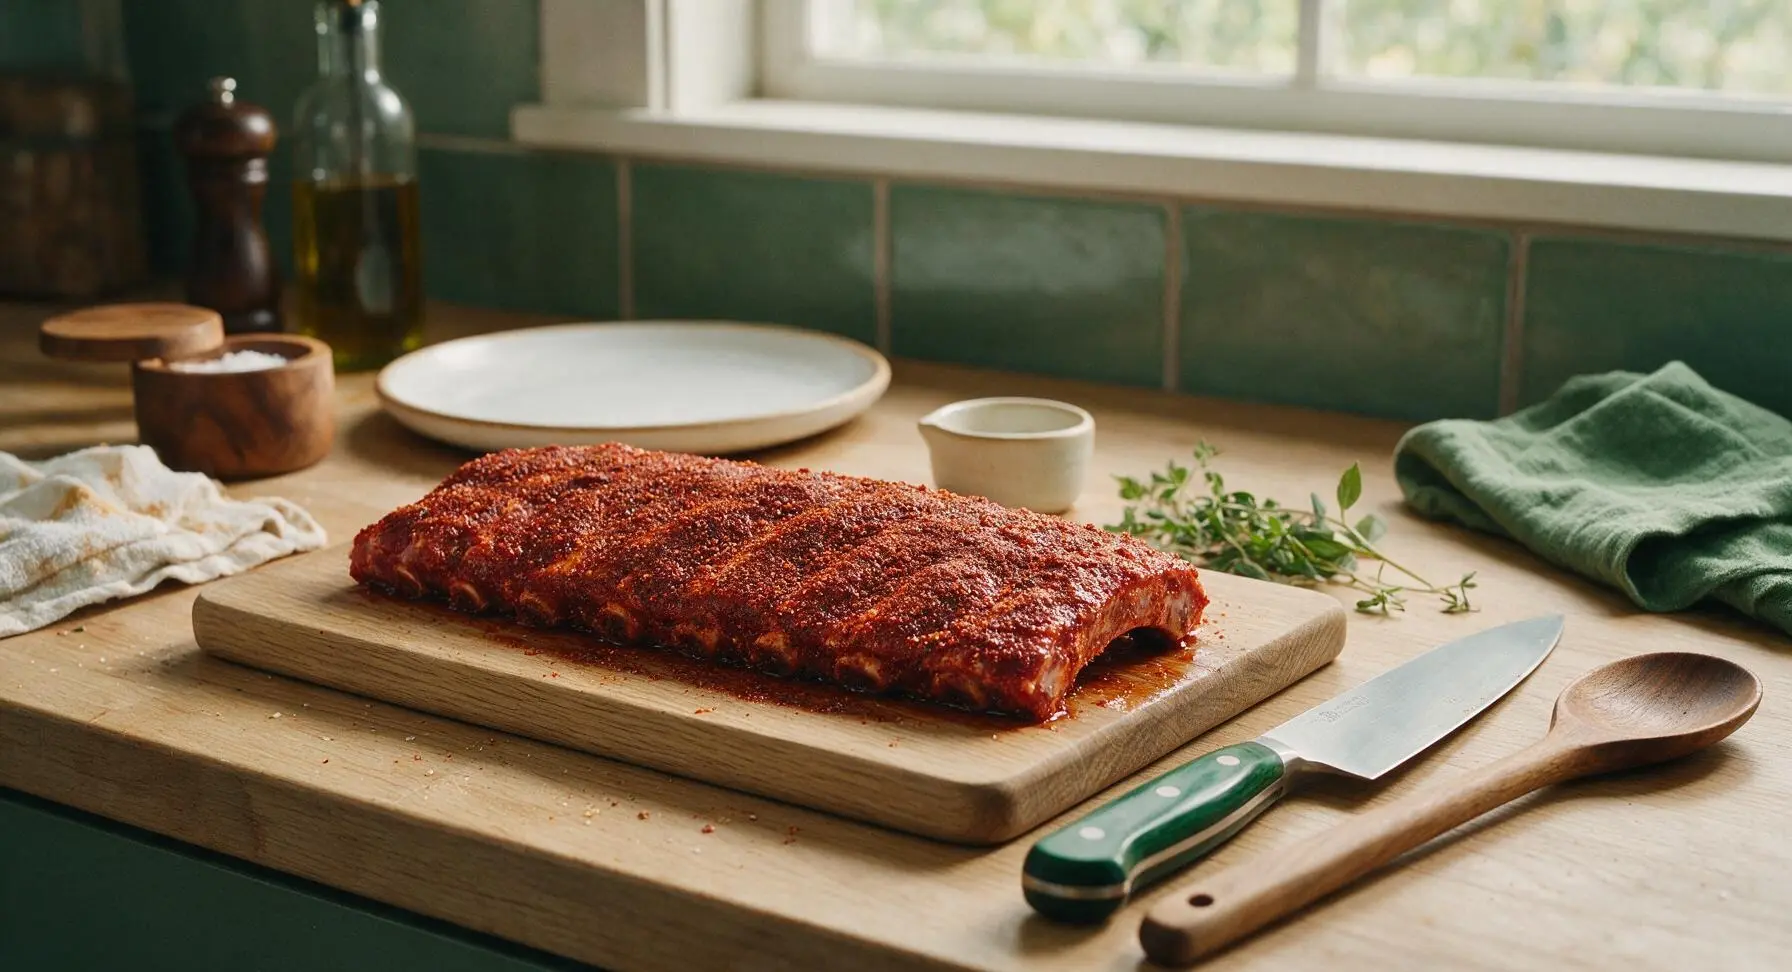
Step 3
step3:Coat Ribs with Rub
Step 3
step3:Coat Ribs with Rub
4

Wrap Ribs Tightly

Tear two large sheets of heavy-duty aluminum foil, each long enough to fully enclose one rib rack. Place one seasoned rib rack bone-side down on each foil sheet, drizzle the remaining 1 tablespoon of apple cider vinegar over the top of the ribs, then fold the foil up tightly around the racks to create an airtight sealed packet with no gaps or holes to trap steam during baking. Place both foil packets seam-side up on the stainless steel rimmed baking sheet.
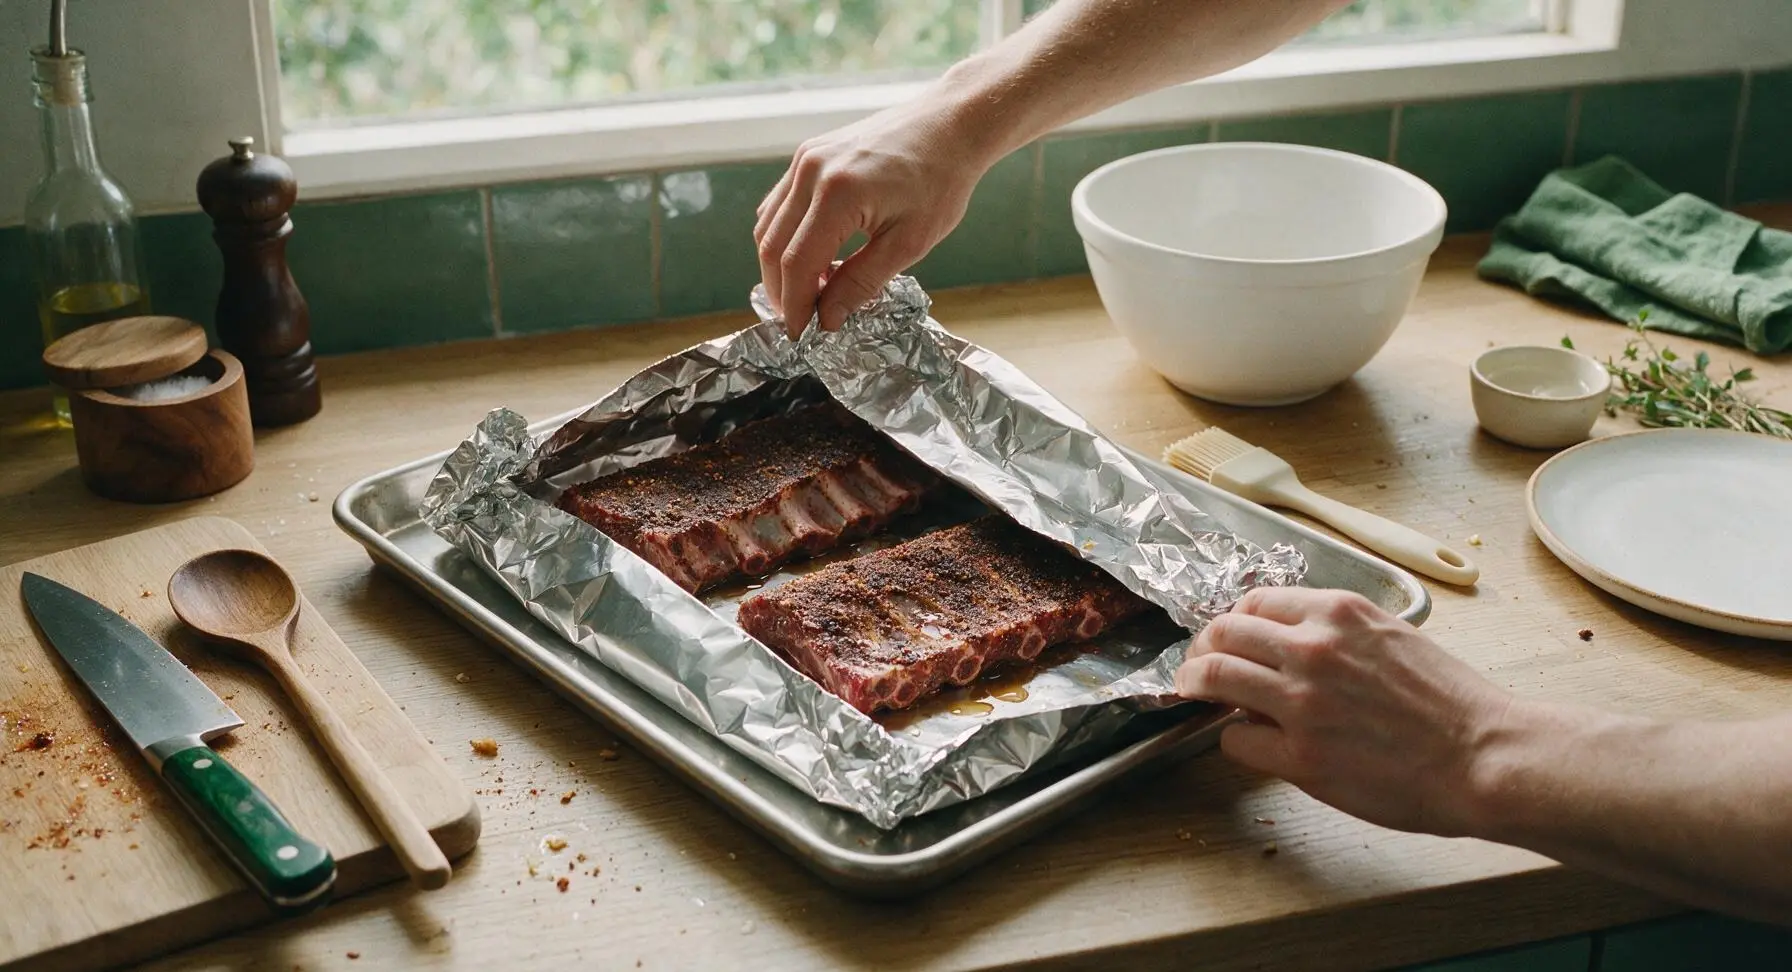
Step 4
step4:Wrap Ribs Tightly
5

Slow Roast Low and Slow

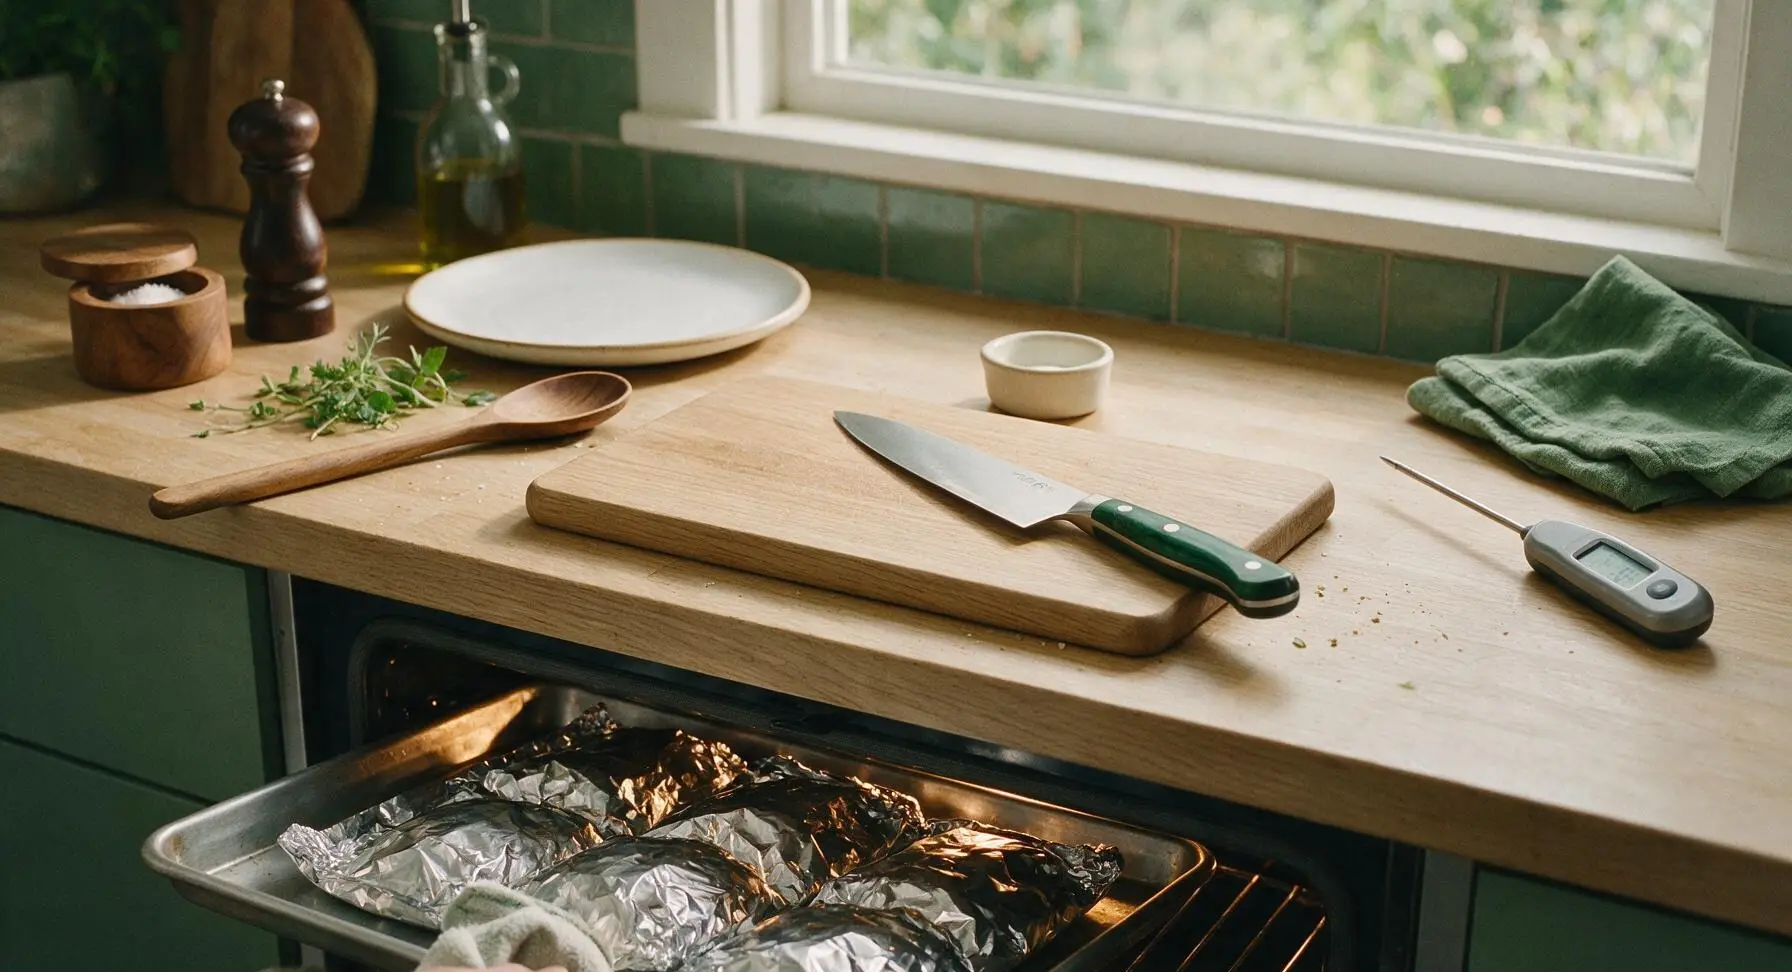
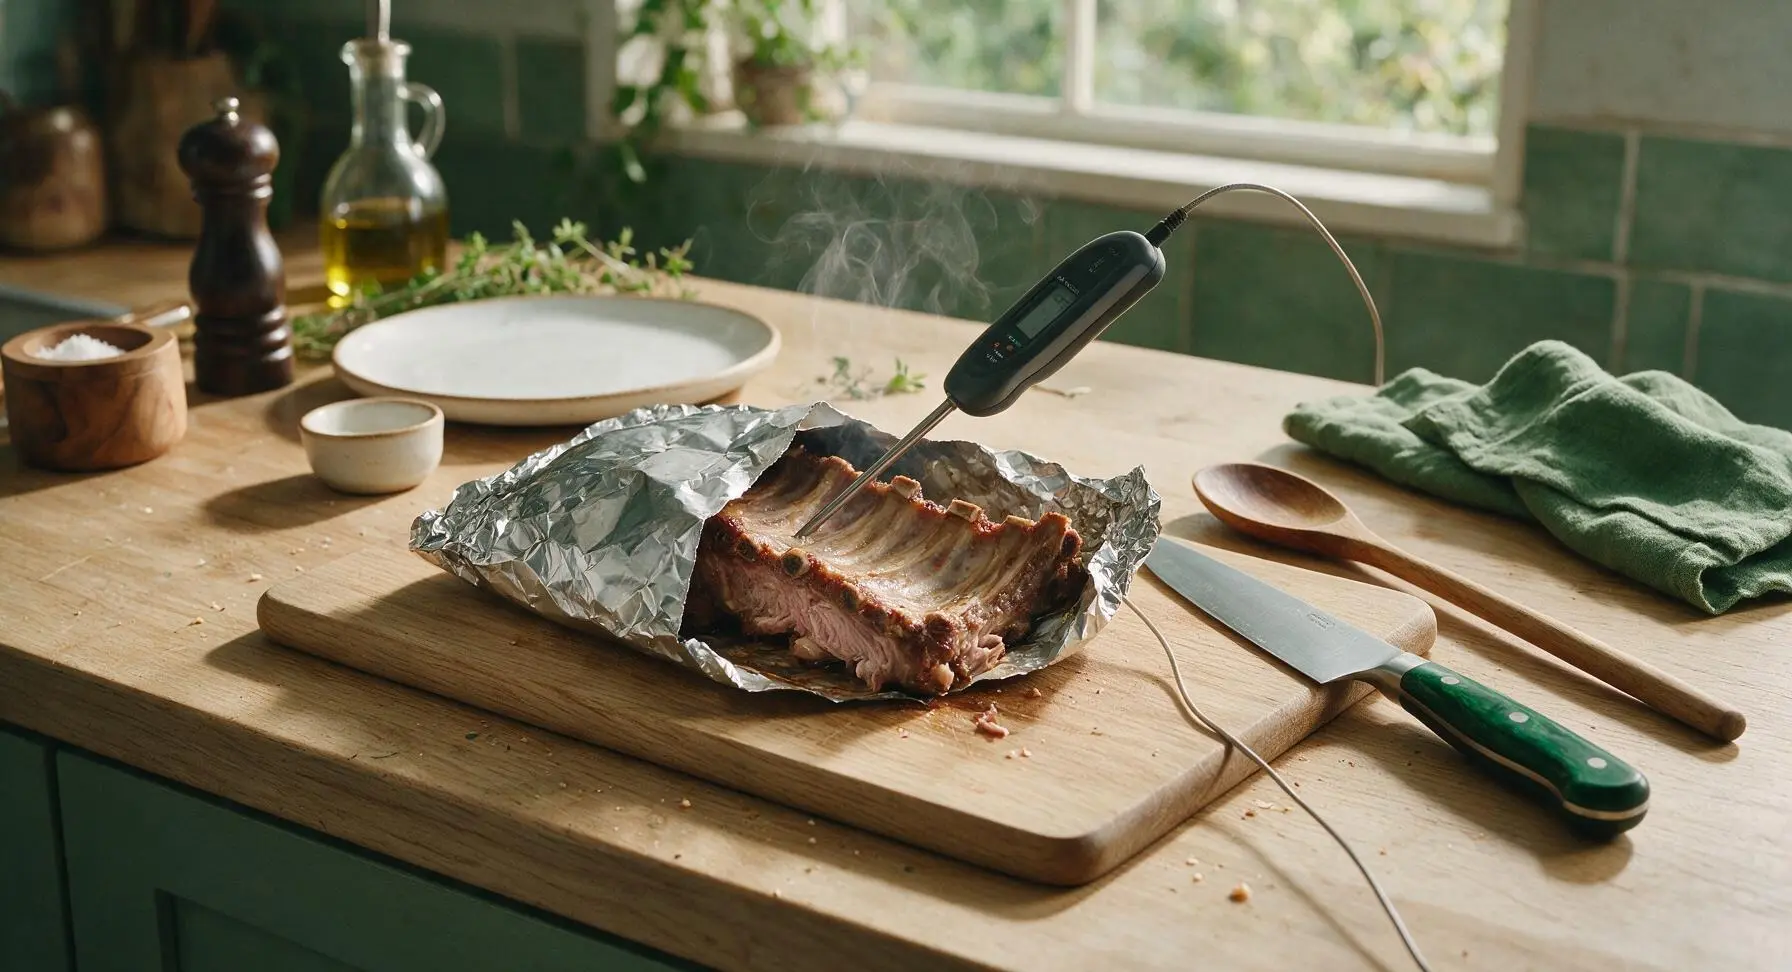
Carefully slide the baking sheet with the foil-wrapped ribs into the preheated oven. Bake for 2 hours, without opening the foil or checking the ribs during this time. After 2 hours, use oven mitts to pull the baking sheet out, and carefully open one corner of a foil packet to test doneness: the meat should pull away easily from the end of a bone when twisted, and the digital meat thermometer should read 90C (195F) when inserted into the thickest part of the meat, away from bone.
Step 5
step5:Slow Roast Low and Slow
Step 5
step5:Slow Roast Low and Slow
6

Baste with BBQ Sauce

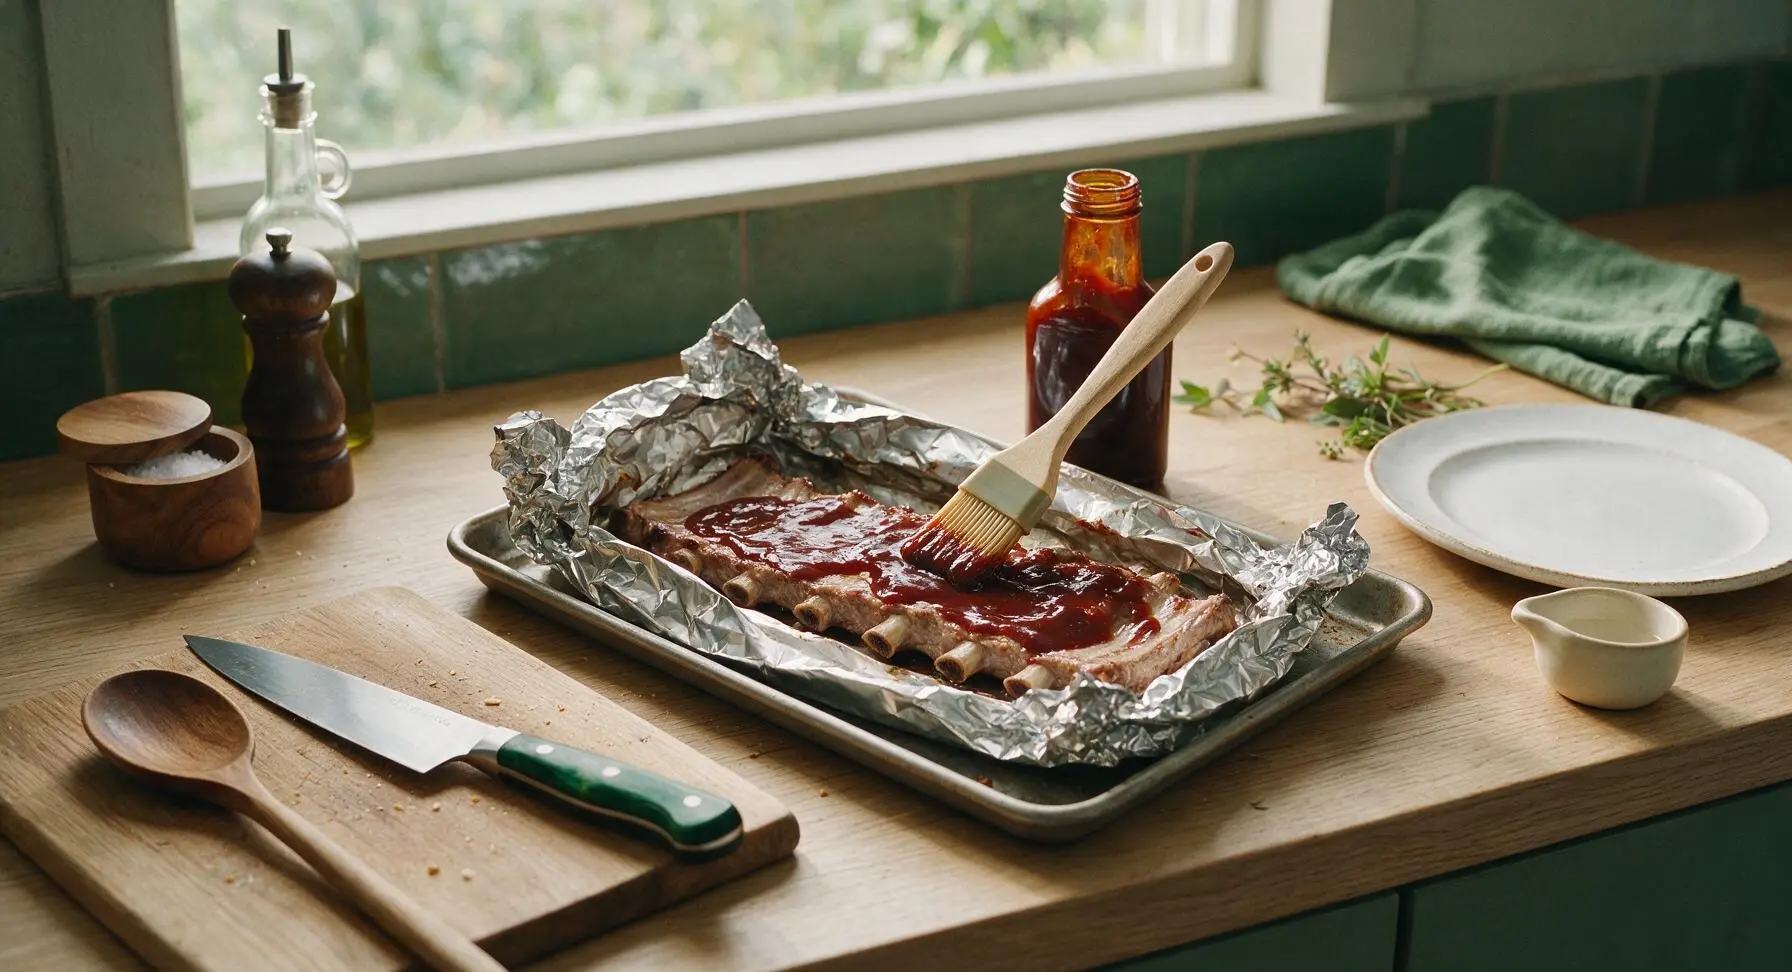
Once the ribs are tender, carefully open the foil packets fully, folding the edges down to expose the entire top surface of the ribs. Use the silicone basting brush to coat the top of each rack generously with half of the BBQ sauce, spreading it in an even, thick layer. Leave the foil open around the ribs; do not re-seal.
Step 6
step6:Baste with BBQ Sauce
7

Caramelize Sauce Crust

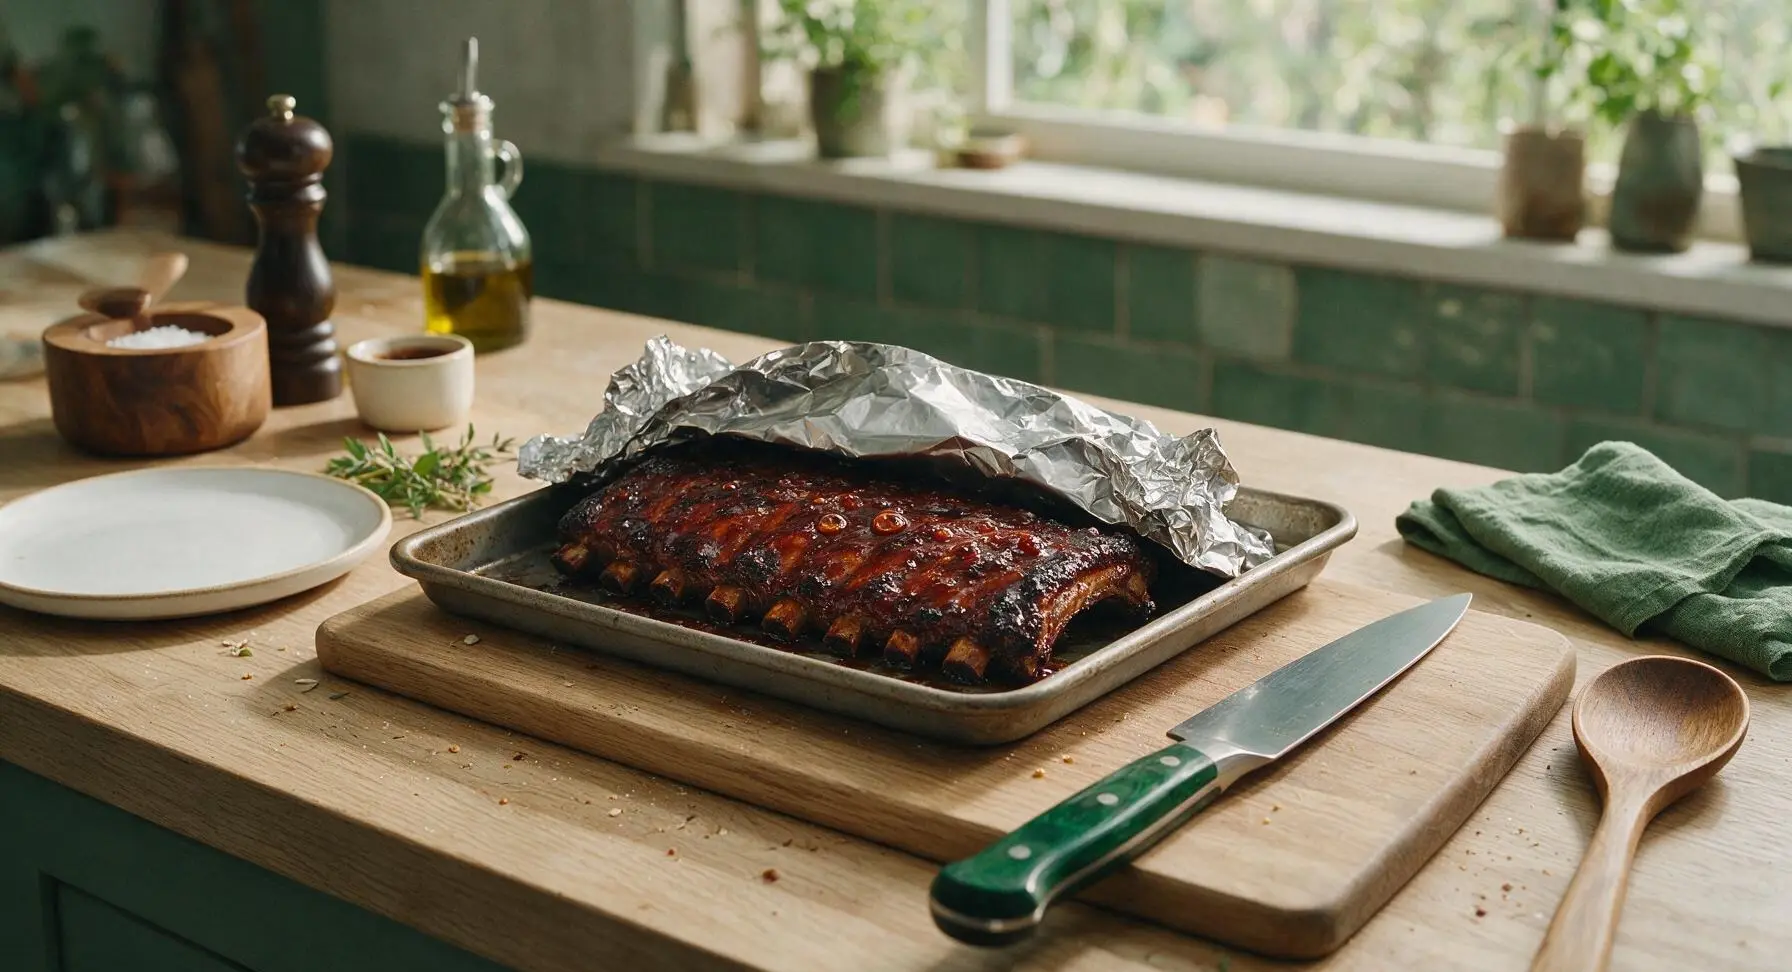
Turn the oven temperature up to 220C (425F). Return the open-faced ribs on the baking sheet to the oven, and bake for 10-12 minutes, until the BBQ sauce is bubbly, sticky, and slightly caramelized at the edges—watch closely to avoid burning the sugar in the sauce. Remove from oven, and let the ribs rest for 10 minutes, tented loosely with a fresh piece of foil, to let juices redistribute.
Step 7
step7:Caramelize Sauce Crust
8

Slice and Serve Ribs

Transfer the rested ribs to the bamboo cutting board. Use the chef knife to slice between the bones, cutting the racks into individual 1 or 2-bone portions. Arrange the sliced ribs on the matte warm white ceramic dinner plate, garnish with a light sprig of fresh parsley, and serve with extra BBQ sauce in the small terracotta ramekin on the side.
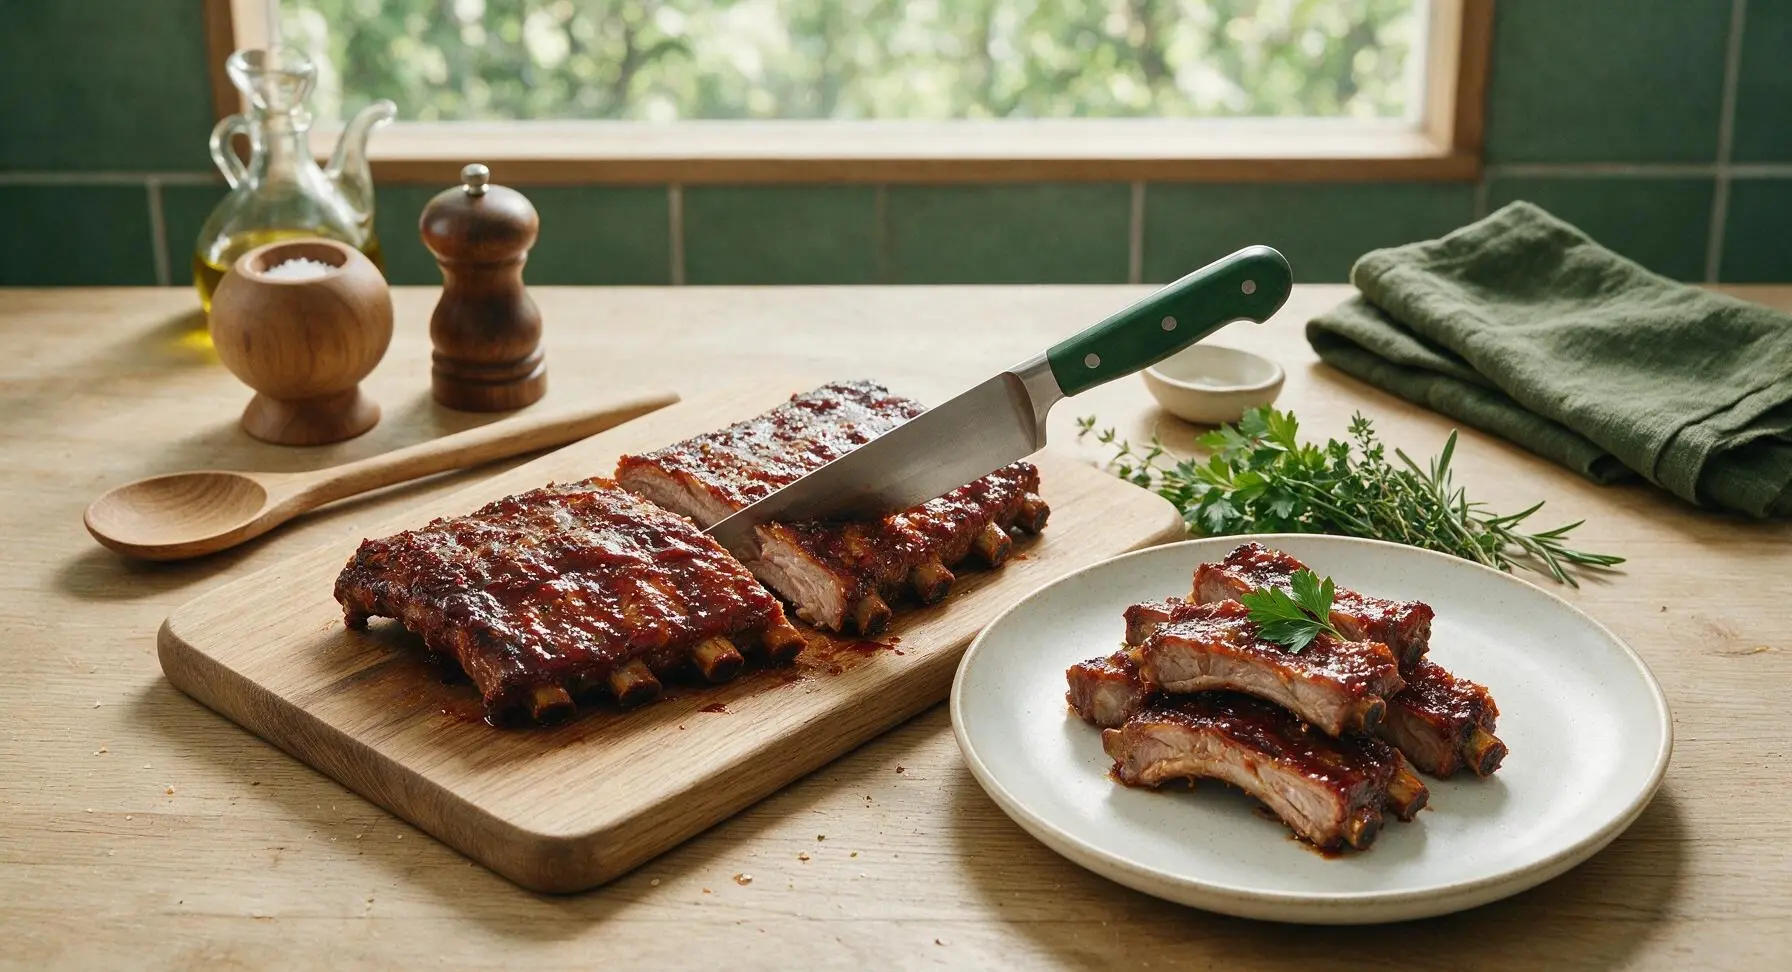
Step 8
step8:Slice and Serve Ribs

Tips

1.Always remove the tough silver skin membrane from the bone side of the ribs: this chewy, non-rendering layer does not break down during cooking, blocks rub and sauce from penetrating the meat, and will leave unpleasantly chewy bites if left on. Grip it with a paper towel for extra traction, as it is very slippery.
2.Resist the urge to raise the oven temperature to speed up cooking: a steady 150C (300F) heat slowly melts tough connective tissue in the ribs without seizing muscle fibers, creating tender, juicy meat instead of tough, dry ribs.
3.Let the ribs rest for a full 10 minutes after caramelizing the sauce: slicing into hot ribs immediately will cause flavorful melted fat and juices to run out onto the cutting board, leaving the meat dry and less flavorful.


✨ You May Also Like

Main Course
🍜 United Kingdom

A showstopping classic of tender seared beef, savory mushroom duxelles, and crisp prosciutto wrapped in flaky golden puff pastry, baked to juicy perfection.

⏱️ 2 hours 1Main Course ★ 4.7
Main Course
🍜 India

Tender charred marinated chicken simmered in a rich, spiced creamy tomato sauce, this iconic Anglo-Indian curry pairs perfectly with basmati rice or warm naan.

⏱️ 50 minuteMain Course ★ 4.6
Main Course
🍜 Thailand

Classic tangy, sweet, and savory Thai stir-fried rice noodles with shrimp, tofu, and crunchy garnishes, balancing all five core Thai flavor profiles.

⏱️ 30 minuteMain Course ★ 4.5
Main Course
🍜 United Kingdom

Crispy golden beer-battered cod and fluffy double-fried chips, served with tangy tartar sauce and malt vinegar: the timeless, beloved British pub comfort classic.

⏱️ 45 minuteMain Course ★ 4.7
Main Course
🍜 Mexico

Smoky, chile-marinated pork tacos with caramelized pineapple, fresh cilantro, and lime: a beloved classic Mexican street food perfect for casual summer gatherings.

⏱️ 1 hour 45Main Course ★ 4.8
Main Course
🍜 United States

Crunchy Fritos corn chips layered with savory beef chili and melted cheddar, topped with cool, zesty fixings for a beloved, cozy Tex-Mex comfort food.

⏱️ 35 minuteMain Course ★ 4.8

spare ribs in oven:Frequently Asked Questions

1.Why do you recommend St. Louis cut spare ribs instead of regular spare ribs or baby back ribs? ▾
St. Louis cut ribs are trimmed of excess tough cartilage, hard breastbone, and thin flap meat, so they cook evenly across the whole rack. They have more fat marbling than baby back ribs, which keeps them juicy through the long slow roast, and their uniform shape makes them easier to season and serve for crowds.
2.How long do I need to cook these ribs to get true fall-off-the-bone texture? ▾
Plan for 3.5 to 4 hours total in a 275°F oven. Cook them tightly wrapped in heavy-duty foil for the first 3 hours to trap steam that breaks down tough connective tissue, then unwrap, brush with sauce, and bake the final 30 to 60 minutes to set that sticky, caramelized glaze.
3.Can I use regular table salt instead of kosher salt for the dry rub? ▾
I don’t recommend a direct 1:1 swap! Table salt is much finer and denser than kosher salt, so you’ll end up with overly salty ribs if you use equal amounts. If table salt is all you have, cut the salt quantity in half, and mix it thoroughly with the other rub ingredients for even distribution.
4.Do I need to remove the membrane from the back of the rib rack before cooking? ▾
Yes, absolutely! That thin, papery membrane on the bone side of the ribs turns tough and chewy when cooked, and it blocks dry rub and sauce from seeping into the meat. Slide a butter knife under the membrane at one end, grip it with a paper towel, and pull it off in one smooth sheet before seasoning.
5.Why does the rub use light brown sugar instead of dark brown sugar or white sugar? ▾
Light brown sugar adds just enough molasses depth for subtle caramel sweetness without overpowering the smoky paprika and savory garlic notes. Dark brown sugar has a stronger molasses flavor that can turn bitter as it caramelizes, and white sugar lacks that warm, rounded sweetness that pairs perfectly with BBQ sauce.
6.My oven-baked ribs always come out dry—what am I doing wrong? ▾
The most common culprits are cooking at too high a temperature, not wrapping ribs tightly enough to trap steam, or skipping the post-cook rest. Make sure you seal foil completely to lock in moisture, keep the oven at a steady 275°F, and let ribs rest 10 minutes after cooking so juices redistribute instead of running out when cut.
7.Can I use store-bought BBQ sauce, and when is the right time to apply it? ▾
Store-bought BBQ sauce works totally fine here! Wait until the last 30 minutes of cook time to brush it on, right after you remove the foil wrap. Applying sauce too early causes the sugar in the sauce to burn and turn bitter before the ribs are fully tender, since the long low cook is too harsh for the sweet glaze.
8.How do I tell when the ribs are done and tender enough? ▾
You don’t need a fancy meat thermometer for this reliable test! Grab one end of the rib rack with tongs and lift it slightly—if the rack bends easily and a small crack forms on the top where meat pulls away from bone, they’re done. A middle rib bone should twist and slide out of the meat with almost no resistance.
9.Can I prep these ribs ahead of time for a party or cookout? ▾
Absolutely! You can apply the dry rub to the rib racks, wrap them tightly in plastic wrap, and store them in the fridge for up to 24 hours before cooking. This actually lets salt and spices penetrate the meat deeper for more flavorful results. Just add 10 to 15 minutes to cook time if putting cold ribs straight in the oven.
10.How do I get smoky flavor without a smoker or grill? ▾
The smoked paprika in the dry rub adds a solid base layer of smoke, but you can amp that up easily. Stir 1/4 teaspoon of hickory or mesquite liquid smoke into your BBQ sauce, or tuck a foil packet of soaked, drained wood chips (poked with small vent holes) on the lower oven rack for the first hour of cooking.
11.What’s the best way to reheat leftover ribs without making them tough or dry? ▾
Skip the microwave, which turns rib meat rubbery and unevenly hot. Instead, wrap leftover ribs in foil with a tablespoon of water or apple juice per rack, and bake at 250°F for 20 to 25 minutes until heated through. Unwrap for the last 5 minutes, brush with extra BBQ sauce, and they’ll taste nearly fresh.
12.Can I use baby back ribs with this recipe instead of St. Louis style spares? ▾
You can, but you’ll need to adjust the cook time to avoid drying them out! Baby back ribs are smaller, leaner, and more tender than St. Louis cut spares, so they only need 2.5 to 3 hours total at 275°F. Keep them wrapped for the first 2 hours, then sauce and finish unwrapped for the final 30 minutes.
13.Should I add liquid like apple juice or beer to the foil packet with the ribs? ▾
You don’t need to! The ribs will release plenty of natural juices and fat as they cook, which creates enough steam inside the tightly sealed foil to break down connective tissue and keep the meat moist. Adding extra liquid can actually wash off your dry rub and dilute the concentrated flavor of the spices and meat.
14.How many people will one rack of St. Louis cut spare ribs feed? ▾
A full St. Louis cut spare rib rack is usually 2.5 to 3 pounds, with 10 to 13 individual ribs. That will feed 2 to 3 adults as a hearty main dish, or 4 to 5 people as part of a larger spread with sides like coleslaw, cornbread, or baked beans. Plan for 1/3 to 1/2 a rack per guest when cooking for crowds.

Comments (4)

3 days ago

OMG these ribs were a total game changer for our Sunday family dinner! I’ve always been intimidated to make spare ribs at home because they feel like such a fancy, complicated restaurant dish, but the instructions were so straightforward and the cook time was spot on. They literally fell right off the bone when I picked up the first rack — my kids, who usually turn their noses up at anything that’s not chicken nuggets or mac and cheese, went back for SECONDS. Even my husband, who swears his grilled ribs are the best in the county, admitted these were better. I’m already planning to make them again for our Thanksgiving pre-game potluck next month!

2 days ago

Wait quick question — did you wrap yours tight in foil like the recipe says for the first part? I tried making oven ribs once a couple months back and they came out so tough I could barely pull the meat off the bone, I’m wondering if I skimped on the foil step last time.

yesterday

Great question, Dave! Tightly sealing the ribs in foil for the first 1 hour 45 minutes is absolutely key — it traps all the steam to break down the connective tissue so the meat gets ultra tender before you glaze them and crank the heat to caramelize the sauce. Don’t skip that step, and you’ll get perfect fall-off-the-bone ribs every time!

5 days ago

These were SO good! I mixed up the dry rub the night before and let it sit on the ribs in the fridge so the flavors could really sink in, and it made the whole house smell incredible while they baked. Only reason I’m not giving a full 5 stars is I wish there was a note that ovens can run hot — mine is older and sits about 25 degrees above the set temp, so the rib edges got a little crispier than I wanted 20 minutes in. Still turned out delicious though! I chopped up the leftover ribs to add to meal prep bowls with coleslaw and cornbread for my work lunches all week, and my coworkers were jealous when they smelled it in the break room.

2 hours ago

Total newbie cook here — I’ve never made ribs in my life and I was fully prepared to mess these up, but wow! I always thought you needed a fancy smoker or expensive backyard grill to make good ribs, but nope, my crummy little apartment oven did all the work. I used a store-bought hickory BBQ sauce to glaze them at the end because I ran out of time to make the homemade sauce from the recipe, and my roommates still went nuts for them. Quick question though: can I use this exact same method for baby back ribs, or do I need to adjust things?

30 minutes ago

So stoked these turned out for your first ever rib cook, Jake! You can absolutely use this method for baby back ribs — just cut the initial foil-wrapped cook time down by about 20 minutes, since baby backs are smaller and tend to cook faster than spare ribs. Enjoy experimenting!

1 week ago

I made these for our annual fall block party potluck last weekend and people were literally hovering by the food table waiting for me to set the platter down! I doubled the recipe since I knew we’d have a big crowd, and every single rib was gone in less than 15 minutes. I lost count of how many neighbors came up to ask for the recipe — I just sent the link straight to our neighborhood group chat. This is 100% my new go-to rib recipe for every gathering from now on, no more tough, chewy grilled ribs for us!

5 days ago

Oh this is such a relief to hear doubling works! I’m making these for my husband’s birthday cookout next weekend and we’ve got about 12 people coming, I was so nervous about scaling the recipe up and messing up the cook time. Did you have to add any extra time in the oven when you made a double batch?



