
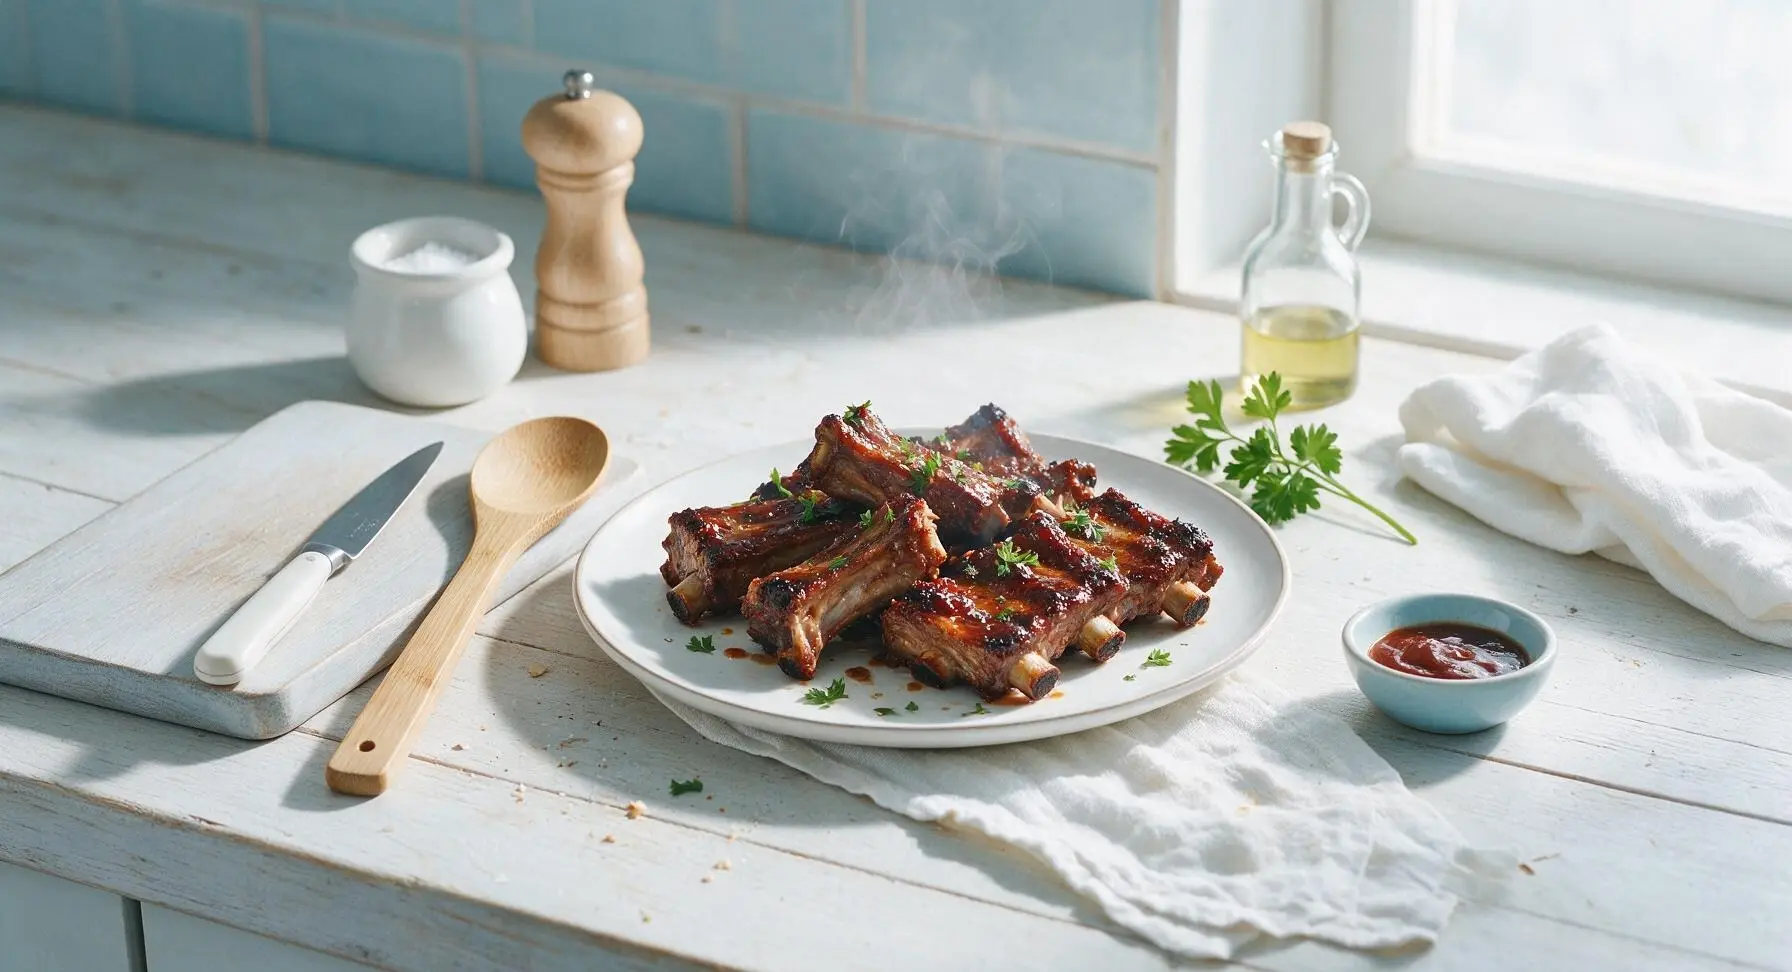
spareribs grill

title 1
spareribs grill
⏱️ cook time 2 hours 45 minutes
🍽️ servings 4
⚡ Difficulty medium

intro

Tender, fall-off-the-bone smoky grilled spareribs with a sticky caramelized BBQ sauce crust, perfect for laid-back summer backyard gatherings.

Ingredients
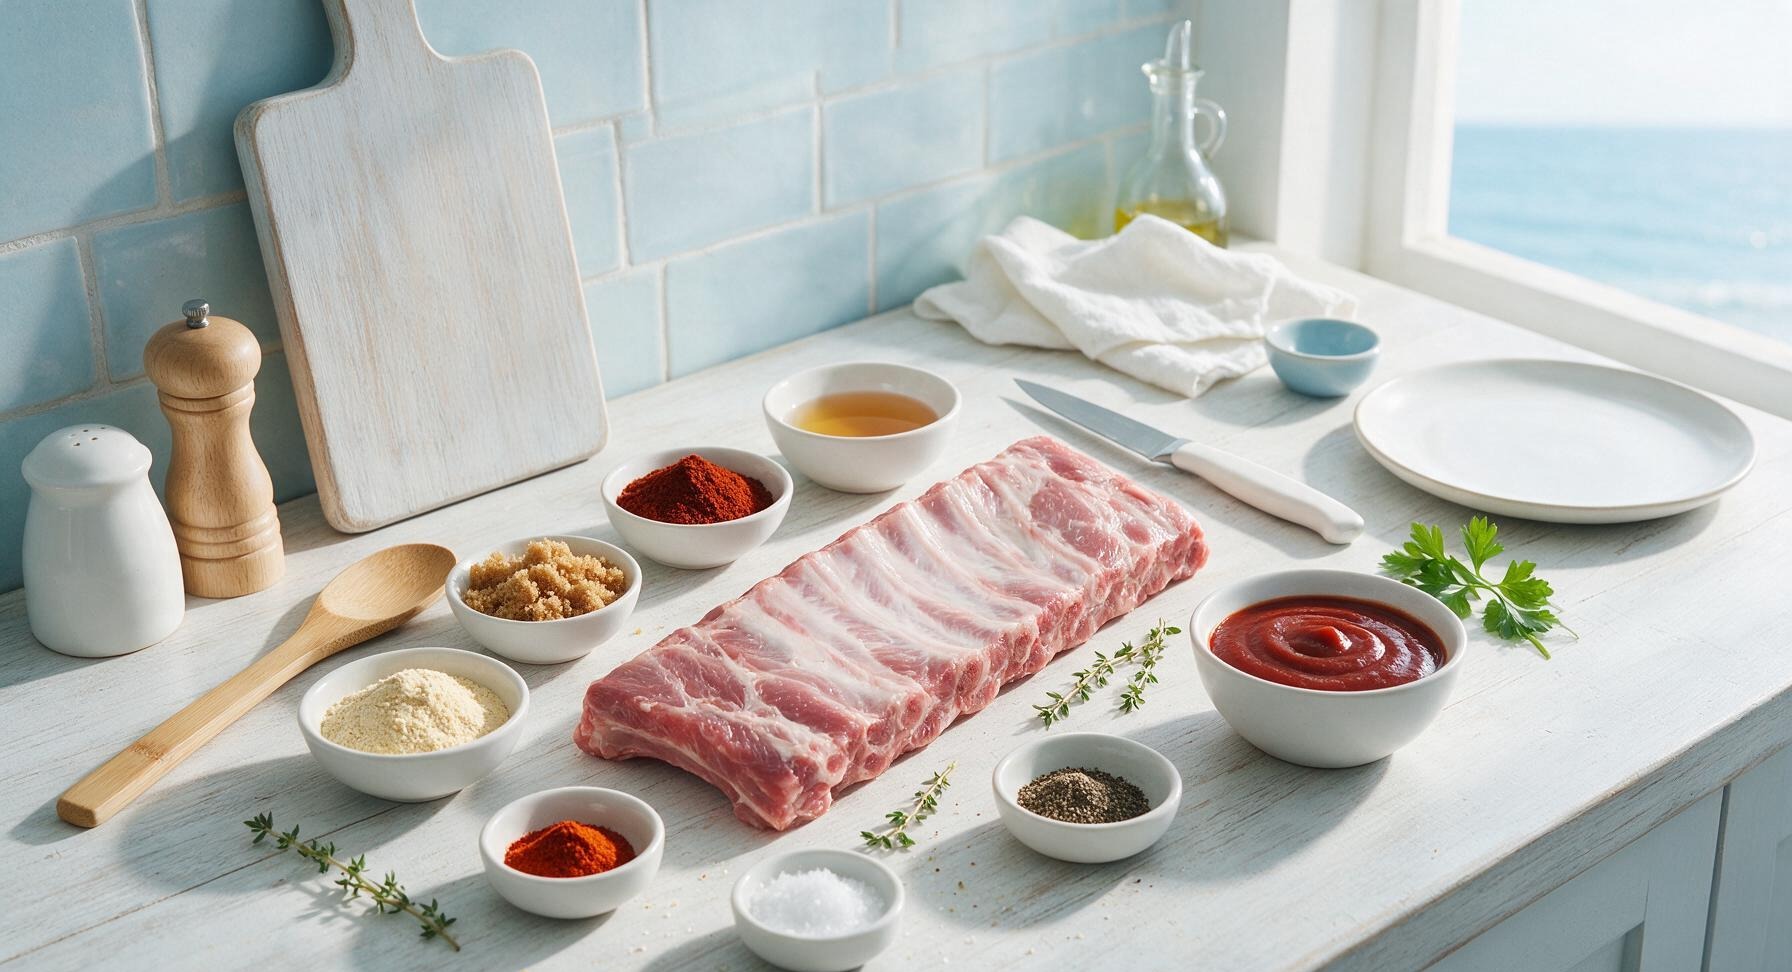
Pork spareribs (full rack) 1.3kg (3lb)
Light brown sugar 3 tbsp
Smoked paprika 2 tbsp
Garlic powder 1 tbsp
Kosher salt 1 tbsp
Onion powder 1 tsp
Freshly ground black pepper 1 tsp
Cayenne pepper 1/4 tsp
Apple cider vinegar 2 tbsp
Tangy tomato-based BBQ sauce 250ml (1 cup)
Fresh thyme 5 sprigs

Steps

1

Prep the Sparerib Rack

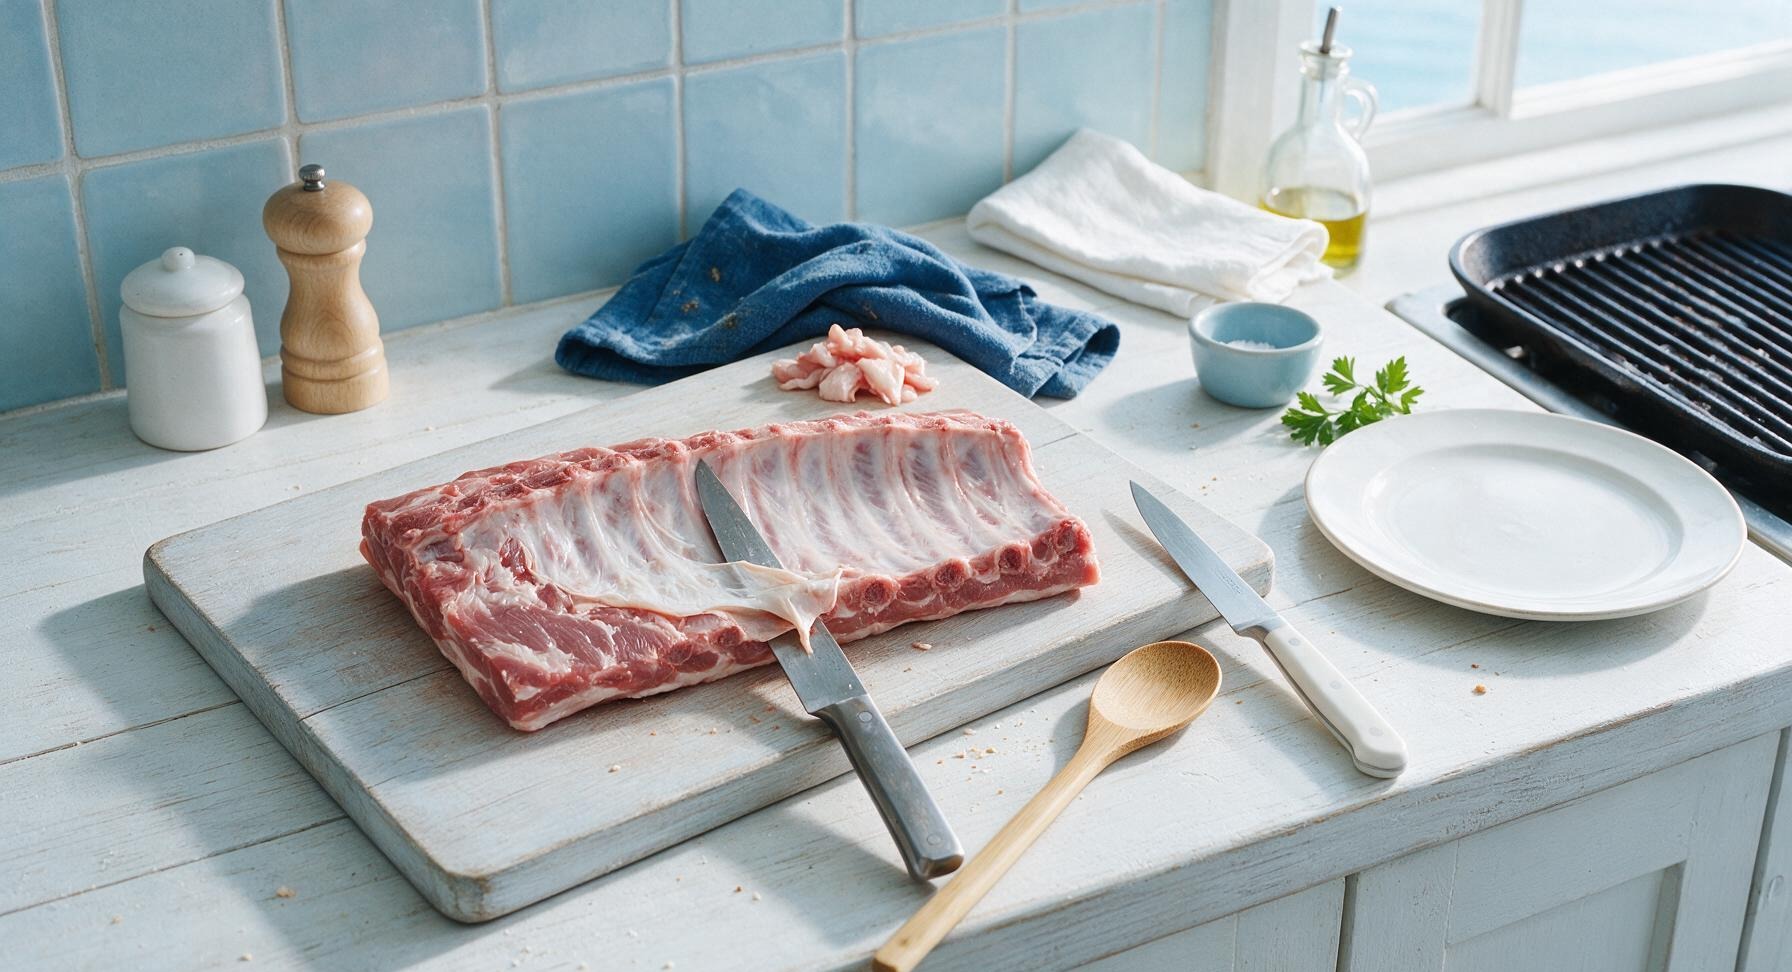
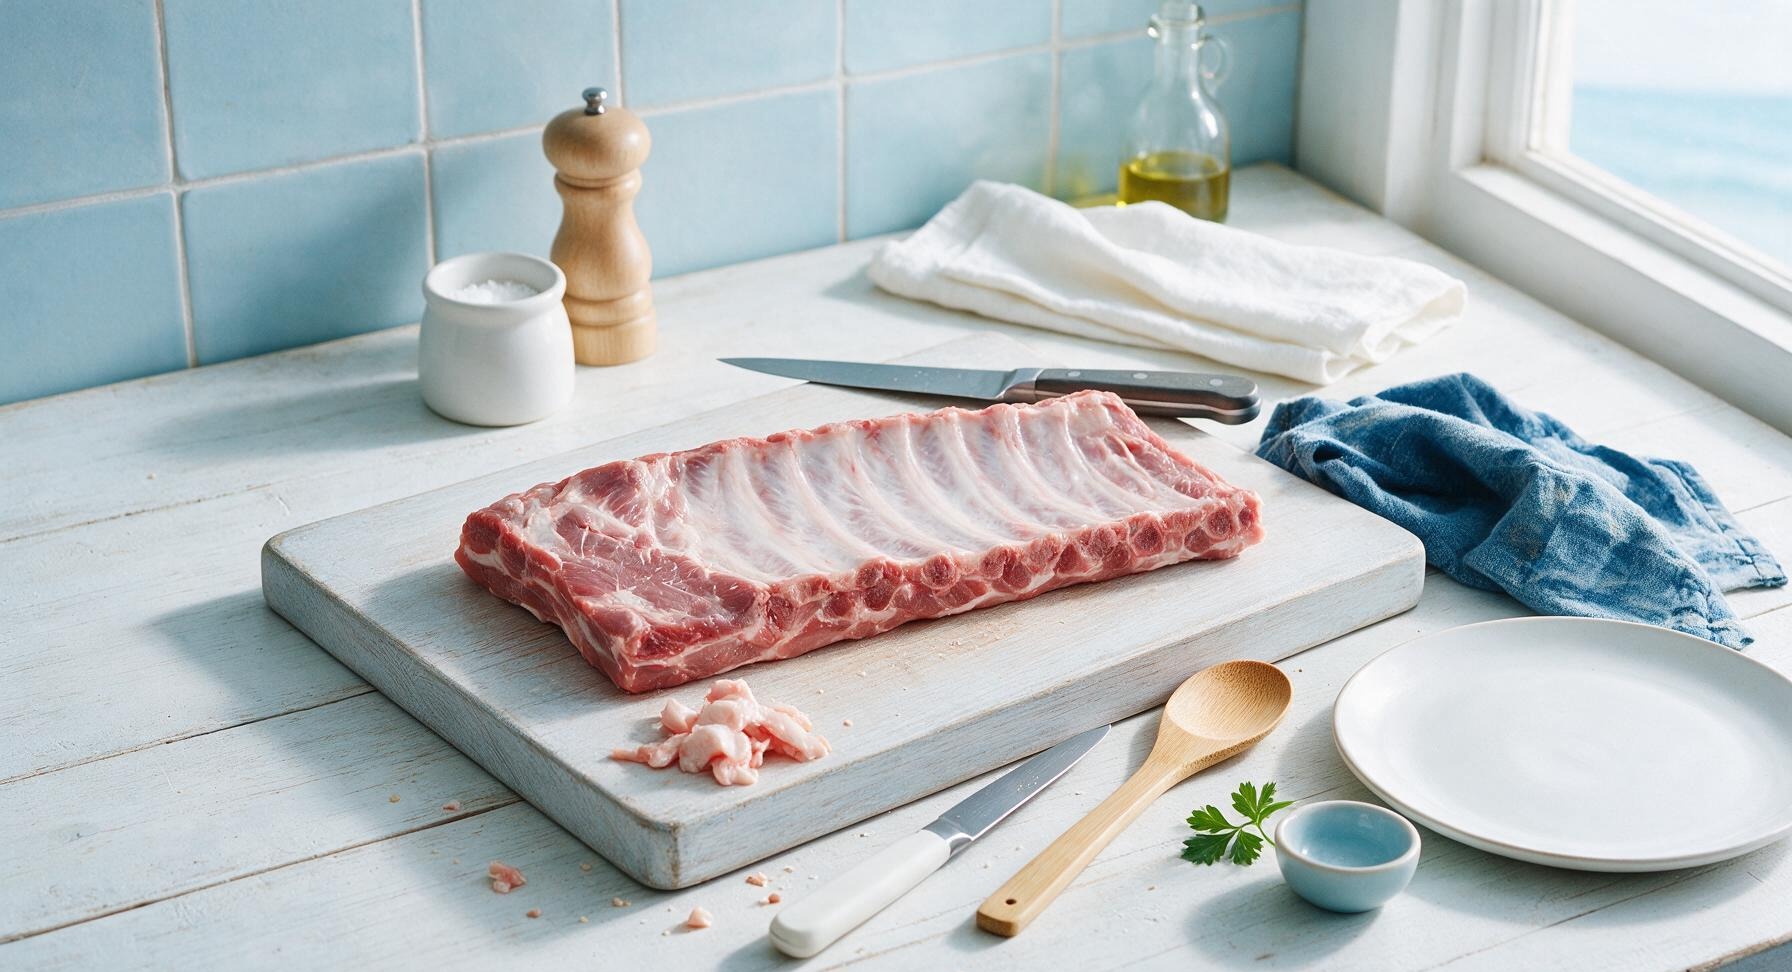
Place the 1.3kg pork sparerib rack on the acacia wood cutting board. Use the 6-inch boning knife to trim thick, hard excess fat chunks from the meaty side, leaving a uniform 1/4-inch thin fat layer. Flip the rack bone-side up, slide the knife tip under the tough white silverskin membrane along the bone line, grip the membrane edge with a piece of paper towel from the roll, and pull it off in one smooth sheet. Pat the entire rack completely dry with the folded indigo cotton kitchen towel. The rib surface should feel matte and dry to the touch, with no visible wet spots or ragged fat edges.
Step 1
step1:Prep the Sparerib Rack
Step 1
step1:Prep the Sparerib Rack
2

Apply Dry Rub Coating

In the small stainless steel mixing bowl, combine 3 tbsp light brown sugar, 2 tbsp smoked paprika, 1 tbsp garlic powder, 1 tsp onion powder, 1 tbsp kosher salt, 1 tsp black pepper, and 1/4 tsp cayenne pepper, stirring until evenly mixed with no clumps of brown sugar. Transfer the rub to the stainless steel shaker, then sprinkle generously over every surface of the rib rack – front, back, and edges – pressing gently with your fingertips to help the spice mixture adhere firmly. No bare patches of meat should be visible once coated. Let the rubbed ribs rest at room temperature for 20 minutes while you preheat the grill, allowing the spices to draw out surface moisture and form a sticky base layer.
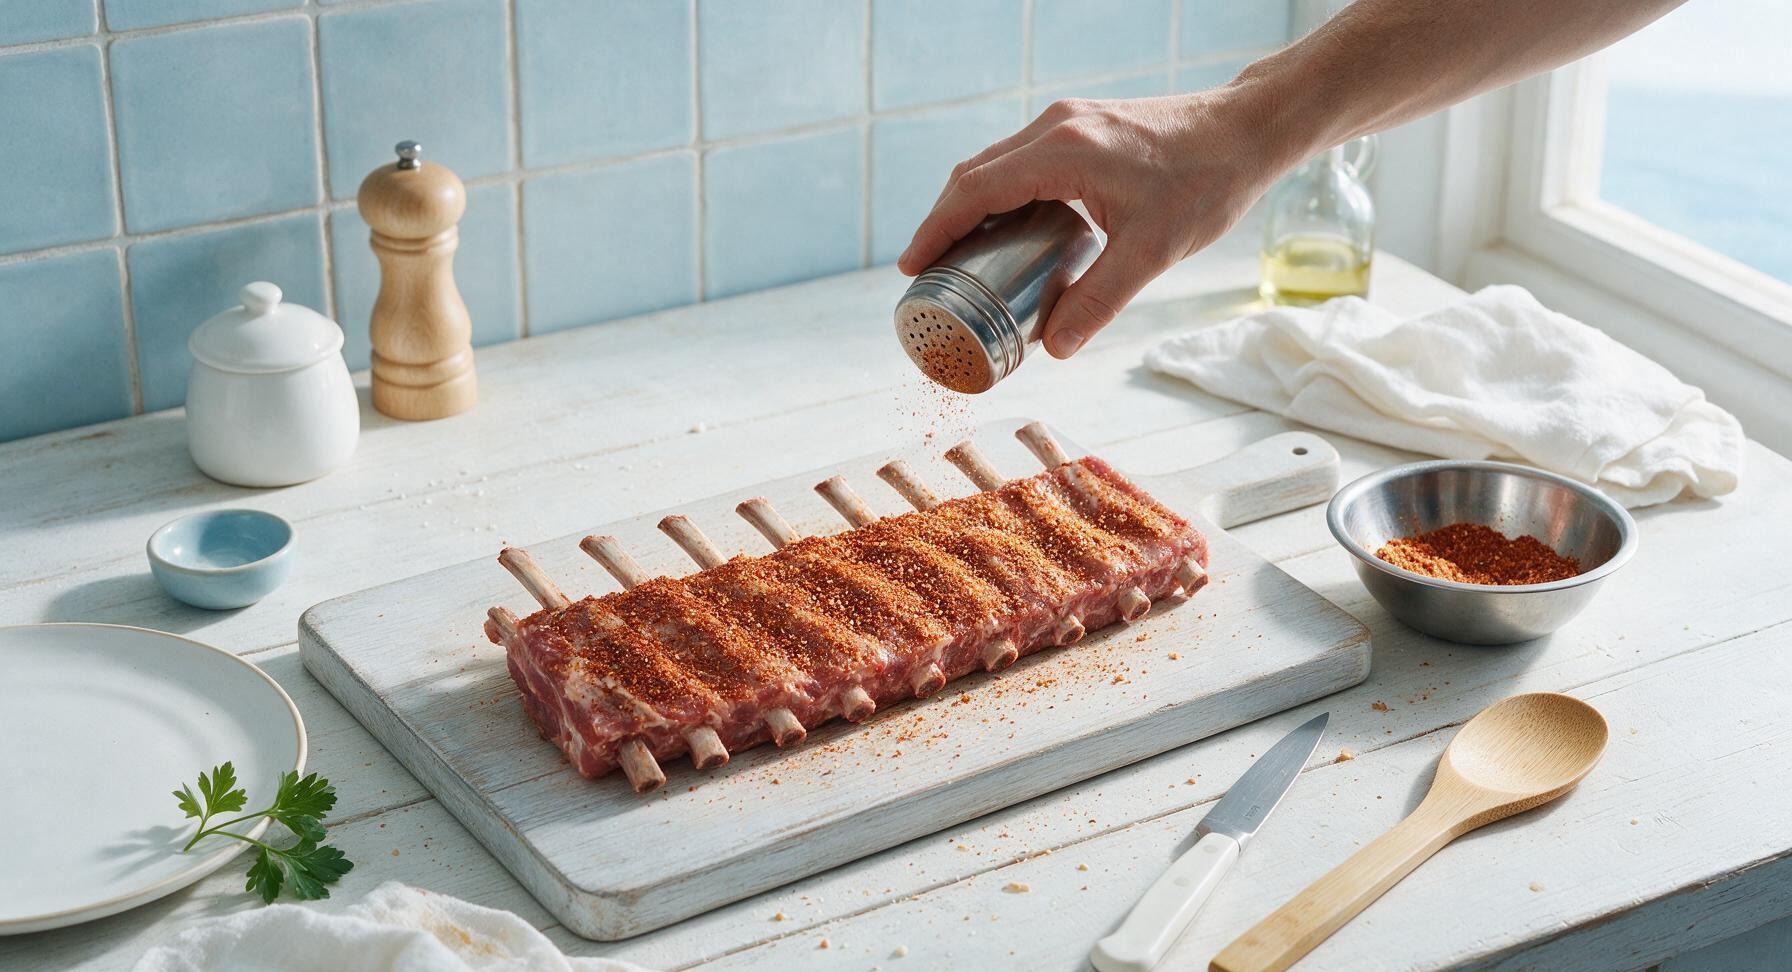
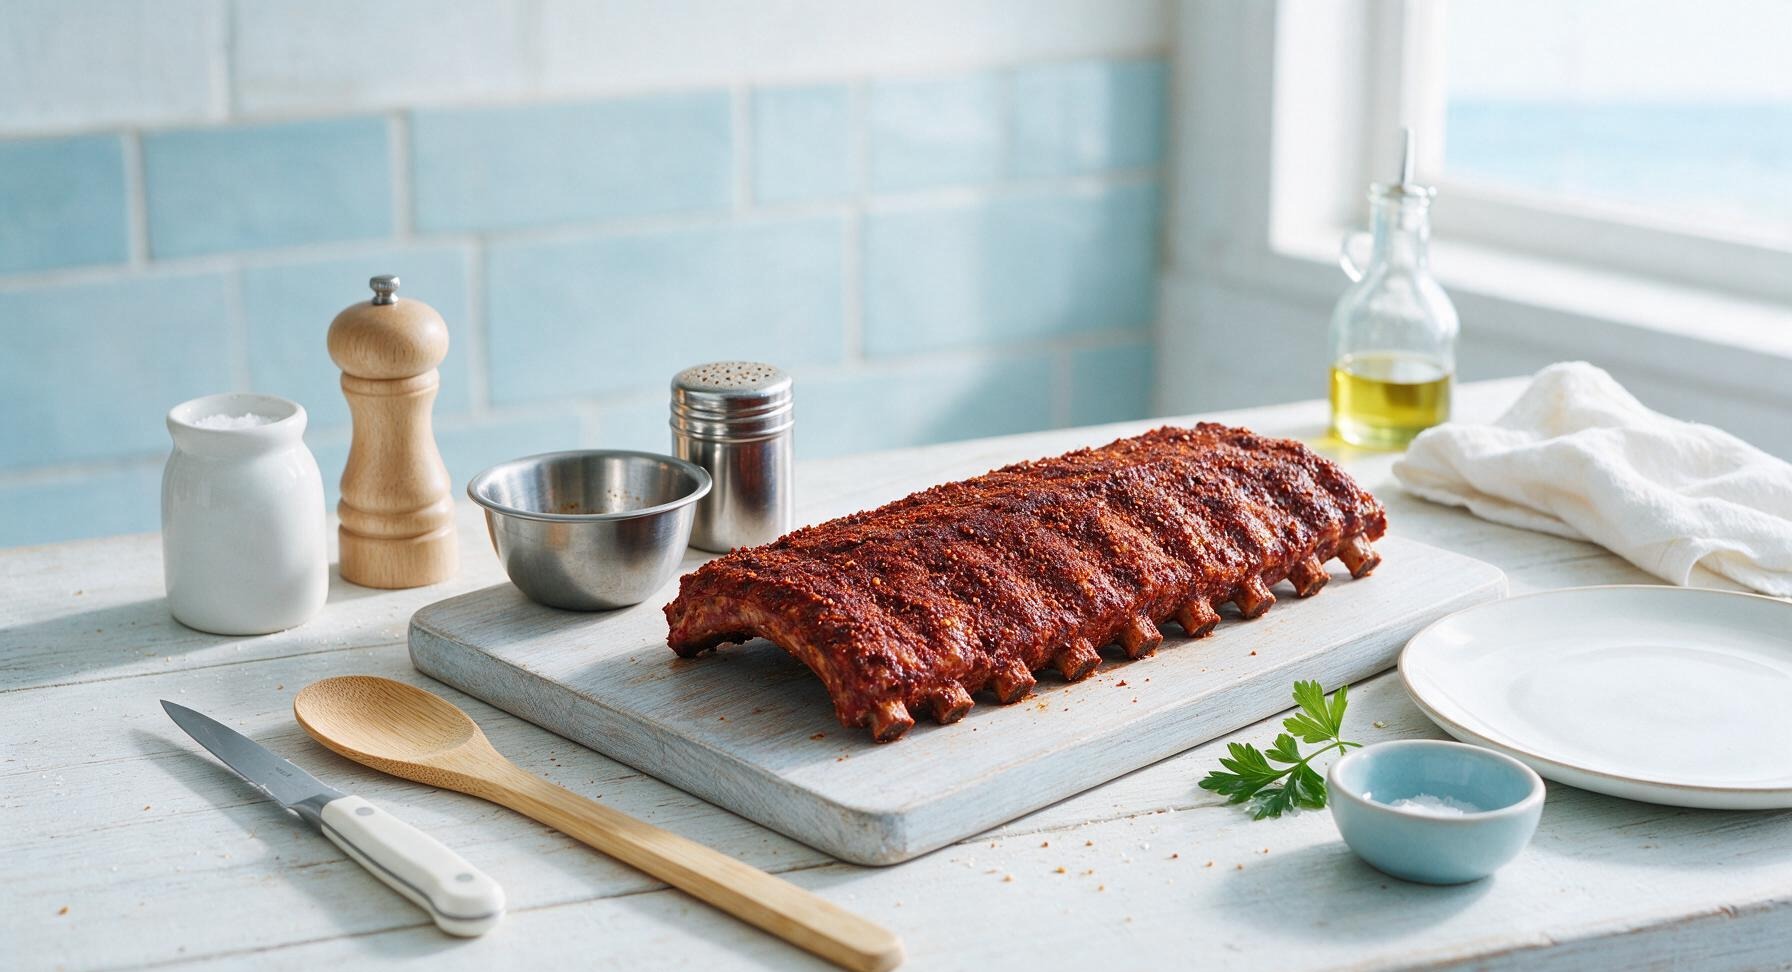
Step 2
step2:Apply Dry Rub Coating
Step 2
step2:Apply Dry Rub Coating
3

Preheat Charcoal Grill

Open the cast iron grill's bottom vent halfway. Light 2kg of hardwood lump charcoal in the grill basin, and let it burn until the coals are covered in a thin, even layer of light gray ash (approximately 15 minutes), when the internal grill temperature reaches 175C/350F. Use the BBQ tongs to push all lit coals to one side of the grill basin to create an indirect heat zone, leaving the opposite side completely empty with no coals underneath. Replace the grill grate, close the lid, and let the grate preheat for 5 minutes.
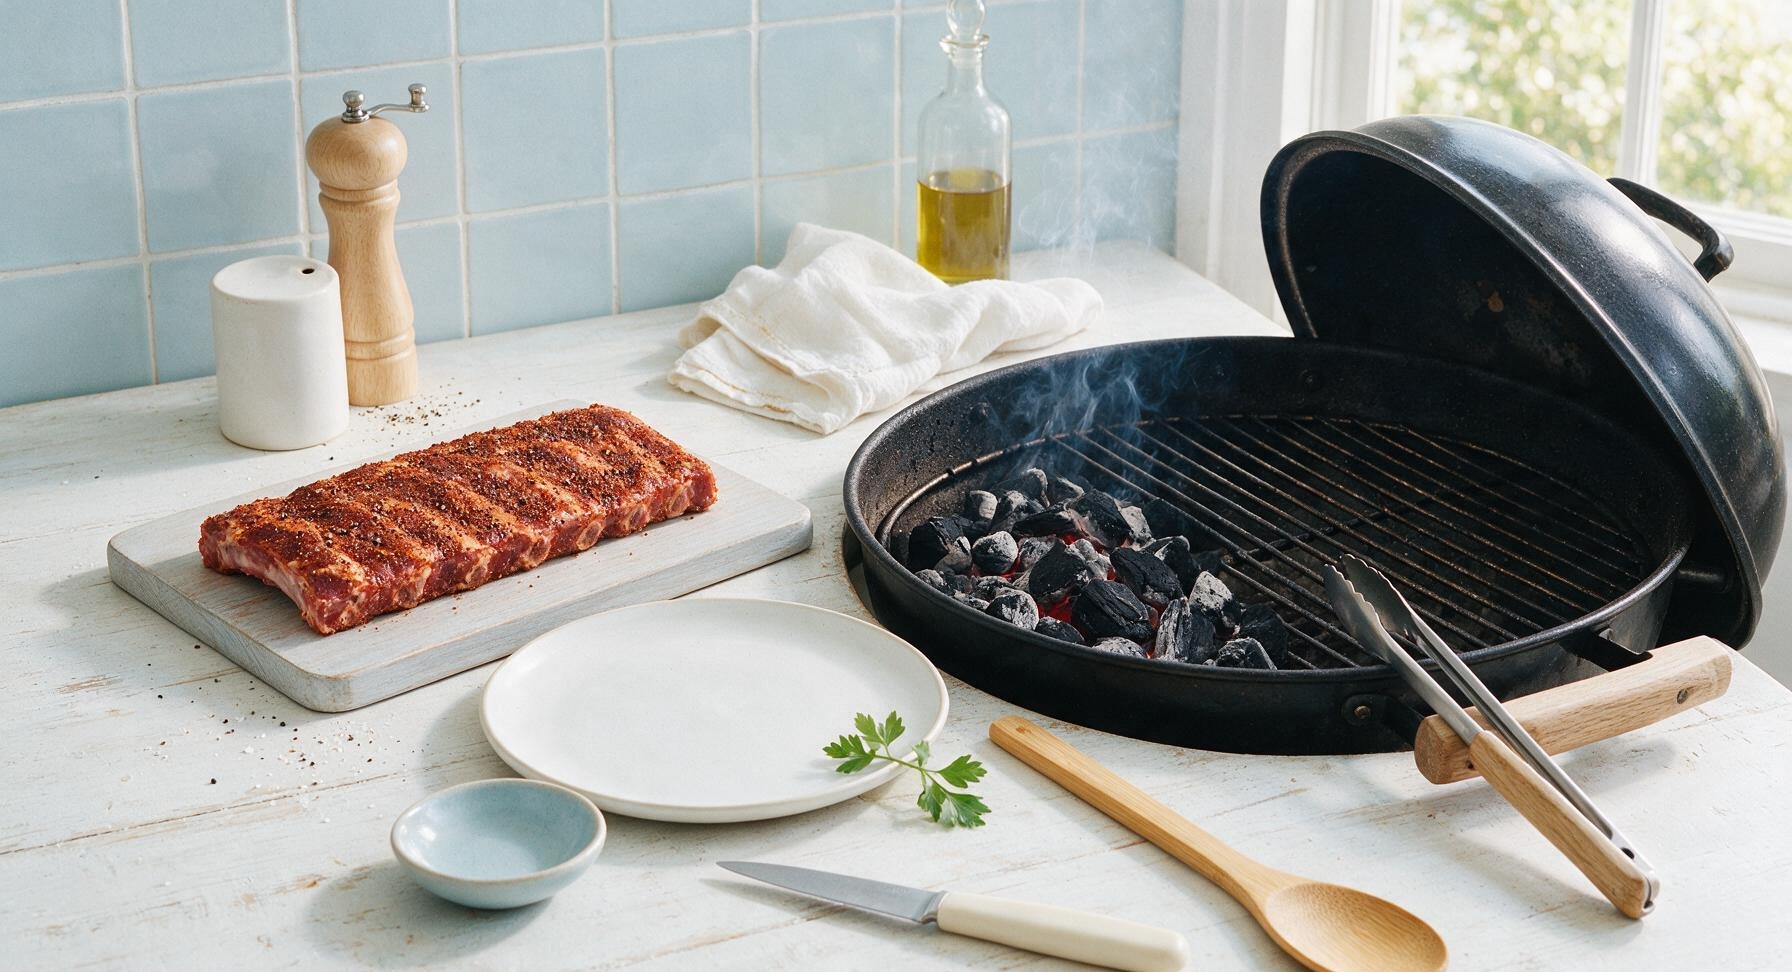
Step 3
step3:Preheat Charcoal Grill
4

Grill Ribs Low and Slow

Use the BBQ tongs to place the seasoned rib rack bone-side down on the indirect heat side of the grill (the side with no coals underneath), ensuring no part of the rack is directly over lit coals to avoid burning. Close the grill lid, keep the top vent half open, and maintain a steady internal grill temperature of 150-160C/300-325F by adjusting the vents as needed. Cook for 2 full hours, spritzing the ribs with apple cider vinegar from the spray bottle every 30 minutes to keep the surface moist and help the rub set into a crust. Do not flip the ribs during this phase. The ribs are ready for saucing when they develop a deep reddish-brown crust, and the meat pulls back from the bone ends by approximately 1/4 inch.
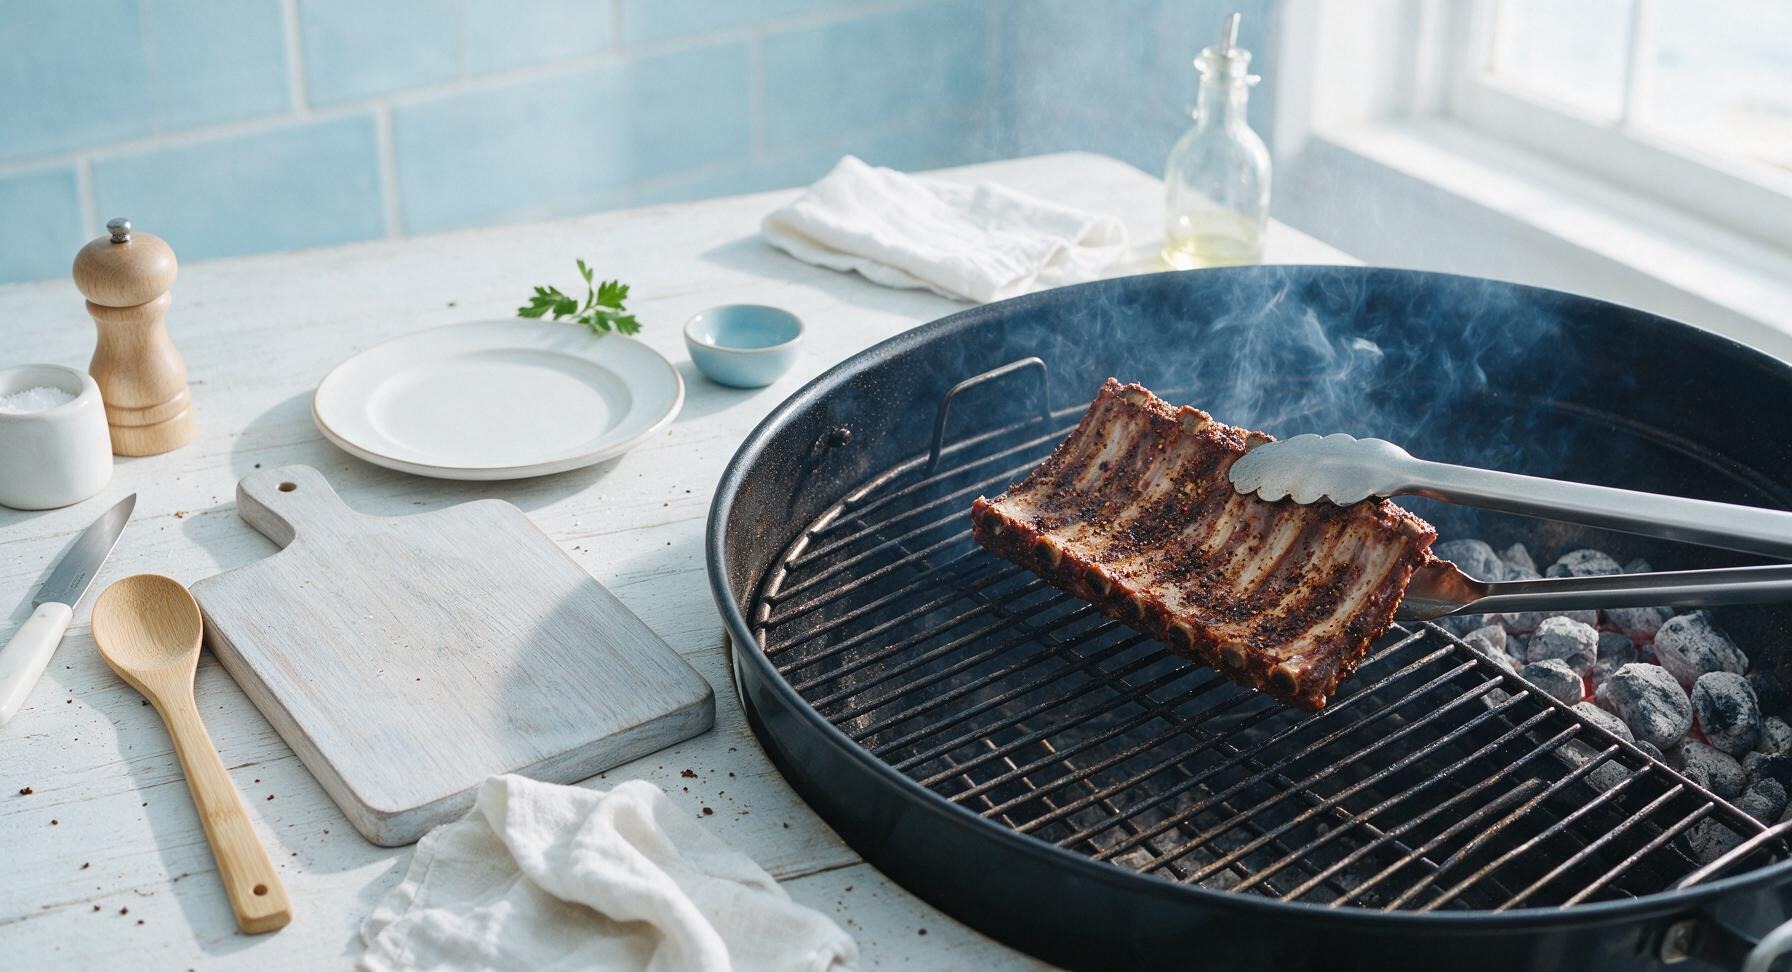
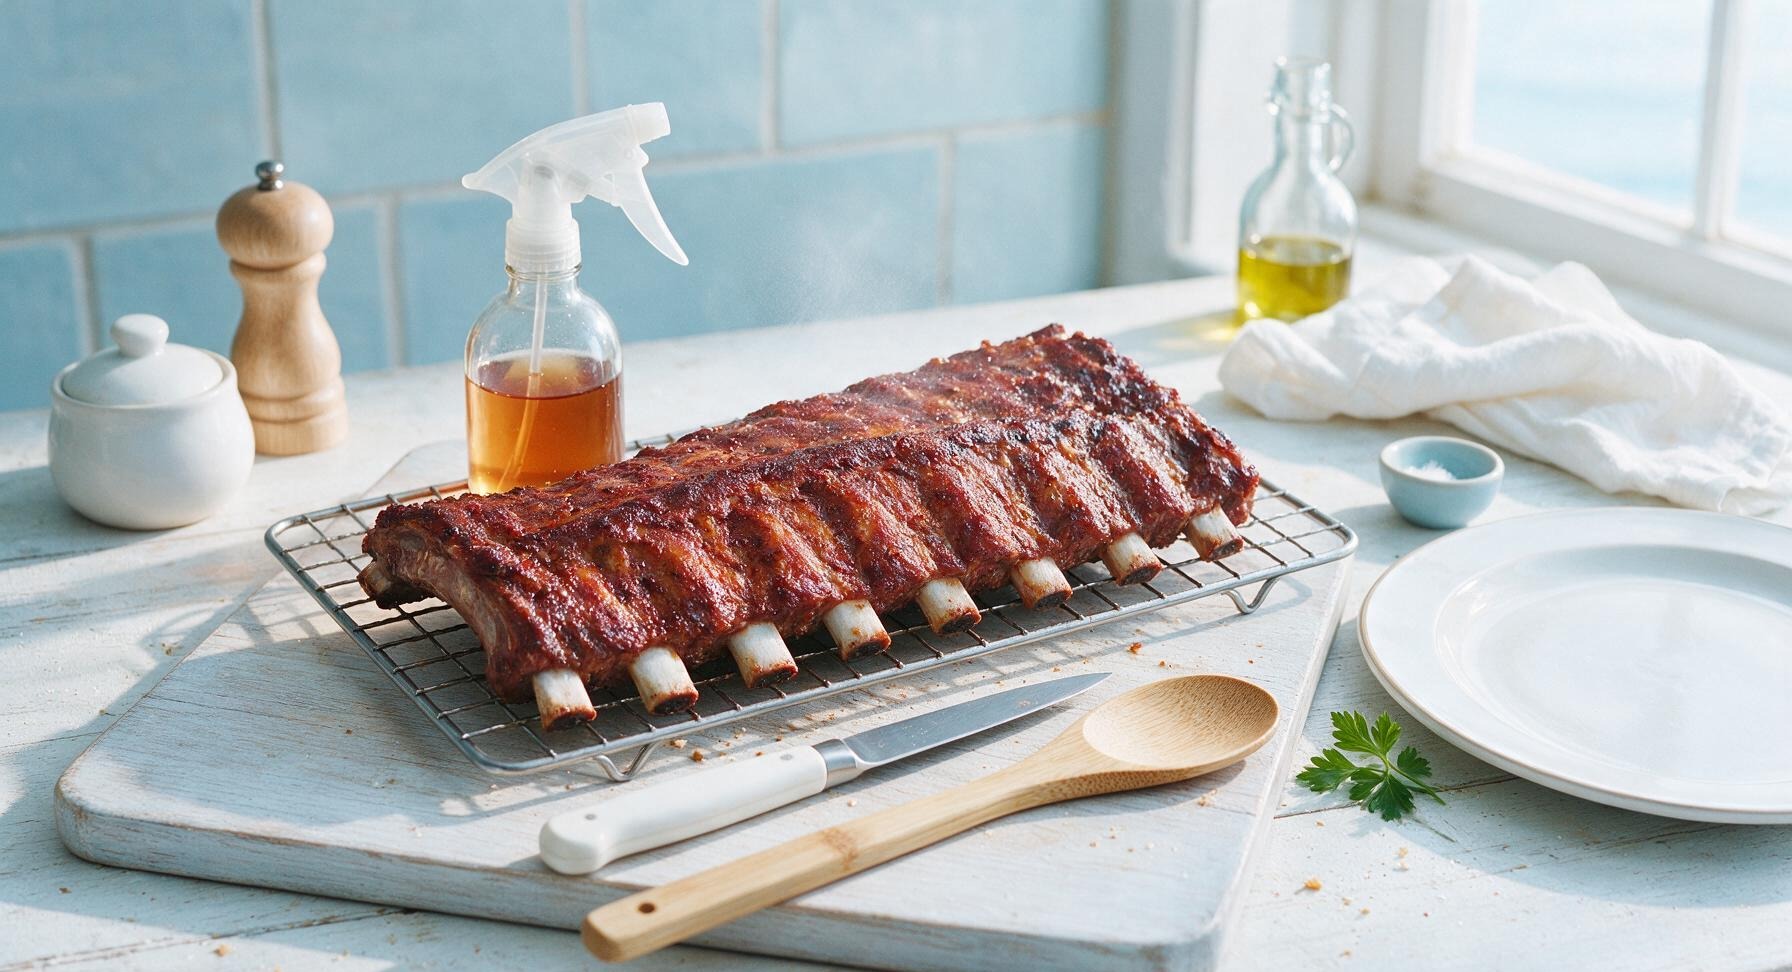
Step 4
step4:Grill Ribs Low and Slow
Step 4
step4:Grill Ribs Low and Slow
5

Baste with BBQ Sauce

Once the ribs have finished the 2-hour slow cook and the meat pulls back from the bones, pour half the BBQ sauce into the small off-white ramekin. Use the silicone basting brush to spread a thin, even layer of sauce over the entire meaty surface of the ribs. Move the ribs 5cm closer to the coal side (still not directly over flame) and cook for 15 minutes with the lid closed, until the sauce is sticky and caramelized with a few faint dark char spots – watch closely to avoid burning the sugar in the sauce, which will turn bitter. Apply a second thin coat of sauce, and cook for 10 more minutes until the second layer is set and glossy.
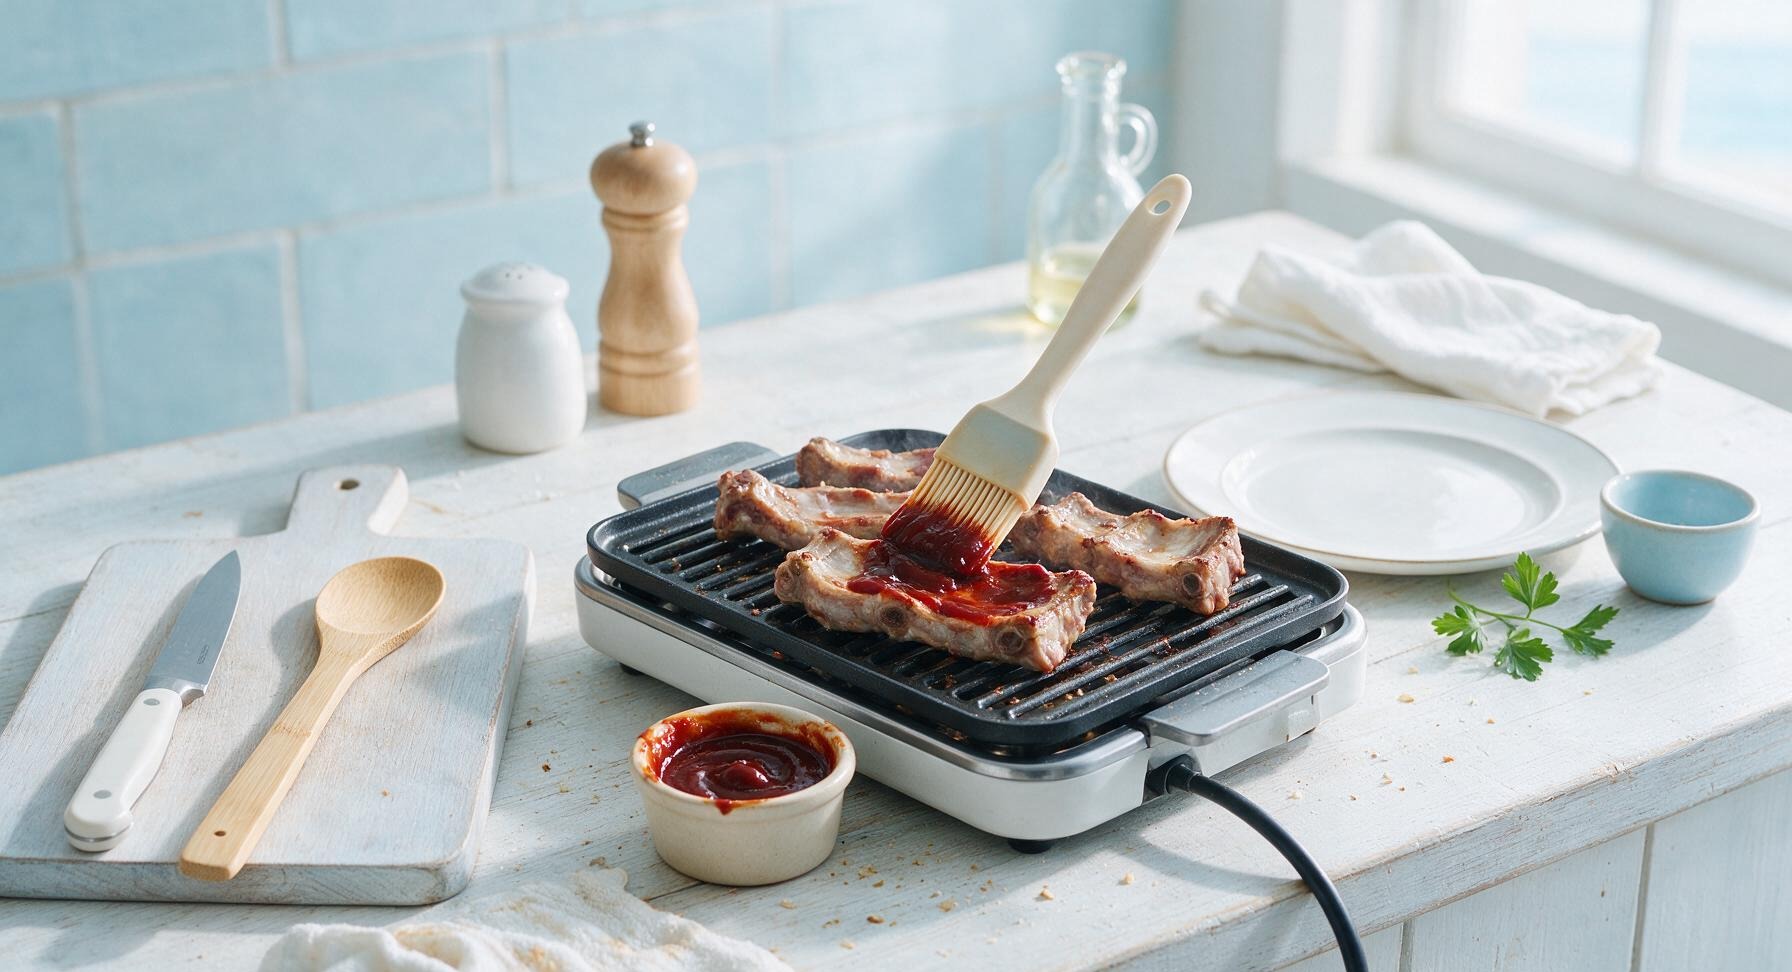
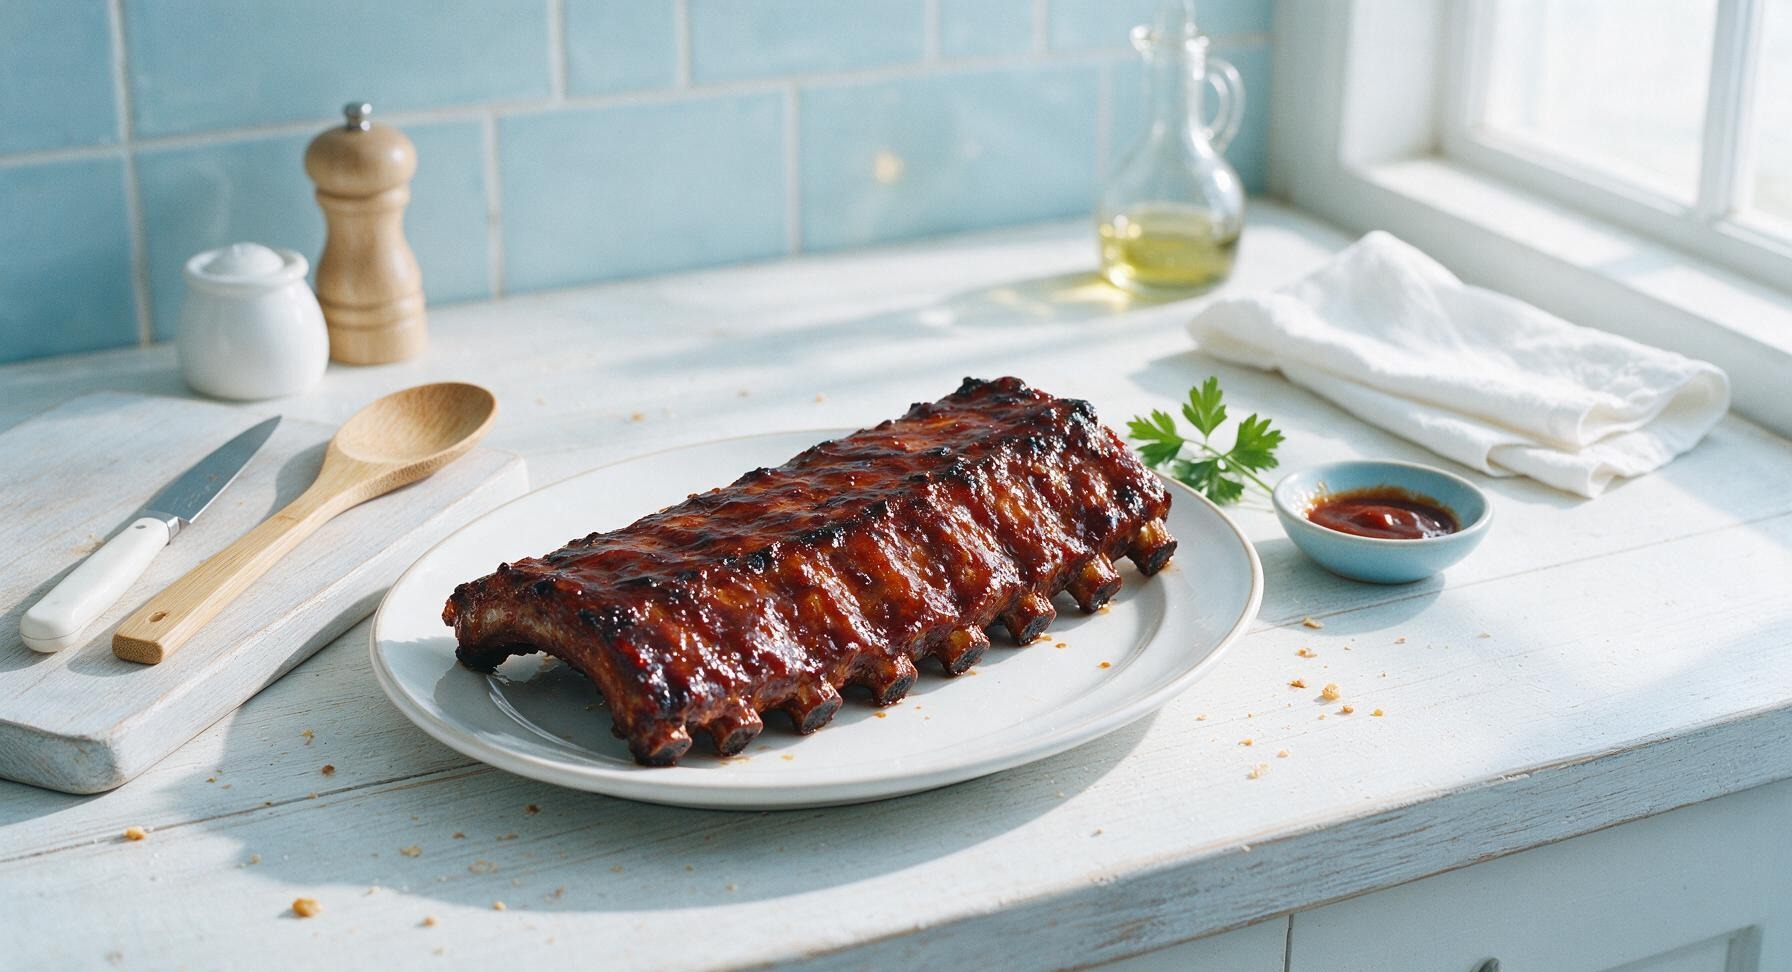
Step 5
step5:Baste with BBQ Sauce
Step 5
step5:Baste with BBQ Sauce
6

Rest and Plate Ribs

Use the BBQ tongs to carefully transfer the finished sauced ribs from the grill to the matte off-white ceramic serving platter. Loosely tent a small sheet of aluminum foil over the platter, and let the ribs rest for 10 minutes at room temperature – this allows the meat juices to redistribute, so they do not run out when the ribs are cut. After resting, cut the rack into individual 2-bone sections, tuck fresh thyme sprigs between the pieces for garnish, and serve with the remaining warm BBQ sauce on the side.
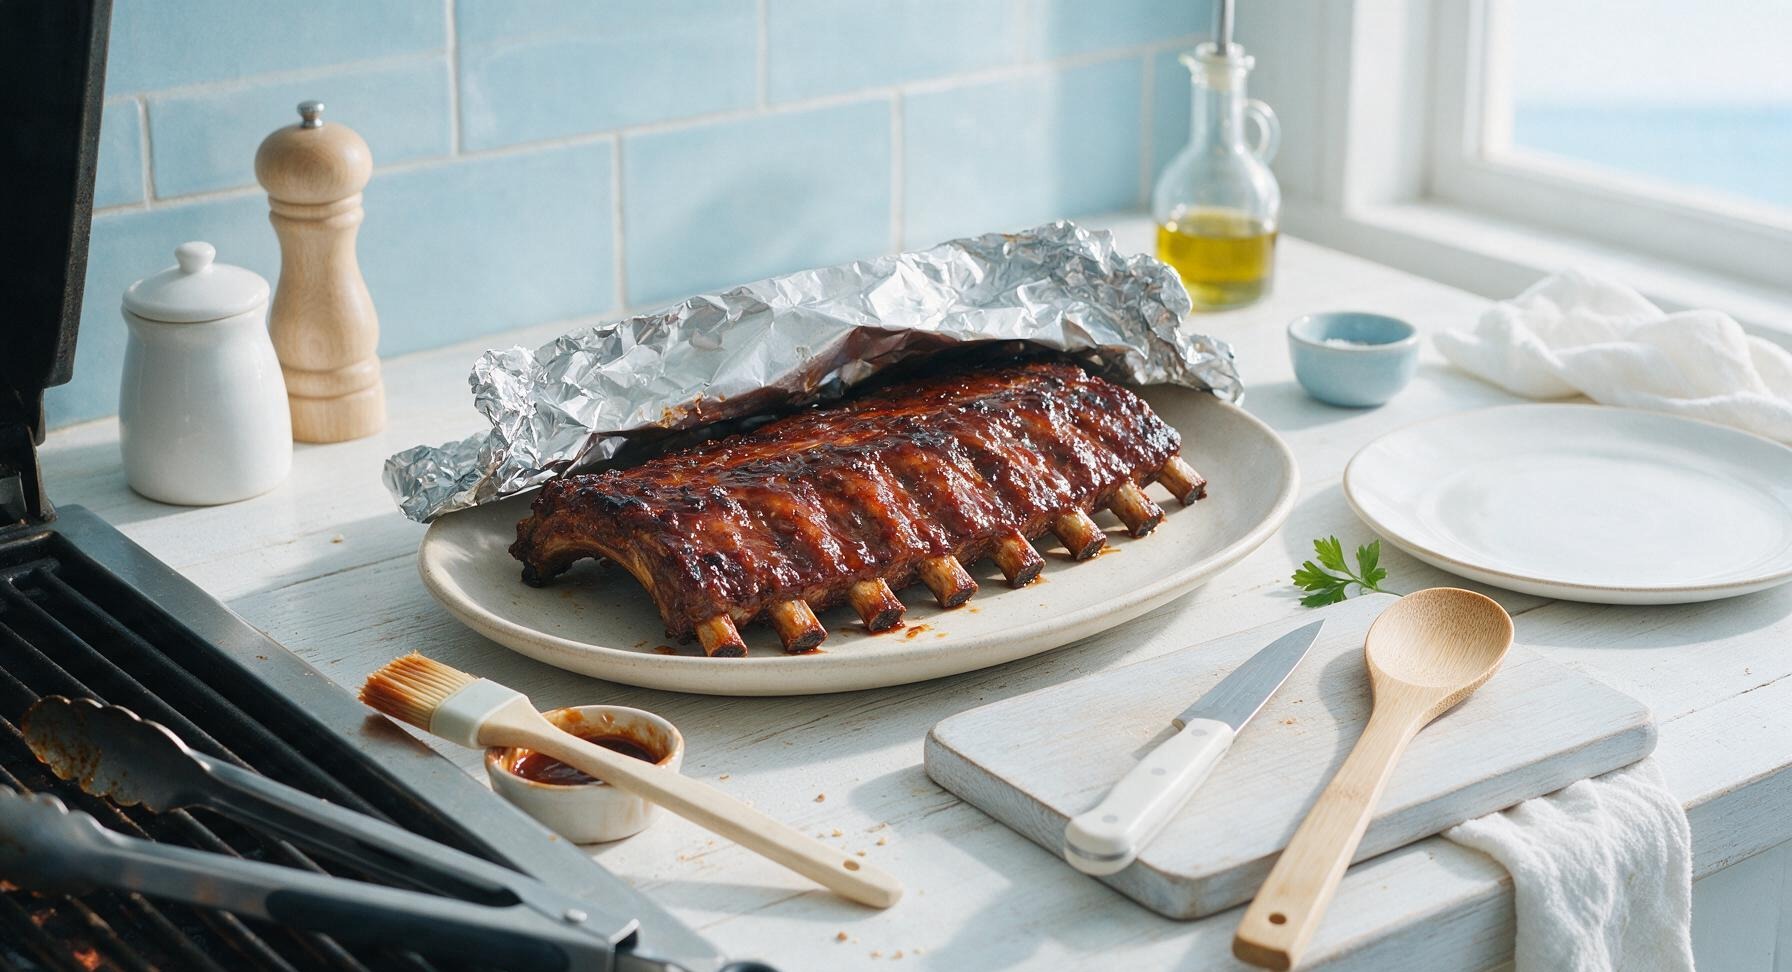
Step 6
step6:Rest and Plate Ribs

Tips

1.Always remove the tough silverskin membrane from the bone side of the ribs before seasoning: this chewy, connective tissue does not break down during low-and-slow cooking, and it blocks rub and smoke flavor from penetrating the meat from the underside.
2.Maintain a steady grill temperature between 150-160C/300-325F during the slow cook phase: temperatures higher than 175C/350F cause the rib muscle fibers to seize and tighten, resulting in tough, chewy meat instead of tender, pull-away texture.
3.Wait to apply BBQ sauce until the final 25 minutes of cooking: most commercial and homemade BBQ sauces are high in sugar, which burns quickly at grill temperatures, leading to a bitter, blackened crust instead of the desired sticky, sweet caramelized finish.


✨ You May Also Like

BBQ & Grilling
🍜 United States

Tender, melt-in-your-mouth beef brisket with a crisp, spiced bark, slow-smoked to deep smoky perfection, the iconic centerpiece of Texas backyard barbecue.

⏱️ 12 hours BBQ & Grilling ★ 4.4
BBQ & Grilling
🍜 Korea

Tender, sweet-savory marinated beef short ribs, a beloved Korean BBQ staple with caramelized, slightly charred edges and deep umami flavor, perfect for outdoor summer gatherings.

⏱️ 4 hours 2BBQ & Grilling ★ 4.8
BBQ & Grilling
🍜 United States

Juicy grilled beef patties topped with smoky homemade chili, melted cheddar, and tangy pickles on toasted brioche buns for a hearty, flavor-packed handheld meal.

⏱️ 40 minuteBBQ & Grilling ★ 4.7
BBQ & Grilling
🍜 United States

A sweet, smoky, tangy BBQ sauce brightened with peak-season dark cherries, ideal for glazing grilled ribs, chicken, pork, or summer roasted veggies.

⏱️ 35 minuteBBQ & Grilling ★ 4.7
BBQ & Grilling
🍜 United States

Rich, smoky, slightly sweet homemade bourbon BBQ sauce with deep caramel notes, ideal for glazing grilled ribs, chicken, and burgers at cookouts.

⏱️ 25 minuteBBQ & Grilling ★ 4.7
BBQ & Grilling
🍜 United States

Iconic Alabama-style BBQ featuring tender hickory-smoked chicken slathered in tangy creamy white sauce, a beloved regional Southern cookout staple.

⏱️ 3 hoursBBQ & Grilling ★ 5

spareribs grill:Frequently Asked Questions

1.Do I need a dedicated smoker to get that signature smoky flavor for these ribs? ▾
No, you don’t! The smoked paprika in the dry rub delivers that core rich smoky note, and you can replicate low-and-slow smoker results on a standard gas or charcoal grill. Set up indirect heat, hold the grill temp steady at 275°F, and add a small foil pouch of soaked hickory chips if you want extra deep, wood-fired smoke flavor.
2.Should I remove the thin, papery membrane on the back of the rib rack before cooking? ▾
Absolutely, yes. That tough, silvery membrane on the bone side blocks rub and smoke from penetrating the meat, and it stays unpleasantly chewy even after hours of cooking. Slide a butter knife under it at one end, grip it with a paper towel for traction, and pull it off in one smooth sheet before adding your rub.
3.What’s in the simple dry rub for these ribs, and how should I apply it? ▾
The rub uses easy, pantry-staple ingredients for balanced flavor: light brown sugar for subtle sweetness, smoked paprika for smoky depth, garlic powder for savory warmth, and kosher salt to amp up all the other flavors. Pat a thin, even coat onto every side of the trimmed rack—no oil or mustard binder is needed to make it stick.
4.Can I prep these spareribs ahead of time for a summer backyard cookout? ▾
Totally! You can trim the ribs, pull the membrane, and apply the dry rub 12 to 24 hours ahead of time, then wrap the rack tightly in plastic wrap and store it in the fridge. That prep actually lets the salt and spices sink deeper into the meat for more even flavor, and it cuts down on day-of cookout work too.
5.How long do I need to grill the spareribs to get that fall-off-the-bone tender texture? ▾
Plan for 2.5 to 3 hours total over indirect 275°F heat, with no flipping needed for the first 2 hours. You’ll know they’re ready when you twist an exposed end bone and it pulls easily from the meat with minimal resistance. Wait to brush on sauce until the final 20 minutes to avoid burning the sugar.
6.Do I have to wrap my ribs in foil while they cook on the grill? ▾
Wrapping ribs in foil (often called the 'Texas crutch') for the first 2 hours cuts total cook time by about 45 minutes and locks in extra moisture, but it’s not required. If you skip foil for a firmer, smokier outer crust, just spritz the ribs with a little apple juice every 45 minutes to keep them from drying out.
7.Why does my BBQ sauce always burn and turn bitter when I grill ribs? ▾
That almost always comes from saucing too early or cooking over too-high direct heat. The brown sugar in both the rub and BBQ sauce burns at around 320°F, so wait to brush on sauce until the final 15-20 minutes of cooking, when ribs are already tender, and keep them over indirect heat to build sticky crust without bitter burnt edges.
8.How do I get that glossy, sticky caramelized sauce crust that doesn’t slide off the ribs? ▾
Skip the single thick slather of sauce, and build the crust in thin layers instead. Brush on a light coat of sauce every 5 minutes during the final 20 minutes of cooking, letting each coat set and caramelize slightly before adding the next. This gives you that chewy, glossy crust that sticks to the rib instead of dripping down your wrist.
9.How long should I let the finished ribs rest before cutting and serving them? ▾
Let the sauced ribs rest for 10 to 15 minutes, tented loosely with foil, before you slice between the bones. This rest gives the hot, juicy meat time to reabsorb its moisture instead of all the juices running out onto your cutting board, and it lets the sticky sauce set fully so it doesn’t make a mess.
10.Can I use baby back ribs instead of pork spareribs for this recipe? ▾
You absolutely can, just adjust your cook time to match the cut. Spareribs are larger, fattier cuts from the lower belly that stand up to long cook times, while baby backs are smaller, leaner cuts from the loin. Cut total cook time by 30 to 45 minutes for baby backs to keep them from drying out on the grill.

Comments (6)

2 days ago

OMG these ribs were the star of our Memorial Day cookout! I was worried the 2+ hour cook time would be too long for a weekend gathering but it was 100% worth it. The sticky smoky glaze had everyone going back for seconds, even my picky 7 year old asked for thirds! Game changer for my summer grilling rotation, SO good.

yesterday

Did you use a smoke box on a gas grill or go full charcoal setup? I only have a gas grill on my apartment balcony and wanna nail that smoky flavor without setting off the fire alarm!

2 hours ago

Great question! You can absolutely get that perfect smoky kick on a gas grill — just make a foil pouch of soaked hickory chips, poke a few holes in the top, and set it directly on the heat bars under the grates before you start cooking. Keep the grill closed as much as possible to hold in the smoke, and you’ll get amazing results without any fancy equipment.

3 days ago

First time making ribs from scratch and these turned out pretty great! I accidentally let the glaze reduce a little too long on the stove so it was a touch thicker than I think it was supposed to be, but it still caramelized perfectly on the grill. Only note is I wish there was a little more heat in the rub — next time I’ll add a pinch of cayenne. Definitely making these again for our next neighborhood potluck!

2 days ago

So glad these worked out for your first ever rib cook! The glaze is super forgiving even if it thickens up a bit, and adding a pinch of cayenne to the rub is such a smart tweak for extra heat — we love when people customize recipes to their taste. Hope they’re a hit at the potluck!

1 week ago

Made these for my weekly meal prep and they held up so well all week! I portioned them out with coleslaw and cornbread muffins and my coworkers kept stopping by my desk to ask what smelled so good when I reheated lunch. The smoky flavor doesn’t get muted even in the office microwave, which is a total win. 10/10 will be a regular prep staple for me.

5 days ago

I’ve been messing around with rib recipes for 10+ years and I have to say, this glaze is a new household favorite. I used applewood chips for the smoke instead of hickory and it paired so nicely with the sweet, sticky sauce. My wife said these are better than the ones we get at our favorite local BBQ joint — that’s the highest praise I can get!

3 days ago

Did you wrap your ribs in foil at any point during the cook? I always struggle with getting them tender without them turning into mushy fall-apart mess that slides right off the bone when I go to sauce them.

2 days ago

I did wrap them in foil for the last 45 minutes of cook time with a tiny splash of apple cider vinegar! They came out perfectly tender but still had enough bite to stay on the bone when I brushed the glaze on for the final 15 minutes over direct heat. No mushy ribs here, just perfect texture.

yesterday

Taste was 10/10, I just wish the instructions were clearer about using indirect heat for most of the cook! I had the ribs too close to the flame for the first 45 minutes and the edges got a little more charred than I wanted. Once I moved them over to the cool side of the grill they cooked perfectly though, and that sticky smoky glaze is chef’s kiss.

30 minutes ago

We really appreciate the honest feedback! We’re updating the recipe card right now to make the indirect heat note bold and prominent right at the top of the cooking steps — that’s such a key step to avoid burnt edges. So glad you were able to pivot and still end up with delicious ribs!

2 weeks ago

Made these for our big extended family Sunday dinner last weekend and there were zero leftovers! The smoky sticky flavor had all my cousins asking for the recipe before they even finished their plates. I served them with baked beans and creamy potato salad and it was the perfect classic summer spread. Can’t wait to make these for our Fourth of July block party next month!



