
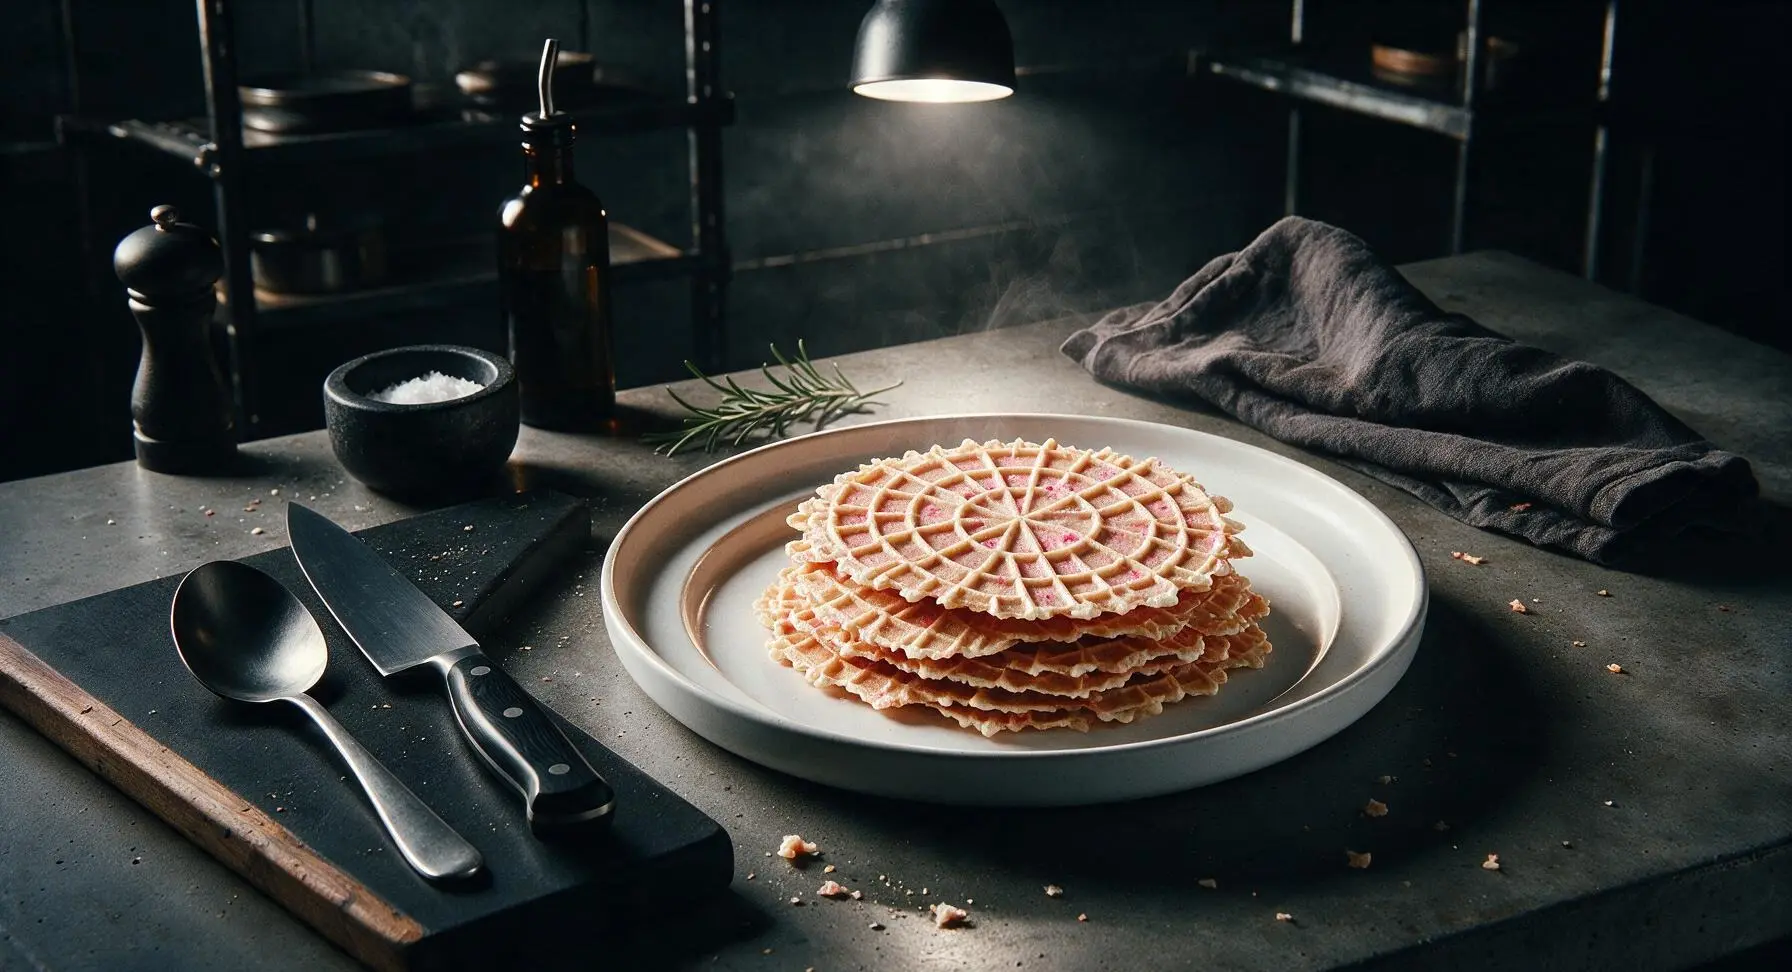
strawberry pizzelle

title 1
strawberry pizzelle
⏱️ cook time 20 minutes
🍽️ servings 12
⚡ Difficulty easy

intro

Delicate, crisp Italian-American waffle cookies infused with bright fresh strawberry, lightly sweet and perfectly snappy, ideal for spring gifting or pairing with coffee.

Ingredients
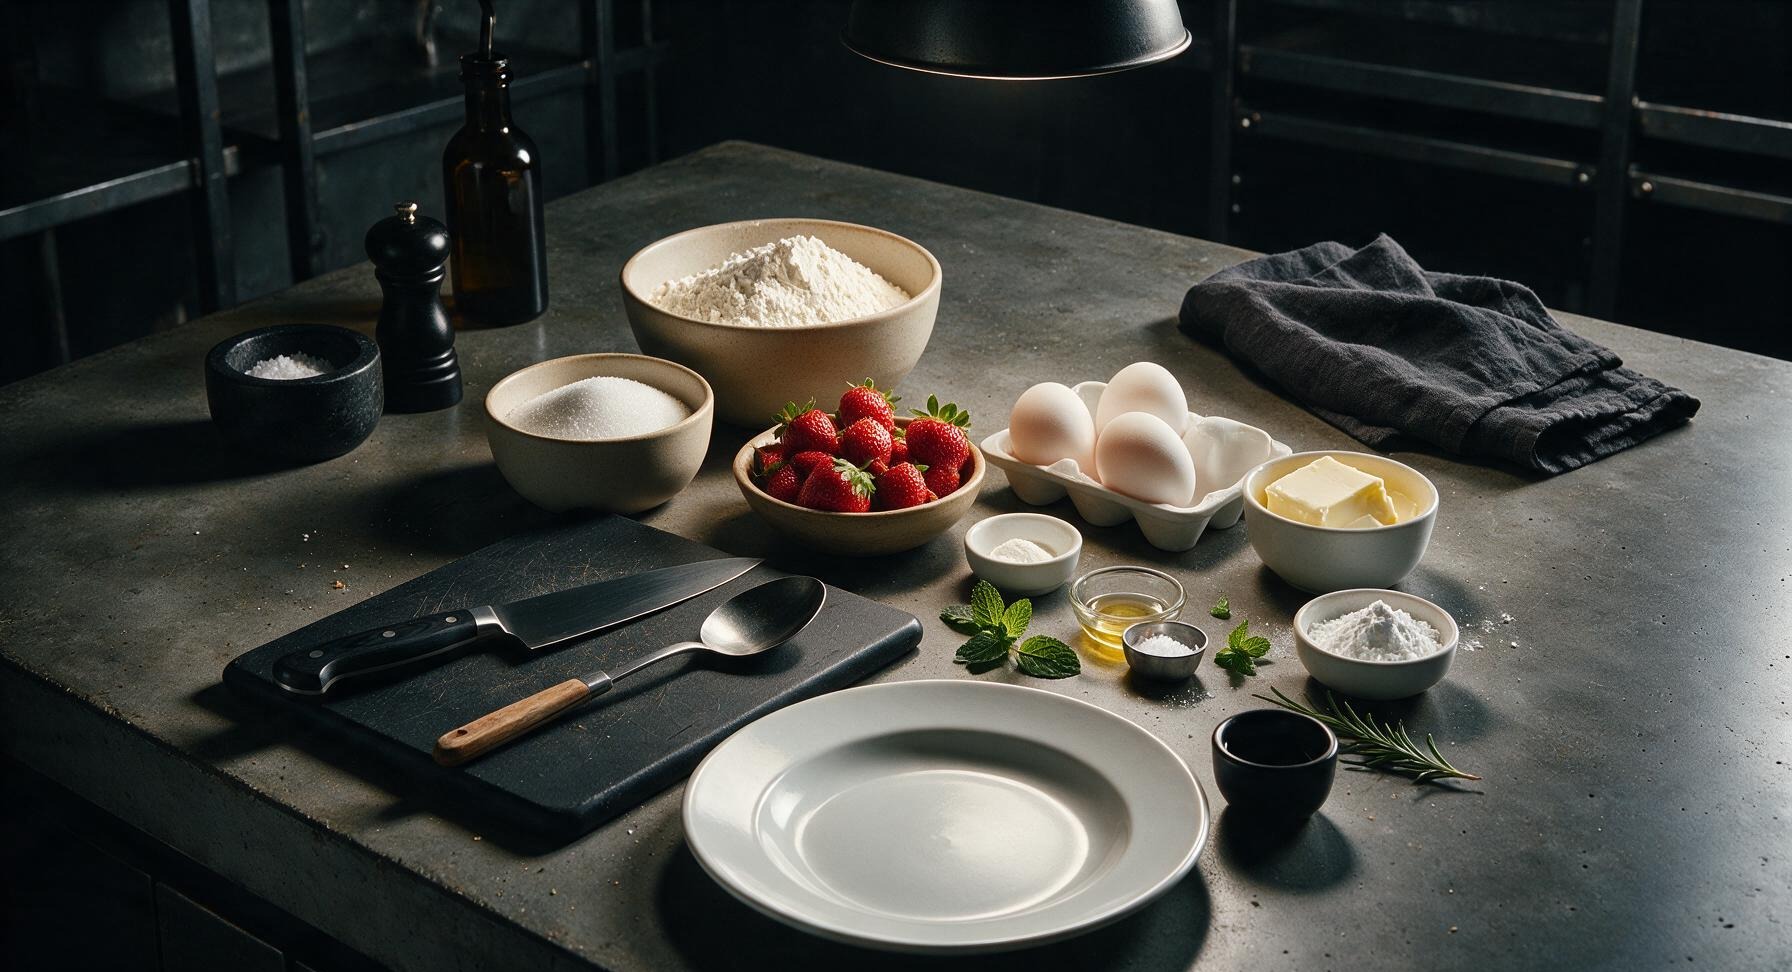
All-purpose flour 1 3/4 cups (210g)
Fresh ripe strawberries 1 cup (150g, hulled)
Granulated sugar 1/2 cup (100g)
Unsalted butter 6 tbsp (85g, melted, cooled)
Large eggs 3, room temperature
Baking powder 1 tsp
Pure vanilla extract 1 tsp
Fine sea salt 1/4 tsp
Powdered sugar 2 tbsp (for dusting)
Fresh mint sprigs 4 small sprigs (for garnish)

Steps

1

Mash Fresh Strawberries

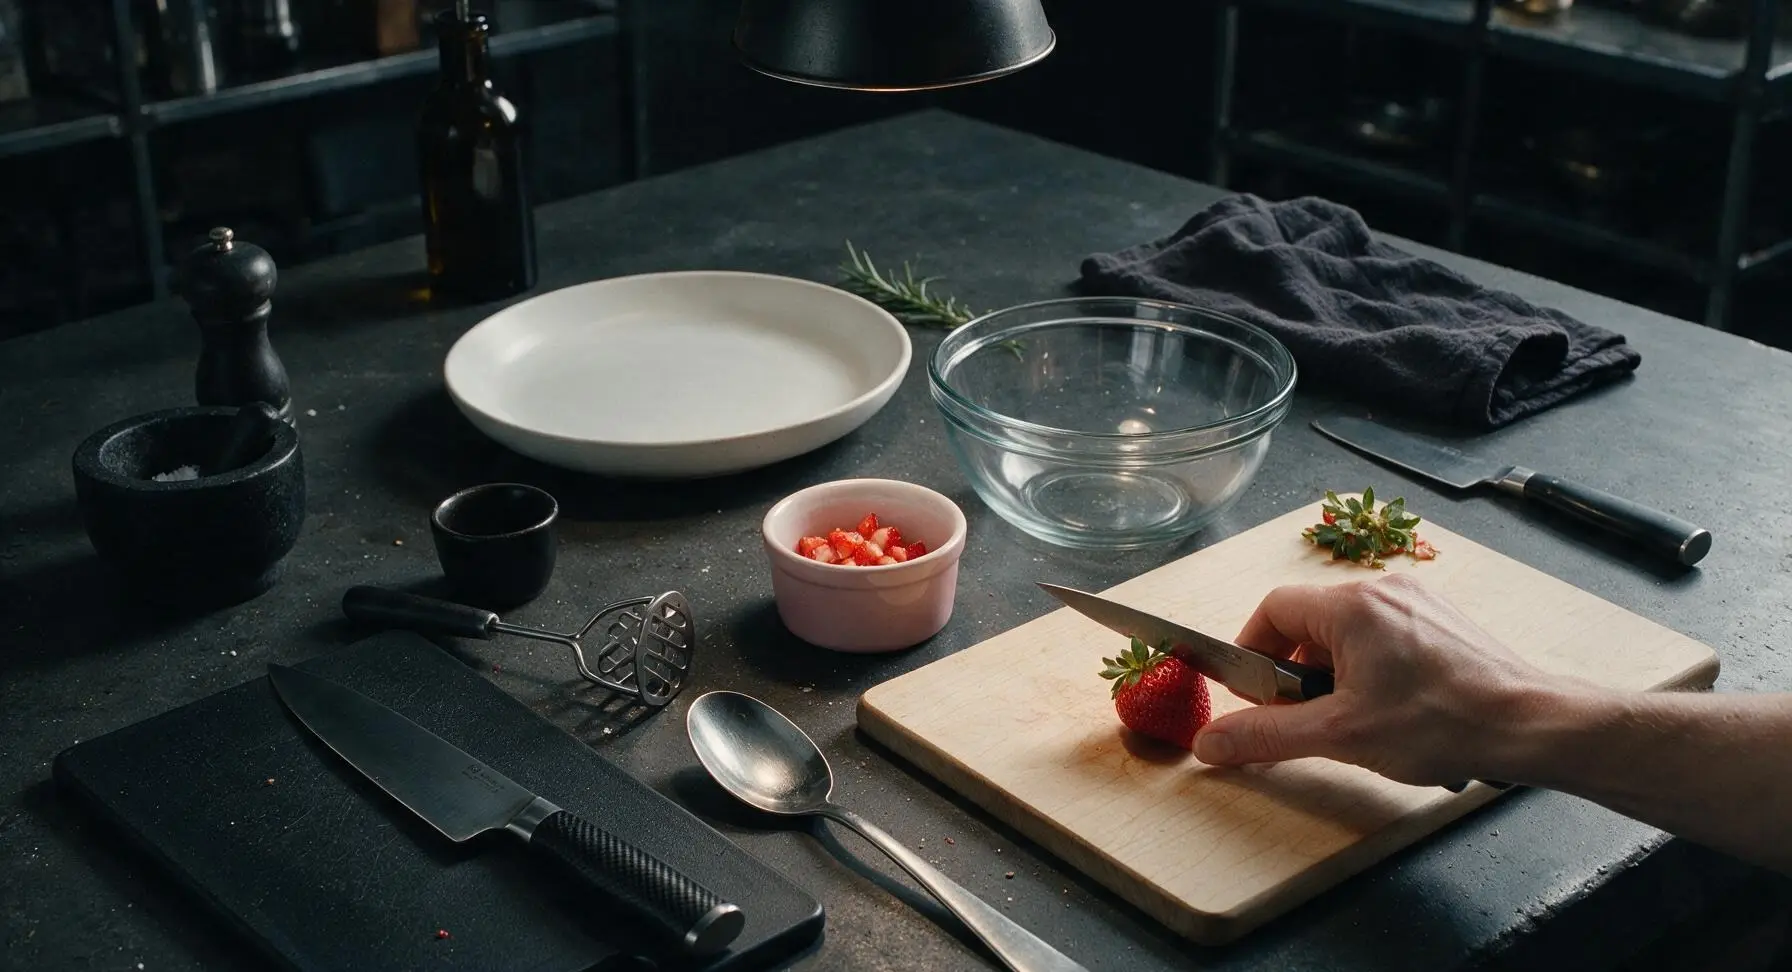
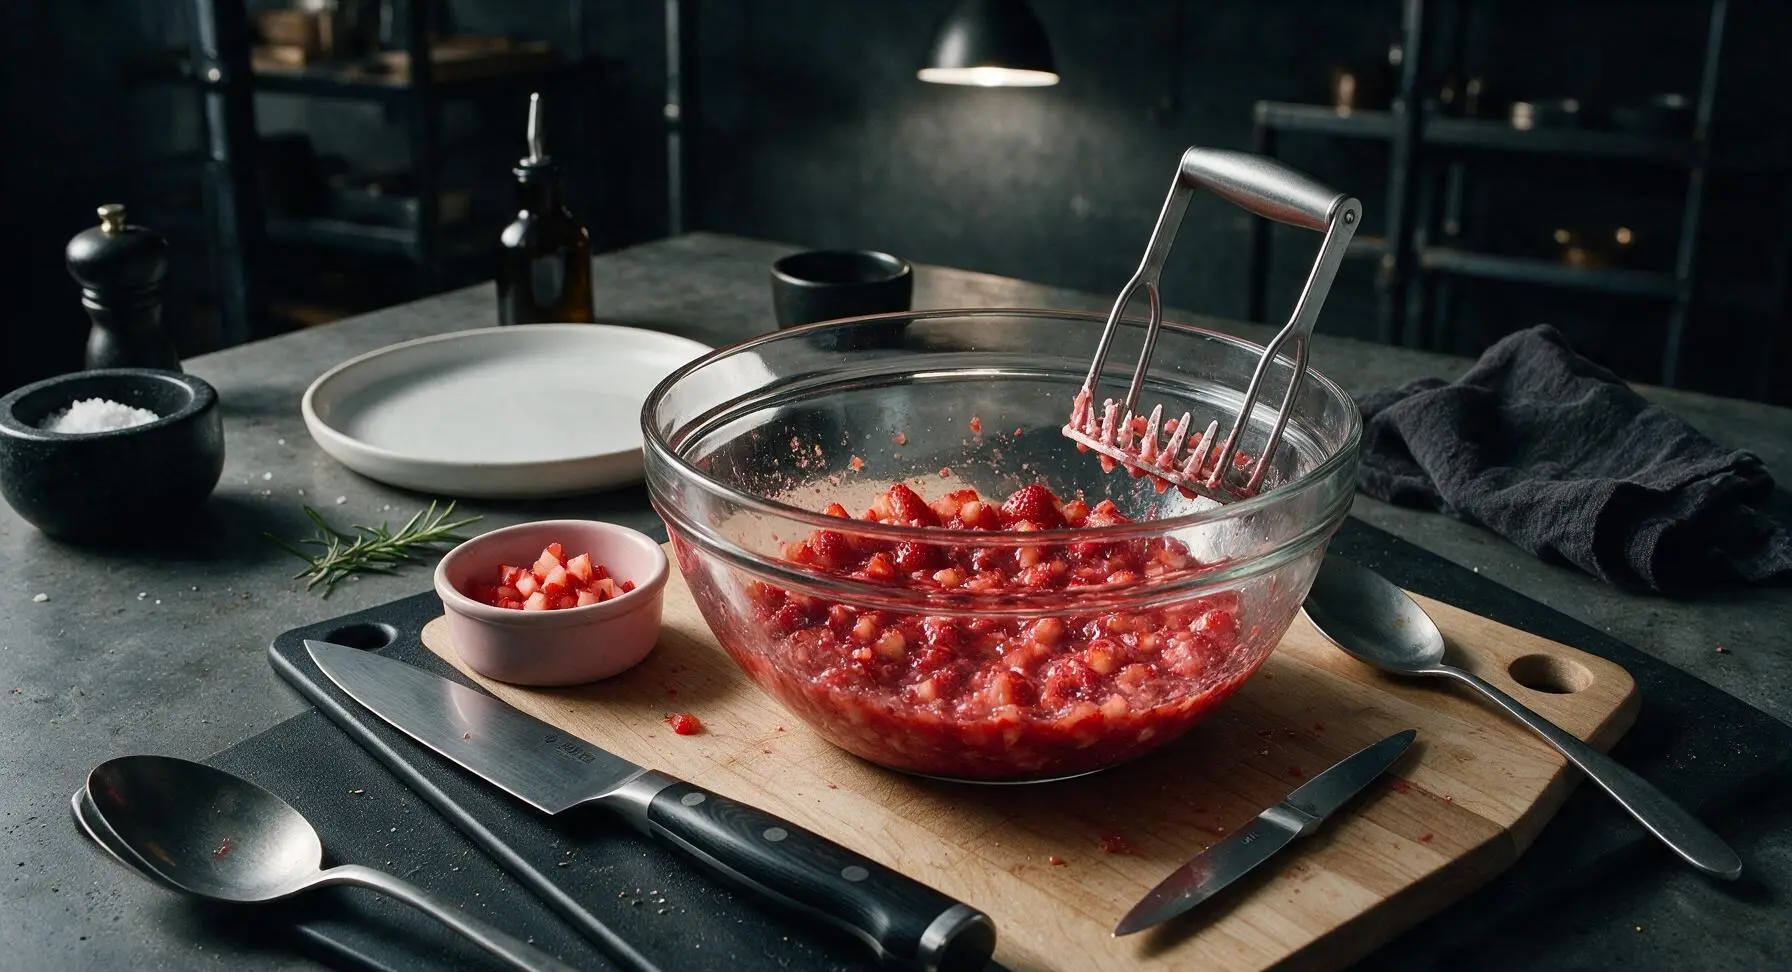
Hull 1 cup of ripe strawberries using the 3.5-inch paring knife on the birch cutting board, discarding all green leafy tops. Dice 2 tablespoons of the strawberries into 1/4-inch pieces and set aside in the 8cm pale pink ceramic ramekin for garnish. Place the remaining strawberries into the 1-quart clear glass mixing bowl, and use the 6-inch mini stainless steel potato masher to mash them into a coarse, juicy pulp (leave small 1/8-inch chunks for texture; do not puree completely). Set aside for 5 minutes to let juices release.
Step 1
step1:Mash Fresh Strawberries
Step 1
step1:Mash Fresh Strawberries
2

Whisk Wet Batter Base

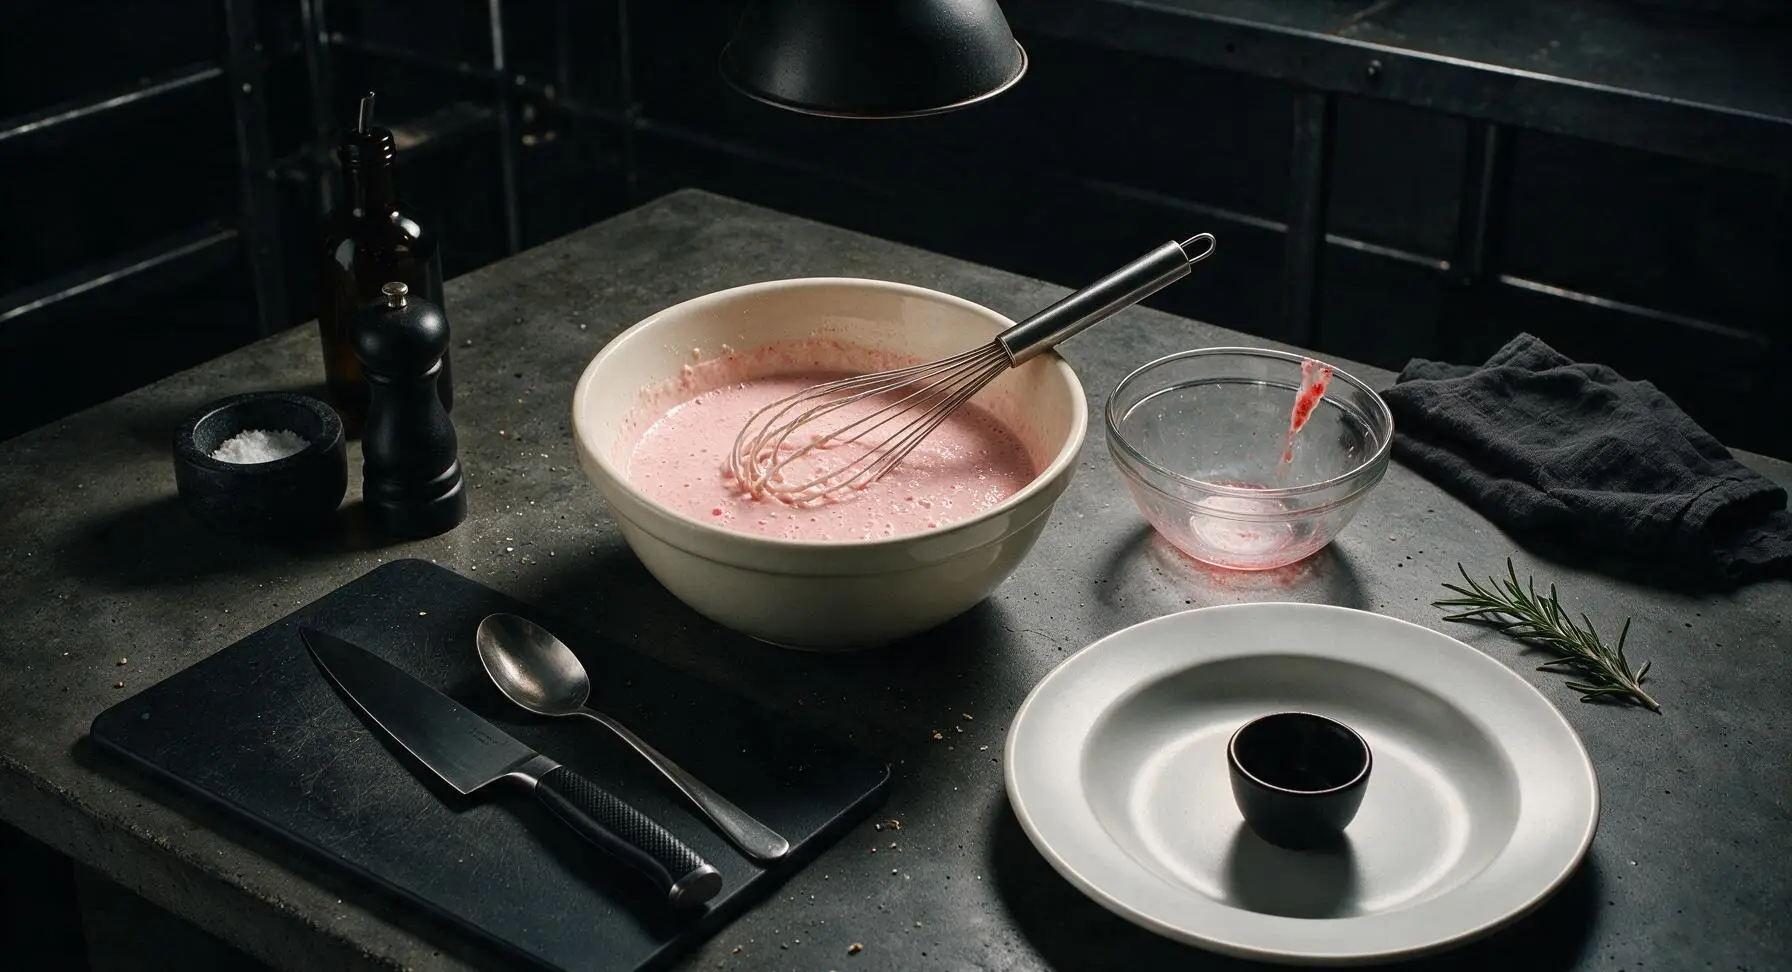
Crack the 3 room-temperature eggs into the 3-quart matte cream ceramic mixing bowl. Add the 1/2 cup granulated sugar, and use the 10-inch stainless steel balloon whisk to beat the eggs and sugar together for 2 minutes until the mixture is pale lemon yellow, slightly frothy, and the sugar is mostly dissolved (no gritty texture when you rub a drop between your fingers). Stir in the cooled melted butter, 1 tsp vanilla extract, and the full bowl of mashed strawberry pulp (with all released juices) until evenly combined, with a soft pale pink hue.
Step 2
step2:Whisk Wet Batter Base
3

Mix Dry Ingredients

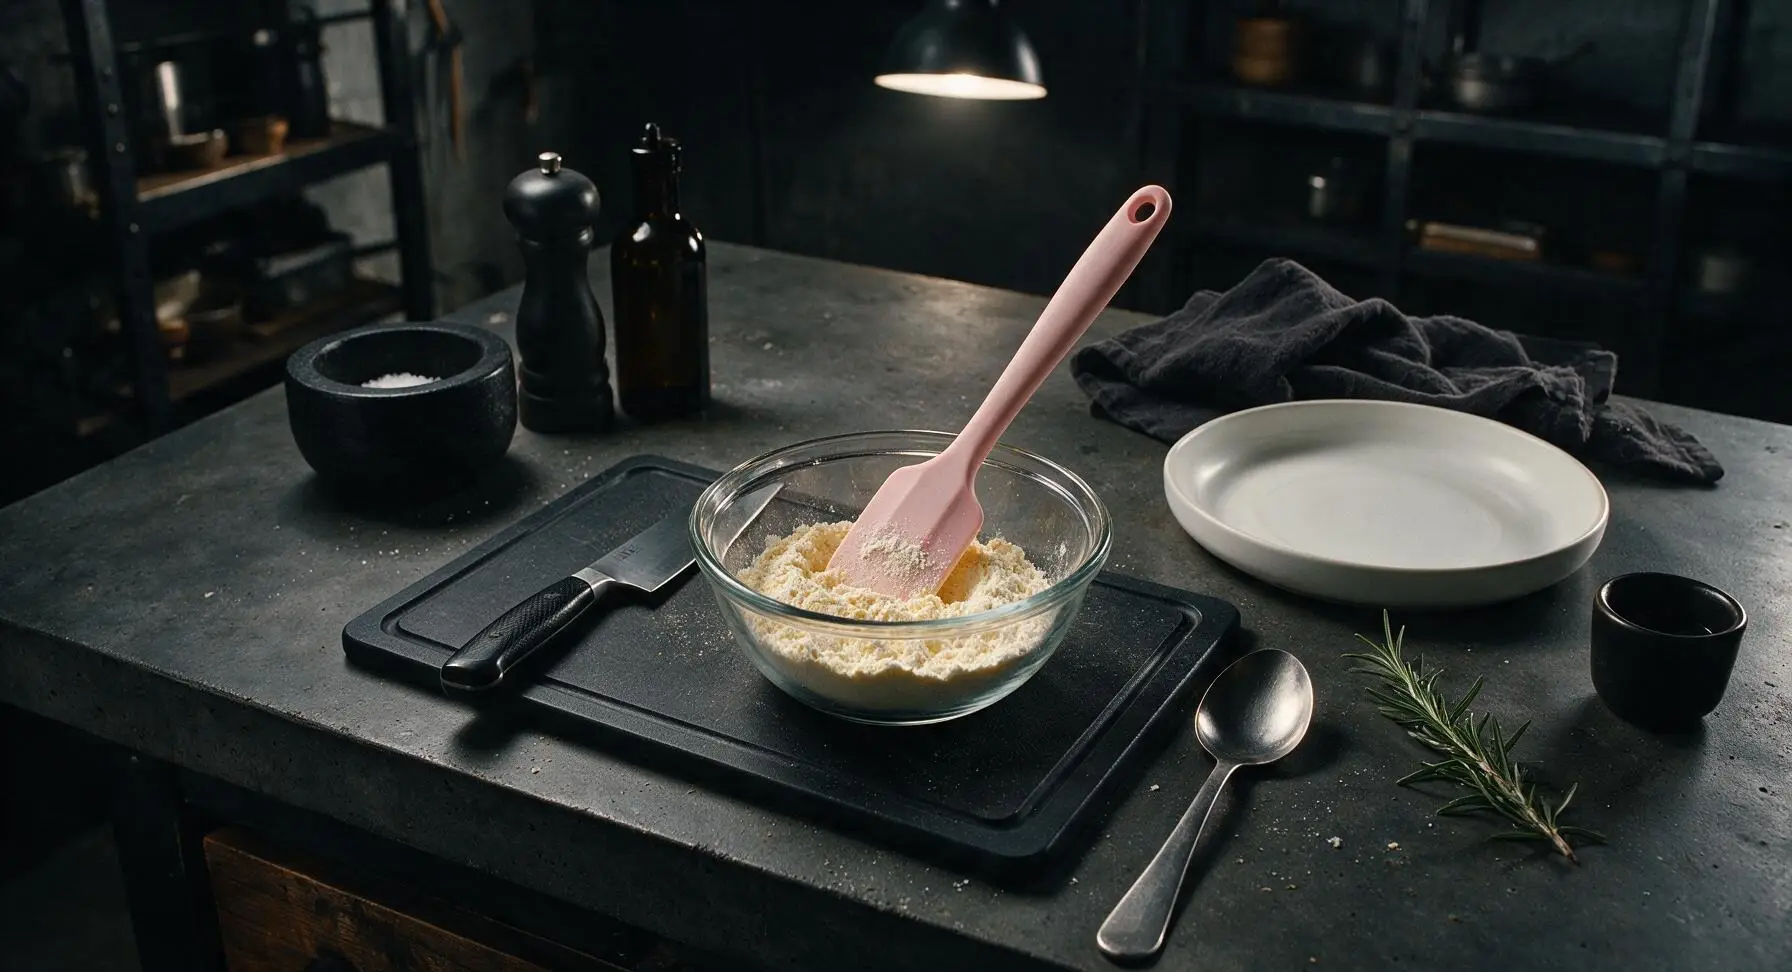
Add the 1 3/4 cups all-purpose flour, 1 tsp baking powder, and 1/4 tsp fine sea salt to the now-empty small glass mixing bowl. Stir with the matte pale pink silicone spatula to evenly distribute the leavening and salt, breaking up any small flour clumps so no concentrated pockets of baking powder remain (which would cause uneven rising and bitter spots in the finished cookies).
Step 3
step3:Mix Dry Ingredients
4

Fold Final Pizzelle Batter

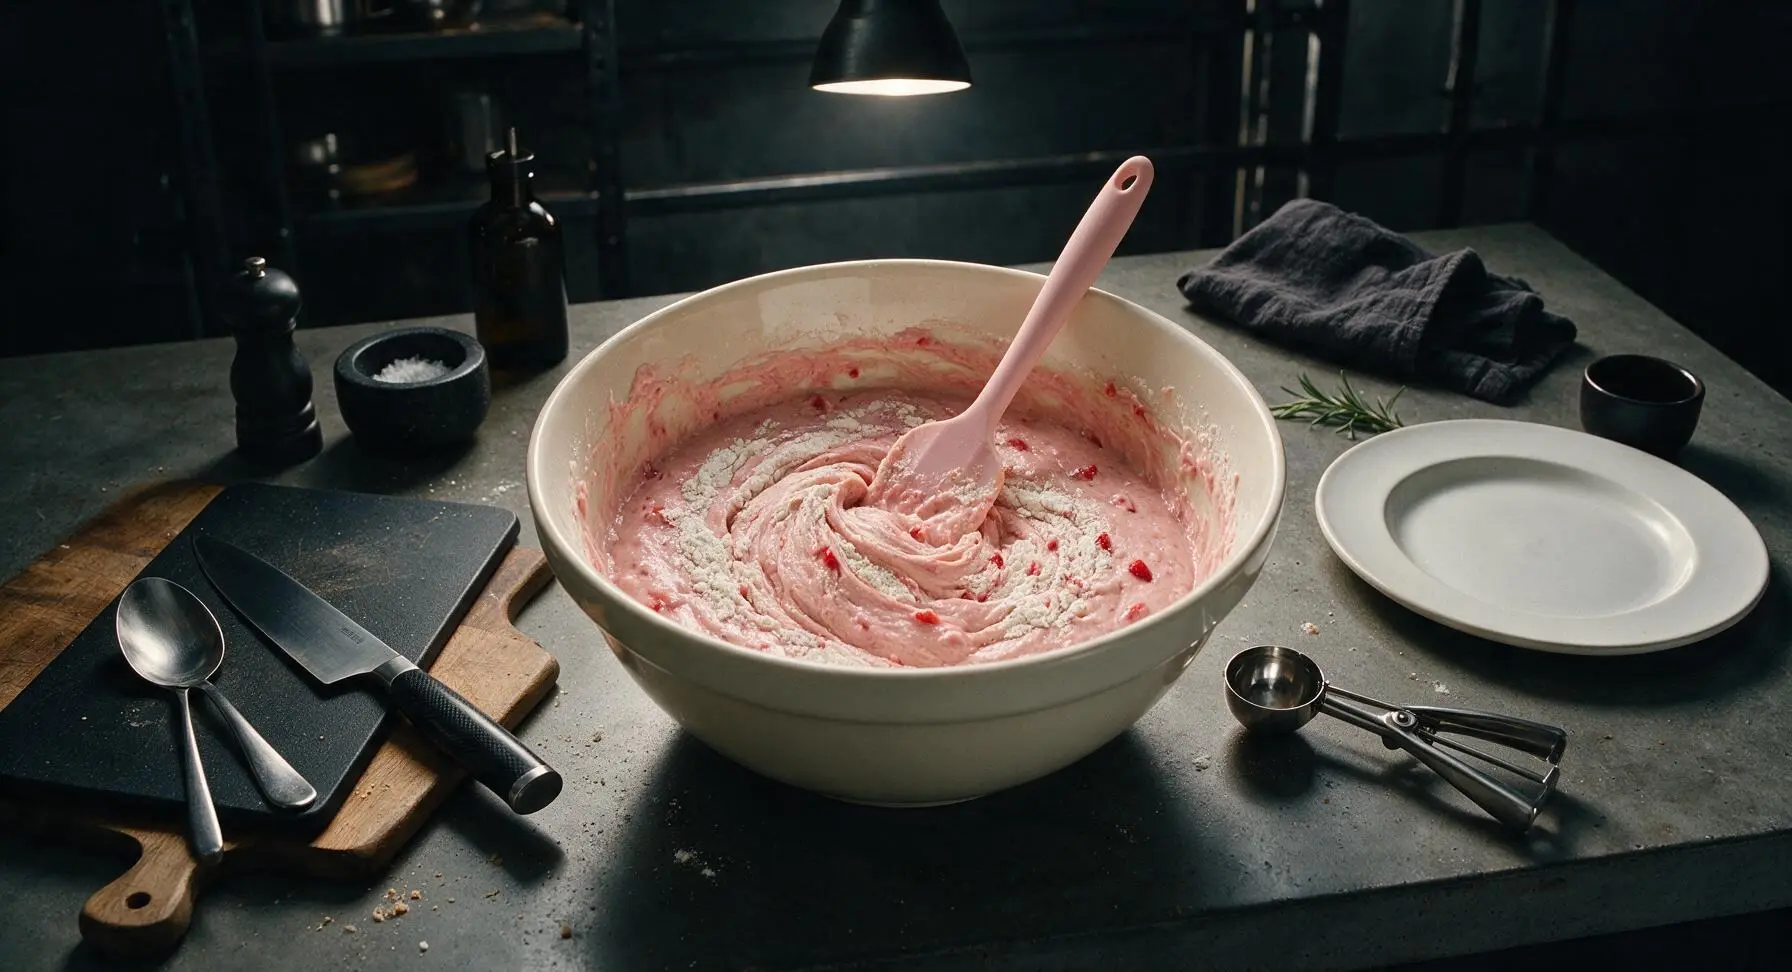
Gradually add the dry flour mixture to the wet strawberry batter in the large ceramic bowl, folding gently with the pink silicone spatula just until no dry white flour streaks remain. Do not overmix – a few small lumps are fine, as over-stirring will develop gluten and make tough, dense pizzelle. The finished batter will be thick, similar to classic waffle batter, with tiny red strawberry flecks dispersed throughout. Let the batter rest for 10 minutes at room temperature to allow the flour to hydrate, which ensures even cooking and crisp texture.
Step 4
step4:Fold Final Pizzelle Batter
5

Preheat Pizzelle Iron

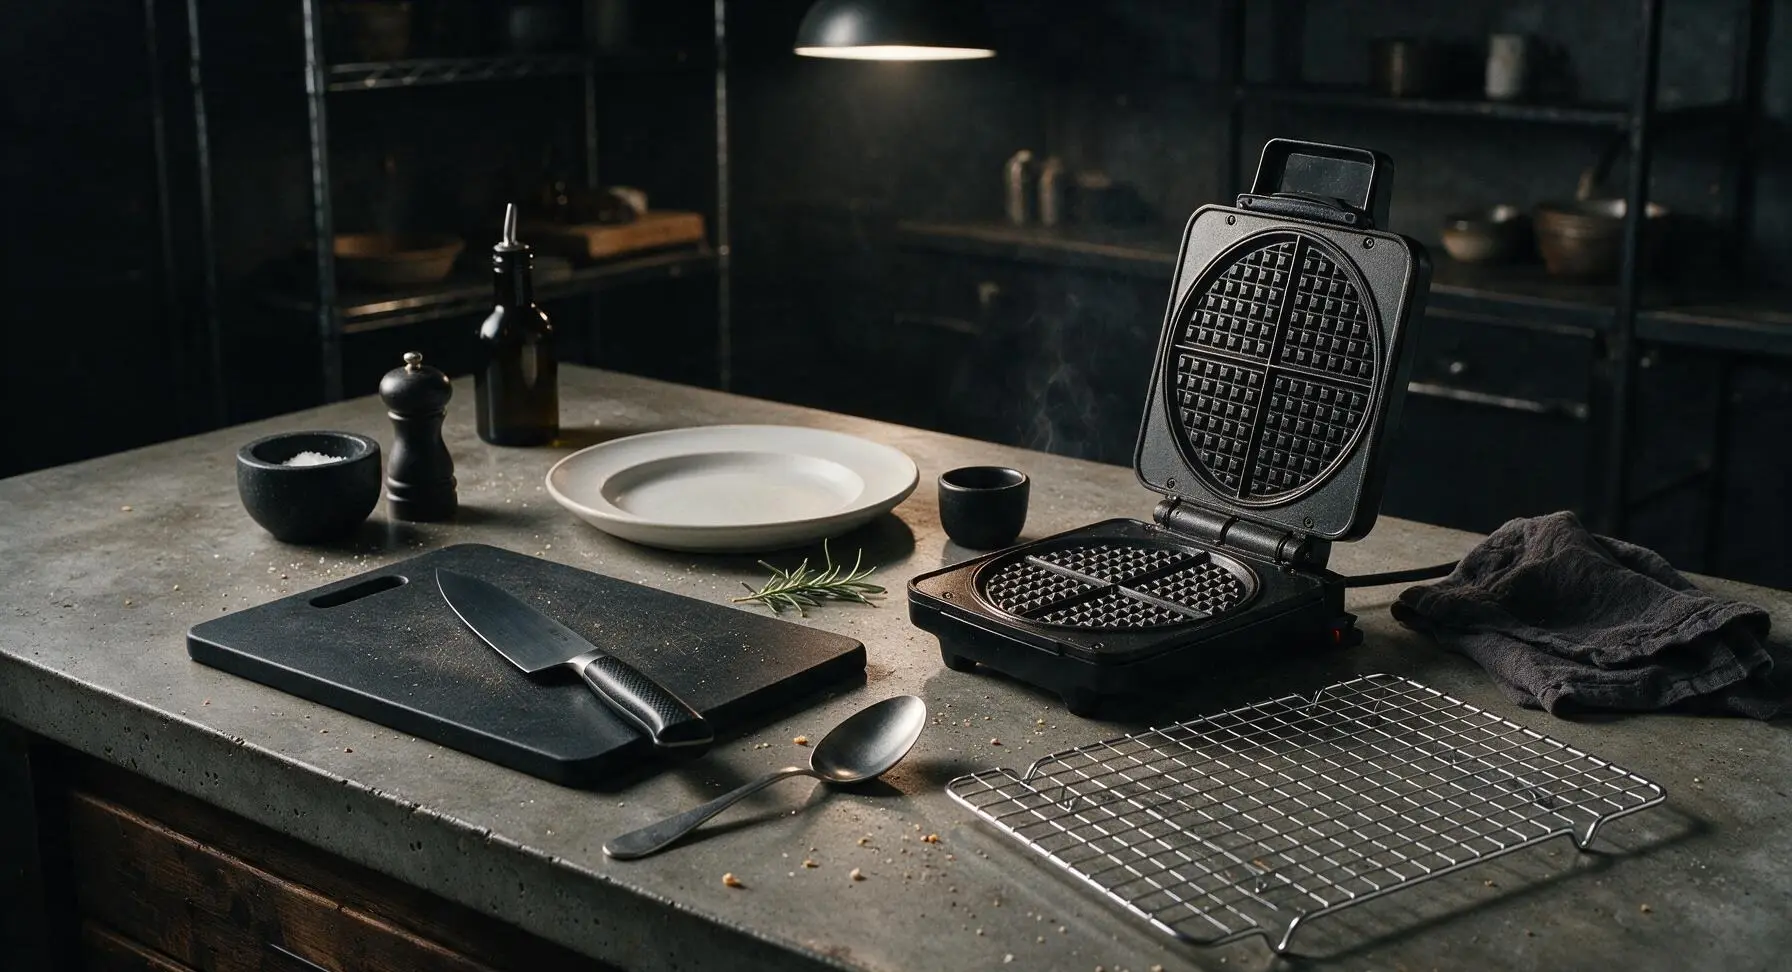
Plug in the matte black stainless steel electric non-stick pizzelle iron and preheat to medium heat (375°F / 190°C) for 5 minutes, until the built-in ready indicator light illuminates. Most modern non-stick irons require no greasing; if using an older uncoated iron, rub a tiny amount of butter on the grids with a small scrap of paper towel before the first batch, as excess grease will make cookies soggy and prevent the classic waffle pattern from setting crisply.
Step 5
step5:Preheat Pizzelle Iron
6

Cook Pizzelle Batches

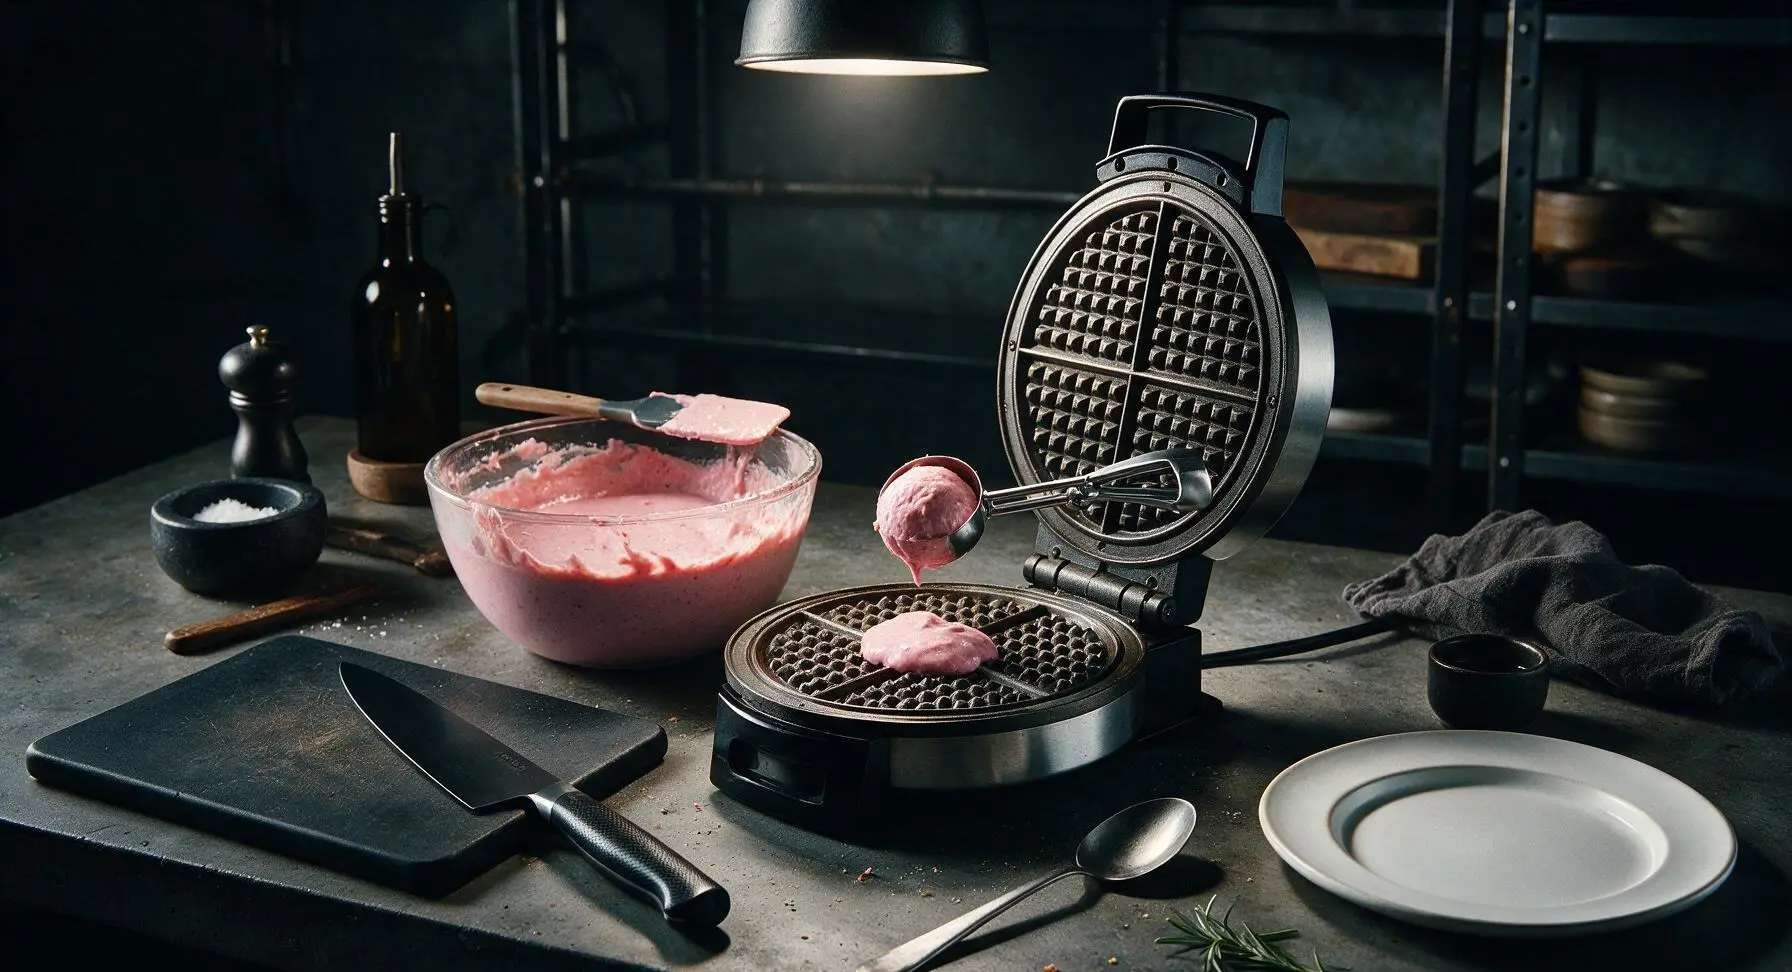
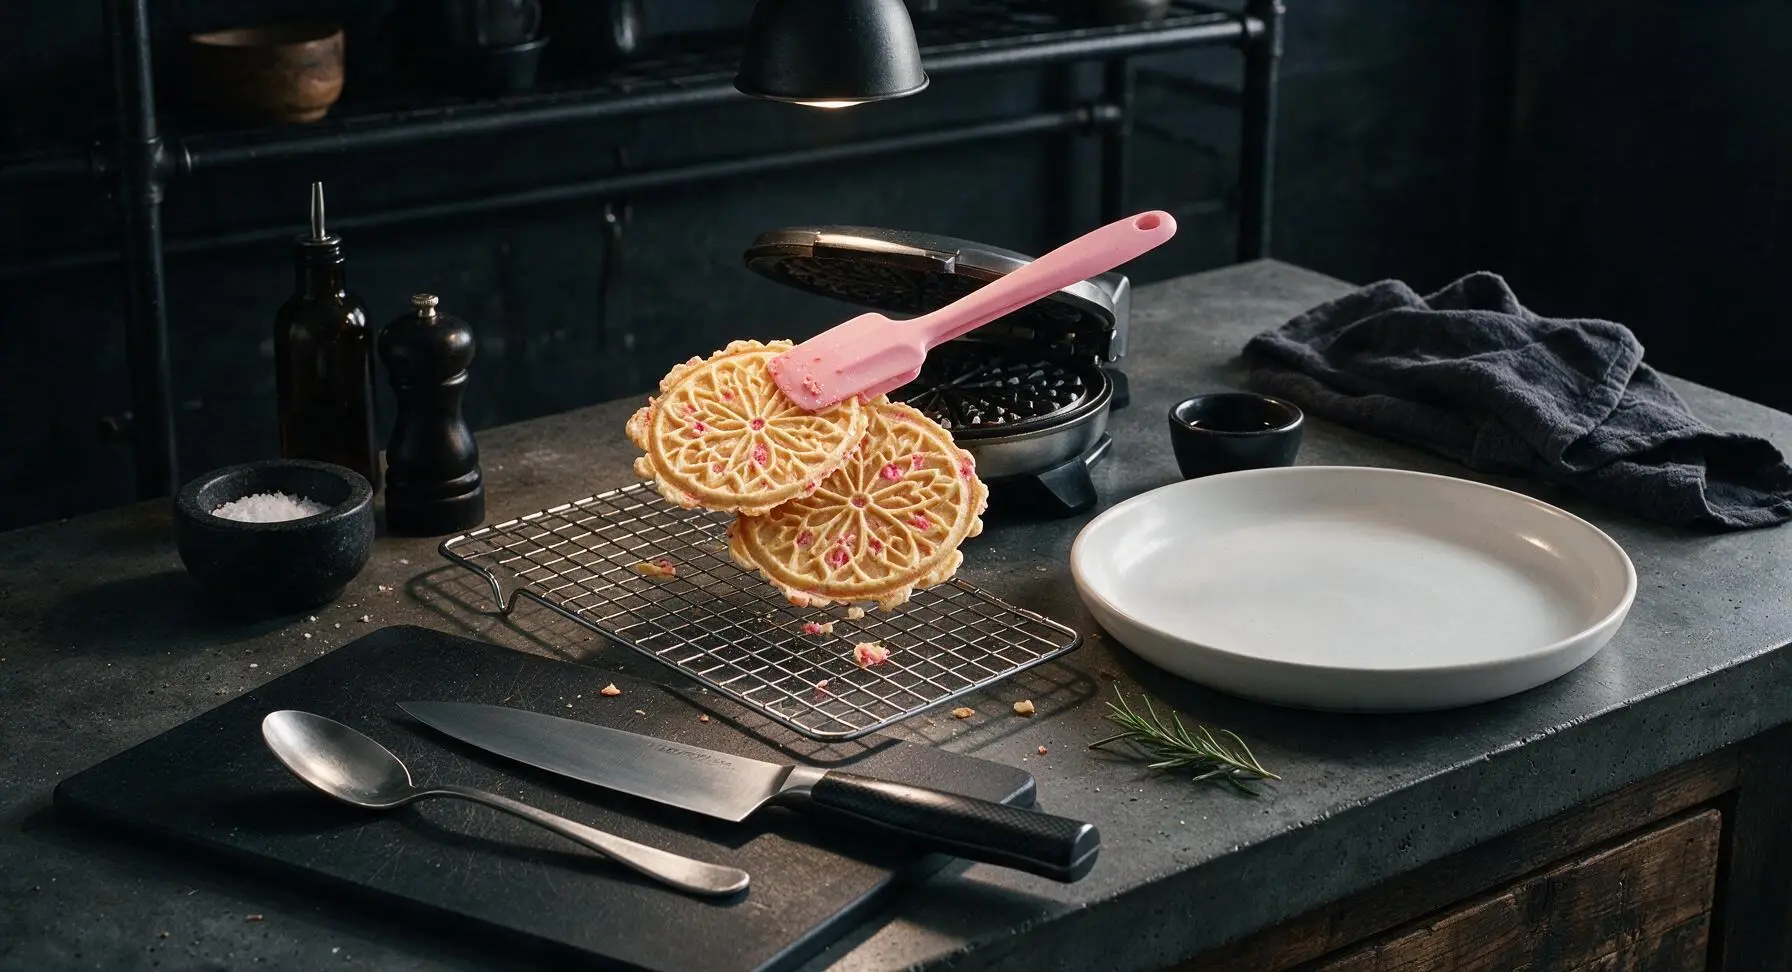
Use the 1-tablespoon stainless steel cookie scoop to drop one scoop of batter onto the center of each preheated pizzelle mold (the iron cooks two 5-inch cookies per batch). Close the lid and latch the handle, cooking for 35-45 seconds per batch, until the cookies are pale golden around the edges and set in the center. Cooking longer will result in dark, bitter cookies; undercooking will leave them soft and chewy even after cooling. Use the tip of the pink silicone spatula to gently lift the hot cookies from the mold immediately after cooking, and transfer them in a single layer to the chrome wire cooling rack. Repeat with remaining batter, letting the iron reheat for 10 seconds between batches.
Step 6
step6:Cook Pizzelle Batches
Step 6
step6:Cook Pizzelle Batches
7

Cool and Plate Cookies

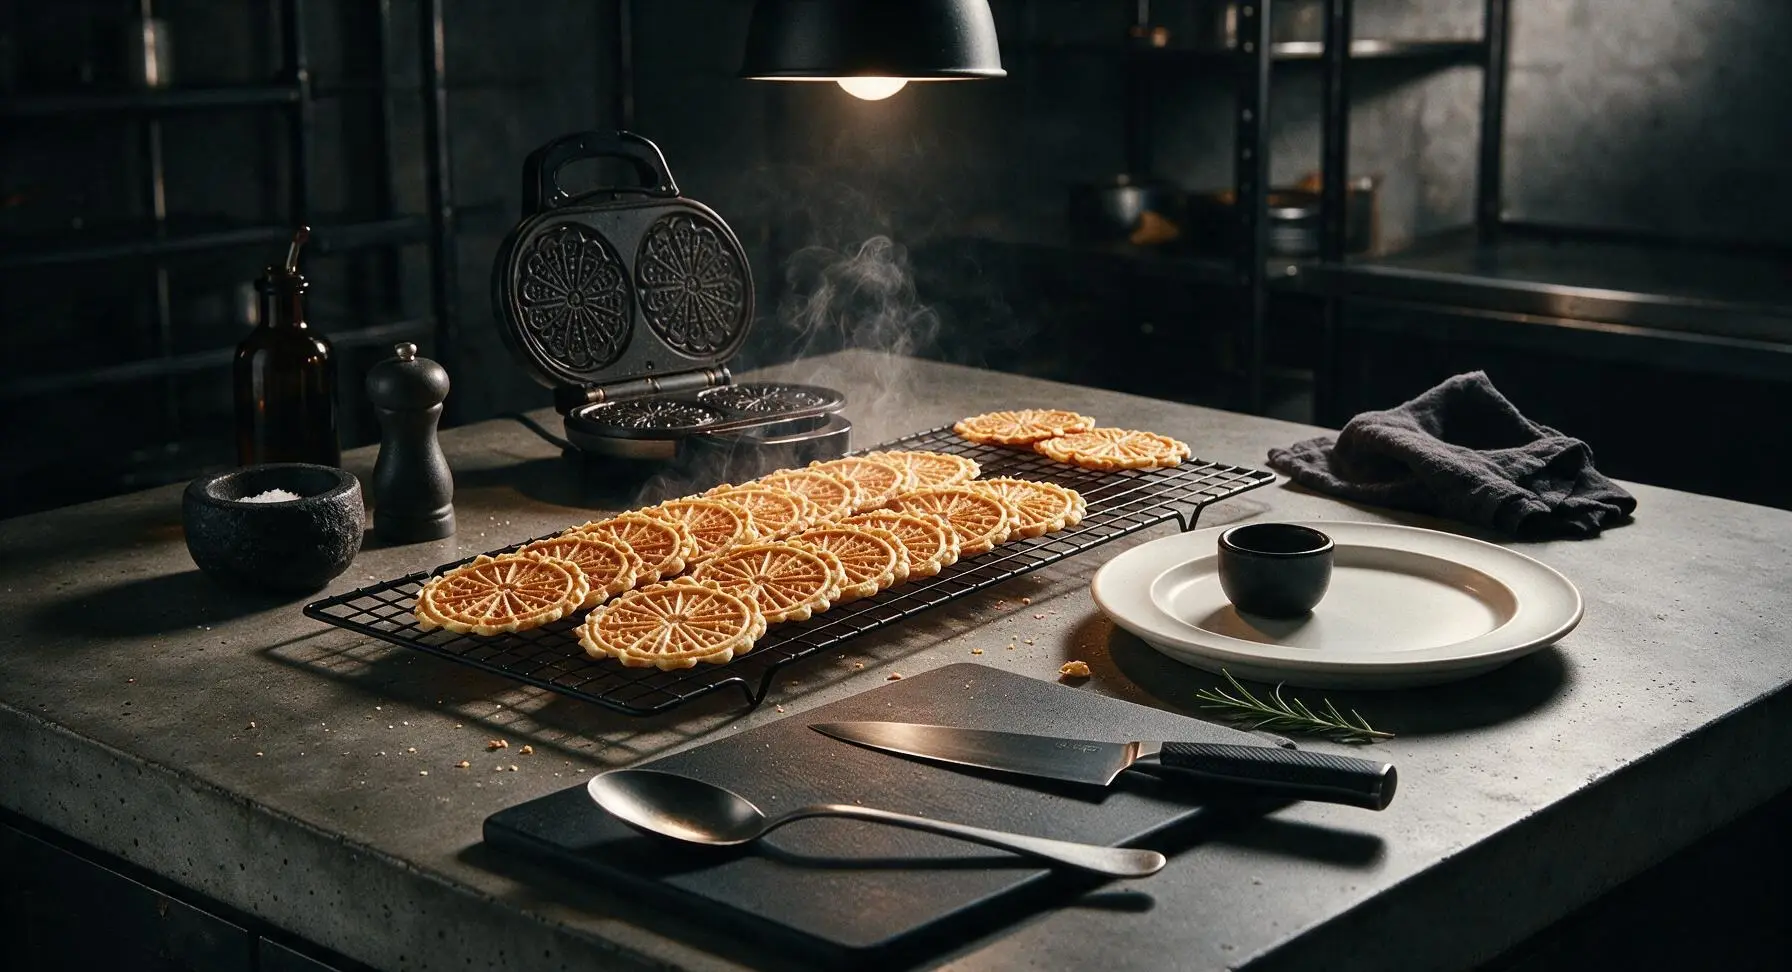
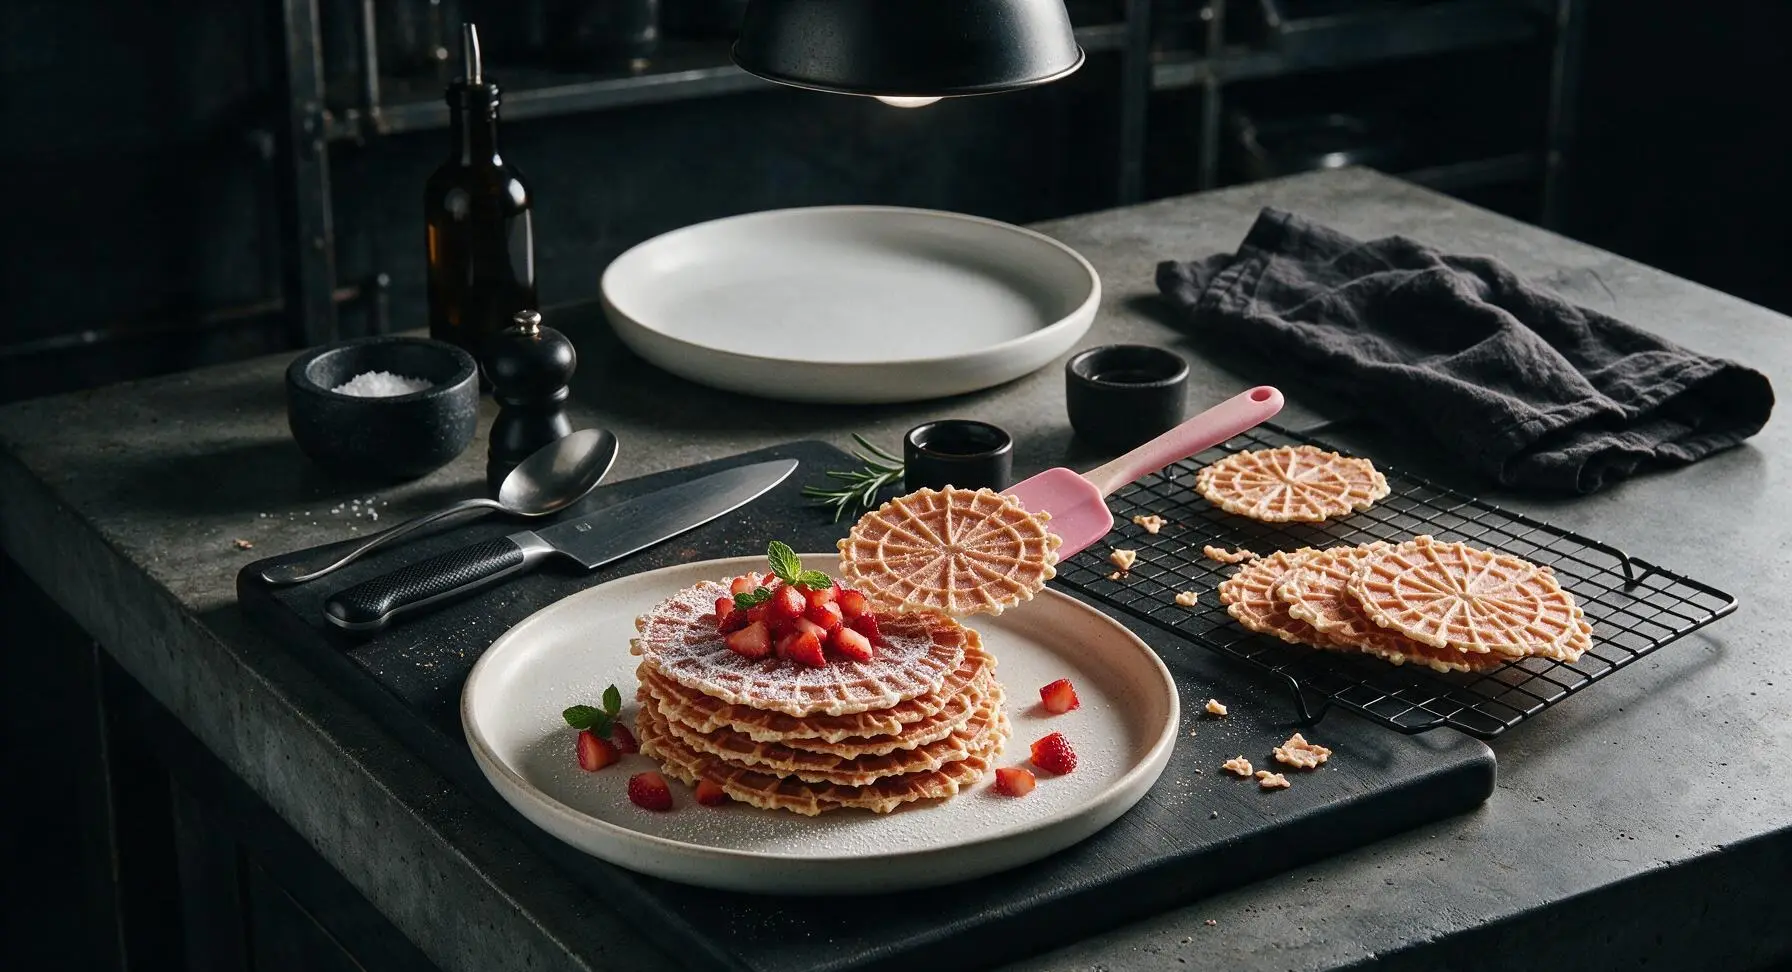
Let the pizzelle cool completely on the wire rack for 10 minutes. They will be soft and flexible when first removed from the iron, and will crisp to a delicate, snappy texture as they cool. Do not stack warm cookies, as trapped moisture will make them chewy. Once fully cool, transfer the cookies to the 28cm off-white matte ceramic serving platter, stacking them in a slightly offset neat pile. Dust lightly with powdered sugar, top with the reserved diced strawberries and a few small mint sprigs to serve.
Step 7
step7:Cool and Plate Cookies
Step 7
step7:Cool and Plate Cookies

Tips

1.Use room-temperature eggs for the batter: Cold eggs will cause the cooled melted butter to solidify into small clumps, leading to unevenly textured cookies that spread inconsistently on the hot pizzelle iron.
2.Resist the urge to overmix the batter: Over-stirring develops gluten in the flour, which will result in tough, dense pizzelle instead of the delicate, crisp texture that is classic to the cookie. A few small lumps in the batter are perfectly fine.
3.Store fully cooled pizzelle in an airtight container at room temperature for up to 1 week: Avoid storing them in the refrigerator or in a humid kitchen area, as trapped moisture will turn the crisp cookies soft and chewy within a few hours.


✨ You May Also Like

Desserts & Baking
🍜 Italy

Creamy, coffee-kissed classic Northern Italian no-bake dessert, with layers of rum-spiked mascarpone cream, soft ladyfingers, and a rich cocoa dusting.

⏱️ 4 hours 3Desserts & Baking ★ 4.7
Desserts & Baking
🍜 France

Flaky, shatteringly crisp, buttery French croissants with golden exteriors and soft, airy layered interiors, perfect for pairing with coffee for a special morning treat.

⏱️ 12 hours Desserts & Baking ★ 4.5
Desserts & Baking
🍜 United States

Warm, spiced baked apples topped with a fluffy golden biscuit crust, this cozy dessert pairs perfectly with vanilla ice cream for cool-weather comfort.

⏱️ 55 minuteDesserts & Baking ★ 4.6
Desserts & Baking
🍜 United States

A star-spangled classic American blueberry pie with buttery flaky crust and bright sweet-tart filling, perfect for summer patriotic gatherings.

⏱️ 1 hour 25Desserts & Baking ★ 4.7
Desserts & Baking
🍜 United States

A beloved no-bake regional Maine candy with a chewy coconut-potato center coated in rich dark chocolate, a New England holiday staple since the 1870s.

⏱️ 2 hours 3Desserts & Baking ★ 4.8
Desserts & Baking
🍜 France

Luxuriously creamy, floral frozen custard made with aromatic Tahitian vanilla beans, boasting a smooth, rich texture that melts slowly on the tongue.

⏱️ 3 hours 3Desserts & Baking ★ 4.5

strawberry pizzelle:Frequently Asked Questions

1.Why do my strawberry pizzelle turn out soft and chewy instead of crisp and snappy? ▾
This almost always traces back to excess moisture or undercooking. Be sure to drain any extra juice from your strawberry prep, cook each cookie 5-10 seconds longer until wispy steam stops coming from the iron, and let cookies cool fully on a wire rack before storing—trapped steam from warm cookies turns them soggy fast.
2.Can I use frozen strawberries instead of fresh for this recipe? ▾
You absolutely can, but you have to prep them correctly first. Thaw berries completely, drain off every bit of excess released juice, and pat them dry with paper towels before pureeing. Skipping this step will add too much extra water to the batter, leading to flat, chewy cookies instead of light, crisp ones.
3.Do I need a specialty pizzelle maker to pull this recipe off, or will a regular waffle iron work? ▾
A standard electric pizzelle iron is ideal for getting that thin, evenly patterned, crisp classic shape. If you only have a regular waffle iron, use just 1 tablespoon of batter per section and cook until steam stops—your cookies will be thicker and lack the traditional design, but they’ll still taste great. Avoid deep-pocket Belgian waffle irons entirely, as they make overly bready cookies.
4.How do I get bold strawberry flavor without making the batter too watery? ▾
Skip adding raw, undrained strawberry puree straight to the batter. Instead, cook your pureed ripe strawberries over low heat for 3 to 4 minutes to cook off excess moisture, then let the concentrate cool fully before mixing it in. This locks in that bright, fresh berry taste without thinning the batter enough to ruin the cookie texture.
5.What’s the best way to store these pizzelle to keep them crisp, and how long do they last? ▾
Wait until cookies are 100% cooled to room temperature first, then layer them between sheets of parchment paper in an airtight container kept at cool room temperature. They’ll stay snappy for up to 1 week. Skip refrigeration, as condensation inside the fridge will soften them quickly; they also freeze well for up to 3 months if sealed tightly.
6.How do I stop the batter from sticking to my pizzelle iron plates? ▾
First, let your iron preheat fully for 5 full minutes before adding any batter. For uncoated cast iron plates, brush on a thin layer of melted unsalted butter before your first batch; nonstick plates rarely need extra grease after the first round. Don’t pry the iron open too early—wait until steam stops escaping, or the delicate cookies will tear and stick.
7.Can I cut back on the sugar to make these pair better with bitter coffee? ▾
Absolutely! This recipe is already lightly sweet by design, but you can reduce the granulated sugar by up to 2 tablespoons without ruining the structure built by the large eggs and flour. Just don’t cut more than that—small amounts of sugar help create that signature golden, snappy crust that makes pizzelle so satisfying, even when paired with strong black coffee.
8.Why do my pizzelle come out with pale, uneven splotches instead of an even golden color? ▾
This is almost always caused by two easy-to-fix issues. First, you might not be letting your iron preheat long enough for heat to distribute evenly across the plates. Second, you may be using too little batter, which can’t spread to cover the full mold. Use a level 1-tablespoon scoop placed dead-center of each plate for even coverage.
9.What mix-ins work well with this strawberry pizzelle recipe, and which should I avoid? ▾
Finely grated lemon zest (about 1 teaspoon per batch) and mini semi-sweet chocolate chips (tossed in a pinch of all-purpose flour to prevent sinking) pair beautifully with fresh strawberry. Skip large, chunky mix-ins like whole berry pieces or big chocolate chunks—they’ll keep the cookies from pressing thin and crisp, and can tear the delicate dough as you lift it off the iron.
10.Are these strawberry pizzelle sturdy enough for spring gift tins or ice cream sandwiches? ▾
They’re perfect for both! Once fully cooled, their snappy structure holds up great in spring gift tins—just layer between parchment to prevent scuffing or sticking. For ice cream sandwiches, let cookies cool completely so they don’t melt your filling, and give them a gentle extra press right off the iron if you want a flatter, more uniform shape for easy stacking.

Comments (15)

2 days ago

OMG these strawberry pizzelle are SO good! I brought a batch to my neighborhood potluck last weekend and everyone was begging for the recipe. The hint of fresh strawberry is perfect, not too overpowering like some flavored pizzelle I’ve tried before. Total game changer for my holiday cookie platter this year!

yesterday

Wait did you use fresh or frozen strawberries for the batter? I’ve only made plain pizzelle before and don’t want to mess up the consistency!

yesterday

So glad they were a hit at your potluck! For best results, we recommend finely diced fresh strawberries patted very dry to avoid adding extra moisture to the batter—frozen works too, just thaw and drain really well first!

3 days ago

My kids loved it! I made these for after-school snacks this week and they gobbled them up faster than the chocolate chip cookies I usually make. Super easy too, I didn’t even have to run to the store for any fancy ingredients, I had everything in my pantry already.

2 days ago

Love hearing that the whole family enjoyed them! They make such a perfect quick snack, and they hold up great in an airtight container for up to a week for easy meal prep.

5 days ago

Wait, how thin do these turn out? My old pizzelle press makes everything super thick and cakey no matter what I do, I’m worried I won’t get that classic crisp texture.

3 days ago

I had the same issue with my old press! I followed the recipe exactly, didn’t overfill the molds (only a teaspoon of batter per cookie!) and they came out perfectly crisp and thin, even on my janky old press. Just don’t peek while they’re cooking!

1 week ago

Made these for a day trip up to the mountains last weekend and they were the perfect portable snack! Light, crispy, not too sweet, and the strawberry flavor tasted like summer even with the fall chill in the air. Will definitely be making these again for our next camping trip.

1 week ago

Served these at my bridal brunch last Saturday and they were such a hit! I dusted them with a little powdered sugar and paired them with prosecco, and my guests would not stop talking about them. 10/10, will be making these for every brunch from now on.

5 days ago

Oh this is such a good idea! I’m looking for easy cookie recipes for my own bridal shower next month—would these hold up if I make them the night before?

3 days ago

What a perfect brunch addition! They stay fresh and crisp for 4-5 days in an airtight container, so making them the night before (or even two days ahead!) works totally fine, no sogginess to worry about.

2 weeks ago

Wait, has anyone tried making these with a 1:1 gluten free flour blend? I have celiac and miss having pizzelle at family dinners, I’m dying to try this recipe!

1 week ago

I made them last week with Bob’s Red Mill 1:1 GF flour and they turned out perfect! No weird texture or aftertaste, my non-GF family didn’t even notice the difference.

2 weeks ago

Taste is amazing, but my first batch stuck really bad to my pizzelle iron. Did I do something wrong? I sprayed it with nonstick spray before the first batch like I usually do for plain pizzelle.

2 weeks ago

I find that with fruit-flavored pizzelle, you only need to spray the iron once before the very first batch, and make sure the iron is fully preheated before you drop the batter in. If it’s not hot enough they stick every time!

2 weeks ago

So sorry your first batch stuck! The tip about preheating fully is spot on—your iron should be good and hot before adding batter, and you only need a light coating of spray once at the start. The small amount of moisture from the strawberries can cause sticking if the iron is too cool, so give it an extra minute or two to preheat next time!

30 minutes ago

So easy even I couldn’t mess this up! I’m a total beginner in the kitchen and these came out perfect on my first try. The cook time is so fast too, I made a whole batch between study sessions last night for my roommates, they all loved them.

yesterday

Can you add a little lemon zest to this? I love strawberry-lemon flavor combos, I feel like that would pair so nicely here but I don’t want to throw off the batter ratios.

5 minutes ago

Great question! A teaspoon of fresh lemon zest added to the batter is absolutely delicious with the strawberry flavor, it won’t throw off the ratios at all. We’ve tested it ourselves and it adds such a bright, fresh kick!

3 days ago

These are going to be my new go-to for every work potluck! I love that they’re not overly sweet, so they don’t leave you feeling sluggish after lunch. I dipped half of mine in white chocolate last time I made them and people went crazy for them.

2 days ago

The white chocolate dip sounds incredible! Did you let them cool completely before dipping, or do you dip them while they’re still a little warm?

yesterday

The white chocolate dip is such a fun upgrade! Just make sure the pizzelle are fully cooled before dipping, otherwise the chocolate will seize up and slide right off. A little sprinkle of freeze-dried strawberry powder on top of the chocolate is chef’s kiss too!

5 days ago

Has anyone tried freezing these? I do a big monthly meal prep and bake session and love having sweet treats stashed in the freezer for last minute guests.

3 days ago

I froze half my batch last month for my kid’s soccer snack schedule! I stacked them between layers of parchment paper in an airtight container, and they thawed in like 10 minutes on the counter, totally crisp still, no sogginess.

2 days ago

They freeze wonderfully! Just let them cool completely before freezing, separate layers with parchment to prevent sticking, and they’ll keep for up to 3 months in the freezer. Thaw at room temp for 10 minutes and they taste just as fresh as the day you baked them.

1 week ago

I’ve been making classic anise pizzelle for 40 years for my family, and I was a little skeptical about a strawberry version, but let me tell you—this recipe is a keeper! My grandkids begged me to make a second batch before we even finished the first.

5 days ago

This makes me so happy to see! My grandma is the same way, only makes the classic anise ones, I’ve been trying to talk her into trying a fun flavor for ages. I’ll have to show her this recipe!

just now

These are the perfect little treat to have with my morning latte! Not too sweet, crispy, that bright strawberry flavor pairs so well with coffee. I keep a tin of them on my kitchen counter now and grab one every time I walk by, oops.

2 hours ago

Wait do I need a fancy pizzelle press to make these? I live in a tiny studio apartment and don’t have a lot of storage for extra kitchen gadgets, but these look so good I’m tempted to buy one.

30 minutes ago

You do need a pizzelle iron to get that classic thin, crisp shape and pattern, but there are lots of compact, affordable countertop models that store super easily in small cabinets! It’s worth the small investment for how quick and versatile these cookies are.

2 weeks ago

I made a double batch of these for our family Memorial Day cookout and they were gone in 15 minutes! People kept asking if I bought them from a fancy Italian bakery, I felt so proud. The 20 minute cook time is no joke, I was shocked how fast I was able to whip up a huge batch.



