
sub
intro
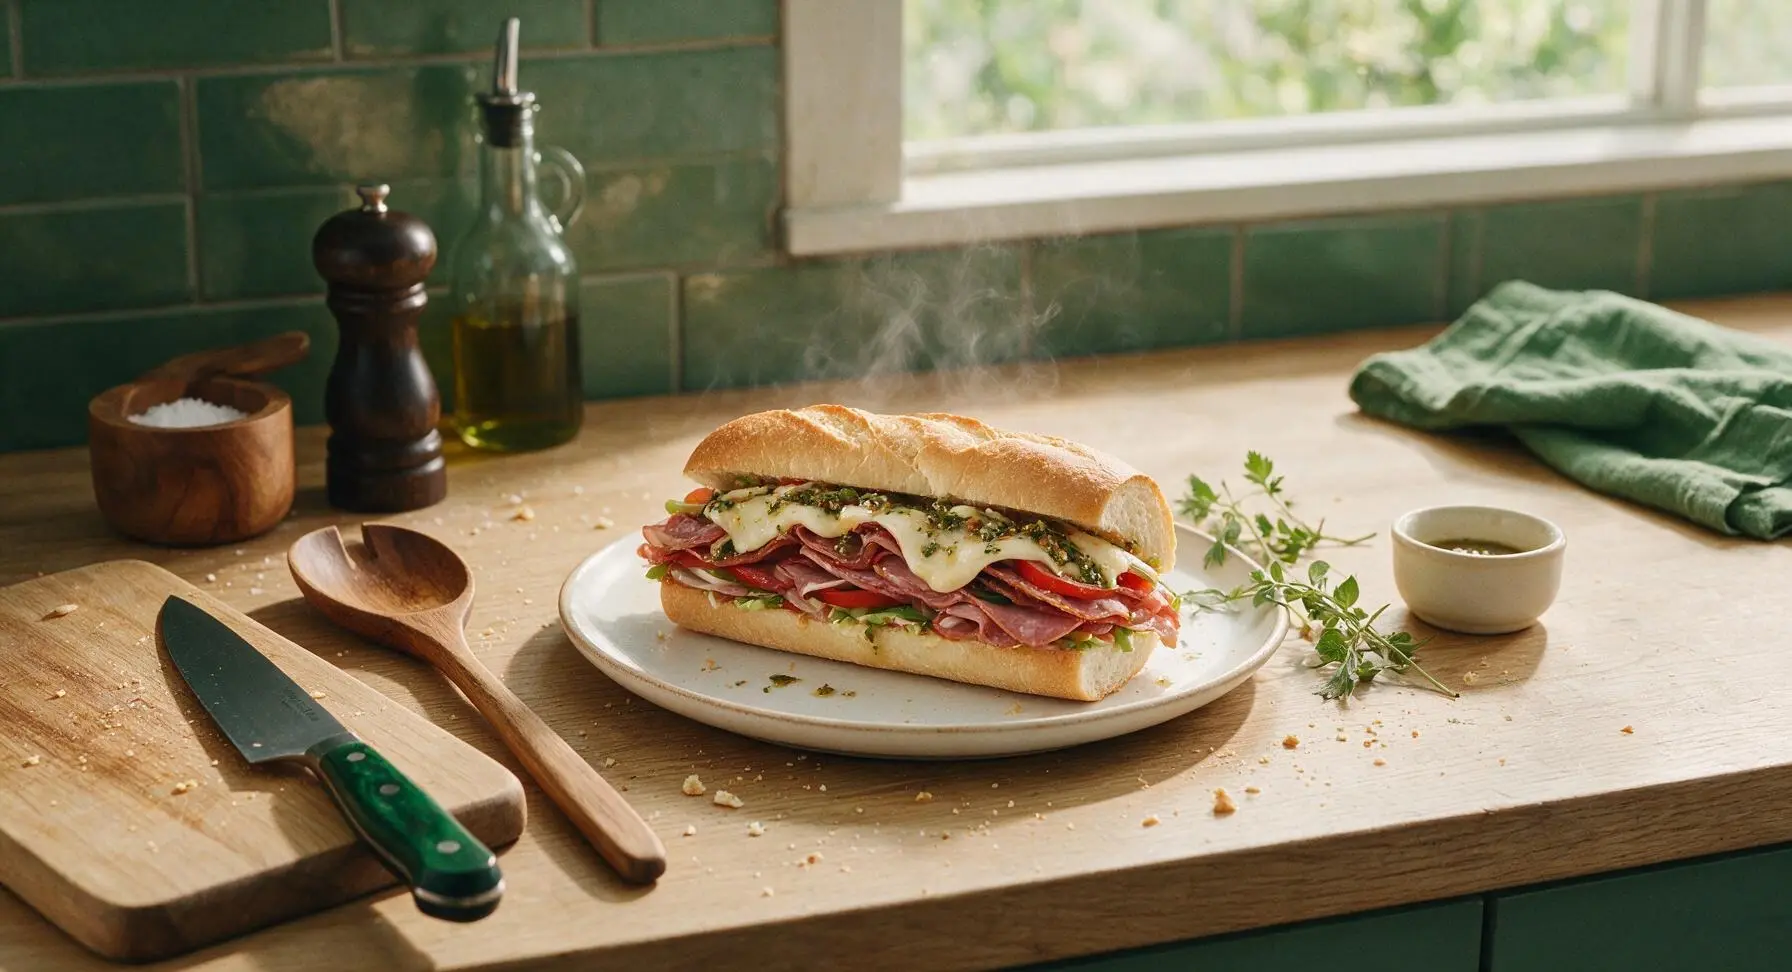
Crusty hoagie rolls piled high with cured meats, melted provolone, crisp veggies, and zesty herb dressing—this classic deli sub is hearty, portable, and packed with bold, savory flavor.
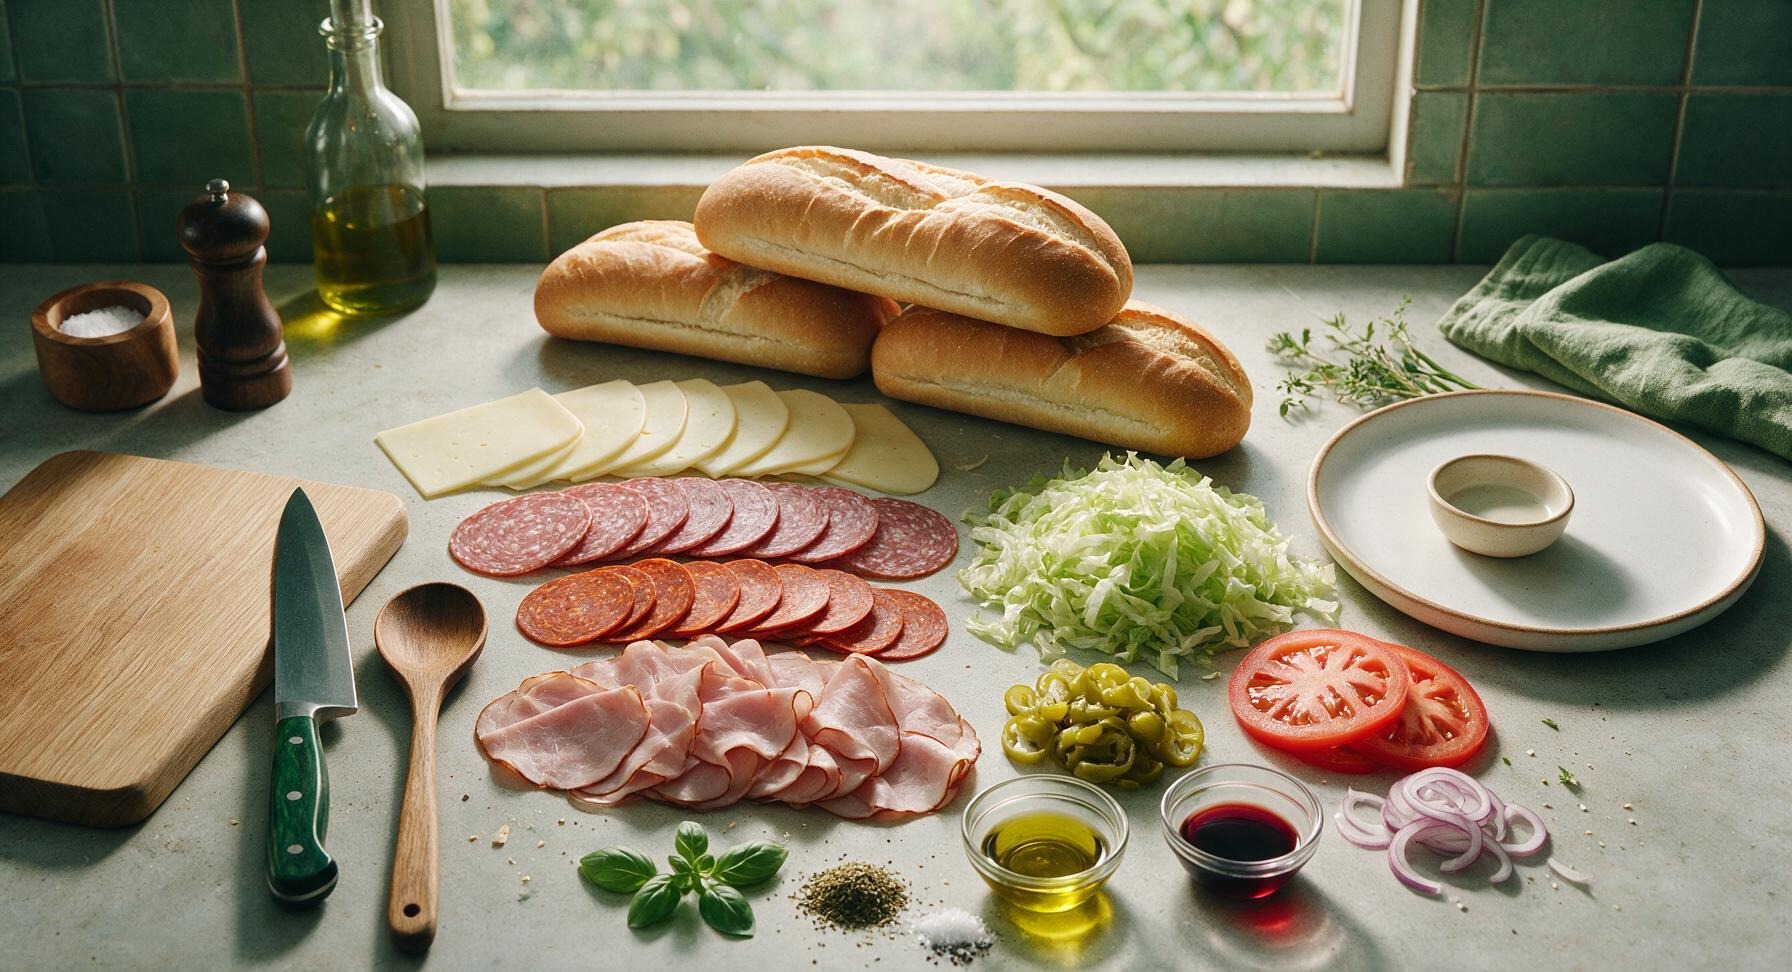
Ingredients
Steps
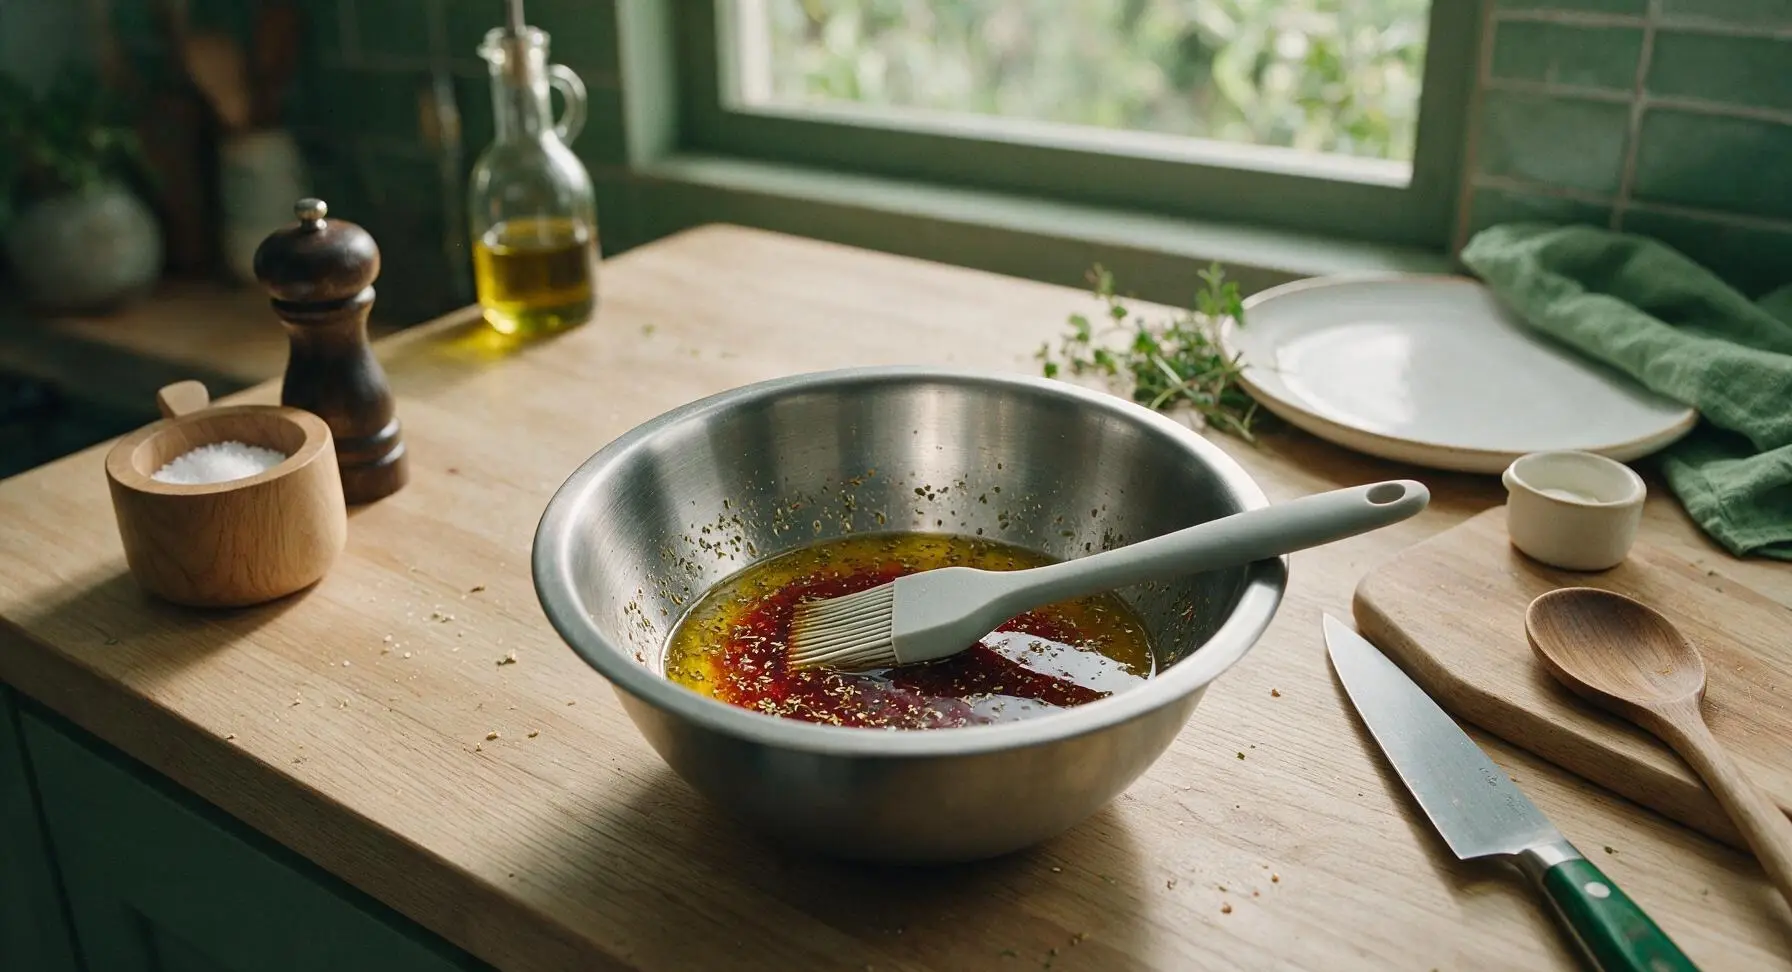
Mix the Zesty Dressing
In the 15cm matte stainless steel mixing bowl, combine 2 tablespoons extra virgin olive oil, 1 tablespoon red wine vinegar, 1 teaspoon dried oregano, 1/2 teaspoon kosher salt, and 1/4 teaspoon freshly ground black pepper. Whisk gently with the handle of the basting brush until fully combined, about 30 seconds. The dressing should be lightly emulsified, with visible flecks of oregano suspended throughout.
Slice and Prep Rolls
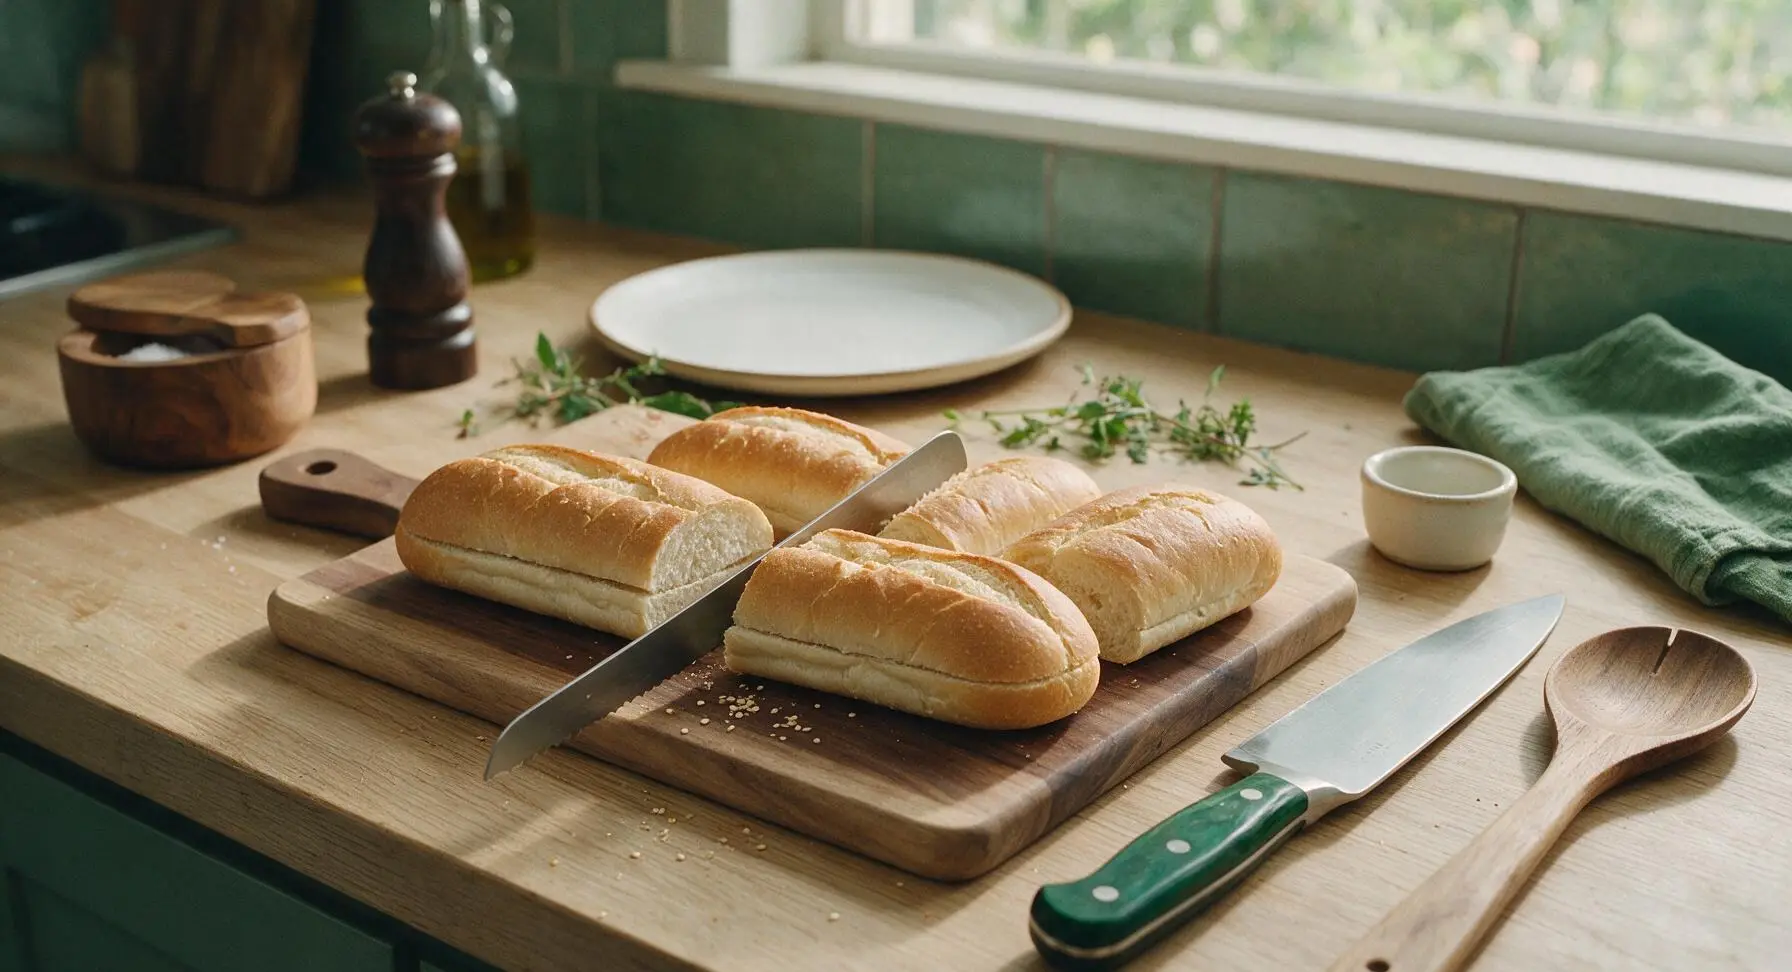
Place the four 8-inch hoagie rolls on the center walnut cutting board. Using the serrated bread knife, slice each roll lengthwise down the center, leaving a 1-inch hinge along one side so the roll does not separate completely. Gently pull open each roll to expose the soft inner crumb, being careful not to tear the crust.
Toast Rolls with Cheese
Arrange the split hoagie rolls cut-side up on a rimmed matte aluminum baking sheet (brought out for cooking). Tuck 2 thin slices of provolone cheese into each roll, spreading the cheese evenly across the inner crumb surface. Place the baking sheet under a preheated broiler (high heat, 500°F / 260°C) for 1-2 minutes, watching closely, until the cheese is fully melted and bubbly and the roll edges are lightly golden. Remove from the broiler immediately to avoid burning the crust.
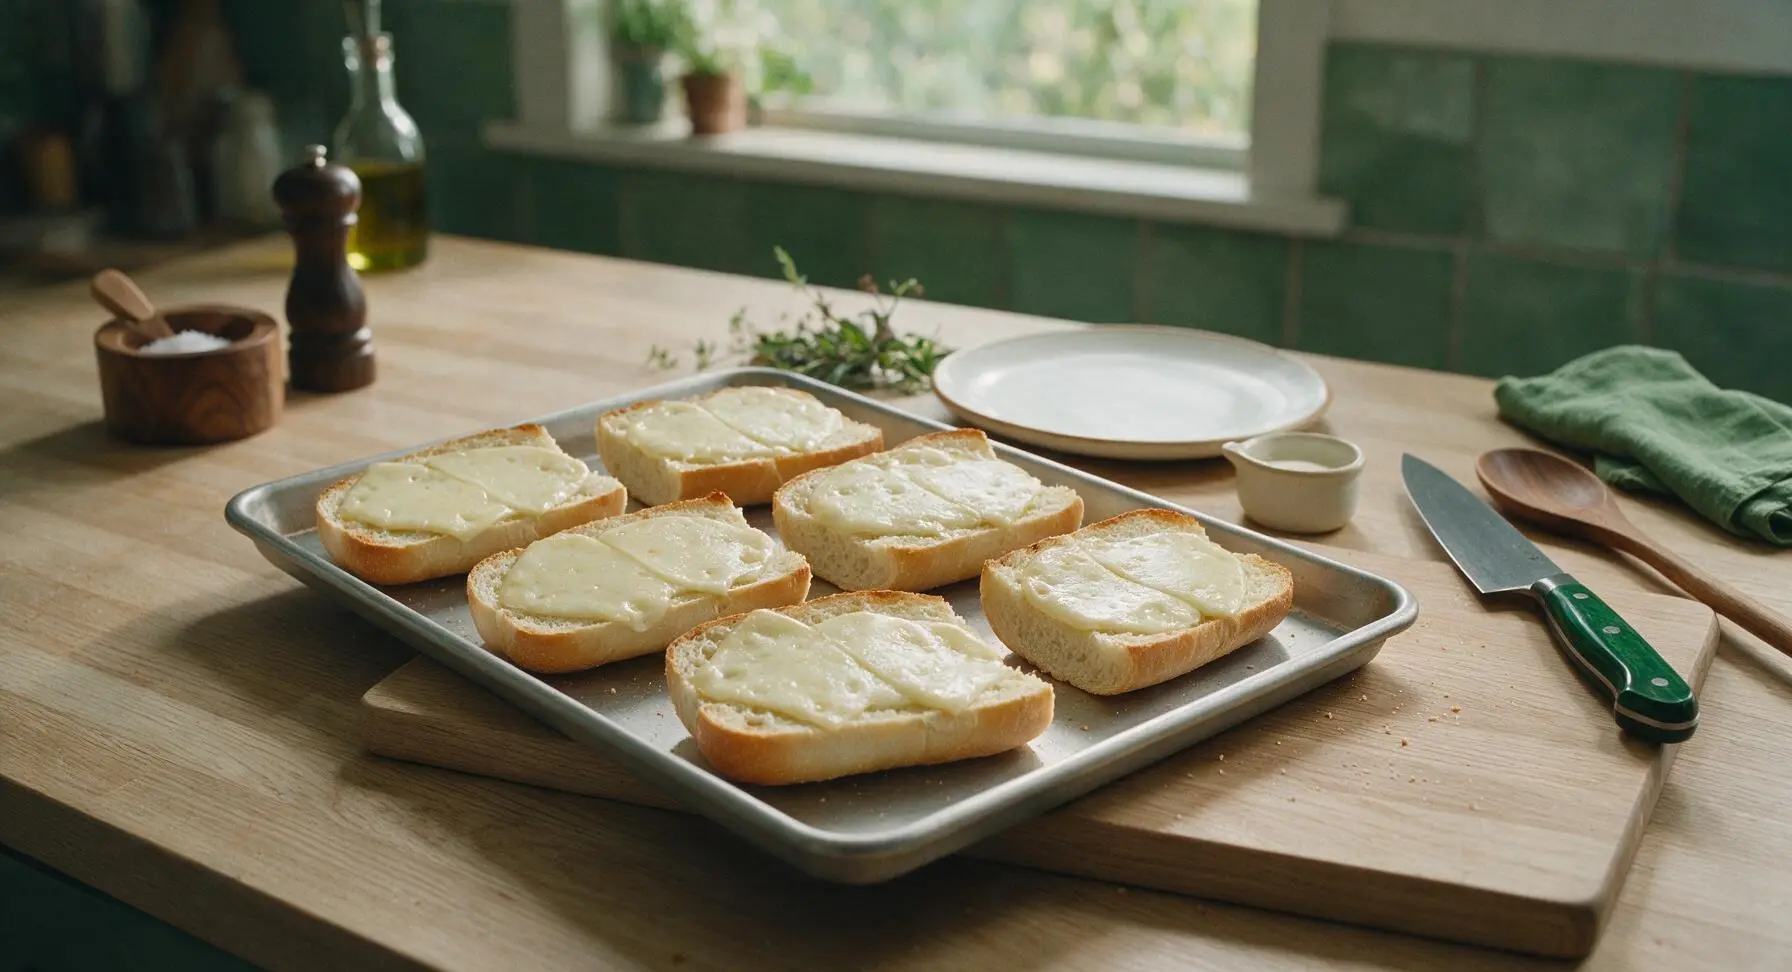
Layer the Cured Meats
Once the cheese-topped rolls are cool enough to handle (about 1 minute out of the broiler), transfer them back to the walnut cutting board. Layer 3 slices of Genoa salami, 3 slices of spicy pepperoni, and 3 slices of Black Forest ham into each roll, folding the thin meat slices slightly to create volume rather than laying them flat. The meat should sit directly on the warm melted cheese so it adheres slightly and releases its aromatic oils.
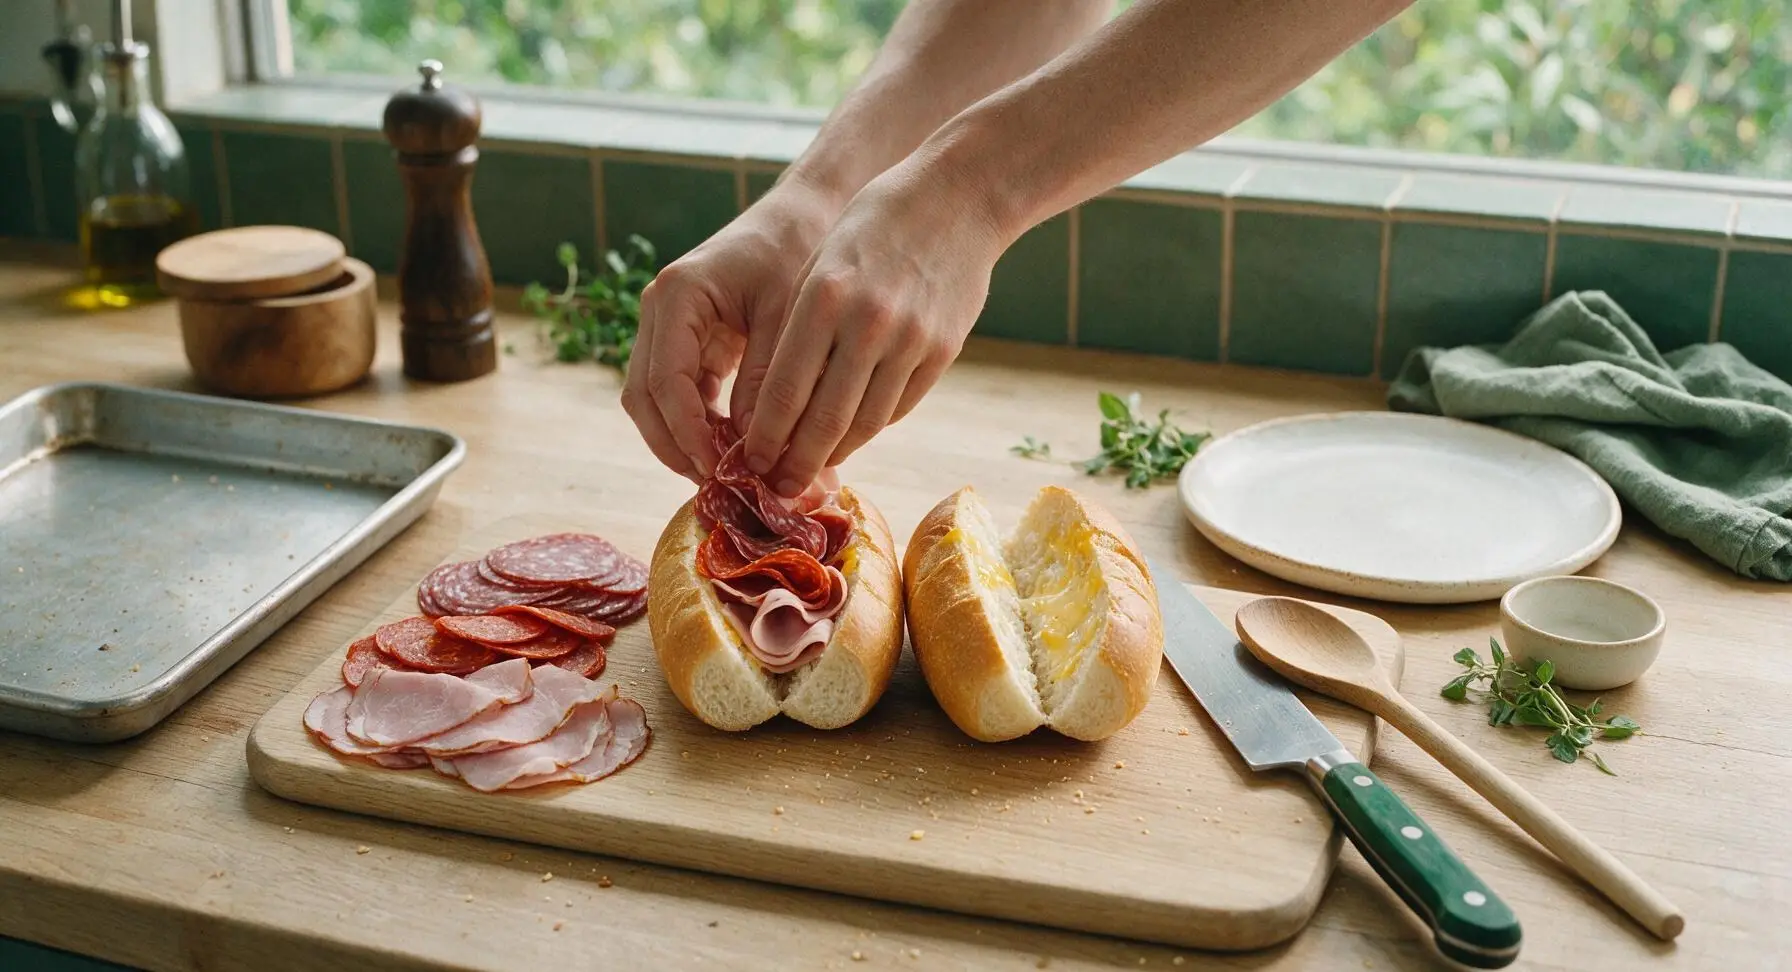
Add Crisp Vegetables
Top the layered meat in each roll with 1/2 cup of shredded iceberg lettuce, 2-3 thin slices of Roma tomato, 3-4 thin red onion rings, and 1 tablespoon of drained sliced pepperoncini. Distribute the veggies evenly along the length of the roll so every bite has a mix of toppings, and pat them down gently to stay in place.
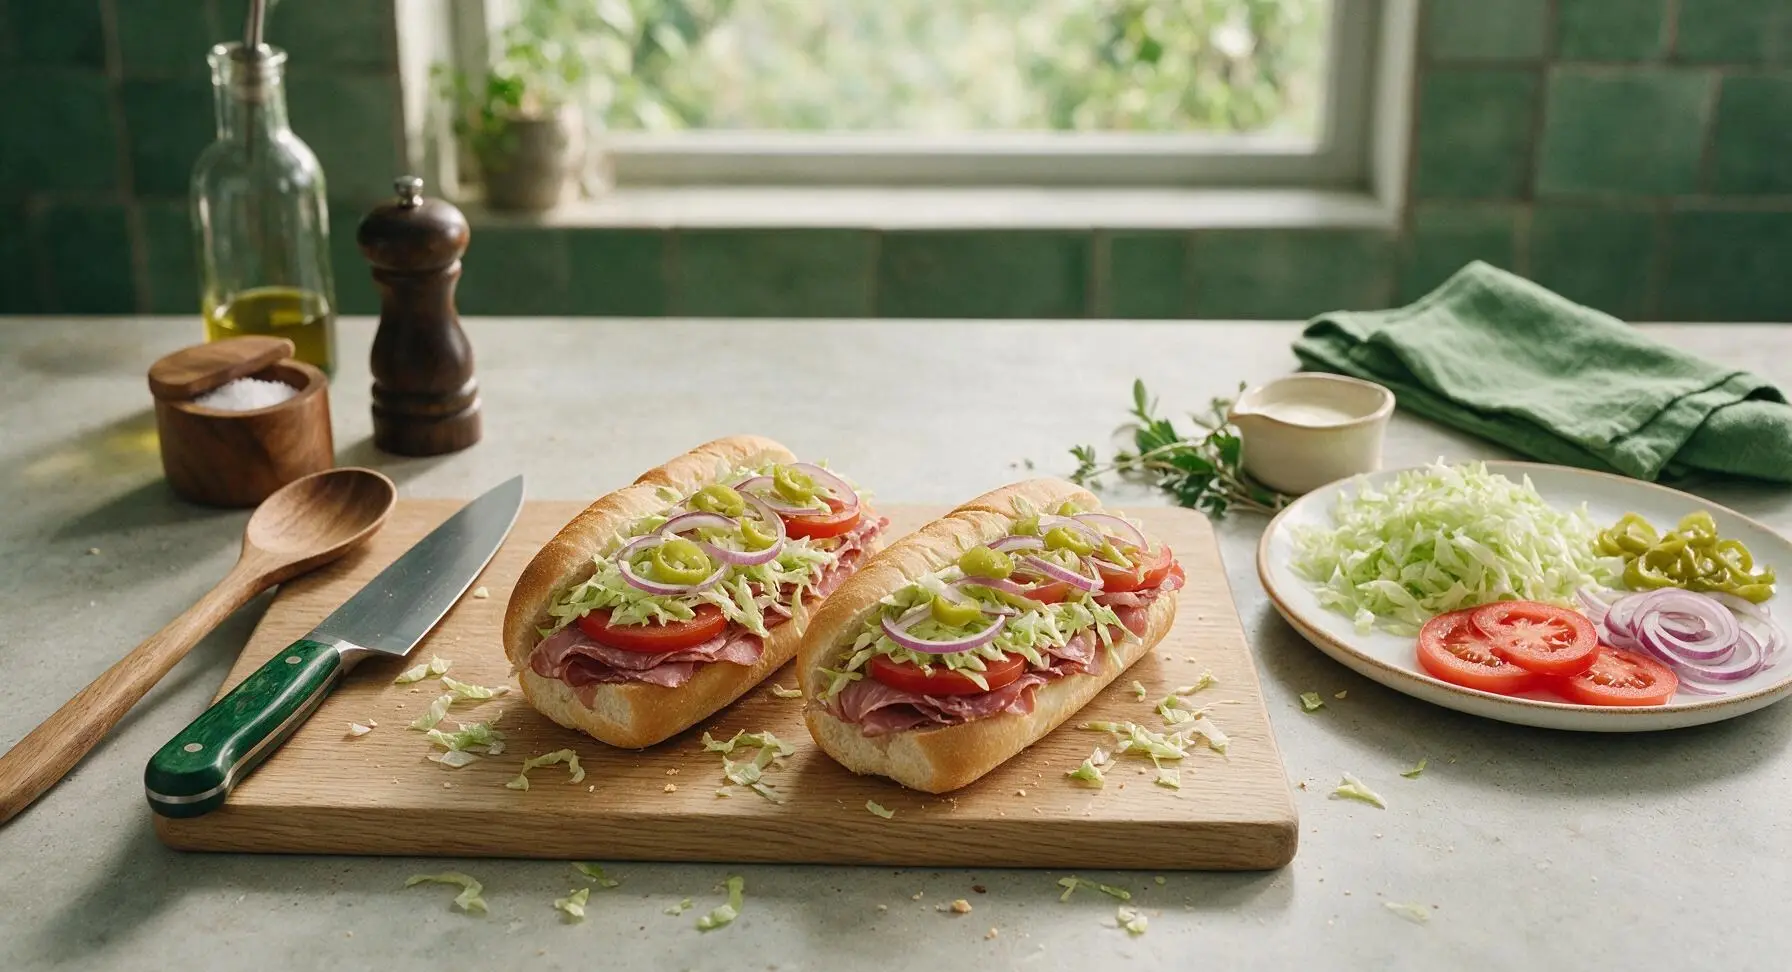
Drizzle with Dressing
Stir the prepared oil and vinegar dressing briefly to recombine, then use the silicone basting brush to dab a light coating of dressing across the vegetable layer in each roll, making sure to get dressing along the inner top of the roll as well. Do not drench the sub, as too much dressing will make the bread soggy—about 1 teaspoon of dressing per 2 inches of roll is ideal.
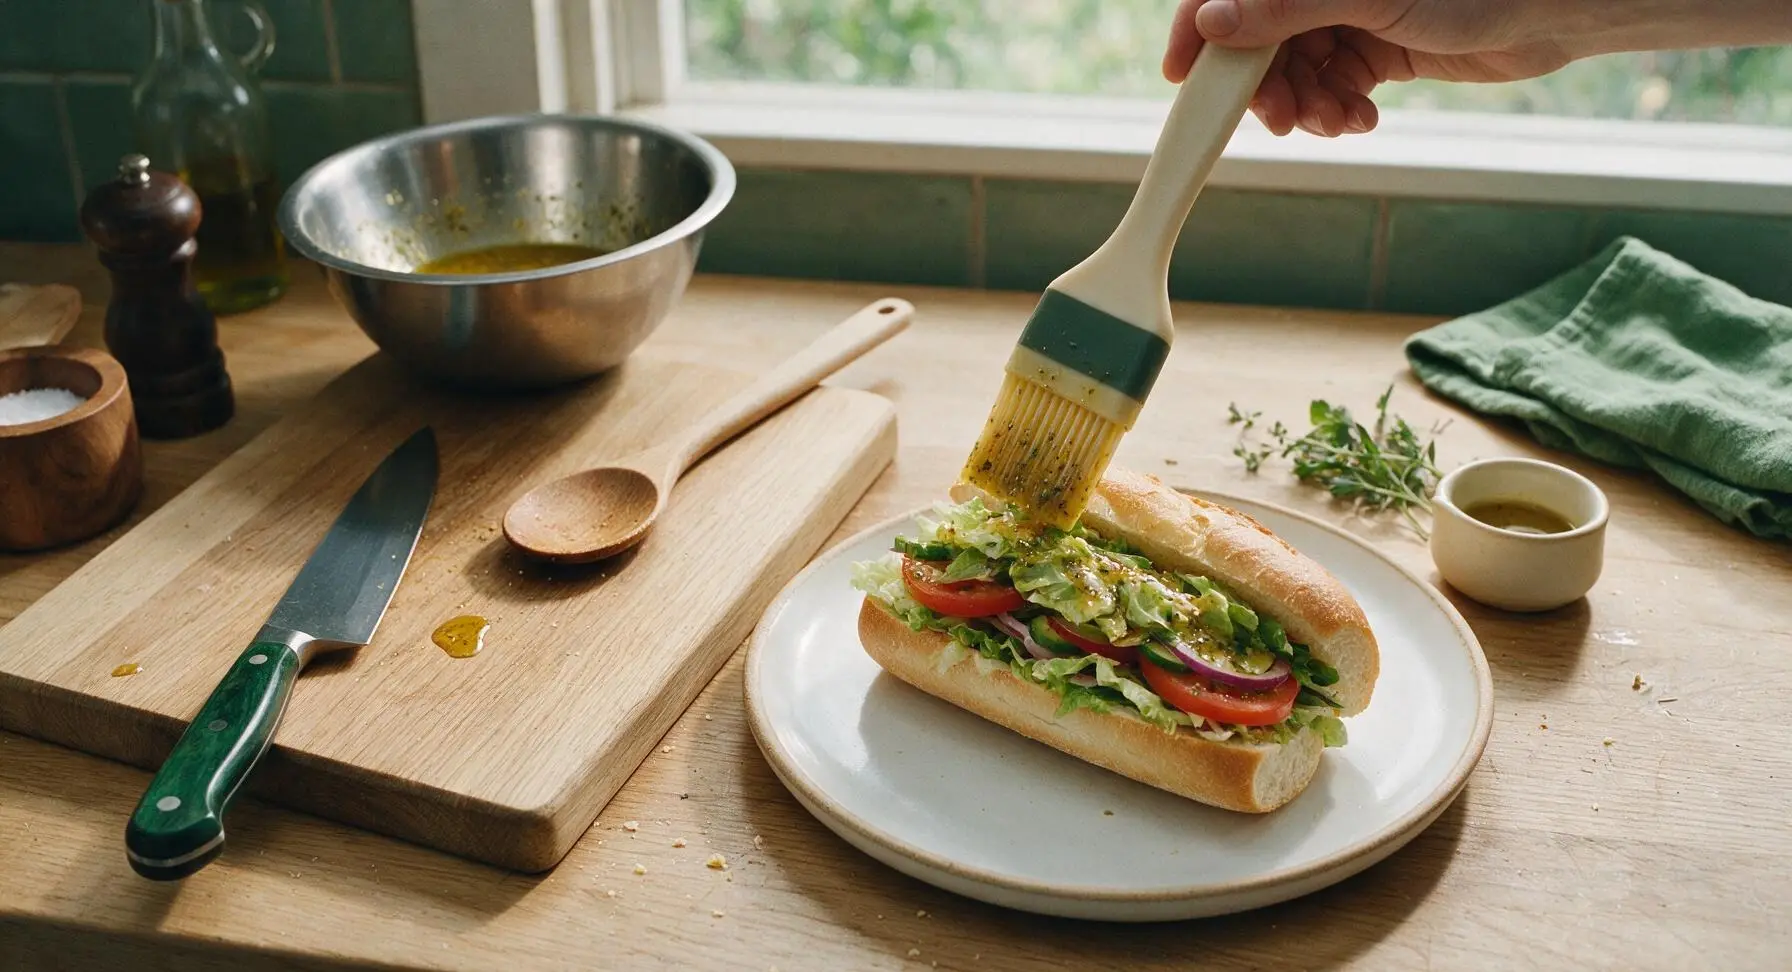
Close and Cut Subs
Fold the top hinge of each roll down over the fillings, pressing gently to compact the layers slightly so the sub holds together when picked up. Using the serrated bread knife, cut each sub diagonally in half at a 45-degree angle, creating two neat, easy-to-hold pieces. Wipe any stray fillings that fall out back onto the cutting board.
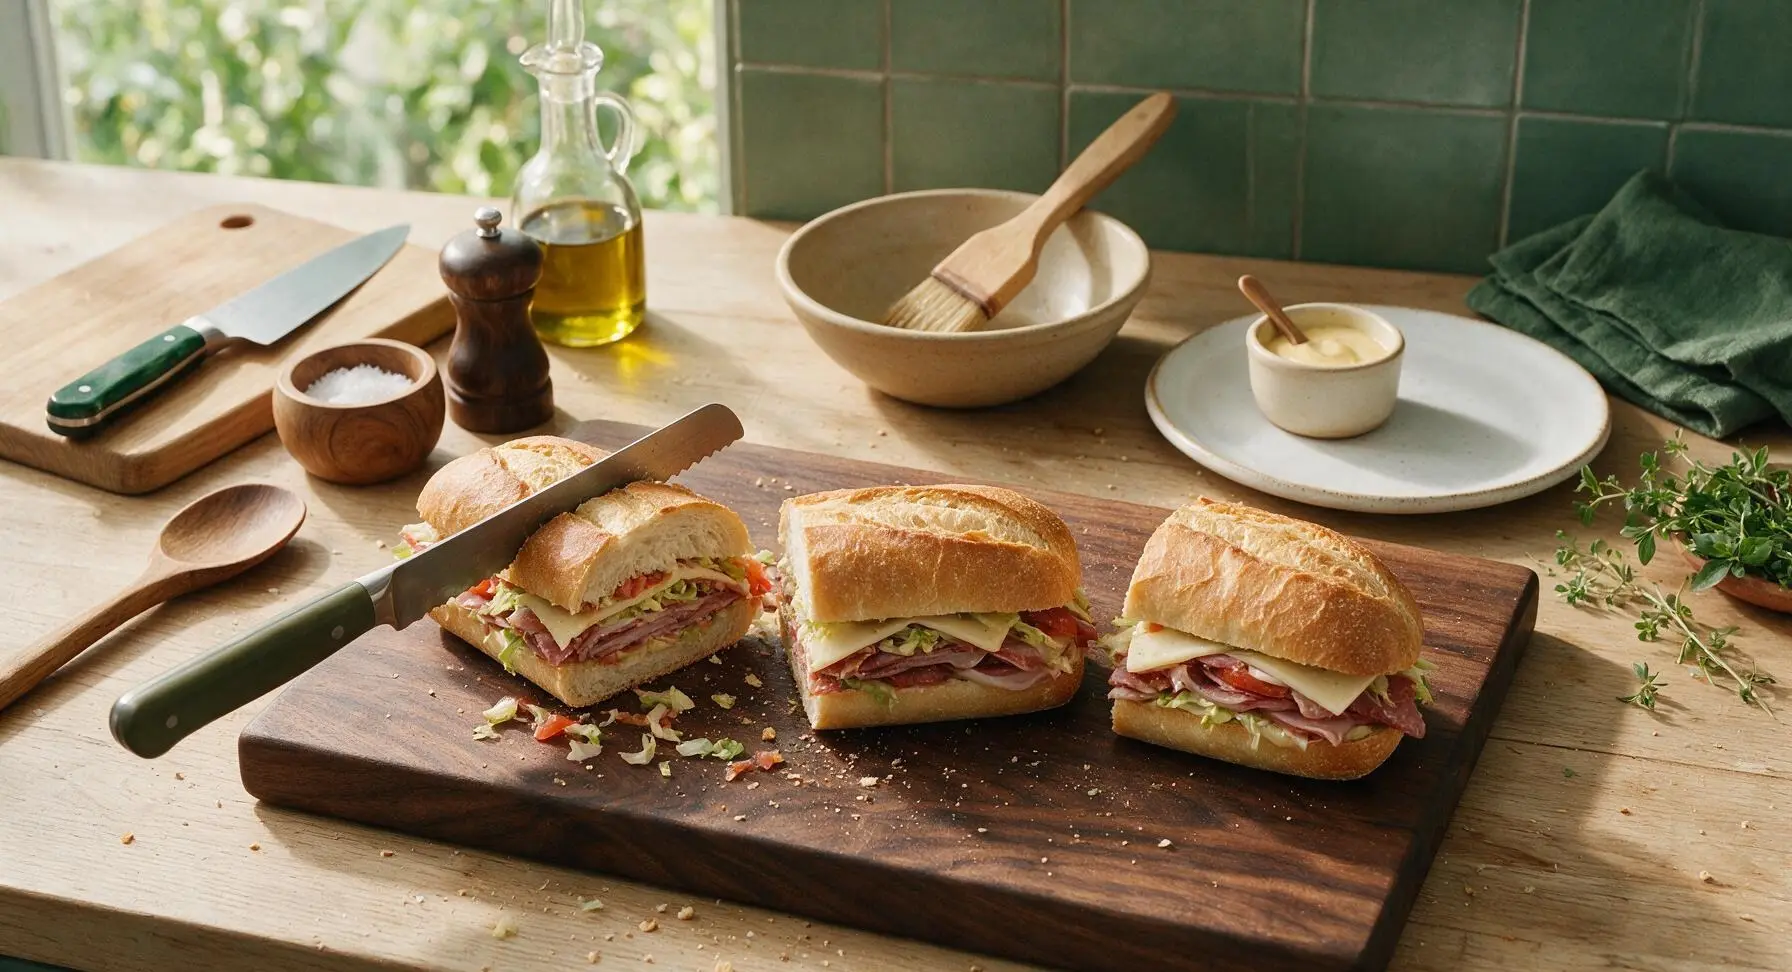
Plate and Serve
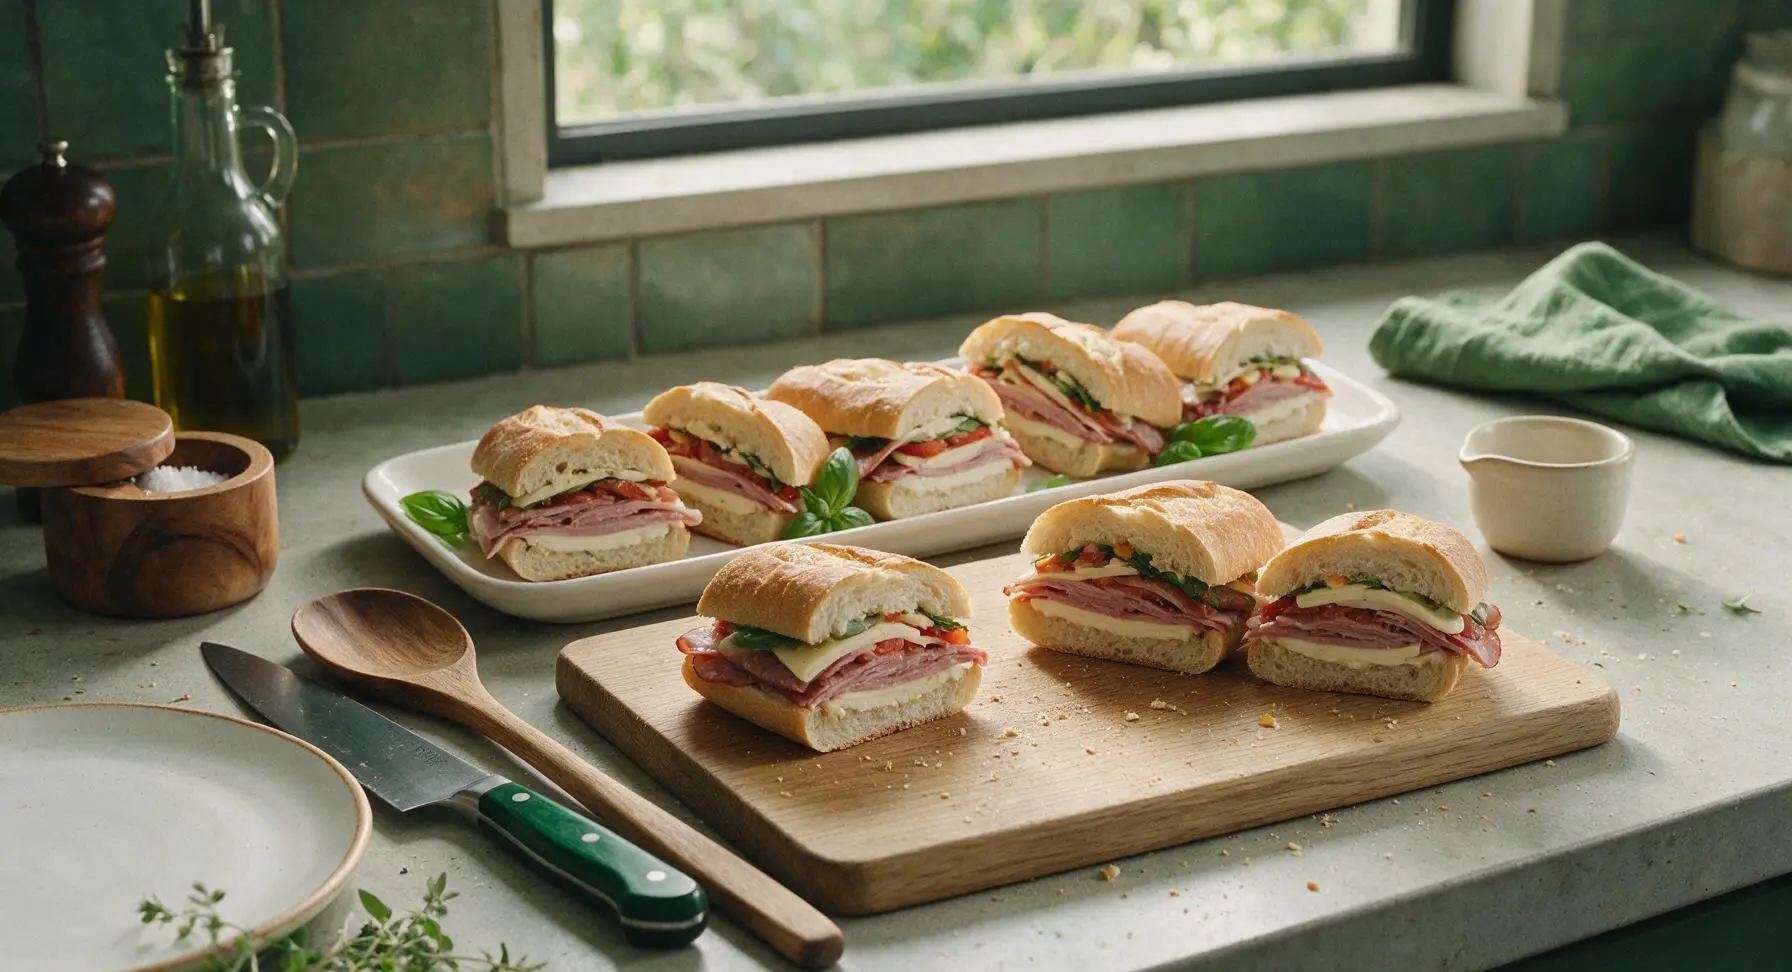
Arrange the cut sub halves diagonally on the long rectangular white ceramic serving platter in its fixed position behind the cutting board, leaning the halves against each other to show the cross-section of layers. Tuck a small fresh basil leaf next to each sub pair for a pop of color, and serve immediately, or wrap tightly in parchment paper for transport.
Tips
2.Avoid over-saturating rolls with dressing; excess oil and vinegar will soak into the warm, soft crumb and turn the crust soggy in as little as 10 minutes, which is especially important if packing subs for travel to a picnic.
3.Keep the oven door slightly ajar while broiling the cheese-topped rolls; thin hoagie crust can burn in as little as 10 seconds under 500°F broiler heat, so constant visual monitoring is required to avoid charring.






OMG this is exactly the sub I used to get at my neighborhood deli growing up in Jersey! I grabbed all the cold cuts from the grocery store on my way home, threw this together in literally 3 minutes like the recipe says, and my roommate begged for half. 10/10 no notes.
Made these for our weekend soccer game potluck and they were a total hit! I cut them into smaller sliders so the kids could grab them easy, and even the picky eaters came back for seconds. So easy to throw together last minute too, will absolutely be adding this to my regular rotation.
Game changer for my weekly meal prep! I pre-assembled these Sunday night (wrapped tight in parchment paper) and they held up perfectly all week for work lunches. Way better than spending $12 a day at the deli by my office, saved me so much cash this week.
Wait, cook time 3 minutes? I was skeptical but yeah, if you already have all the deli meats and veggies pre-sliced, it really is that fast. Only thing I added was a little sprinkle of oregano and a dash of hot honey, chefs kiss. My wife said it’s better than the sub shop down the street.
Quick question – has anyone made this with a gluten free sub roll? I have celiac and have been craving a good Italian sub so bad, but don’t want the bread to fall apart on me.
SO good, made this in my dorm room between classes with a mini fridge and a plastic knife. No cooking needed, literally just stack stuff on bread. Spent $15 on all the ingredients and made 4 subs, way cheaper than the campus food court. 10/10 for broke college students.
Made these for our neighborhood block party last weekend and people were asking me for the recipe left and right! I did the classic oil and vinegar drizzle, added sliced banana peppers like my mom used to, and they were gone in 15 minutes flat. Only mistake I made was not making double.
Tastes good but I felt like it was missing something? I used mayo instead of oil and vinegar because that’s what I had, maybe that threw it off? It was still solid just didn’t hit that classic deli flavor I was chasing.
Packed these for our day hike up Mount Baldy last weekend and they were the perfect trail lunch! Hearty, didn’t get soggy even wrapped up in our packs for 4 hours, and gave us enough energy to make it to the summit and back. Will be making these for every camping trip from now on.
Born and raised in Brooklyn, I take my Italian subs very seriously. I followed this recipe exactly, used good quality soppressata, capicola, mortadella, provolone, shredded lettuce, sliced tomato, red onion, oil and vinegar, oregano…man, it’s perfect. Don’t mess with it, it’s just like the bodega makes.
Made this for my kid’s birthday party lunch spread and it was a home run. Kids loved building their own little subs, I laid out all the meats, cheeses, and toppings on the counter and let them go to town. Zero cooking, zero stress, and minimal cleanup? This recipe is made for busy parents.
Quick tip for anyone making these ahead! Don’t put the tomato or oil and vinegar directly on the bread if you’re prepping more than a day out – keep those on the side and add them right before you eat, otherwise the bread gets all soggy and gross. Learned that the hard way my first go around!
I added sliced pepperoncini and a drizzle of calabrian chili paste to mine and it was *chef’s kiss*. The little kick of heat cuts through all the rich salty meats so good, I’ll never make a plain Italian sub again.
I’ve been making Italian subs for my bridge club for 20 years and this recipe is exactly how I make them! The key is to shred the iceberg lettuce super fine, don’t use big chunks, and don’t skimp on the red wine vinegar. It’s nice to see a recipe that doesn’t overcomplicate things with fancy ingredients.
I bulked this up with extra turkey and added a slice of cheddar for extra protein, and it’s now my go-to post-gym lunch. 3 minutes to make, almost 40 grams of protein, and way better than chugging a protein shake after lifting. Who says fast food has to be unhealthy?
This is the first recipe I’ve ever made that didn’t turn out terrible! I’m 22 and just moved into my first apartment, I can barely boil pasta without burning it, and this took me 3 minutes exactly and tasted like I ordered it from a restaurant. I feel so accomplished lmao