
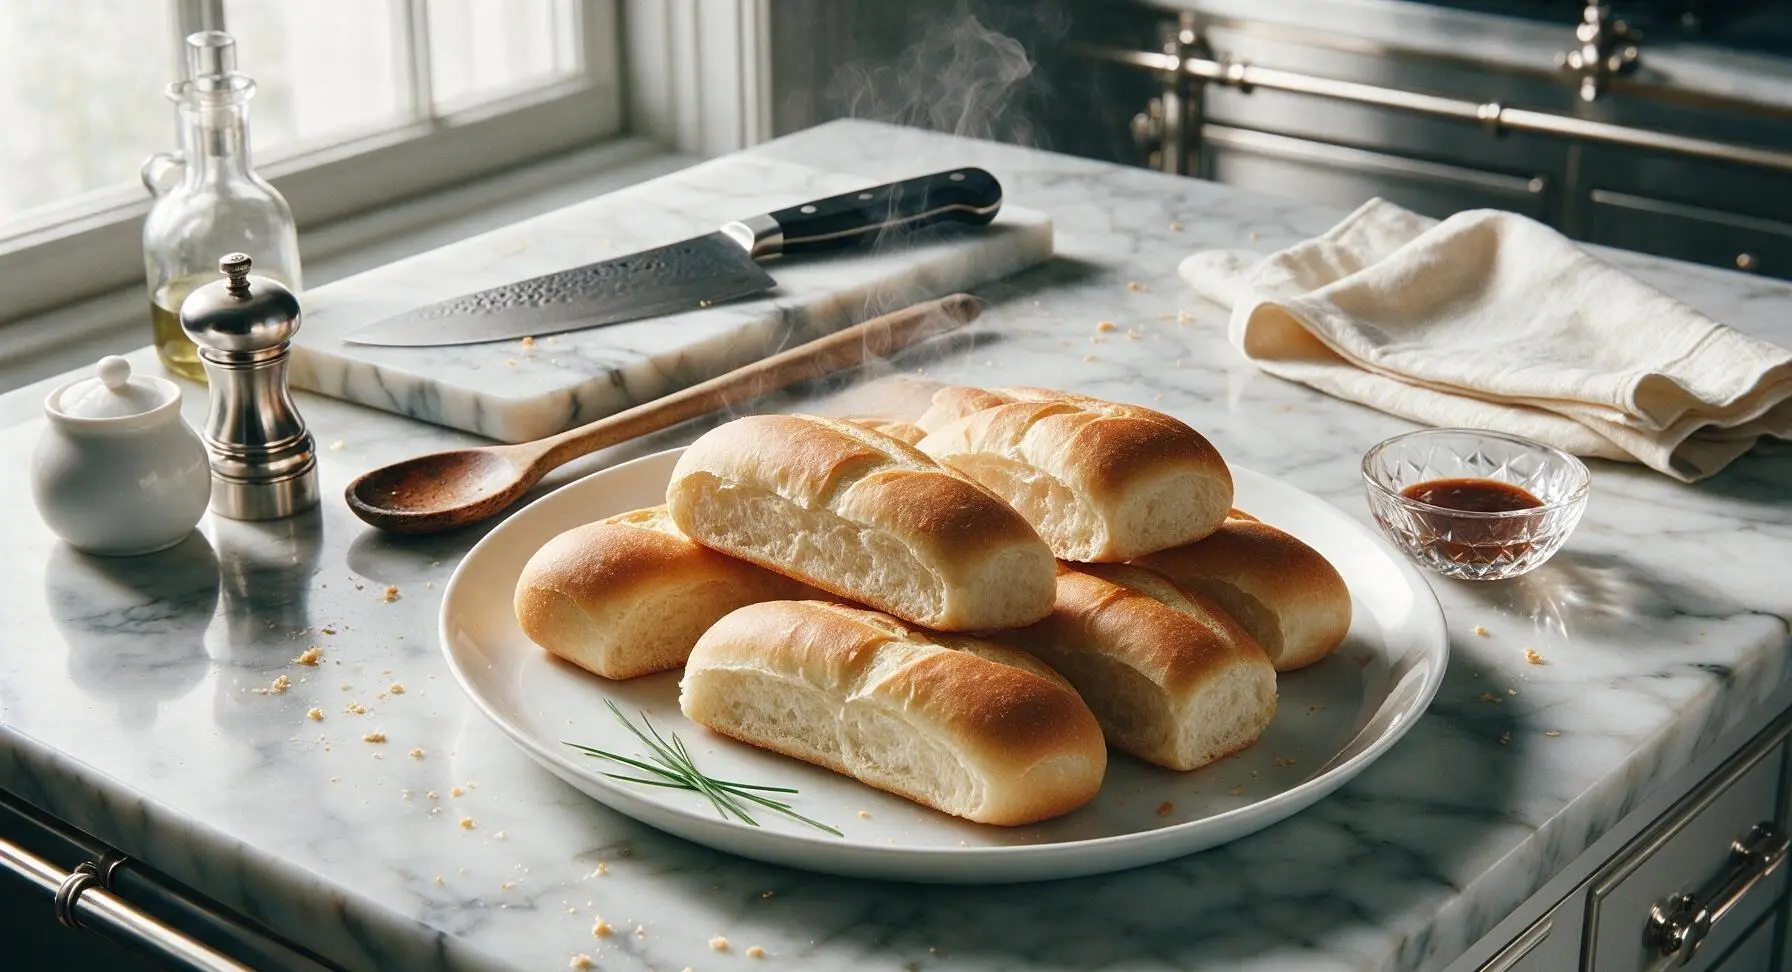
sub roll

title 1
sub roll
⏱️ cook time 20 minutes
🍽️ servings 8
⚡ Difficulty medium

intro

Soft, chewy sub rolls with a thin, crisp golden crust, sturdy enough to pile high with grilled fillings, cold cuts, or meatballs for summer gatherings.

Ingredients
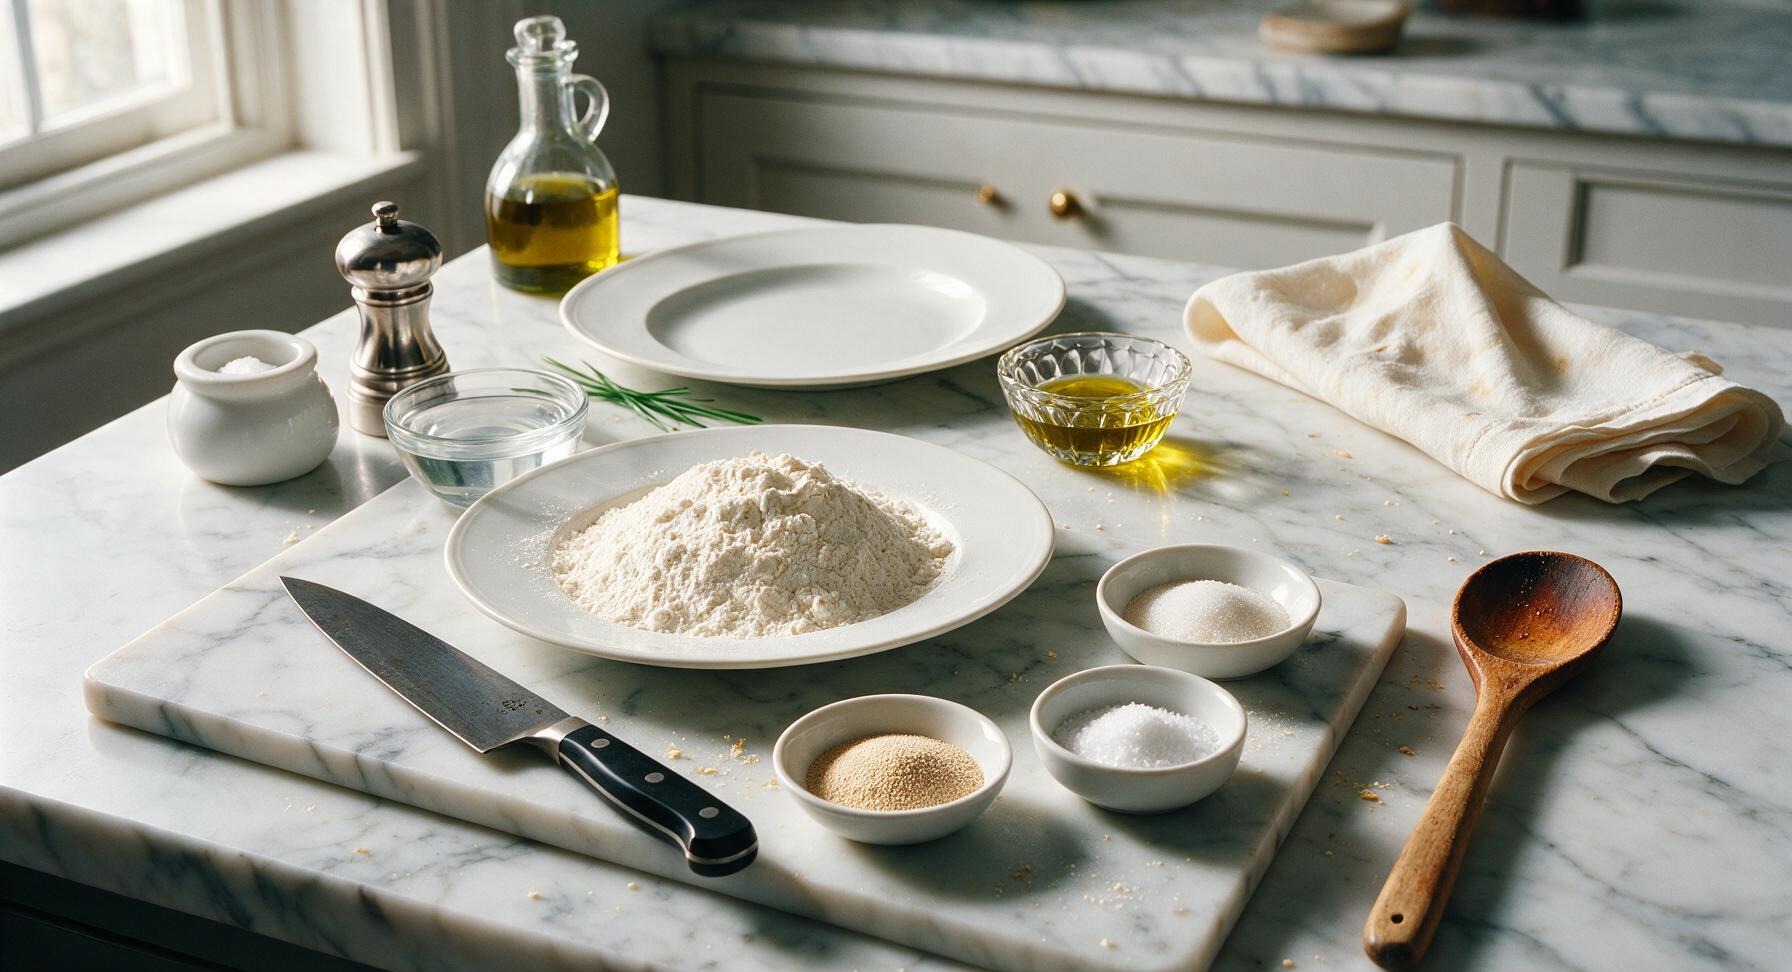
Bread flour 500g
Lukewarm water (100°F/38°C) 320ml
Active dry yeast 7g (1 1/4 tsp)
Granulated sugar 8g (2 tsp)
Fine sea salt 10g (2 tsp)
Extra virgin olive oil 30ml (2 tbsp)

Steps

1

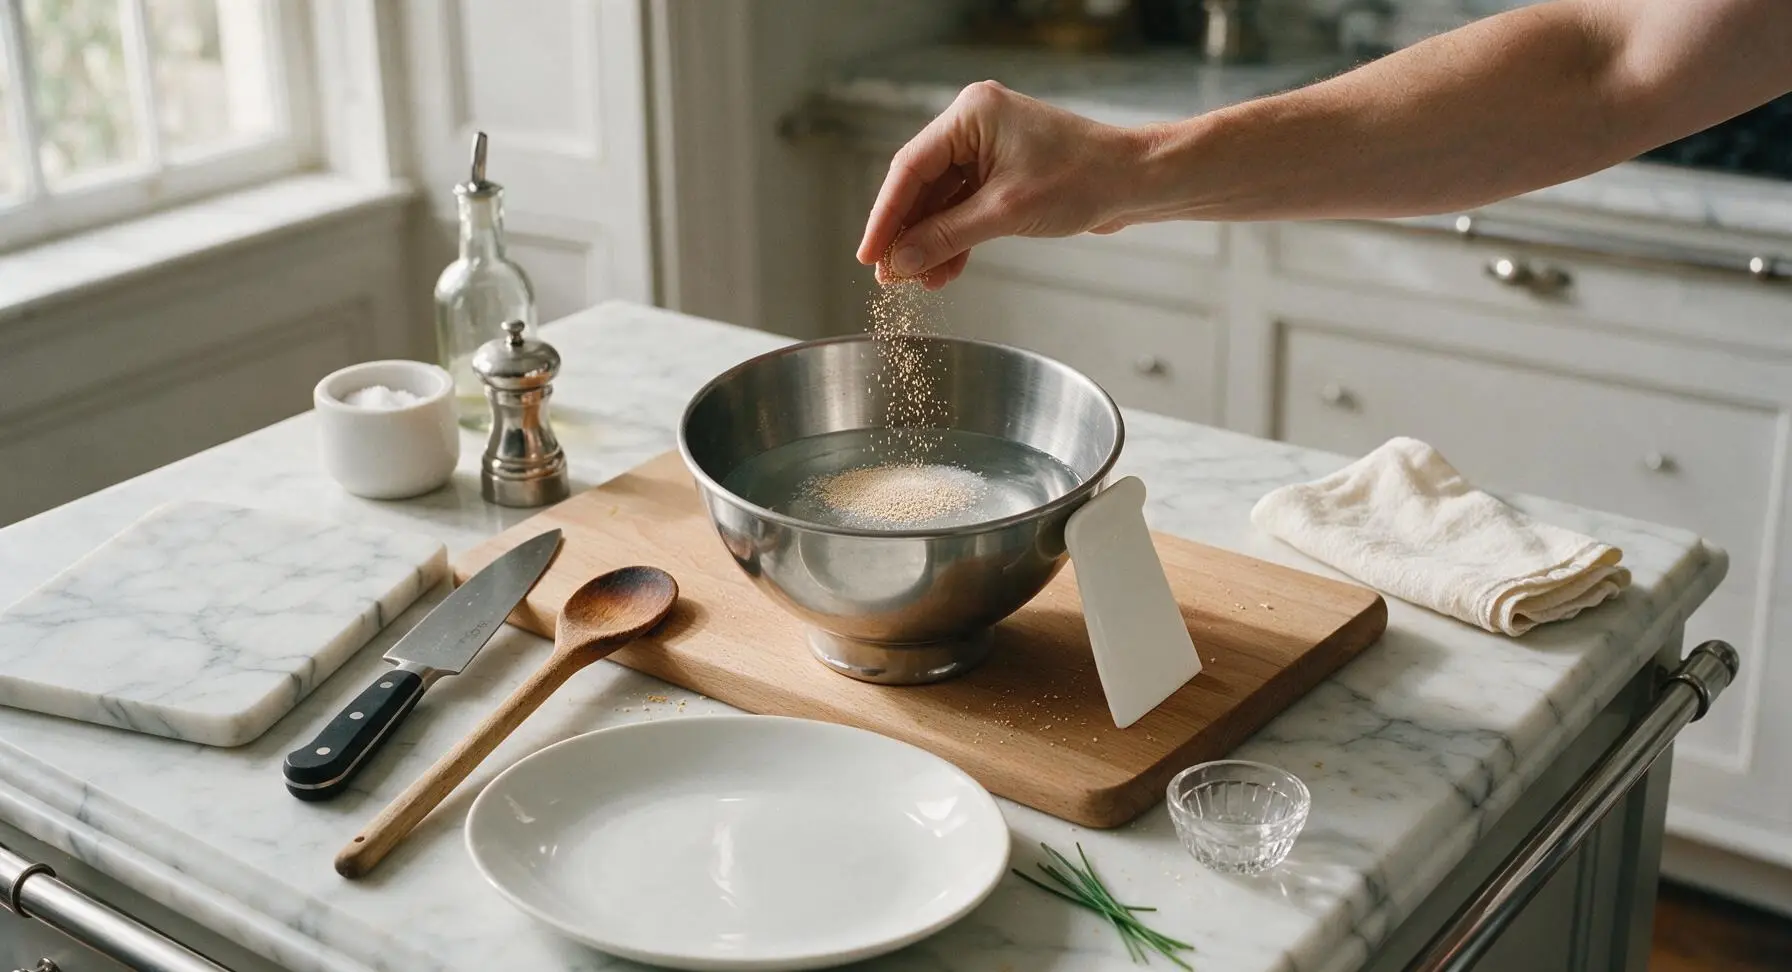
Activate the Yeast

Pour 320ml lukewarm water (100°F/38°C, warm to the touch but not hot enough to sting) into the stand mixing bowl. Stir in 8g granulated sugar until fully dissolved, then sprinkle 7g active dry yeast evenly over the water surface. Let rest for 5-7 minutes at room temperature, until the mixture forms a 1/4-inch thick foamy, creamy layer on top, confirming the yeast is active. If no foam forms after 7 minutes, the yeast is expired and should be replaced to avoid dense, flat rolls.
Step 1
step1:Activate the Yeast
2

Knead the Dough

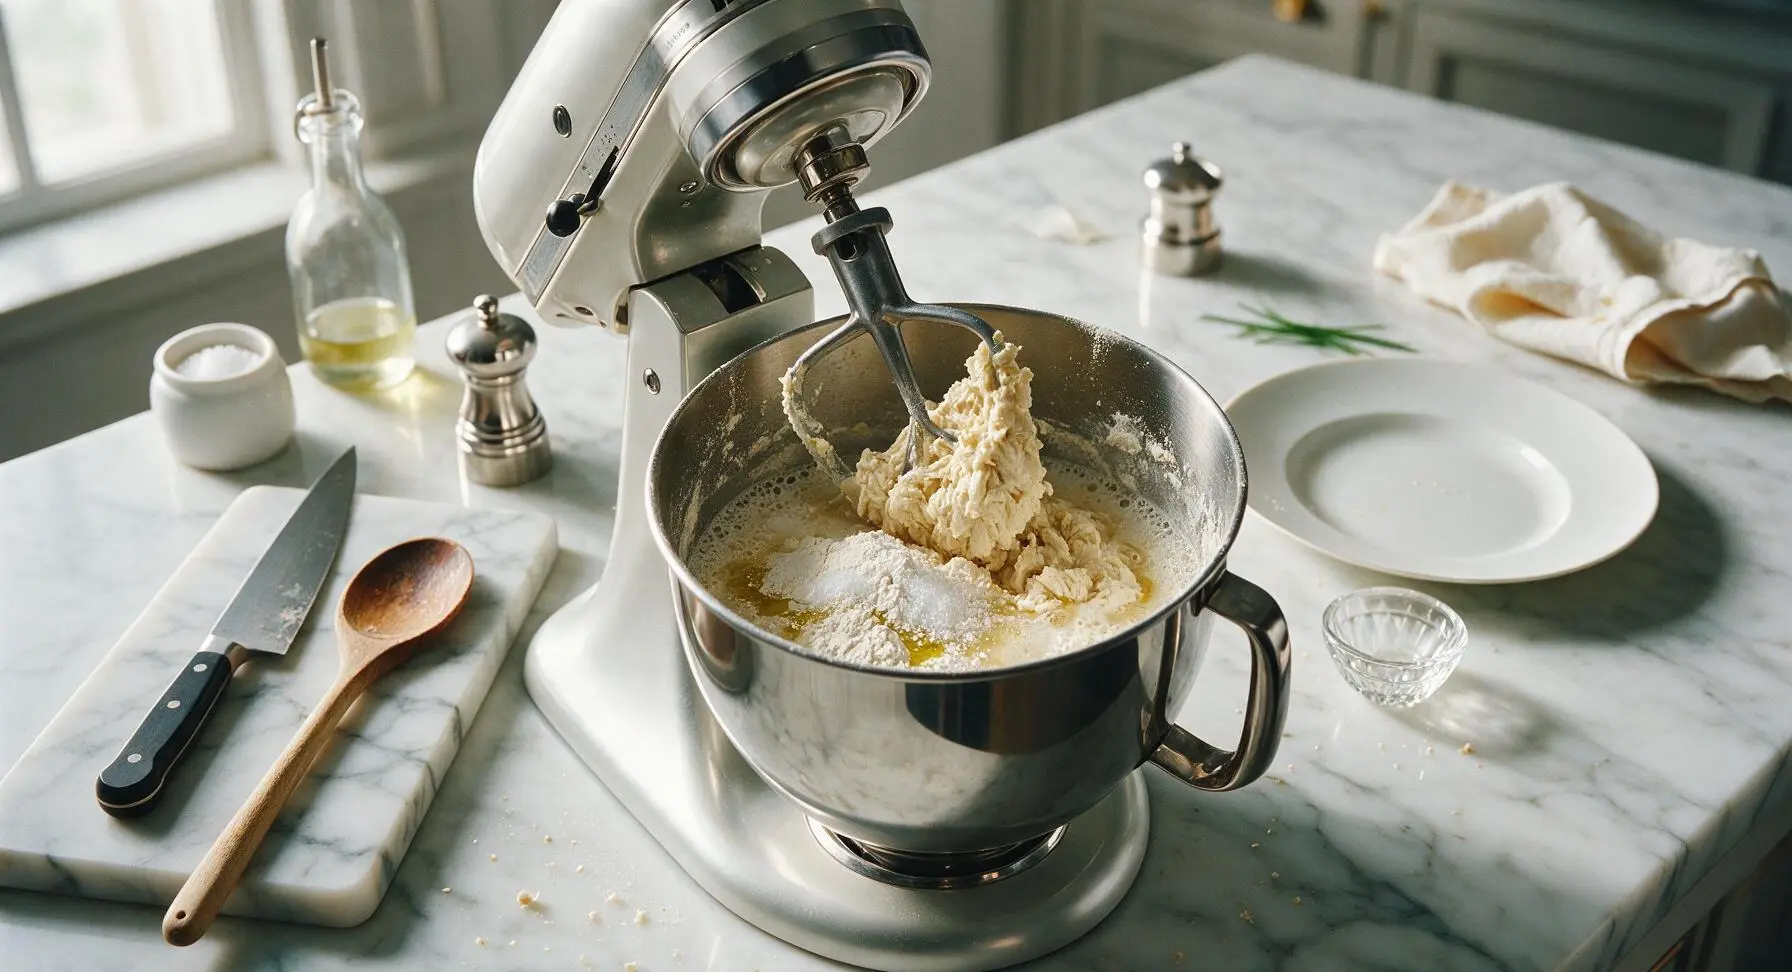
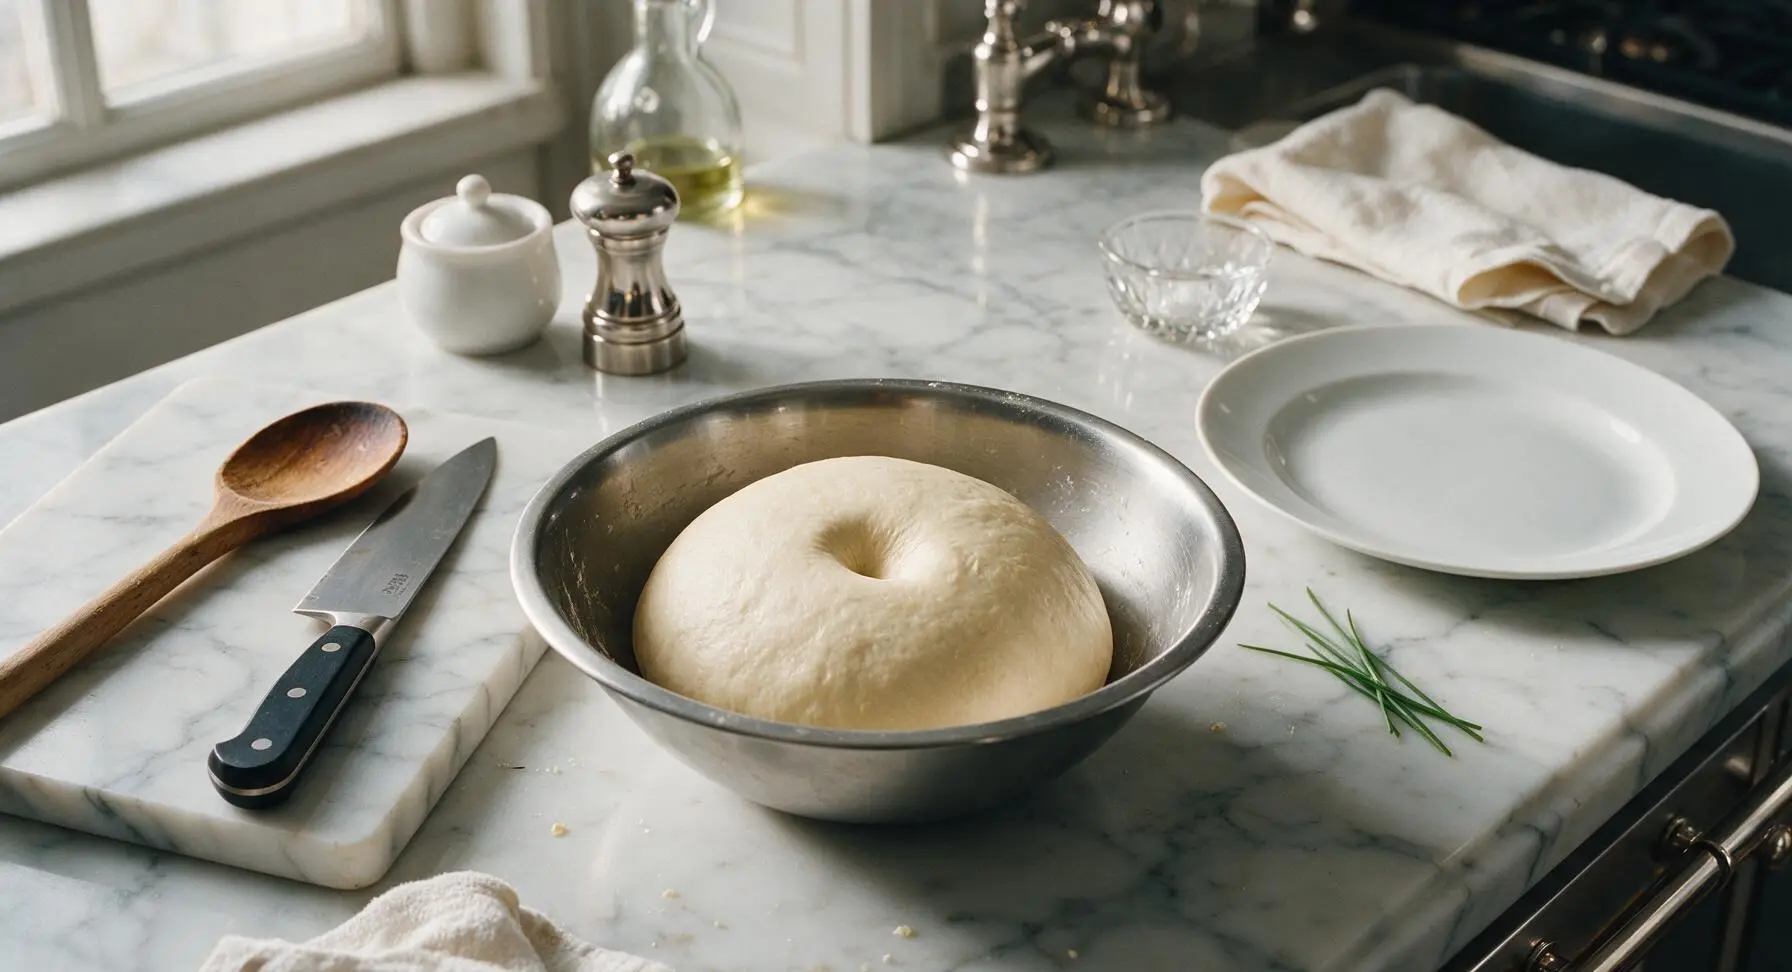
Add 500g bread flour, 10g fine sea salt, and 30ml extra virgin olive oil to the foamy activated yeast mixture in the mixing bowl. Attach the dough hook to the stand mixer, and mix on low speed (speed 2) for 8 full minutes, stopping once to scrape down the bowl sides with the dough scraper. The finished dough will pull away cleanly from the bowl sides, form a smooth, taut elastic ball, and spring back halfway when poked 1/2 inch deep with a finger. If kneading by hand, turn the shaggy dough out onto the lightly floured cutting board and knead for 12 minutes, until the same smooth, elastic texture is achieved.
Step 2
step2:Knead the Dough
Step 2
step2:Knead the Dough
3

First Dough Rise

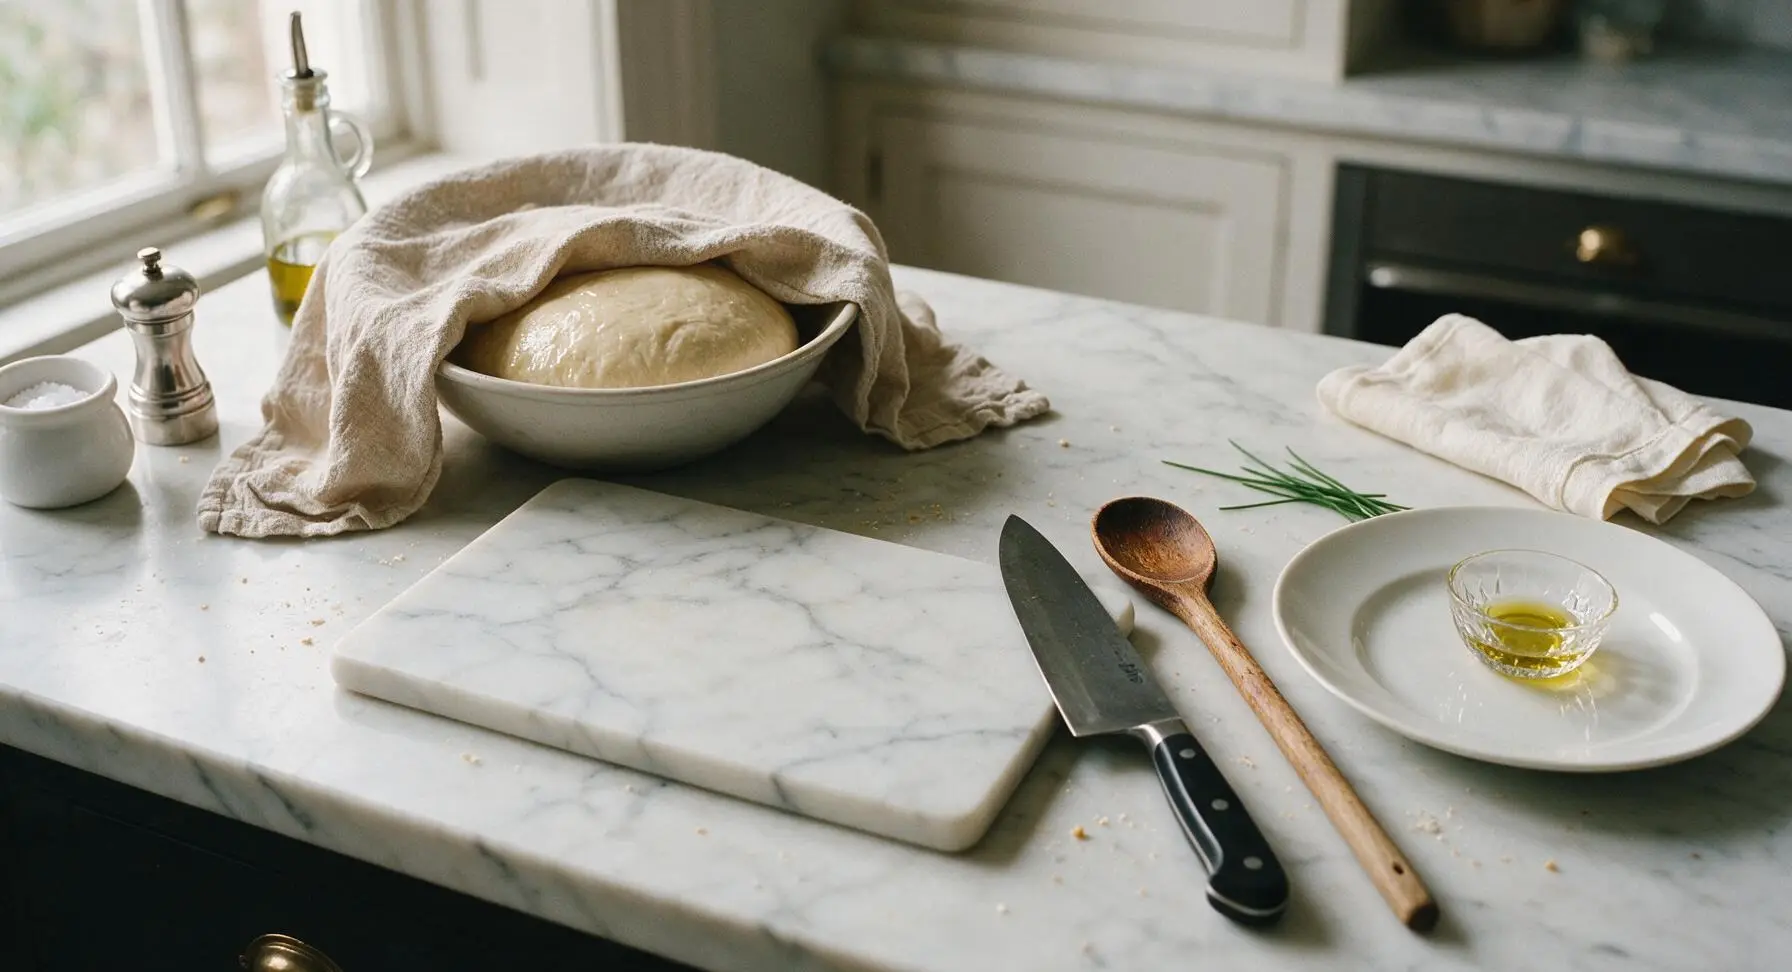
Lightly coat the inside of the mixing bowl with a thin swipe of olive oil to prevent sticking. Turn the dough ball to coat its entire surface in oil, then cover the bowl tightly with the oatmeal linen kitchen towel taken from its front left resting spot. Let rise in a warm, draft-free spot on the counter for 1 full hour, until the dough has doubled in volume, and a finger poked 1 inch into the center leaves an indent that does not spring back at all.
Step 3
step3:First Dough Rise
4

Shape Sub Rolls

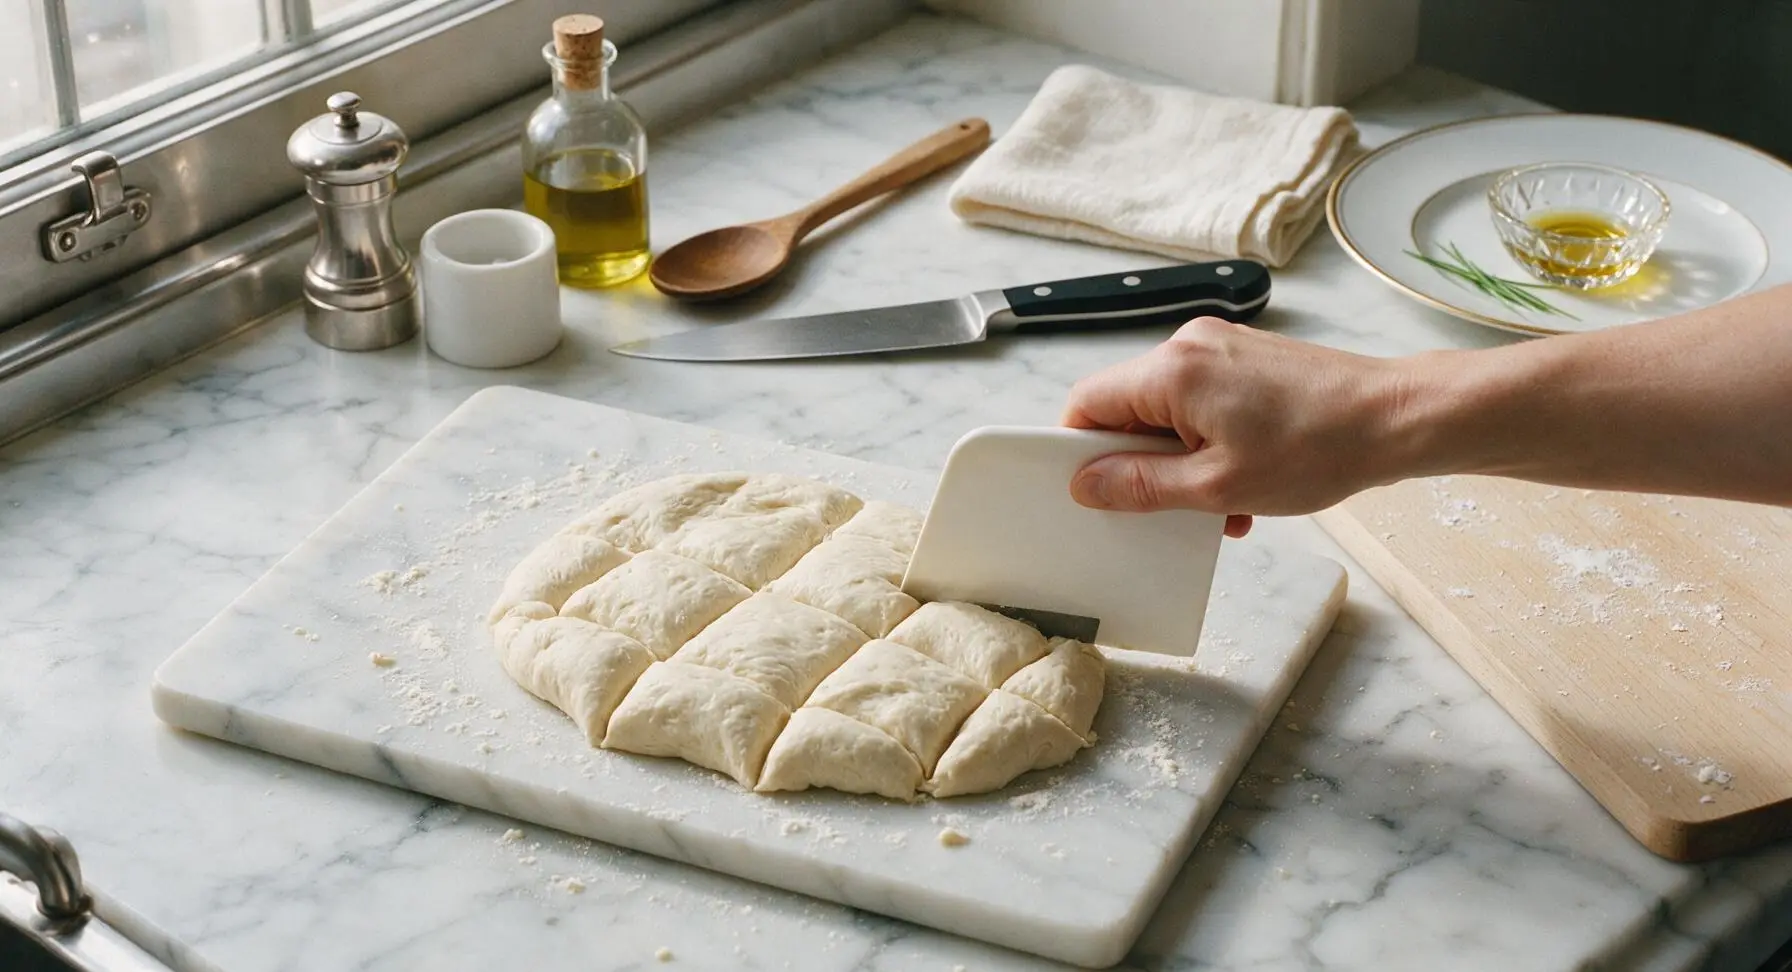
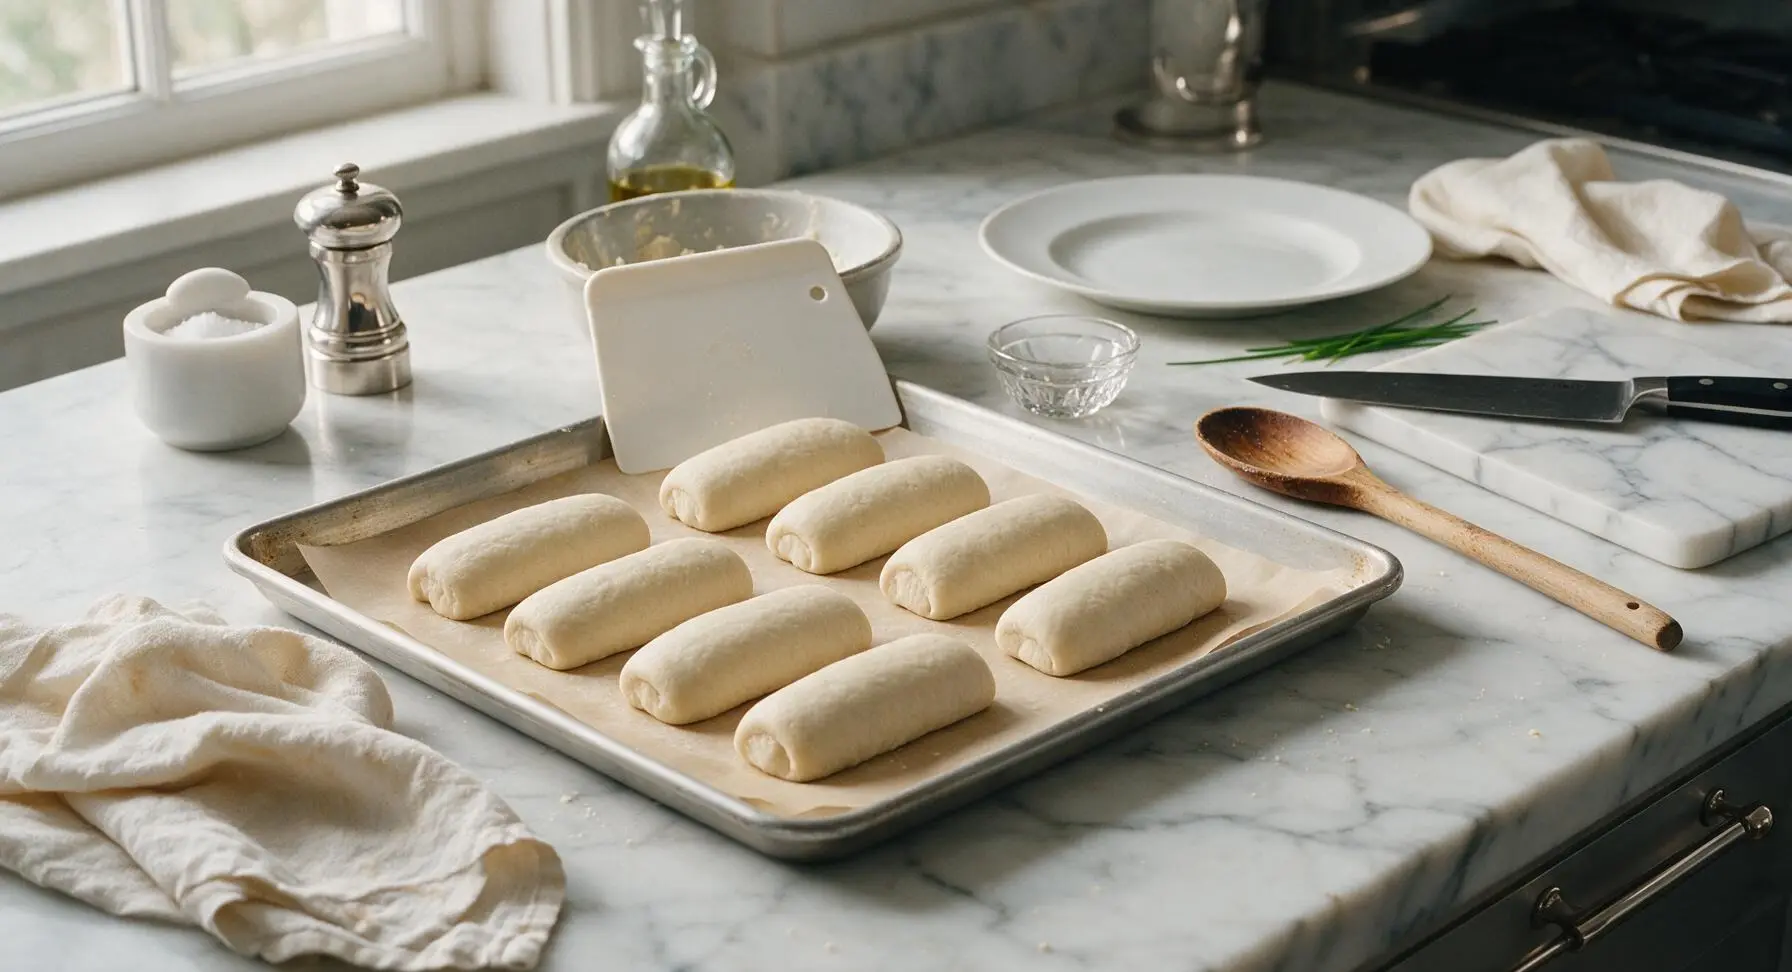
Once doubled in size, uncover the dough and return the linen towel to its front left resting position. Turn the risen, puffy dough out onto the lightly floured beech wood cutting board, pressing gently to deflate large air bubbles. Use the white plastic dough scraper to divide the dough evenly into 8 equal pieces, each weighing roughly 105g. Working one piece at a time, pat each dough portion into a 4x6 inch flat oval, then fold the long edges in toward the center, pinching the seam tightly to seal. Roll the sealed log back and forth under your palms to form a 6-inch long, evenly thick roll with slightly tapered ends. Place shaped rolls seam-side down on the parchment-lined aluminum baking sheet, leaving 2 inches of space between each roll to allow for expansion.
Step 4
step4:Shape Sub Rolls
Step 4
step4:Shape Sub Rolls
5

Proof Shaped Rolls

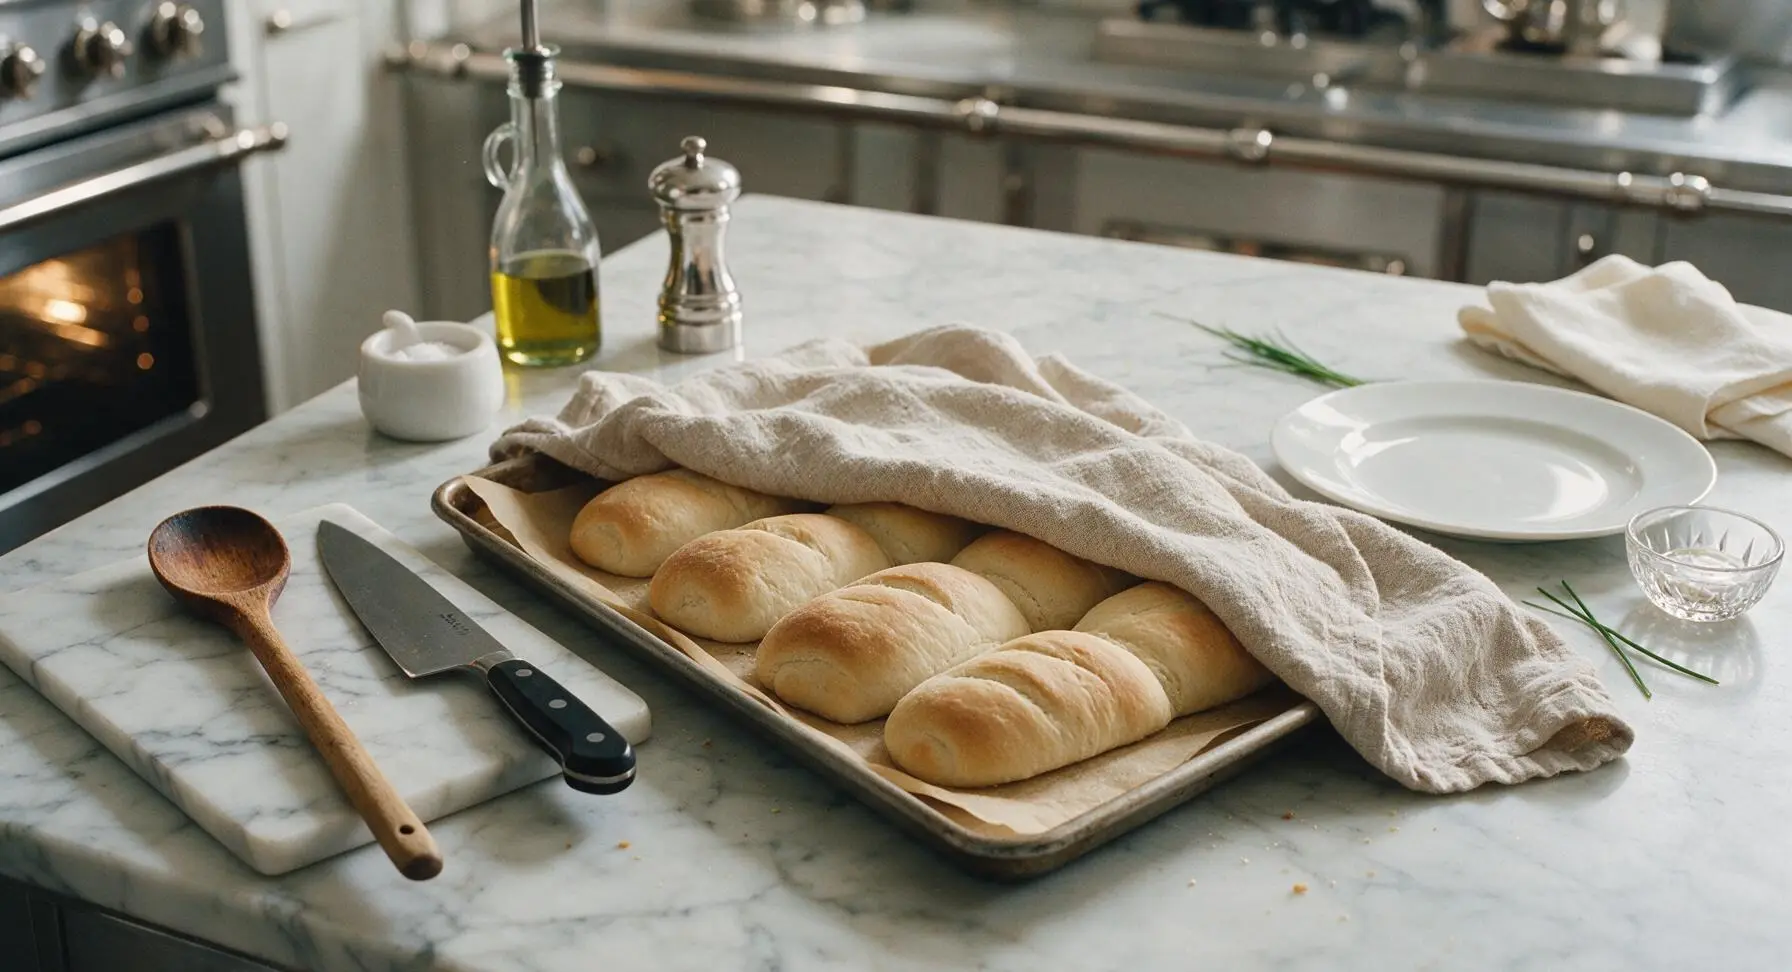
Lightly drape the oatmeal linen towel over the shaped rolls on the baking sheet, and let rise in a draft-free spot for 20-25 minutes, until the rolls have puffed to 1.5 times their original size, and hold a slow, partial indent when gently poked on the side. While the rolls proof, preheat the oven to 425°F (220°C), with an oven rack positioned in the exact center.
Step 5
step5:Proof Shaped Rolls
6

Score and Bake Rolls

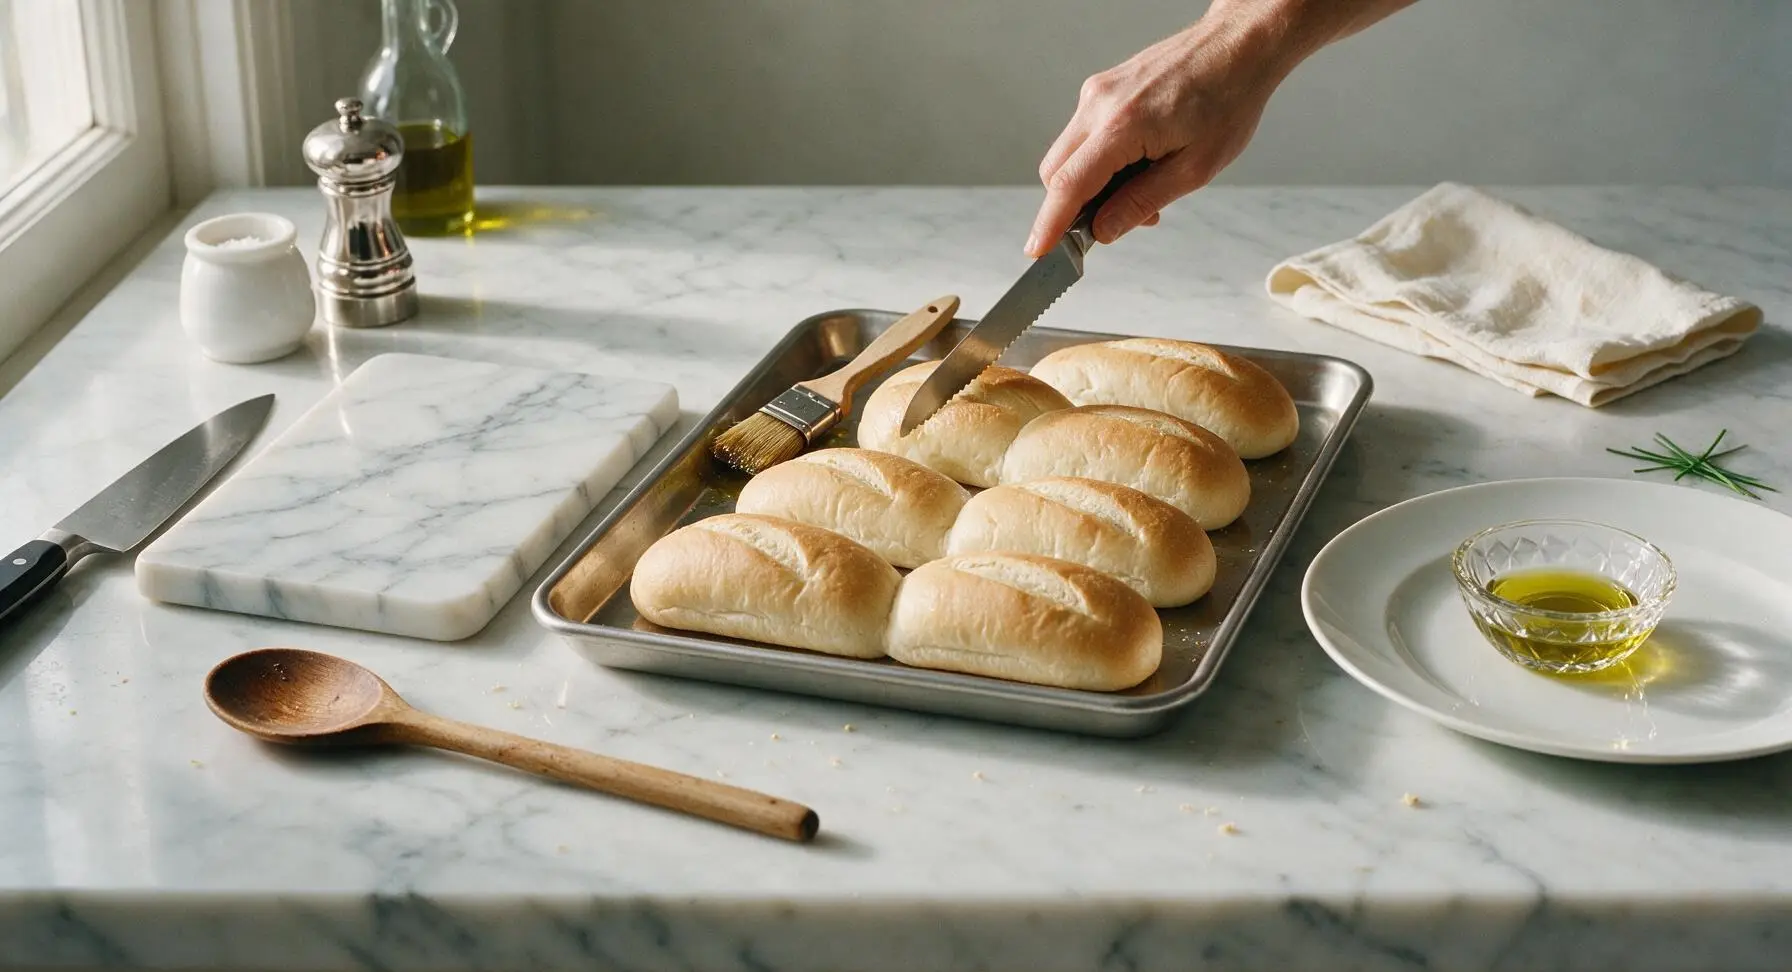
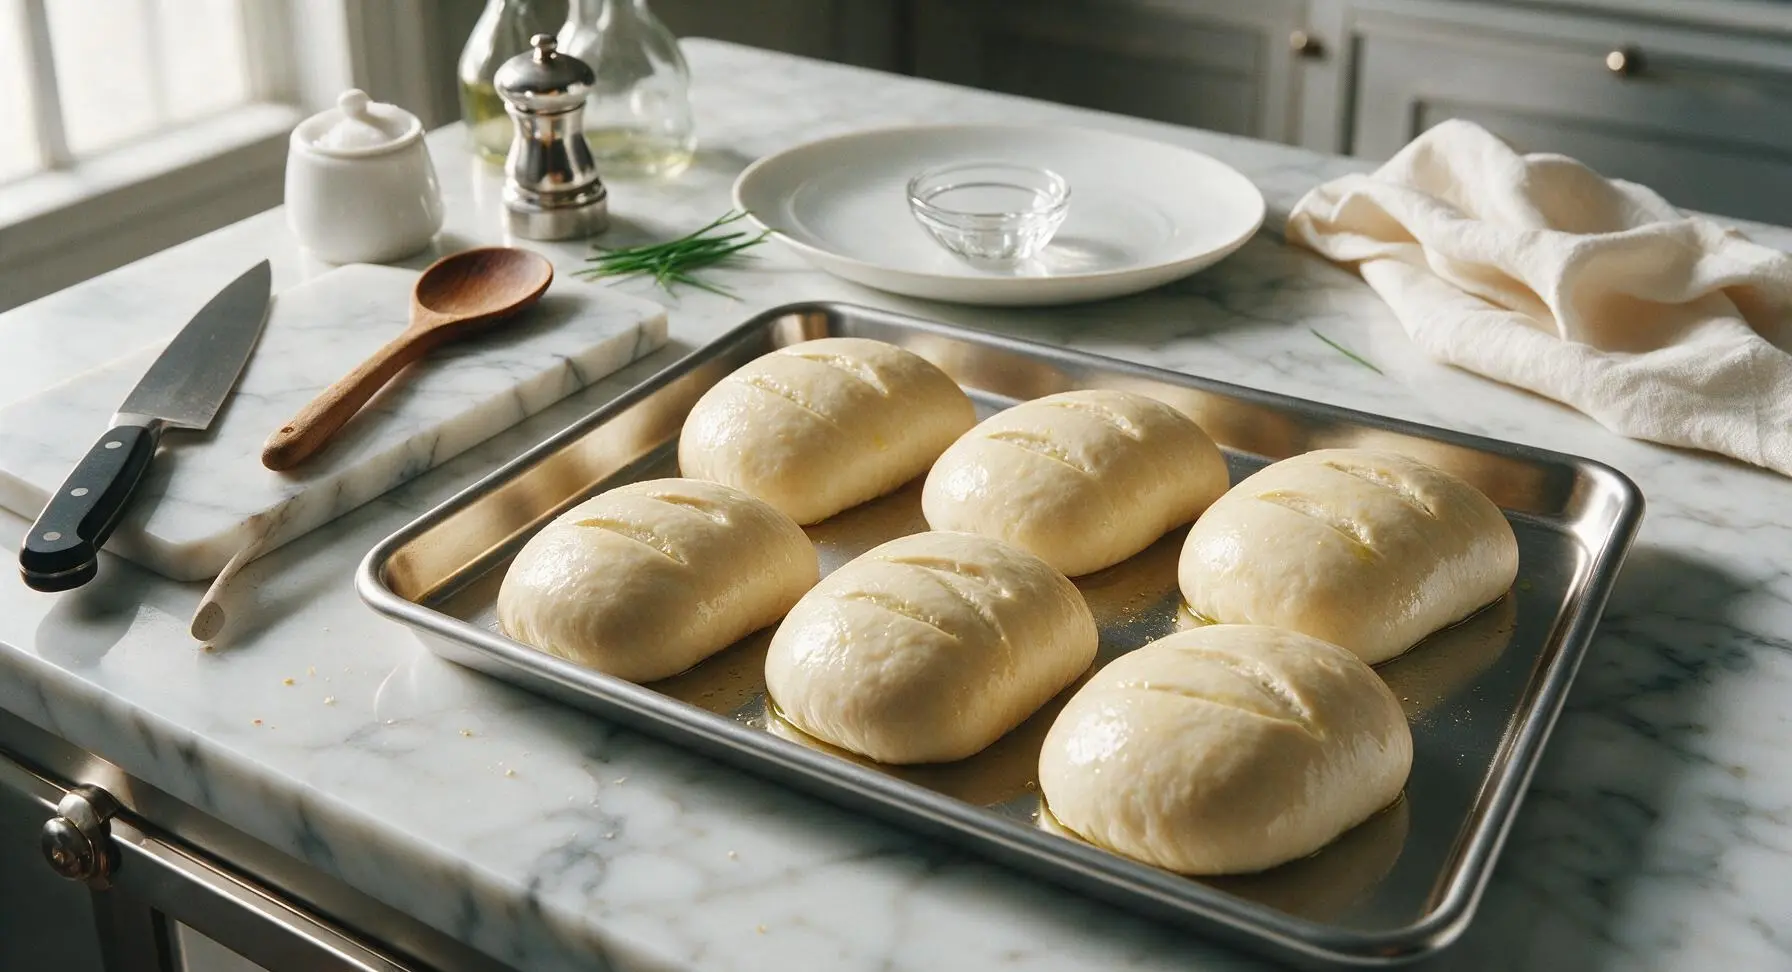
Uncover the fully proofed rolls and return the linen towel to its front left resting position. Use the serrated bread knife to make one shallow 1/4-inch deep diagonal score across the top of each roll, to allow for even expansion in the oven. Use the boar bristle pastry brush to lightly coat the top of each roll with a thin layer of olive oil, for a crisp, golden crust. Place the baking sheet on the center oven rack, and bake for 18-20 minutes at 425°F (220°C), until the rolls are deep golden brown on top, sound hollow when tapped on the bottom, and reach an internal temperature of 190°F (88°C).
Step 6
step6:Score and Bake Rolls
Step 6
step6:Score and Bake Rolls
7

Cool Before Serving

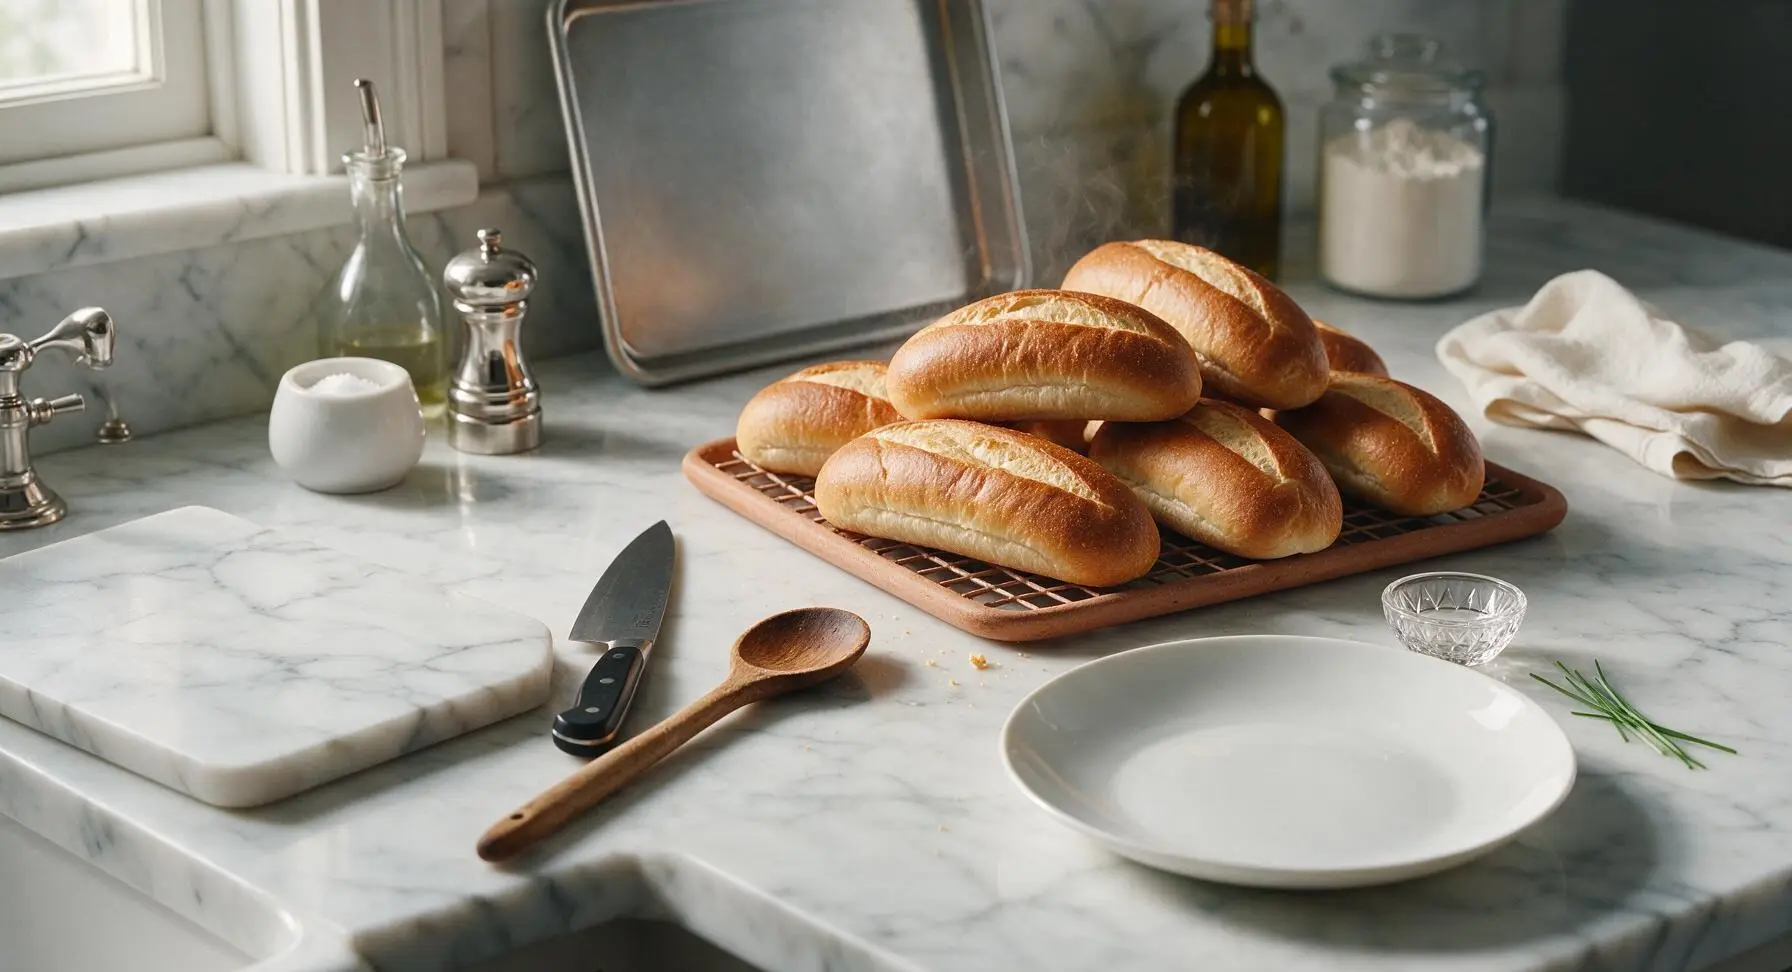
Once fully baked, use oven mitts to carefully remove the baking sheet from the oven. Immediately transfer the golden rolls to the unglazed terracotta cooling rack at back right, and let cool for a minimum of 15 minutes before slicing or filling. This cooling step allows the internal crumb to set fully, preventing squished, doughy interiors when you add sandwich fillings. Once cooled, transfer rolls to the cream ceramic bread basket for serving.
Step 7
step7:Cool Before Serving

Tips

1.Use bread flour instead of all-purpose flour: its 12-14% protein content creates the signature chewy, sturdy crumb that holds up to heavy, wet sandwich fillings like meatballs in marinara or marinated grilled vegetables without turning soggy mid-meal.
2.Do not rush the cooling step: cutting rolls straight from the oven causes trapped steam to escape too quickly, leading to a gummy, dense crumb instead of the light, airy interior that makes restaurant-style sub rolls so appealing.
3.Add steam for extra crust crispness: place a small metal baking pan on the lower oven rack while preheating, and pour 1/2 cup hot water into the pan right as you put the rolls in to bake. The released steam helps the crust expand fully in the first 5 minutes of baking, creating a delicate, shatteringly crisp outer layer.


✨ You May Also Like

Desserts & Baking
🍜 Italy

Creamy, coffee-kissed classic Northern Italian no-bake dessert, with layers of rum-spiked mascarpone cream, soft ladyfingers, and a rich cocoa dusting.

⏱️ 4 hours 3Desserts & Baking ★ 4.7
Desserts & Baking
🍜 France

Flaky, shatteringly crisp, buttery French croissants with golden exteriors and soft, airy layered interiors, perfect for pairing with coffee for a special morning treat.

⏱️ 12 hours Desserts & Baking ★ 4.5
Desserts & Baking
🍜 United States

Warm, spiced baked apples topped with a fluffy golden biscuit crust, this cozy dessert pairs perfectly with vanilla ice cream for cool-weather comfort.

⏱️ 55 minuteDesserts & Baking ★ 4.6
Desserts & Baking
🍜 United States

A star-spangled classic American blueberry pie with buttery flaky crust and bright sweet-tart filling, perfect for summer patriotic gatherings.

⏱️ 1 hour 25Desserts & Baking ★ 4.7
Desserts & Baking
🍜 United States

A beloved no-bake regional Maine candy with a chewy coconut-potato center coated in rich dark chocolate, a New England holiday staple since the 1870s.

⏱️ 2 hours 3Desserts & Baking ★ 4.8
Desserts & Baking
🍜 France

Luxuriously creamy, floral frozen custard made with aromatic Tahitian vanilla beans, boasting a smooth, rich texture that melts slowly on the tongue.

⏱️ 3 hours 3Desserts & Baking ★ 4.5

sub roll:Frequently Asked Questions

1.Why do I need to use bread flour instead of all-purpose flour for these sub rolls? ▾
Bread flour has a 12-14% protein content that builds the strong gluten network needed for that signature chewy crumb and sturdy structure that holds heavy fillings without falling apart. All-purpose flour has lower protein, which produces a softer, less stable roll that will squish or tear under piled-high cold cuts, meatballs, or grilled fillings.
2.How critical is it that the water is exactly 100°F/38°C to activate the yeast? ▾
That temperature is the ideal sweet spot for active dry yeast! Water hotter than 110°F will kill yeast, leading to flat, dense rolls that never rise, while water that’s too cold drastically slows activation, extending rise time and creating a weak, uneven crumb. If you don’t have a thermometer, test it on your inner wrist—it should feel like warm bath water, not hot.
3.What purpose does the small amount of granulated sugar serve in this recipe? ▾
The sugar fills two key roles here: first, it feeds the active dry yeast to kickstart a steady, reliable rise without creating that overly strong, yeasty off-flavor. Second, it encourages even browning for that thin, golden crisp crust we love on classic Italian-American subs, without making the finished rolls taste noticeably sweet.
4.Can I substitute instant yeast for active dry yeast if that’s what I have on hand? ▾
Absolutely! Swap in instant yeast at a 3:4 ratio—so for every 1 teaspoon of active dry yeast the recipe calls for, use ¾ teaspoon of instant yeast. You won’t need to proof it in warm water first; just mix it directly with your dry ingredients, and cut your first rise time by roughly 10 to 15 minutes.
5.How do I tell when I’ve kneaded the dough enough for these rolls? ▾
You’ll know the dough is ready when it’s smooth, elastic, and pulls away cleanly from the sides of your mixing bowl. Do the quick windowpane test: pinch off a small piece and stretch it thin enough to see light through without it tearing. That means gluten is developed enough to deliver that perfect chewy, sturdy crumb.
6.Why did my first batch of rolls turn out dense instead of light and chewy? ▾
Dense rolls almost always trace back to a few common missteps: not kneading long enough to build strong gluten, cutting rise time short (dough should fully double in size during the first rise), using too-hot water that killed the yeast, or reaching for low-protein all-purpose flour instead of bread flour. Double-check those steps for a lighter crumb next time.
7.How do I get that signature thin, crisp golden crust instead of a thick, hard shell? ▾
For that perfect classic sub roll crust, spritz the inside of your preheated oven with a little water right before sliding the rolls in to create a quick burst of initial steam. Bake at 425°F for 18 to 22 minutes, just until rolls are light golden and sound hollow when tapped on the bottom—overbaking creates a too-thick crust.
8.Will these rolls really hold up to saucy fillings like meatballs without getting soggy? ▾
These rolls are specifically formulated to stand up to even the messiest fillings! The high-protein bread flour and properly developed gluten create a tight crumb that resists sogginess, even with saucy meatballs, oil-dressed cold cuts, or juicy grilled veggies. Just let rolls cool fully before slicing to keep their structure intact.
9.Can I make this dough ahead of time for a summer cookout or gathering? ▾
Definitely! After kneading, place the dough in a greased bowl, cover tightly, and let it do its first rise in the refrigerator for up to 24 hours. The slow cold rise develops a deeper, nuttier flavor, and you can shape, proof, and bake the rolls right before your event for fresh, warm bread without the last-minute rush.
10.Do I need to add butter or olive oil to the dough for a softer texture? ▾
No, classic Italian-American sub rolls don’t use added fat in the dough, because fat would soften the crust and make the crumb too tender to support heavy fillings. The simple, fat-free ingredient list creates that ideal balance of chewy crumb, thin crisp crust, and neutral flavor that lets your sub fillings take center stage.
11.How do I shape the dough to get that classic long sub roll form? ▾
After the first rise, divide the dough into equal 6- to 8-ounce portions, pat each into a flat 4x6-inch rectangle, then roll it tightly lengthwise into a log, pinching the seam and tapered ends closed to seal. Roll the log gently under your palms to smooth it out, then place it seam-side down on your baking sheet for the final rise.
12.How long should the shaped rolls rise before they go in the oven? ▾
Let shaped rolls rise in a warm, draft-free spot for 30 to 45 minutes, until they’re puffy and spring back slowly when you poke them gently with a finger. If the indent pops right back immediately, they need more time; if it doesn’t spring back at all, they’re overproofed and may deflate while baking.
13.What’s the best way to store leftover baked sub rolls? ▾
Let rolls cool completely to room temperature first, then store them in a sealed paper bag at room temperature for up to 3 days. Skip plastic storage, which traps moisture and turns the crisp crust soft and soggy. To refresh day-old rolls, pop them in a 350°F oven for 3 to 4 minutes to crisp the crust right back up.
14.Can I freeze these rolls to use later for quick weeknight meals? ▾
Absolutely! Once baked rolls are fully cooled, wrap each one individually in plastic wrap, then tuck them into a freezer-safe zip-top bag for up to 3 months. Thaw them at room temperature for an hour, then warm in a 350°F oven for 5 minutes to bring back that fresh-baked chewy texture and crisp crust before filling.
15.Why does the recipe call for fine sea salt instead of regular table salt? ▾
Fine sea salt dissolves more evenly throughout the dough than coarser salt varieties, so you get consistent, balanced seasoning in every bite without random overly salty spots. If you only have table salt on hand, use 25% less than the recipe calls for, since table salt has a more concentrated, sharper flavor than fine sea salt.

Comments (12)

2 days ago

OMG, these rolls are a total game changer! I’ve been buying sad grocery store sub rolls for years for our Sunday Italian sub nights, and these taste exactly like the ones from my favorite corner deli back in Jersey. The crust is perfectly chewy, the inside is soft and fluffy enough to hold all the cold cuts, oil, and vinegar without getting soggy for hours. My kids devoured their meatball subs on these last night and asked if we can make them every week from now on. 10/10, will be doubling the batch for meal prep this weekend!

yesterday

Wait how did you keep them from getting soggy? I made a batch last week and they turned rock hard the next day, I was so sad! Did you store them a specific way?

yesterday

So glad you loved the rolls! For storage, make sure they cool completely to room temp before popping them in an airtight container or sealed zip-top bag — if you seal them while they’re still warm, condensation builds up and makes the crust soggy, then they turn hard as they dry out. They’ll stay soft for 2-3 days at room temp, or you can freeze them for up to 3 months!

3 days ago

Okay, I’m super new to bread baking and was nervous this would be too hard since the difficulty is listed as medium, but I followed the directions step by step and they actually turned out! I messed up the first rise a little because my kitchen is freezing right now, so I stuck the dough in the oven with the light on for an extra 20 minutes and that did the trick. Only thing is my rolls came out a little lopsided when I shaped them, but my roommates said they tasted so good they didn’t care at all. SO good with toasted garlic butter on the side too!

2 days ago

So proud of you for giving it a shot even as a new baker! The oven light trick for cold kitchens is such a smart hack, I’m glad that worked for you. Lopsided rolls just have more character, I promise — shaping gets easier every time you make them, don’t stress about it!

2 days ago

Fellow cold kitchen baker here! I also do the oven light trick, it works like a charm. If you want extra uniform rolls, you can weigh the dough pieces when you divide them so they’re all the same size, that helped me a ton when I was starting out!

1 week ago

Made these for our neighborhood block party potluck last weekend and people were asking me for the recipe before I even finished setting up my table! I made 18 rolls, sliced them, set out cold cuts, cheese, pickles, onions, and all the fixings so people could build their own subs, and every single roll was gone in 45 minutes. The only complaint was that I didn’t make enough! I will say, I added a little sprinkle of sesame seeds to the top before baking per my husband’s request, and that was chef’s kiss level.

5 days ago

Oh sesame seeds on top is such a good call! I usually do poppy seeds but I’m definitely trying sesame next time I make these. Did you do the egg wash to make them stick?

5 days ago

Yep! A quick light egg wash right before baking, then the seeds stick perfectly even when you’re piling the sandwiches high. I’m gonna try an everything bagel seasoning batch next!

5 days ago

These rolls hold up so good for meal prep! I baked a batch on Sunday, sliced them, and stuffed them with turkey, provolone, and roasted veggies for work lunches all week, and they didn’t get soggy at all even with the pesto I spread on them. Way better than the sad sandwich bread I usually buy, and way cheaper than grabbing a sub from the shop by my office every day. Saved me like $40 this week already!

3 days ago

That’s such a smart meal prep use! So glad these worked out for your work lunches — nothing beats saving money and having way better food than takeout, right? If you want to keep them even fresher longer, you can pre-slice and freeze them, then pull one out the night before you need it!

yesterday

Wait a second, can I use these rolls to make garlic bread too? I had a couple leftover after making meatball subs the other night, sliced them open, slathered them with garlic butter, sprinkled parm on top, and broiled them for 3 minutes and it was the best garlic bread I’ve ever had. The chewy crust gets all crispy and the inside soaks up the butter perfectly. Why have I never thought to do that with sub rolls before?

2 hours ago

Oh my gosh I did the exact same thing last week! I even used one to make a breakfast sandwich with eggs, bacon, and cheese this morning and it slapped. These rolls are so versatile, I’ll never buy store bought again.

30 minutes ago

Tried making these at 6,000 feet elevation yesterday and they rose way too fast then collapsed right when I put them in the oven! So sad, I was really looking forward to good sub rolls. Any tips for high altitude adjustments?

5 minutes ago

So sorry to hear they collapsed on you! At high altitude, you’ll usually want to reduce the yeast by about 1/4 teaspoon, add an extra tablespoon of flour to make the dough a little sturdier, and cut the first rise time by about 15 minutes to keep it from overproofing. Give that a shot next time, it should make a huge difference!

2 weeks ago

Worked at an Italian deli in Boston for 6 years in college, and let me tell you — these rolls are legit. The texture is spot on, that slight crisp on the bottom, the soft crumb inside, that tiny hint of sweetness that classic Italian-American sub rolls have. I was skeptical a homemade recipe could nail it, but this is exactly what we used to get delivered from the local bakery every morning. Absolute home run.

1 week ago

Fellow East Coast expat over here in Seattle! I’ve been chasing a good sub roll since I moved here 5 years ago, all the store bought ones out here are too soft and sweet. I’m making these this weekend for sure, thanks for the vouch!

2 hours ago

Made these with my 8 year old daughter for our family movie night last week, we used them to make pizza subs with pepperoni and mozzarella, and she had an absolute blast helping knead the dough and shape the rolls. She was so proud to tell everyone at school that she made the bread for our dinner! The rolls came out perfect, even with her very enthusiastic dough punching.

30 minutes ago

That makes my day to hear! Cooking with kids is such a fun way to make memories, and I love that she got to be part of the process. Enthusiastic dough punching is 100% encouraged, it makes the bread taste even better 😉

just now

SO good! I added a little Italian seasoning and parmesan to the dough when I was mixing it, and it gave the rolls such a nice herby kick that paired perfectly with the spicy capicola and hot peppers I piled on my sub. Will absolutely be adding that to my regular rotation. The 20 minute cook time is no joke either, they baked up perfectly golden in exactly that time, no guesswork needed.

5 minutes ago

I was shocked how cheap these were to make! I already had all the ingredients in my pantry — flour, yeast, salt, sugar, a little olive oil — so I didn’t even have to run to the store. Way better value than the $4 for a 4 pack of sub rolls at the grocery store, and they taste a million times better. I already sent the recipe to my whole family group chat.

3 days ago

Really solid recipe, the flavor was great, but my crust came out a little thicker and crispier than I prefer for sub rolls. Next time I’ll probably roll them a little thinner and maybe add a pan of water to the oven while they bake to get a softer, chewier crust. Still way better than store bought though, will definitely make again with those small tweaks.

2 weeks ago

Swapped the honey for maple syrup and used a plant-based egg wash (oat milk + a little maple syrup) on top, and these still came out absolutely perfect! I made vegan meatball marinara subs for my partner’s birthday dinner, and he said they were better than the non-vegan subs we get at our local sandwich shop. So happy I found this recipe, it’s a new staple in our house.

1 week ago

Oh thank you for sharing the vegan swaps! I’ve been looking for a good sub roll recipe that doesn’t use dairy or honey, I can’t wait to try your version this weekend for our game day spread.

1 week ago

Love those plant-based swaps! So glad the recipe worked out for your birthday dinner, that sounds absolutely delicious. Thanks for sharing your tweaks with everyone, I know a lot of other bakers will appreciate that!



