
sugar free pudding
intro
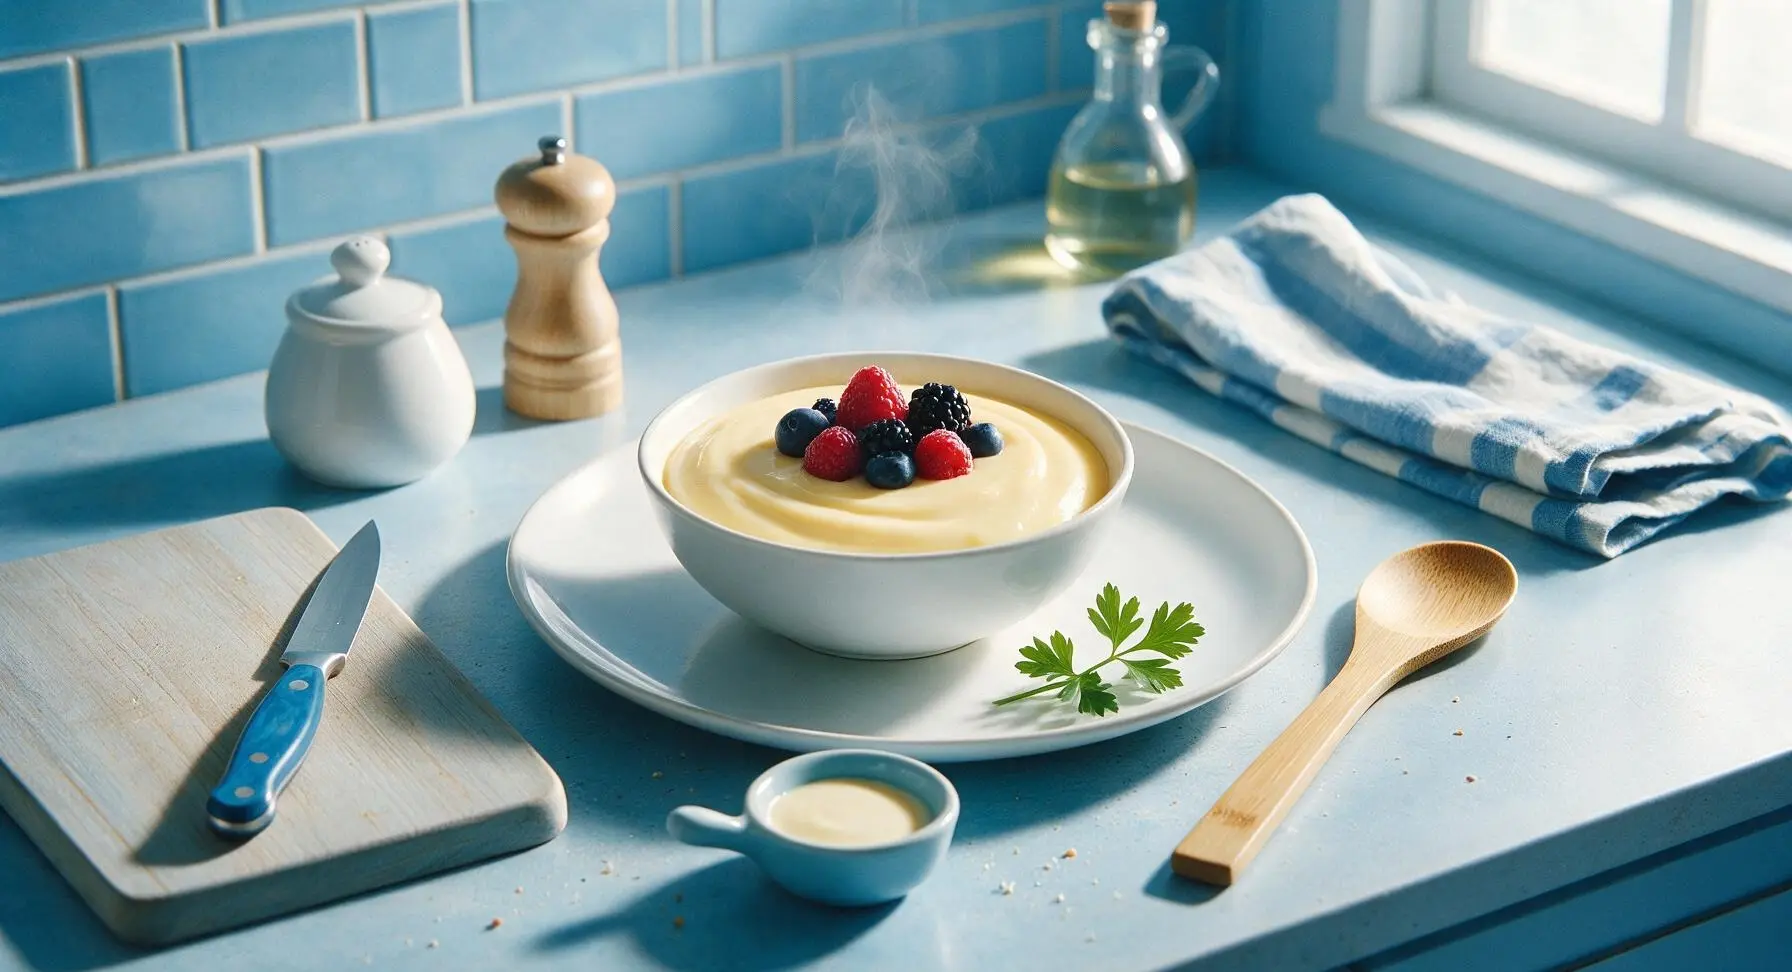
Silky, rich vanilla pudding made with zero added sugar, free of gritty artificial aftertaste. Topped with fresh berries for a light, guilt-free cold treat perfect for warm evenings.
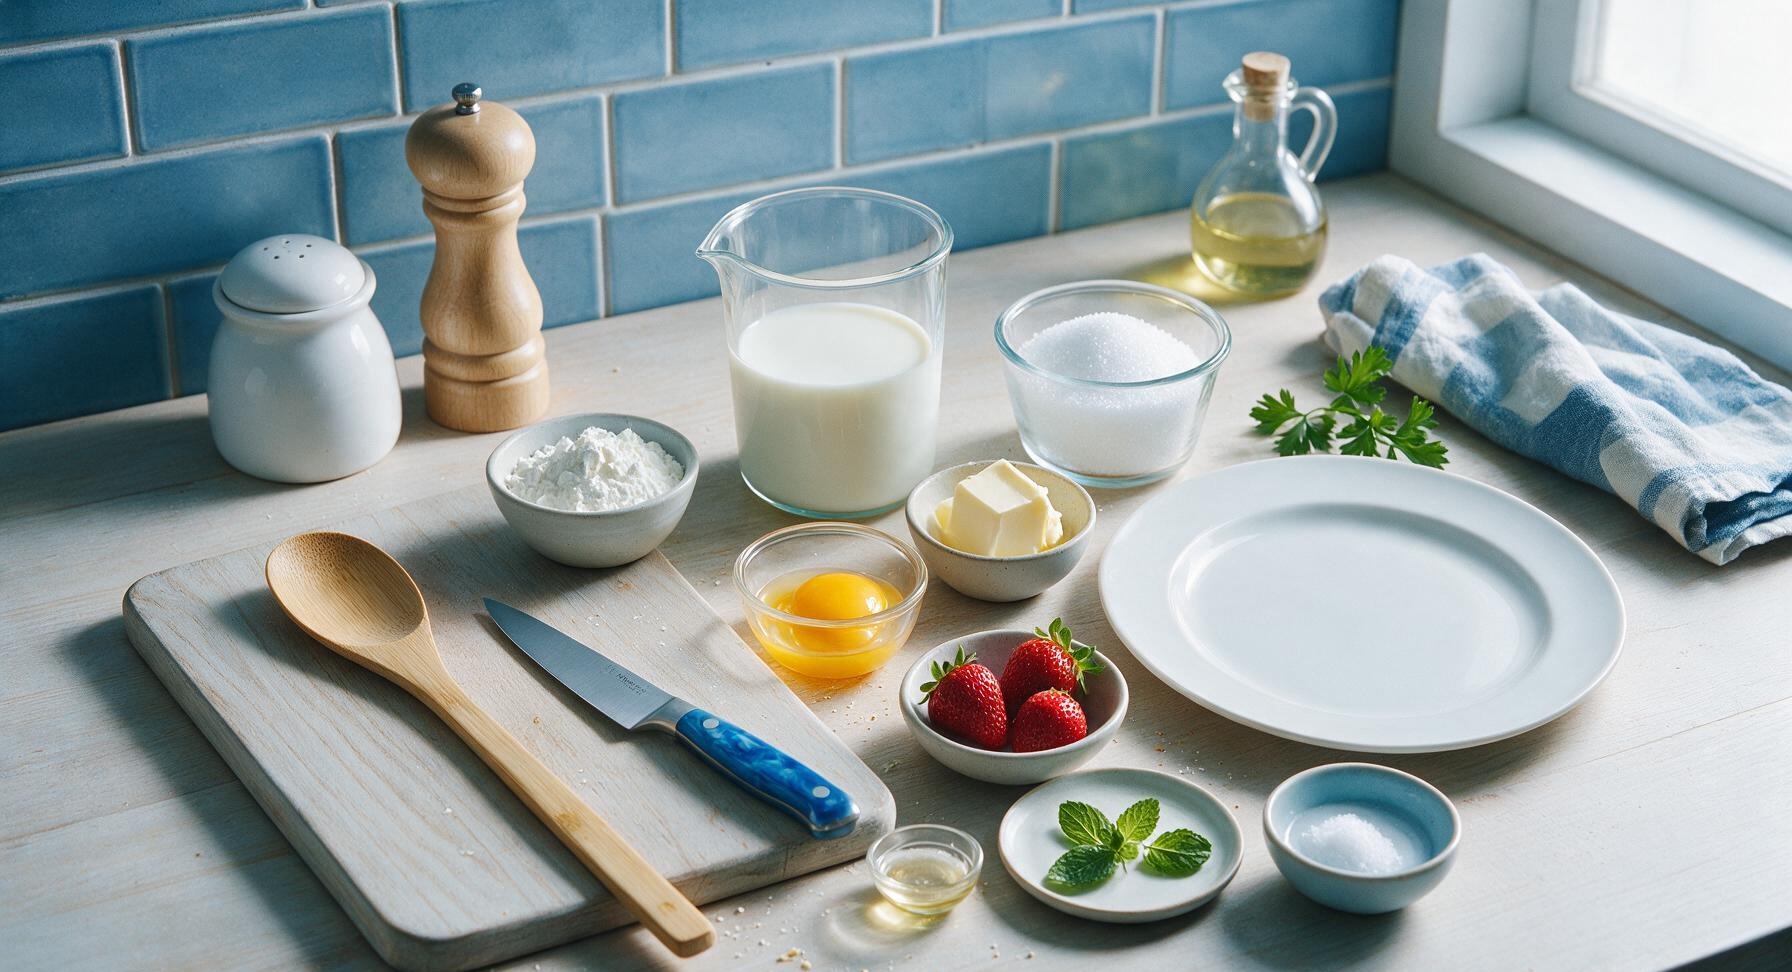
Ingredients
Steps
Whisk Yolk and Cornstarch
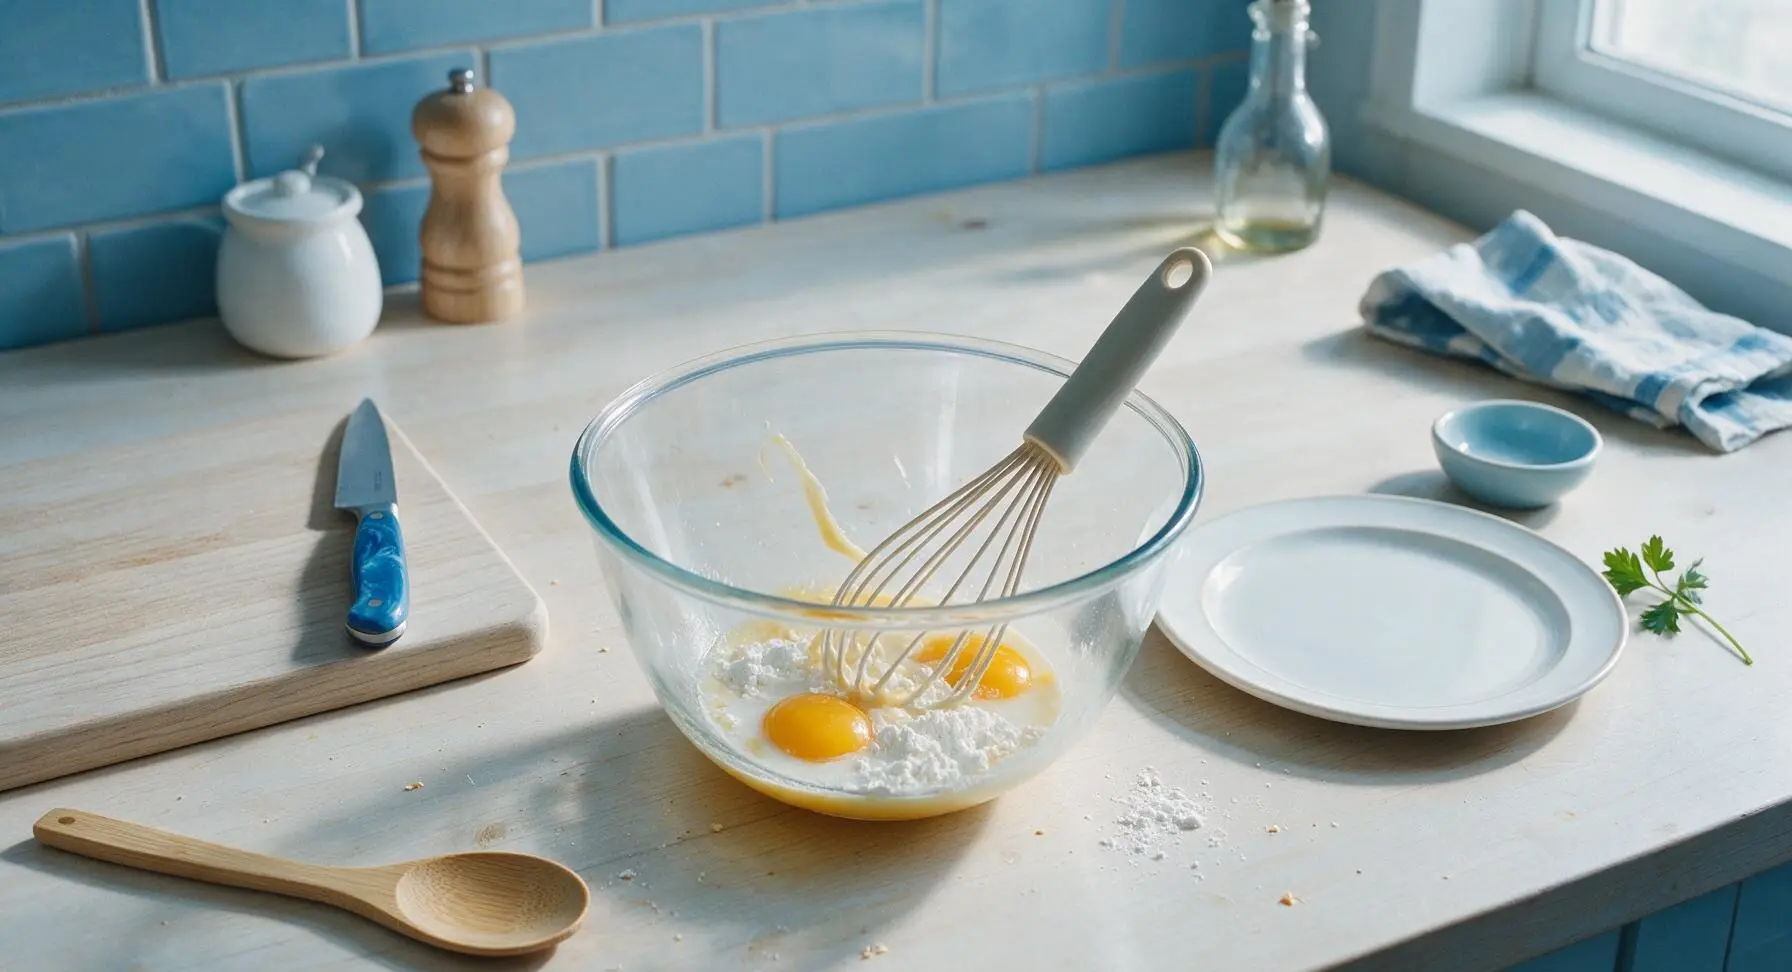
Crack 2 large egg yolks into the 15cm clear glass mixing bowl. Add 3 tablespoons cornstarch and 2 tablespoons of the measured whole milk. Use the silicone whisk to stir until completely smooth, with no visible lumps of cornstarch remaining. The finished mixture will be a pale, uniform golden yellow, thick enough to leave a faint coating on the whisk wires.
Heat Milk and Sweetener
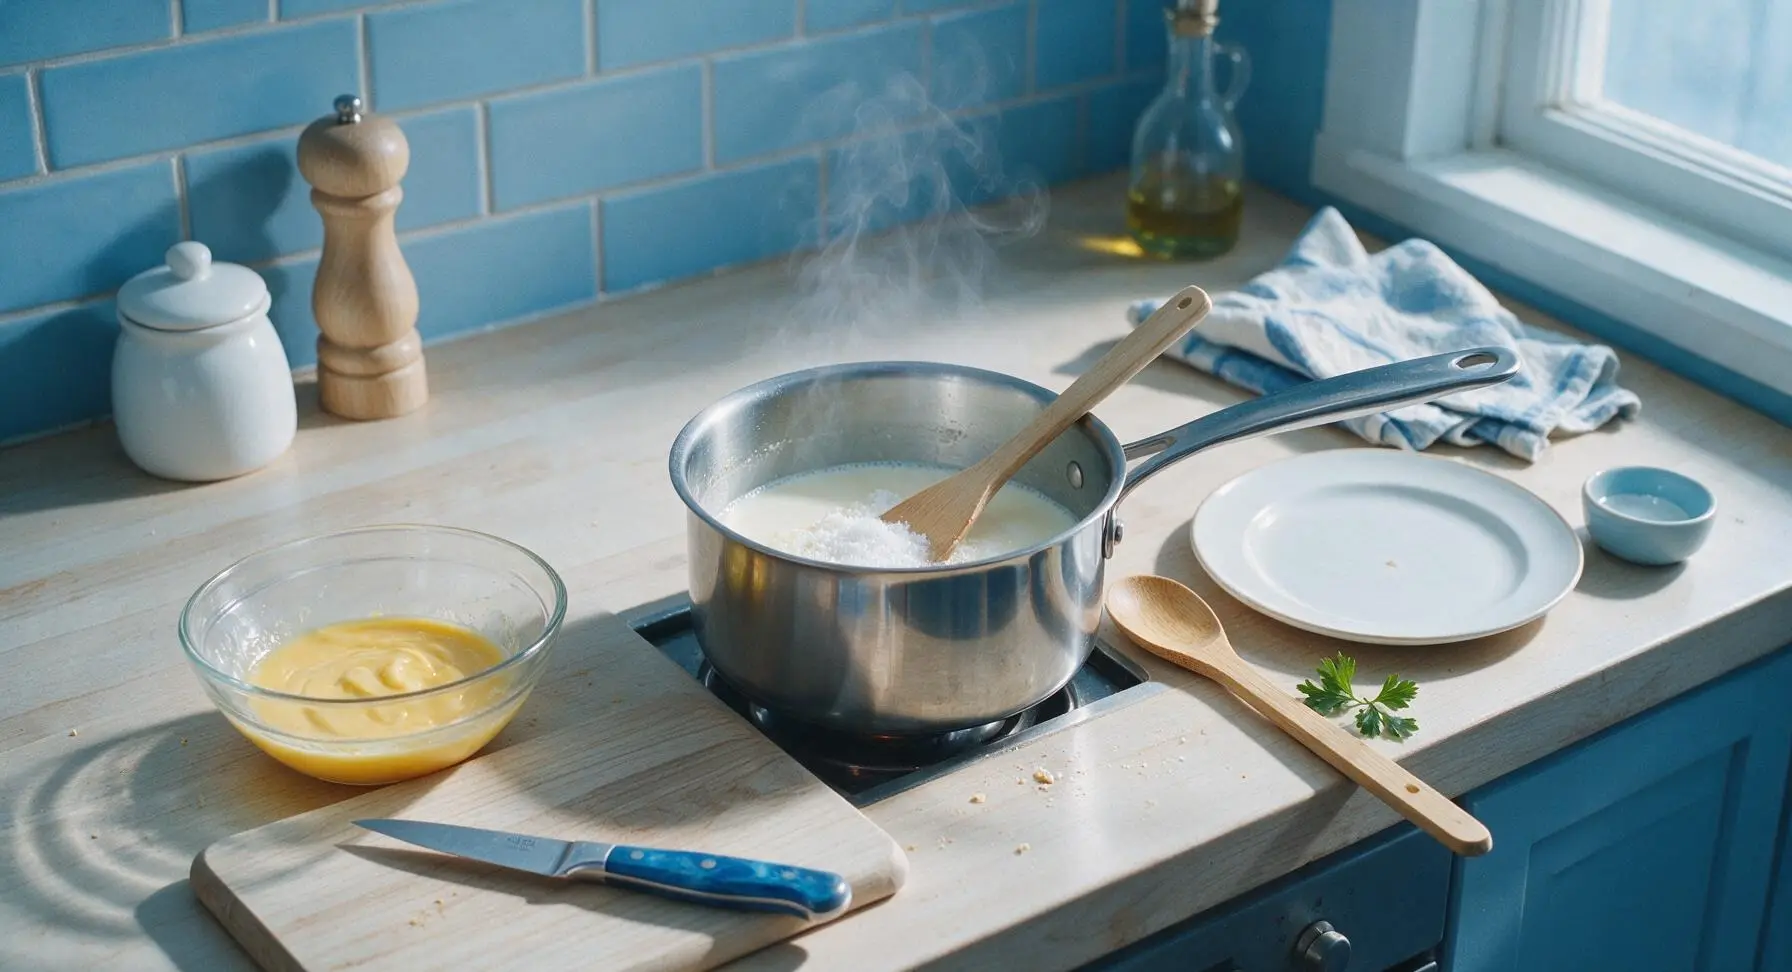
Place the 2L stainless steel saucepan over medium-low stovetop heat. Pour in the remaining whole milk, 1/3 cup granulated erythritol, and 1/8 teaspoon fine sea salt. Stir gently with the light maple spatula until the erythritol fully dissolves, about 3 minutes. Heat until the milk just starts to steam and form tiny bubbles around the pan edge, reaching 175°F / 80°C; do not bring to a rolling boil.
Temper Egg Yolk Mixture
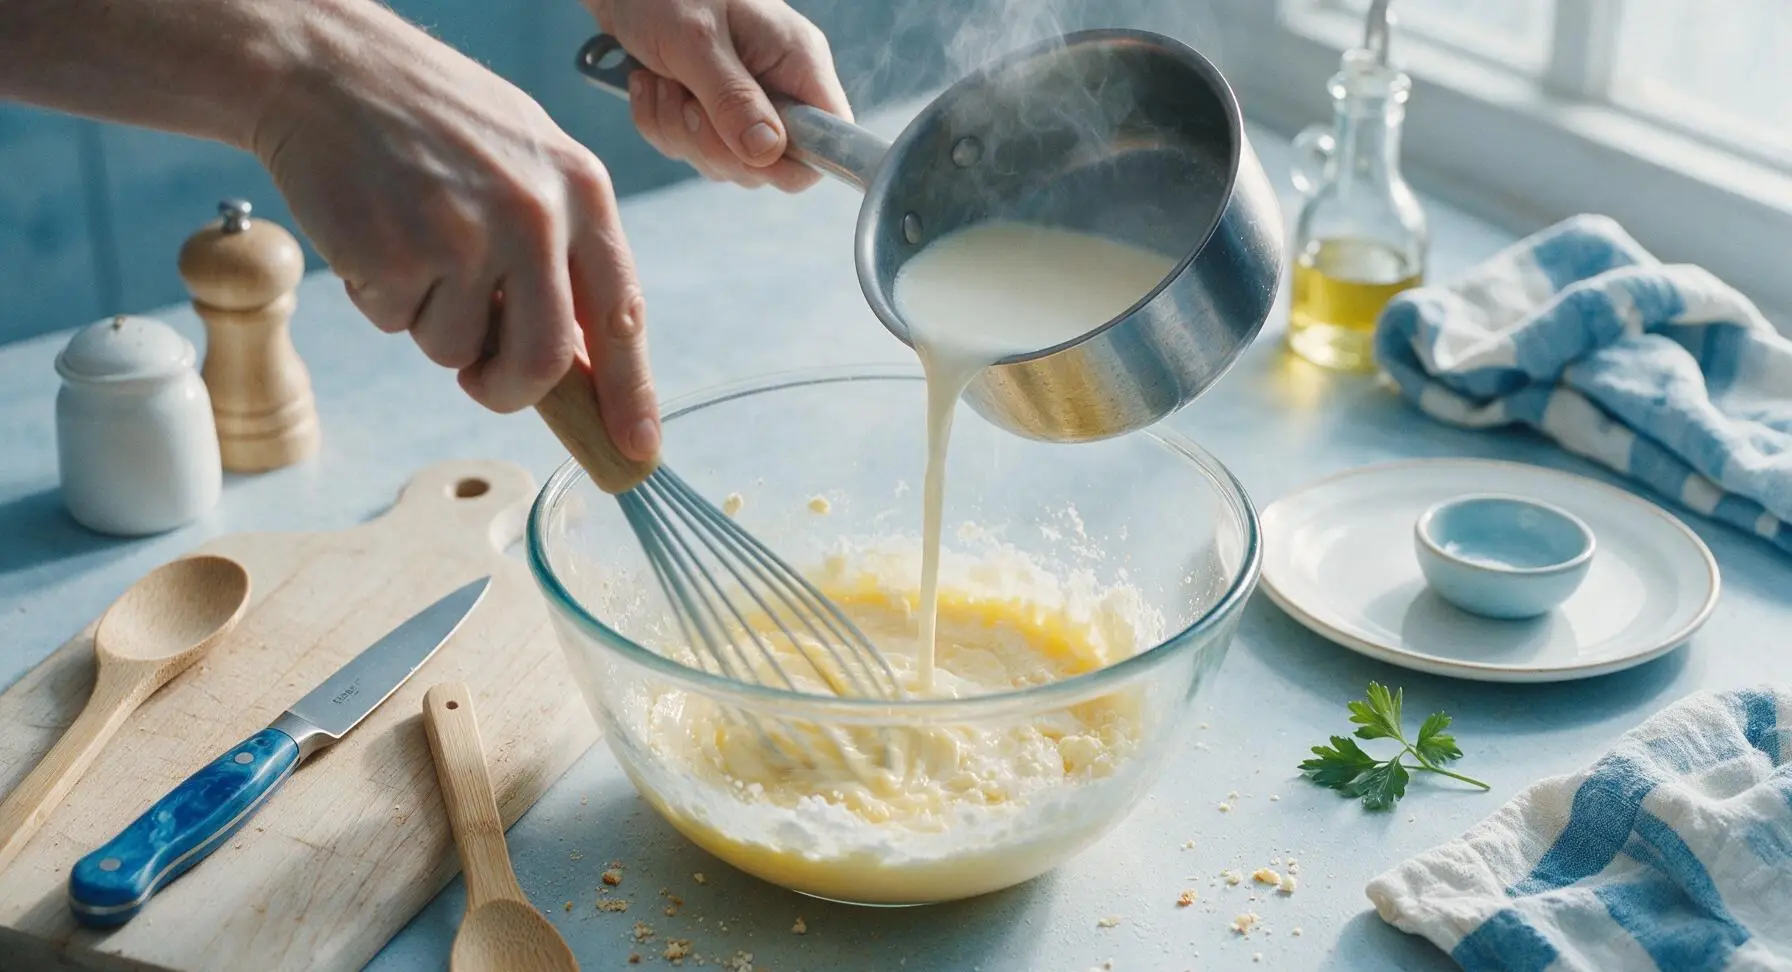
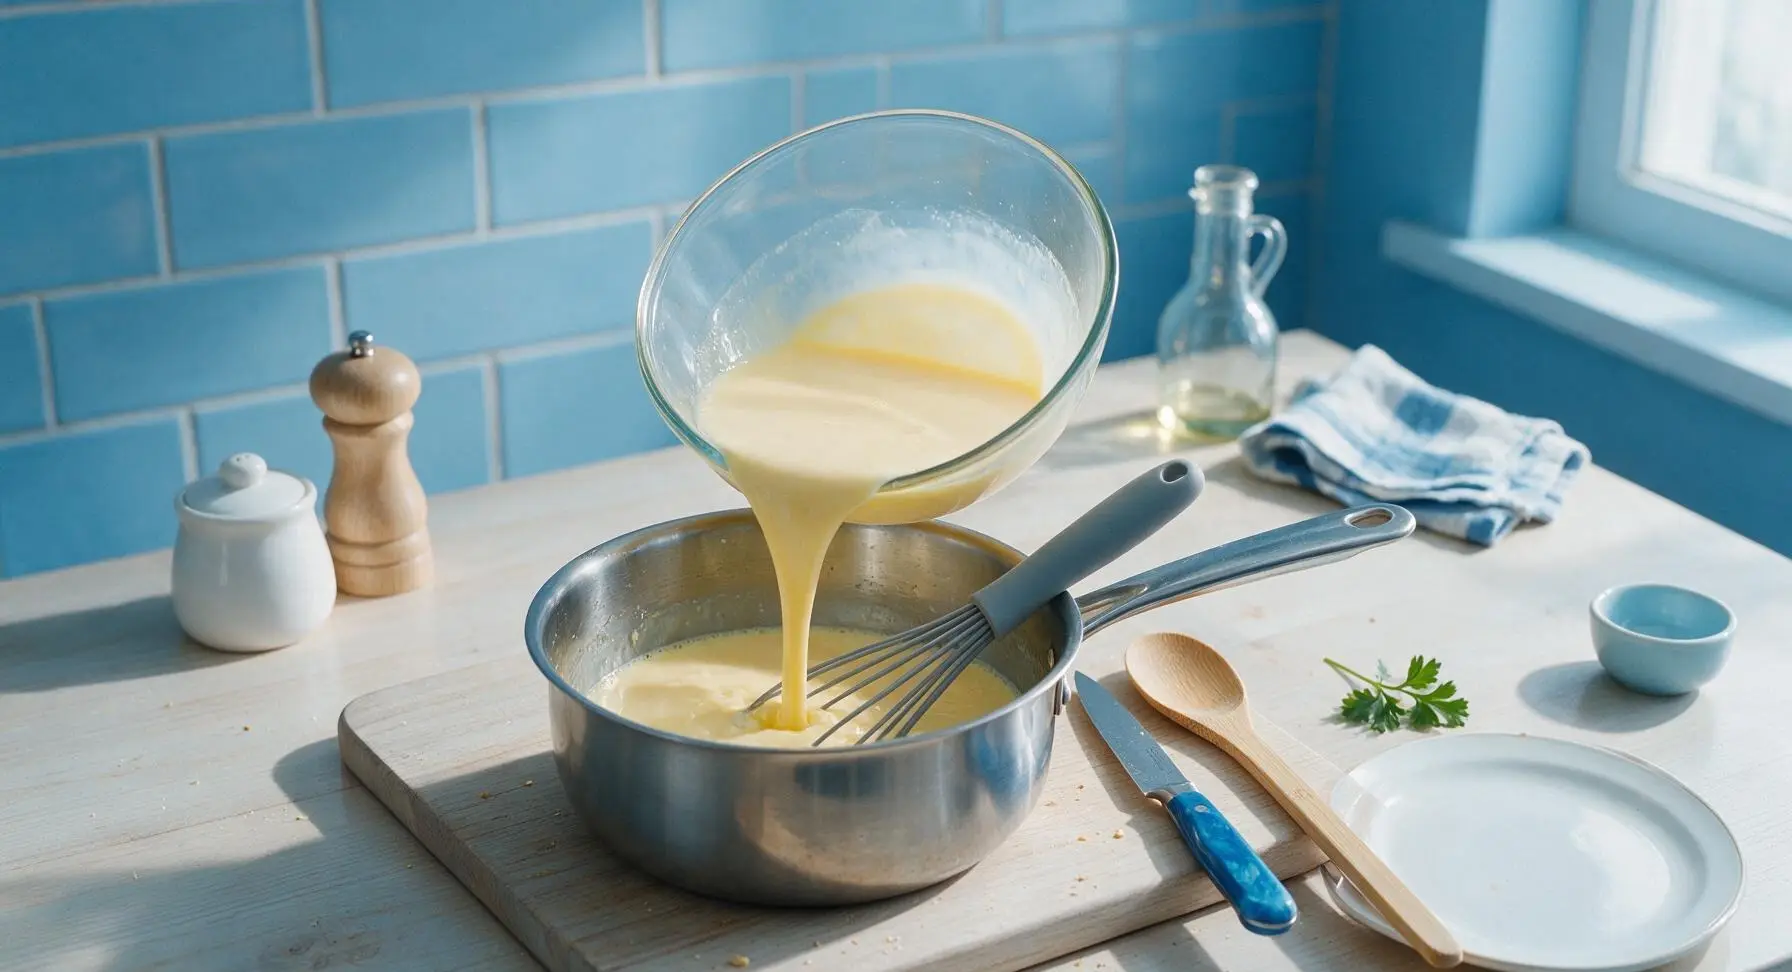
While whisking the egg yolk mixture constantly in the glass bowl, slowly pour 1/2 cup of the hot steaming milk into the bowl in a thin, steady stream. This gradual heating raises the egg temperature slowly to prevent curdling. Once fully combined, pour the warmed egg-milk mixture back into the saucepan with the remaining hot milk, whisking constantly as you pour.
Cook Pudding Base
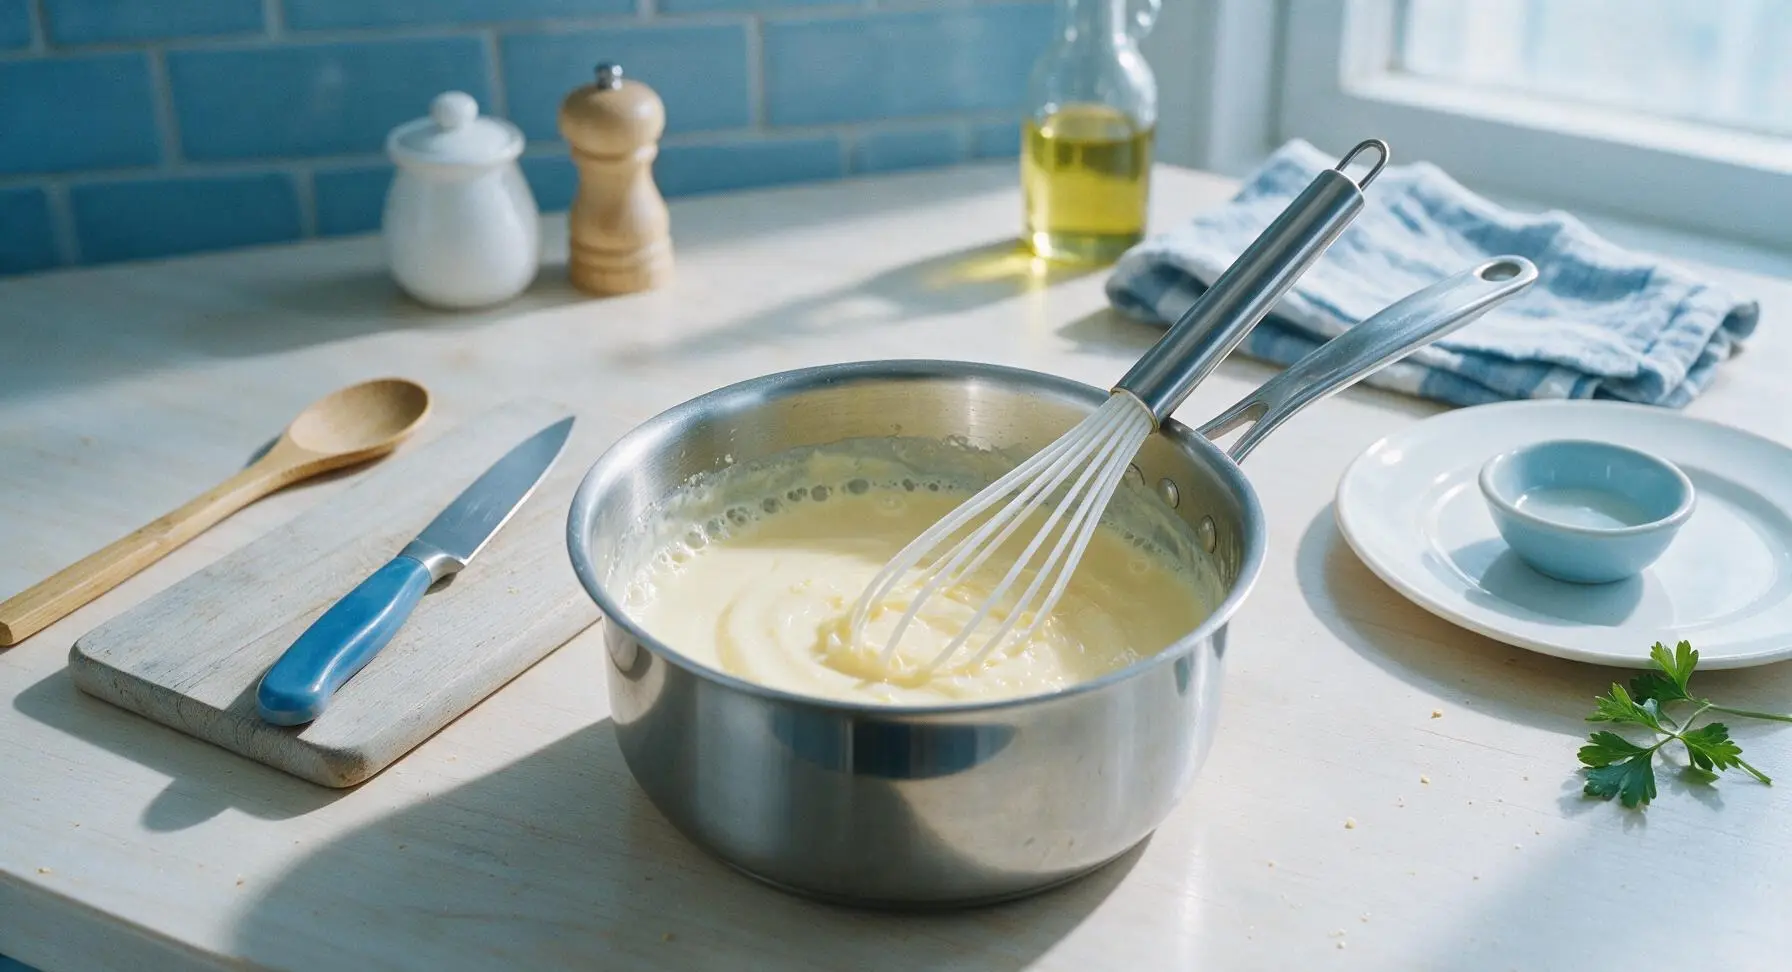
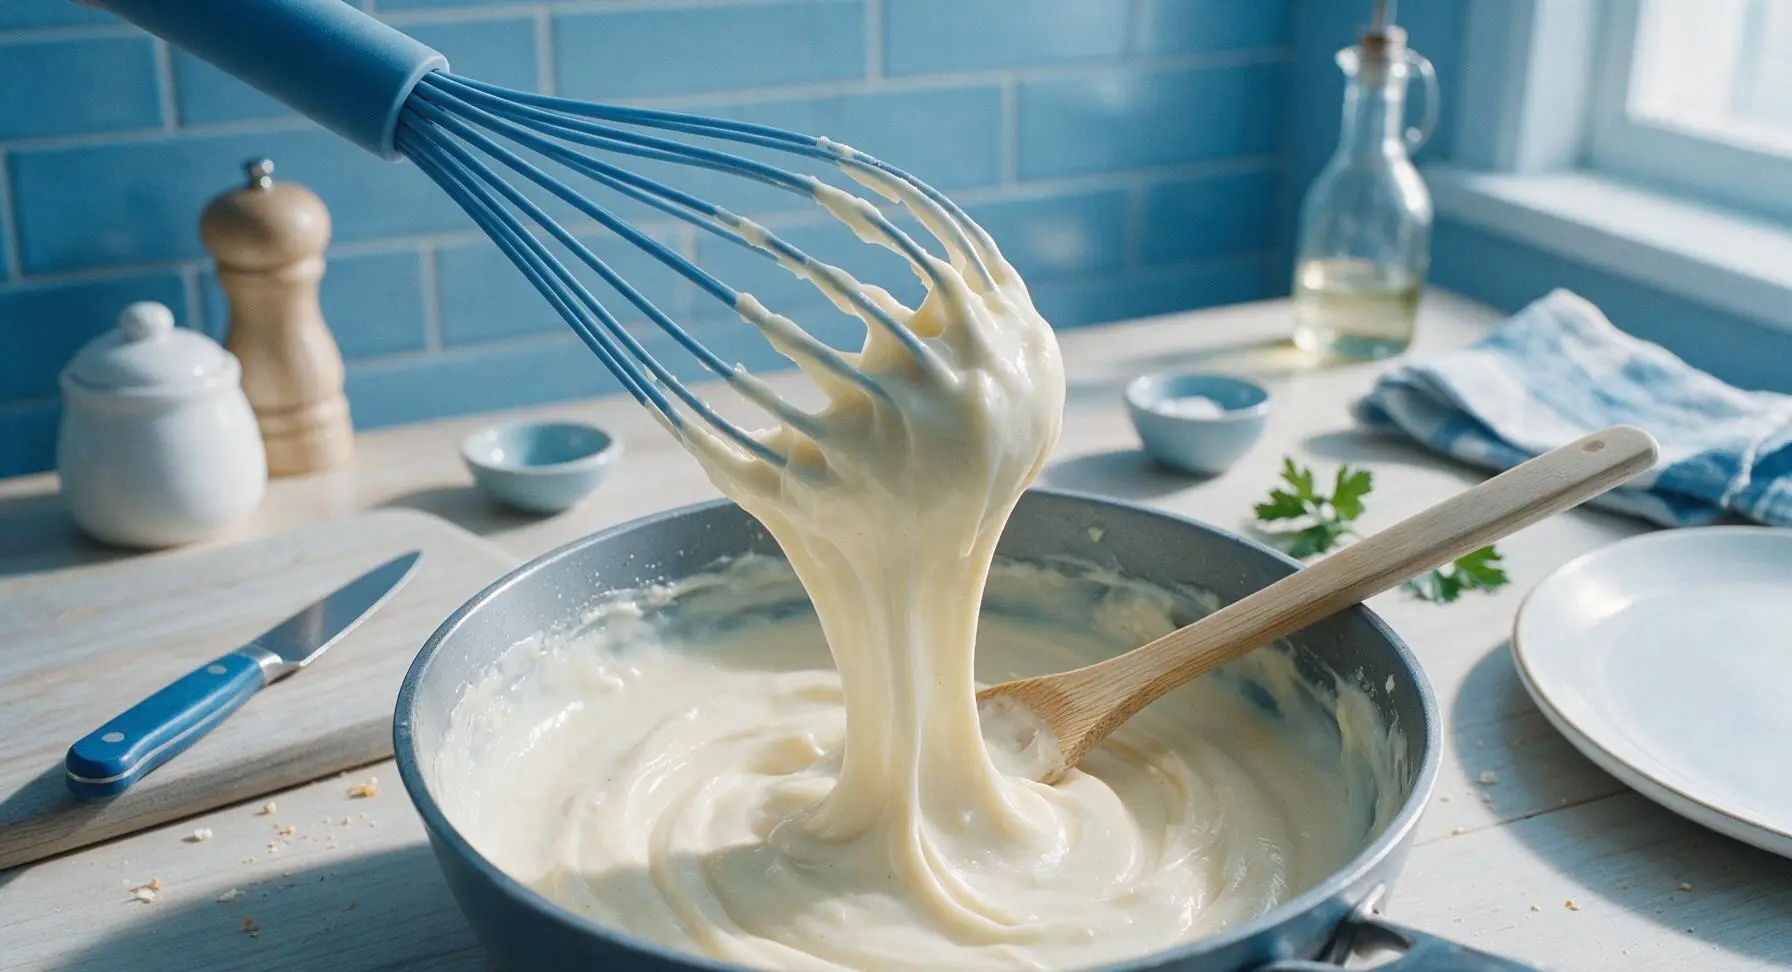
Keep stovetop heat at medium-low, whisking the pudding base constantly in slow, figure-eight motions for 4-5 minutes. The pudding will thicken suddenly as it reaches 180°F / 82°C; it is done when it coats the back of the silicone whisk thickly enough that a line drawn with your finger through the coating holds its shape without running. Do not boil the base, as this will cause curdling.
Strain and Add Butter
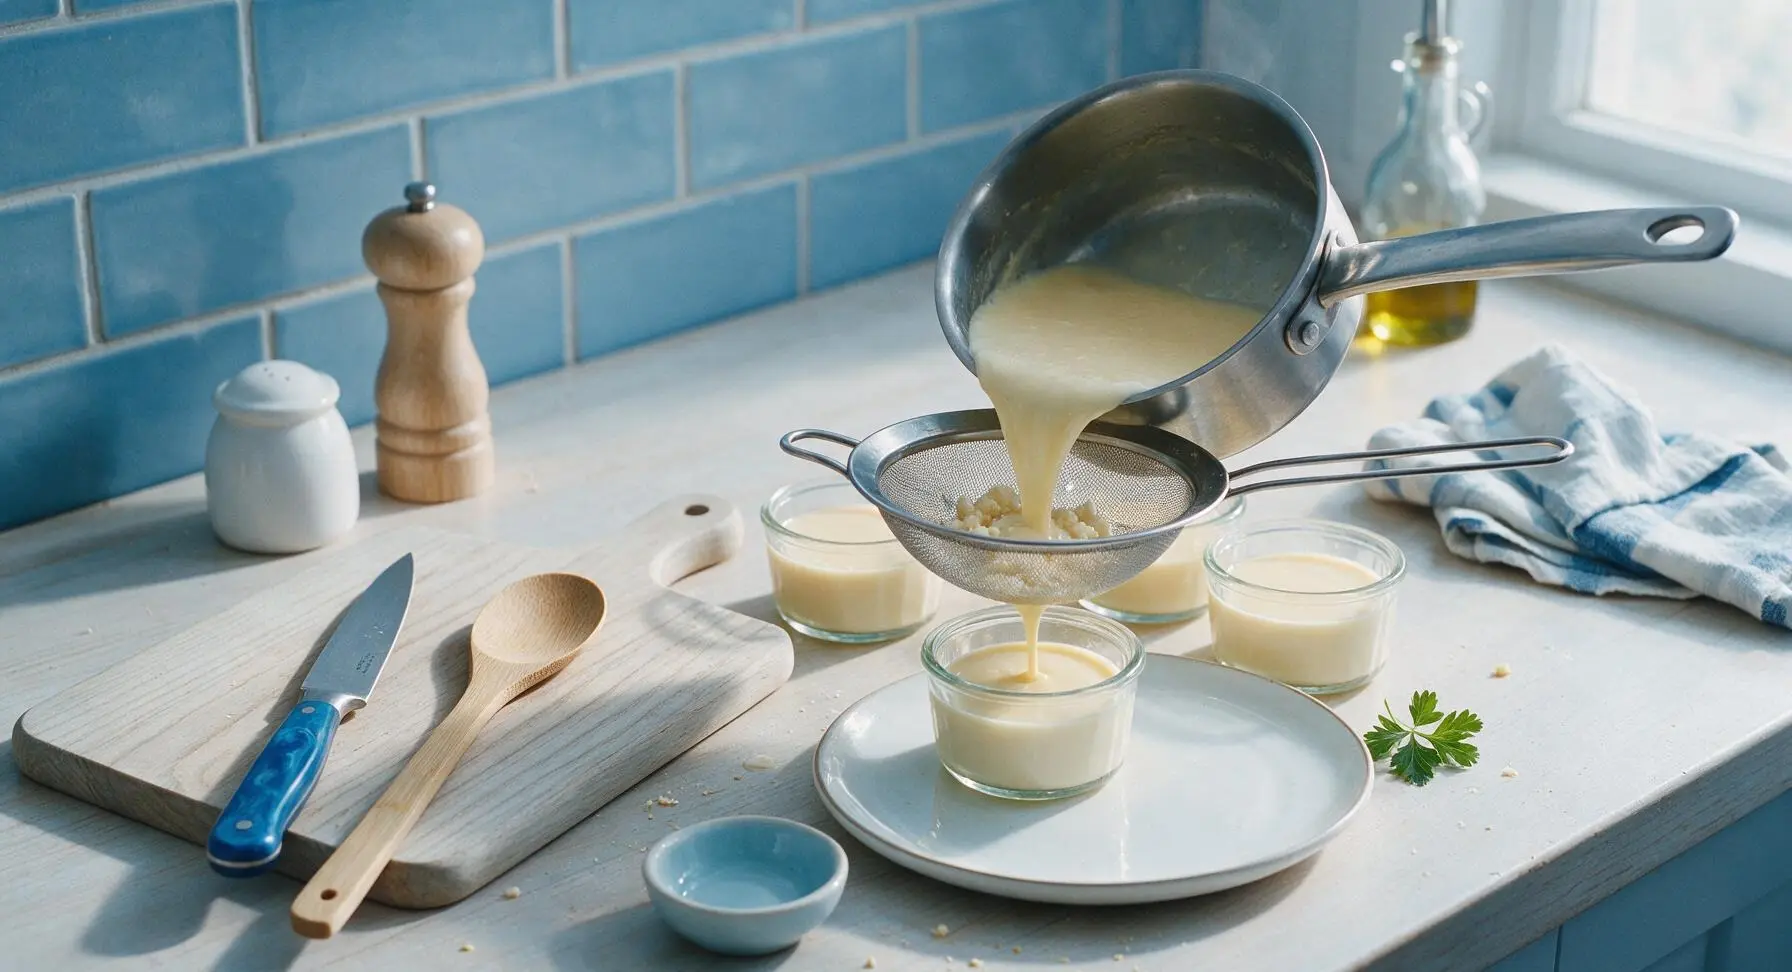
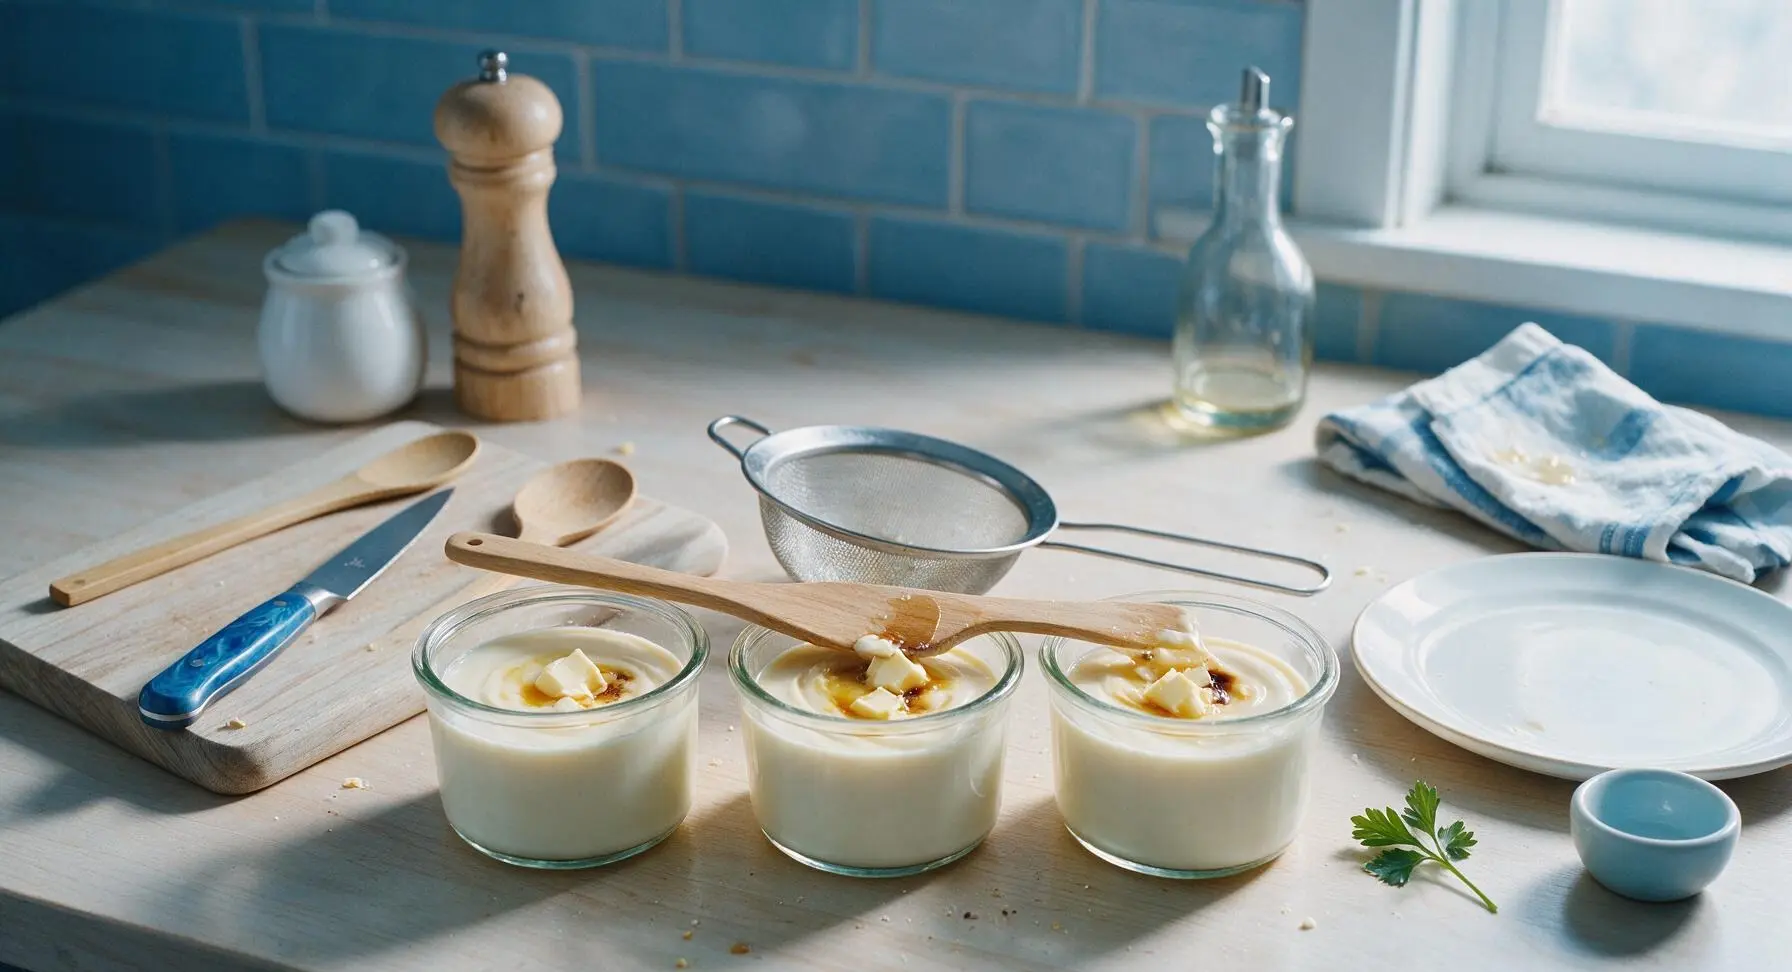
Remove the saucepan from heat. Set the fine-mesh stainless steel sieve over the lined-up clear glass ramekins, then pour the hot pudding through the sieve to catch any tiny lumps or curdled egg bits. Stir in 2 tablespoons unsalted butter and 1 teaspoon pure vanilla extract until the butter is fully melted and incorporated, leaving the pudding perfectly silky and fragrant.
Chill Pudding Properly
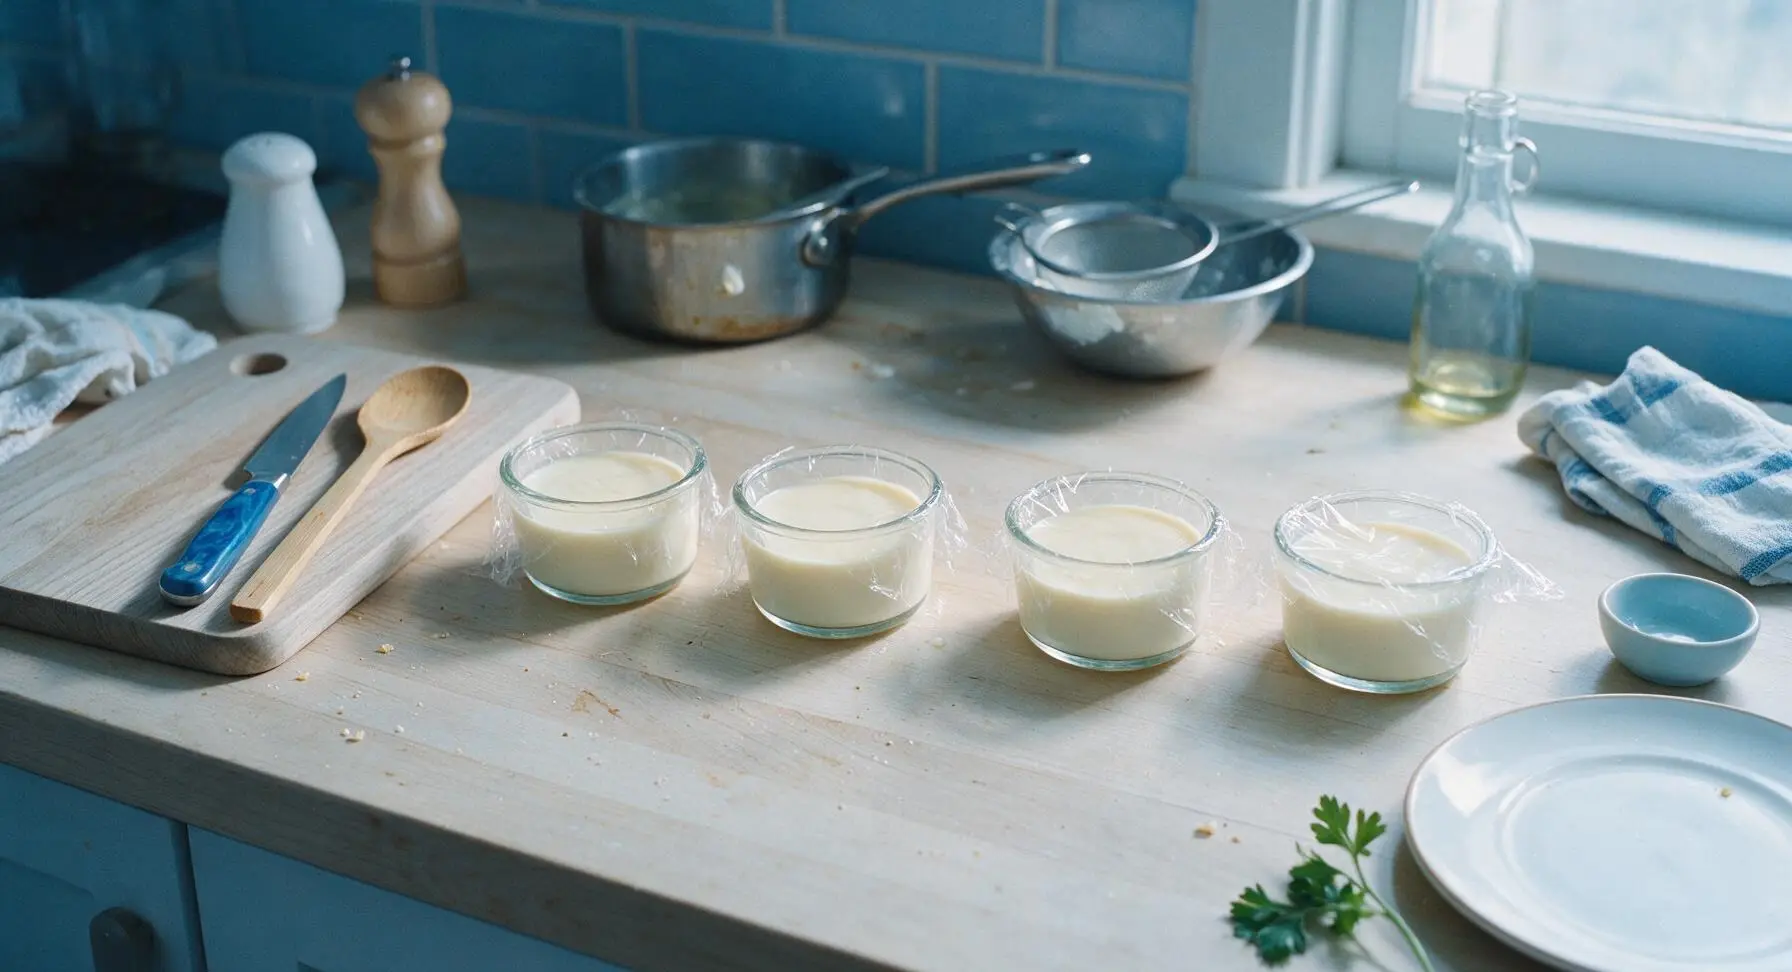
Let the pudding cool at room temperature for 10 minutes, then press a piece of clear plastic wrap directly onto the surface of each pudding to eliminate air gaps. Transfer the ramekins to the refrigerator to chill for at least 2 hours, until fully set: the pudding will feel firm to a light touch, with a soft, wobbly jiggle in the center.
Unmold Set Pudding
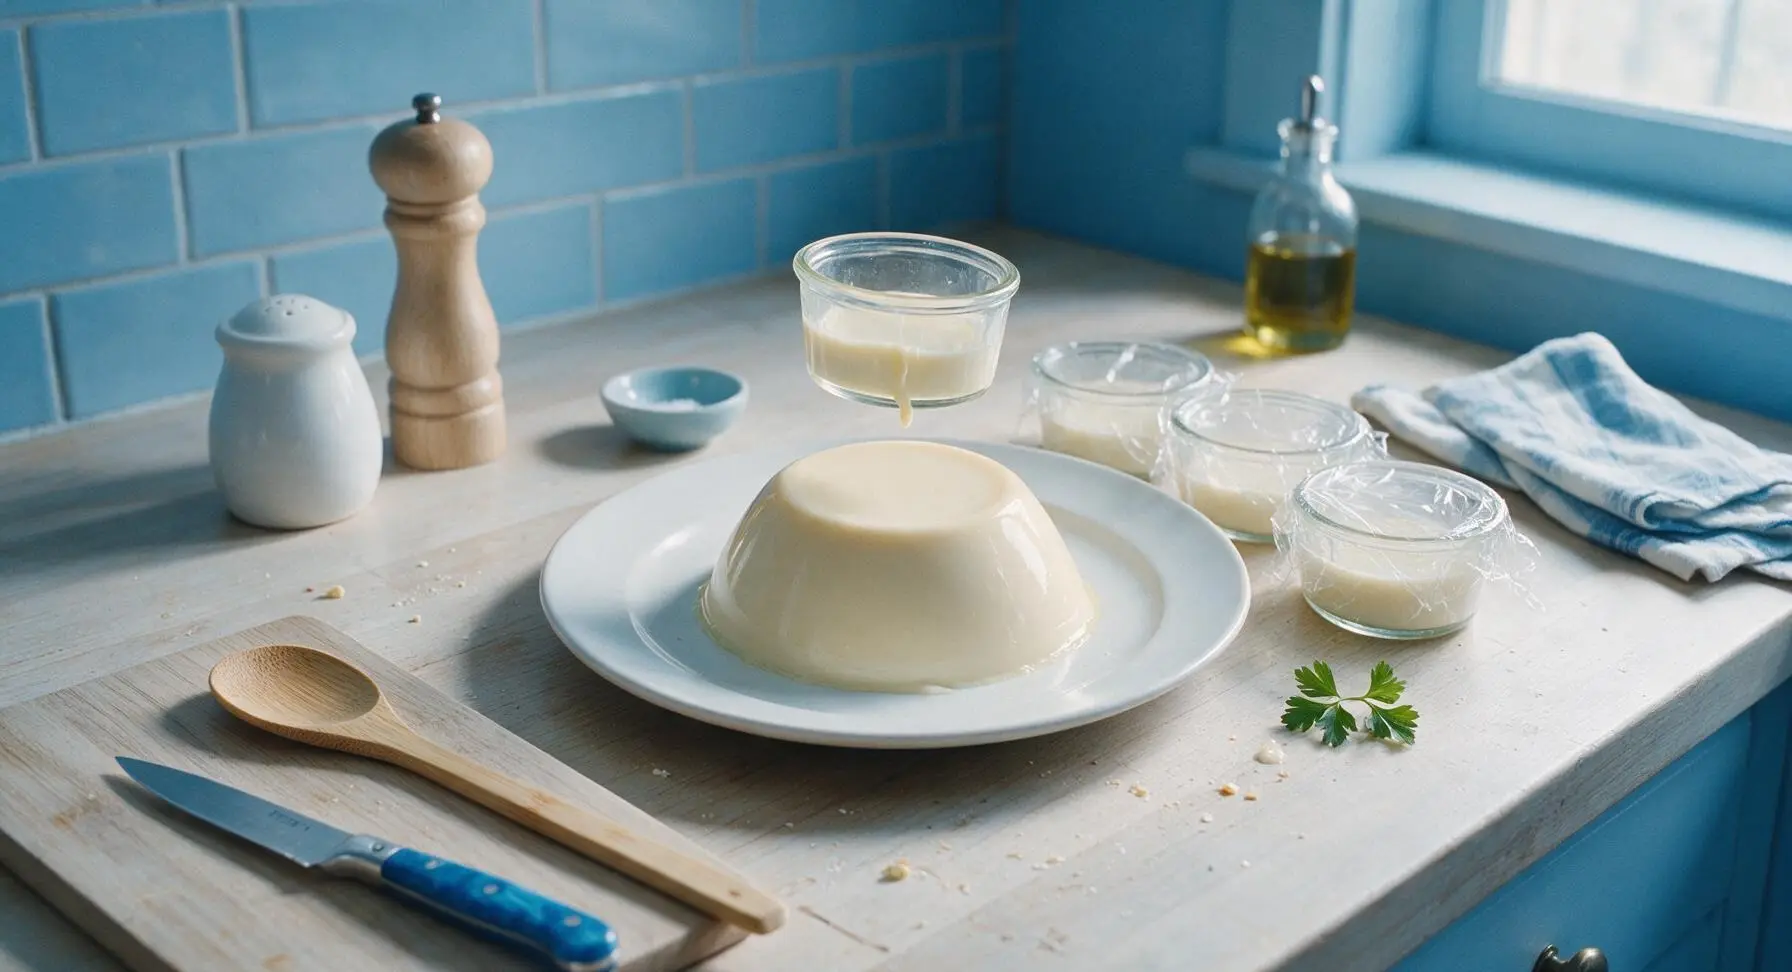
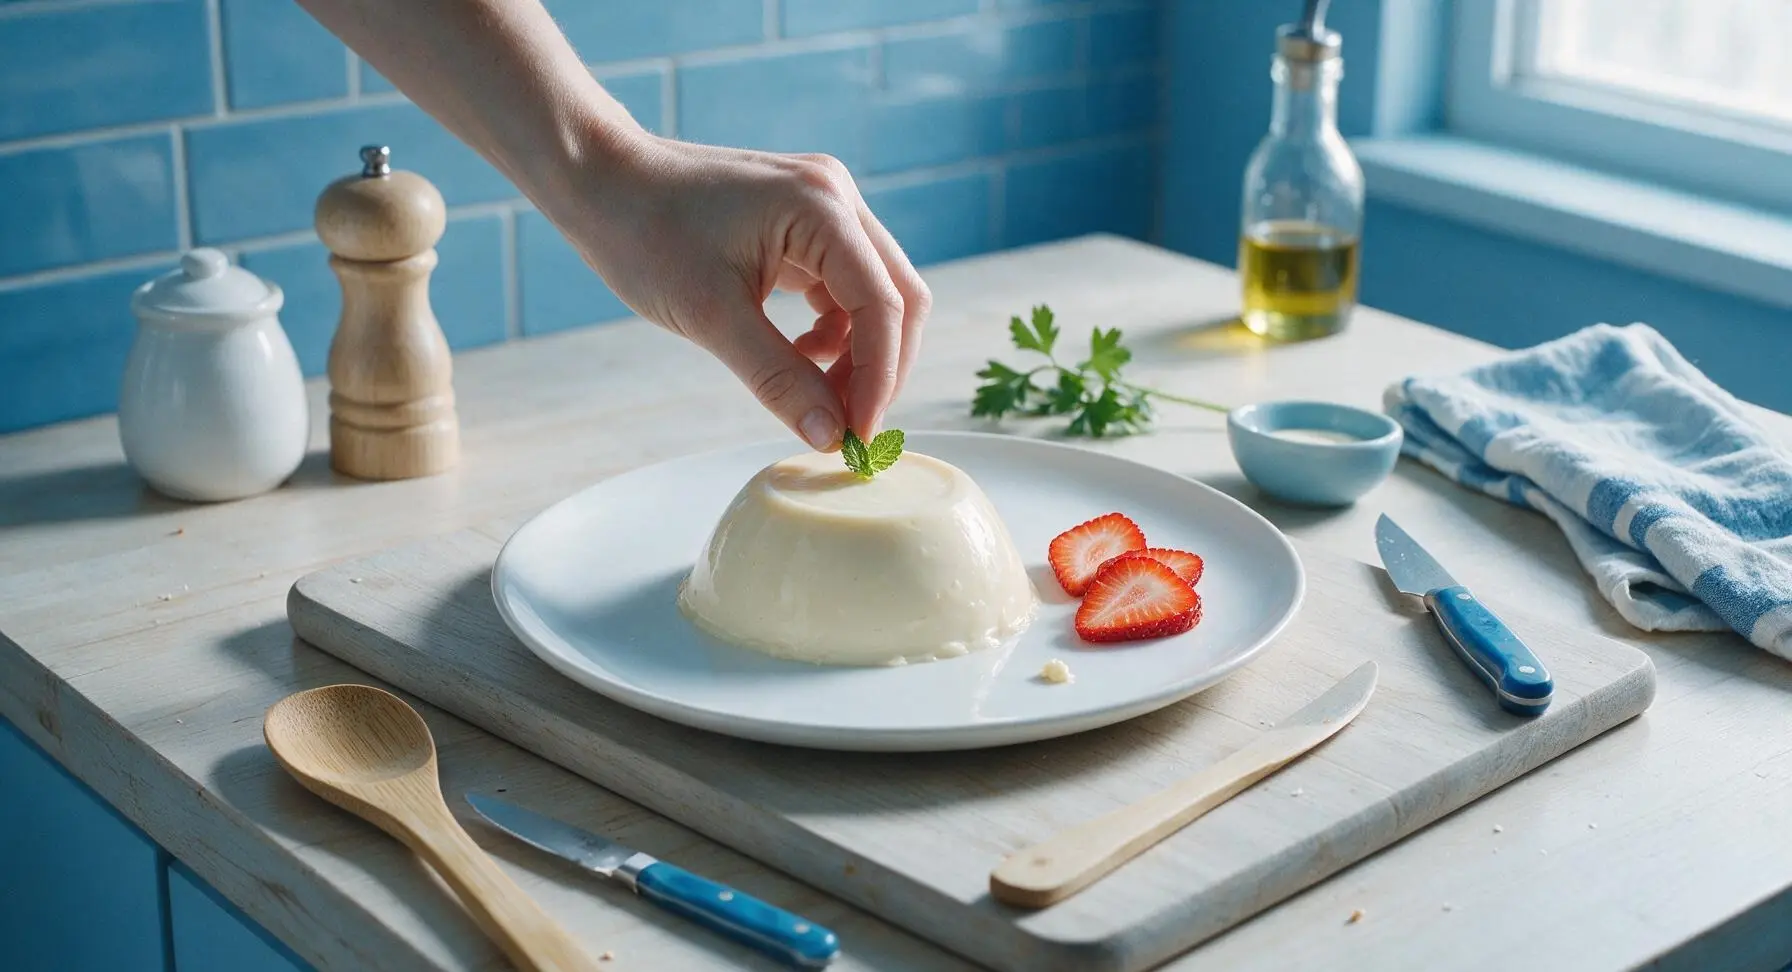
Once fully chilled, remove the ramekins from the refrigerator and peel off the plastic wrap. Hold the bottom of one ramekin under a thin stream of warm tap water for 10 seconds to loosen the pudding from the glass, then place the matte white ceramic dessert plate upside down over the ramekin. Hold the plate and ramekin tightly together, flip both over in one smooth motion, then lift the ramekin straight up to release a clean, domed pudding.
Garnish and Serve
Garnish the top of the unmolded pudding with one small fresh mint leaf. Fan three thin-sliced strawberry halves next to the pudding on the plate for a bright, tart, fresh contrast. Serve immediately, or keep chilled for up to 3 days until ready to eat.
Tips
2.Never let the pudding base come to a rolling boil: high heat will curdle the egg yolks, creating lumpy, grainy pudding instead of the desired silky texture. Keep heat on medium-low and stir constantly as the base thickens.
3.Use granulated erythritol as your sugar free sweetener for the best results: it dissolves fully in warm milk with no bitter aftertaste. Avoid powdered erythritol blends with anti-caking agents, as they will make the pudding cloudy and slightly gritty.






OMG this creamy sugar-free vanilla pudding is a total game changer! I’ve been hunting for a low-carb dessert that doesn’t have that weird artificial aftertaste, and this hits every note. Took me literally 10 minutes to throw together after dinner last night, and my husband even asked for seconds before he realized it was sugar free! 10/10, will be making this every week for meal prep.
SO good! I live in a dorm with just a tiny hot plate and a microwave, and I was able to make this no problem. Tastes way better than the pre-made sugar free pudding cups from the campus market, and it’s way cheaper too. Already texted the recipe to my roommate.
As someone who’s been type 2 diabetic for 12 years, finding desserts that don’t spike my blood sugar and actually taste good feels impossible half the time. This pudding? Absolute perfection. Creamy, rich, perfect vanilla flavor, no weird aftertaste, and my post-meal glucose reading was totally normal after a serving. I topped mine with a few fresh raspberries, chef’s kiss.
Made this for my office potluck yesterday, and people were RAVING. I didn’t even tell anyone it was sugar free until half the pan was gone, and no one believed me! Multiple coworkers asked for the recipe before the end of lunch. Pro tip: add a tiny dash of cinnamon on top for a little extra warmth, it slaps.
I was fully prepared for this to be a letdown because so many sugar free desserts taste like diet chemicals, but wow. This is just as rich and creamy as the full-sugar vanilla pudding my grandma used to make. 10 minute cook time is not a lie either, I timed it! Will be making this on repeat.
My kids loved it!!! I’ve been trying to cut back on added sugars in our weeknight dinners and desserts, and my two toddlers gobbled this up faster than the regular chocolate pudding I usually buy. I put a few sprinkles on top for them and they thought it was a special treat. Total weeknight win.
Wait, is this actually gluten free? I saw the ingredient list doesn’t have any wheat products, but I wanna double check before I make it for my celiac bestie’s birthday dinner next week. Also, can I make it a day ahead?
Pretty solid pudding. I swapped the regular almond milk for oat milk because that’s what I had in the fridge, and it still came out super creamy. Only reason I’m not giving 5 stars is I added a little too much vanilla extract on my first go, so it had a slightly bitter edge. My bad, not the recipe’s fault! Will measure properly next time.
Total game changer for my post-workout sweet cravings! I stir a scoop of unflavored collagen peptides into mine while it’s still warm for an extra protein boost, and it doesn’t mess with the texture or flavor at all. So much better than chugging a chalky protein shake after the gym. 10/10, already recommended this to all my workout buddies.
I’ve been making cooked vanilla pudding for my grandkids for 50 years, and I was skeptical a sugar free version could hold a candle to my original recipe. Color me impressed! It’s smooth, not gummy like those instant sugar free puddings from the grocery store, and the vanilla flavor is nice and bright, not artificial. I’ll be adding this to my recipe box for when my granddaughter who’s doing keto comes to visit.
Super easy recipe, even for someone who burns toast half the time! Wait, quick question — mine formed a weird thick skin on top after I put it in the fridge, did I do something wrong? It still tasted good, just the texture on top was off.
Made this vegan by swapping the dairy for coconut cream and using agar agar instead of gelatin, and it turned out INCREDIBLE. So creamy, perfect vanilla flavor, even my non-vegan roommate was stealing bites out of the container. Love that the base recipe is so easy to customize for different diets!
Made this for Father’s Day dessert last weekend when my whole family came over, and even my brother who swears ‘sugar free food tastes like cardboard’ went back for a second helping. Topped mine with a little sugar free whipped cream and some dark chocolate shavings, felt fancy as hell for only 10 minutes of work. Will definitely be making this again.
Absolute meal prep staple. I make a big batch on Sunday nights, portion it into little glass jars, and grab one for a quick midday snack or after-dinner treat all week. It holds up perfectly for 5 days in the fridge, no separation, no weird texture changes. Perfect for anyone who hates spending a ton of time cooking during the week.
Wait, can I use vanilla bean paste instead of regular vanilla extract? I have a huge jar of it I’ve been trying to use up, and I love the little vanilla specks it gives desserts.
Took this on my last day hike as a summit treat, and it was perfect. I kept it in a small insulated container, and it stayed cold and creamy for 3 hours up the trail. Way better than packing heavy candy bars that leave me crashing an hour later. The light, smooth vanilla flavor was exactly what I wanted at the top of the mountain after a tough climb.
This tastes exactly like the vanilla pudding my mom used to make in the 70s, minus all the refined sugar. I served it to my bridge club last week, and none of the ladies could tell it was sugar free. The texture is perfectly smooth, no lumps if you whisk it constantly while it cooks, just like the old-fashioned stuff. Total hit.
As someone who works 12 hour shifts, I need quick, easy recipes that don’t require a million ingredients or hours of cook time. This takes 10 minutes, uses stuff I almost always have in my pantry and fridge, and tastes like a fancy restaurant dessert. I’ve already made it three times in the last two weeks. Obsessed.
Tried this last night after seeing people rave about it in the comments, and I have one tiny gripe — my 7 year old said it ‘tastes too much like vanilla’ (kid is obsessed with chocolate, so not a real complaint, ha!). I stirred a tablespoon of unsweetened cocoa powder into half the batch for him, and he ate every bite. The vanilla half was devoured by me and my husband, no leftovers at all.
I was so excited to make this, but I accidentally used salted butter instead of unsalted, so my first batch was a little saltier than I expected. But honestly? It was still SO good! The salt cut the sweetness perfectly, I might even add a tiny pinch of flaky sea salt on top next time on purpose. Whoops, happy accident!