
tailgate sandwiches
intro
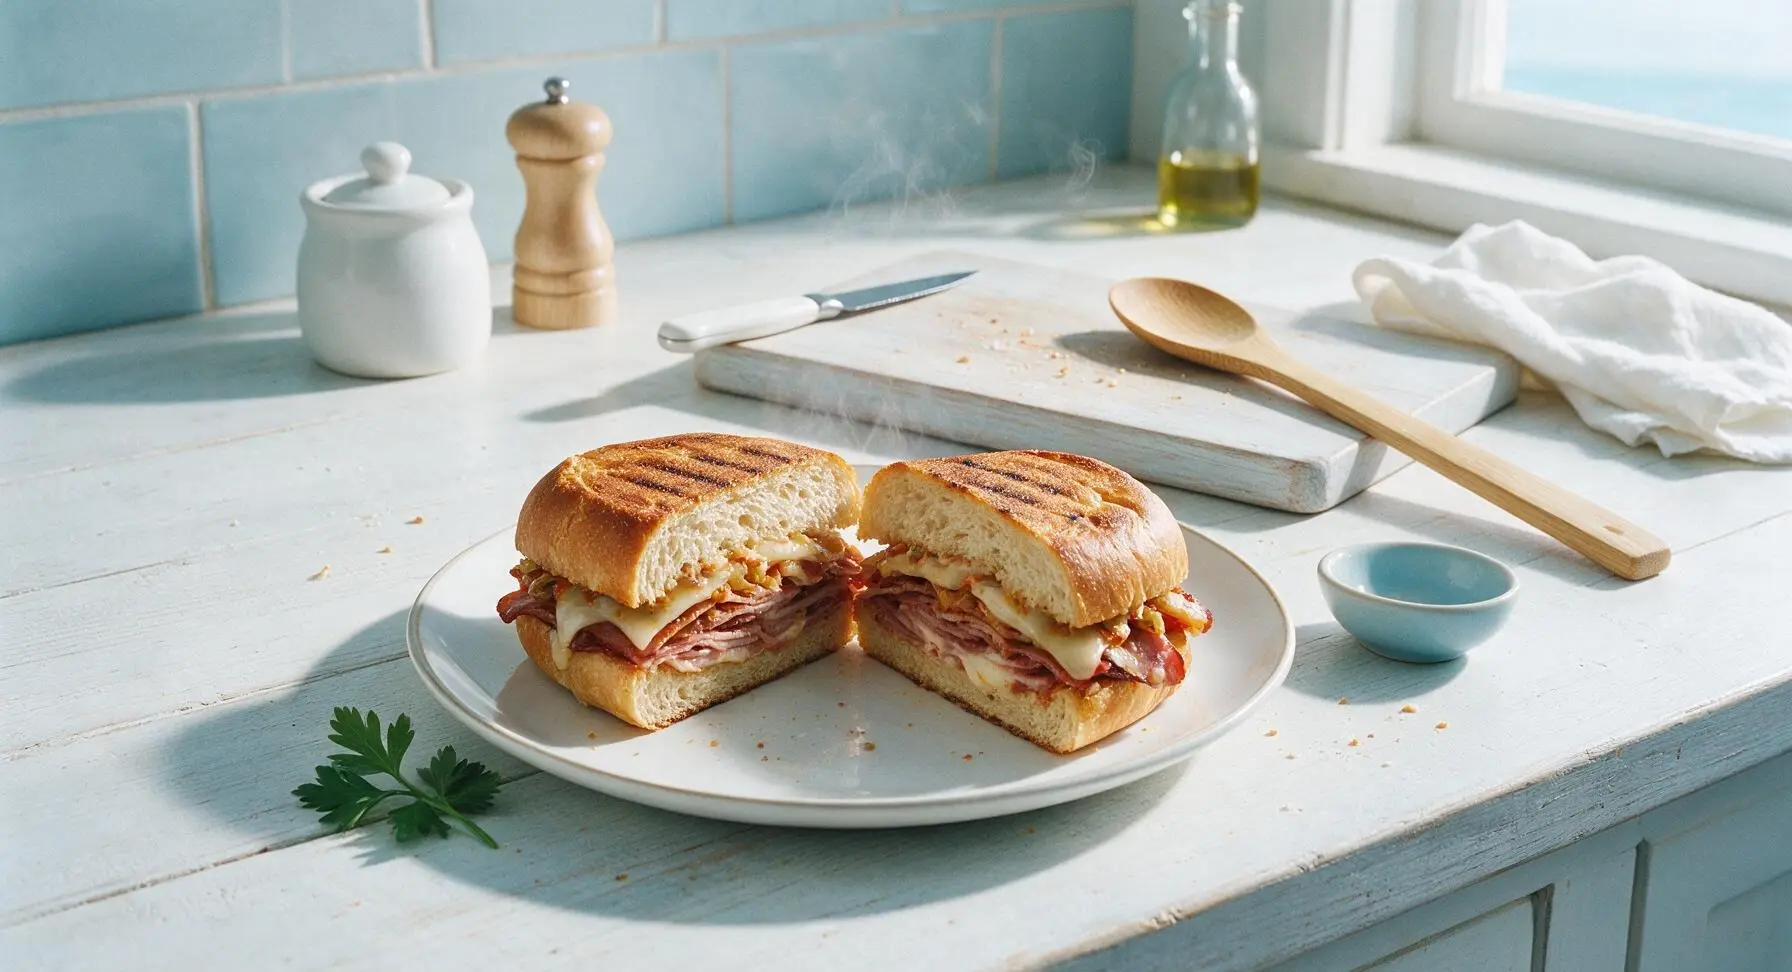
Hearty, hold-together pressed sandwiches loaded with cured meats, melted provolone, and tangy toppings, built to travel and stay crisp through hours of tailgate fun.
Ingredients
Steps
Toast the Sub Loaf
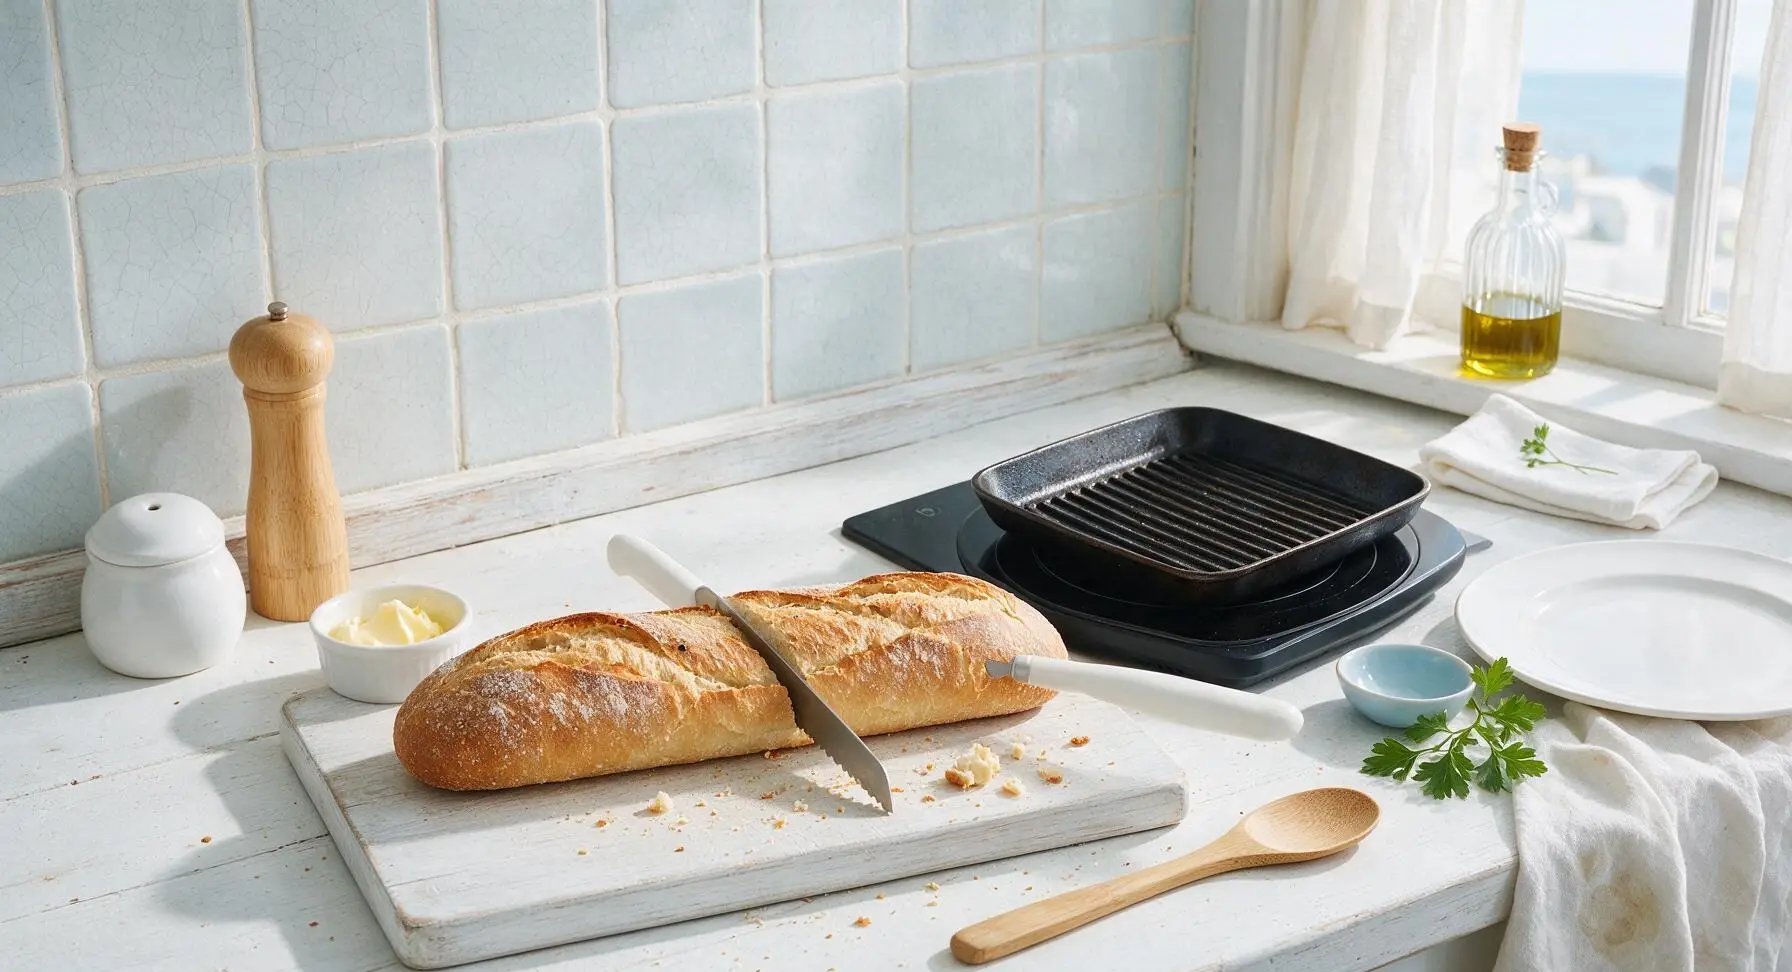
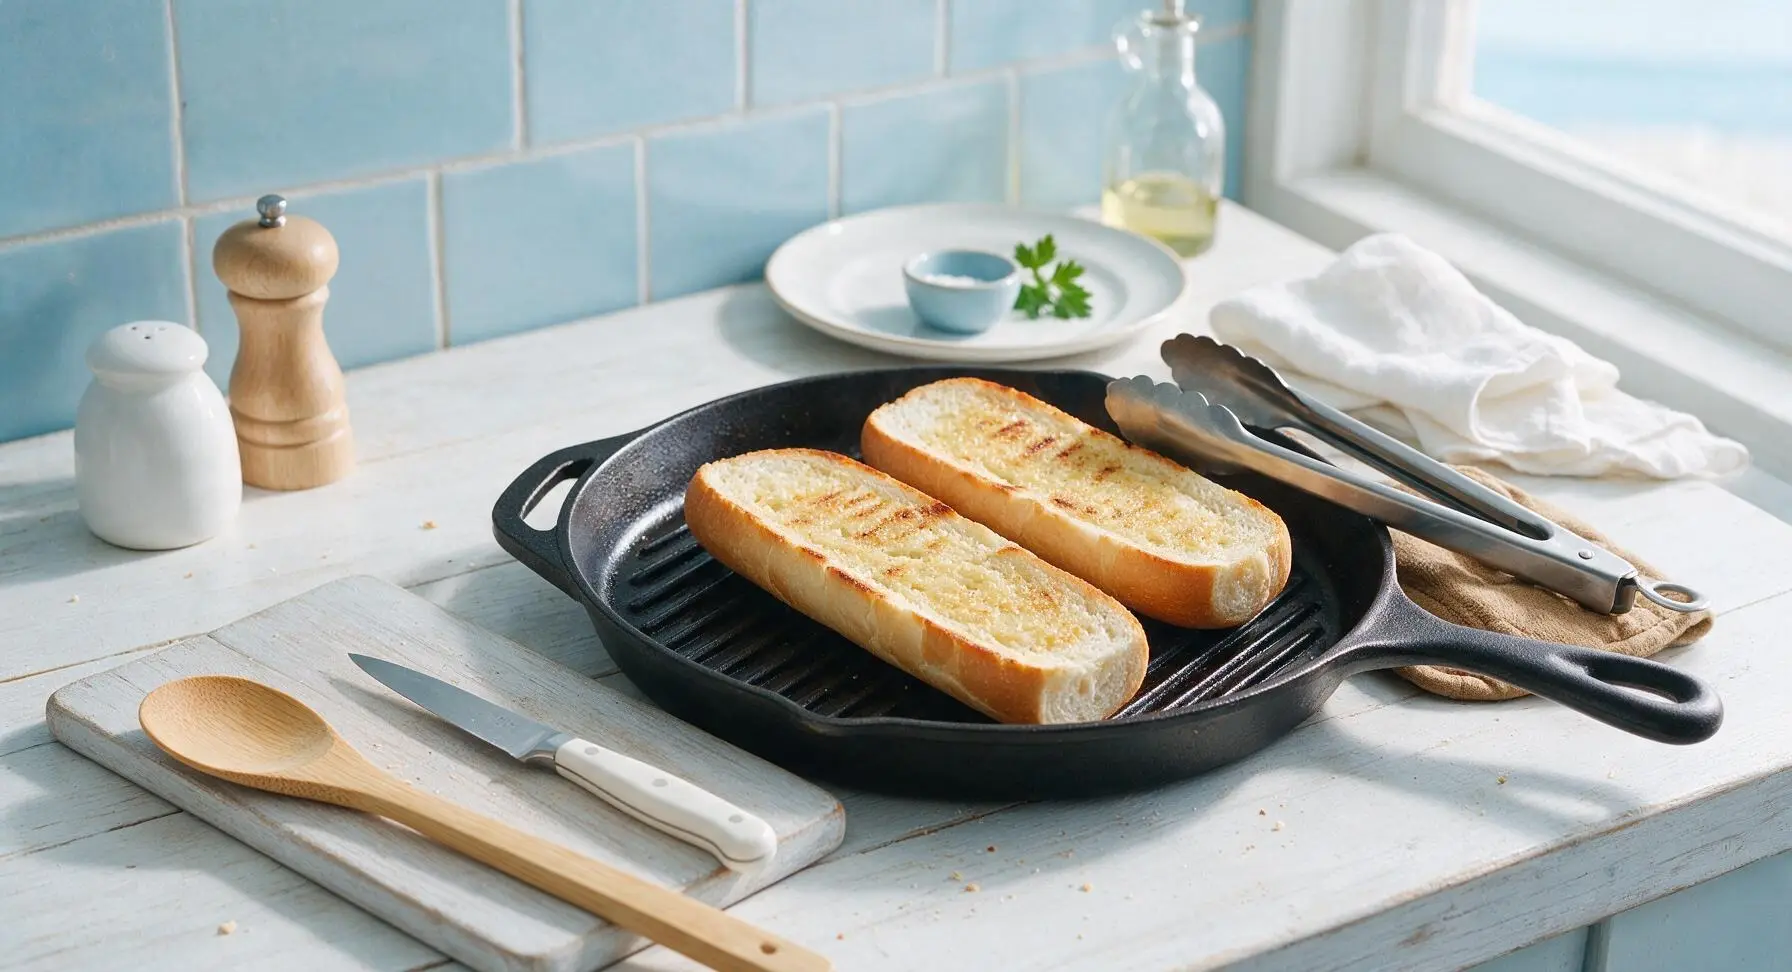
Place the cast iron grill pan on the induction burner over medium heat to preheat for 2 minutes. Place the whole 18-inch Italian sub loaf on the oak cutting board, and use the serrated bread knife to slice it evenly horizontally into two long halves. Spread 1 tablespoon of softened unsalted butter across the cut surface of each loaf half. Place the halves cut-side down on the preheated grill pan, toasting for 2-3 minutes until the cut surface is light golden brown and crisp to the touch, with faint dark grill marks. Transfer the toasted halves back to the cutting board, cut side up, to cool slightly. This crisped surface creates a critical moisture barrier to prevent sogginess.
Mix Zesty Spread
In the stainless steel mixing bowl, combine 2 tablespoons full-fat mayonnaise, 1/4 cup zesty Italian dressing, 1 tablespoon dried oregano, and 1/4 teaspoon freshly ground black pepper. Use the navy silicone spatula to stir the mixture for 30 seconds until fully smooth, with even flecks of oregano distributed throughout the creamy spread.
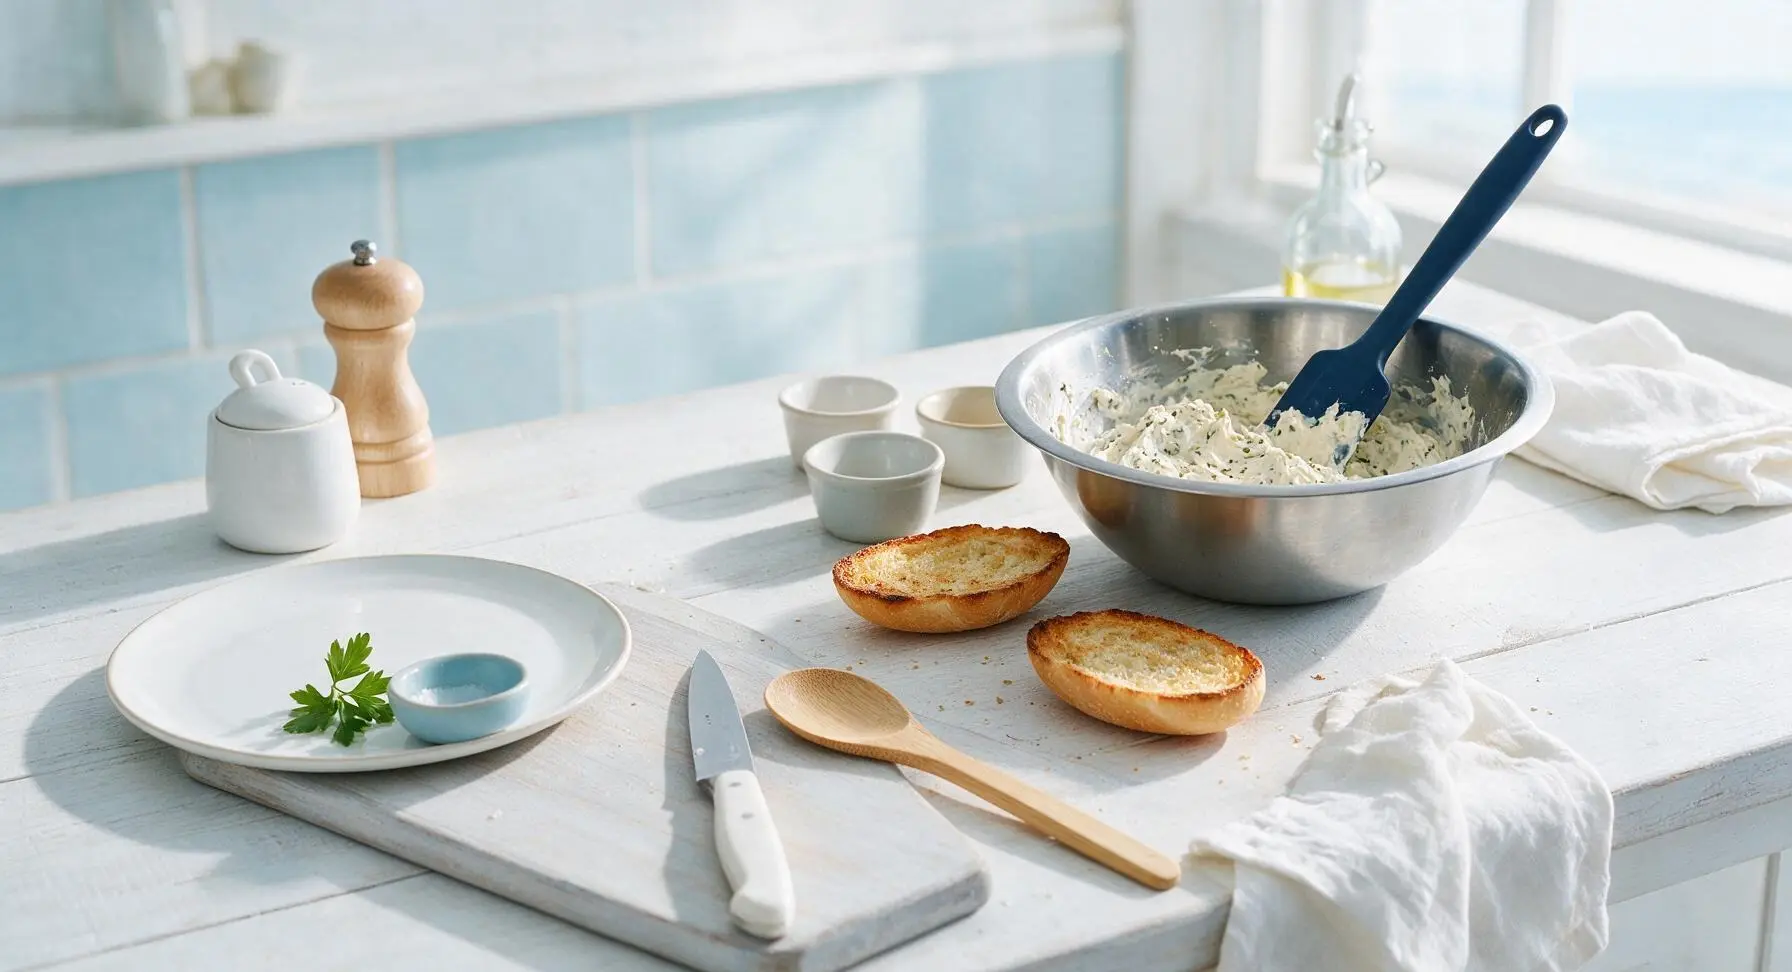
Coat Bread Evenly
Use the navy silicone basting brush to spread the entire cut surface of both toasted loaf halves with the zesty spread, applying a thin, even layer all the way to the crust edges. Do not leave bare bread spots, as these will absorb moisture from fillings and turn soggy.
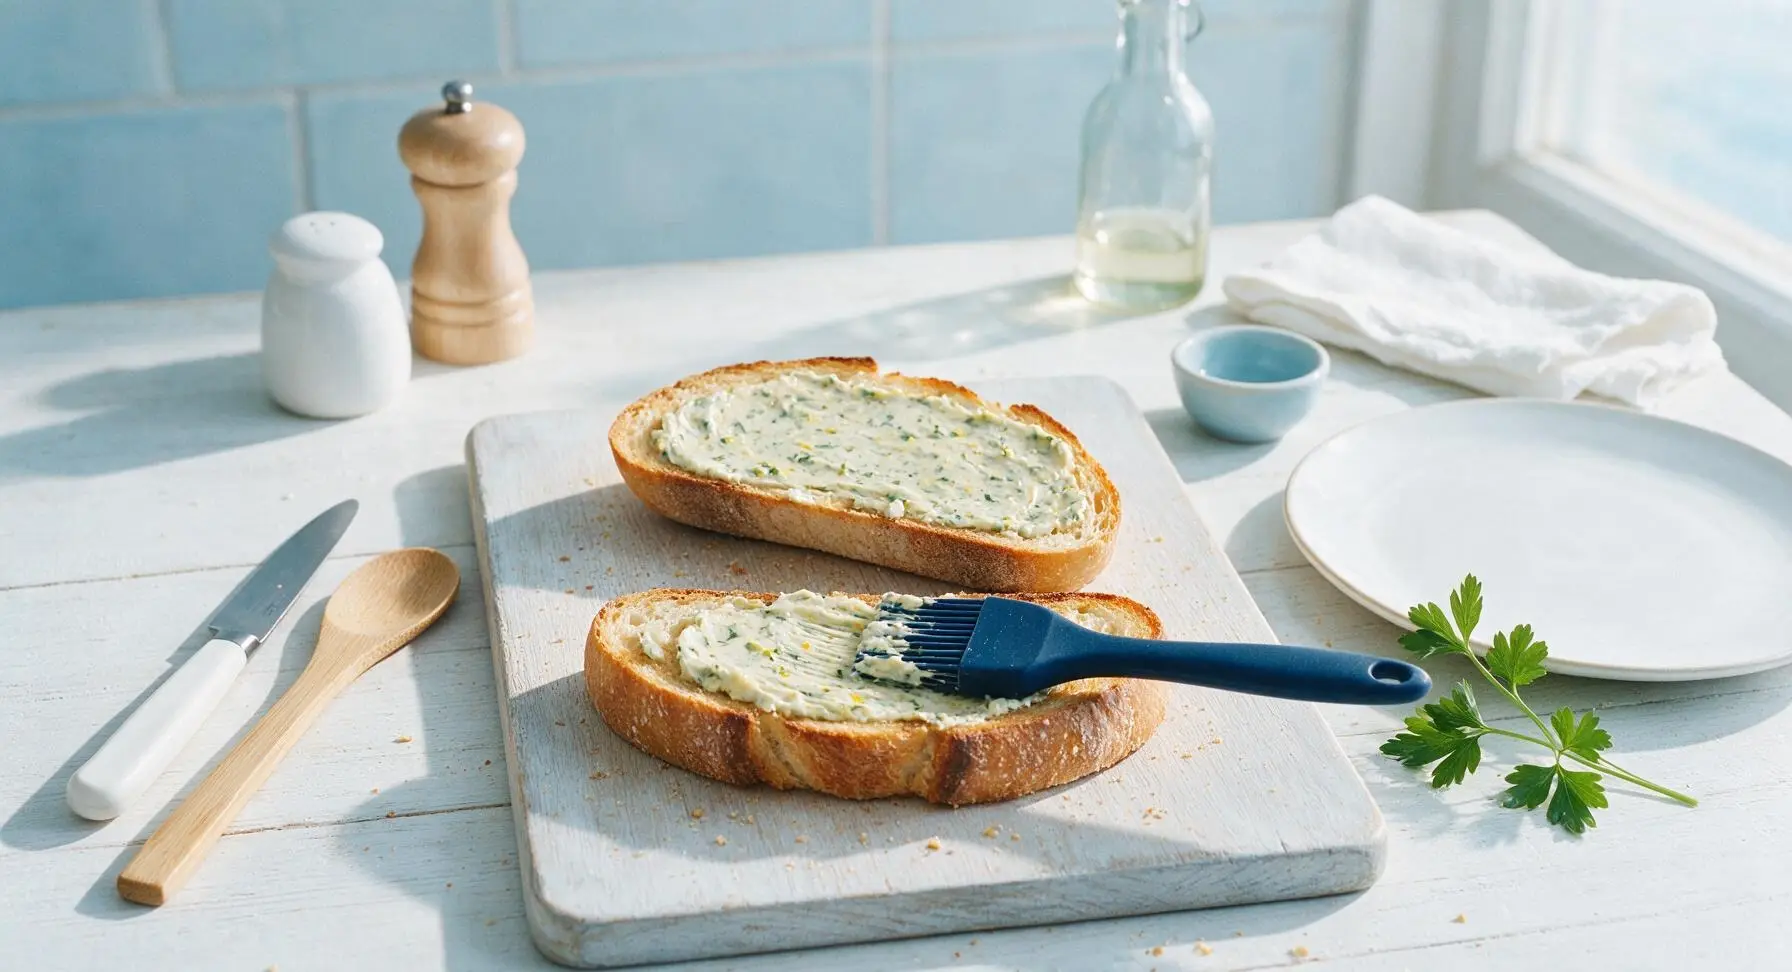
Layer Cheese Base
Arrange half of the sliced provolone cheese (3oz) in slightly overlapping slices across the spread-coated bottom loaf half, covering the entire surface edge to edge. The cheese acts as an additional moisture barrier between the spread and wet fillings, and will melt slightly to hold layers together.
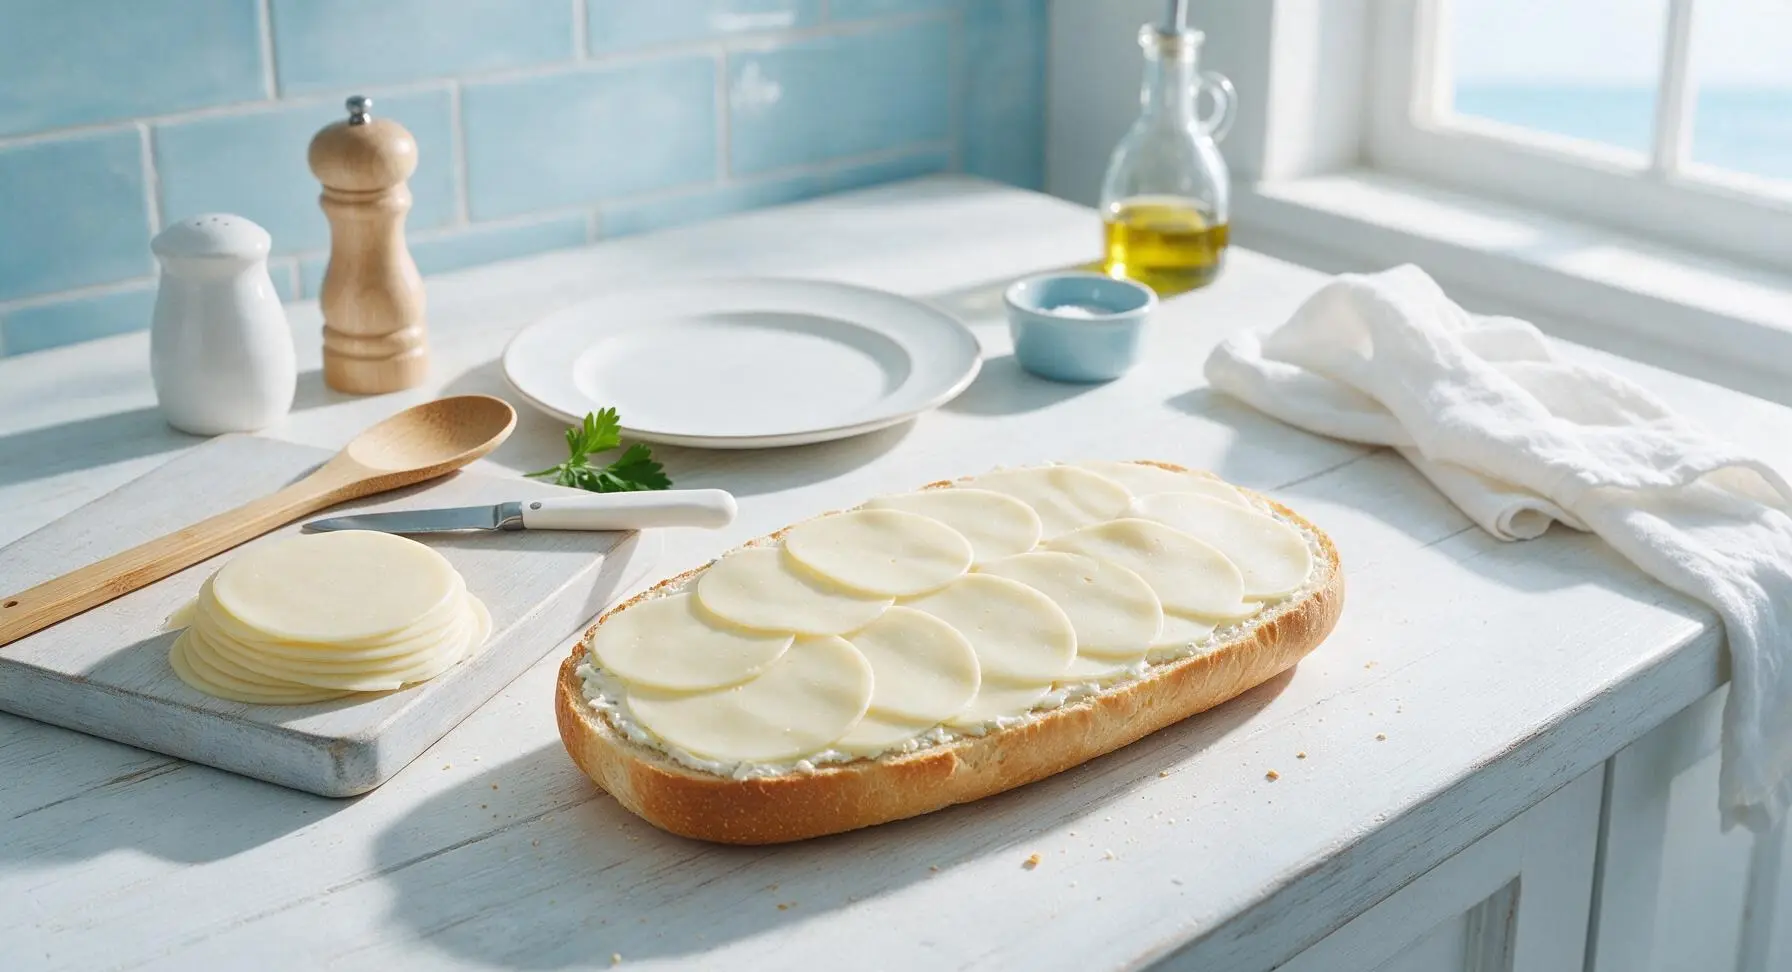
Stack Cured Meats
Layer the 8oz thinly sliced smoked ham and 6oz Genoa salami evenly over the provolone base, alternating slices of ham and salami for even flavor distribution. Press the meat down lightly with clean hands to create a compact, even layer with no large gaps that would cause the sandwich to fall apart when sliced.
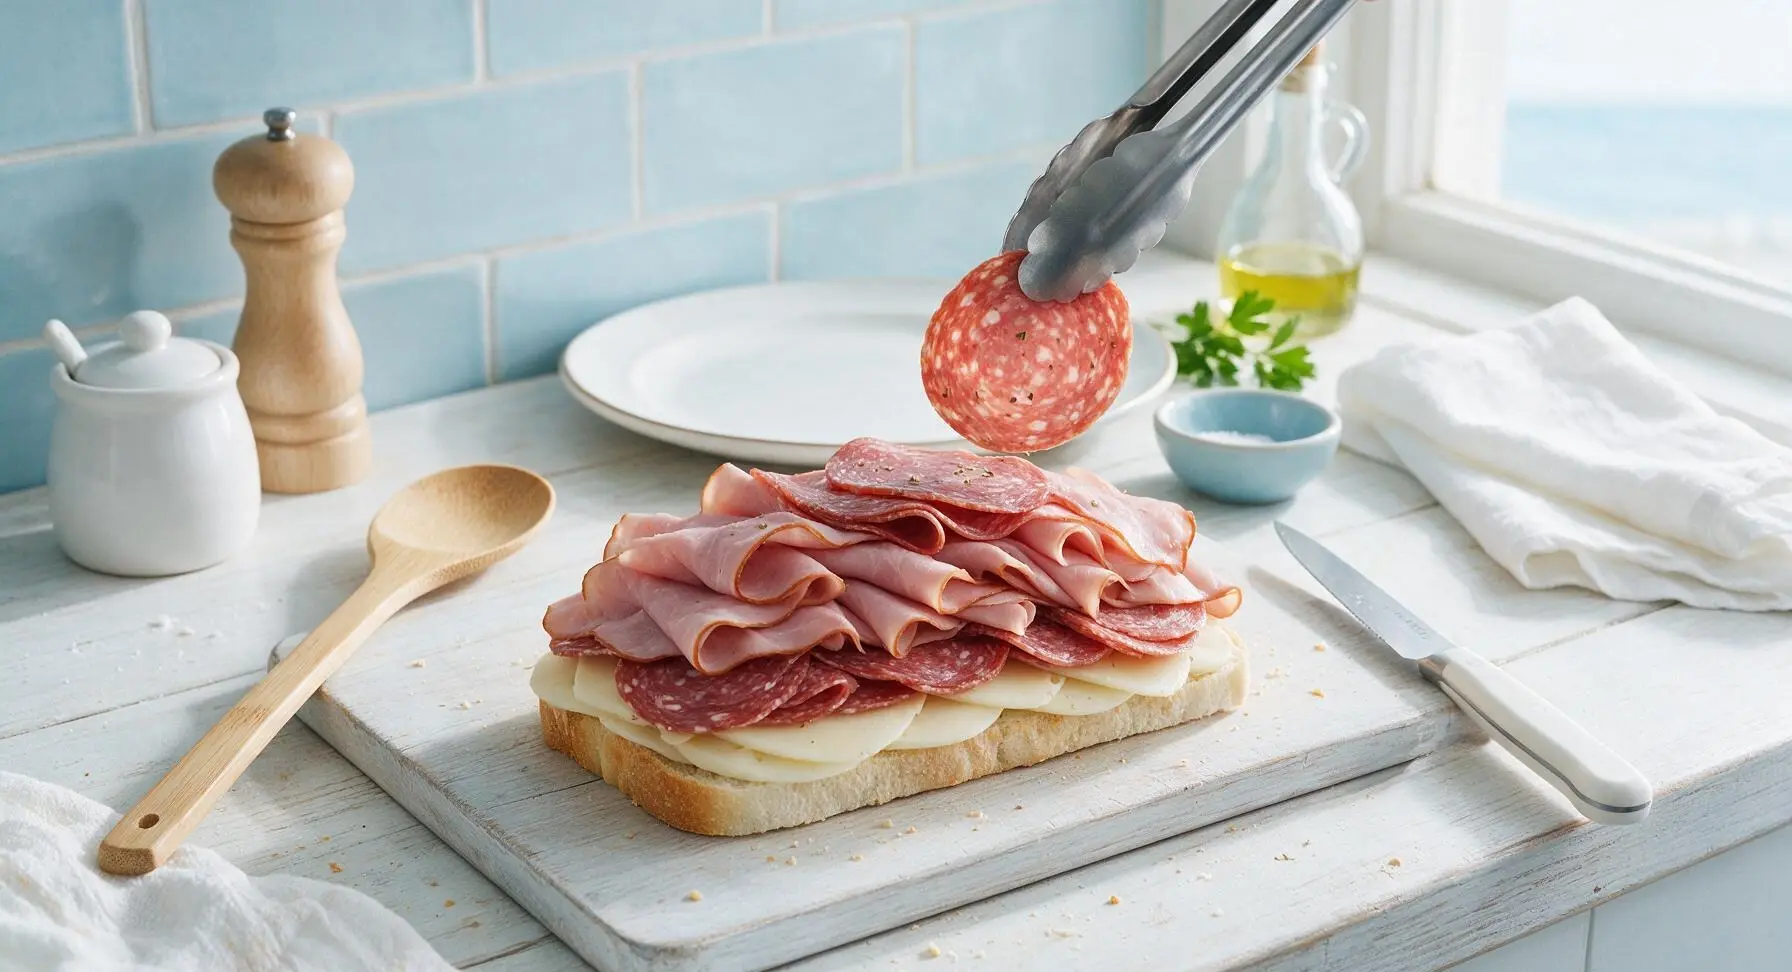
Add Tangy Toppings
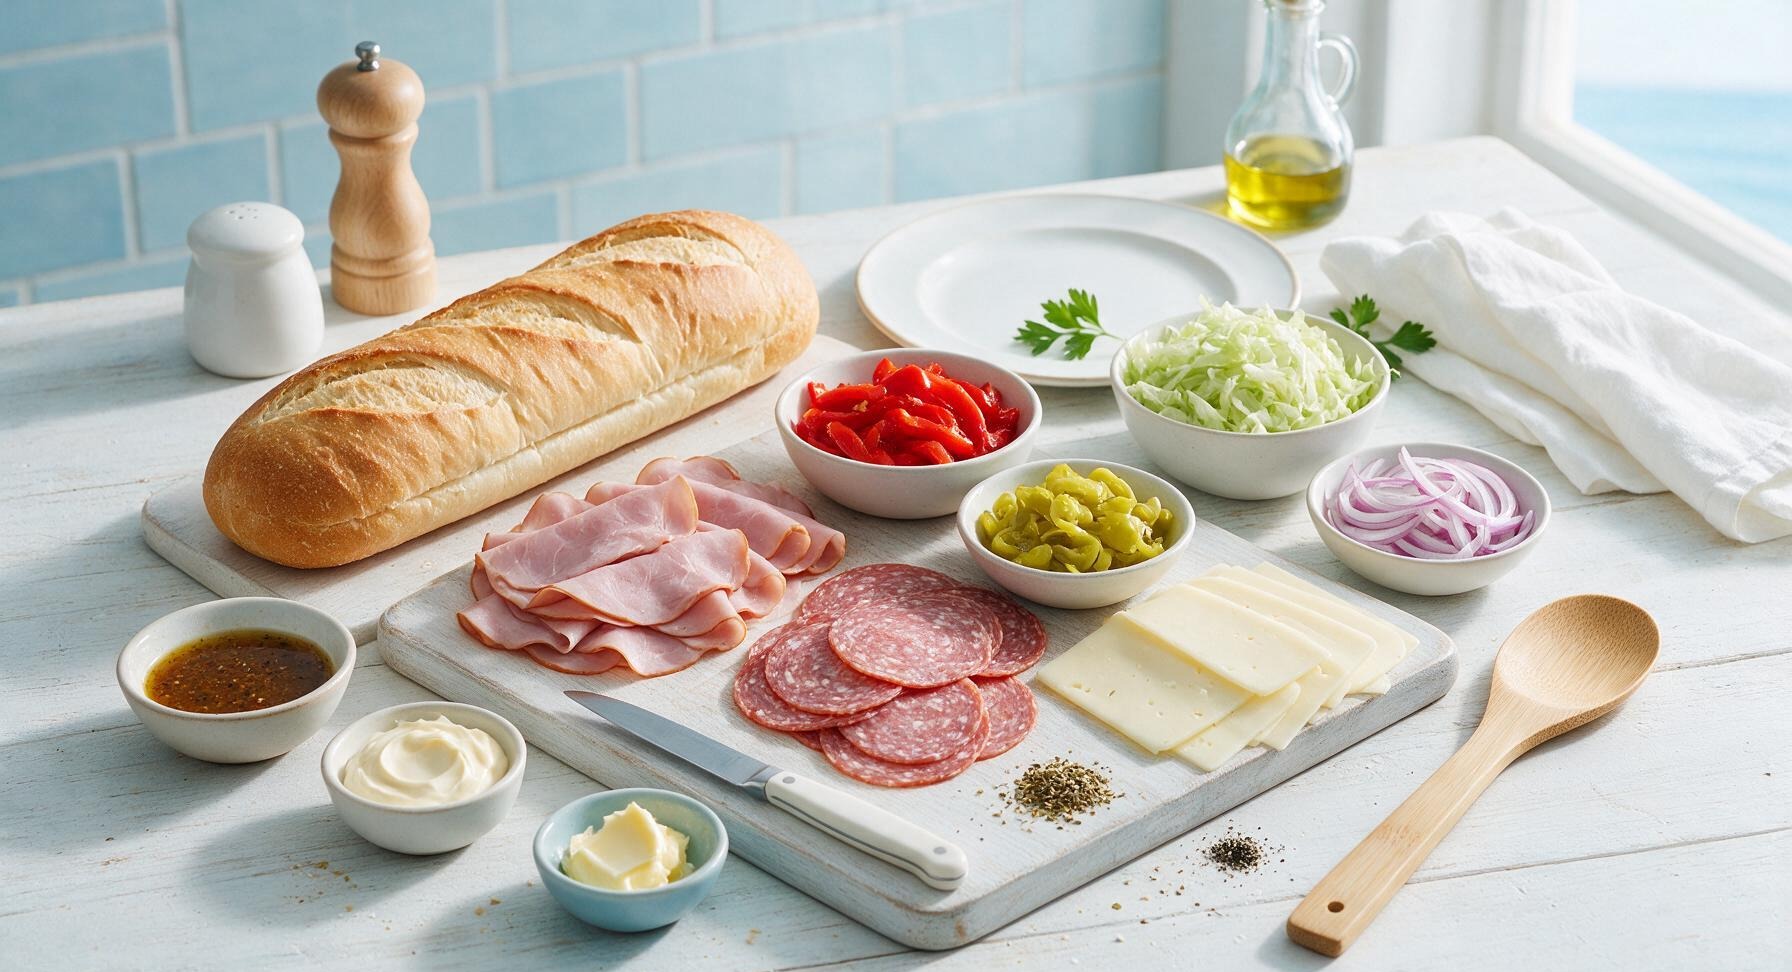
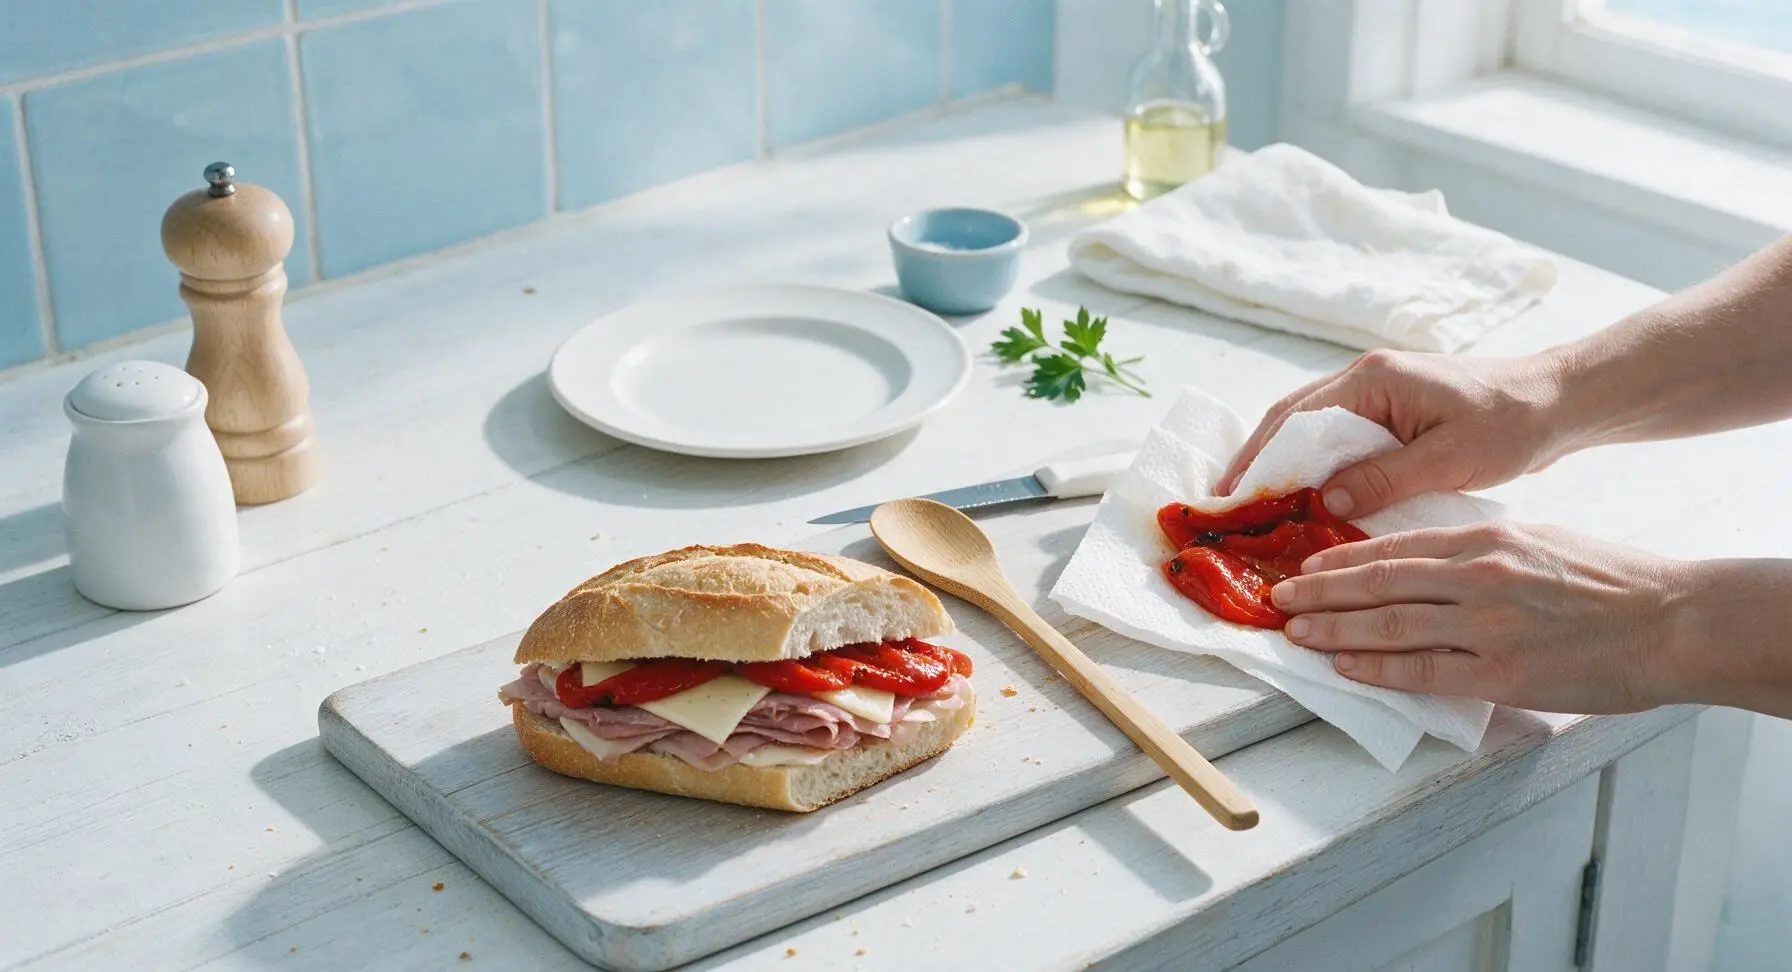
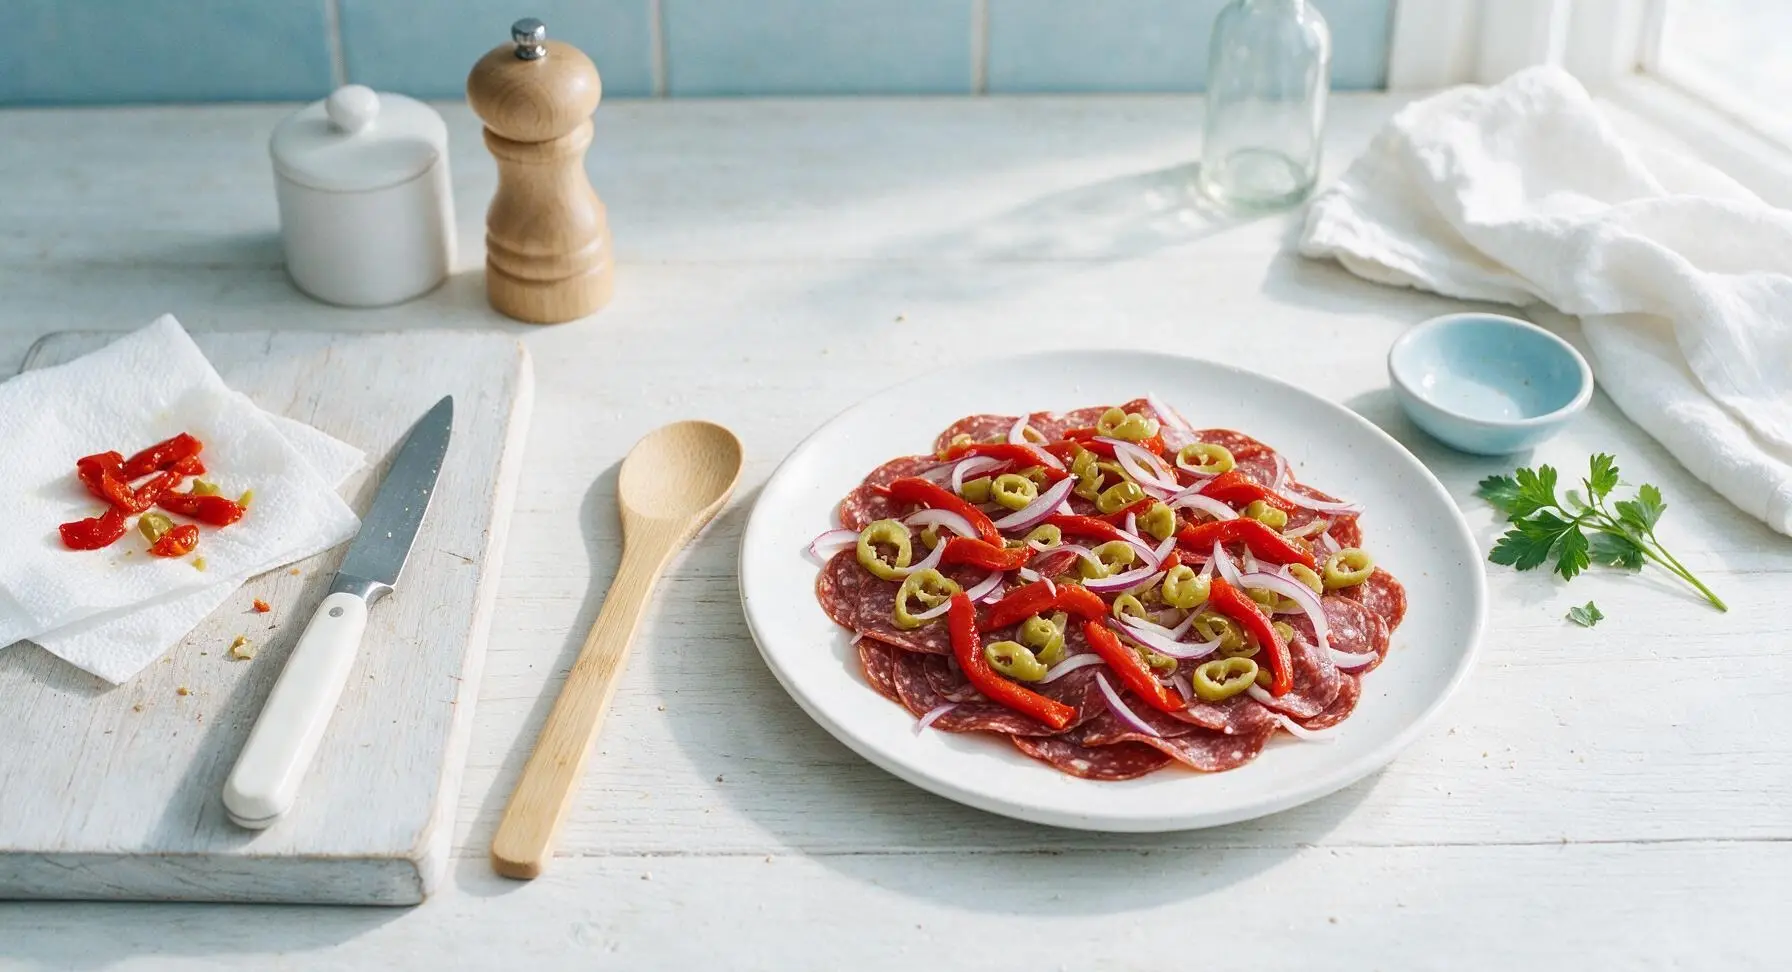
Lay the jarred roasted red peppers on a double layer of paper towel and pat completely dry to remove excess brine and moisture. Layer the dried roasted red peppers evenly over the meat, then top with drained sliced pepperoncini and thinly sliced red onion, spreading the toppings evenly for consistent flavor in every bite.
Press the Sandwich
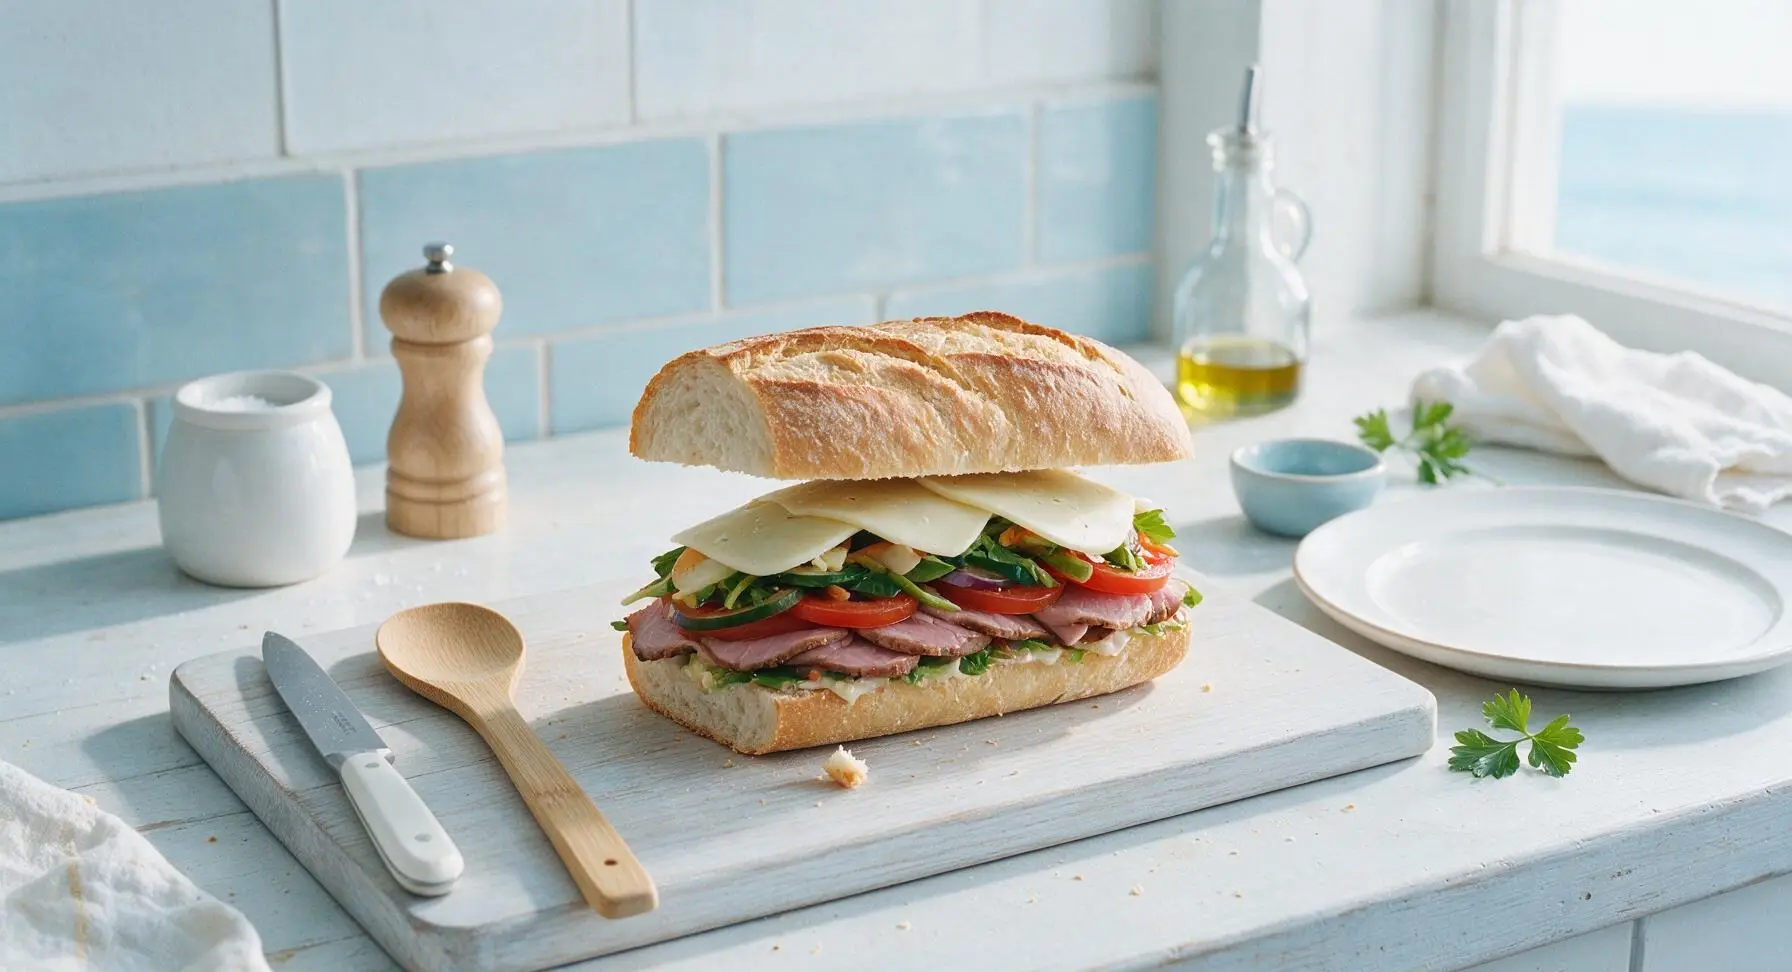
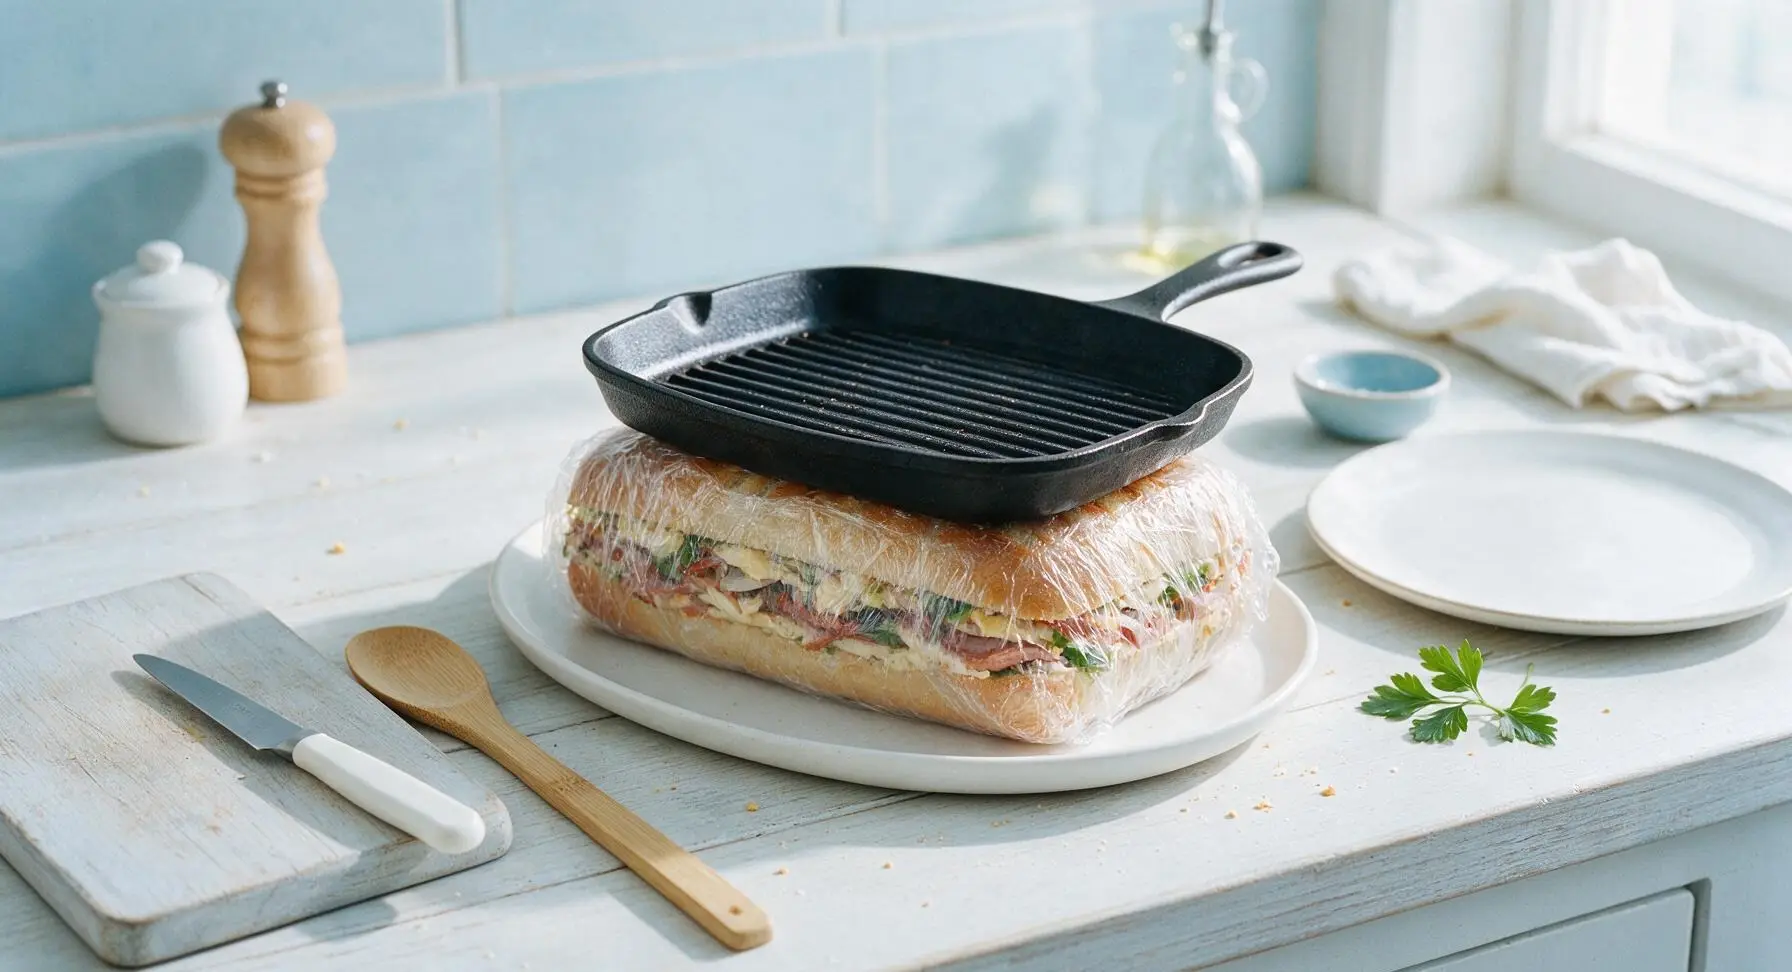
Arrange the remaining 3oz of provolone slices over the vegetable topping layer, then place the top loaf half cut-side down on the stack, pressing down lightly with the palm of your hand to compact layers. Wrap the entire assembled loaf tightly in two layers of clear plastic wrap, then set it on the matte white serving platter. Place the heavy cast iron grill pan directly on top of the wrapped loaf to apply even, firm pressure across the entire surface. Let the sandwich press for 10 minutes at room temperature to meld flavors and compact layers so it holds together when sliced.
Slice and Plate
Remove the cast iron grill pan weight from the platter, then unwrap the plastic from the pressed loaf. Lift the top loaf half slightly and tuck the 1 cup of shredded iceberg lettuce evenly across the top cheese layer (adding lettuce after pressing prevents wilting), then replace the top loaf. Use the serrated bread knife to cut the loaf into 6 equal 3-inch wide sandwiches, using a gentle sawing motion to avoid squeezing fillings out of the edges. Arrange the cut sandwiches on the serving platter for serving.
Tips
2.Pat all brined or juicy ingredients (roasted red peppers, pepperoncini) completely dry with paper towels before adding them to the sandwich: trapped excess brine is the leading cause of soggy, falling-apart sandwiches that don’t hold up to travel.
3.Add delicate, crisp ingredients like shredded lettuce right before slicing and serving, rather than before pressing: the weight of the pan press will wilt tender greens and leave them mushy if left compressed for even 10 minutes.






OMG these were an absolute game changer for our Bills watch party last weekend! I made them the night before, pressed them in the fridge overnight, and they were perfectly melded by kickoff. No soggy bread, all the flavors hit so hard—even my picky teen asked for a second one. 10/10 will be making these for every home game this season!
SO good and so easy to throw together for weekday lunches! I swapped the ham for turkey to cut down on sodium a little, added a smear of pesto, and pressed a whole batch Sunday night. My husband grabbed two on his way out to work this morning before I even had a chance to pack his lunch, lmao. Total weeknight win.
Brought these to our neighborhood block party potluck last week and the platter was empty in 10 minutes flat! Multiple people asked for the recipe, I told them it was only 15 minutes of active prep and no one believed me. The pressed texture makes them so much less messy than regular sub sandwiches for outdoor events.
Made these for my son’s youth football tailgate last Saturday and all the other dads were hounding me for the recipe. So much easier than manning the grill for 2 hours before the game, I got to hang out and watch the team warm up instead of flipping burgers. Will be a regular in our rotation for sure.
My kids loved it! I was worried the mustard and pickles would be too strong for my 7 and 9 year old, but they devoured their halves and asked if we could have these for their soccer team snack next weekend. The only change I made was using Hawaiian rolls instead of a big loaf of sourdough, which made them extra kid-sized.
Wait, has anyone tried making these on a panini press instead of weighing them down in the fridge? I don’t have a ton of fridge space right now with all the game day dips and drinks I’m prepping, so wondering if a quick press would work the same!
Made these for our fraternity tailgate before the homecoming game and let me tell you, these hit DIFFERENT after a couple hours of pre-gaming. We did three loaves worth and not a single crumb was left. Super cheap to make too, which is perfect for a college budget.
I pack these for day hikes all the time now! They don’t get squished in my backpack, no messy condiments leaking all over my gear, and they’re hearty enough to keep me going for a few miles on the trail. Way better than squished PB&J, tbh.
Full transparency, I’m a terrible cook and I still pulled these off! My girlfriend was coming over to watch the Sunday night game and I wanted to make something that didn’t come in a takeout bag, and these were so straightforward. She was super impressed, so thanks for the easy win!
Added a layer of pickled jalapeños and a drizzle of hot honey to mine and oh my GOD, that sweet-spicy kick was unreal. If you’re a heat fan like me, do not sleep on that addition. It takes these from a regular sandwich to something I’d pay $15 for at a deli.