
tapioca waffles
intro
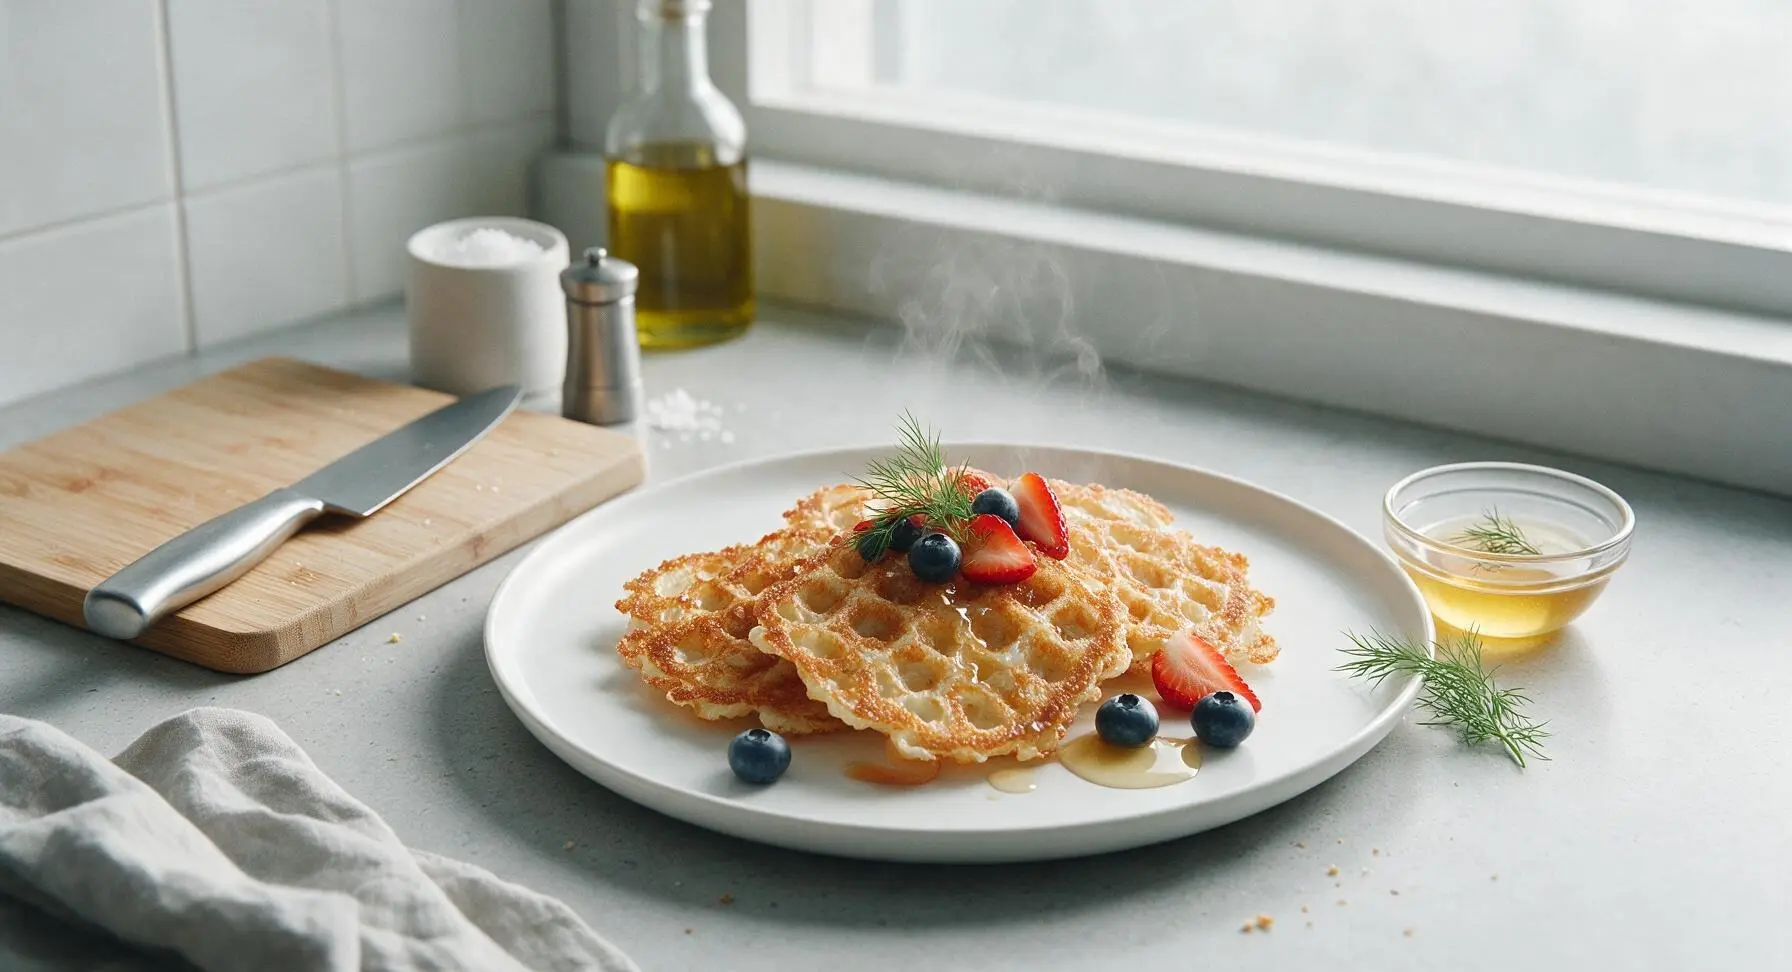
Crisp, chewy gluten-free tapioca waffles with a light, bubbly center, perfect for topping with honey and fresh fruit for a fast, satisfying meal.
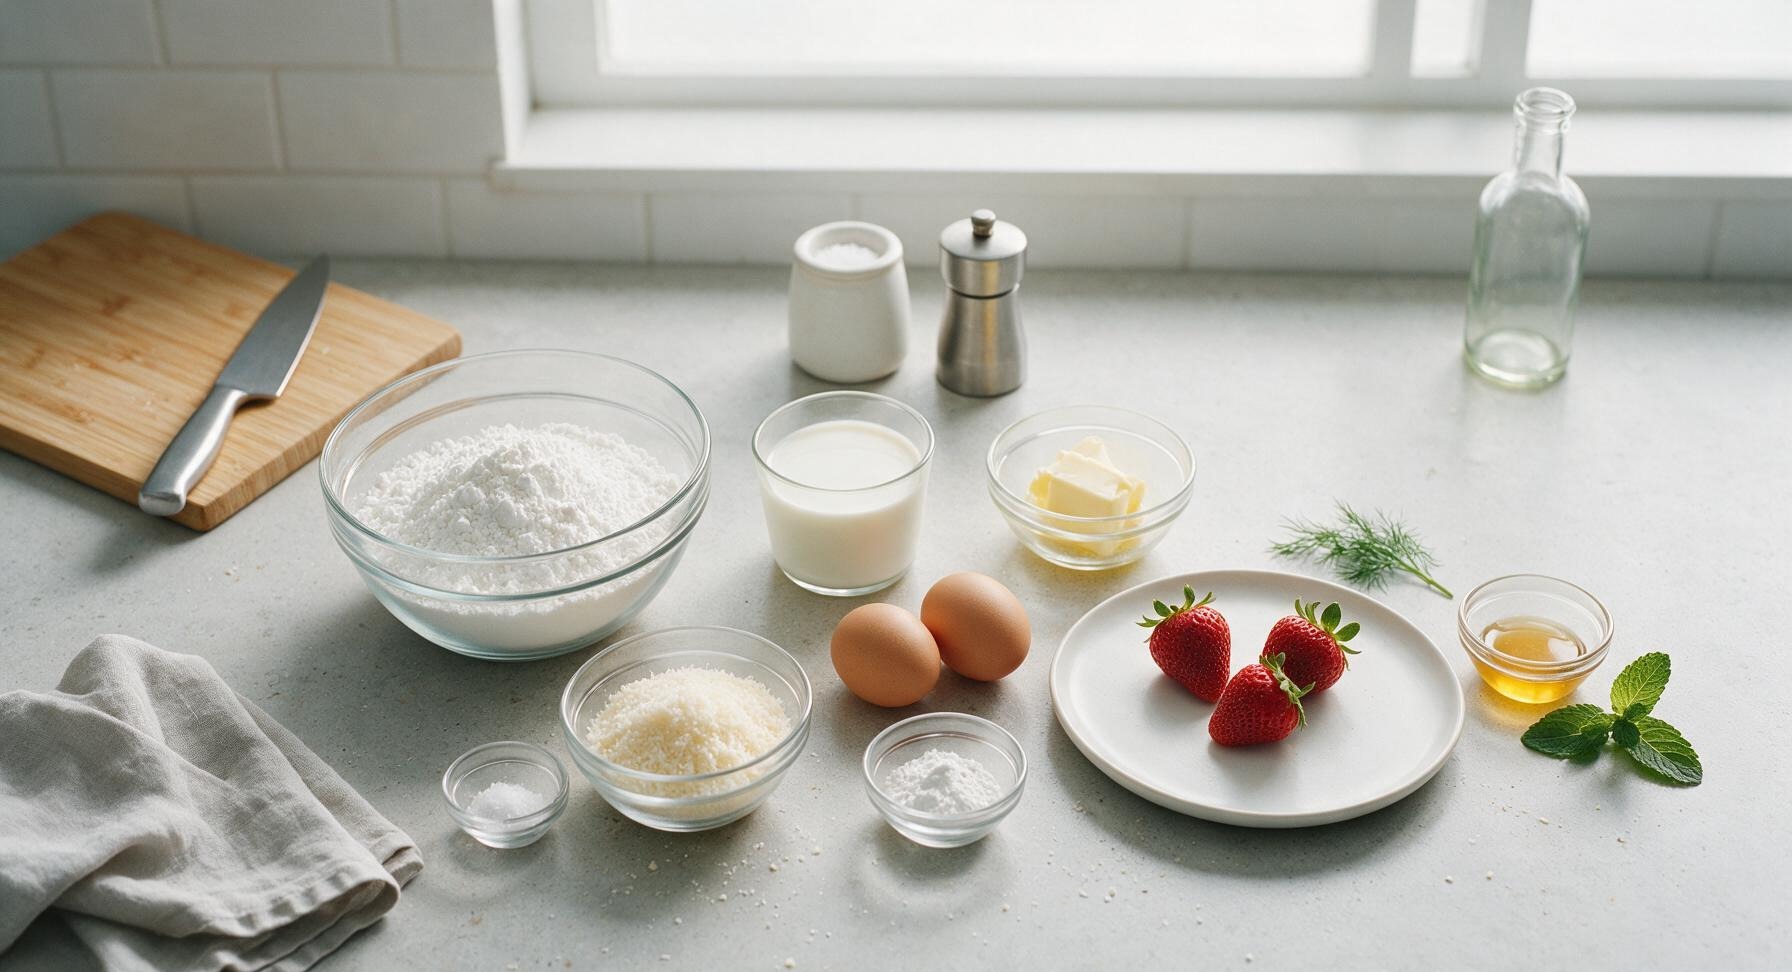
Ingredients
Steps
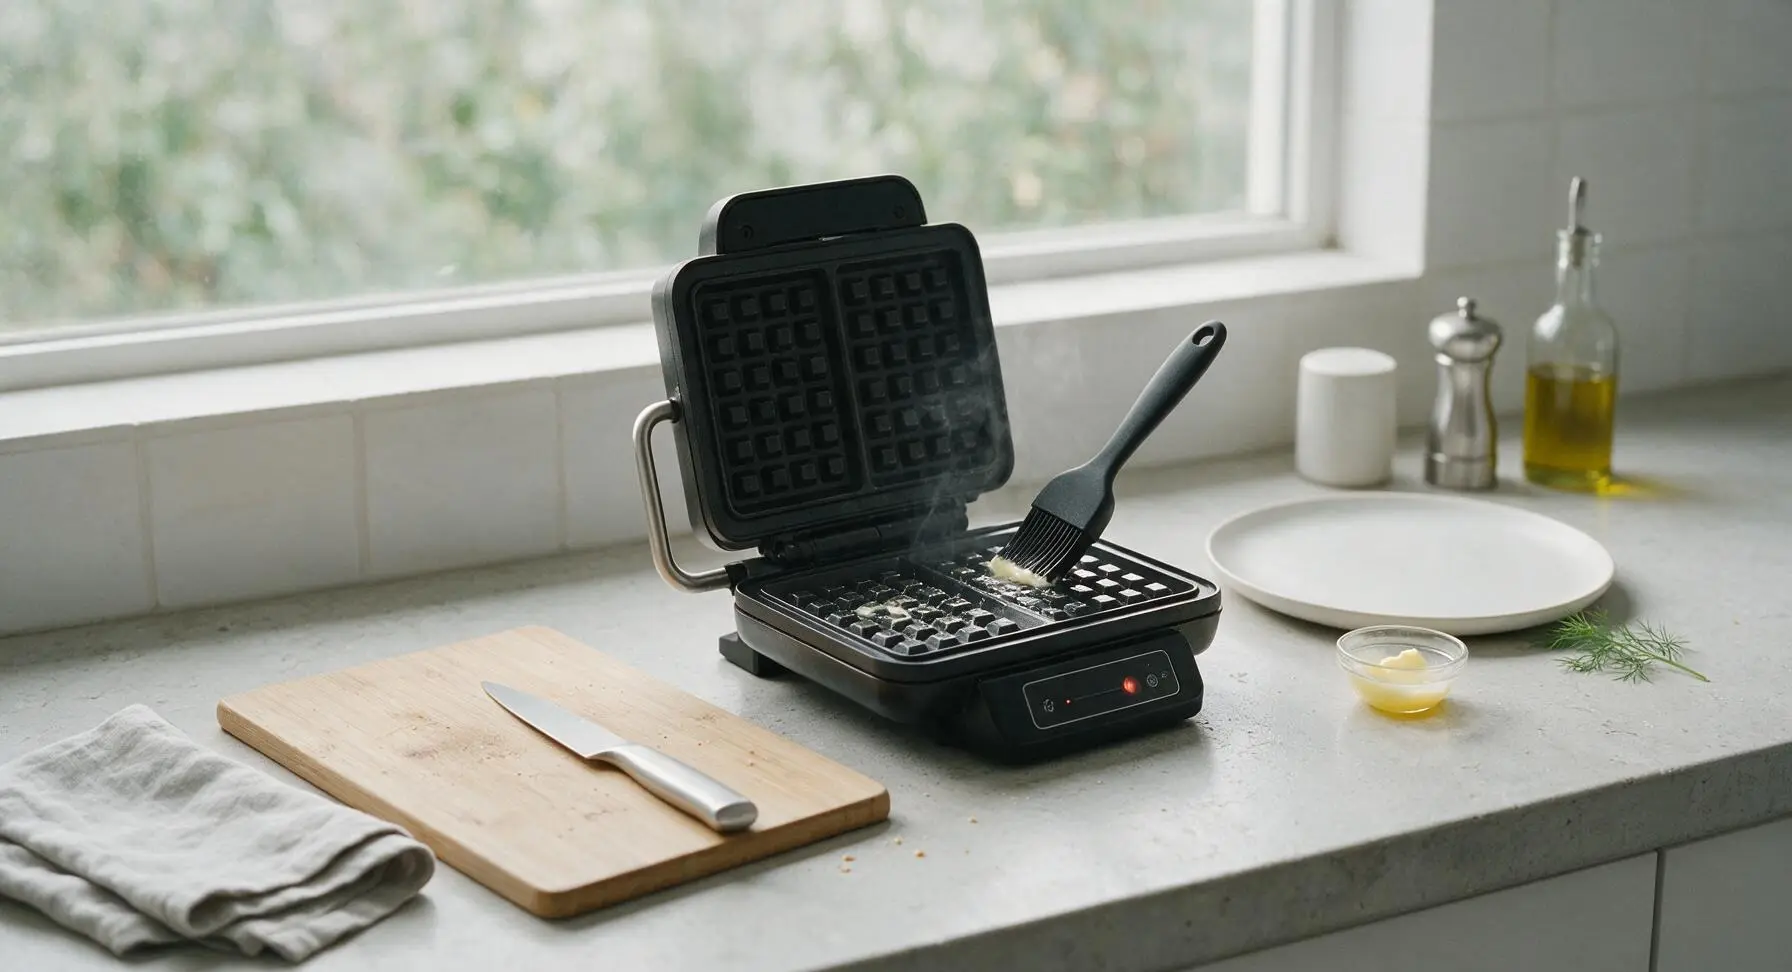
Preheat Waffle Iron
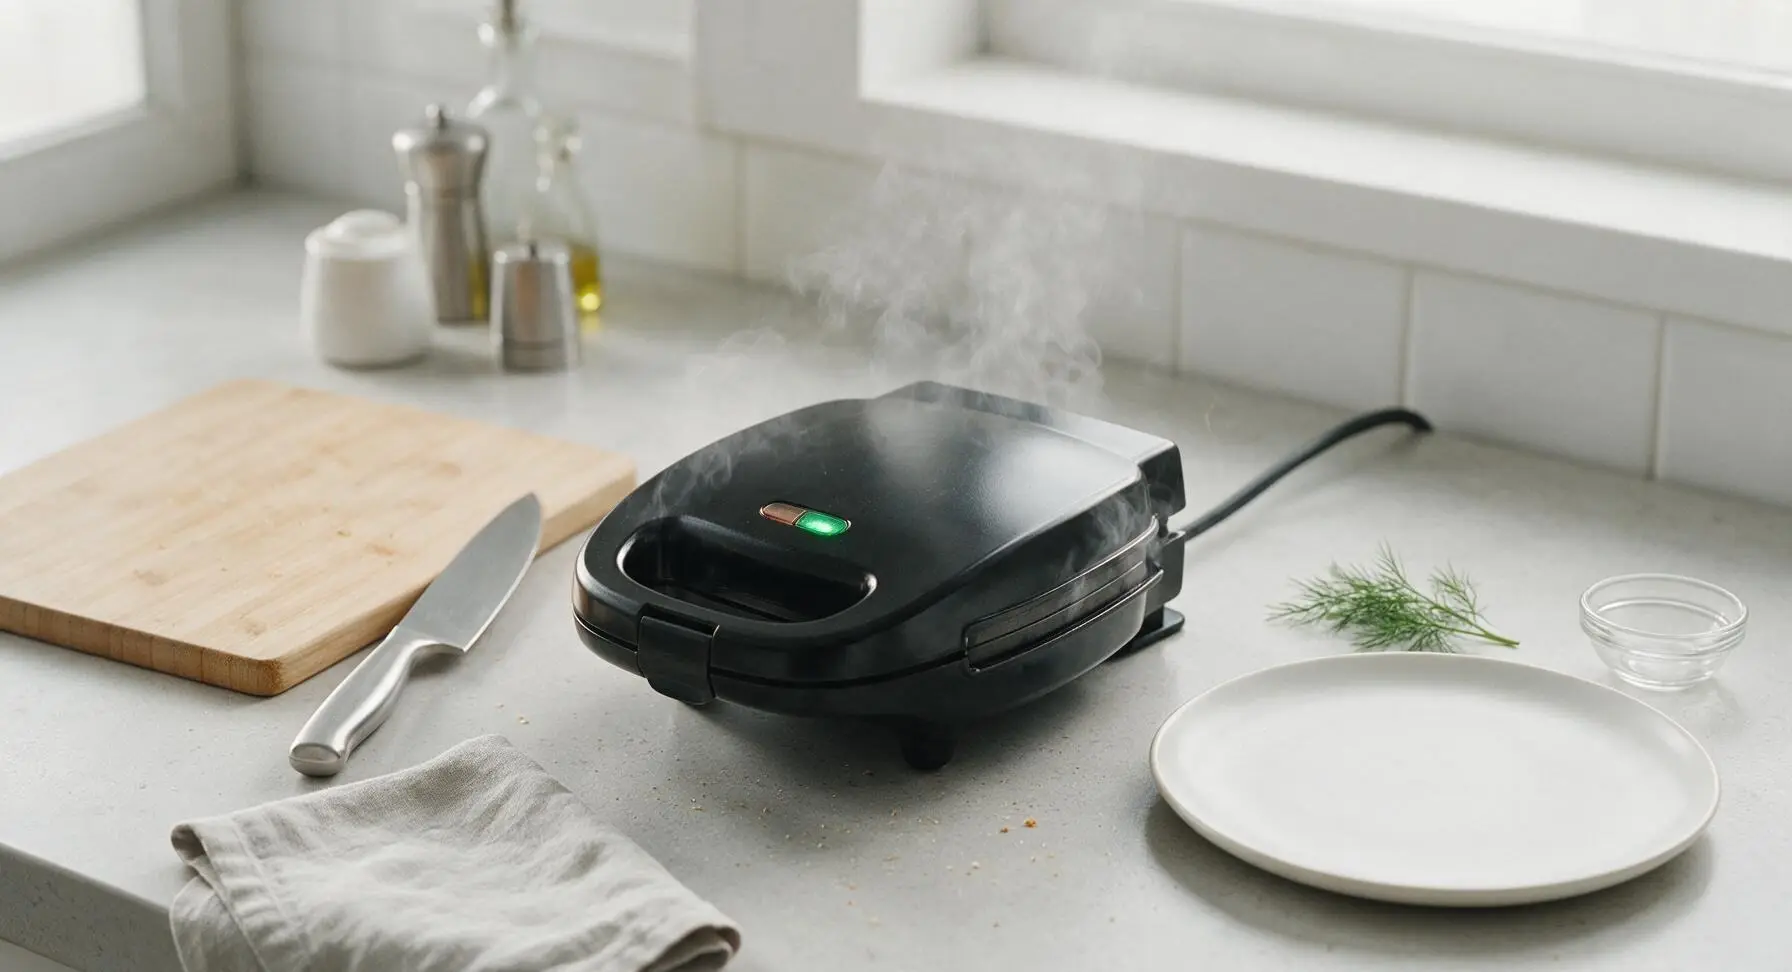
Plug in the matte black waffle iron and preheat to medium-high heat (375°F / 190°C). Use the silicone basting brush to lightly coat both cooking surfaces with 0.5 tbsp of the melted butter, preventing waffles from sticking. The iron is ready when a drop of water sizzles and evaporates immediately on contact, about 3 minutes of preheating.
Combine Dry Ingredients
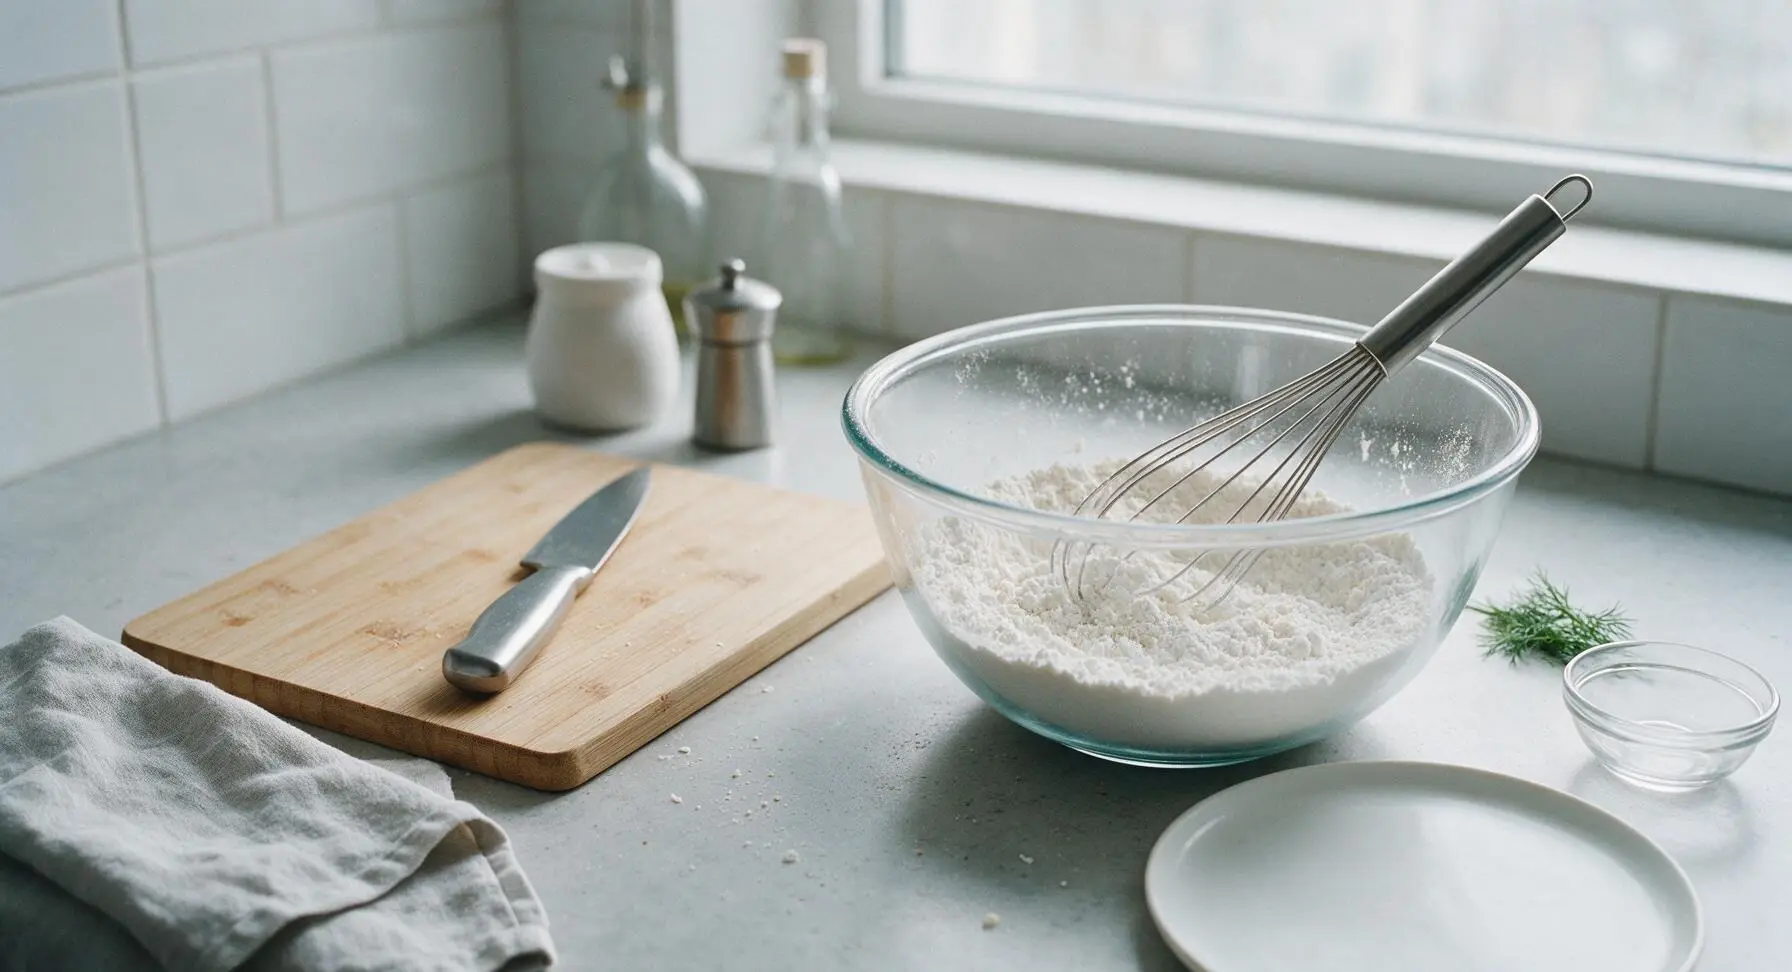
Add 2 cups (240g) tapioca starch, 1 tsp baking powder, and 1/2 tsp fine sea salt to the clear glass mixing bowl. Use the stainless steel wire whisk to stir the dry ingredients together for 30 seconds until fully combined, breaking up any small clumps of tapioca starch so the mixture is uniformly fine and powdery, with no dense clumps remaining.
Mix In Wet Ingredients
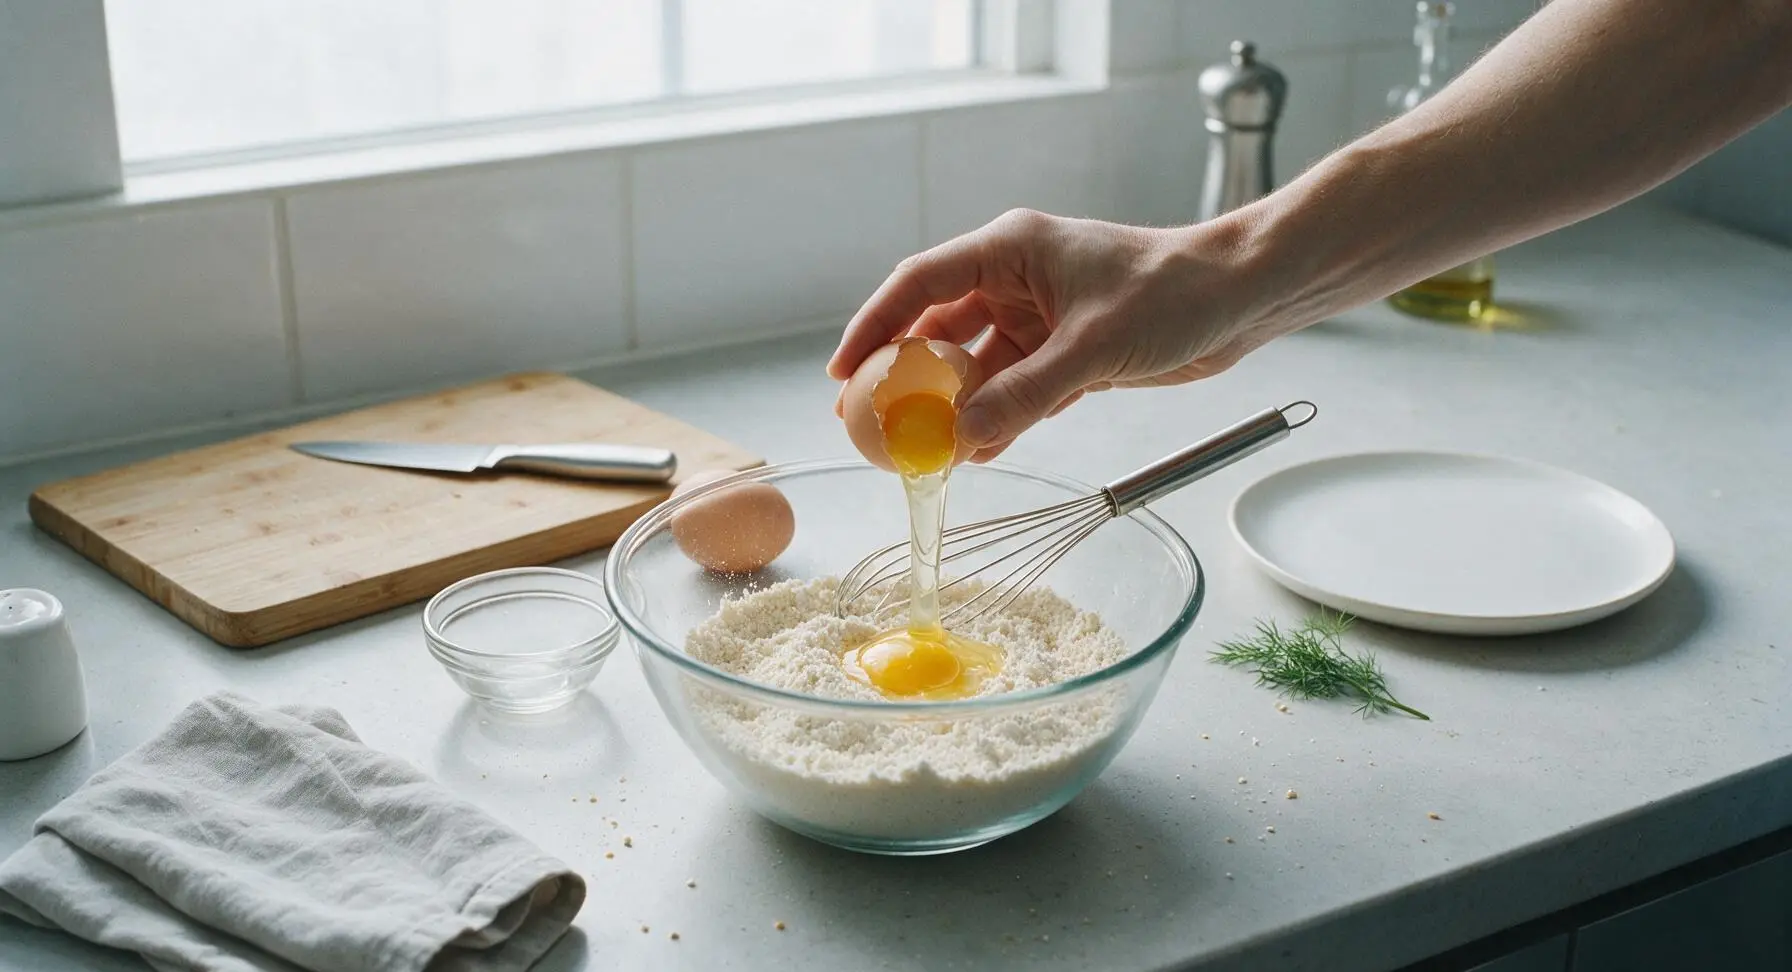
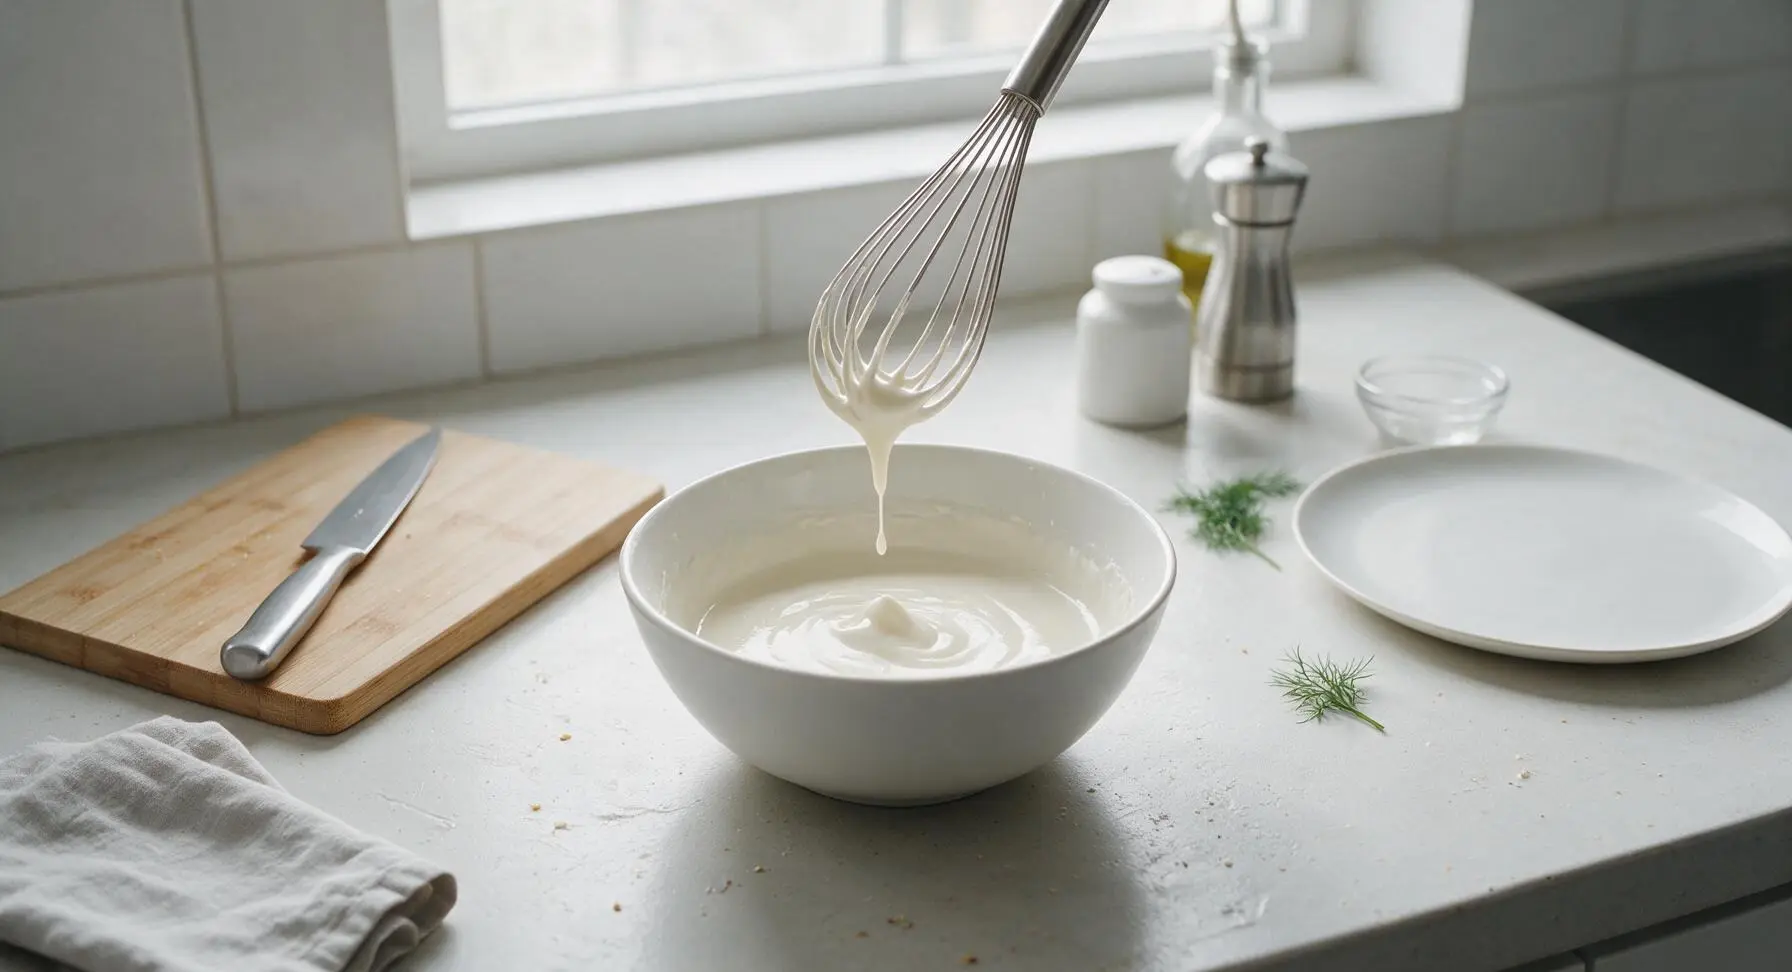
Crack the 2 large eggs into the bowl with the combined dry ingredients, then pour in 1 cup (240ml) whole milk and 1.5 tbsp of the melted butter. Whisk continuously for 1 minute until the batter is completely smooth, with no lumps remaining. The batter will be thinner than traditional wheat waffle batter, with a pourable, creamy consistency similar to heavy cream.
Fold In Grated Cheese
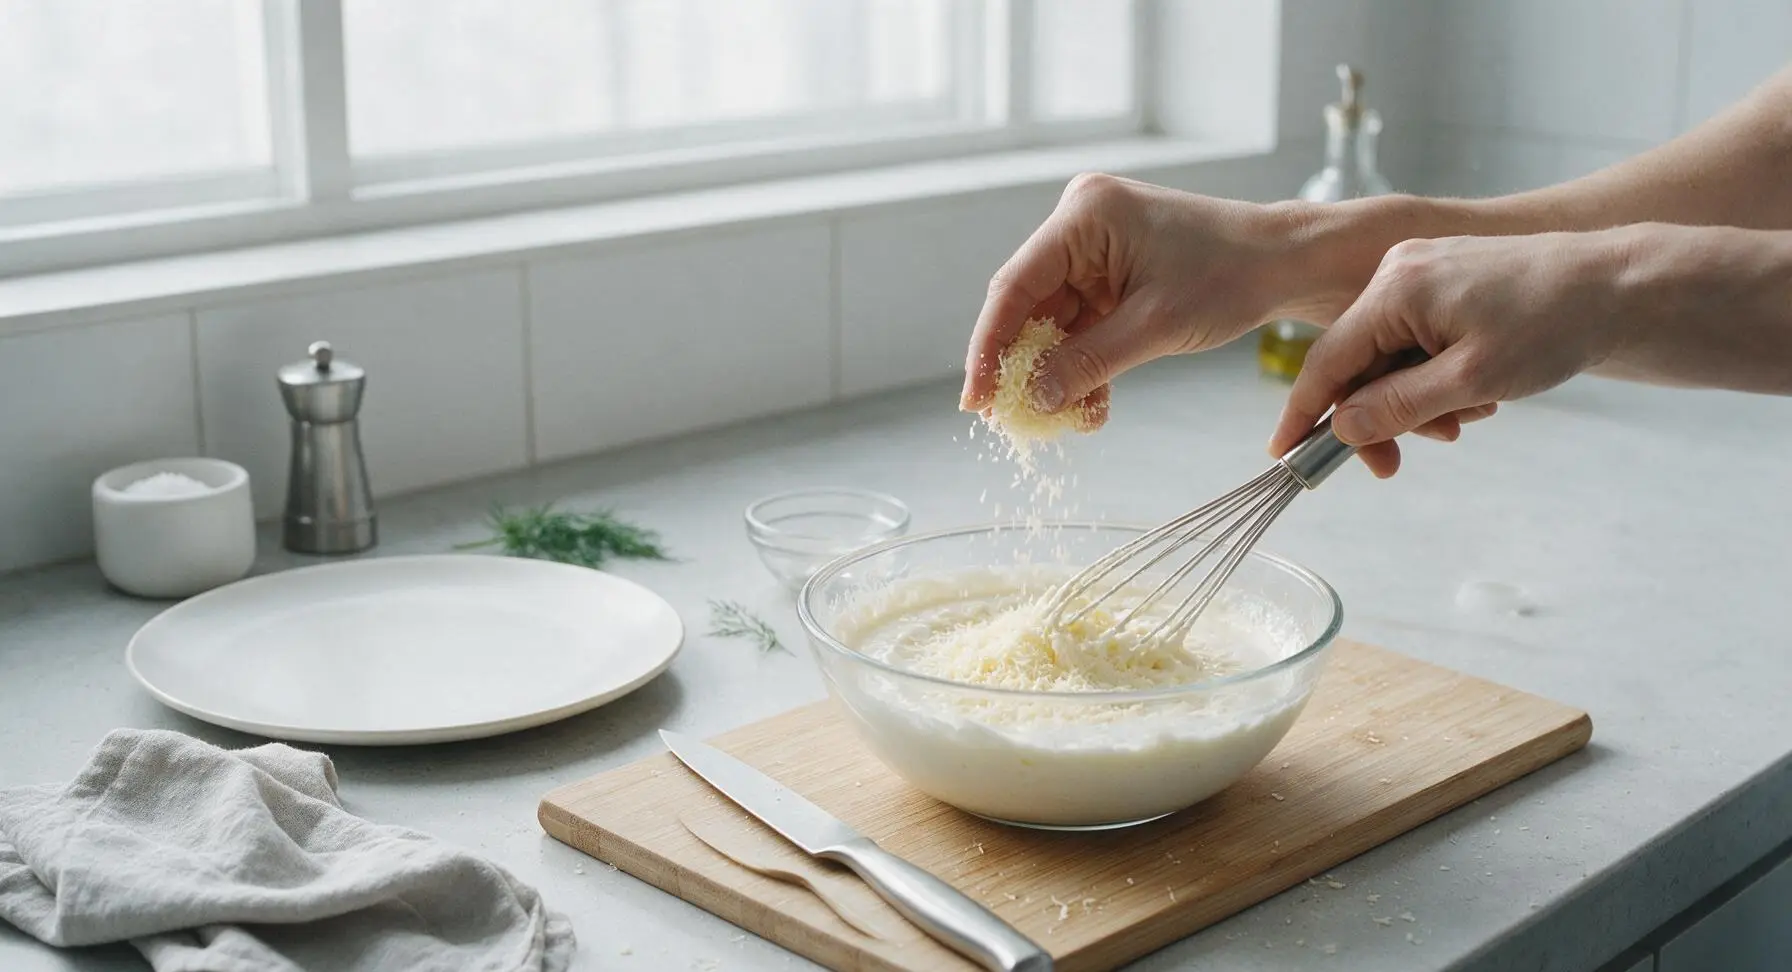
Add the 1/2 cup (50g) finely grated parmesan cheese to the smooth batter, using the whisk to gently fold it in for 15 seconds until evenly distributed. Do not overmix—while there is no wheat gluten to develop, over-stirring can pop small air bubbles from the baking powder, leading to denser waffles.
Pour Batter Onto Iron
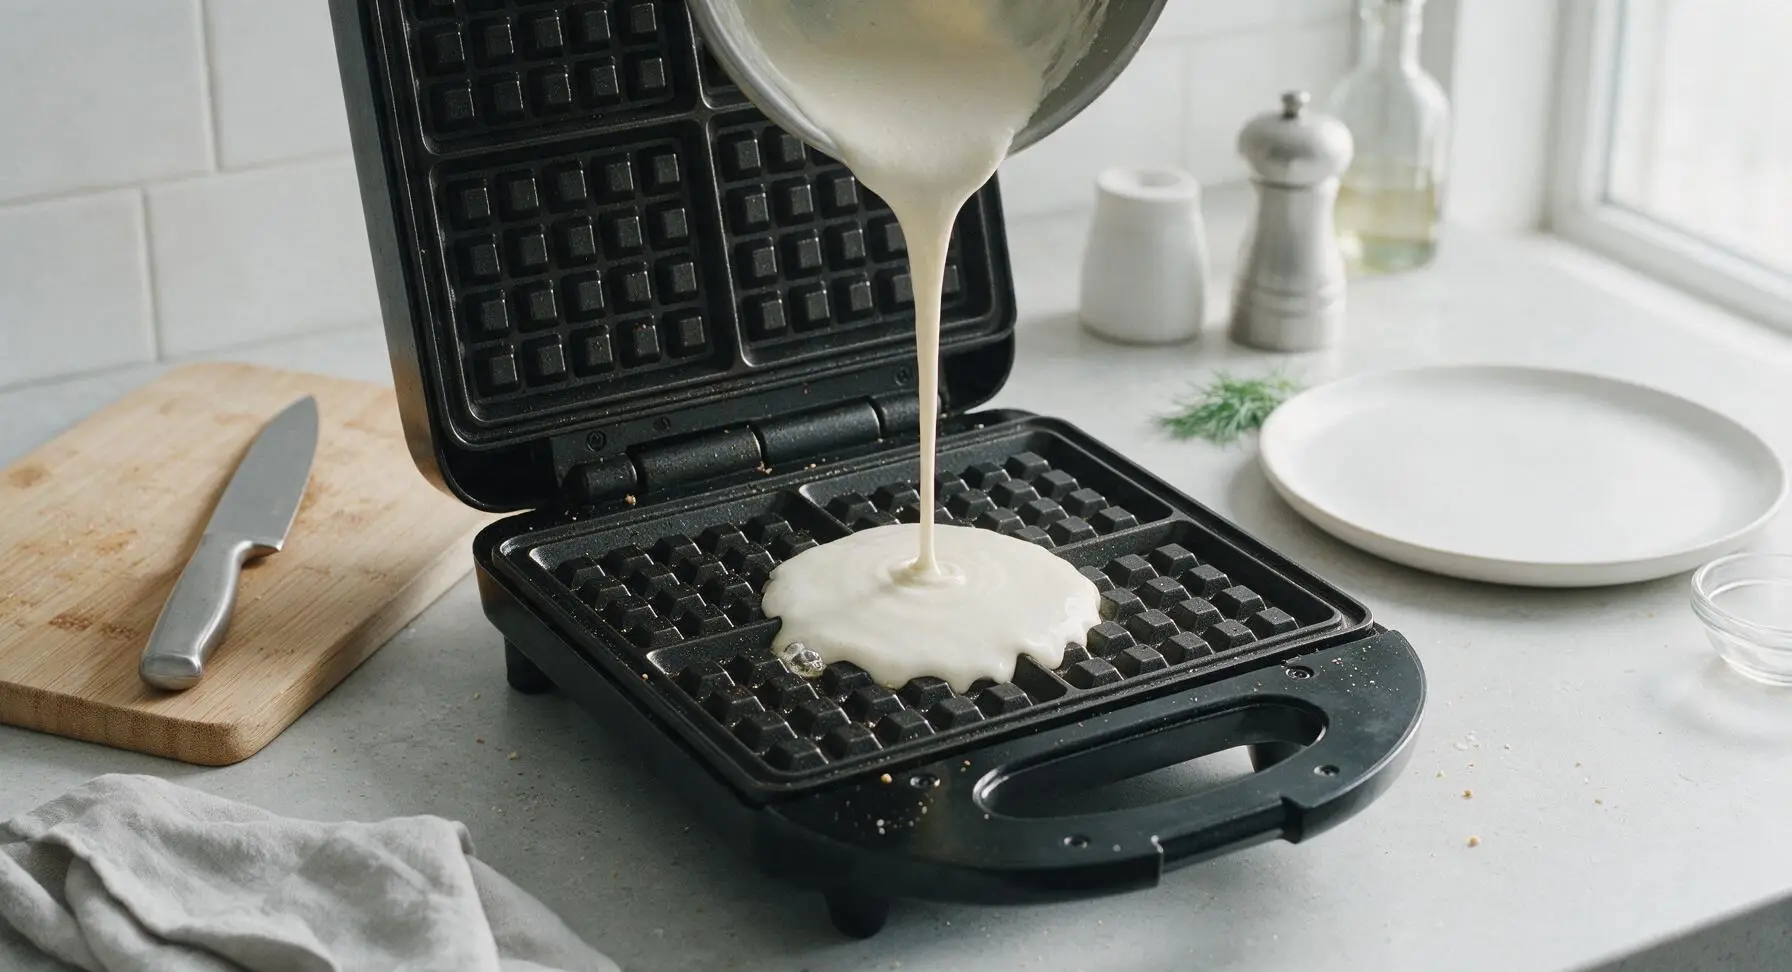
Once the waffle iron is fully preheated (water droplets sizzle and evaporate in 1 second on contact), pour 3/4 cup of the batter directly into the center of the lower cooking grid. Do not spread the batter manually; it will spread evenly on its own when you close the lid. Avoid overpouring, as excess batter will leak out the sides of the iron as it cooks and expands, creating burnt, crispy messes on the iron’s exterior.
Cook Until Golden Crisp
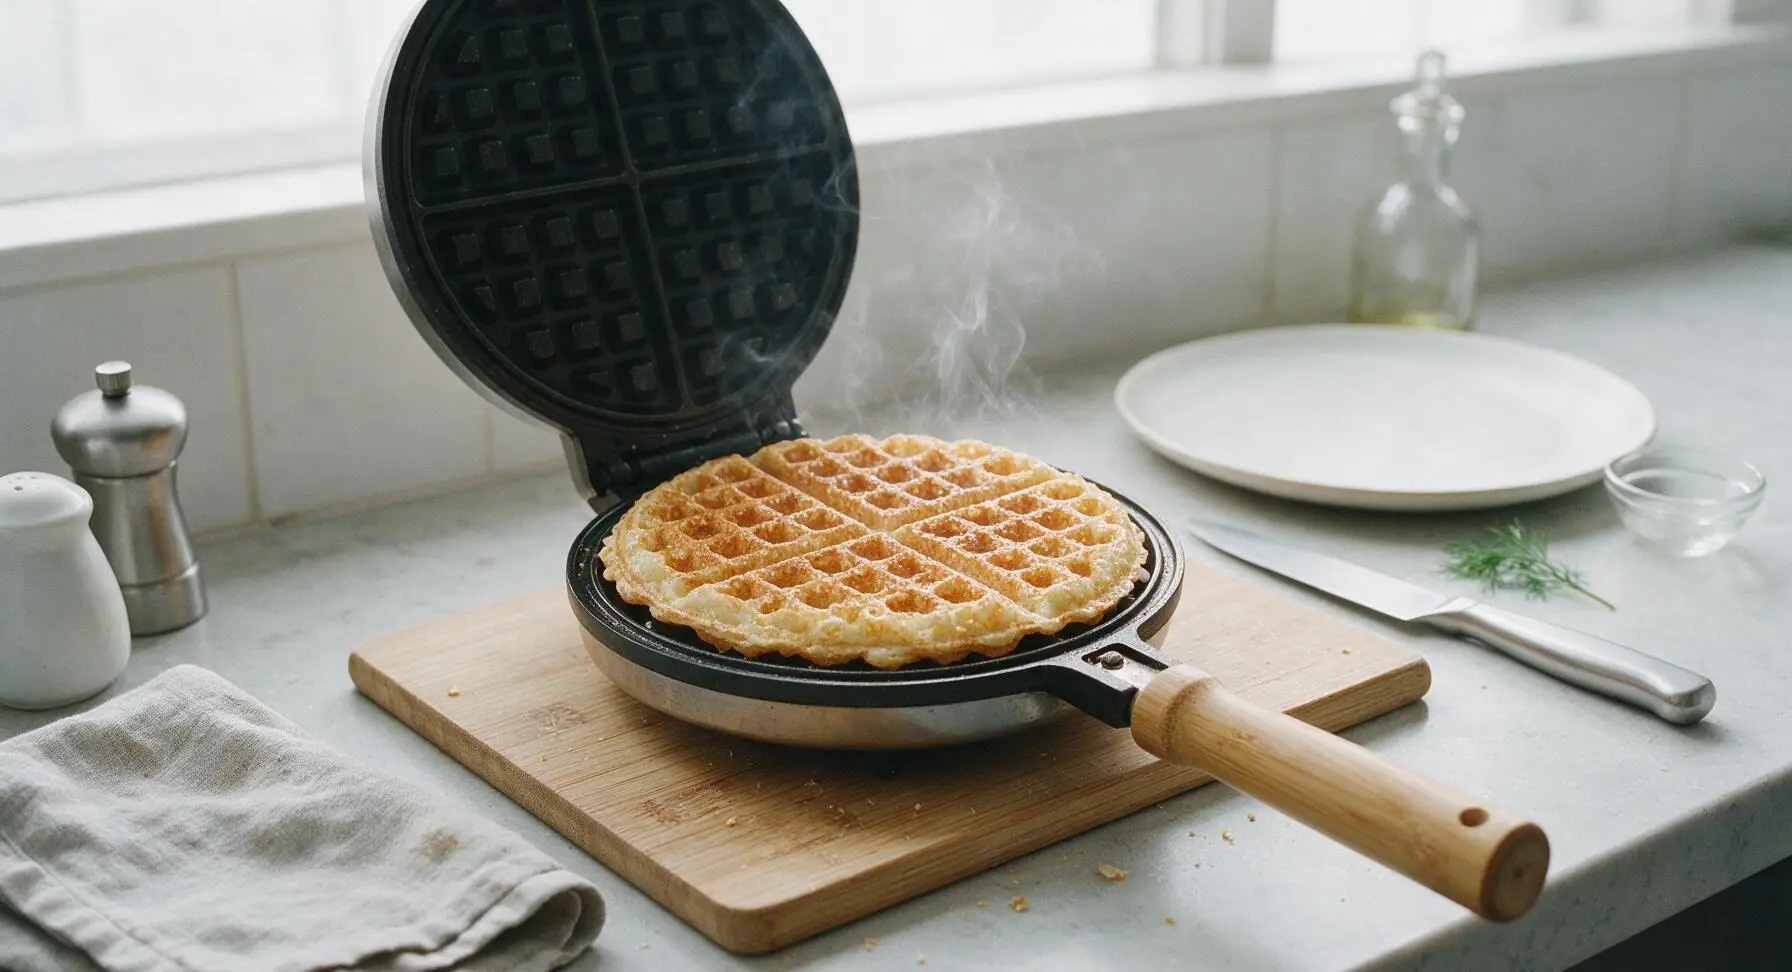
Close the waffle iron lid and cook for 3 to 4 minutes, until the waffle is golden brown around the edges, crisp to the touch, and releases easily from the non-stick surface without sticking. Do not open the lid for the first 2 minutes of cooking, as this can cause the partially set waffle to split or tear. The waffle is done when thin streams of steam stop escaping from the sealed edges of the iron.
Transfer Cooked Waffles
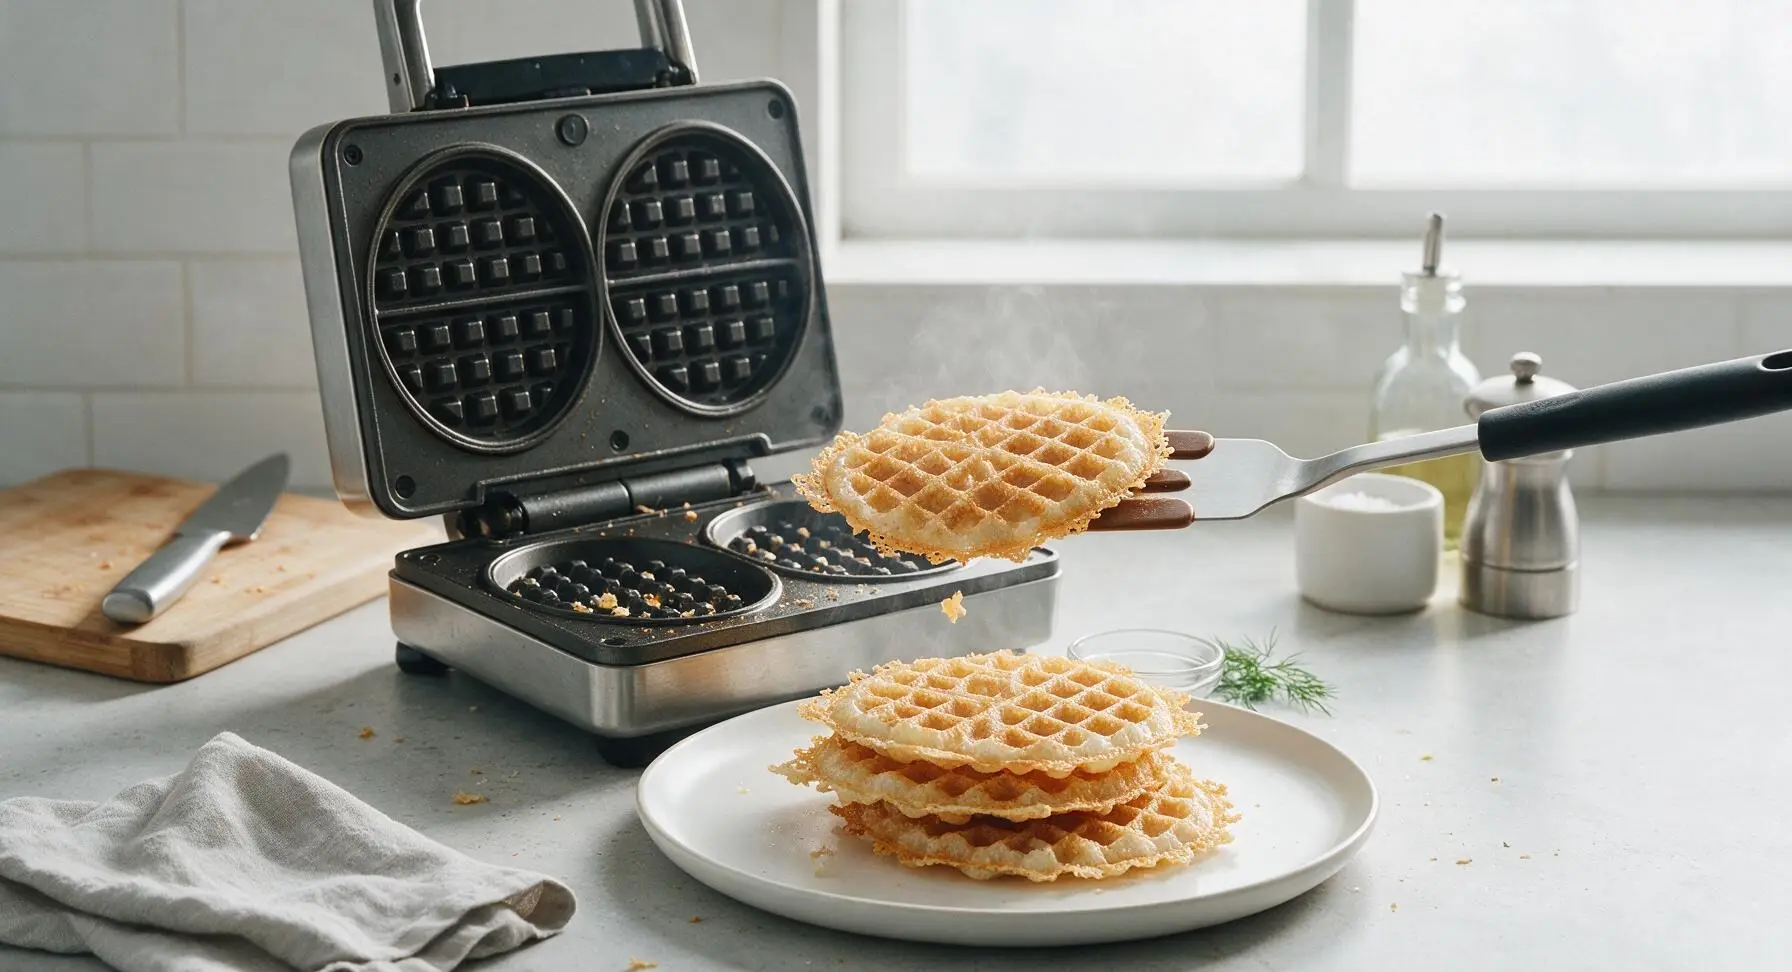
Use the silicone-tipped turner spatula to gently lift the cooked waffle from the iron, transferring it to the matte cream ceramic dinner plate positioned at front center. Repeat the pouring and cooking process with the remaining batter, stacking waffles slightly offset on the plate as you go, until all batter is used (4 total waffles, 1 per serving).
Garnish And Serve
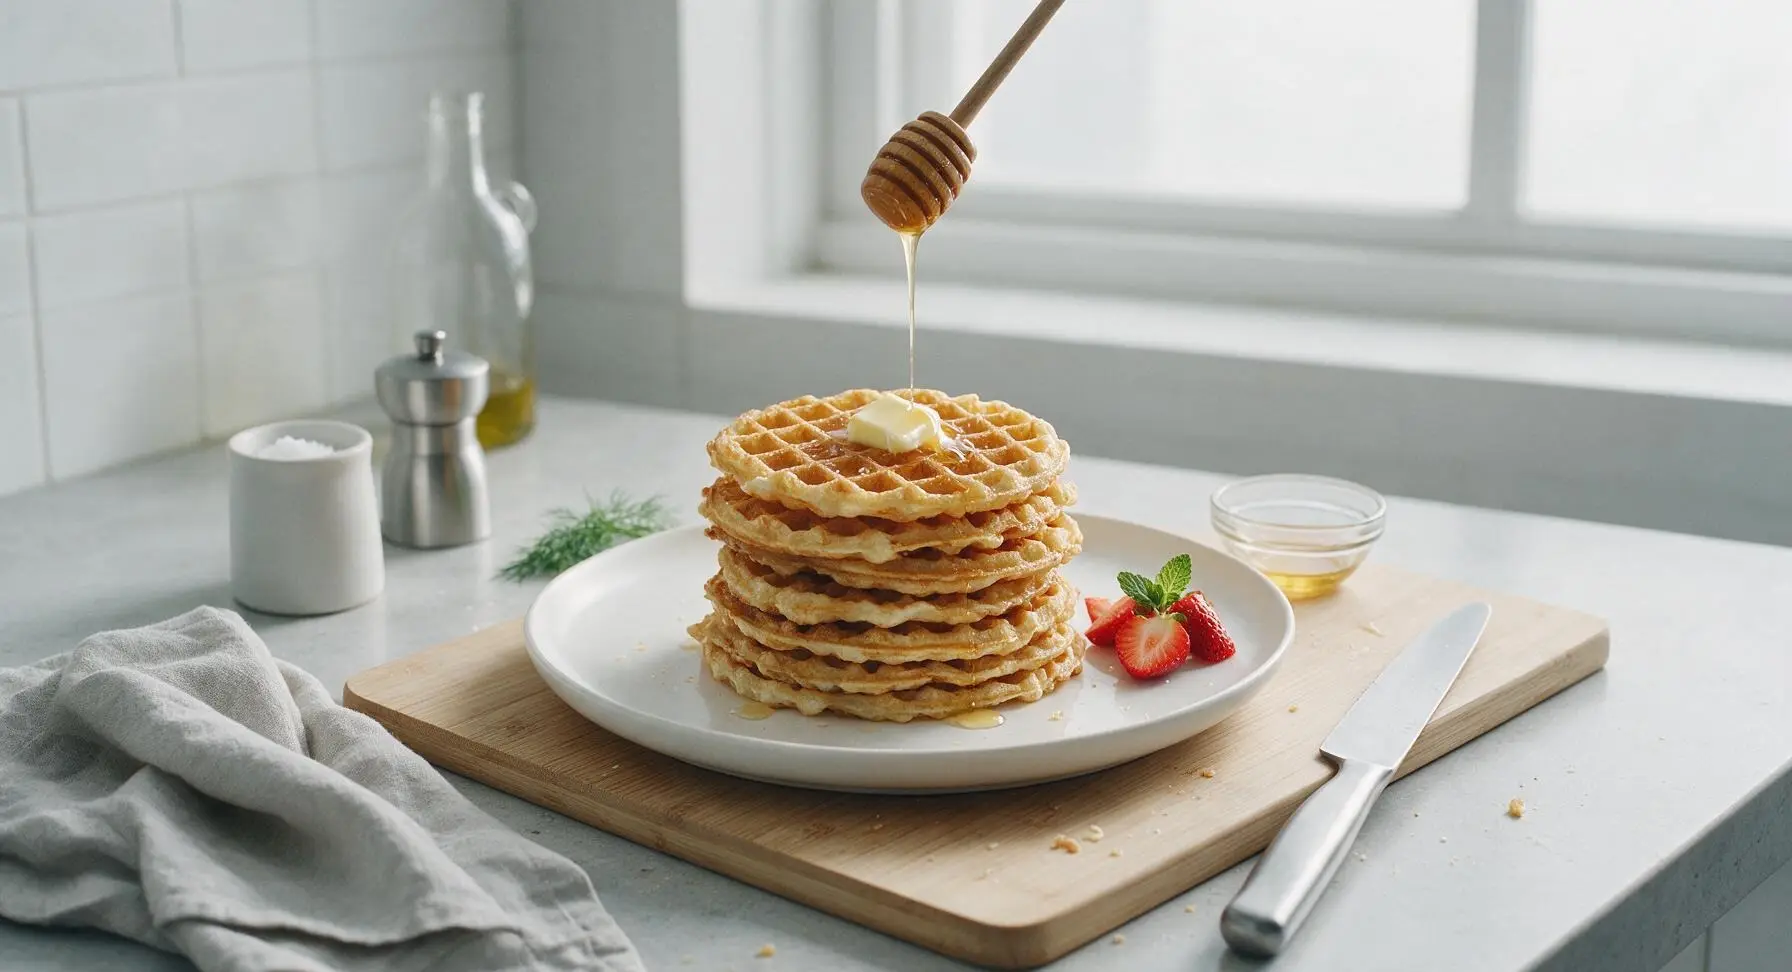
Top the stack of warm waffles with a 1 tsp pat of the remaining unsalted butter, allowing it to melt into the waffle grids. Use the wooden honey dipper from the honey jar to drizzle 2 tbsp of raw honey over the top, then tuck halved fresh strawberries and a sprig of mint next to the waffle stack for a bright, fresh garnish. Serve immediately while waffles are hot and crisp.
Tips
2.Resist the urge to open the waffle iron early: tapioca batter sets more slowly than wheat batter, and lifting the lid before the 2-minute mark will cause the unset waffle to tear, stick, or deflate into a dense, flat disk.
3.Prep all toppings before you start cooking: tapioca waffles lose their crisp exterior in as little as 3 minutes after coming off the iron, so having butter, honey, and fruit ready to go ensures you enjoy them at their peak chewy-crisp texture.






OMG these are SO good!!! I’ve been looking for a gluten-free waffle recipe that doesn’t turn out soggy or gritty, and this one hits every single note. Crispy on the edges, perfectly chewy in the middle, and it only took 12 minutes total? Game changer for Sunday brunch. My kids devoured three each before I even got to sit down with my coffee! I topped mine with fresh mango and a drizzle of condensed milk, chef’s kiss.
Brought these to my neighborhood potluck last weekend and people were begging for the recipe left and right! I was worried they’d be too weird for people who are used to regular flour waffles, but the chewy texture is so fun and addictive. Super easy to throw together too, I prepped the batter the night before and it cooked up perfectly. 10/10, will be making these monthly.
As someone who has celiac and has tried every single GF waffle recipe under the sun, this is hands down the best one I’ve made. The chew is exactly like those boba-style tapioca waffles I used to grab from the Asian bakery near my old apartment before I moved out to the suburbs, no weird starchy aftertaste at all. I added a tiny pinch of flaky sea salt to the batter and it made the subtle sweetness pop even more. These are going to be a weekly meal prep staple for me—they reheat perfectly in the toaster oven, no sogginess!
Wait these are actually insane for how easy they are? I’m a broke college student with a tiny hand-me-down waffle maker I found at a thrift store and I nailed these on my first try. No fancy hard-to-find ingredients, cooked up in 12 minutes total, way cheaper than buying those frozen gluten free waffles from the grocery store. I’ve been eating them for breakfast all week topped with peanut butter and banana slices. 10/10 no notes.
Wait these taste exactly like the Hong Kong style bubble waffles I grew up eating but made in a regular waffle iron!!! The chewy, springy texture is spot on, I can’t believe how short and simple the ingredient list is. I added a teaspoon of vanilla extract and a handful of toasted shredded coconut to the batter and it was chef’s kiss. Only thing is my first batch came out a little pale and not as crispy as I wanted—any tips for getting that deep golden crunch?