
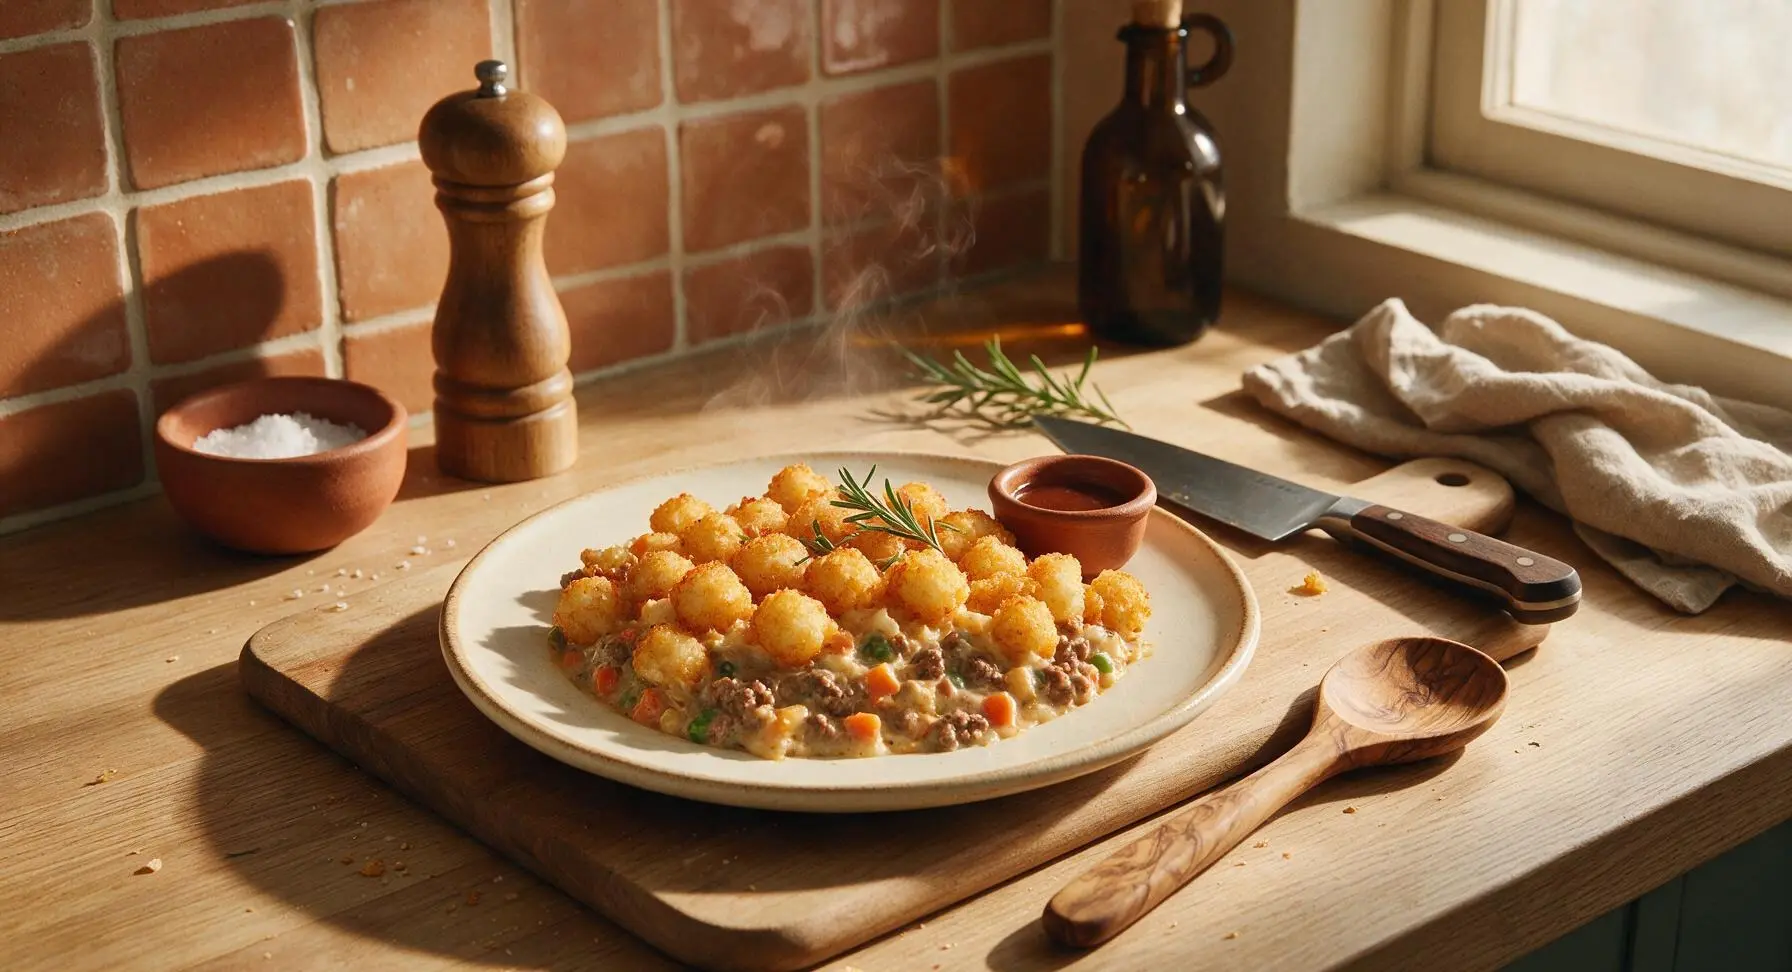
tater tot hotdish

title 1
tater tot hotdish
⏱️ cook time 1 hour
🍽️ servings 6
⚡ Difficulty easy

intro

Creamy, savory ground beef and vegetable filling topped with crispy golden tater tots, baked to bubbly perfection—this iconic Midwestern comfort food feeds a crowd with zero fuss.

Ingredients
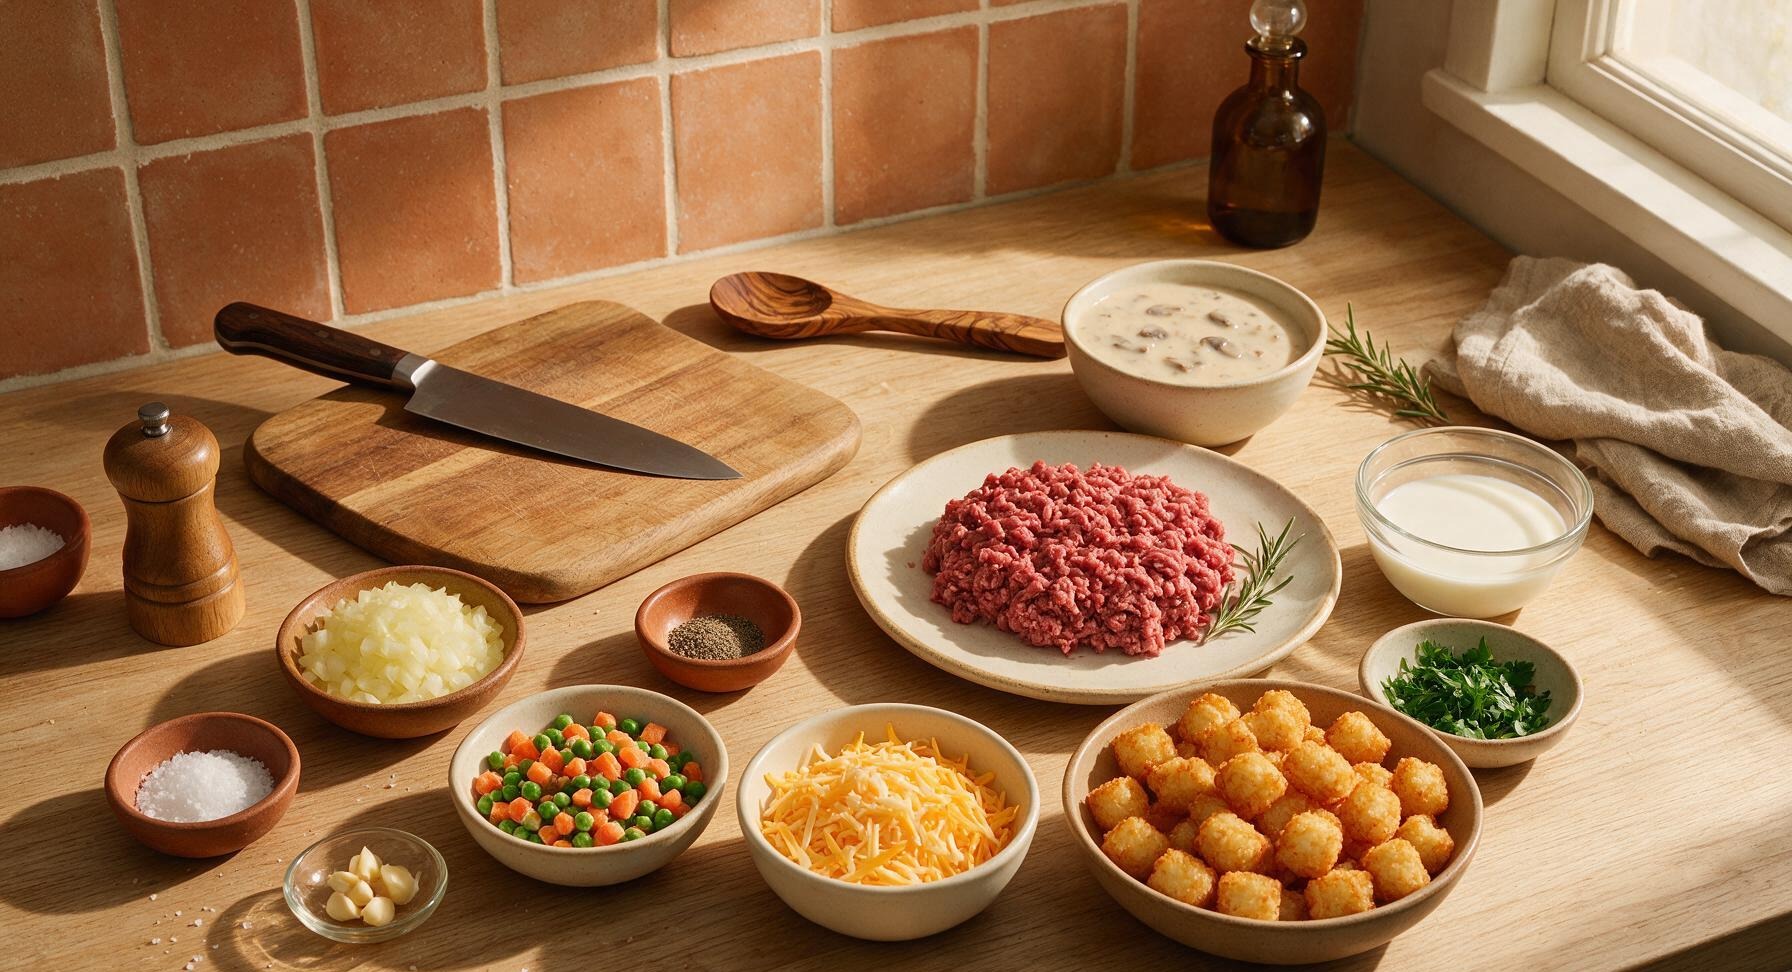
Lean ground beef (90/10) 450g (1 lb)
Yellow onion 1 medium (150g), finely diced
Garlic cloves 2 (6g), minced
Frozen mixed peas and carrots 1 cup (130g)
Condensed cream of mushroom soup 298g (10.5oz can)
Whole milk 120ml (½ cup)
Shredded sharp cheddar cheese 226g (2 cups)
Frozen tater tots 907g (32oz bag)
Kosher salt 1 tsp (5g)
Ground black pepper ½ tsp (1g)
Fresh flat-leaf parsley ¼ cup (10g), chopped

Steps

1

Prep Oven and Aromatics

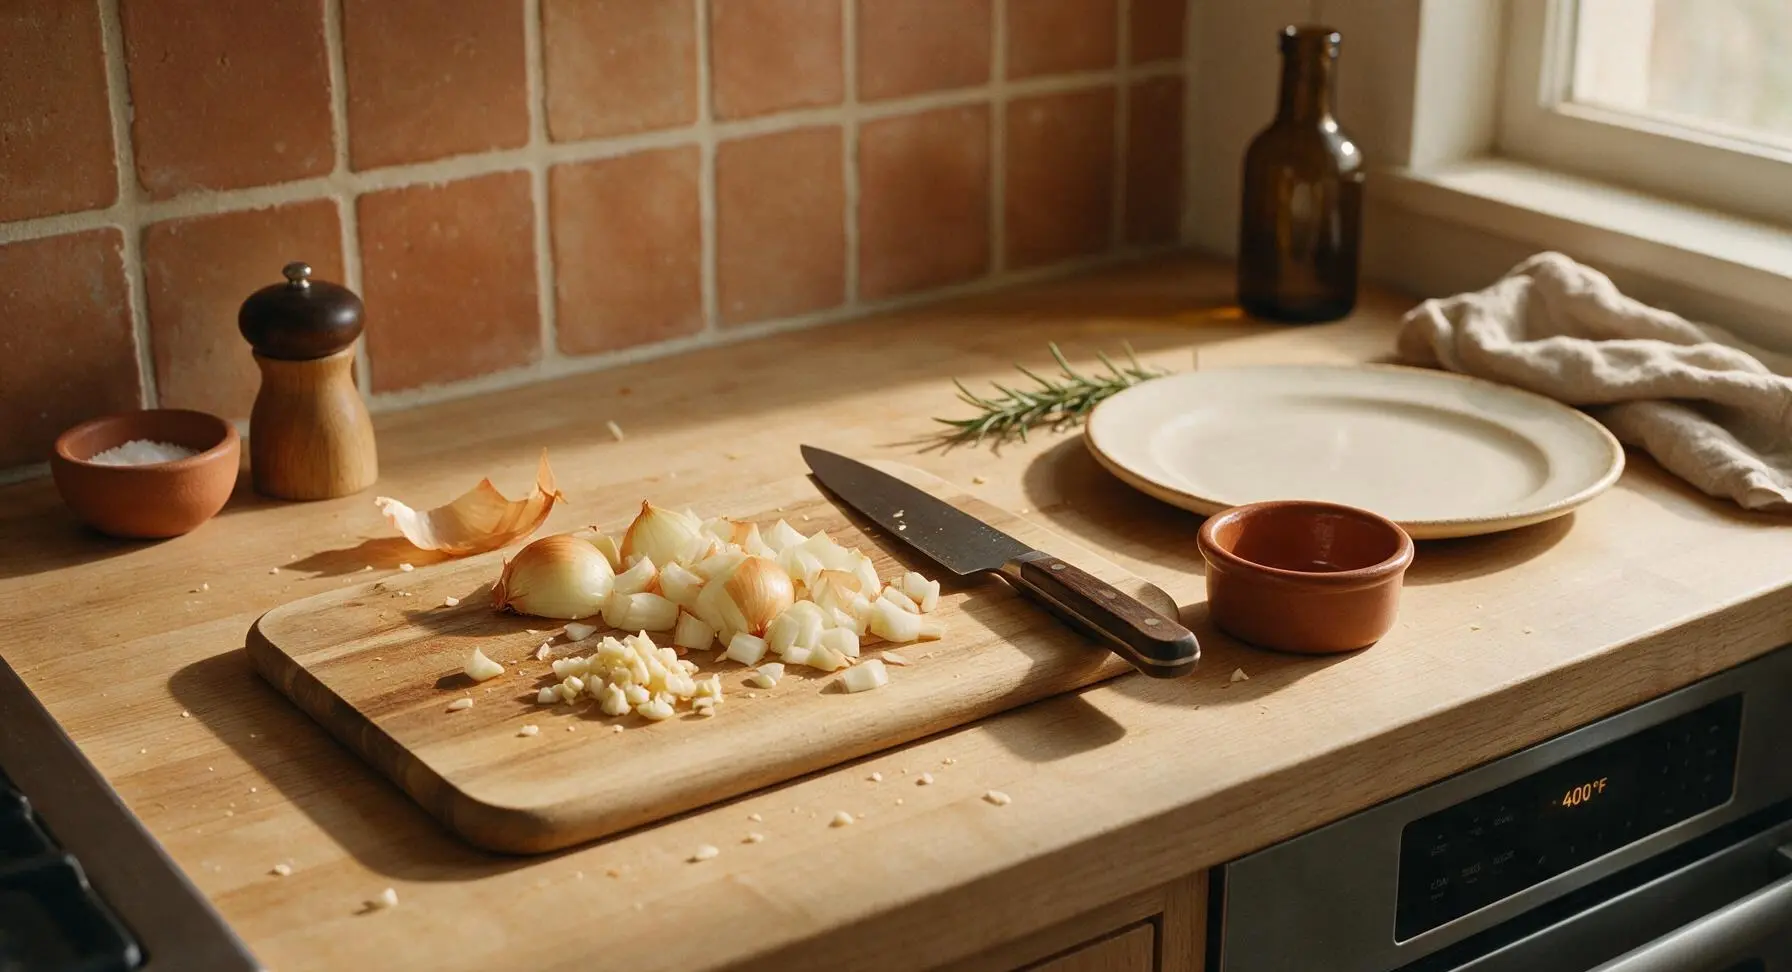
Adjust oven rack to the middle position and preheat oven to 400°F (200°C). Place the light acacia wood cutting board center-left on the counter, and set the small matte terracotta ramekin to its right. Use the 8-inch chef knife with olive green handle to dice the yellow onion into ¼-inch pieces and mince the garlic, transferring both to the terracotta ramekin as you work.
Step 1
step1:Prep Oven and Aromatics
2

Brown Ground Beef

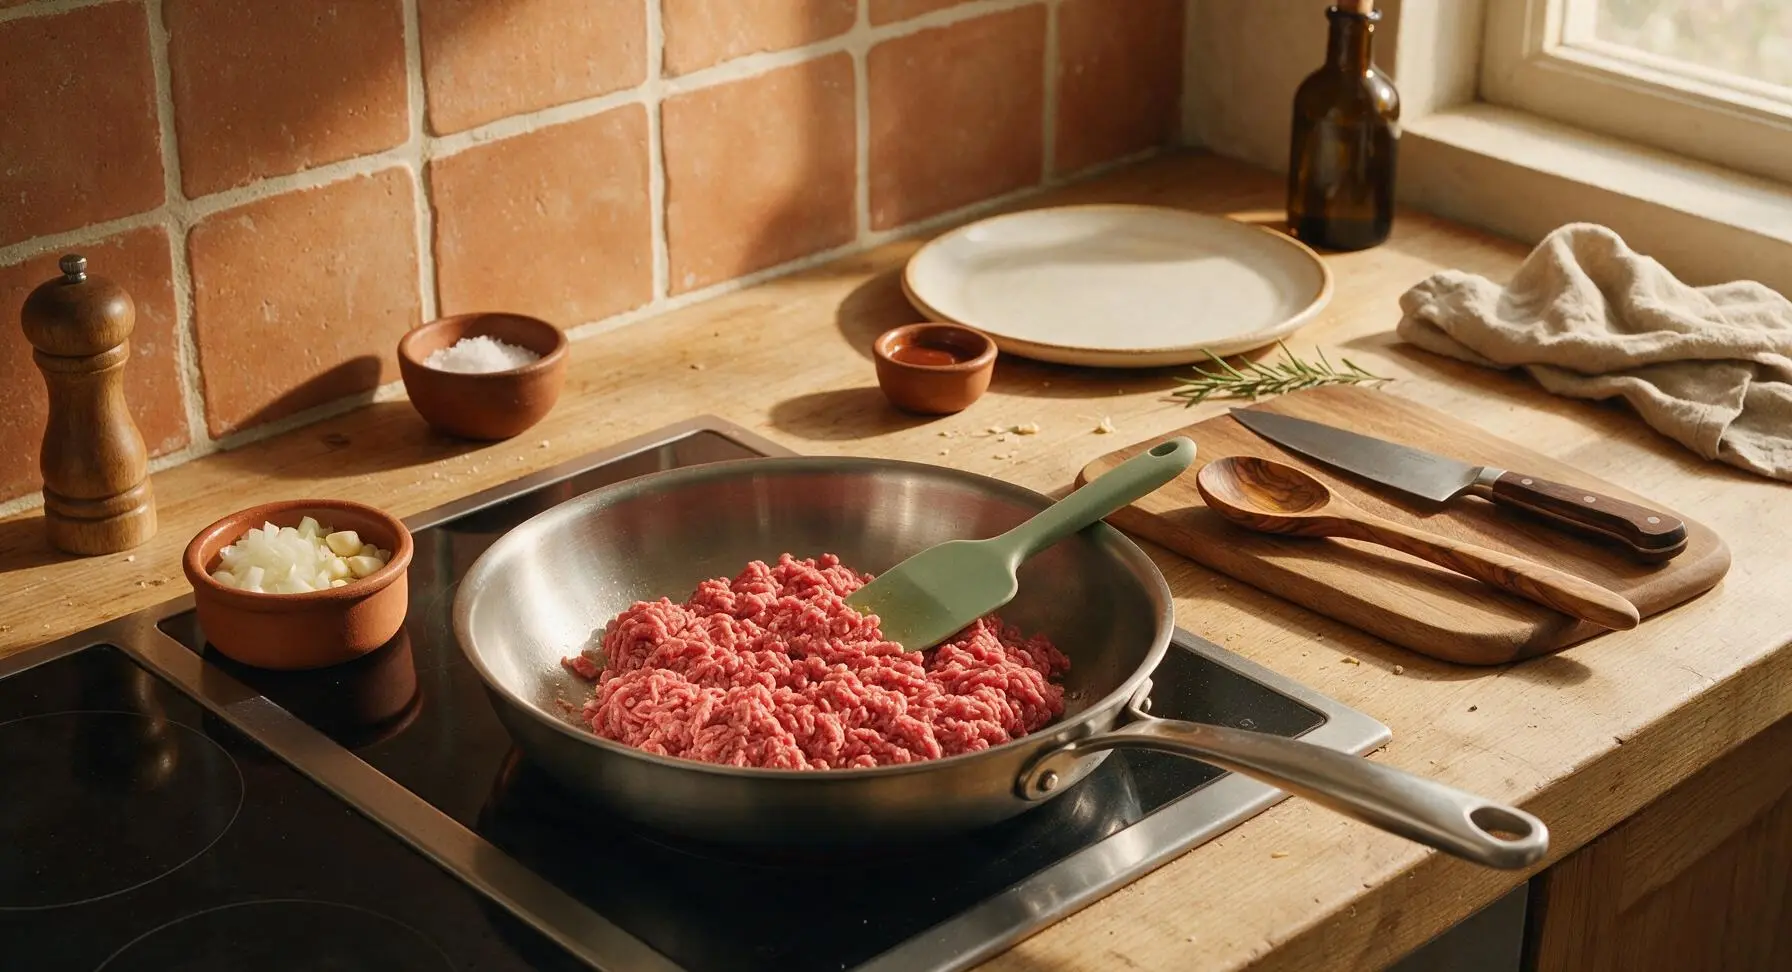
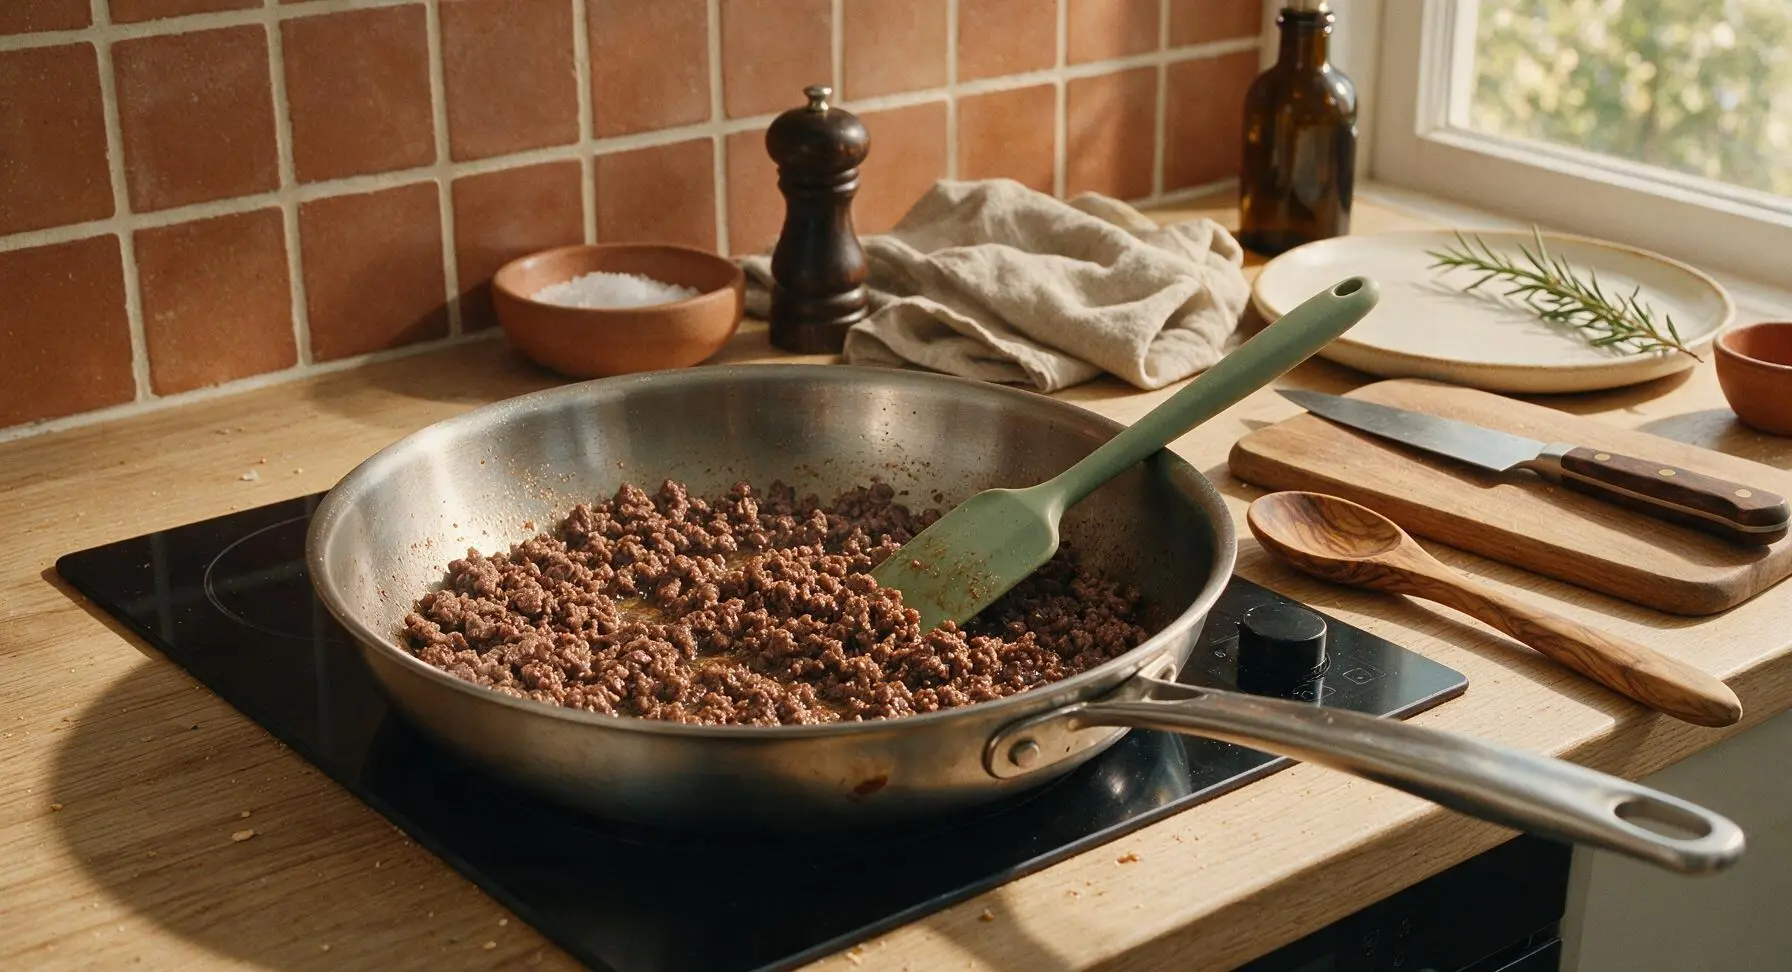
Place the 12-inch brushed stainless steel skillet front-center on the induction burner set to medium heat. Add the ground beef to the dry skillet, breaking it into small crumbles with the sage green silicone spatula as it cooks. Cook for 6-7 minutes, until the beef is fully browned with no visible pink remaining, and a thin layer of rendered fat coats the pan bottom. Drain excess fat if needed, leaving 1 teaspoon of fat in the pan for flavor.
Step 2
step2:Brown Ground Beef
Step 2
step2:Brown Ground Beef
3

Sauté Aromatic Vegetables

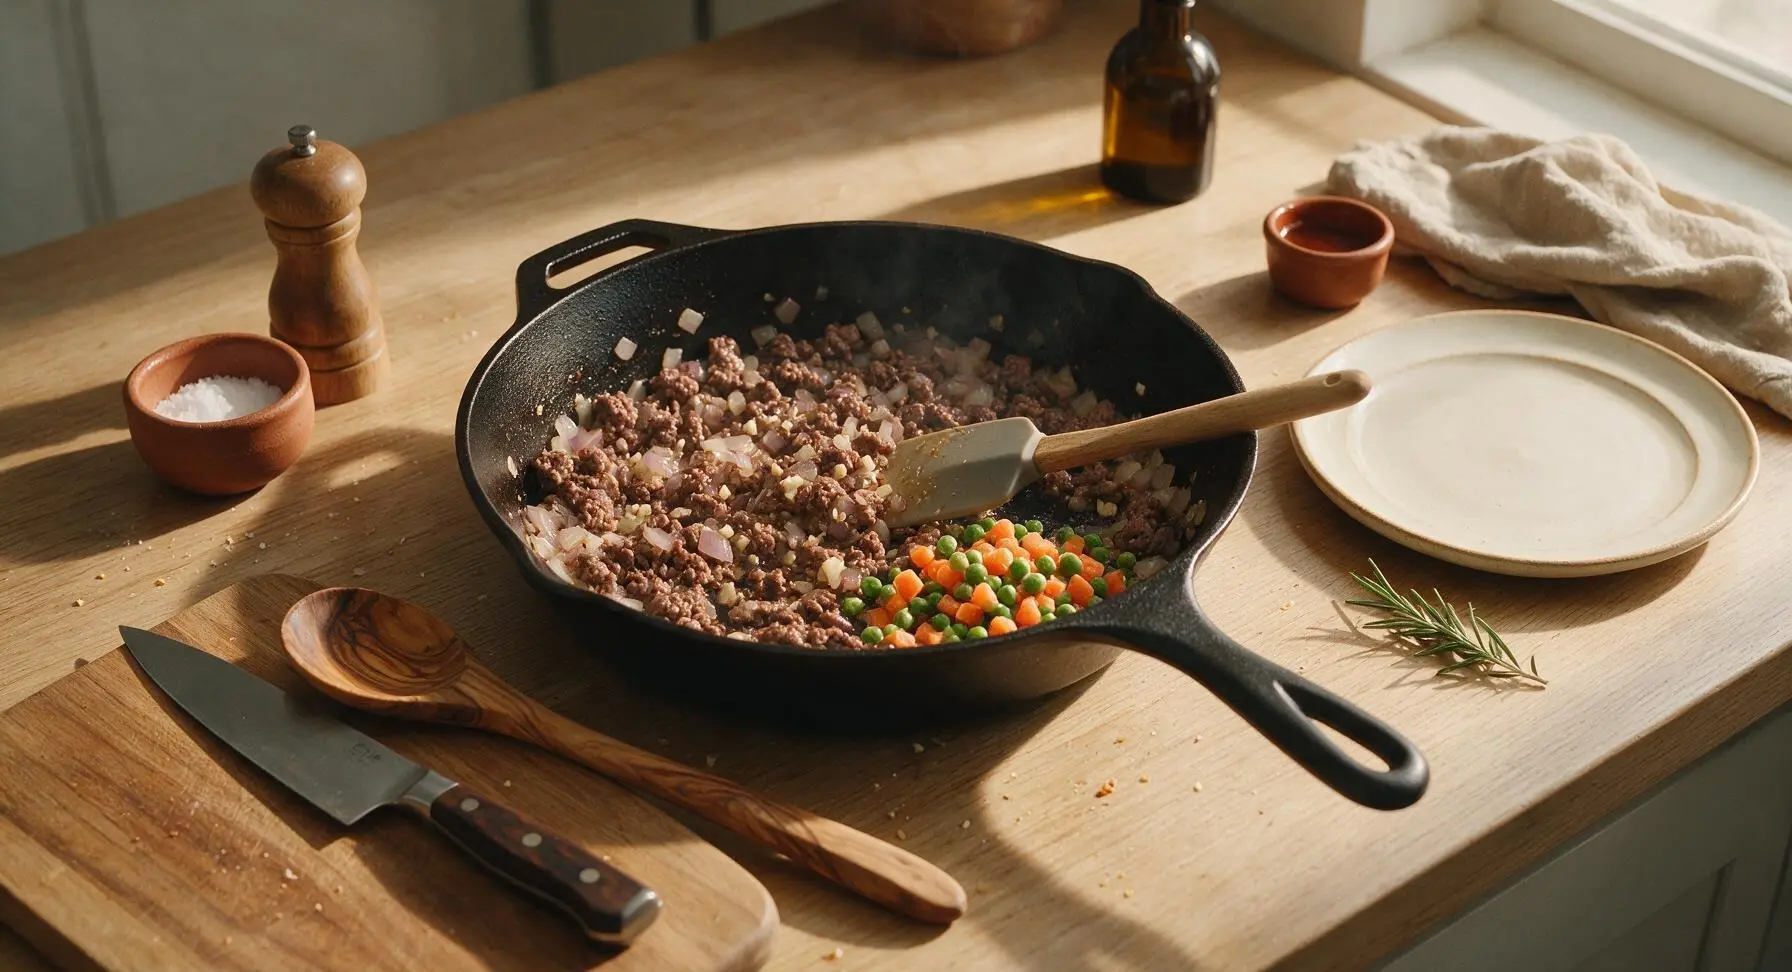
Add the diced onion and minced garlic from the terracotta ramekin to the skillet with the browned beef. Stir with the silicone spatula, cooking for 3 minutes over medium heat until the onion turns soft and translucent and releases a sweet, savory aroma. Add the frozen peas and carrots, stir to combine, and cook for 2 more minutes until the vegetables are just thawed with no icy patches remaining. Season with 1 teaspoon kosher salt and ½ teaspoon black pepper, stirring to distribute evenly.
Step 3
step3:Sauté Aromatic Vegetables
4

Mix Creamy Filling Base

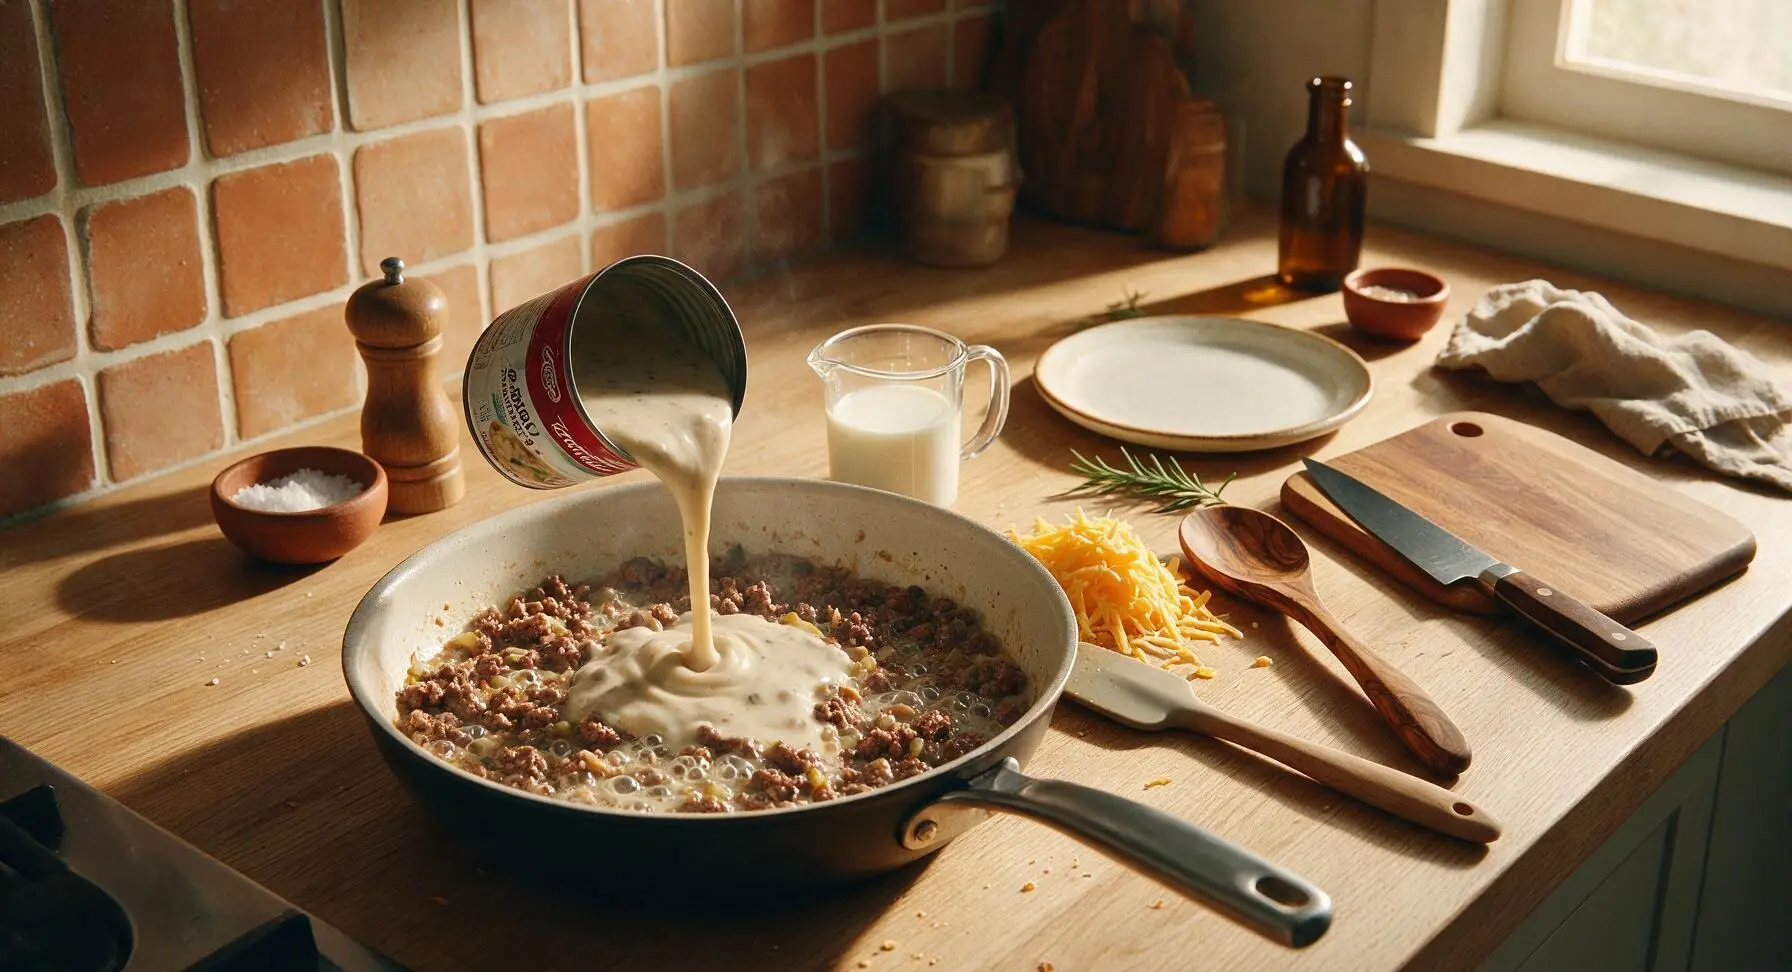
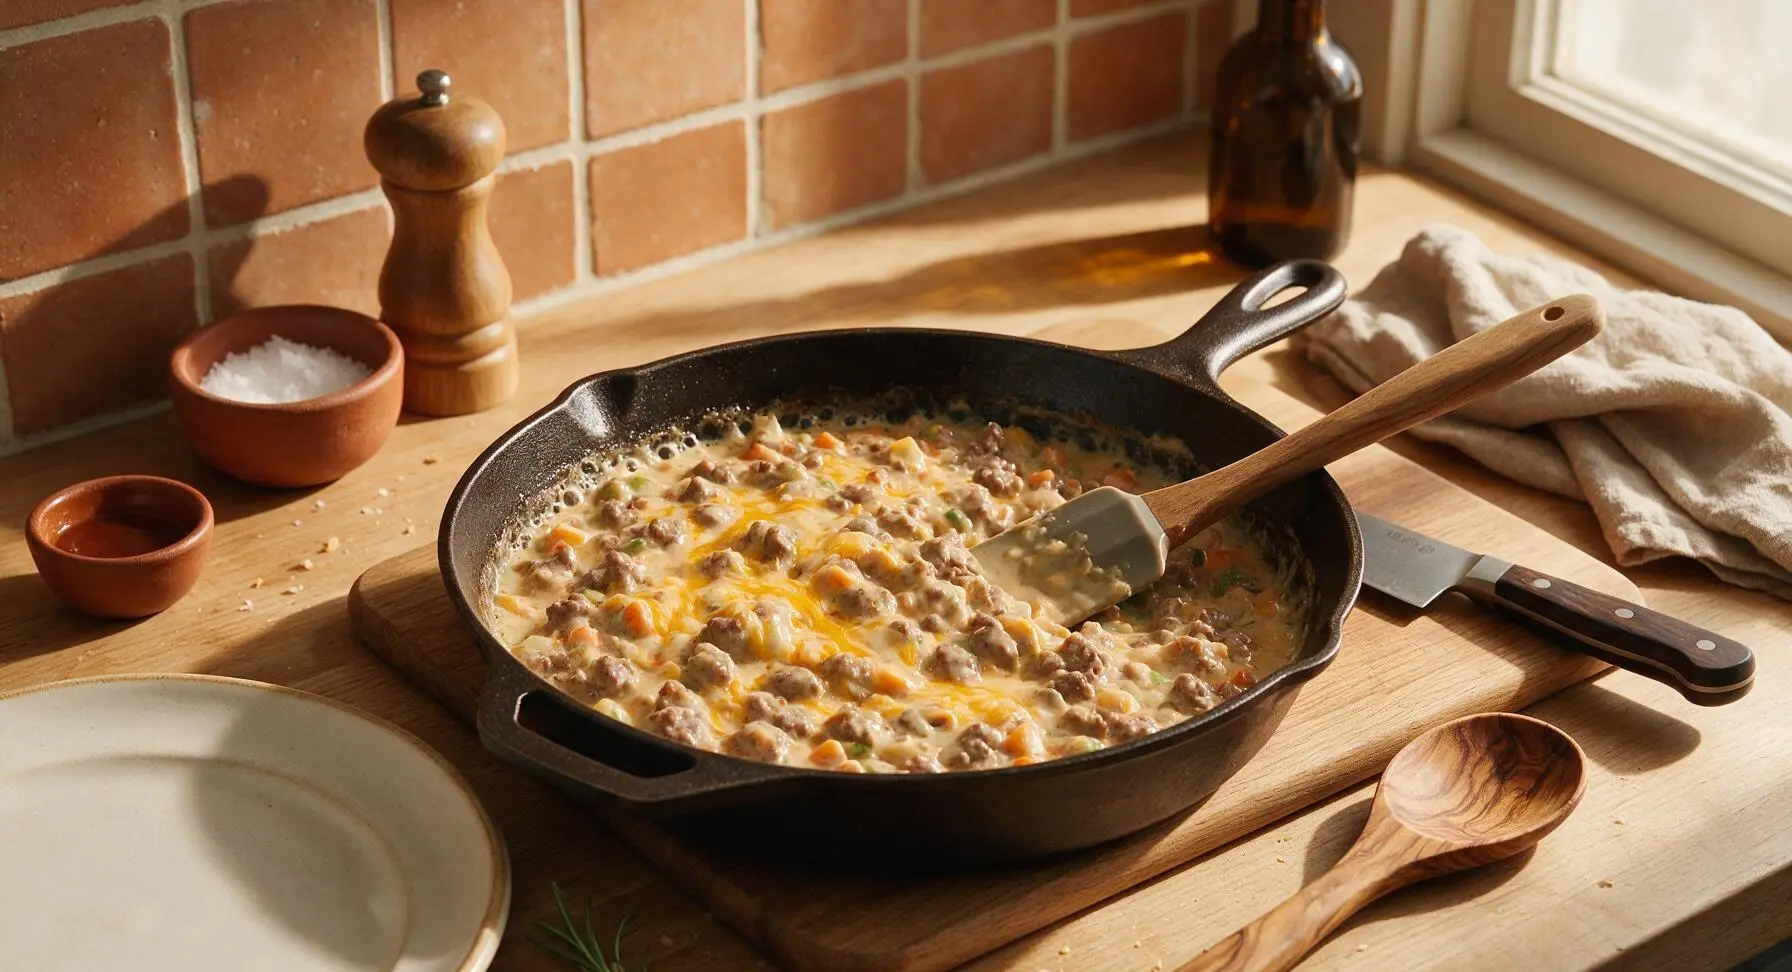
Pour the condensed cream of mushroom soup and ½ cup whole milk into the skillet with the beef and vegetable mixture. Stir thoroughly with the silicone spatula until the soup and milk combine into a smooth, creamy sauce that evenly coats all meat and vegetables. Bring the mixture to a gentle simmer, where small bubbles break at the pan edges, then turn off the heat. Fold in 1 cup of the shredded sharp cheddar cheese, stirring until it melts completely into the filling.
Step 4
step4:Mix Creamy Filling Base
Step 4
step4:Mix Creamy Filling Base
5

Layer Hotdish in Dish

Place the 9x13 inch matte off-white ceramic baking dish with terracotta rim center on the counter. Pour the entire creamy beef and vegetable filling from the skillet into the baking dish, spreading it into a flat, even layer across the bottom with the silicone spatula. Sprinkle the remaining 1 cup of shredded cheddar cheese evenly over the top of the filling. Arrange frozen tater tots in tight, overlapping rows across the entire cheese surface, covering the filling completely with no gaps to ensure even crisping.
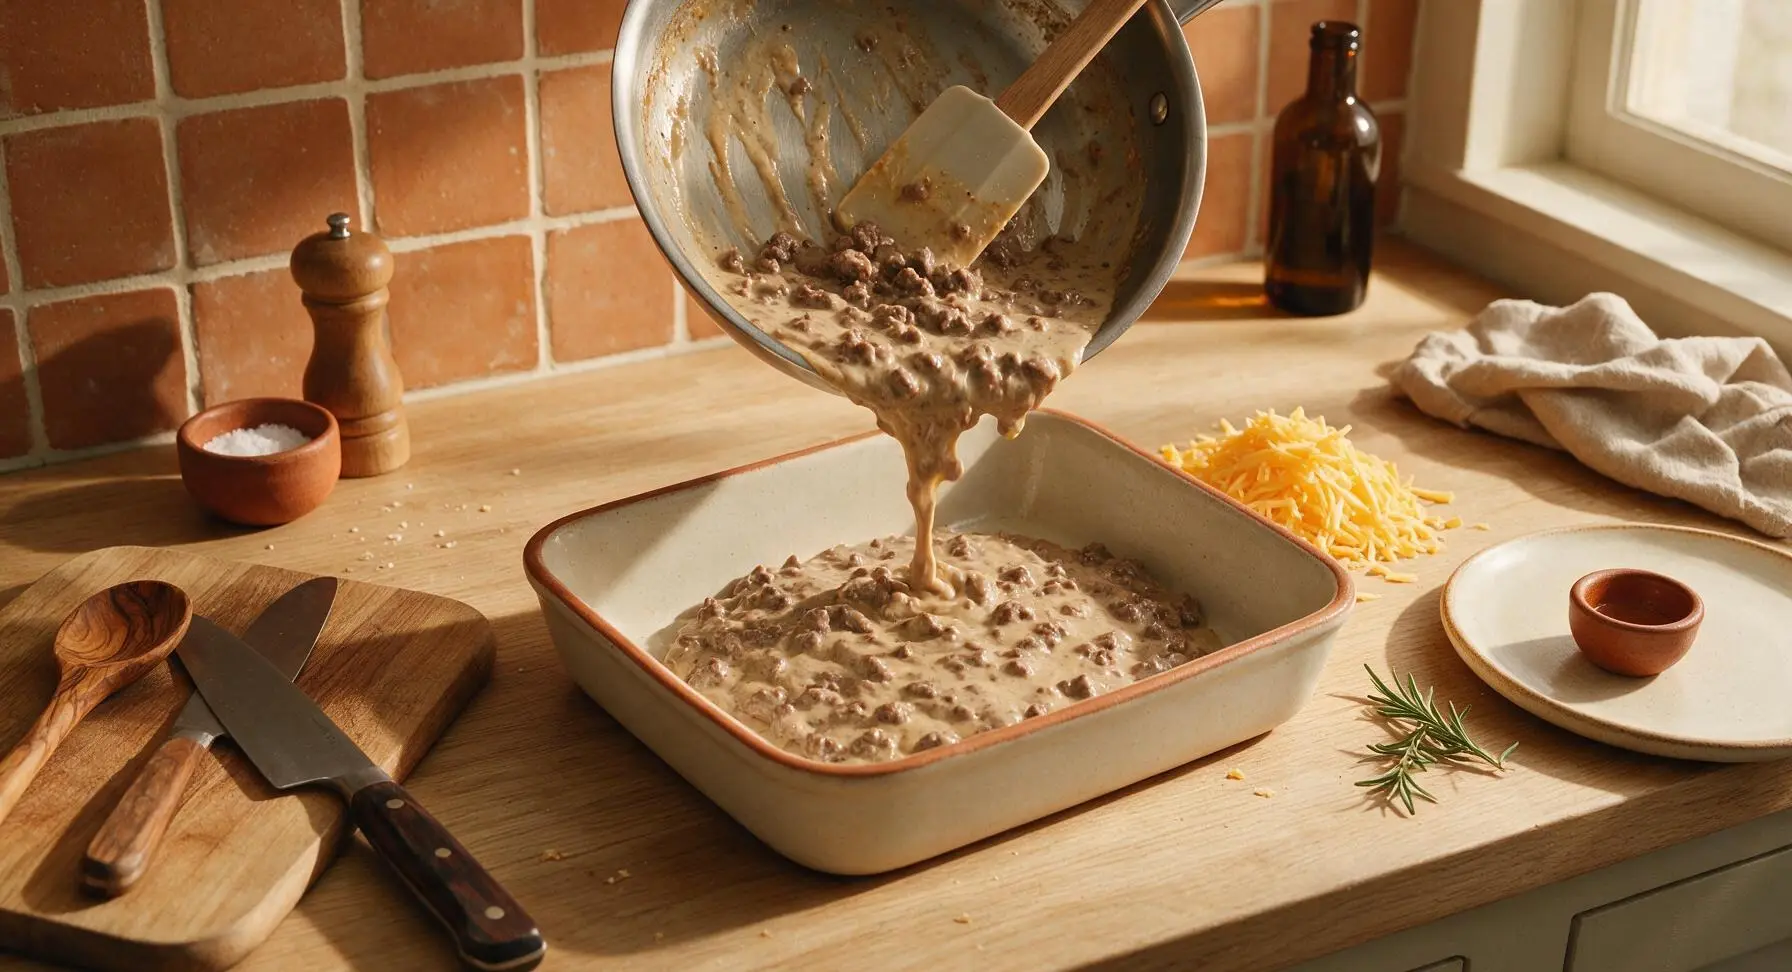
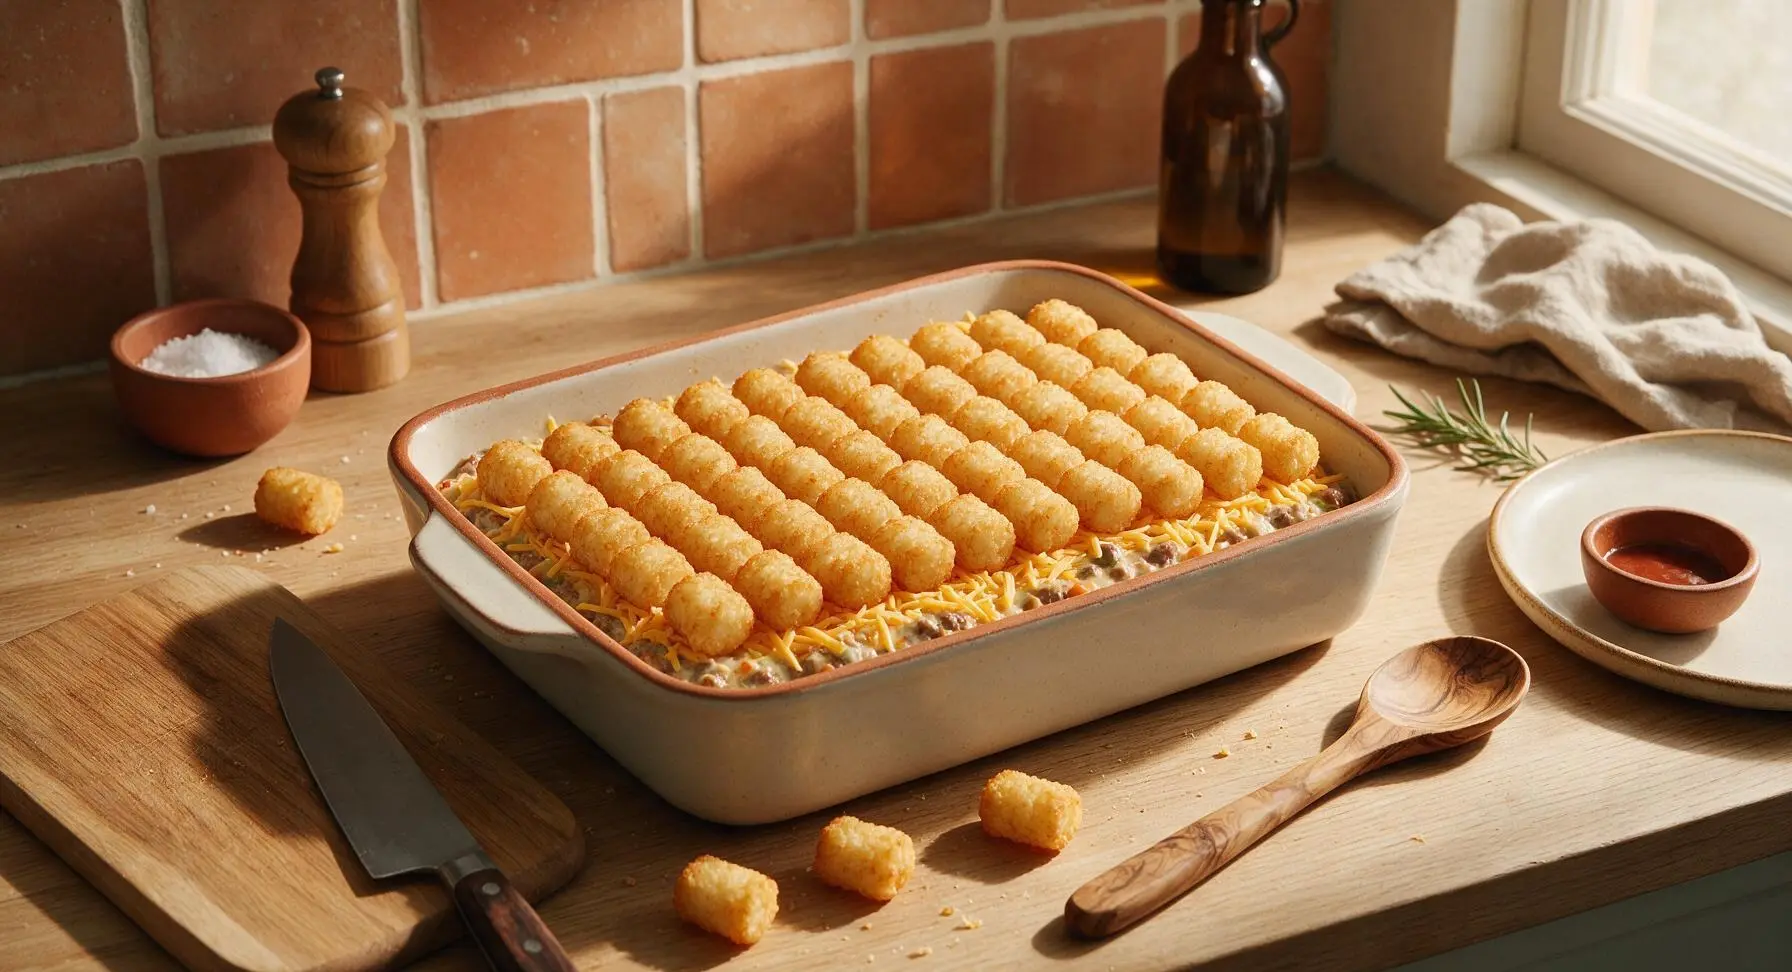
Step 5
step5:Layer Hotdish in Dish
Step 5
step5:Layer Hotdish in Dish
6

Bake Until Golden Bubbly

Carefully place the assembled baking dish on the middle oven rack. Bake uncovered for 40-45 minutes, until the filling bubbles vigorously around the dish edges and the tater tots on top are deep golden brown and crispy all over, with no pale frozen spots remaining. Use the quilted cream oven mitts to remove the hot dish from the oven, and let it rest on the counter for 5 minutes to allow the filling to set before serving.
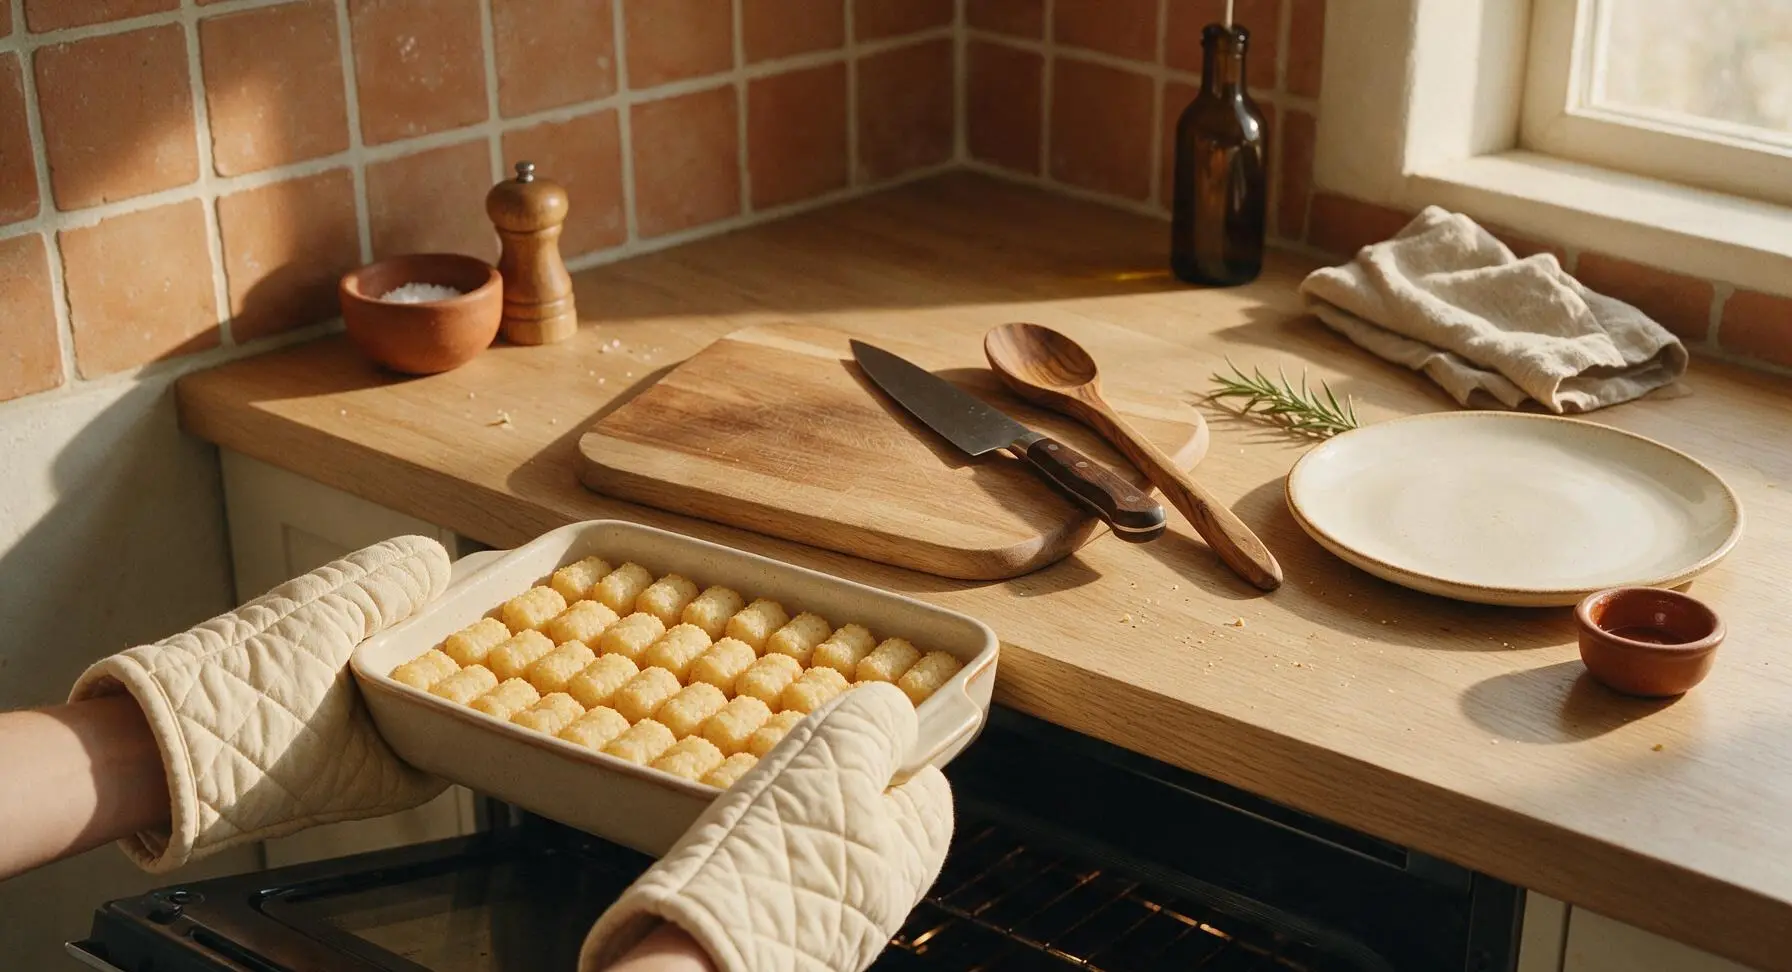
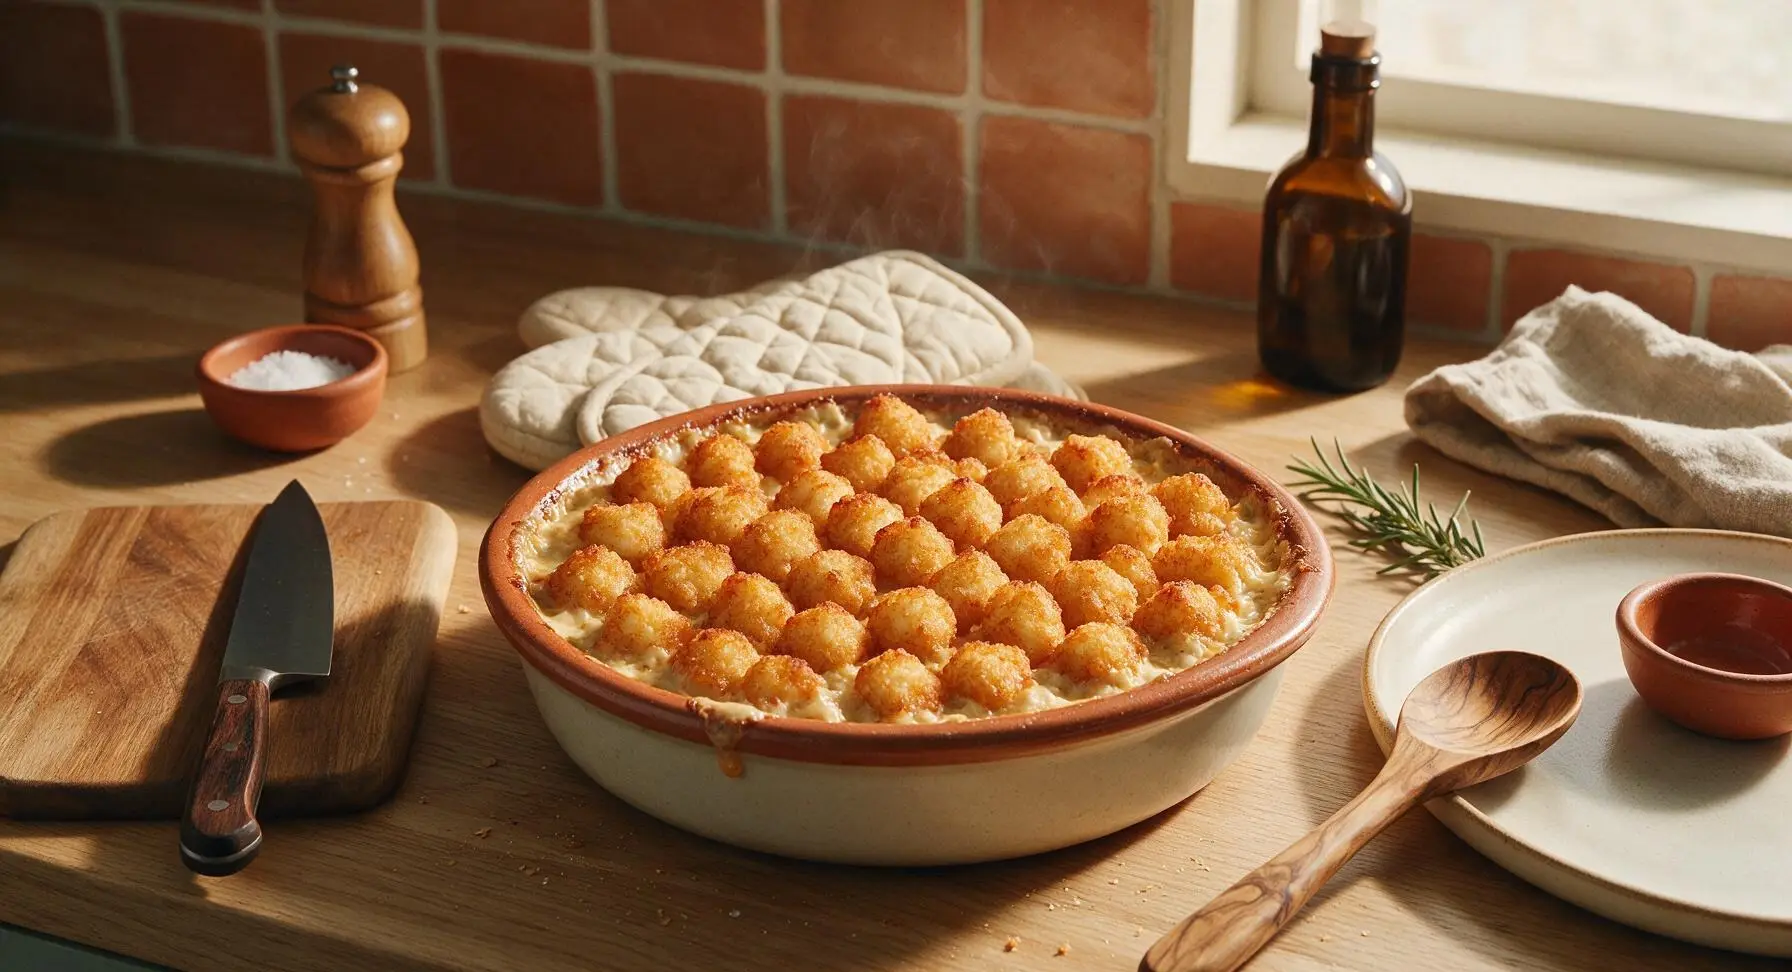
Step 6
step6:Bake Until Golden Bubbly
Step 6
step6:Bake Until Golden Bubbly
7

Garnish and Serve Hot

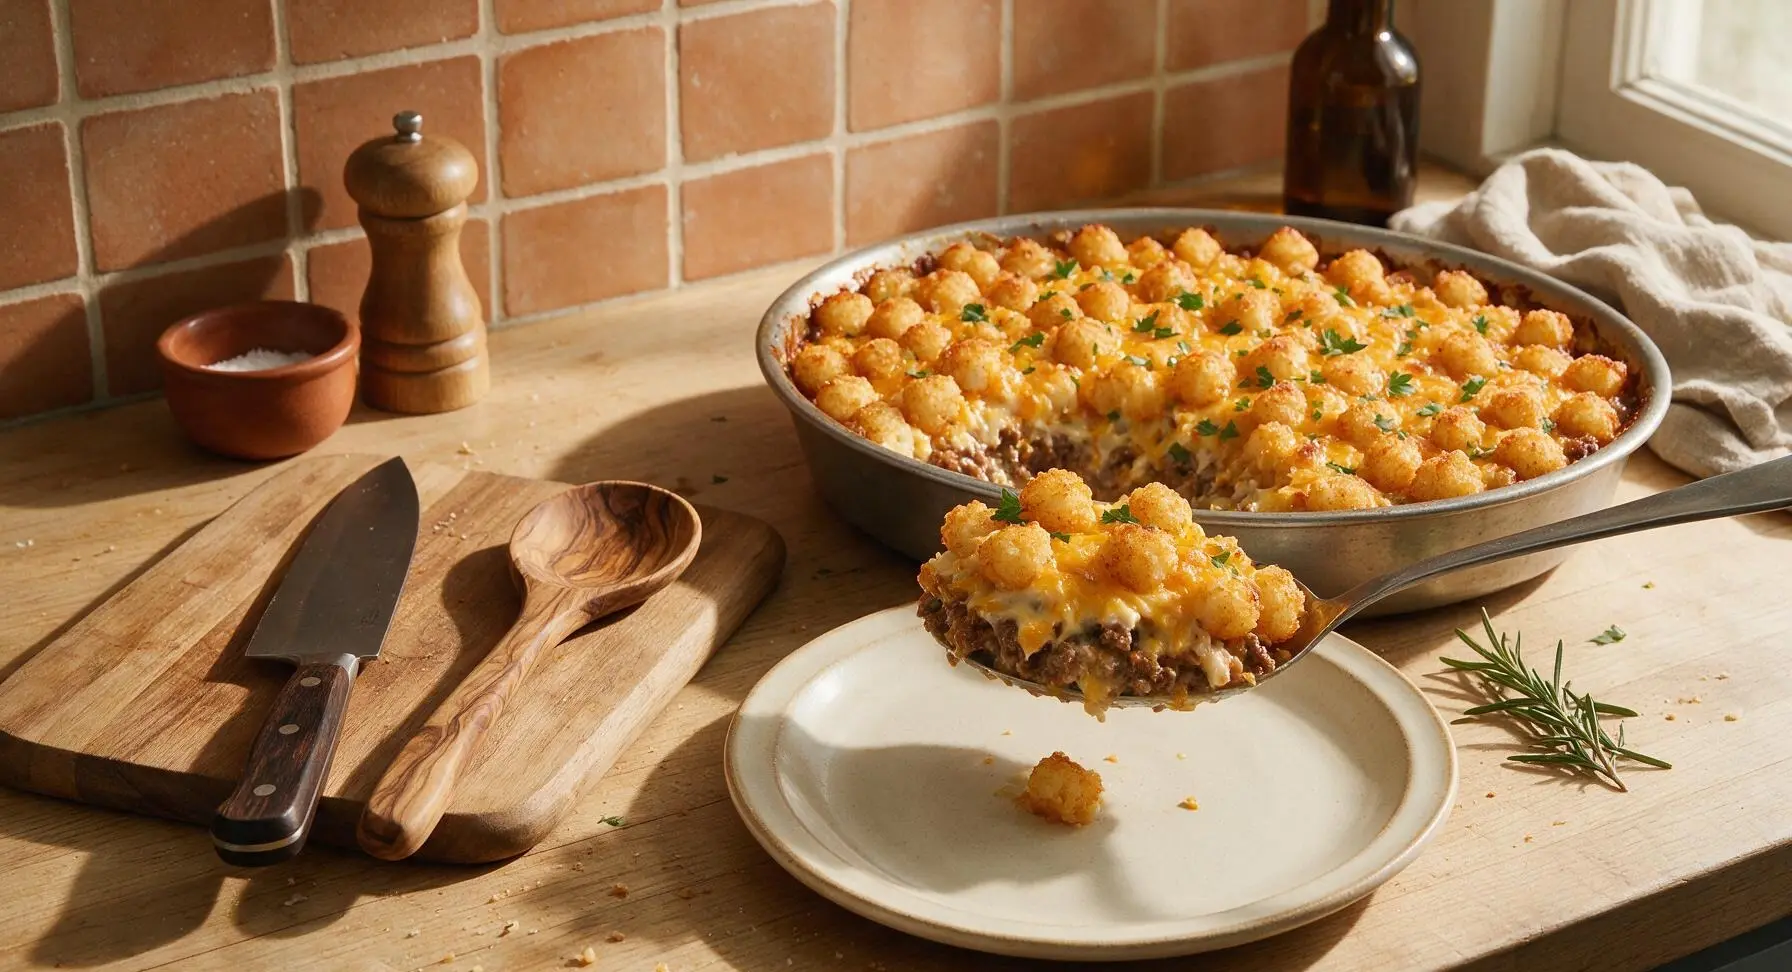
Sprinkle the chopped fresh flat-leaf parsley over the crispy tater tot crust for a bright, fresh flavor contrast. Use a large serving spoon to scoop a generous portion onto the matte off-white ceramic dinner plate, ensuring each serving includes a layer of crispy tots, melted cheese, and creamy beef filling. Serve hot, with sour cream on the side if desired.
Step 7
step7:Garnish and Serve Hot

Tips

1.Do not thaw tater tots before arranging them on the filling: frozen tots develop a crispier, golden crust in the hot oven and won’t turn mushy, unlike thawed tots that release excess moisture as they bake.
2.Let the baked hotdish rest for a full 5 minutes after removing it from the oven: this allows the creamy filling to set, so portions hold their neat shape when scooped instead of running across the plate.
3.For easy make-ahead prep, assemble the entire unbaked hotdish up to 24 hours in advance, cover tightly, and refrigerate: add 5-10 minutes to the total bake time when cooking from cold, until the edges bubble vigorously and tots are fully crisp.


✨ You May Also Like

Main Course
🍜 United Kingdom

A showstopping classic of tender seared beef, savory mushroom duxelles, and crisp prosciutto wrapped in flaky golden puff pastry, baked to juicy perfection.

⏱️ 2 hours 1Main Course ★ 4.7
Main Course
🍜 India

Tender charred marinated chicken simmered in a rich, spiced creamy tomato sauce, this iconic Anglo-Indian curry pairs perfectly with basmati rice or warm naan.

⏱️ 50 minuteMain Course ★ 4.6
Main Course
🍜 Thailand

Classic tangy, sweet, and savory Thai stir-fried rice noodles with shrimp, tofu, and crunchy garnishes, balancing all five core Thai flavor profiles.

⏱️ 30 minuteMain Course ★ 4.5
Main Course
🍜 United Kingdom

Crispy golden beer-battered cod and fluffy double-fried chips, served with tangy tartar sauce and malt vinegar: the timeless, beloved British pub comfort classic.

⏱️ 45 minuteMain Course ★ 4.7
Main Course
🍜 Mexico

Smoky, chile-marinated pork tacos with caramelized pineapple, fresh cilantro, and lime: a beloved classic Mexican street food perfect for casual summer gatherings.

⏱️ 1 hour 45Main Course ★ 4.8
Main Course
🍜 United States

Crunchy Fritos corn chips layered with savory beef chili and melted cheddar, topped with cool, zesty fixings for a beloved, cozy Tex-Mex comfort food.

⏱️ 35 minuteMain Course ★ 4.8

tater tot hotdish:Frequently Asked Questions

1.Do I need to thaw frozen tater tots or mixed vegetables before assembling the hotdish? ▾
No, you don’t need to thaw either ingredient! Use frozen peas and carrots straight from the bag to avoid mushy, overcooked veggies, and arrange frozen tater tots in an even top layer right before baking. Thawing tots leads to soggy, less crispy tops, while thawed veggies release excess water that makes the filling runny.
2.Can I substitute the cream of mushroom soup if I don’t care for mushrooms? ▾
Absolutely! Cream of chicken, cream of celery, or condensed cheddar cheese soup all work as a perfect 1:1 swap. If you prefer less processed ingredients, use 2 cups of thick homemade cream sauce, just add a small pinch of extra salt to match the concentrated seasoning of canned condensed soup.
3.How do I make sure the tater tot topping gets crispy instead of soggy? ▾
Two easy tricks guarantee crunchy tots: first, never thaw them before placing them on the filling, and arrange them in a single, evenly spaced layer so hot oven air can circulate around each tot. For extra crisp, broil on high for the last 2 to 3 minutes of baking, watching closely to avoid burning.
4.Can I assemble this hotdish ahead of time for a potluck or busy weeknight? ▾
Definitely! You can assemble the entire filling, cover it tightly, and store it in the fridge for up to 2 days before baking. Hold off on adding the tater tots until right before you pop it in the oven, and add 10 to 15 minutes of bake time if cooking straight from the fridge to ensure the filling bubbles through.
5.What’s the best way to drain grease from the ground beef without losing flavor? ▾
After browning the 90/10 ground beef with onion and garlic, tilt your skillet slightly and push the beef mixture to one side to let grease pool on the empty side. Blot the pooled grease with paper towels, or spoon it out, instead of dumping the pan in a colander, which rinses away savory onion and garlic bits.
6.What simple sides pair best with this classic hotdish? ▾
This rich, creamy comfort food pairs perfectly with bright, light sides to cut through its richness. A crisp green salad with tangy vinaigrette, dill pickle spears, buttered steamed green beans, or pickled beets are all classic Midwestern pairings, and ketchup for tot dipping is always a welcome addition.
7.Can I freeze leftover hotdish for quick future meals? ▾
Yes! Let leftovers cool completely, then portion into airtight freezer-safe containers, or wrap the full baking dish in two layers of plastic wrap and foil. It will keep for up to 3 months in the freezer. Thaw overnight in the fridge, then reheat covered in a 350°F oven until the filling bubbles and tots crisp back up.

Comments (17)

2 days ago

OMG this is exactly the hotdish my grandma used to make for Sunday suppers! I made it last night for my family and even my picky 7 year old asked for seconds. SO creamy, the tater tots get perfectly crispy on top, no soggy mess here. Total game changer for busy weeknights.

3 days ago

Brought this to my neighborhood potluck over the weekend and people were literally scraping the dish clean! I added a little extra shredded cheddar on top the last 10 minutes of baking and it was chef’s kiss. Will 100% be making this on repeat all winter.

2 days ago

Love that extra cheddar hack! So glad it was a potluck hit, that’s the ultimate seal of approval if you ask me.

5 days ago

Super easy recipe, perfect for when I’m juggling after school practice and homework help. My only note is that my tots came out a little soggier than I wanted on the bottom layer—any tips?

3 days ago

Great question! Try arranging your tater tots in a single, evenly spaced layer without overcrowding, and make sure your oven is fully preheated before popping the dish in. That helps them crisp up faster and avoid sogginess!

1 week ago

Made a big pan of this on Sunday for the week’s lunches and it held up perfectly! Portioned out into 6 containers, reheats like a dream in the microwave. No weird texture changes, still tasty every day. Saved me so much time this week.

1 week ago

Wait, I thought hotdish was just a midwest thing? Gave this a try for my family down here in Georgia and y’all, it was a hit! I mixed in a can of corn with the ground beef because we love extra veggies around here.

5 days ago

Hotdish is for everyone! Adding corn sounds delicious, it’s such a flexible recipe you can toss in almost any veggie you have on hand.

3 days ago

I added green beans last time I made it and it was so good! My husband who swears he hates ‘casseroles’ went back for thirds lmao

2 weeks ago

First recipe I’ve made in my new apartment that didn’t burn or taste like cardboard lmao. Only had to buy like 3 ingredients, super straightforward. 10/10 would make again when I’m tired of ramen.

1 week ago

Same! I made this last month after seeing it on my feed and it’s now my go-to when my friends come over for game night. So cheap to make for a group.

2 weeks ago

Used cream of mushroom soup that’s gluten free and swapped regular tater tots for the GF brand, and it turned out perfect! I was worried it wouldn’t taste the same as the classic, but my whole family didn’t even notice a difference. So happy to have an easy GF comfort food recipe now.

yesterday

Made this for our tailgate before the high school game last Friday and it was gone before kickoff! I kept it warm in the crockpot after baking and it stayed perfect for two hours. Even the other parents were asking for the recipe.

2 hours ago

Crockpot transport is such a smart call! I usually fumble with foil and end up spilling half the pan on my passenger seat, definitely trying that next time.

30 minutes ago

So stoked it was a tailgate win! The crockpot trick is chef’s kiss for serving crowds, no cold bites and way less mess.

3 days ago

It’s solid, but felt like it needed a little more seasoning for my taste. I added a teaspoon of garlic powder and a pinch of paprika when I made it and that livened it up a good bit. Easy enough to make on a weeknight, just a little plain out of the gate.

2 days ago

Thanks for the honest feedback! Those seasoning additions sound fantastic, the base recipe is totally meant to be customized to your taste preferences. I’ll add a note about optional seasonings for folks who like a little extra flavor punch!

5 days ago

I swapped the ground beef for plant-based crumbles and it was SO good! Even my meat-loving brother didn’t realize it wasn’t regular beef. Perfect for when I’m cooking for my mixed diet family.

3 days ago

Oh I’ve been nervous to try that swap! Did you cook the crumbles the same way you would ground beef before adding them in?

2 days ago

Yep! Just browned them the same, no extra steps needed. The seasoning from the soup covers any weird plant-based aftertaste too, promise!

2 hours ago

Made this on the first snowy night of the year here in Colorado and it was the coziest dinner ever. Paired it with a side of dill pickles just like my mom used to, perfect nostalgia meal.

30 minutes ago

Dill pickles on the side is NON-NEGOTIABLE with tater tot hotdish, people who don’t do that are missing out fr

5 minutes ago

I don’t know how I haven’t made this before now! It took me 10 minutes to throw together before popping it in the oven, and I got to fold laundry while it baked. No fancy steps, no weird ingredients, just straight up good food that my kids devoured. 10/10, adding to the weekly rotation.

2 hours ago

Wait, do you cook the ground beef all the way before putting it in the oven? I’m terrified of undercooking meat and making my roommates sick lmao, recipe says easy but I’m still a newbie.

30 minutes ago

Great question! Yes, you’ll want to fully brown and drain the ground beef on the stovetop first before layering it in the casserole dish. That ensures it cooks all the way through and gets rid of excess grease that would make the hotdish soggy.

just now

I was the same way when I first started cooking! Pro tip: break the beef up super small while browning it, and if there’s no pink left you’re good to go. You got this!

1 week ago

I’ve been making tater tot hotdish for potlucks for 30 years and this recipe is almost identical to mine! The only thing I do different is add a layer of diced onions under the tater tots for extra zing. This is a classic for a reason, folks can’t get enough.

5 days ago

Love that extra onion layer, that’s such a good flavor boost! It’s such a timeless recipe, everyone has their own little family twist which is what makes it so special.

2 days ago

I never eat leftovers because I feel like most food gets weird after a day in the fridge, but this? I ate leftover hotdish for breakfast, lunch, and dinner the day after I made it. Even cold straight from the fridge it slaps. No notes.

yesterday

LMAO I thought I was the only one who eats this cold straight out of the dish! My husband makes fun of me but it’s so good that way, no judgment here.

2 hours ago

No shame in the cold leftover game! I’ve definitely snuck a cold bite straight from the fridge late at night too, it’s half the fun of making a big pan of this.

3 days ago

Cost me under $12 to make the whole pan, which feeds like 6 people. That’s cheaper than takeout for one person these days! Perfect for when rent is due and I’m trying to stretch my grocery budget as far as possible.

yesterday

Wait a second, I accidentally put the tater tots on the bottom first instead of the top when I made this last night and it still turned out incredible? Like, the tots got crispy on the bottom and soaked up all the creamy sauce, it was a happy accident. Would recommend trying it that way if you’re feeling chaotic.

30 minutes ago

Love a happy cooking accident! Reverse layering sounds genius, I might have to test that version myself and add it as a fun variation for people who want to mix things up.



