
Tea Cakes
intro
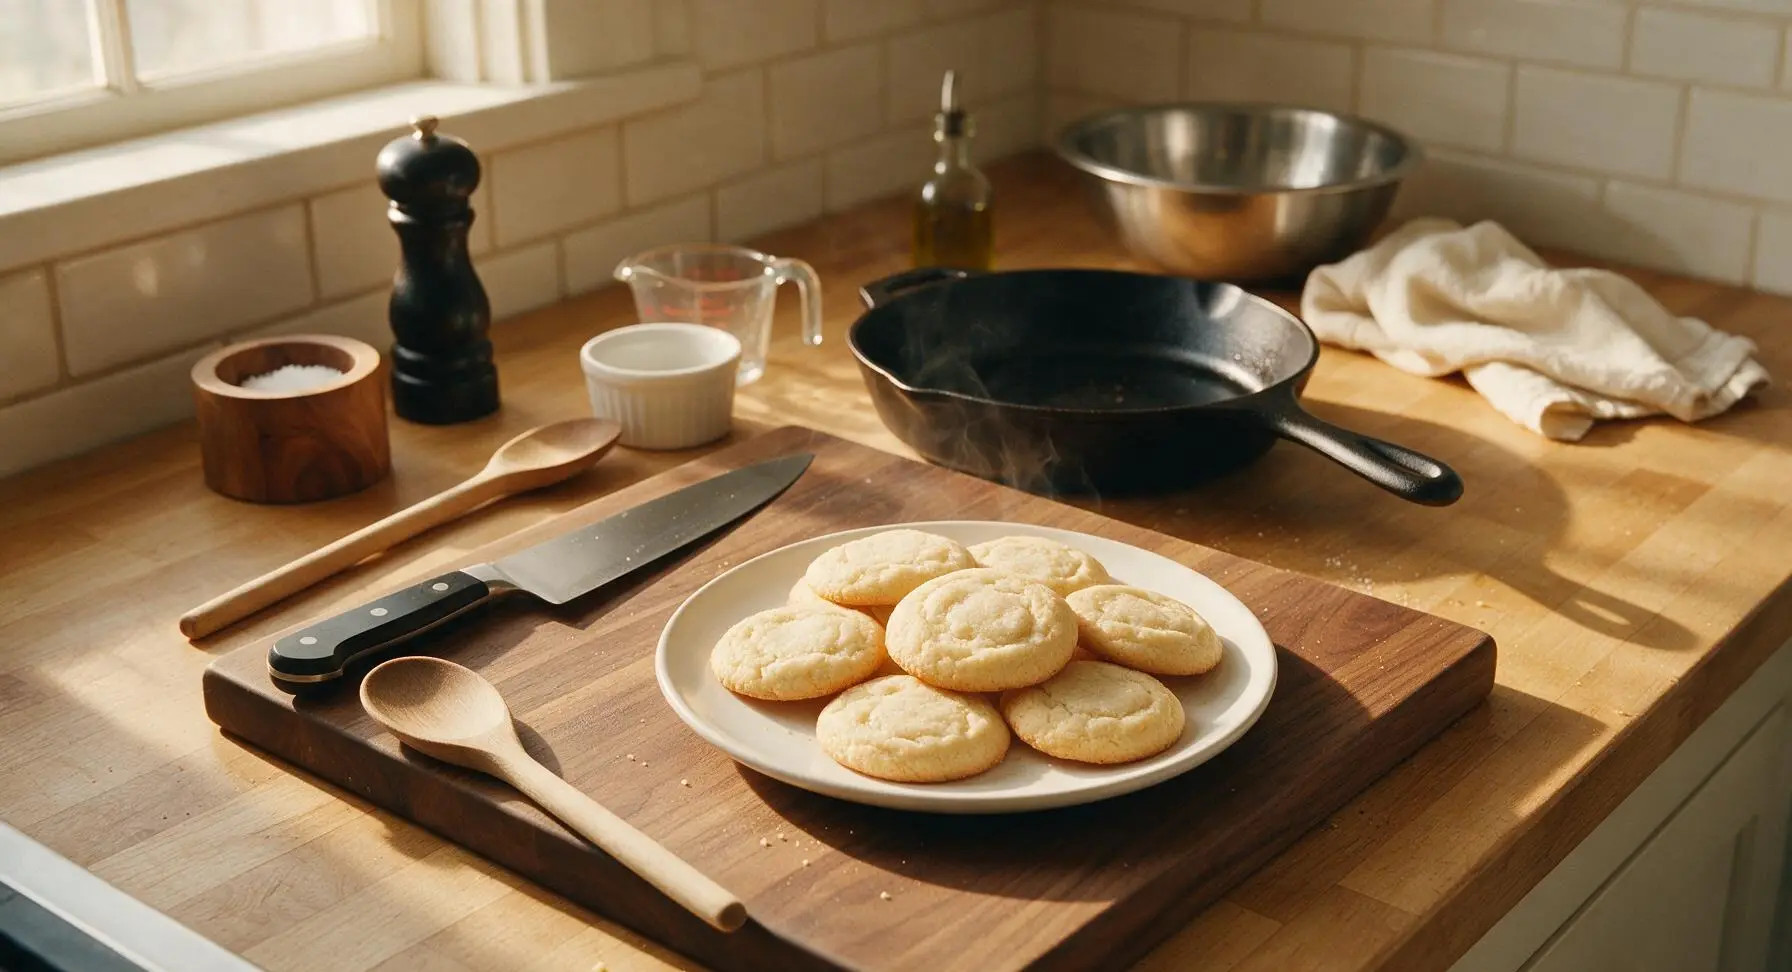
Tender, buttery, lightly sweet old-fashioned tea cakes with soft centers and crisp golden edges, perfect paired with a warm mug of tea on cold winter days.
Ingredients
Steps
Cream Butter and Sugar
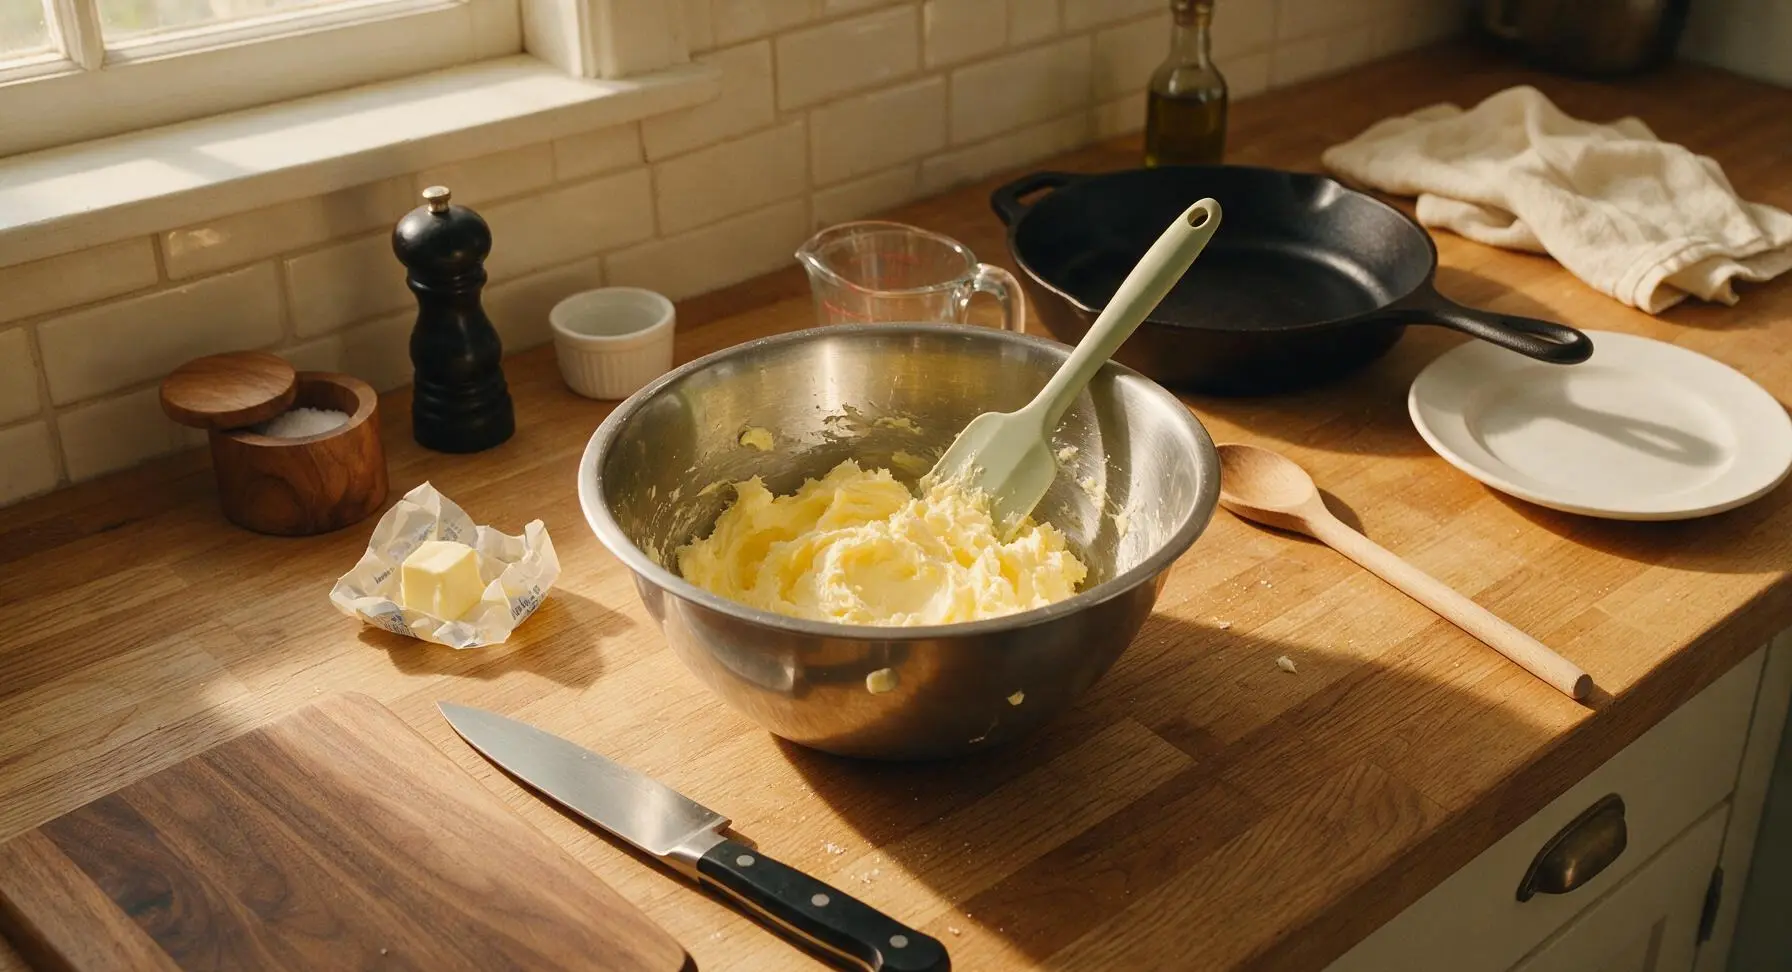
Place 225g softened unsalted butter and 200g granulated sugar in the large stainless steel mixing bowl, set in the central work zone. Use the pale sage green silicone spatula to cream the ingredients together for 3-4 minutes, pressing the butter against the bowl sides and folding repeatedly, until the mixture turns pale lemon-yellow, light and fluffy, with no visible lumps of unincorporated butter. Scrape down the bowl sides once halfway through mixing to ensure even texture.
Incorporate Eggs and Vanilla
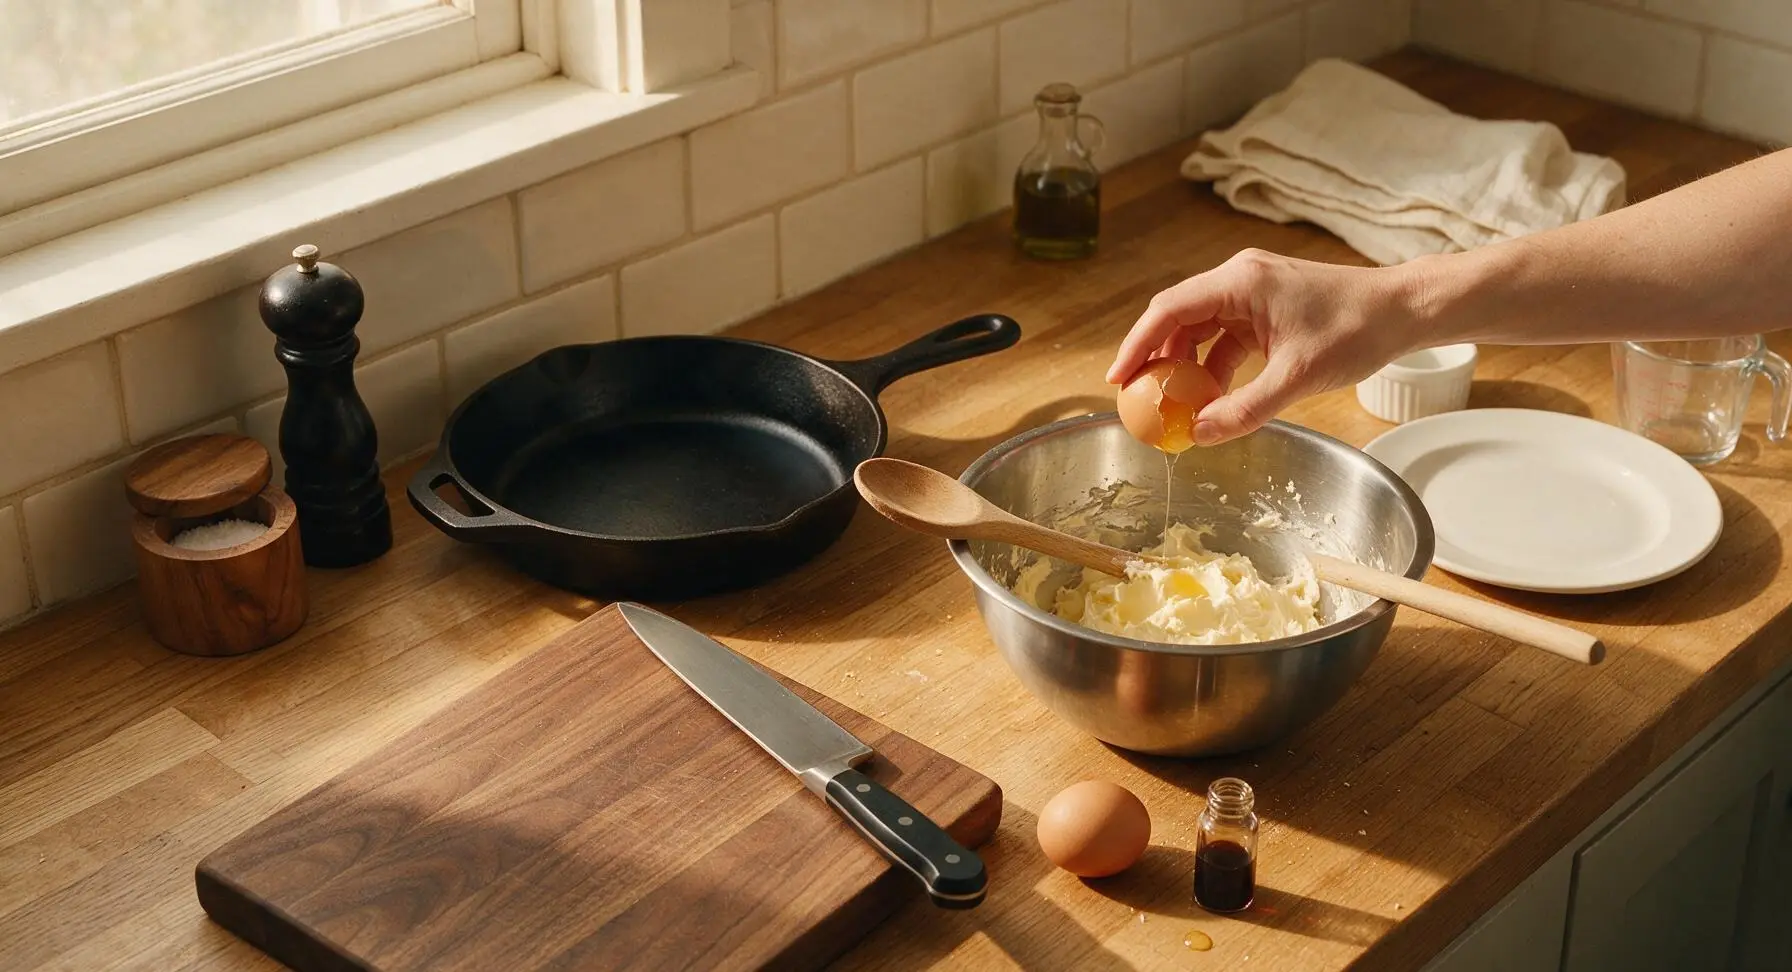
Crack one large egg into the creamed butter mixture, stirring vigorously with the silicone spatula for 60 seconds until no streaks of translucent egg white remain and the mixture is fully smooth. Add the second egg and 1 teaspoon pure vanilla extract, stirring again for another 60 seconds until the batter is homogenous, slightly glossy, and shows no signs of curdling.
Mix Dry Ingredients
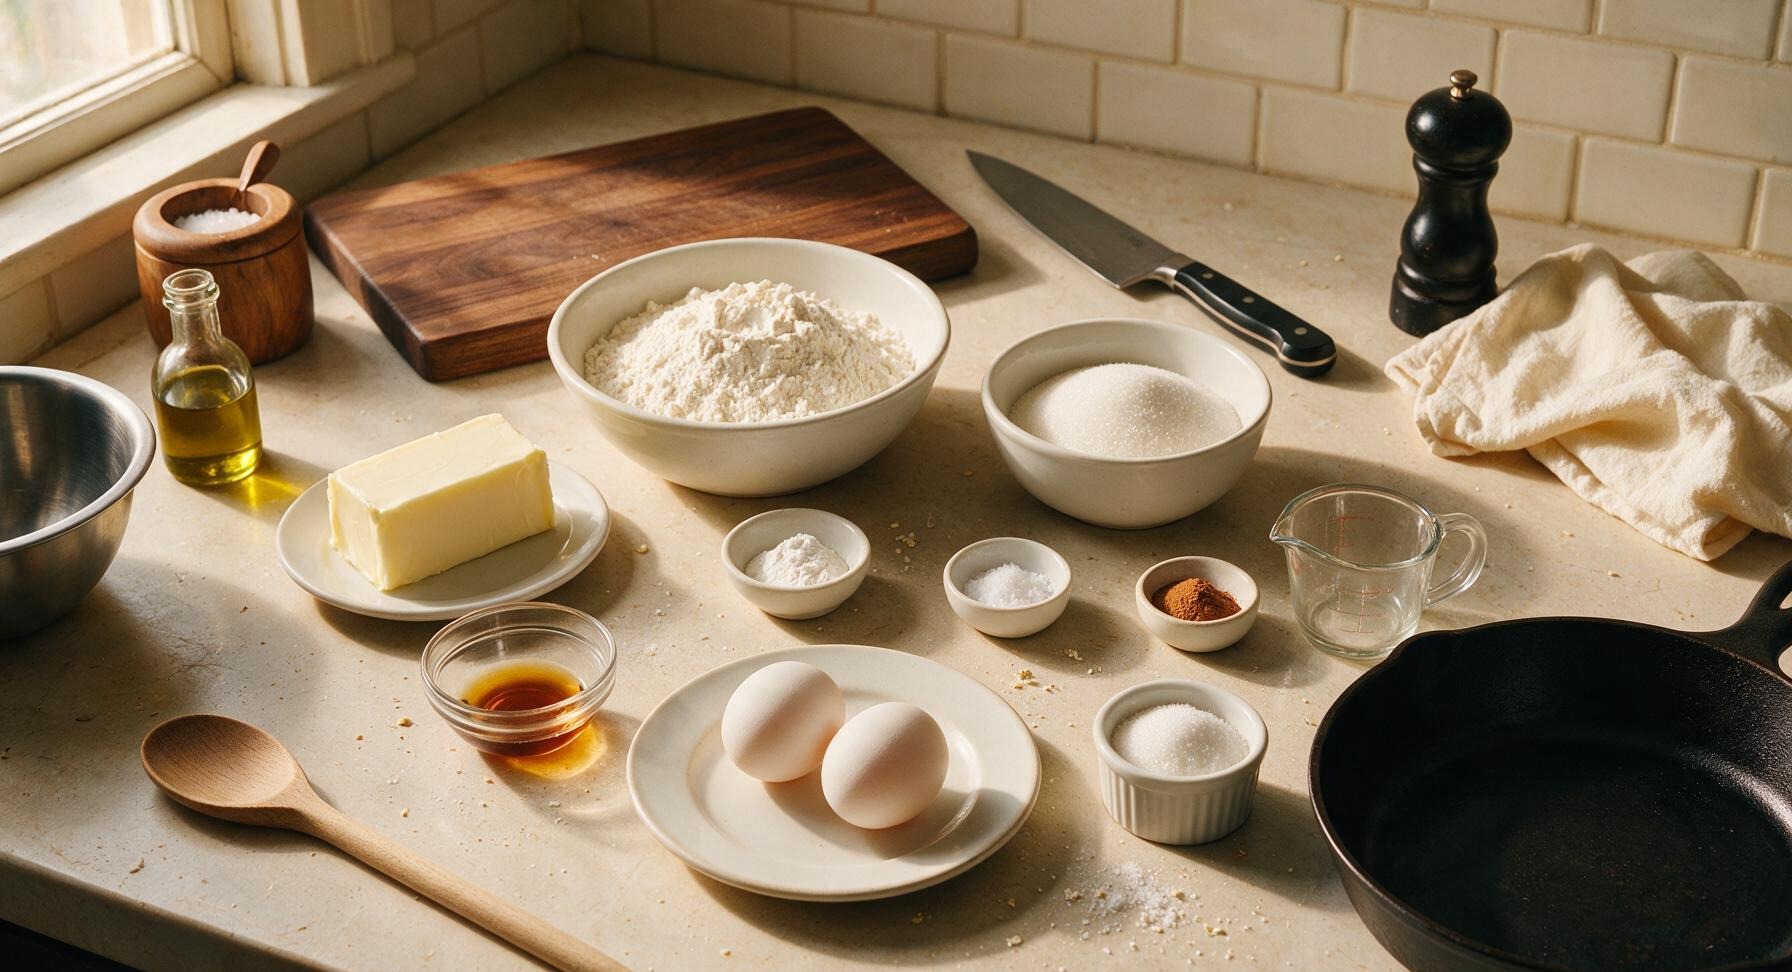
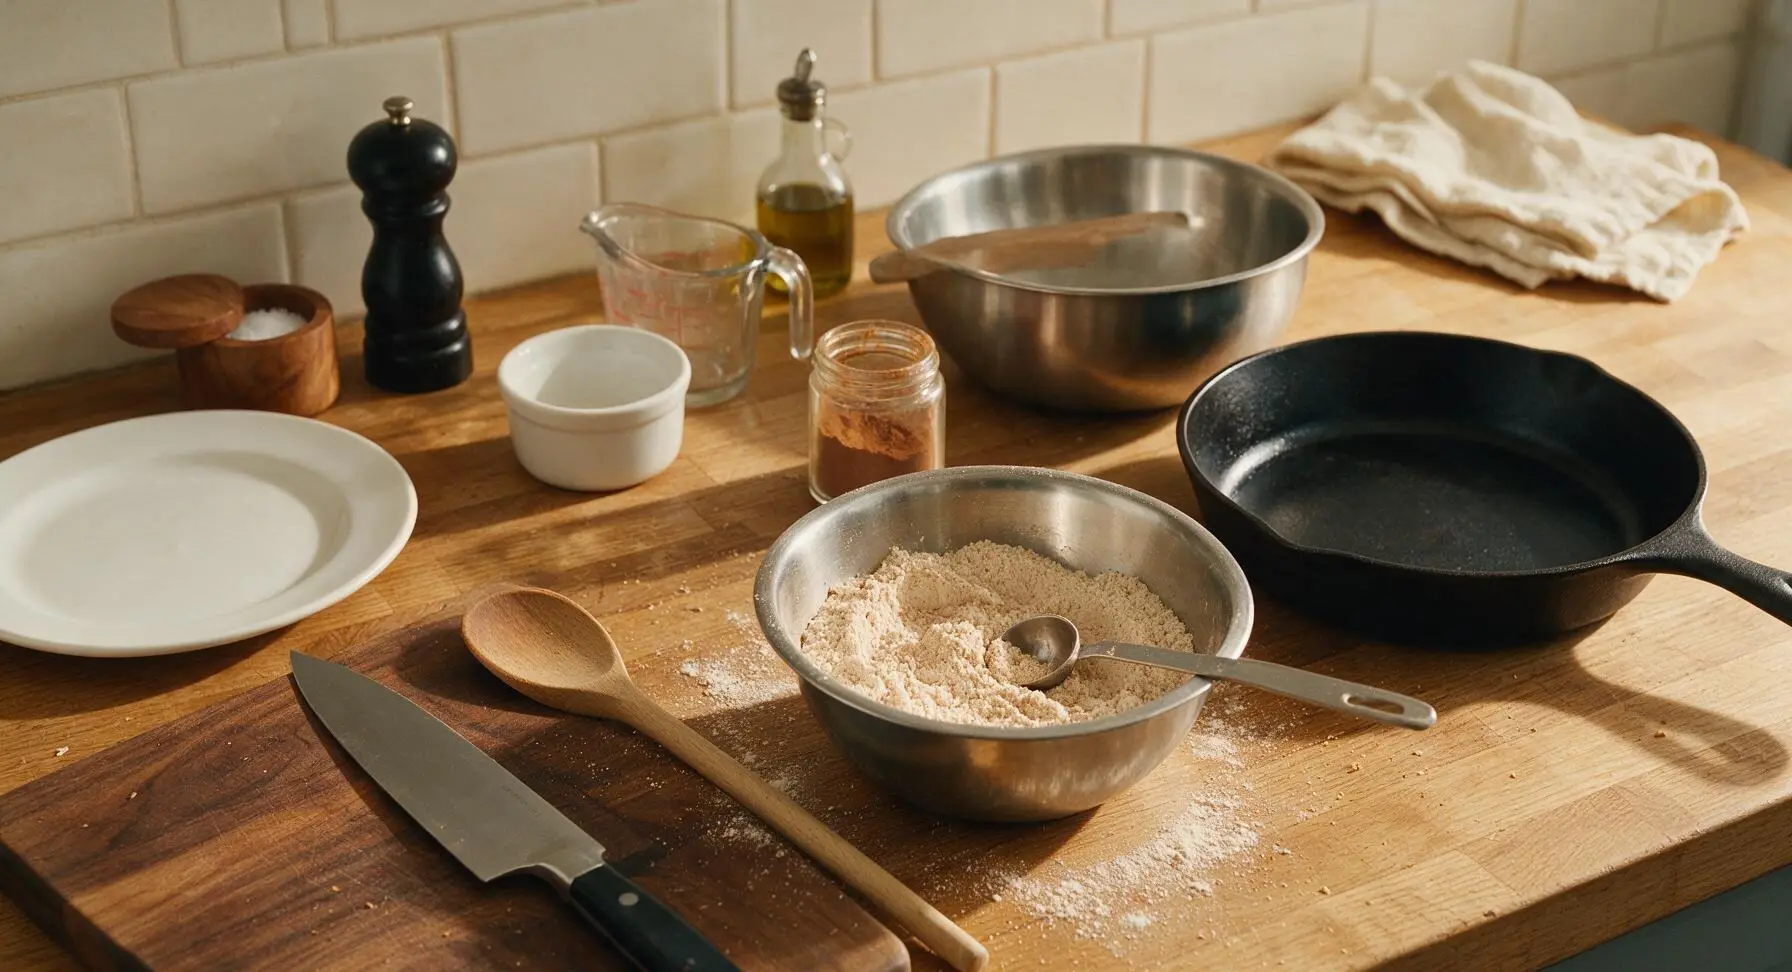
In the small stainless steel mixing bowl, combine 360g all-purpose flour, 1 teaspoon baking soda, 1/2 teaspoon fine sea salt, and 1/2 teaspoon ground cinnamon. Use the 1/4 tsp stainless steel measuring spoon to stir the mixture for 30 seconds until evenly combined, with no dark clumps of cinnamon or baking soda visible throughout the pale flour.
Fold into Soft Dough
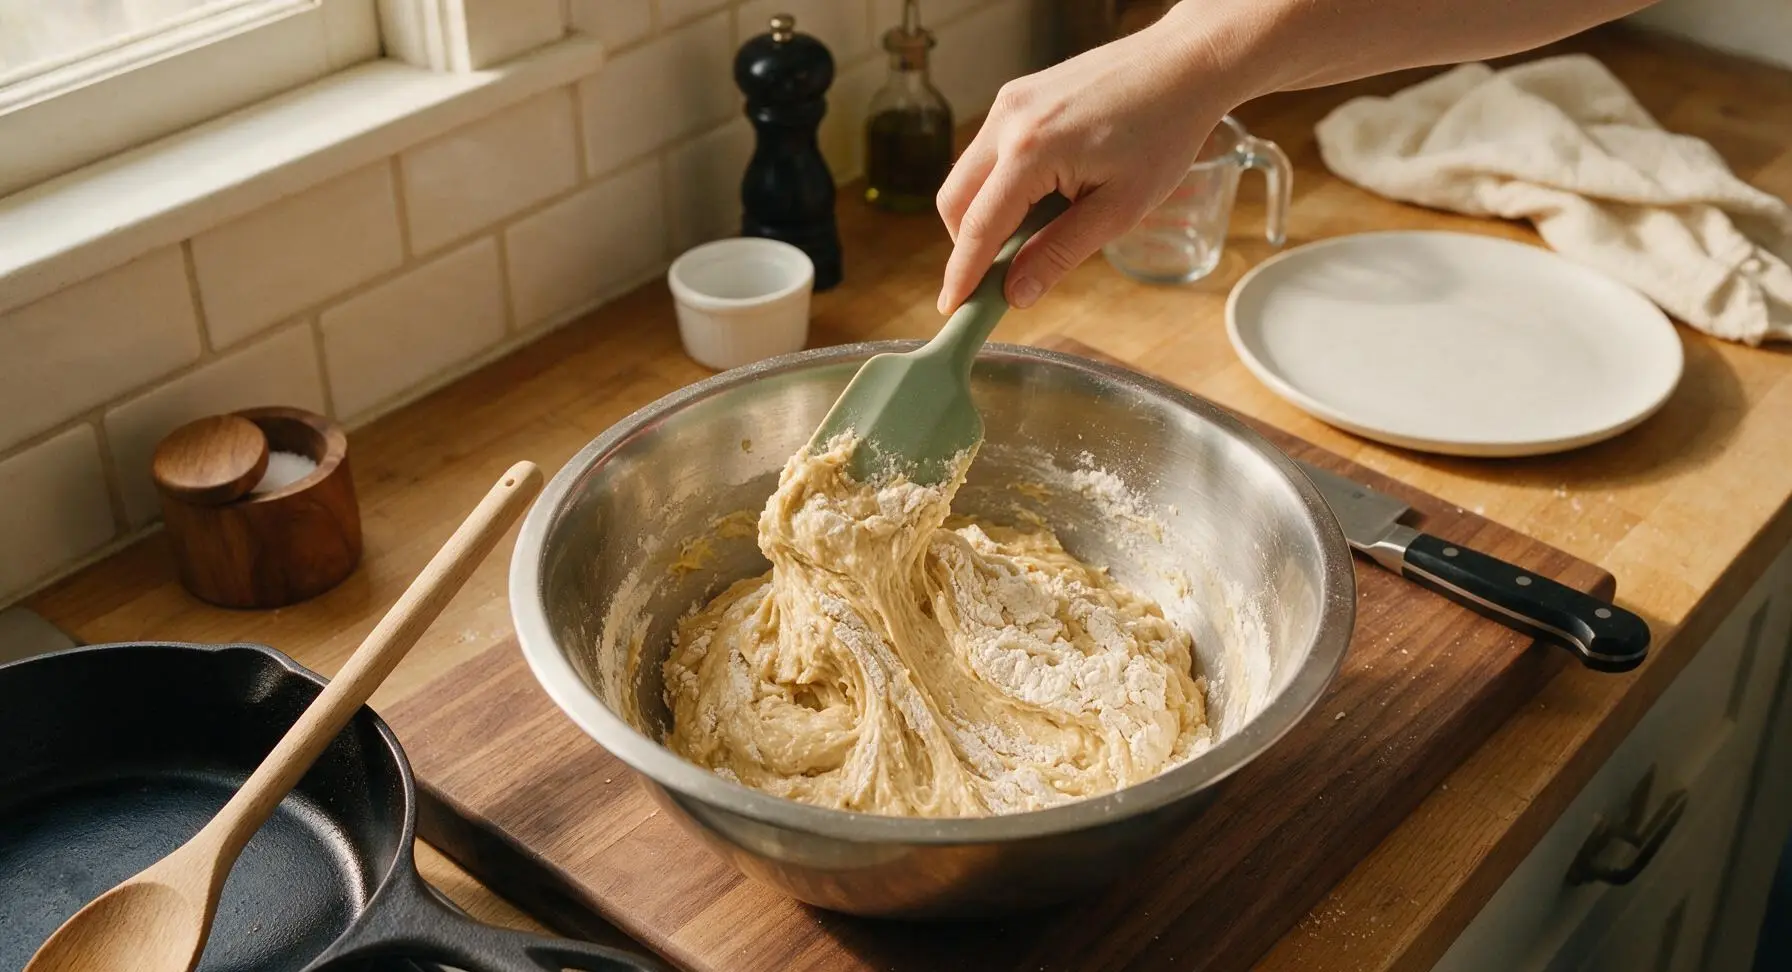
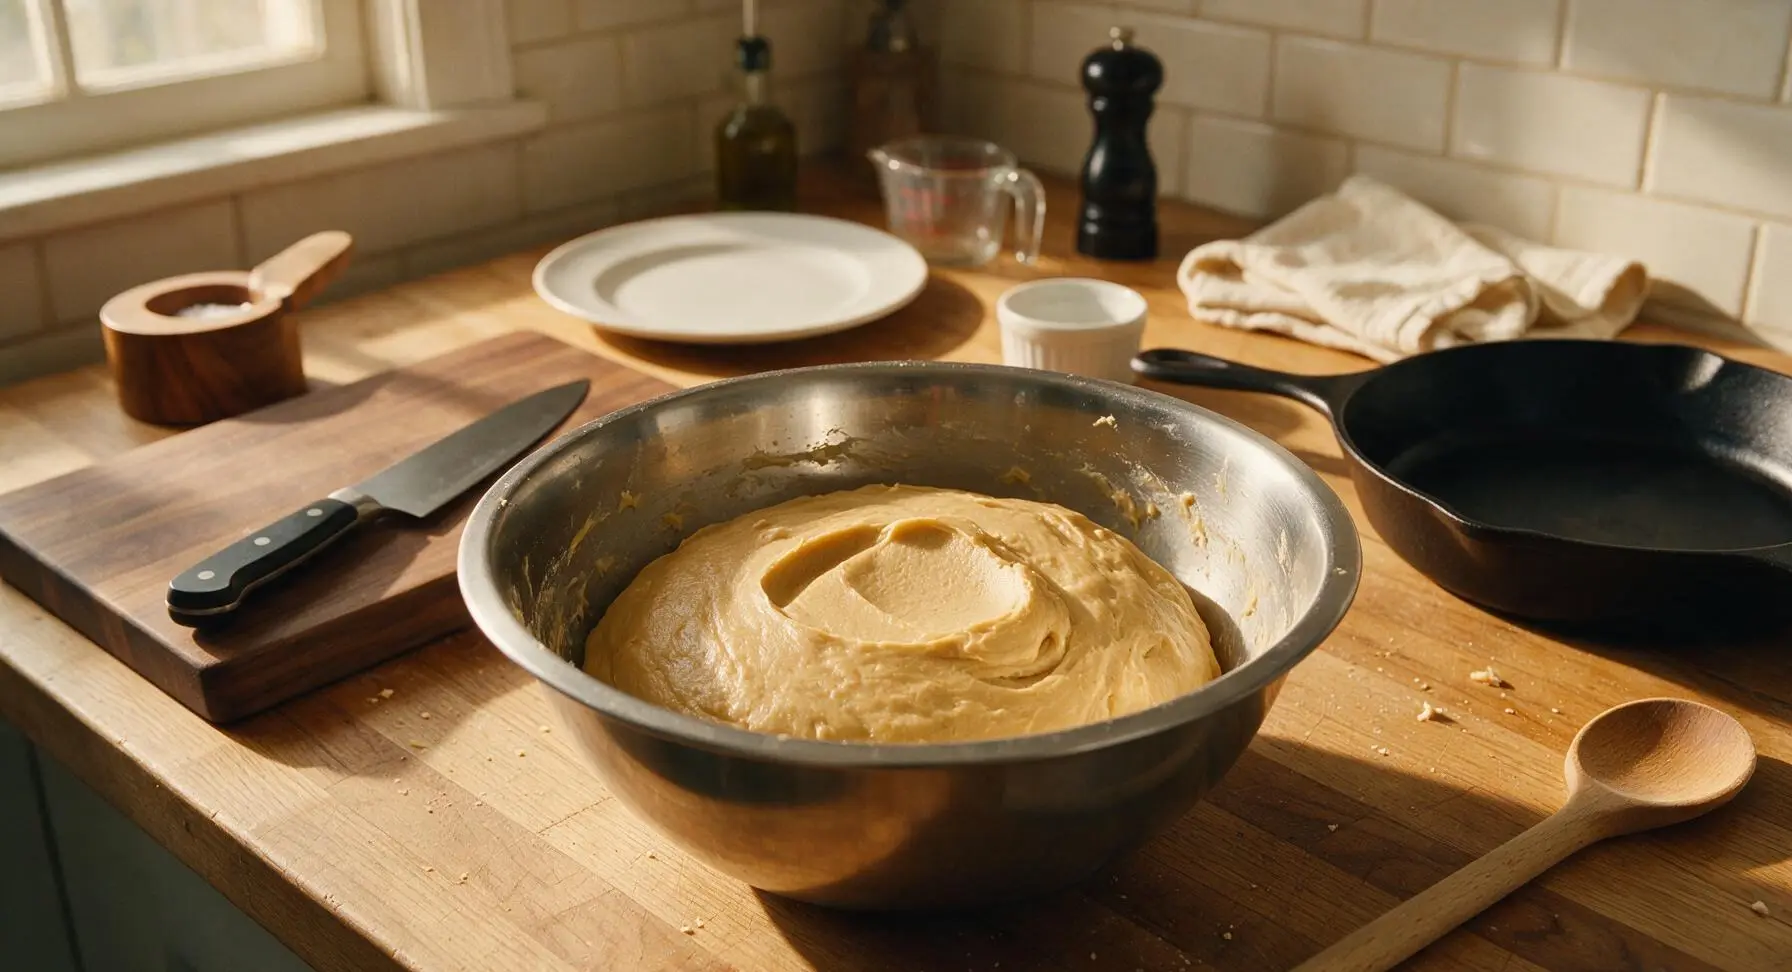
Add the dry ingredient mixture to the wet butter mixture in 3 equal, separate additions, folding gently with the silicone spatula after each addition just until no dry flour streaks remain. Stop mixing as soon as the dough comes together; overmixing will develop gluten and create tough tea cakes. The finished dough should be soft, cohesive, pale golden tan, and hold its shape when pressed gently.
Chill Dough Firmly
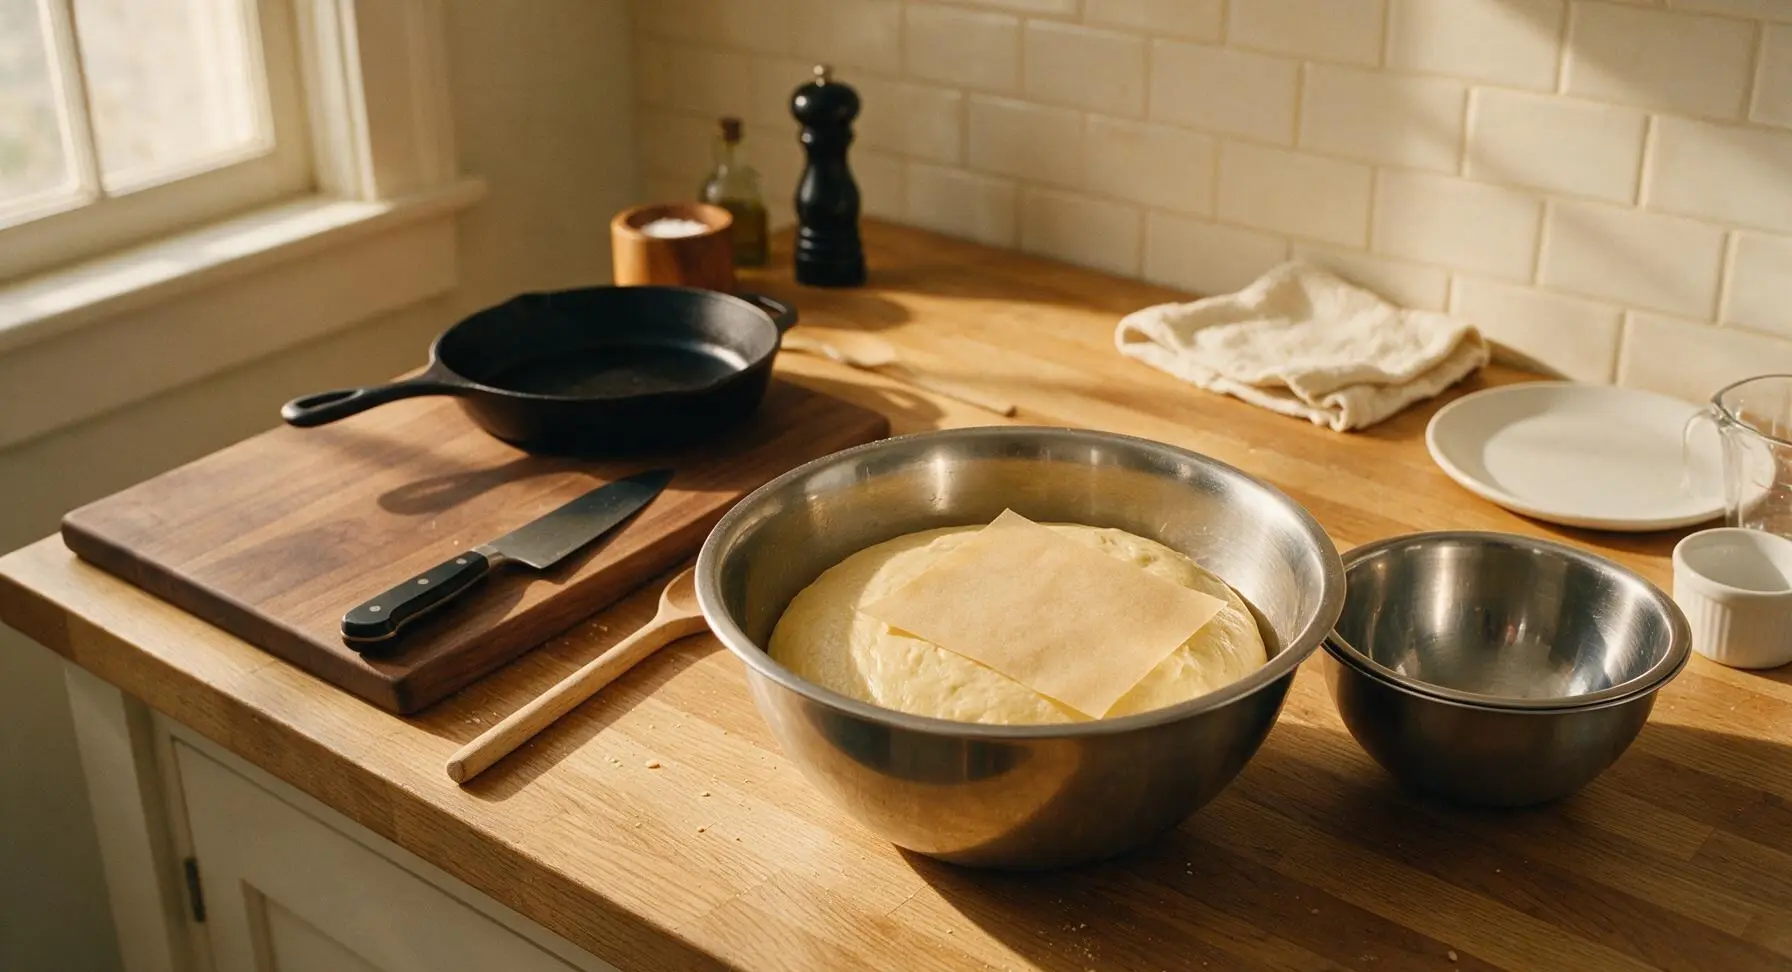
Press a sheet of unbleached parchment paper directly against the surface of the dough to prevent a skin from forming. Place the bowl in the refrigerator to chill for 1 full hour; chilled dough spreads less during baking and develops a richer, deeper buttery flavor as the flour hydrates evenly.
Roll and Cut Shapes
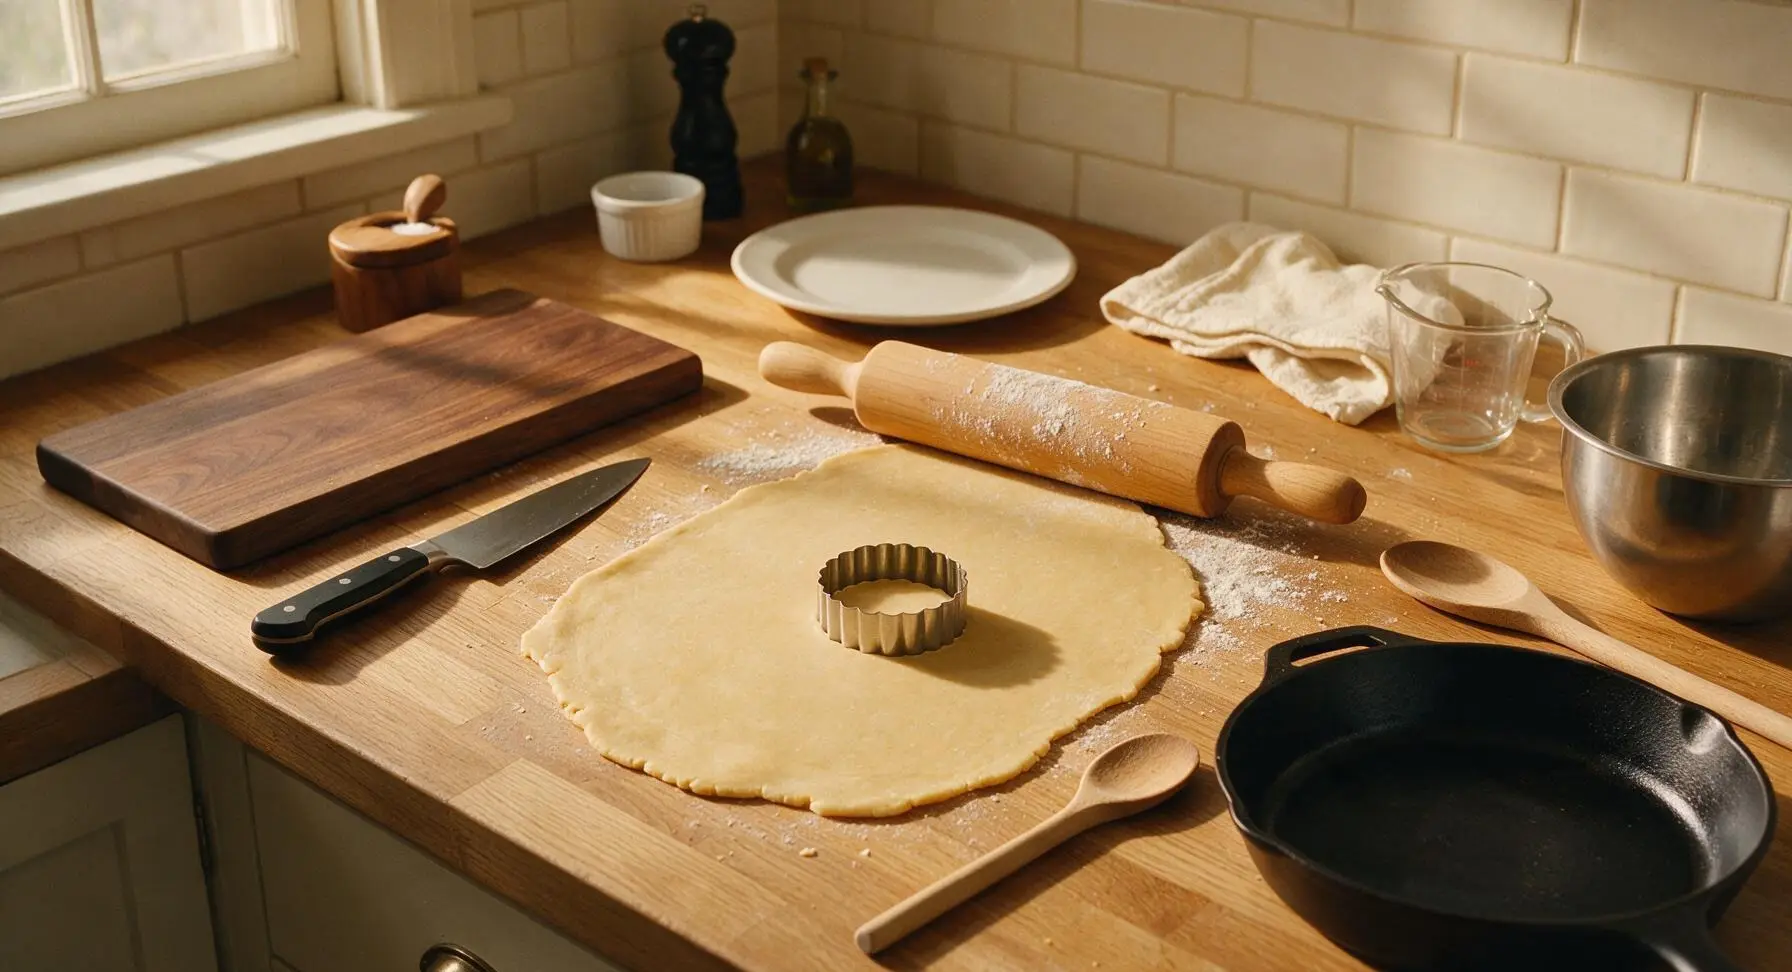
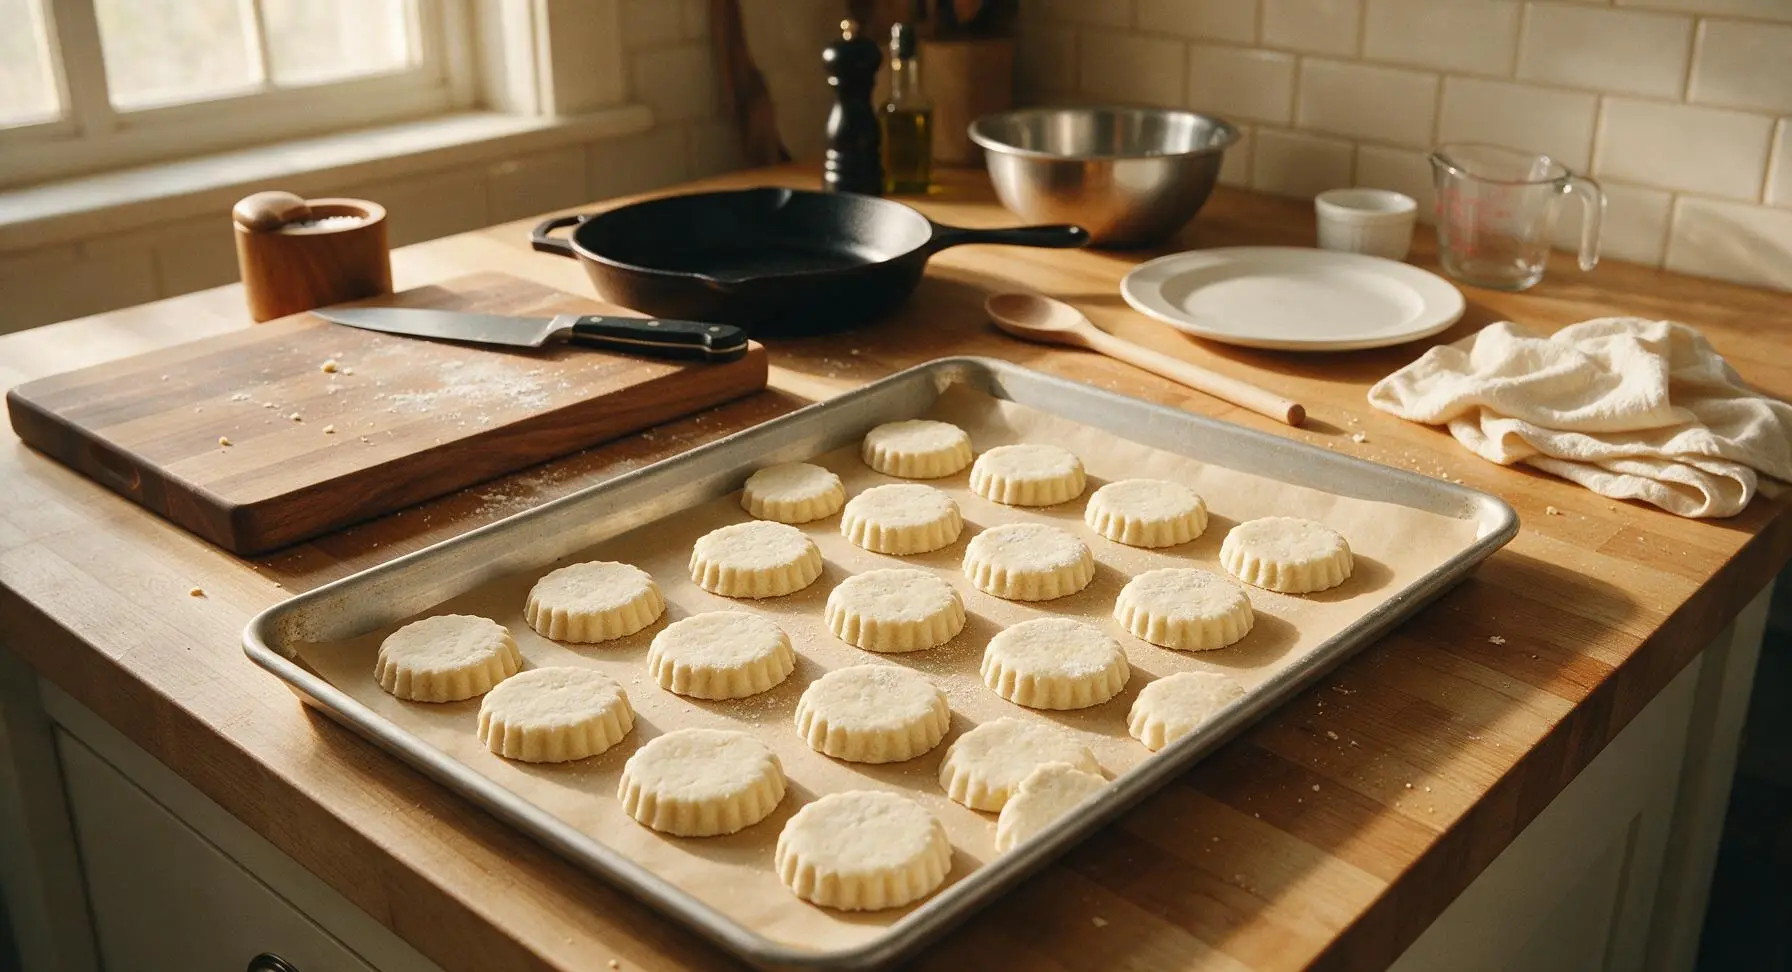
After 1 hour of chilling, remove the dough from the refrigerator. Lightly dust the maple counter surface with a pinch of flour, place the chilled dough on the surface, and use the solid maple rolling pin to roll it to an even 6mm (1/4 inch) thickness across the entire sheet. Dip the fluted tin cookie cutter in flour, press it straight down through the dough, and twist slightly to release clean, round fluted shapes. Gather dough scraps once, re-roll, and cut to yield 24 total tea cake rounds.
Bake to Golden Edges
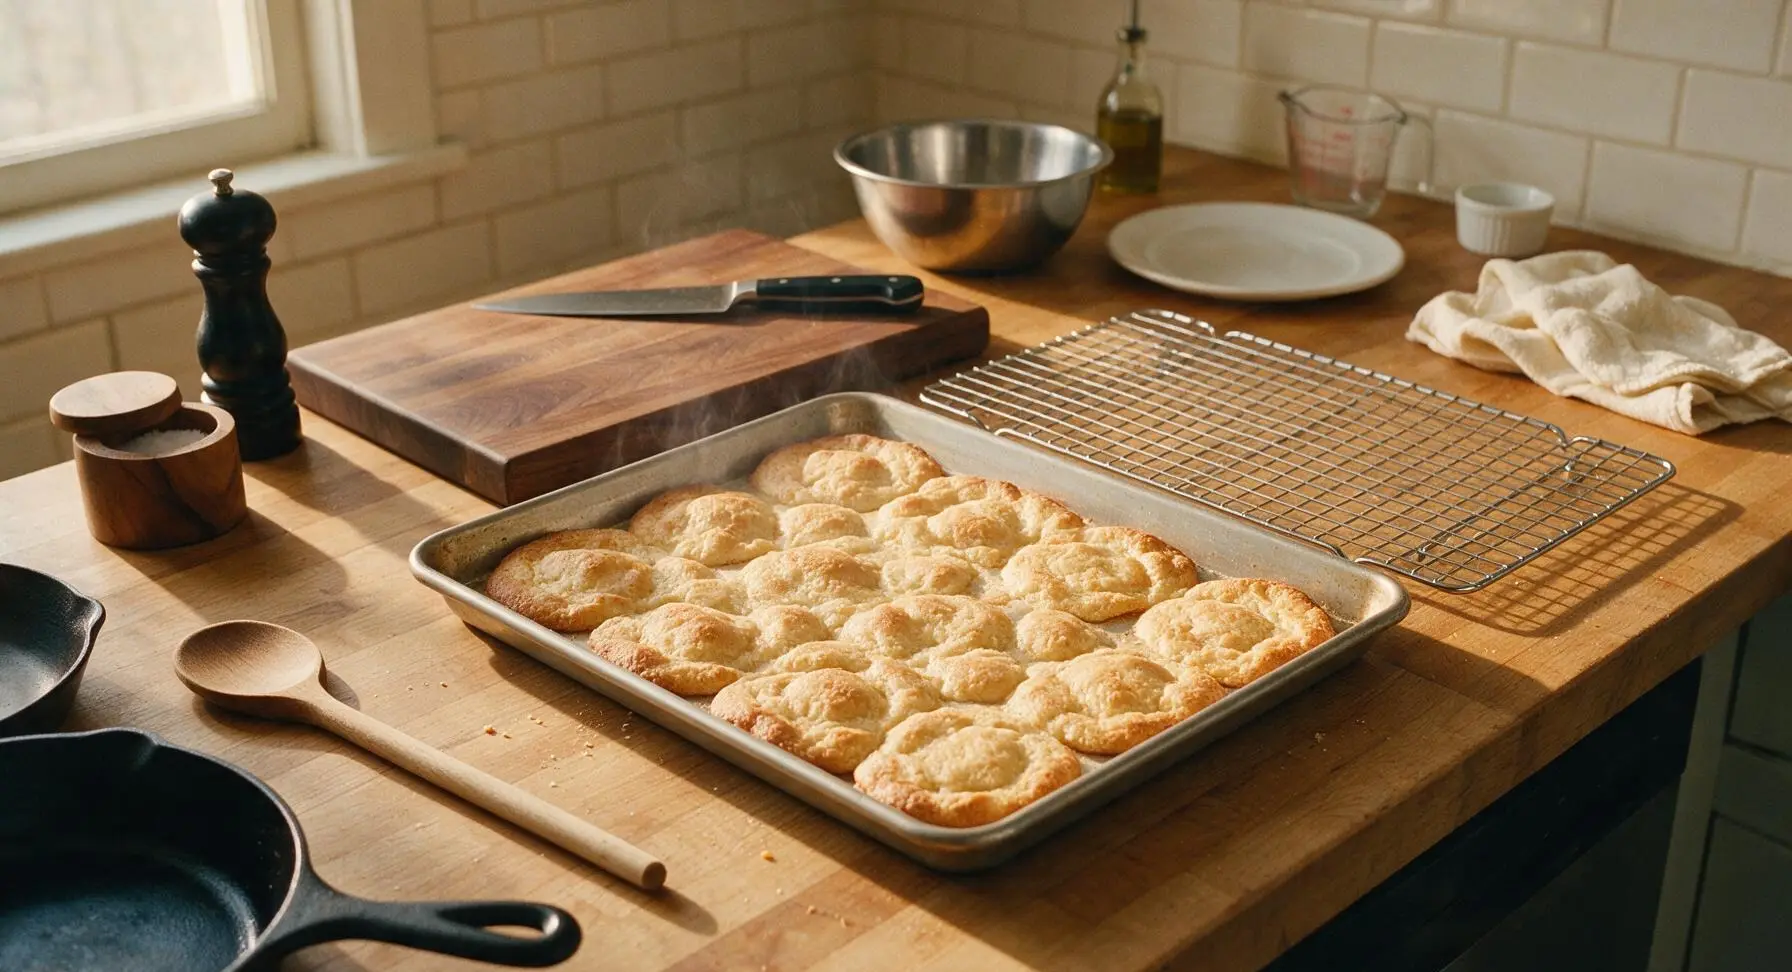
Place the prepared half-sheet pan in a preheated 180C (350F) oven. Bake for 8-10 minutes, rotating the pan 180 degrees at the 4-minute mark for even browning. The tea cakes are done when the edges are deep golden brown, and the centers are just set and pale golden, with no raw dough shine; they will continue to set as they cool on the hot pan.
Cool and Sugar Top
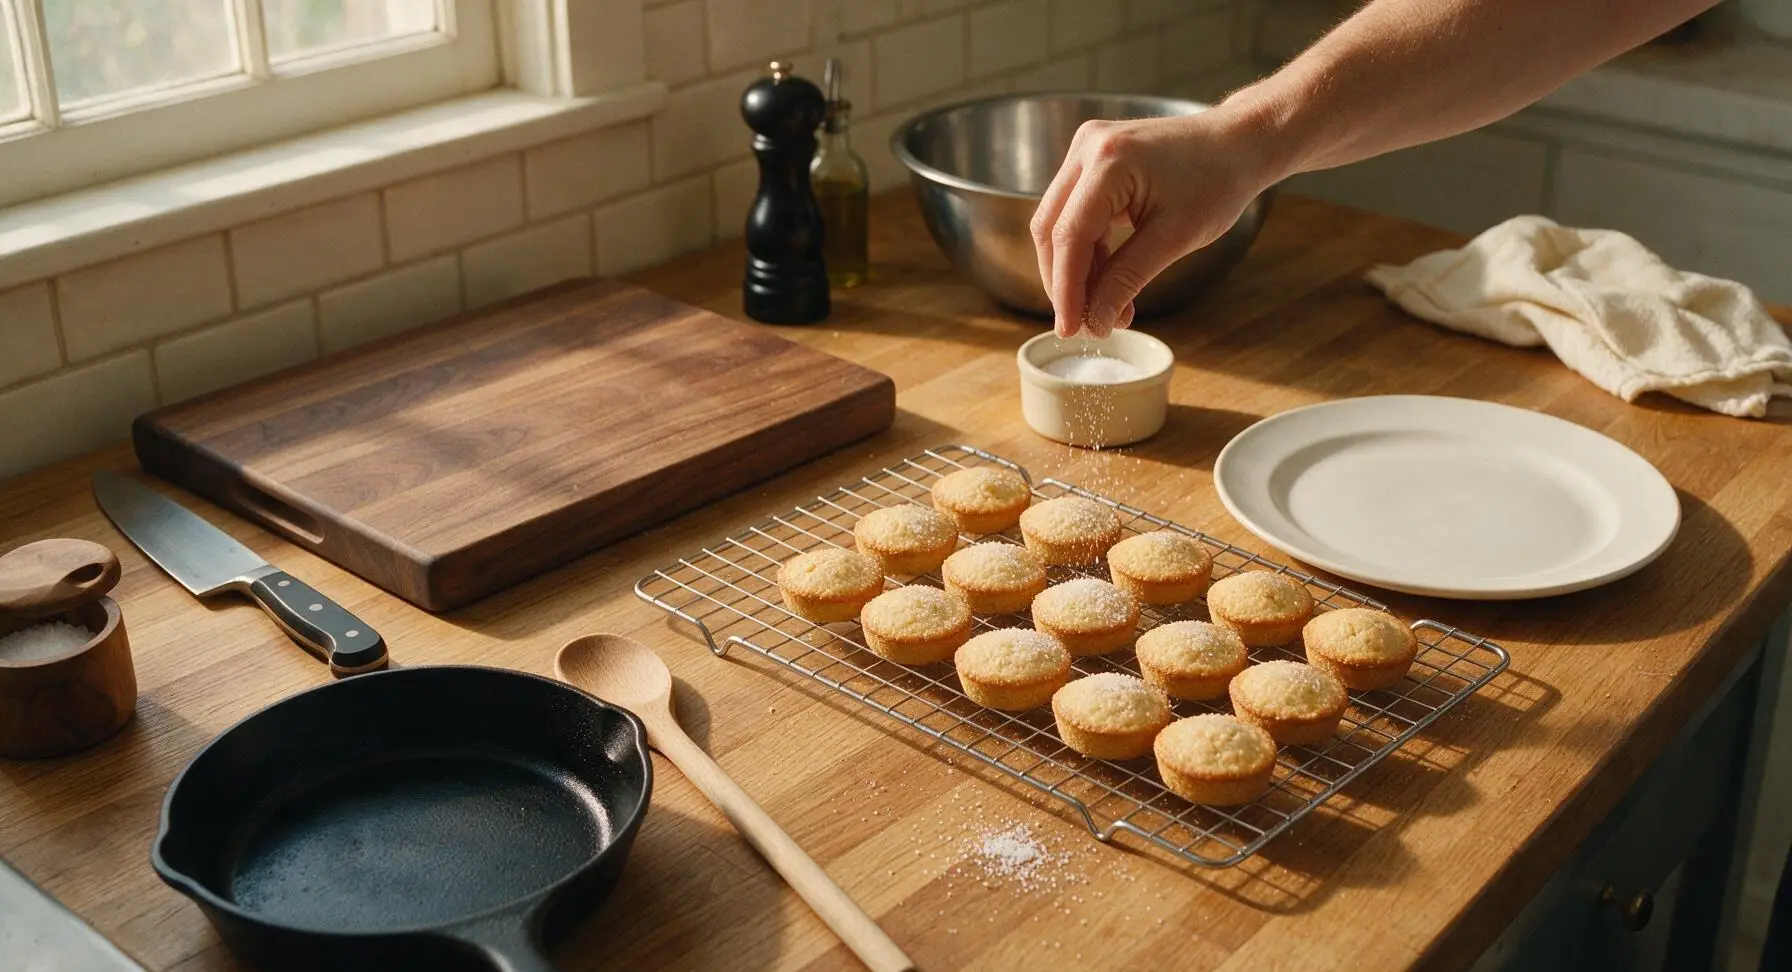
Let the baked tea cakes rest on the hot baking sheet for 2 minutes to set, then use the silicone spatula to transfer them to the chrome wire cooling rack. While the cookies are still slightly warm, sprinkle the tops evenly with the 2 tablespoons of reserved granulated sugar. Allow to cool completely for 15 minutes before transferring to the serving plate.
Tips
2.Resist the urge to overmix the dough once flour is added: overmixing develops wheat gluten, which results in tough, dense tea cakes instead of the signature tender, slightly crumbly texture. Stop folding as soon as the last streak of dry flour disappears.
3.For the cleanest, sharpest fluted edges, dip the cookie cutter in a small dish of flour between every cut, and press straight down without twisting hard: twisting excessively or using a sticky cutter will seal the dough edges, preventing the tea cakes from rising evenly and creating ragged edges.






OMG these taste EXACTLY like the tea cakes my grandma used to make when I’d visit her in Alabama every summer! I was so worried I’d never find a recipe that got that soft, slightly buttery, not-too-sweet vibe right. Baked a batch last night for my book club and everyone asked for the recipe. SO easy too, even for someone who burns toast half the time lmao
Made these for my kid’s after-school snack this week and they demolished the whole batch in 2 days! I added a tiny dusting of powdered sugar on top and it was chef’s kiss. Perfect to toss in lunch boxes too, not messy at all.
Pretty solid recipe! Cook time was spot on for my oven, which never happens honestly. I did add a splash of extra vanilla because I’m a vanilla fiend, turned out great. Only note is I wish they were a tiny bit sweeter, but that’s just my personal sweet tooth talking.
Brought these to my church potluck last Sunday and they were the first empty plate on the dessert table! Multiple people came up to ask if I’d bought them from the local bakery, nope – just 20 minutes of effort and this foolproof recipe. 10/10 will be making these for every gathering from now on.
This is the first cookie/tea cake recipe I’ve ever tried that didn’t come out lumpy or rock hard! I’m 19 and just moved into my first apartment, so I was super nervous to bake something for my roommate’s birthday, but these came out perfect. My roommate said they’re better than the ones her mom makes, which I consider a major win
These are the perfect pairing for my morning coffee! Not too heavy, not cloyingly sweet, just that nice buttery crumble that melts a little when you dip it. I make a batch every Sunday for the work week and it makes my early Monday meetings so much more bearable.
Good base recipe, but I tried swapping in gluten free all purpose flour and they came out a little crumblier than I expected. Flavor was still great, just the texture was off. Might need to add an extra egg next time I try the GF swap.
I’ve been making tea cakes for 60 years, and I have to say this recipe is pretty dang close to the one I learned from my mom back in the 60s. The only thing I do different is add a pinch of nutmeg, gives it that little warm kick I remember. Great job putting this out there for folks, too many new recipes overcomplicate simple classics.
Game changer for meal prep! These stay fresh in an airtight container for almost a whole week, so I don’t have to bake every single night to have a little sweet treat after dinner. I portioned them out into little snack bags and they’re perfect to grab on my way out the door to the gym too.
Made these for my kid’s Halloween class party and I used little pumpkin shaped cookie cutters instead of the round ones, added a tiny bit of orange sprinkles on top. The kids went wild for them! Way better than the sugary candy that gets sent in every year.
How did I mess these up? I followed the recipe exactly but they spread way too thin in the oven and turned into one giant cookie sheet sized cake lmao. Tasted great, but definitely not individual tea cakes. What did I do wrong? Did I soften the butter too much?
Y’all, these are the real deal. I grew up eating these at every family reunion, fish fry, and Sunday dinner down in Georgia, and I’ve tried so many recipes that just don’t hit right. This one? I sent a batch home with my dad last weekend and he called me two days later asking for the recipe because my mom ate almost all of them in one sitting.
Made these at 1am when I had a massive sweet tooth and didn’t want to run to the gas station for candy. So fast, so easy, I didn’t even have to go to the store because I already had all the ingredients in my pantry. 10/10 late night snack approved.
I used to make these for my students every year before holiday break, and I lost my original recipe when we moved last year. Tried this one on a whim and it’s nearly identical! I brought a batch to my former teaching team last week and they all said it tasted just like the ones they remembered from the staff lounge.
Tried making these vegan by swapping the butter for plant based butter and using a flax egg, and they came out so good! I was worried the texture would be off, but you couldn’t even tell they were vegan. My non-vegan roommate ate three in a row without noticing, lmao
Cute recipe, I made a tiny batch for my neighbor who brought over homemade dog treats for my golden retriever last week. She said they were amazing, and even sent me a text the next day saying she had one for breakfast with her tea. Total win for neighborly brownie points.
Wait, do these freeze well? I want to make a big batch ahead of time for my sister’s baby shower next month, but I don’t want to have to bake the day of when I’m running around setting up. Any tips?
We have a big Sunday dinner every week with all the grandkids, and these have become the most requested dessert. The grandkids love helping me cut them out with different shaped cookie cutters, and it’s become such a fun little tradition. Way easier than making a big fancy cake or pie, and everyone cleans their plate.
Brought these in for my office team last week after seeing this recipe pop up on my feed, and now my coworkers won’t stop asking me to bring them in every Friday. My manager even said I should start selling them out of the break room lmao. Who knew such a simple recipe would make me the most popular person on my floor?
Added a tablespoon of fresh lemon zest and a tiny drizzle of lemon glaze on top of these for a spring twist, and it was chef’s kiss. The base recipe is so versatile, you can add basically any flavor you want and it still turns out perfect. Next time I’m trying almond extract instead of vanilla!