
Tender and Easy Buttermilk Waffles
intro
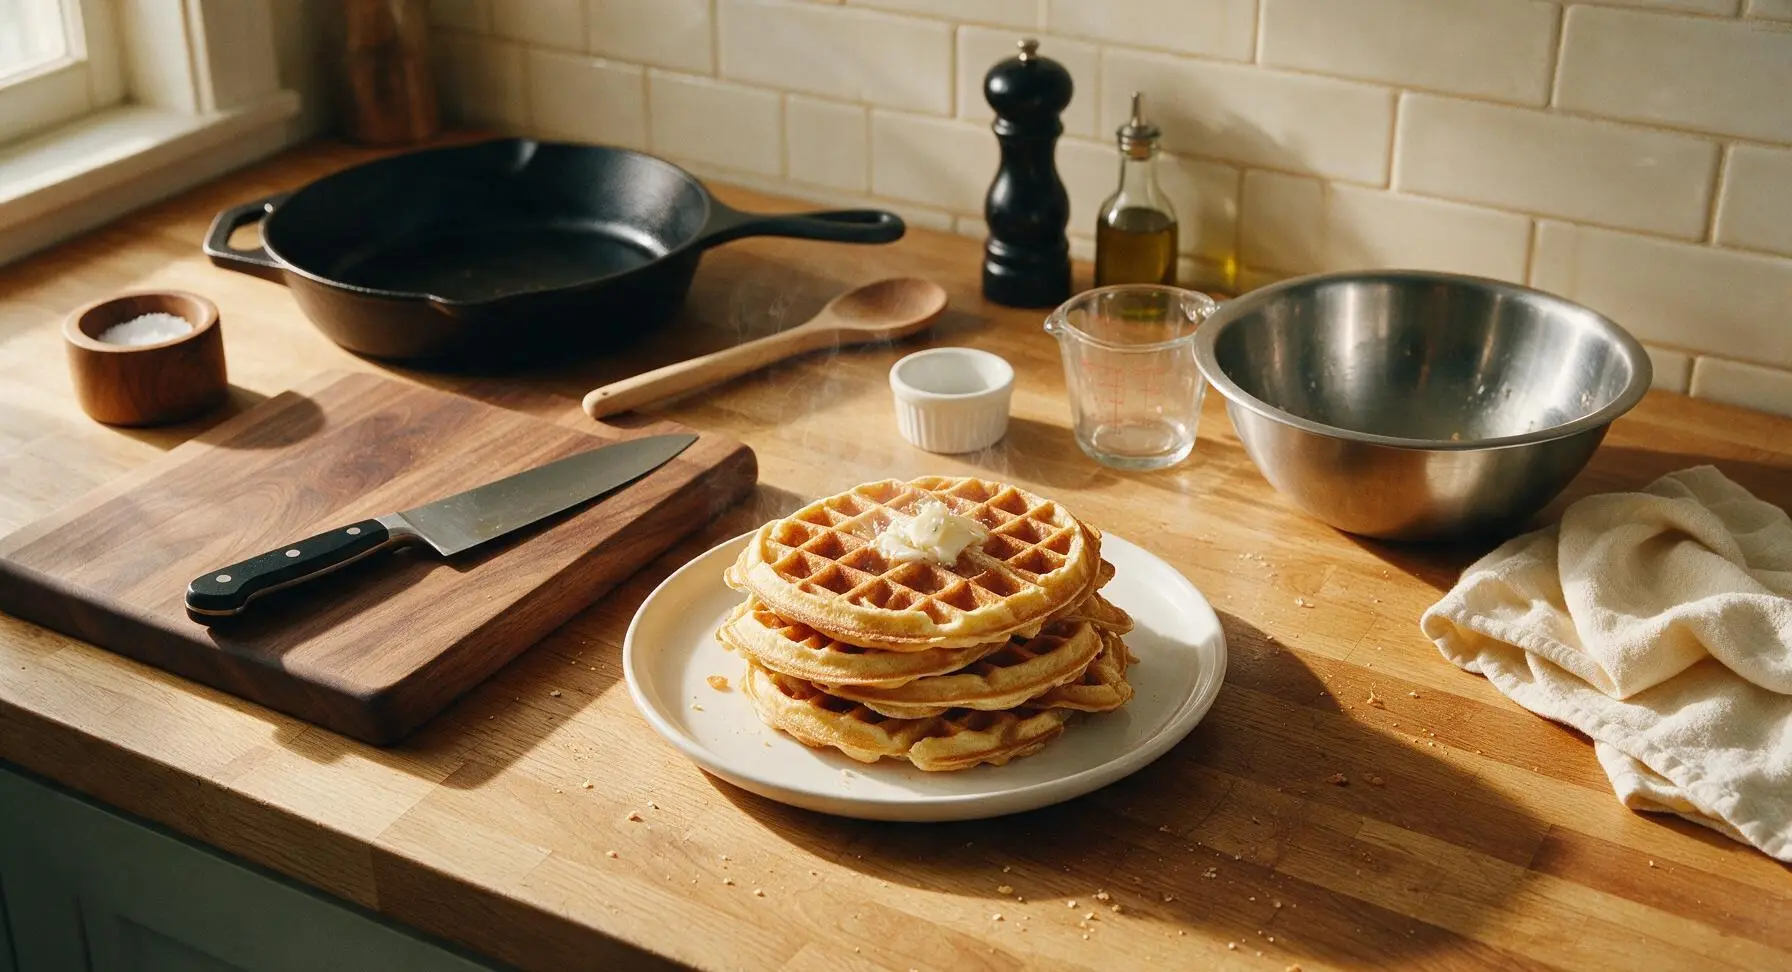
Crisp, golden edges give way to light, fluffy, tender centers in these classic buttermilk waffles. Ready in under 30 minutes, they’re perfect for quick cozy meals any time of day.
Ingredients
Steps
Preheat Waffle Iron
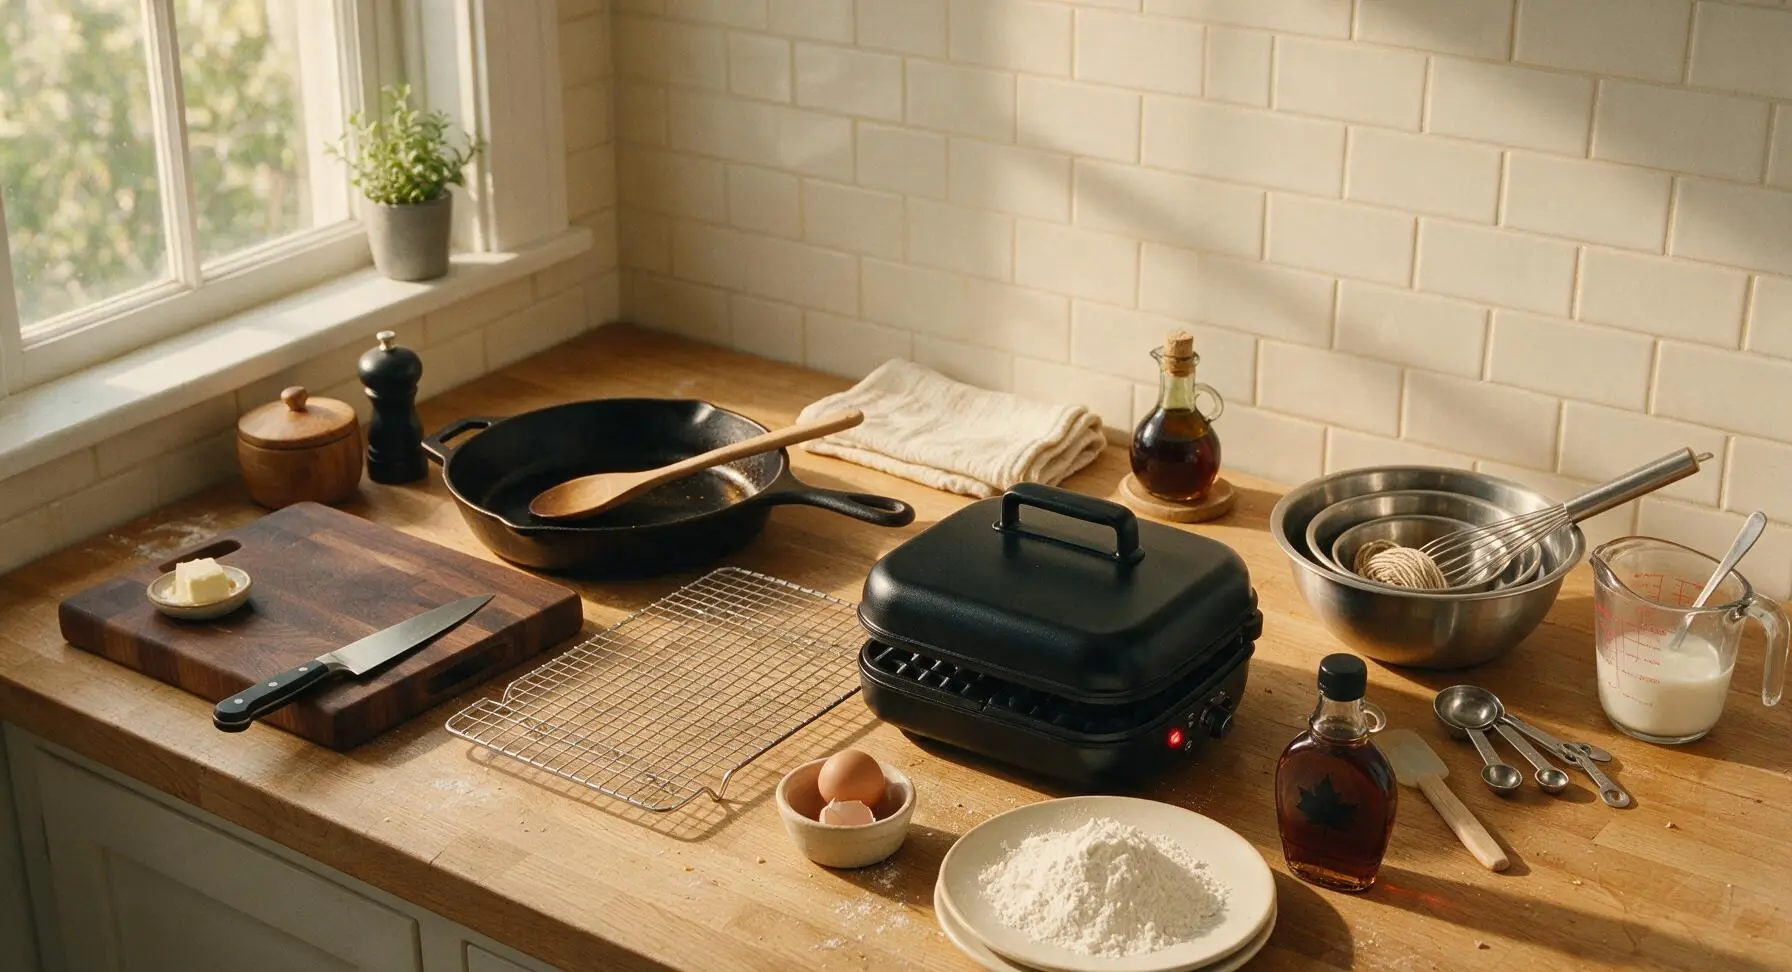
Preheat your electric waffle maker to medium-high heat (375°F / 190°C, if your model has adjustable temperature settings) before you begin mixing batter — this cuts down on wait time and ensures the first waffle develops a crisp, golden exterior instead of sticking. Set the chrome wire cooling rack on the counter to the left of the waffle maker’s position to hold cooked waffles without sogginess.
Whisk Dry Ingredients
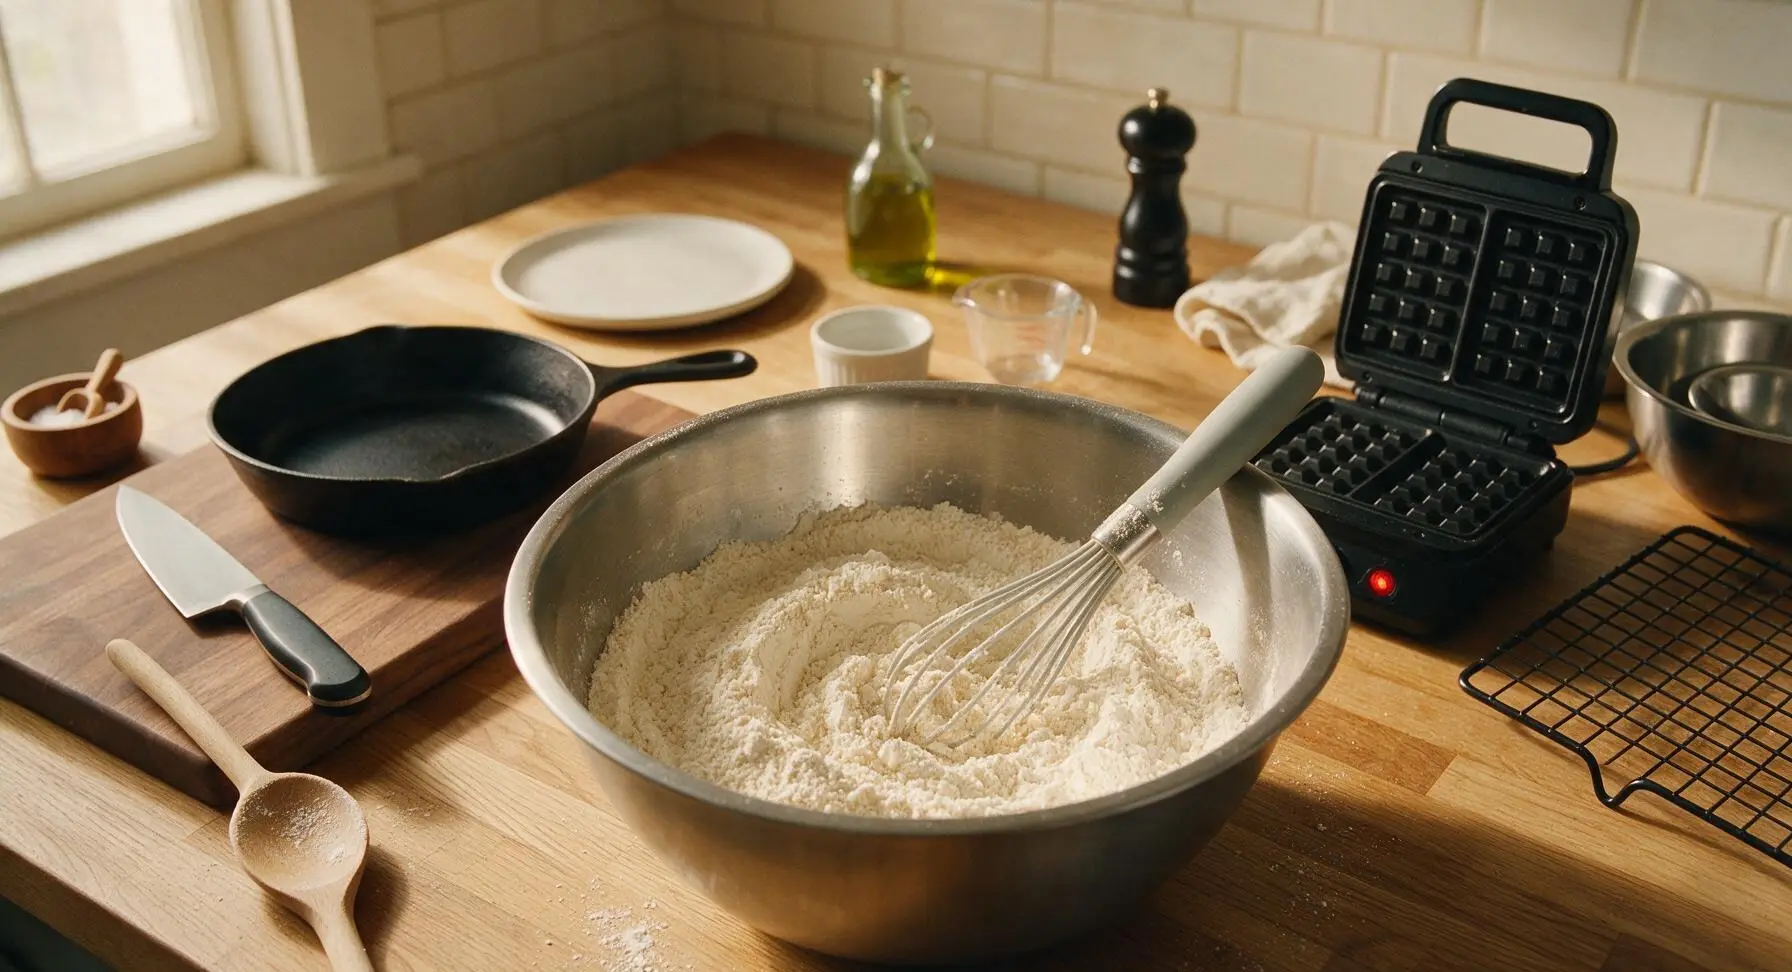
In the large 3L stainless steel mixing bowl, combine 2 cups (240g) all-purpose flour, 2 tbsp (25g) granulated sugar, 1 tsp baking powder, 1/2 tsp baking soda, and 1/2 tsp fine sea salt. Use the light gray silicone whisk to stir the dry ingredients for 30 seconds, until they are evenly blended with no clumps of leavening or salt settled at the bottom of the bowl. Evenly distributed leavening prevents unevenly risen, flat waffles.
Mix Wet Ingredients
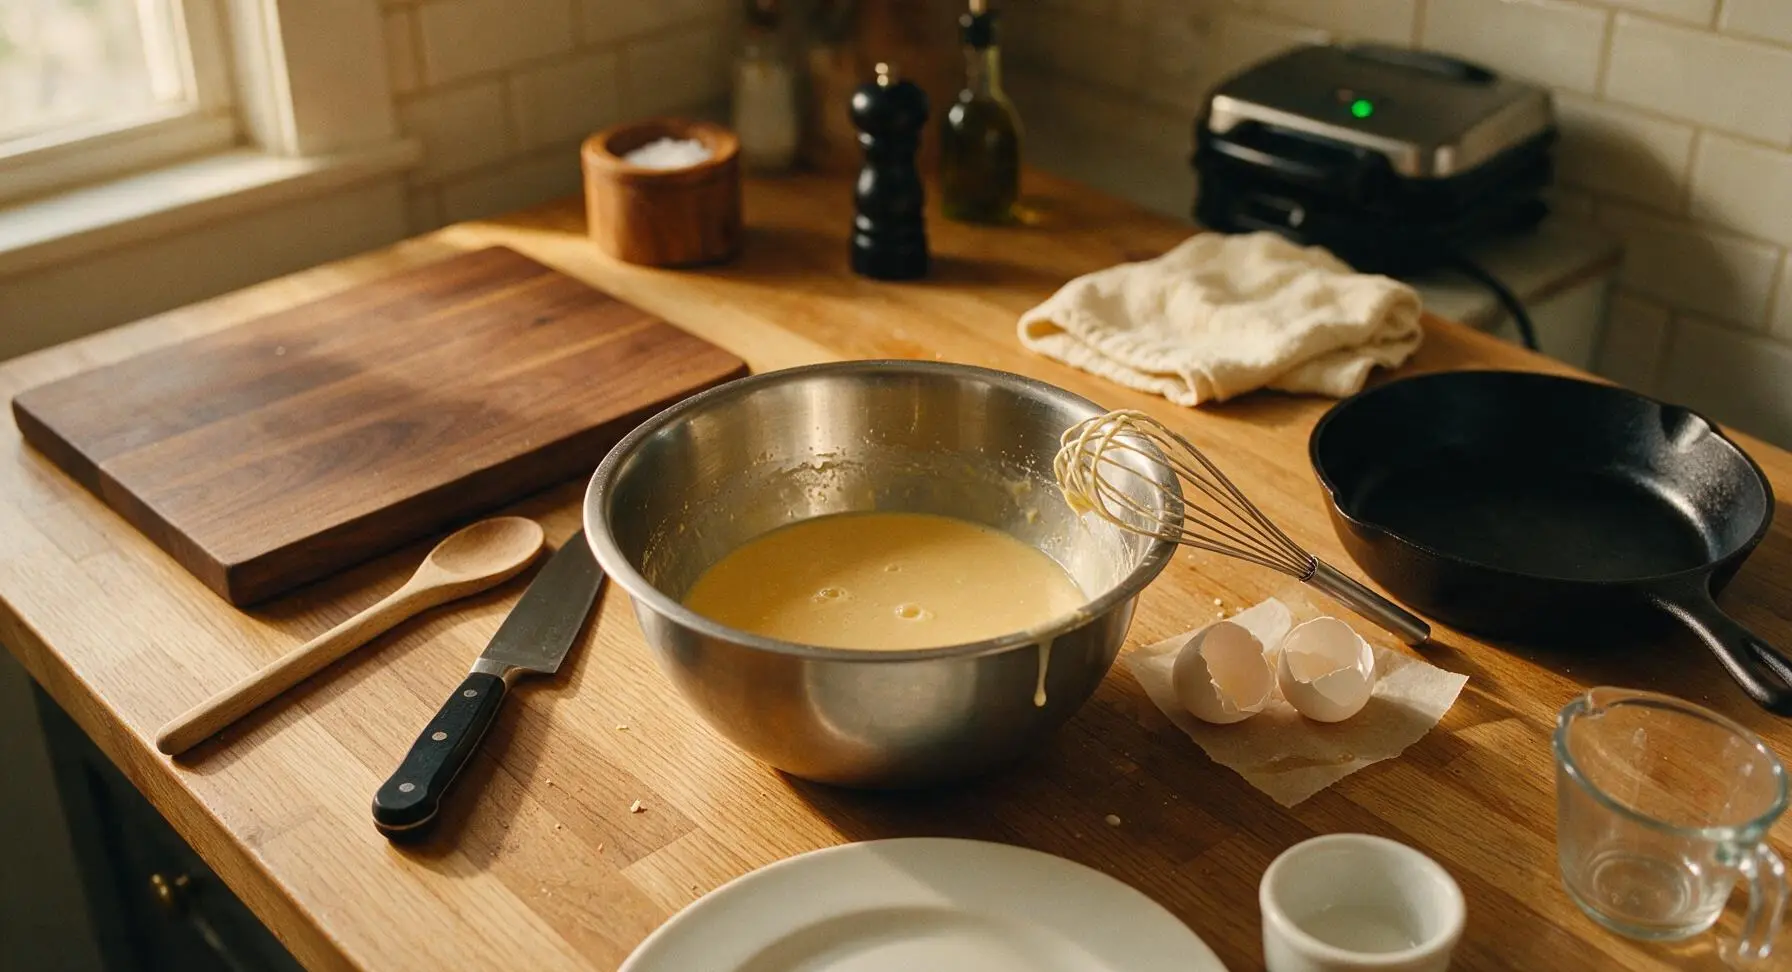
In the medium 2L stainless steel mixing bowl, crack the 2 large eggs and whisk until yolks and whites are fully combined into a smooth, pale yellow liquid. Add 2 cups (480ml) well-shaken buttermilk, 1/3 cup (75g) melted and slightly cooled unsalted butter (cool to lukewarm, ~110°F / 43°C, to avoid scrambling the eggs), and 1 tsp pure vanilla extract. Whisk for 20 seconds until the mixture is uniform, with just a few small bubbles on the surface.
Fold Batter Lightly
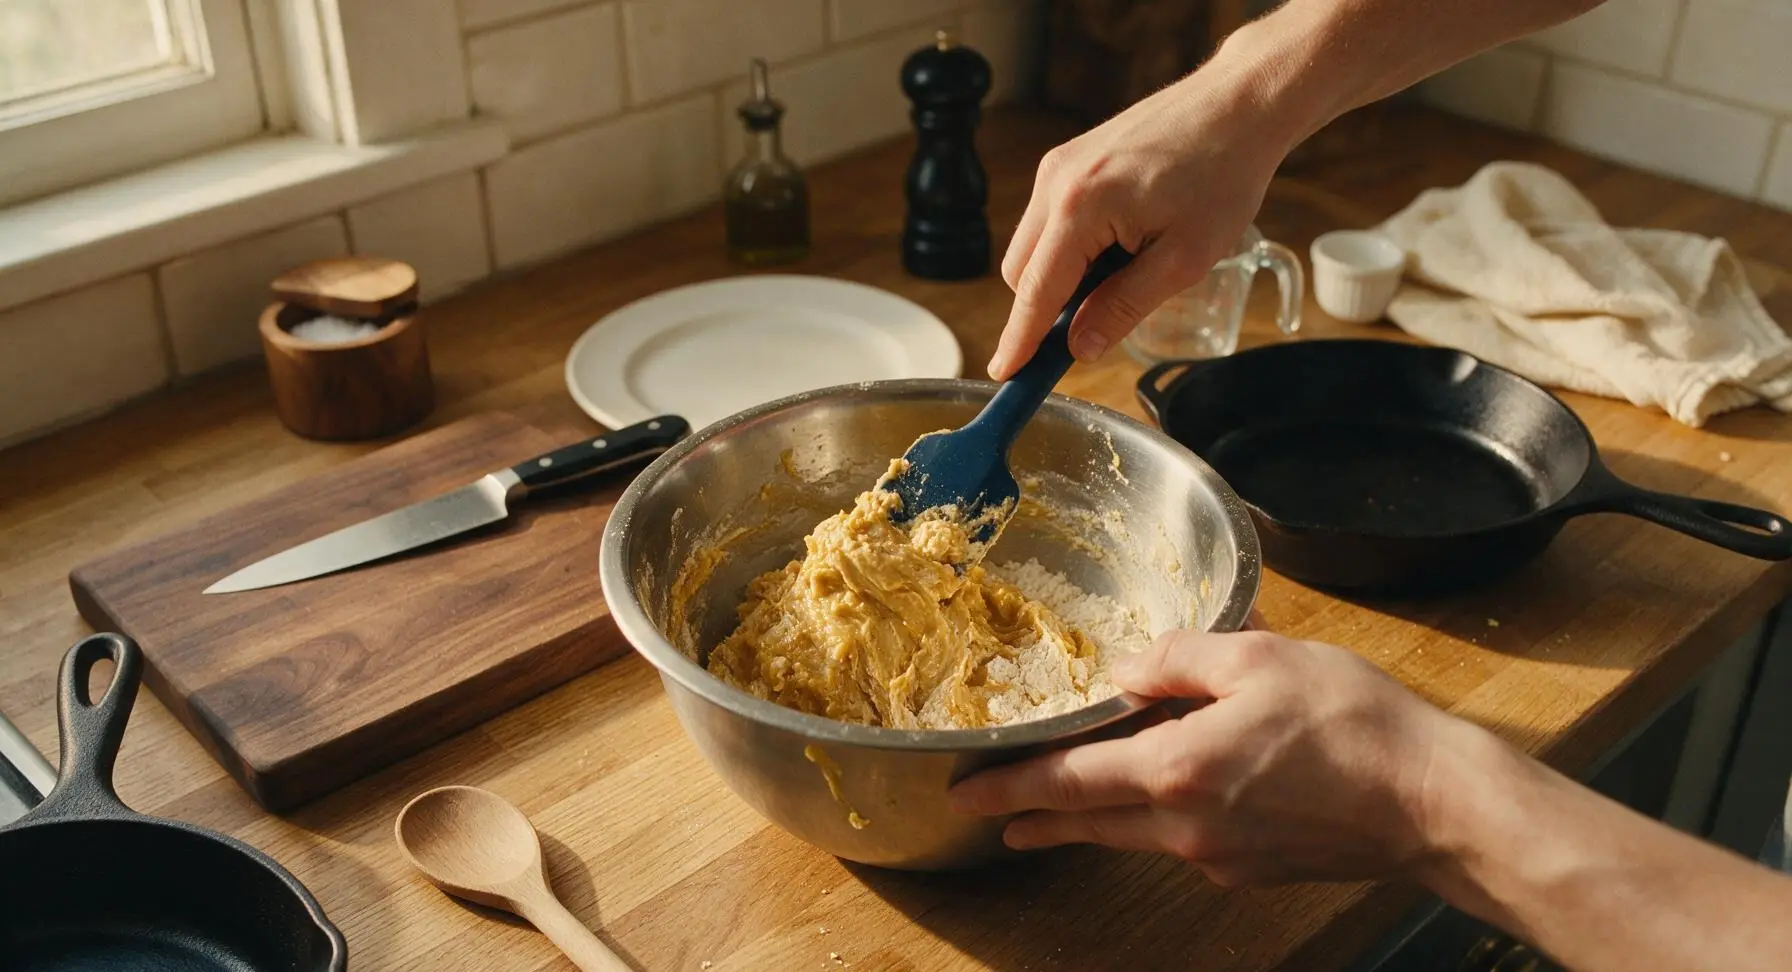
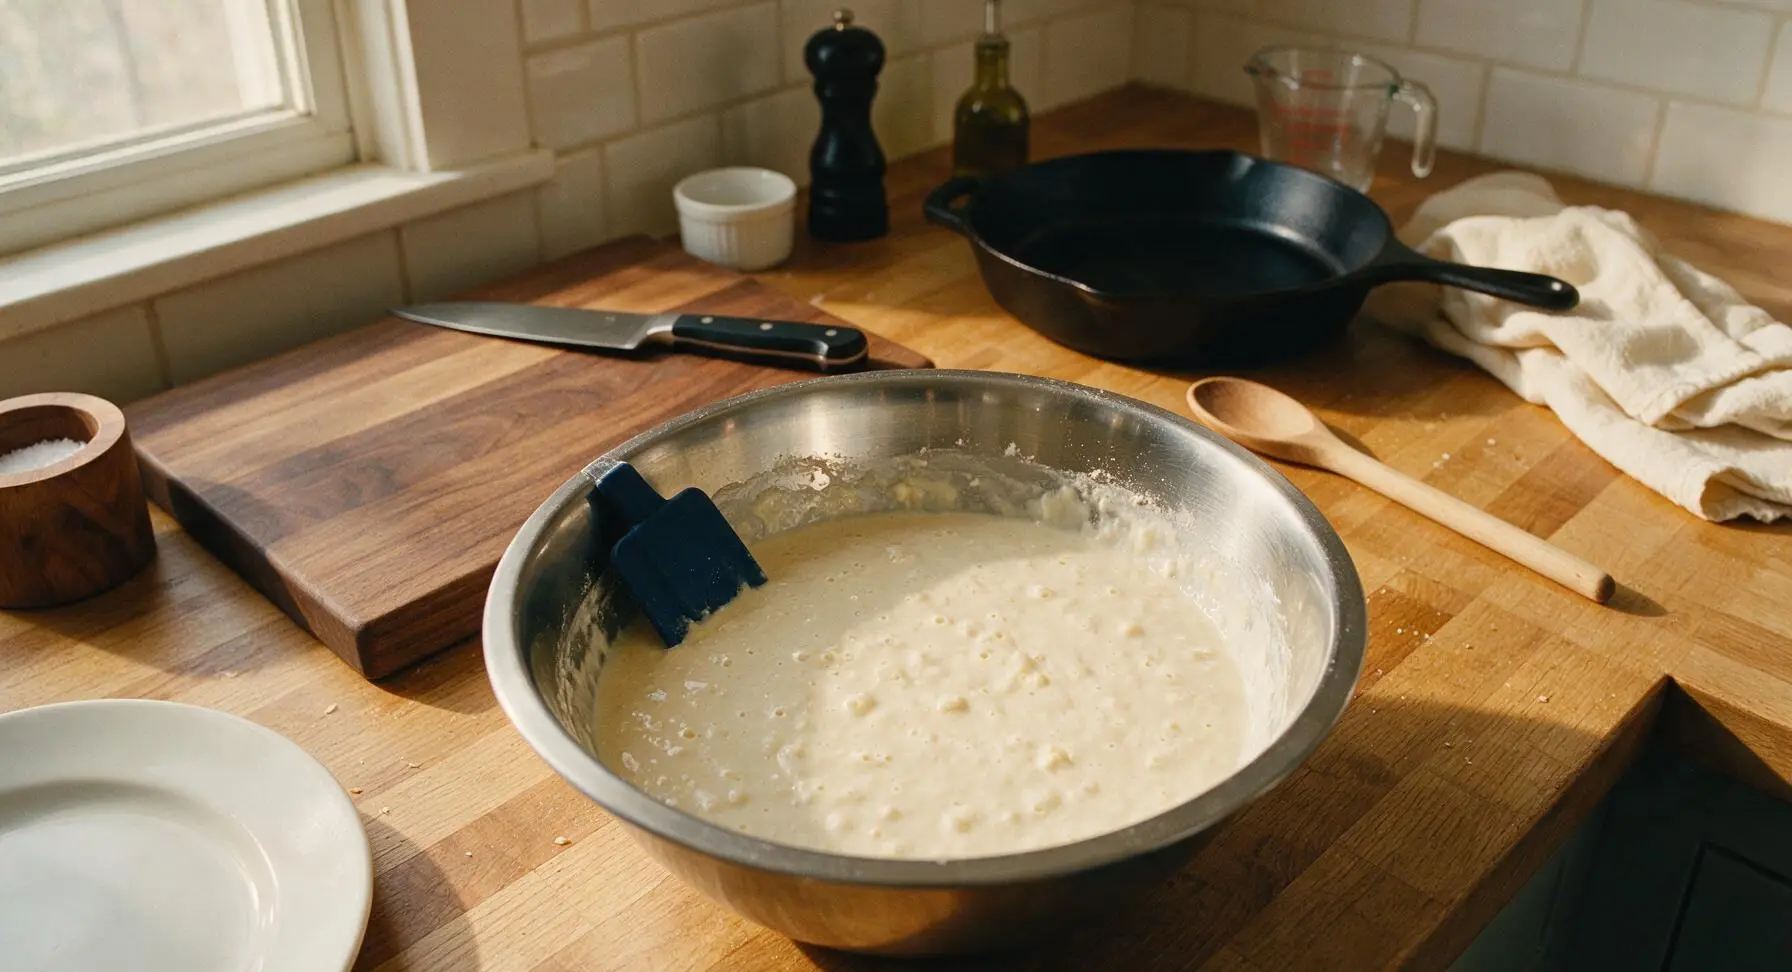
Pour the entire wet ingredient mixture into the large bowl of dry ingredients. Use the navy blue silicone spatula to gently fold the components together, stirring only until no large streaks of loose dry flour remain. The batter will be thick and visibly lumpy — do NOT overmix, as overdeveloped gluten will create tough, dense waffles. Let the batter rest for 5 minutes at room temperature; you will see tiny air bubbles dot the surface as the leavening activates, creating a lighter crumb.
Cook Waffles Evenly
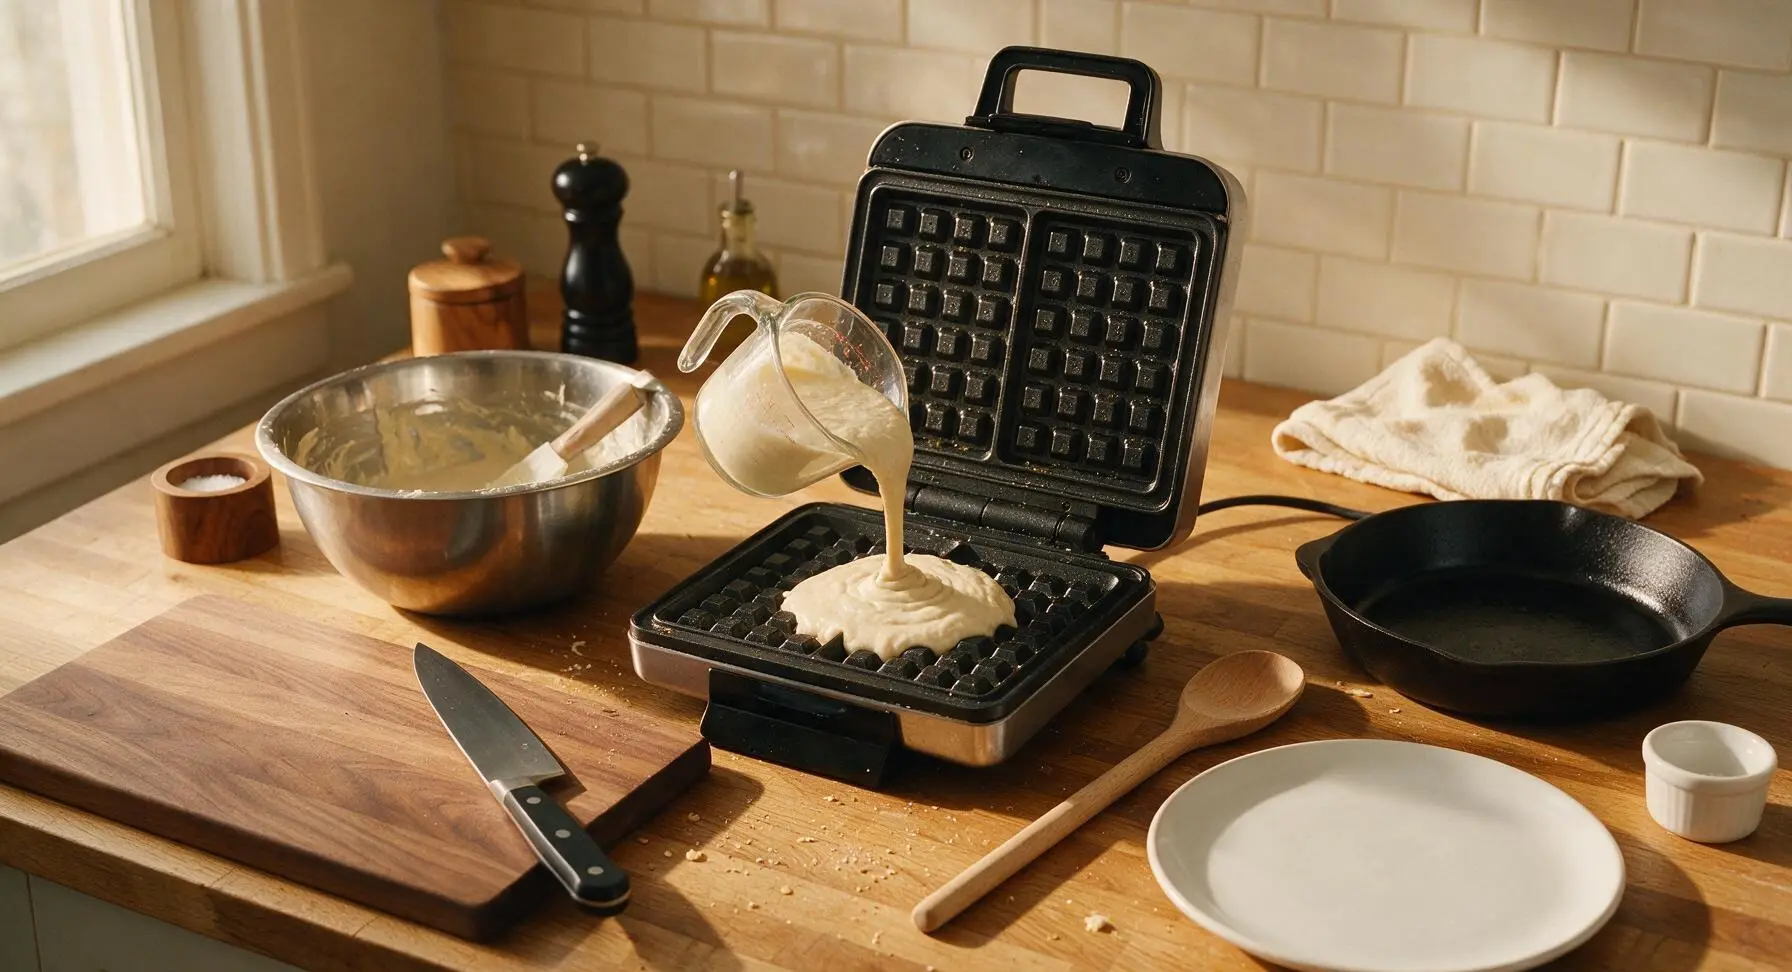
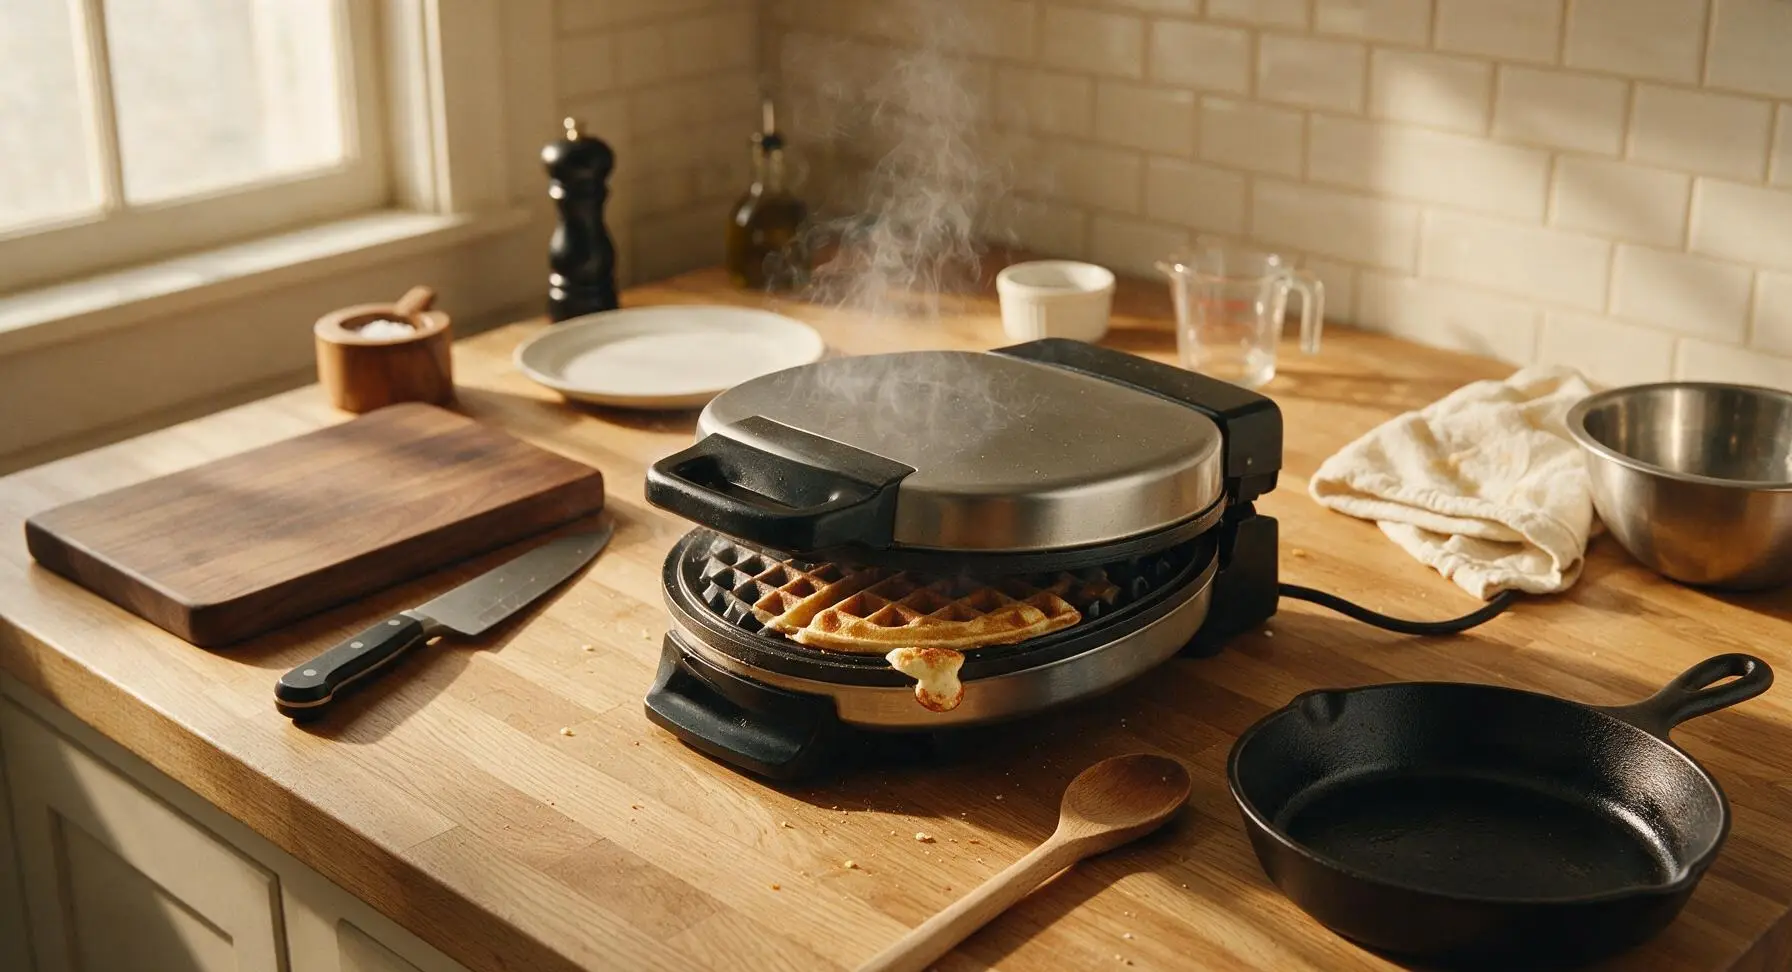
Lightly coat the preheated waffle iron plates with non-stick cooking spray or a thin brushing of melted butter. Pour 3/4 cup of batter directly onto the center of the lower waffle plate, spreading it gently with the spatula to sit 1/2 inch from the edges (it will spread as the lid closes). Close the lid and cook for 3–4 minutes, until the waffle is deep golden brown, crisp at the edges, and no visible steam escapes from the sides of the iron. Do not lift the lid before the 3-minute mark, as this will tear the uncooked waffle.
Rest Waffles On Rack
Use the silicone spatula to carefully lift the finished waffle from the iron, and transfer it directly to the chrome wire cooling rack in a single layer. Do not stack hot waffles directly on a plate while cooking remaining batches, as trapped steam will turn crisp edges soft and soggy. Repeat the cooking process with the remaining batter, lightly re-coating the waffle plates with spray between batches if sticking occurs.
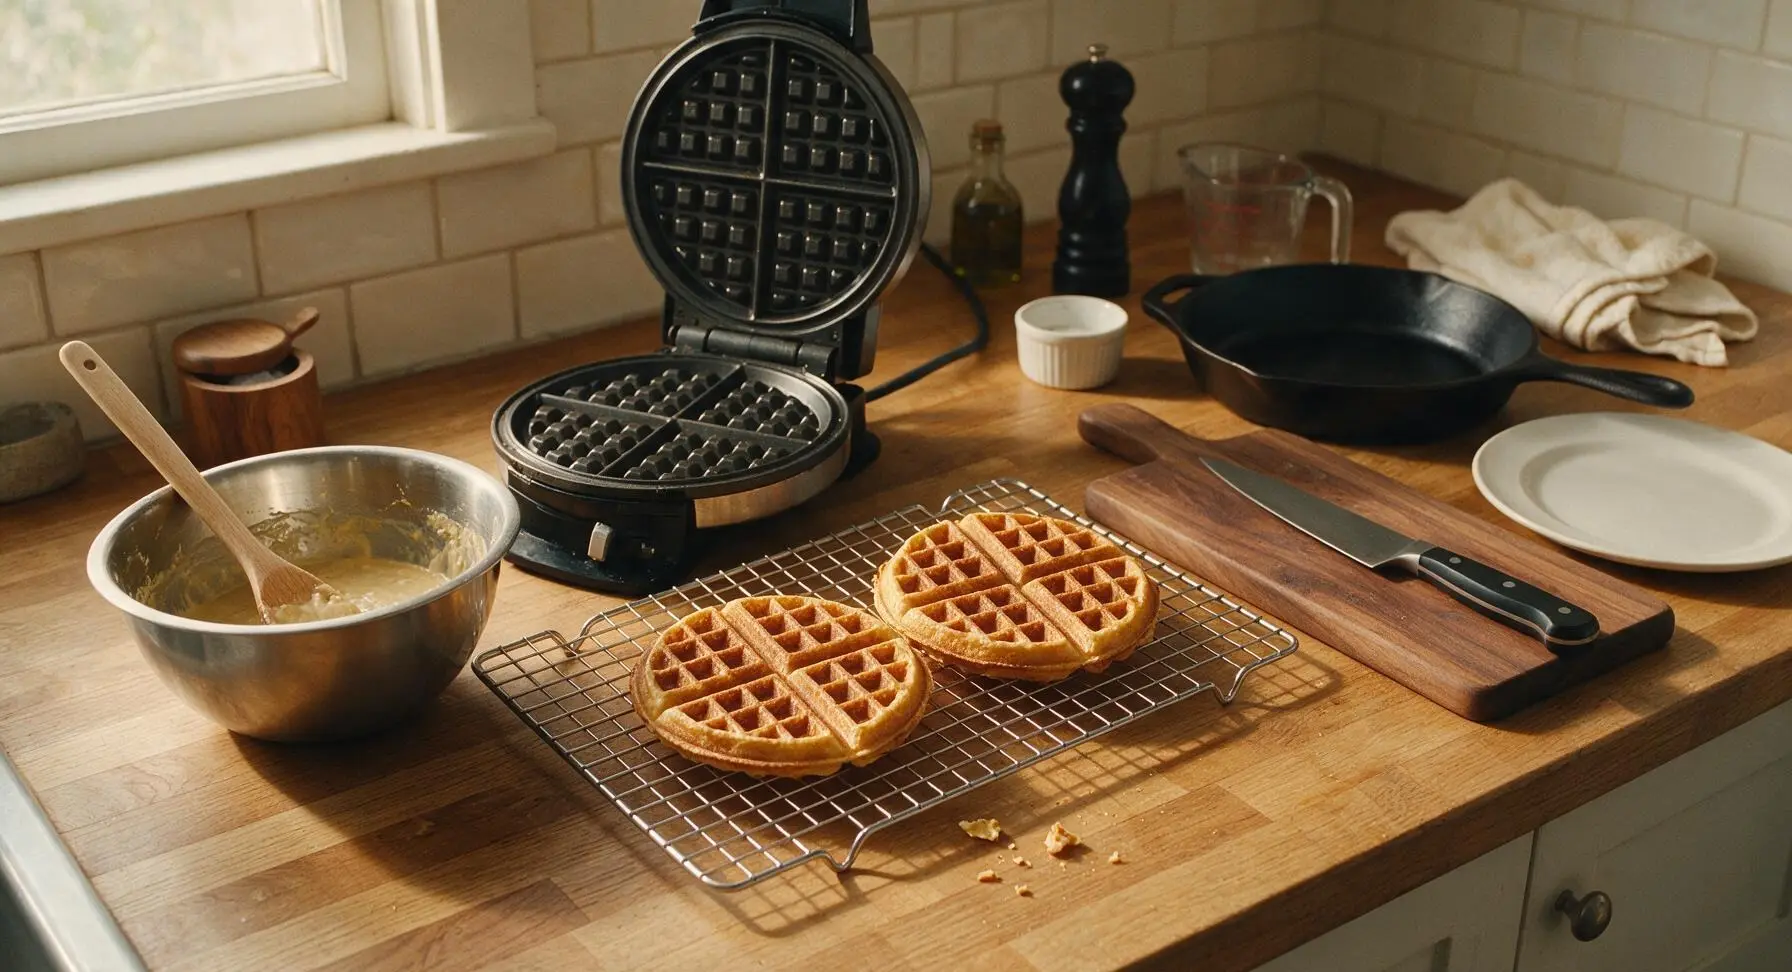
Plate And Serve Warm
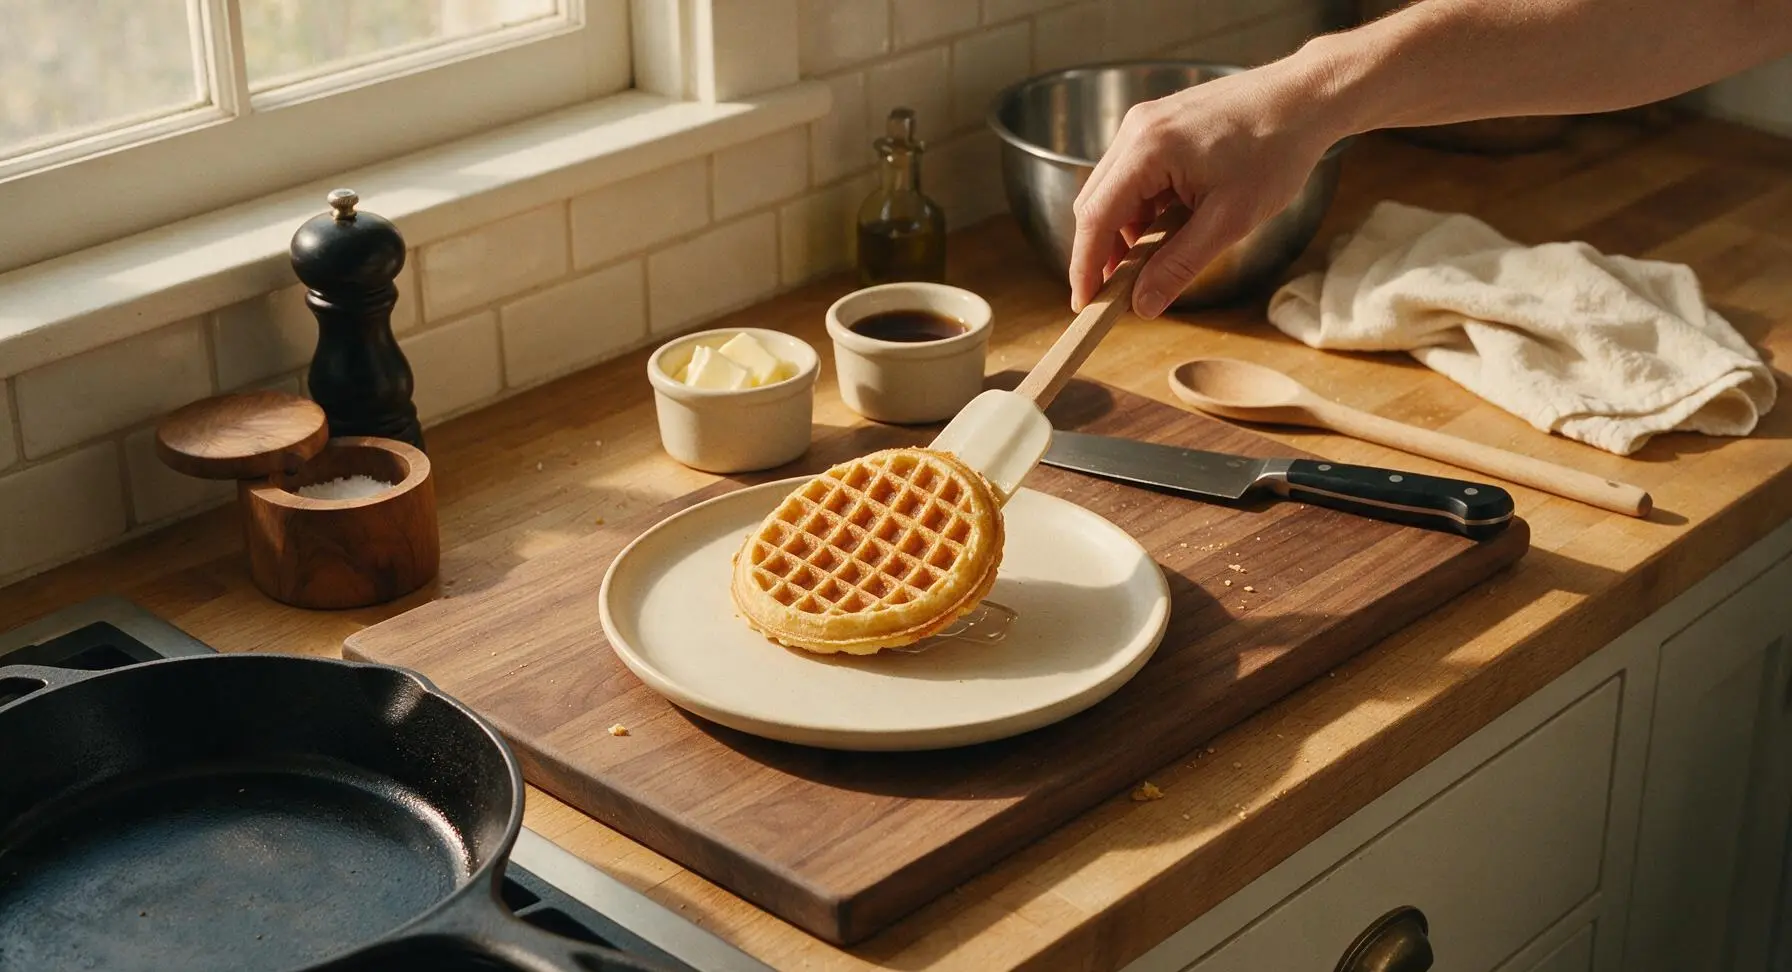
Transfer cooked waffles to the matte cream ceramic dinner plate, stacking 1–2 waffles per serving. Top with a pat of salted butter, a drizzle of warm pure maple syrup, or your favorite toppings (fresh berries, whipped cream, or a dusting of powdered sugar work beautifully). Serve immediately while waffles are hot, with crisp edges and a tender, fluffy interior.
Tips
2.Don’t stack hot waffles while cooking batches: Trapped steam from freshly cooked waffles will turn crisp edges soft and soggy in seconds. Rest waffles in a single layer on the wire rack; for extended holding, place the rack on a baking sheet in a 200°F (95°C) oven to keep waffles crisp and warm for up to 20 minutes.
3.Let the batter rest for 5 minutes before cooking: This short rest gives the leavening time to activate and the flour time to absorb moisture, resulting in taller, lighter waffles with a more tender crumb. Skip this step and your waffles will turn out flatter and denser.






OMG these waffles are a total game changer for our chaotic Saturday breakfasts! I’ve tried so many buttermilk waffle recipes that come out dense or soggy, but these were perfectly crispy on the edges and fluffy tender in the middle. My kids ate two each and begged for more, even my super picky 4 year old who usually turns his nose up at anything that isn’t cereal. Cook time was exactly 15 minutes too which is perfect when you’ve got little ones hanging off your legs begging for food. 10/10 will be making these every weekend from now on!
SO good! I was worried I messed up because I didn’t have full fat buttermilk, I used the low fat stuff I had in the fridge, and they still came out insanely tender. I topped mine with fresh blueberries and a drizzle of maple syrup, and my roommate walked in and thought I ordered them from our favorite brunch spot down the street. Only thing I’ll note is my waffle iron runs a little hot, so I had to shave 30 seconds off the cook time to keep them from getting too dark. Definitely a keeper recipe!
Made these for a potluck brunch with my friend group last weekend and everyone was asking for the recipe! I set up a little waffle bar with whipped cream, sprinkles, fruit compote, and chocolate chips, and these waffles held up perfectly even when people loaded them up with toppings. Not heavy at all, super light, and the little tang from the buttermilk is chef’s kiss. Already sent the link to three of my friends who asked for it.
Okay, full transparency, I’ve never made waffles from scratch before. I usually just buy the frozen kind, but my girlfriend was coming over for breakfast and I wanted to impress her. This recipe was so easy to follow, no weird ingredients, and it only took 15 minutes like it said! She said they were better than the ones we get at the fancy diner downtown. I did accidentally add a little extra vanilla, but that didn’t hurt anything lmao. Only win I’ve had in the kitchen all month tbh.
These are perfect for meal prep! I make a full batch on Sunday, cut them into quarters, and store them in an airtight container in the fridge. My teens grab one on their way out the door to school, pop it in the microwave for 30 seconds, and they’re good to go. Way better than the processed frozen waffles I used to buy, and way cheaper too. The texture stays tender even after reheating, no weird rubbery texture like other homemade waffle recipes I’ve tried.
I’ve been making waffles for 40+ years, and I have to say, this recipe nails the texture balance perfectly. A lot of people overmix their waffle batter which makes them tough, but the note here to mix until just combined is exactly right. The buttermilk gives just the right tang without being overpowering, and the cook time is spot on for a standard waffle iron. Great recipe, even for us old dogs who think we know everything about breakfast food.
Wait, has anyone tried making these with a 1:1 gluten free flour blend? I have celiac and I’ve been searching for a good gluten free buttermilk waffle recipe that doesn’t turn into a crumbly mess. These look so good I’m tempted to test it out this weekend, just wanted to see if anyone had luck before I waste ingredients!
Made these for my parents when they came to visit last weekend, and my dad (who is the pickiest eater on the planet, I swear) went back for thirds. He kept saying how he couldn’t believe how tender they were, usually he complains that homemade waffles are too heavy. I added a pinch of cinnamon to the batter per my mom’s old trick, and it paired so well with the buttermilk tang. Served them with crispy bacon and fresh strawberries, 10/10 whole family approved.
Perfect for my tiny dorm waffle maker! I was worried the batter would be too thick or it would take too long, but it’s so easy to mix up in one bowl (no fancy mixer needed, thank god, I don’t have space for one in my dorm) and cooks in like 2 minutes in my mini waffle iron. I’ve been making them for late night study sessions and my roommate keeps stealing bites off my plate. Way better than the dining hall waffles that taste like cardboard.
Took these to my neighborhood block party potluck last weekend and they were gone in 10 minutes flat! I set them out on a platter with little cups of syrup and butter on the side, and people kept coming over to ask who made the waffles. The best part? They stayed tender even after sitting out for a little while, no getting tough or chewy like other waffle recipes I’ve brought to potlucks in the past. Will absolutely be adding these to my go-to potluck recipe list.
I’ve been on a mission to find the perfect homemade waffle recipe for years, and I think I’ve finally found it! These are so tender, the buttermilk flavor is perfect, and they get that perfect crispy crust that I’ve been chasing. The only tweak I made was adding a handful of mini chocolate chips to the batter, because who doesn’t love chocolate chip waffles? My partner said these are better than any restaurant waffle he’s ever had. 10/10, no notes.