
Tender Ribs

title 1
Tender Ribs
⏱️ cook time 3 hours
🍽️ servings 4
⚡ Difficulty medium

intro

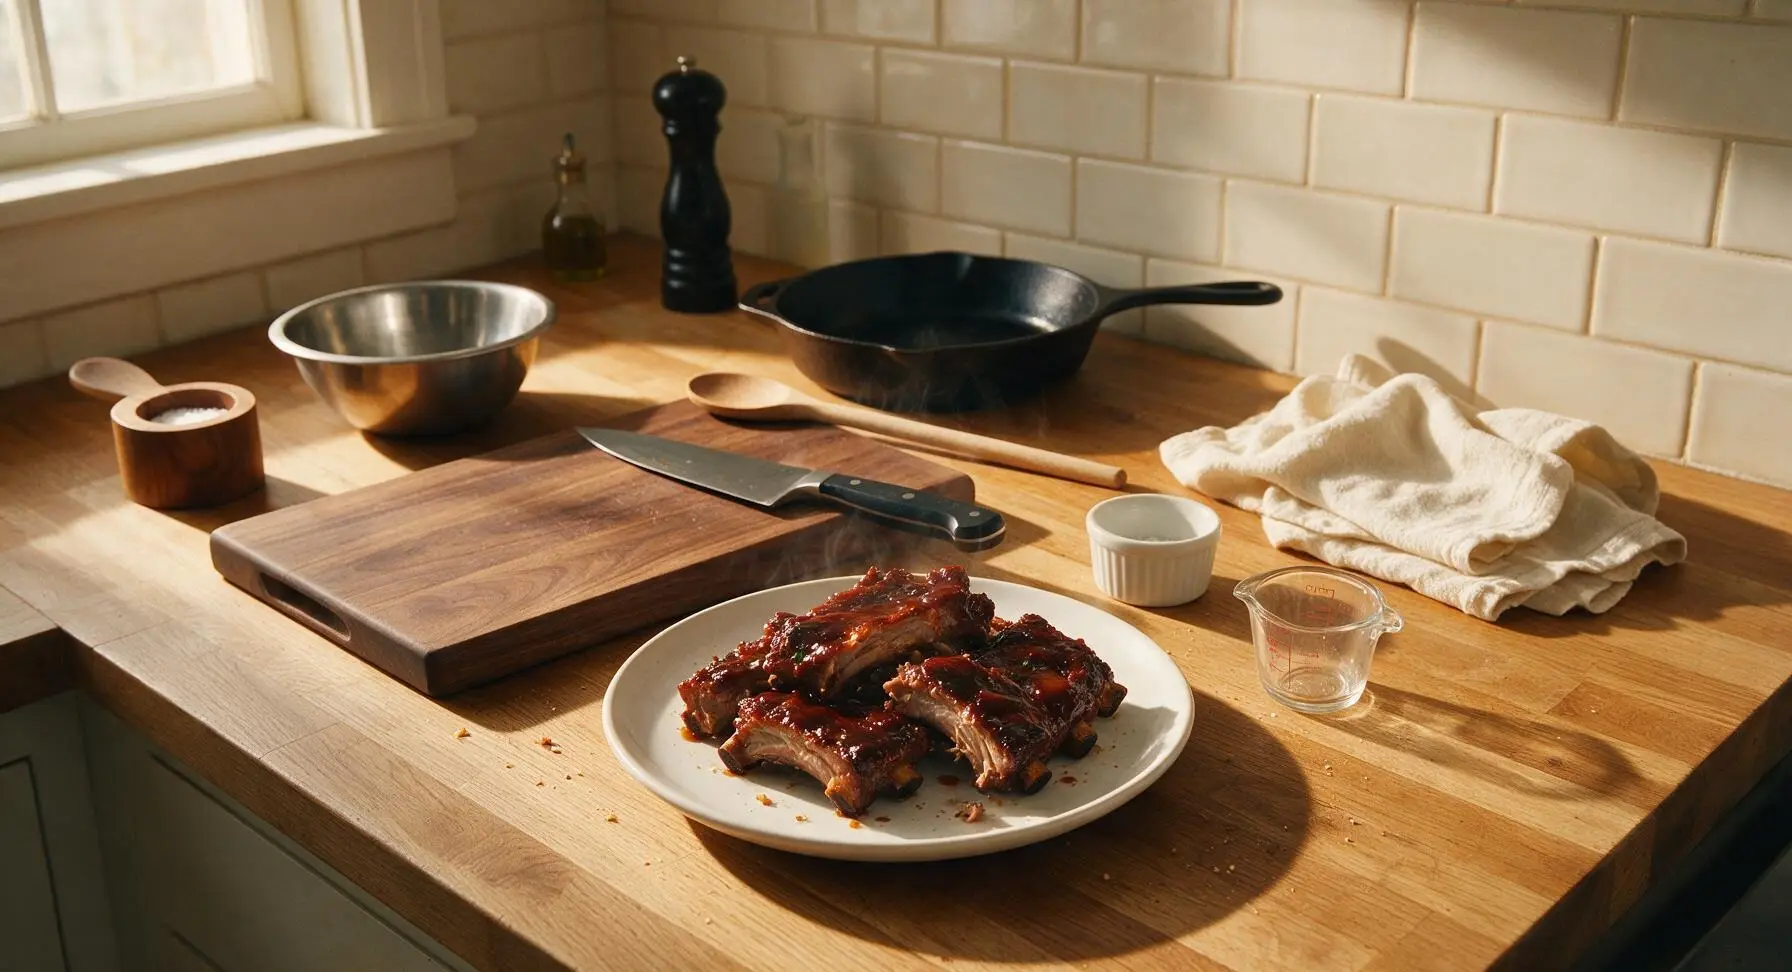
Fall-off-the-bone tender pork ribs coated in glossy, smoky BBQ sauce, slow-cooked with a savory spice rub for juicy, bold flavor, perfect for warm weather gatherings.

Ingredients
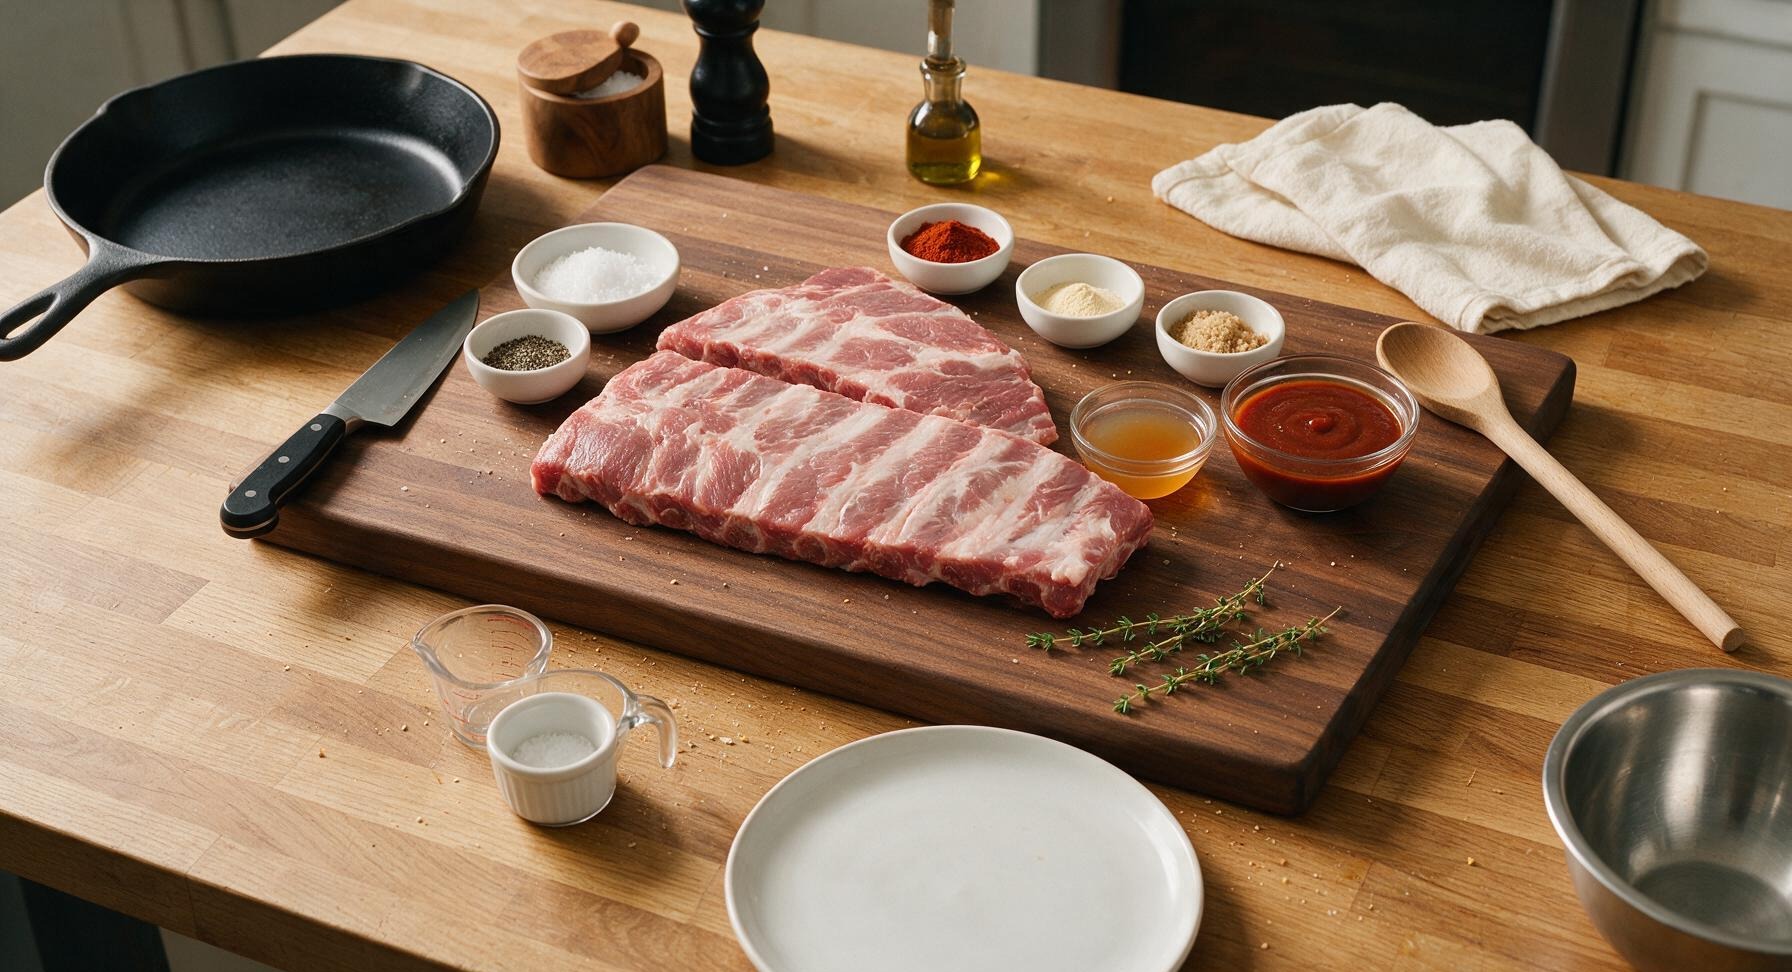
St. Louis-style pork spare ribs 2 racks (approx 1.8kg total)
Coarse kosher salt 2 tbsp
Freshly ground black pepper 1 tbsp
Smoked paprika 2 tbsp
Garlic powder 1 tbsp
Onion powder 1 tbsp
Light brown sugar 1 tbsp
Apple cider vinegar 2 tbsp
Smoky tomato-based BBQ sauce 180ml
Fresh thyme sprigs 3 sprigs

Steps

1

Prep the Rib Racks

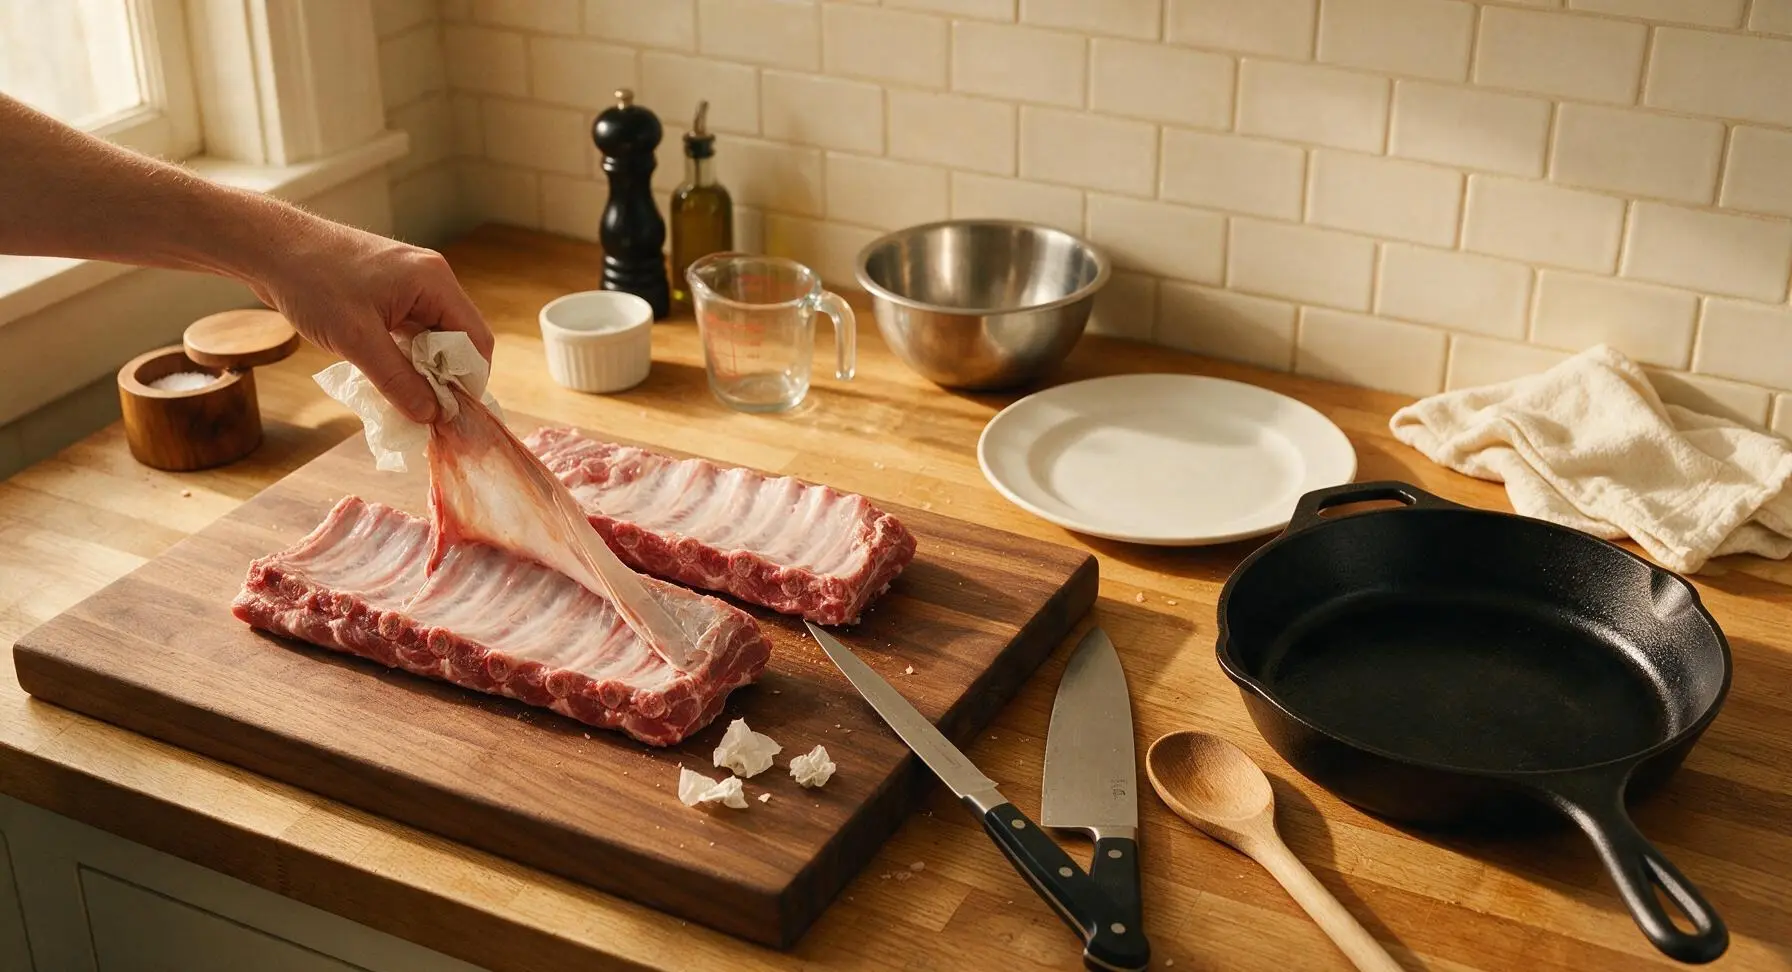
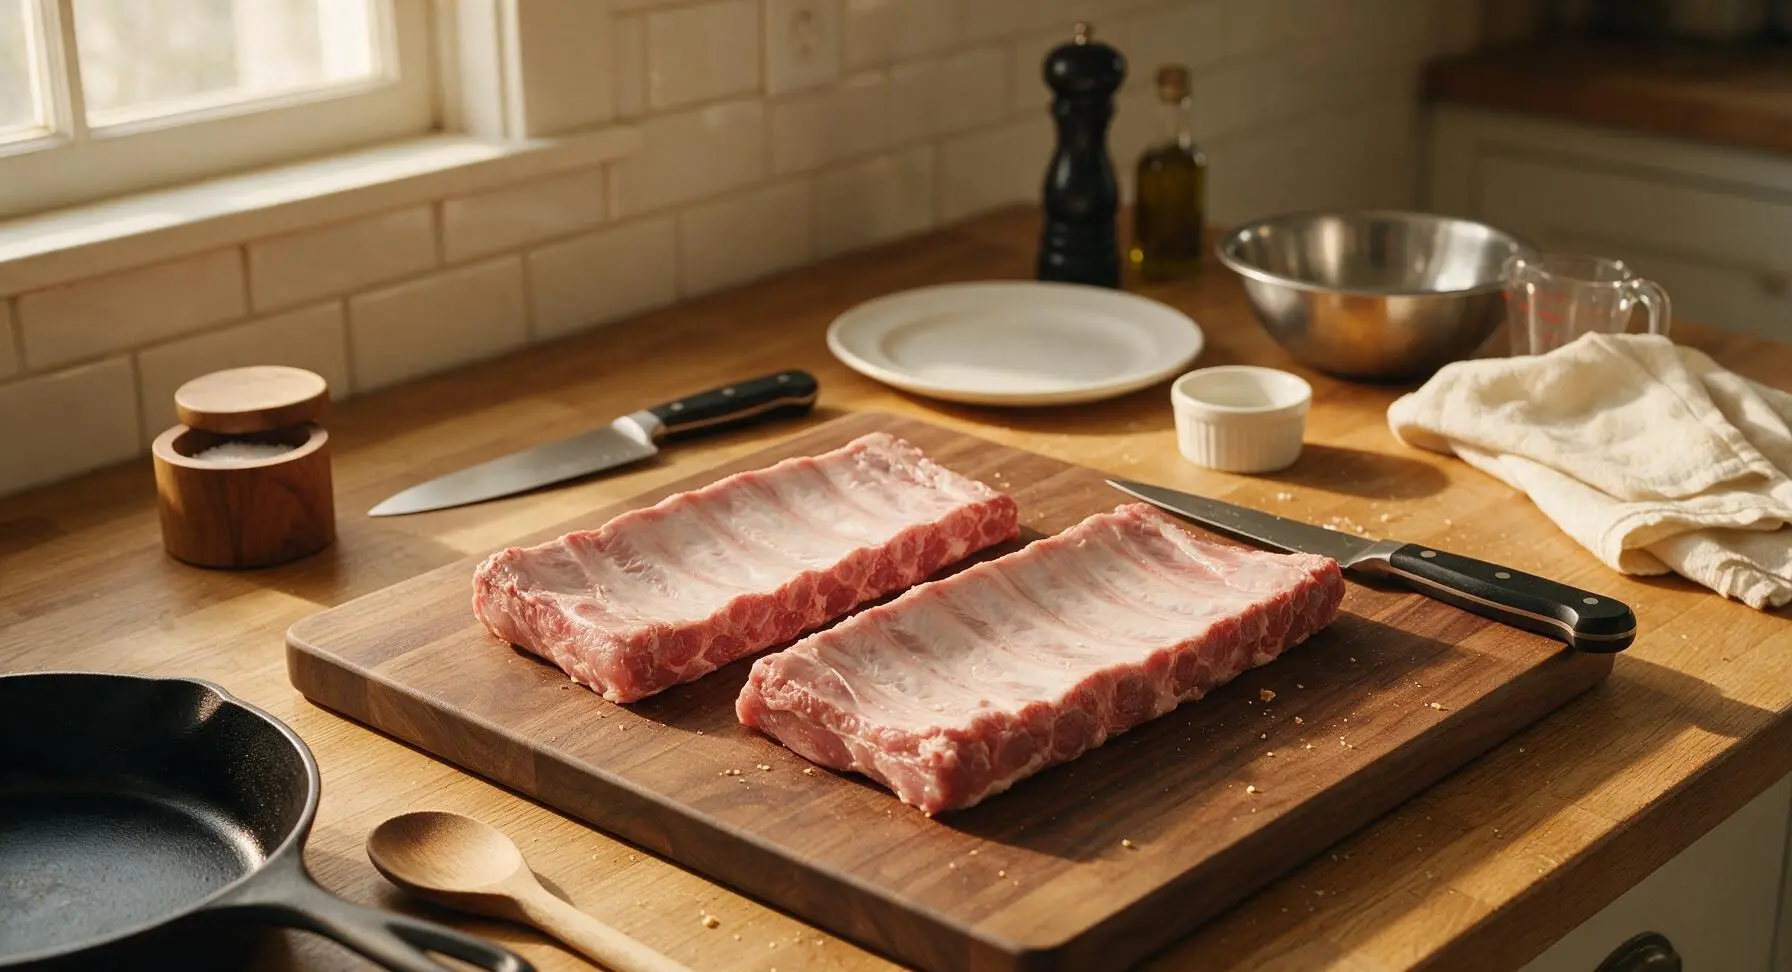
Place both raw rib racks bone-side up on the walnut cutting board. Use the stiff boning knife to loosen the thin papery silver membrane on the bone side, grip it with a crumpled paper towel, and pull it off in one smooth sheet. Trim any excess loose fat hanging from the rib edges to 1/4 inch thickness, so the rub adheres evenly. Pat both racks completely dry on all sides with unbleached paper towels.
Step 1
step1:Prep the Rib Racks
Step 1
step1:Prep the Rib Racks
2

Combine Dry Rub Ingredients

In the stainless steel medium mixing bowl, combine 2 tablespoons coarse kosher salt, 1 tablespoon freshly ground black pepper, 2 tablespoons smoked paprika, 1 tablespoon garlic powder, 1 tablespoon onion powder, and 1 tablespoon light brown sugar. Stir the mixture thoroughly with the handle of the silicone basting brush until fully blended, with no clumps of brown sugar remaining. The finished rub should be a uniform deep rust color.
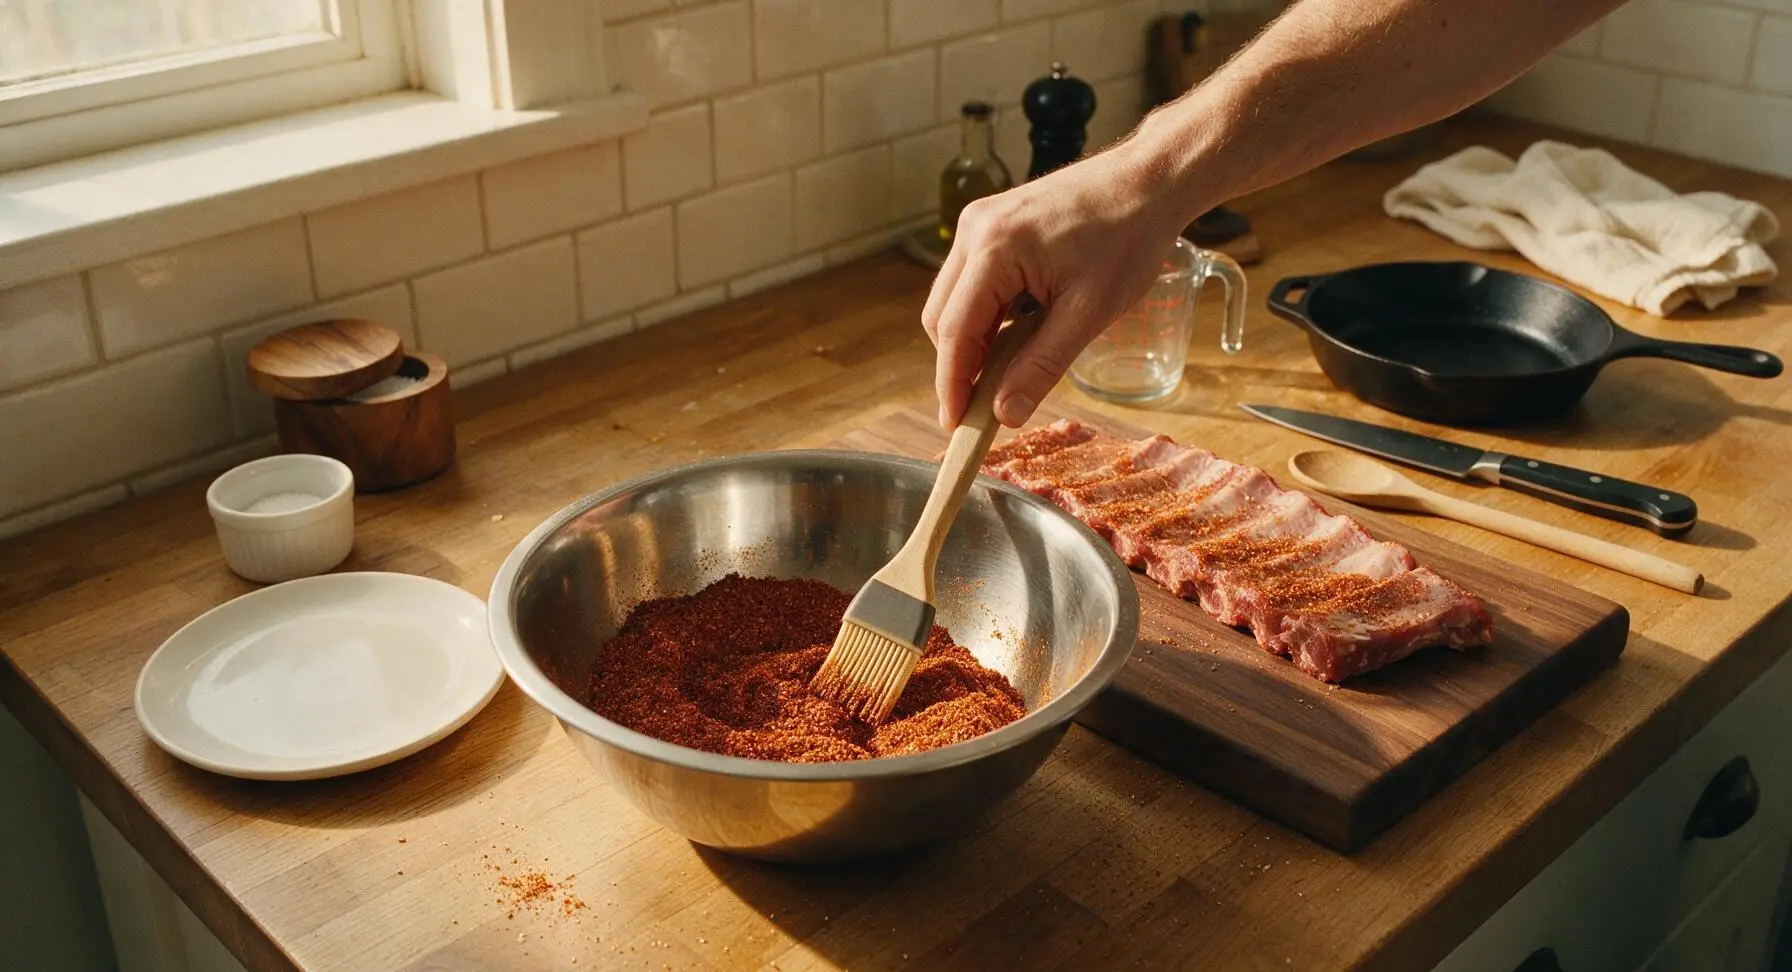
Step 2
step2:Combine Dry Rub Ingredients
3

Coat Ribs with Rub

Add the mixed dry rub to the stainless steel dry rub shaker. Sprinkle the rub generously over every surface of both rib racks—top, bottom, and edges—pressing the rub gently into the meat with clean fingertips to ensure it adheres. Do not rub the spice mix hard into the meat, as this will create an uneven coating. Let the rubbed ribs rest at room temperature for 20 minutes while the oven preheats to 150C (300F), so the spices draw out natural moisture and form a sticky base.
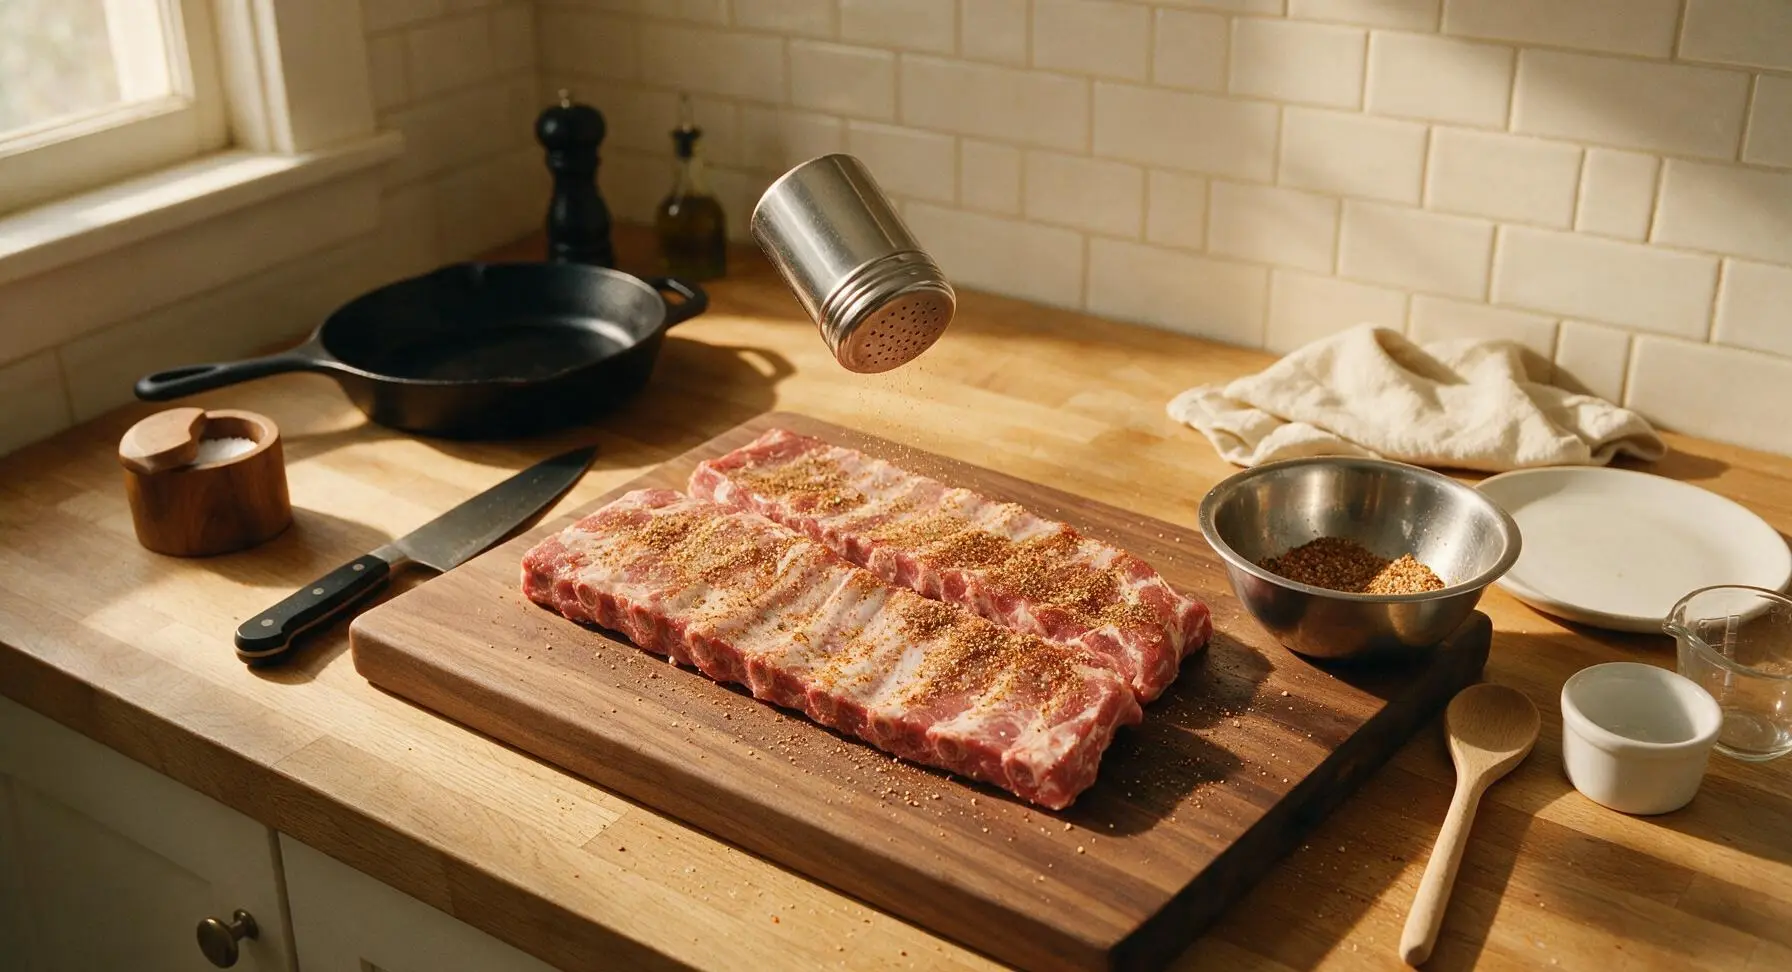
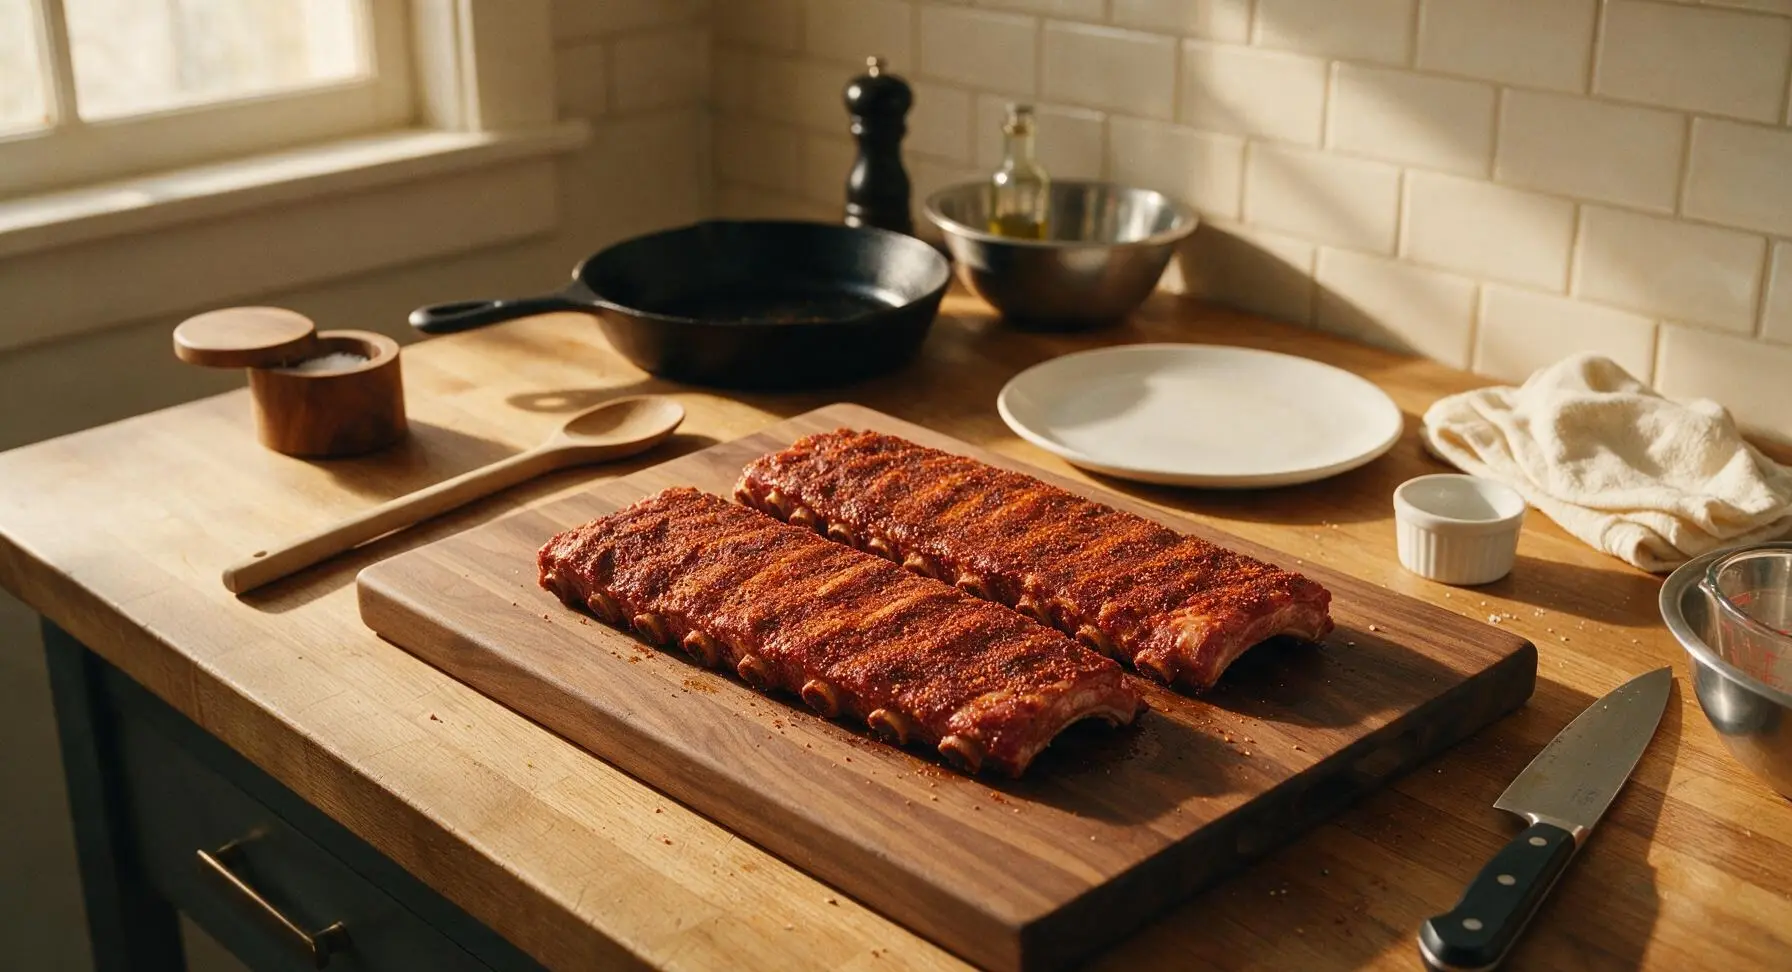
Step 3
step3:Coat Ribs with Rub
Step 3
step3:Coat Ribs with Rub
4

Slow Cook Ribs Covered

Pull the heavy duty aluminum foil roll and rimmed aluminum baking sheet to the center of the counter. Line the baking sheet with a long sheet of foil, leaving 10cm of overhang on all sides to create a sealed packet. Place the rubbed rib racks meat-side up on the foil, drizzle 2 tablespoons of apple cider vinegar over the top, then fold the foil edges tightly to seal in all steam. Place the baking sheet in the preheated oven and cook for 2 hours 50 minutes, until the meat pulls back 1cm from the ends of the rib bones.
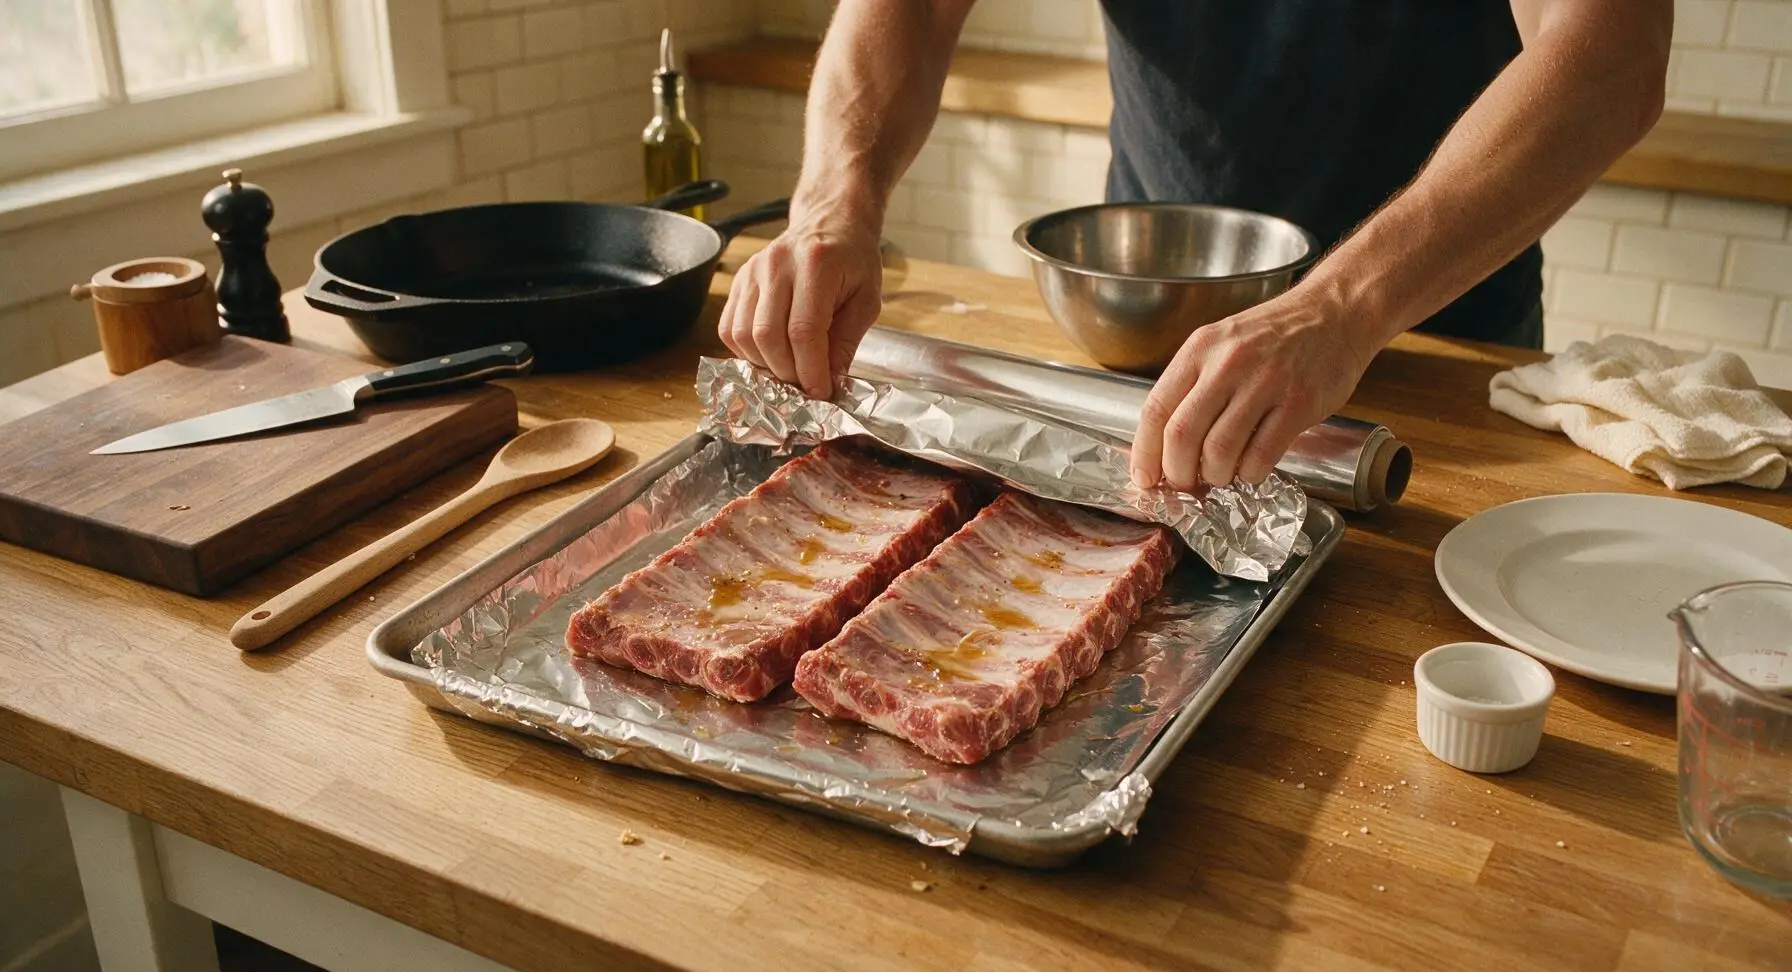
Step 4
step4:Slow Cook Ribs Covered
5

Test Rib Doneness

Use the long stainless steel tongs to carefully pull the oven rack out with the baking sheet on it, then peel open the top of the foil packet to release trapped steam (keep hands 15cm back to avoid steam burns). Insert the digital instant-read thermometer into the thickest part of the meat, taking care not to touch bone: it should read 93C (200F) for perfectly tender ribs. Gently twist one exposed rib bone—if it turns easily with little resistance and the meat pulls cleanly away from the bone, the ribs are ready.
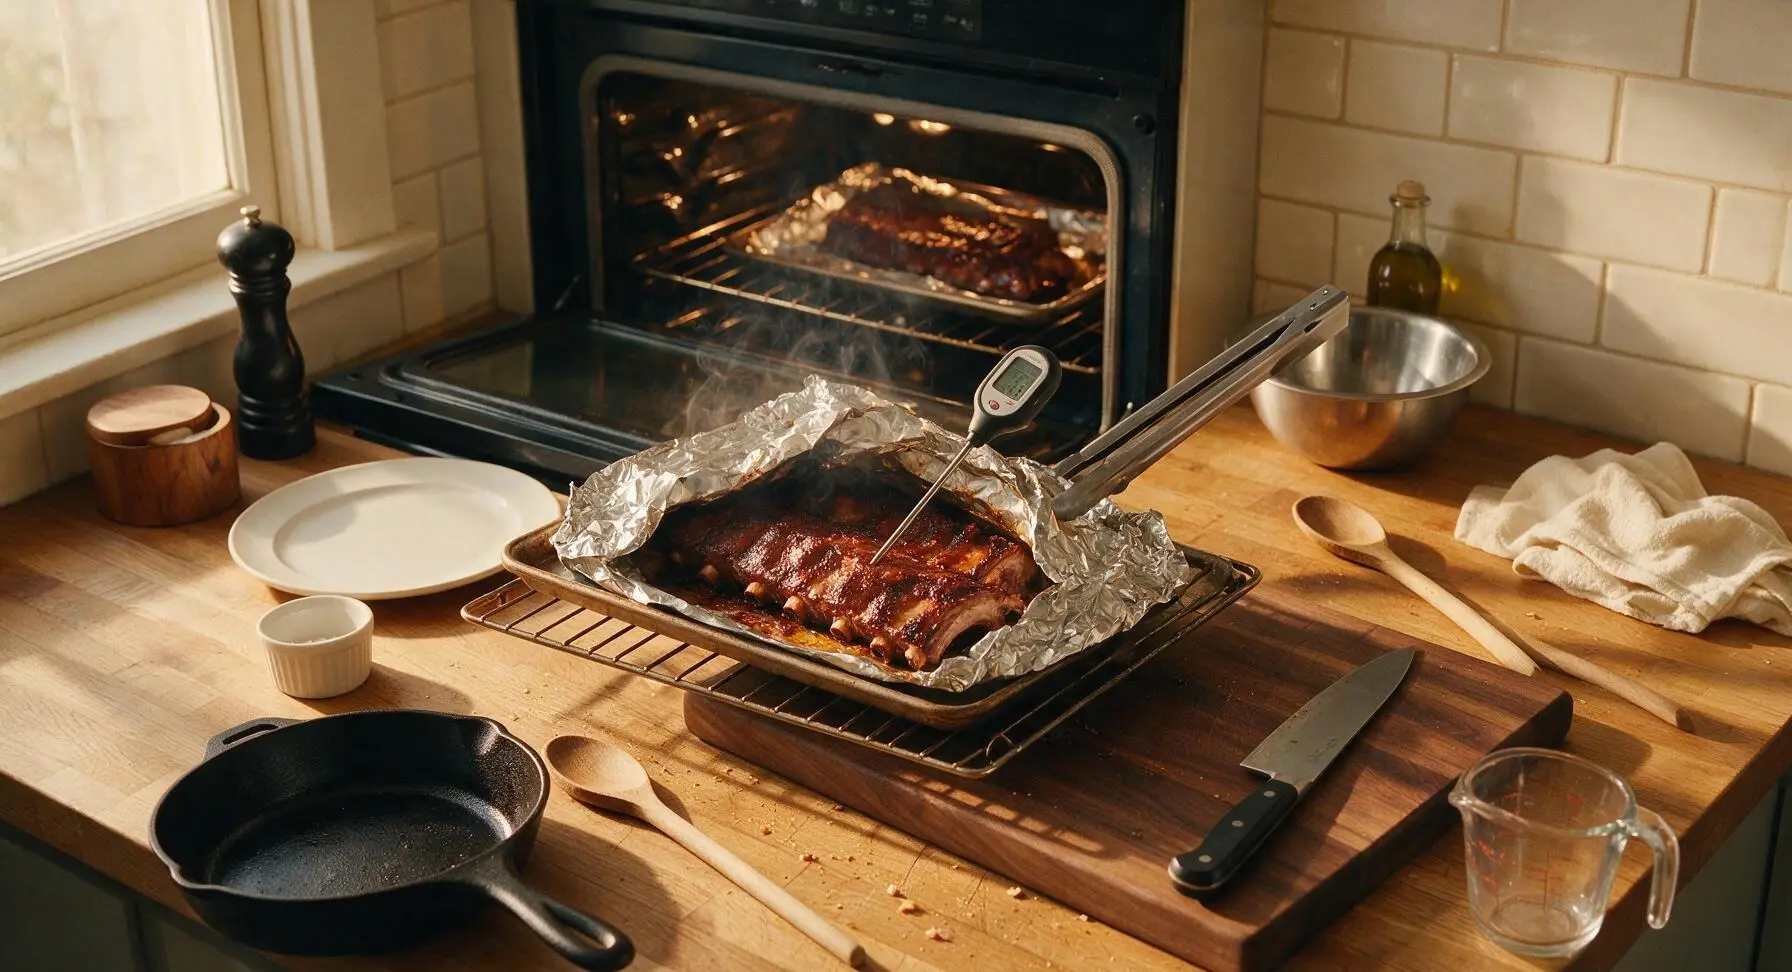
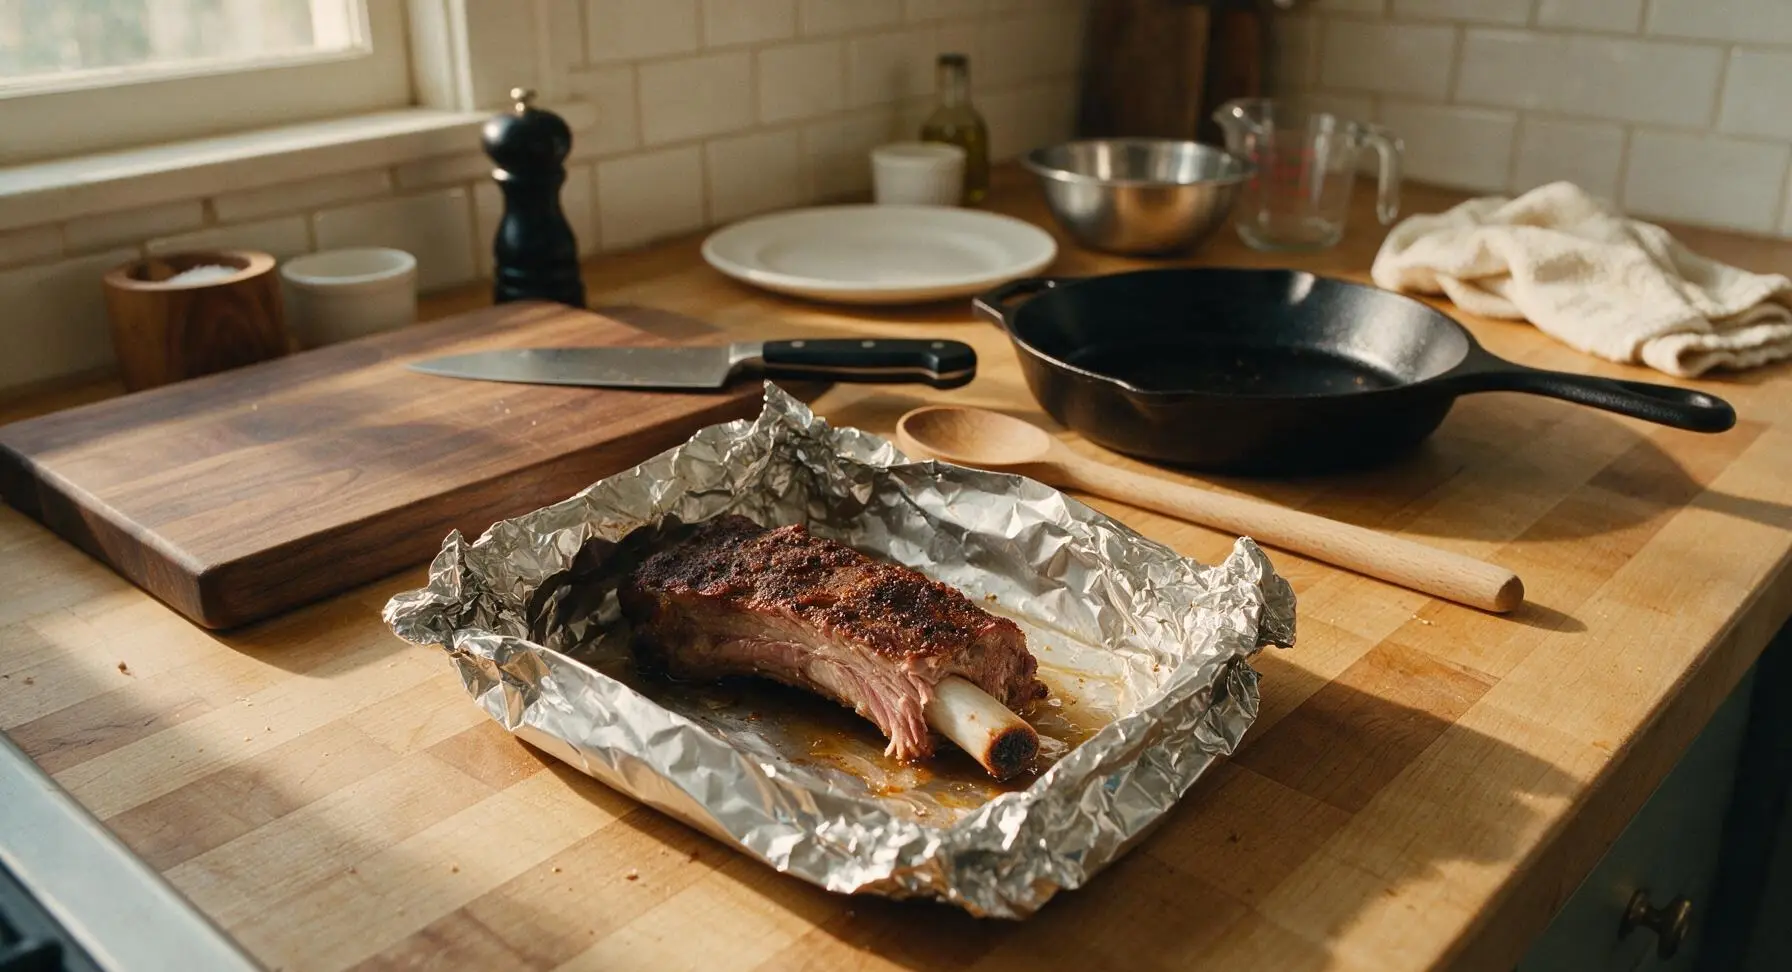
Step 5
step5:Test Rib Doneness
Step 5
step5:Test Rib Doneness
6

Baste with BBQ Sauce

Pour 120ml of smoky BBQ sauce into the clear glass measuring cup. Use the silicone basting brush to generously coat the top and sides of the cooked ribs with sauce, leaving the foil packet open. Turn the oven temperature up to 200C (400F), then return the uncovered baking sheet to the oven for 10 minutes, until the sauce is sticky, caramelized, and glossy, with no burnt black edges.
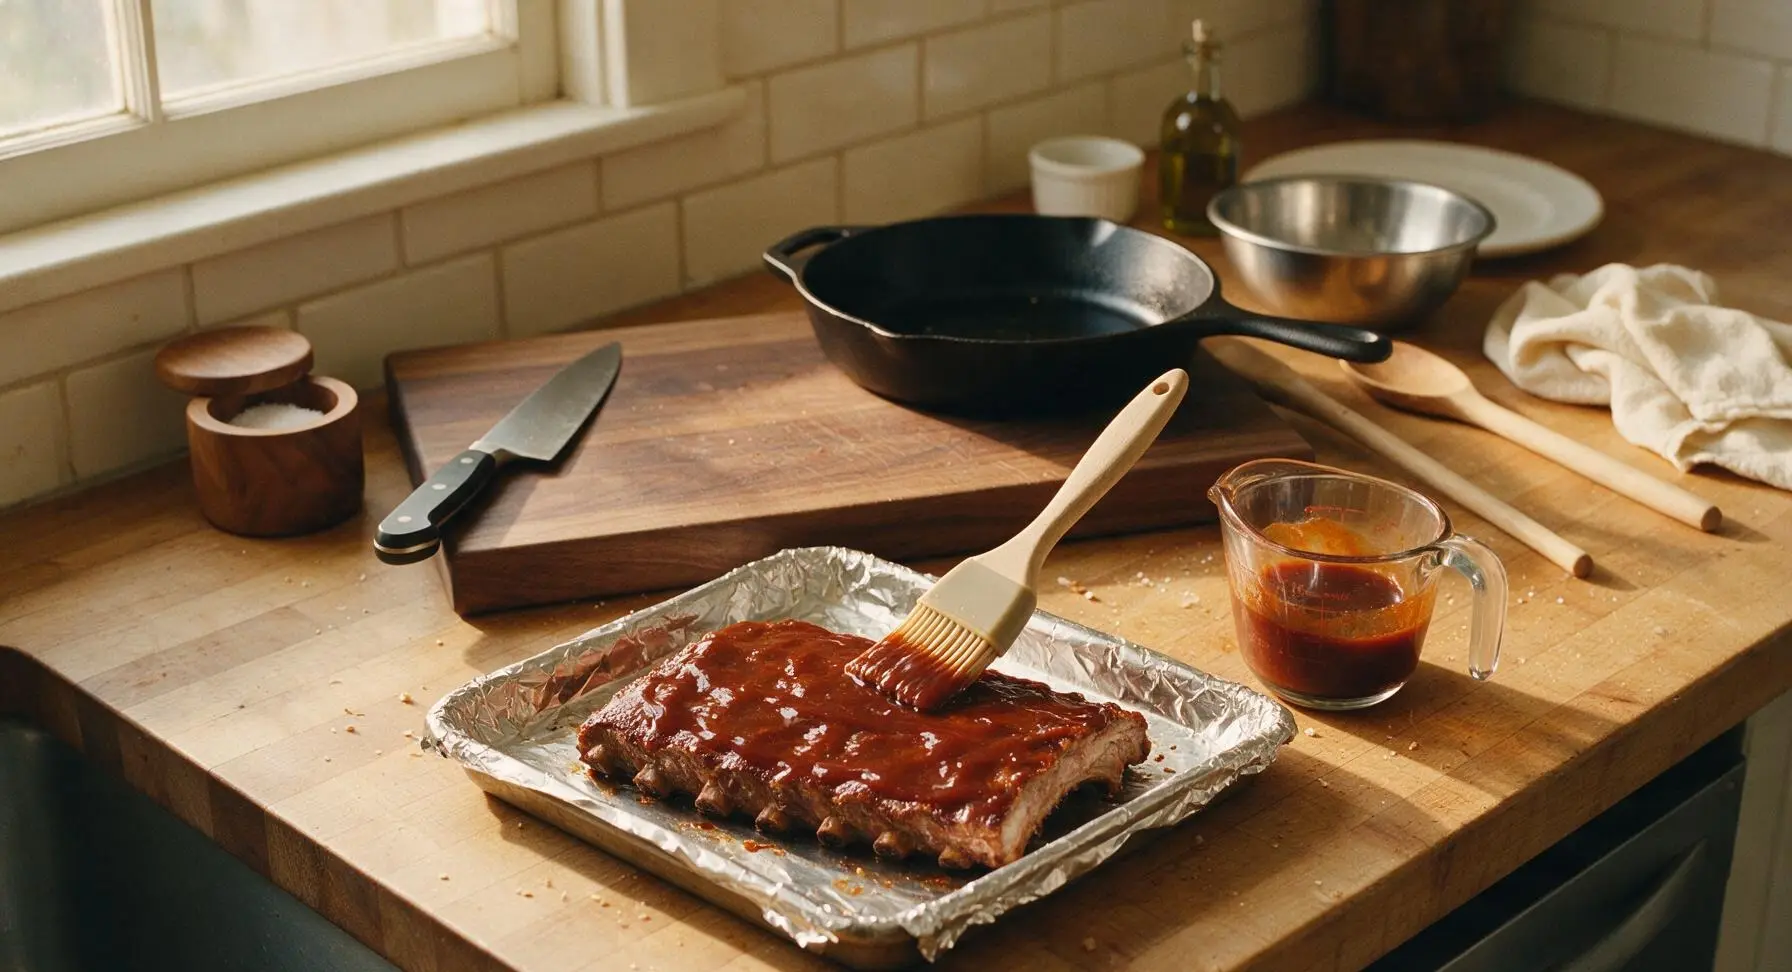
Step 6
step6:Baste with BBQ Sauce
7

Rest and Slice Ribs

Remove the sauced ribs from the oven, use the tongs to transfer them back to the walnut cutting board, and let them rest for 10 minutes tented loosely with a small piece of aluminum foil to let juices redistribute. Use the stiff boning knife to slice cleanly between the bones into individual 1 or 2-bone portions, applying gentle pressure to avoid mashing the tender meat.
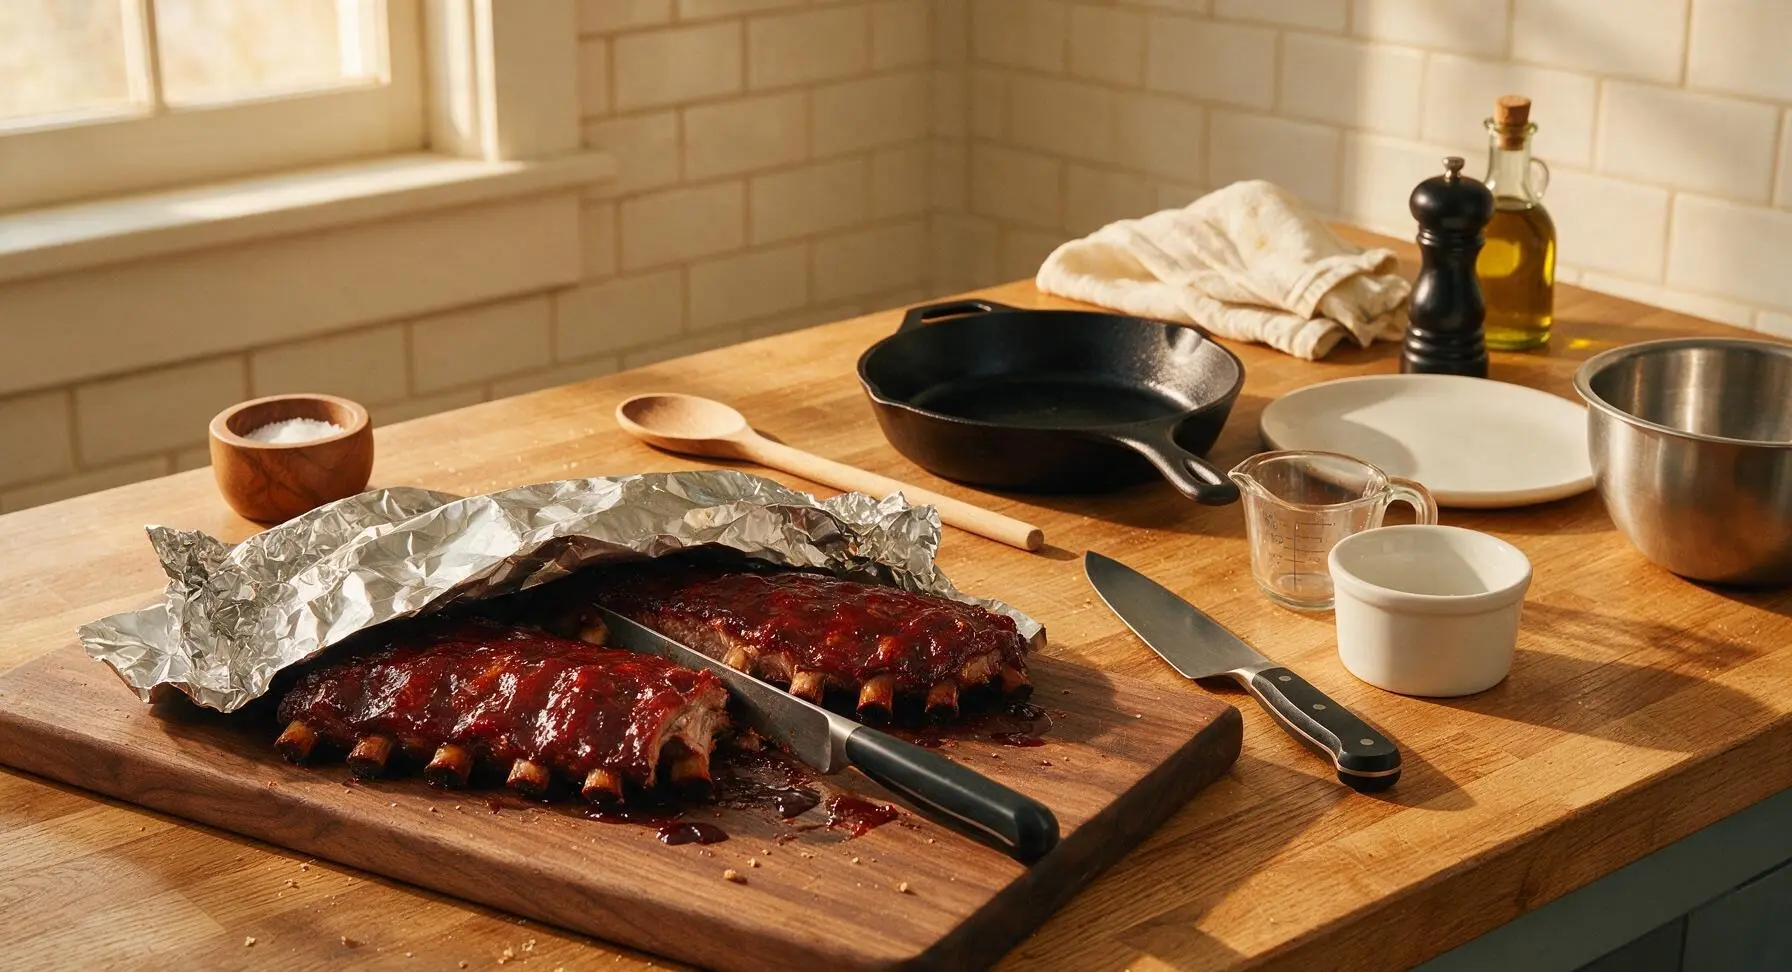
Step 7
step7:Rest and Slice Ribs

Tips

1.Always remove the tough silverskin membrane from the bone side of the ribs before adding rub: this chewy connective tissue never softens during cooking, and it blocks spices and sauce from absorbing into the meat, leading to unevenly flavored, chewy bites.
2.Resist the urge to turn the oven temperature higher to speed up cooking: ribs cooked above 150C (300F) will have tough, seized muscle fibers, while steady low heat slowly breaks down connective tissue to create that signature melt-in-your-mouth tender texture.
3.Let sauced ribs rest for a full 10 minutes before slicing: cutting into hot ribs immediately causes all the trapped, flavorful juices to run out onto the cutting board, leaving you with dry, less flavorful meat instead of juicy, succulent ribs.


✨ You May Also Like

BBQ & Grilling
🍜 United States

Tender, melt-in-your-mouth beef brisket with a crisp, spiced bark, slow-smoked to deep smoky perfection, the iconic centerpiece of Texas backyard barbecue.

⏱️ 12 hours BBQ & Grilling ★ 4.4
BBQ & Grilling
🍜 Korea

Tender, sweet-savory marinated beef short ribs, a beloved Korean BBQ staple with caramelized, slightly charred edges and deep umami flavor, perfect for outdoor summer gatherings.

⏱️ 4 hours 2BBQ & Grilling ★ 4.8
BBQ & Grilling
🍜 United States

Juicy grilled beef patties topped with smoky homemade chili, melted cheddar, and tangy pickles on toasted brioche buns for a hearty, flavor-packed handheld meal.

⏱️ 40 minuteBBQ & Grilling ★ 4.7
BBQ & Grilling
🍜 United States

A sweet, smoky, tangy BBQ sauce brightened with peak-season dark cherries, ideal for glazing grilled ribs, chicken, pork, or summer roasted veggies.

⏱️ 35 minuteBBQ & Grilling ★ 4.7
BBQ & Grilling
🍜 United States

Rich, smoky, slightly sweet homemade bourbon BBQ sauce with deep caramel notes, ideal for glazing grilled ribs, chicken, and burgers at cookouts.

⏱️ 25 minuteBBQ & Grilling ★ 4.7
BBQ & Grilling
🍜 United States

Iconic Alabama-style BBQ featuring tender hickory-smoked chicken slathered in tangy creamy white sauce, a beloved regional Southern cookout staple.

⏱️ 3 hoursBBQ & Grilling ★ 5

Tender Ribs:Frequently Asked Questions

1.What cut of ribs works best to get that true fall-off-the-bone texture? ▾
St. Louis-style pork spare ribs are ideal for this recipe! This evenly trimmed spare rib cut has the perfect ratio of marbled fat to lean meat to stay juicy through long, slow cooking, unlike smaller, leaner baby back ribs that dry out easily, or untrimmed spares with chewy, uneven bits that ruin texture.
2.Do I really need to remove the thin membrane on the back of the rib rack? ▾
Absolutely, always peel off that tough, papery membrane from the bone side of the ribs before seasoning! If left on, it turns rubbery even after hours of cooking, blocks the spice rub from penetrating the meat, and prevents that signature tender, pull-away-from-the-bone bite you want.
3.Is it true that boiling ribs is the fastest way to get tender results? ▾
Skip boiling entirely—it leaches out nearly all that rich, savory pork flavor and leaves ribs watery and bland. For real fall-off-the-bone tenderness, cook ribs low and slow at a steady 225°F (using indirect grill heat or your oven) for 3.5 to 4 hours, keeping the cooking environment moist to prevent drying.
4.How far in advance can I apply the dry rub before cooking the ribs? ▾
You can apply the simple spice rub (coarse kosher salt, black pepper, smoked paprika, and garlic powder) anywhere from 1 hour to 24 hours before cooking. If applying more than 2 hours ahead, wrap rubbed ribs tightly and chill them—the salt will draw out moisture that reabsorbs for extra juicy, evenly seasoned meat.
5.Can I make these ribs in a regular home oven if I don’t have a smoker or grill? ▾
Definitely—no fancy equipment is required for great ribs. Set your oven to 225°F, place seasoned ribs on a wire rack set over a rimmed baking sheet (add a half-inch of water to the sheet for extra moisture), and cook low and slow exactly as you would on a grill for identical tender, flavorful results.
6.When should I brush on BBQ sauce so it doesn’t burn and turn bitter? ▾
Wait to brush on BBQ sauce until the last 20 to 30 minutes of cooking! Most commercial and homemade BBQ sauces are high in sugar, which burns quickly at even moderate heat. Applying it late lets the sauce warm and thicken into that glossy, sticky coating without charring before the ribs are fully tender.
7.How do I tell when my ribs are perfectly done, instead of undercooked or mushy? ▾
Use two simple, reliable tests: First, lift a rack with tongs at one end—if it bends easily and a small crack forms on the top surface, it’s almost done. Second, twist an exposed center bone; if it pulls cleanly out of the meat with minimal resistance, you’ve hit that ideal fall-off-the-bone texture.
8.Can I substitute baby back ribs for the St. Louis-style spare ribs in this recipe? ▾
You can swap in baby back ribs, but adjust your cook time accordingly! Baby backs are smaller and much leaner than St. Louis spares, so they cook 30 to 45 minutes faster. Keep a close eye on them to avoid drying out; they’ll be tender, but won’t have the same rich, juicy marbled bite as St. Louis cut ribs.
9.Why do my ribs always turn out tough even when I cook them for hours? ▾
Tough ribs almost always trace back to one of two issues: cooking at too high a temperature, which seizes up meat proteins before tough connective tissue can break down into silky gelatin, or rushing the cook time. Stick to a steady 225°F, and resist cranking the heat to speed things up—low and slow is non-negotiable.
10.Do I need to wrap my ribs in foil halfway through cooking? ▾
Wrapping ribs in foil (often called the “Texas crutch”) halfway through cook time is totally optional, but it cuts total cook time by about 45 minutes and locks in extra moisture. If you wrap, add a tiny splash of apple juice or melted butter inside the foil, then unwrap for the last 30 minutes to let sauce set into a sticky glaze.
11.How much spice rub should I use per rack of ribs? ▾
Plan for about 3 tablespoons of the simple salt, pepper, smoked paprika, and garlic powder rub per full St. Louis-style rib rack. Make sure to coat every surface evenly—top, bottom, and between the bones—pressing the rub gently into the meat so it adheres, instead of sprinkling it loosely where it will fall off during cooking.
12.Can I make these ribs ahead of time for a backyard cookout or party? ▾
These ribs are incredibly party-friendly, which is why they’re perfect for warm weather gatherings! Cook them fully (hold off on saucing for the final step) 1 to 2 days ahead, cool, wrap tightly, and chill in the fridge. When ready to serve, reheat at 275°F for 20 minutes, brush with sauce, and finish until glossy.
13.What’s the difference between perfectly tender fall-off-the-bone ribs and overcooked ribs? ▾
Perfect fall-off-the-bone ribs are tender enough that meat pulls cleanly away from the bone when you take a bite, but still has a juicy, substantial, meaty texture. Overcooked ribs are mushy, slide completely off the bone before you even pick them up, and have a dry, stringy, mealy texture from lost moisture and fat.
14.Should I use sweet or smoky BBQ sauce for these ribs? ▾
That comes down entirely to your personal taste! Since the dry rub already has deep, woody smoky flavor from smoked paprika, you can use a sweet tangy tomato-based sauce for balance, a spicy vinegar-based sauce for a bright kick, or extra-smoky sauce if you want to lean into that classic campfire BBQ profile.
15.What’s the best way to store leftover ribs and reheat them without making them tough? ▾
Let leftover sauced ribs cool completely, then wrap them tightly in foil and store in an airtight container in the fridge for up to 4 days. For best results, reheat foil-wrapped ribs in a 275°F oven for 15 to 20 minutes until heated through—skip the microwave, which zaps moisture and leaves ribs rubbery, tough, and unevenly hot.

Comments (4)

3 days ago

OMG these ribs were a total game changer for our Labor Day weekend cookout! I was so nervous they’d be tough since I’ve never made ribs from scratch before, but following the 3 hour cook time exactly had them fall right off the bone. My husband and two kids went back for seconds before I even got my first plate. SO good, I already sent the recipe to my whole group chat for our next potluck!

2 days ago

Wait did you use the dry rub recipe as written or tweak it? I’m making these for a tailgate this weekend and don’t wanna mess it up!

yesterday

So glad these were a hit for your cookout, Mia! The dry rub works perfectly as written, but feel free to add a pinch of extra cayenne if you like a little extra heat. Enjoy the tailgate, Jake!

1 week ago

Really solid rib recipe! I meal prepped a rack on Sunday and we ate off it for dinners all week. Only note is I wish the sauce recipe was a little tangier, so I added a splash more apple cider vinegar — next time I’ll probably up that a bit. Still, the texture was perfect, no chewy bits at all even after reheating.

5 days ago

Great tip about the apple cider vinegar, Lindsey! I love a tangier sauce too, that tweak sounds delicious. So happy the ribs held up well for your meal prep — that’s such a smart move for busy weeks!

30 minutes ago

Took me a minute to get the grill temp dialed in since my old charcoal grill runs hot, but once I got it steady these came out perfect. Brought a half rack to my neighbor’s game night and everyone was asking where I got the recipe. Way better than the takeout ribs I usually grab from the BBQ spot down the street, tbh.

yesterday

I made these last night for my son’s 10th birthday dinner since ribs are his absolute favorite. He said they were the best thing I’ve ever cooked, which is high praise coming from a kid who usually only eats chicken nuggets and mac and cheese. The only mishap was I forgot to take the membrane off the back at first, but once I fixed that they turned out incredible. 10/10 will make again!

2 hours ago

Oh I made that same membrane mistake my first time too! Total game changer once you pull that off, right? Makes such a huge difference in how tender they get.



