
teriyaki chicken sauce

title 1
teriyaki chicken sauce
⏱️ cook time 10 minutes
🍽️ servings 4
⚡ Difficulty easy

intro

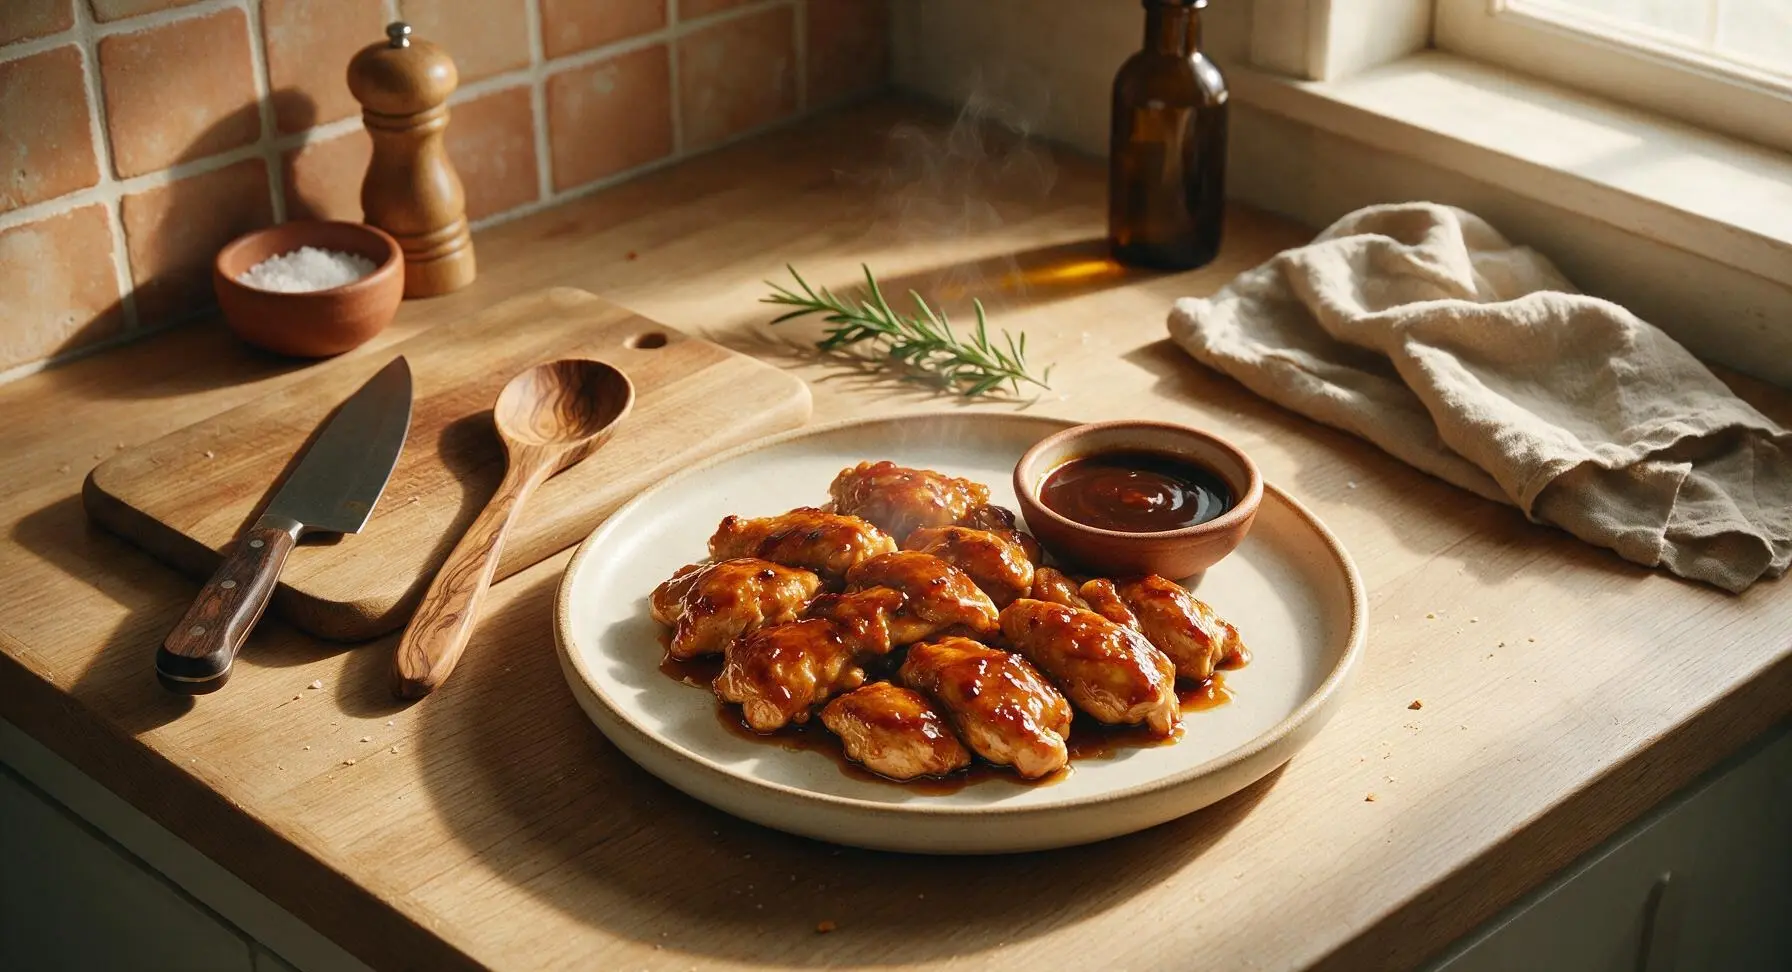
Glossy, perfectly balanced homemade teriyaki sauce for chicken, with deep umami, gentle sweetness, and a silky texture that clings to every bite without artificial additives.

Ingredients
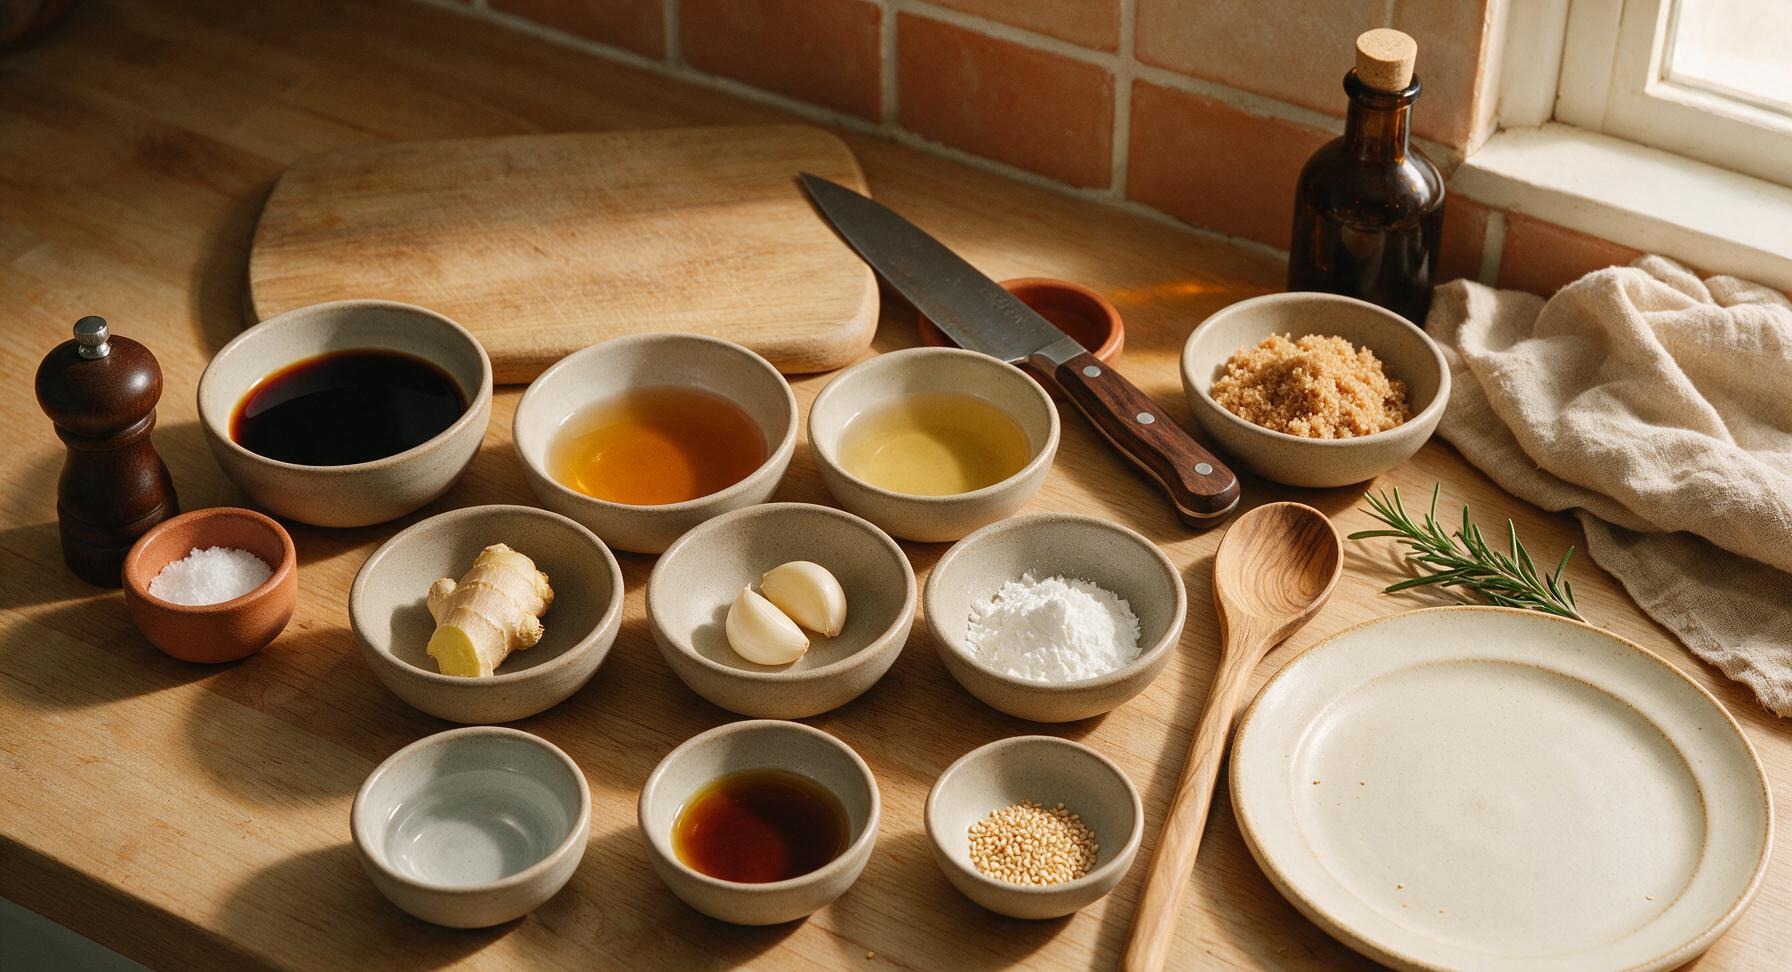
Low-sodium soy sauce 1/2 cup (120ml)
Mirin (sweet rice wine) 1/3 cup (80ml)
Cooking sake 1/4 cup (60ml)
Light brown sugar 2 tbsp (25g)
Fresh ginger 1 inch (25g) piece, peeled
Garlic 2 cloves, peeled
Cornstarch 1 tsp (3g)
Cold water 2 tbsp (30ml)
Toasted sesame oil 1 tsp (5ml)
Toasted white sesame seeds 1 tsp (2g)

Steps

1

Prep Ginger and Garlic

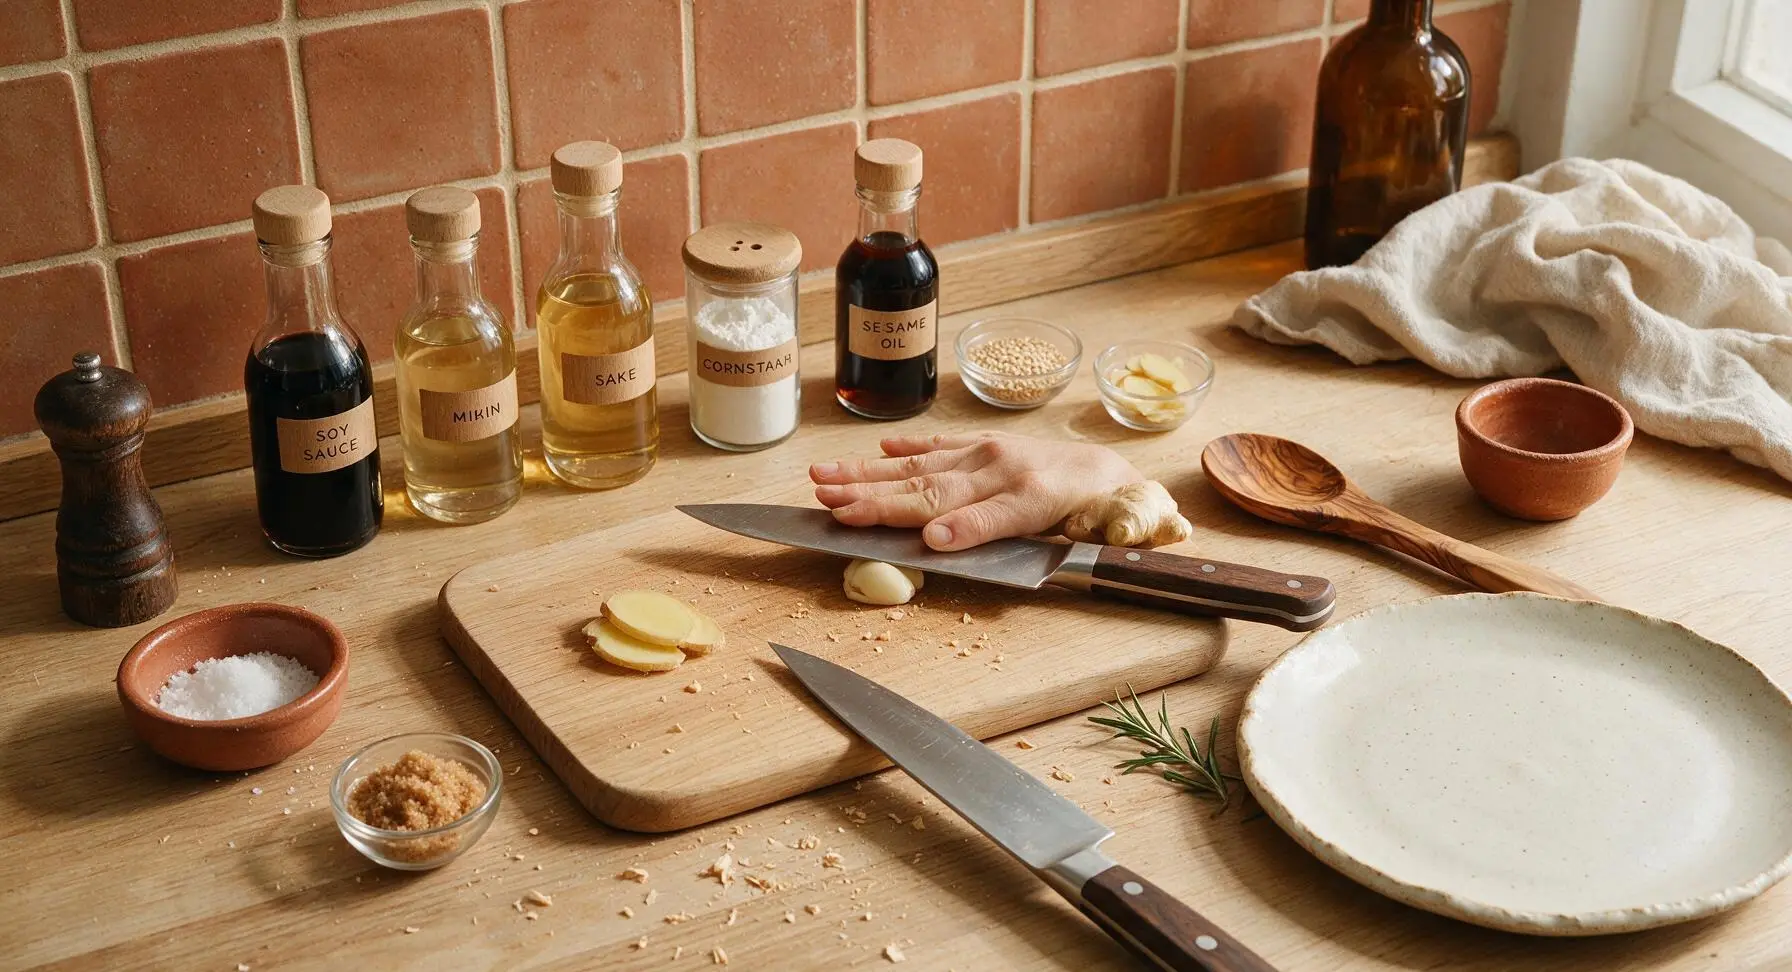
Place the peeled 1-inch (25g) ginger piece and 2 peeled garlic cloves on the hinoki cutting board. Using the 7-inch petty knife, slice the ginger into thin 1/8-inch coins, then lightly crush the garlic cloves with the flat of the knife blade (do not mince finely, as we will strain them out later for a smooth sauce). Set prepped aromatics aside on the edge of the cutting board. This step takes approximately 2 minutes.
Step 1
step1:Prep Ginger and Garlic
2

Mix Sauce Base

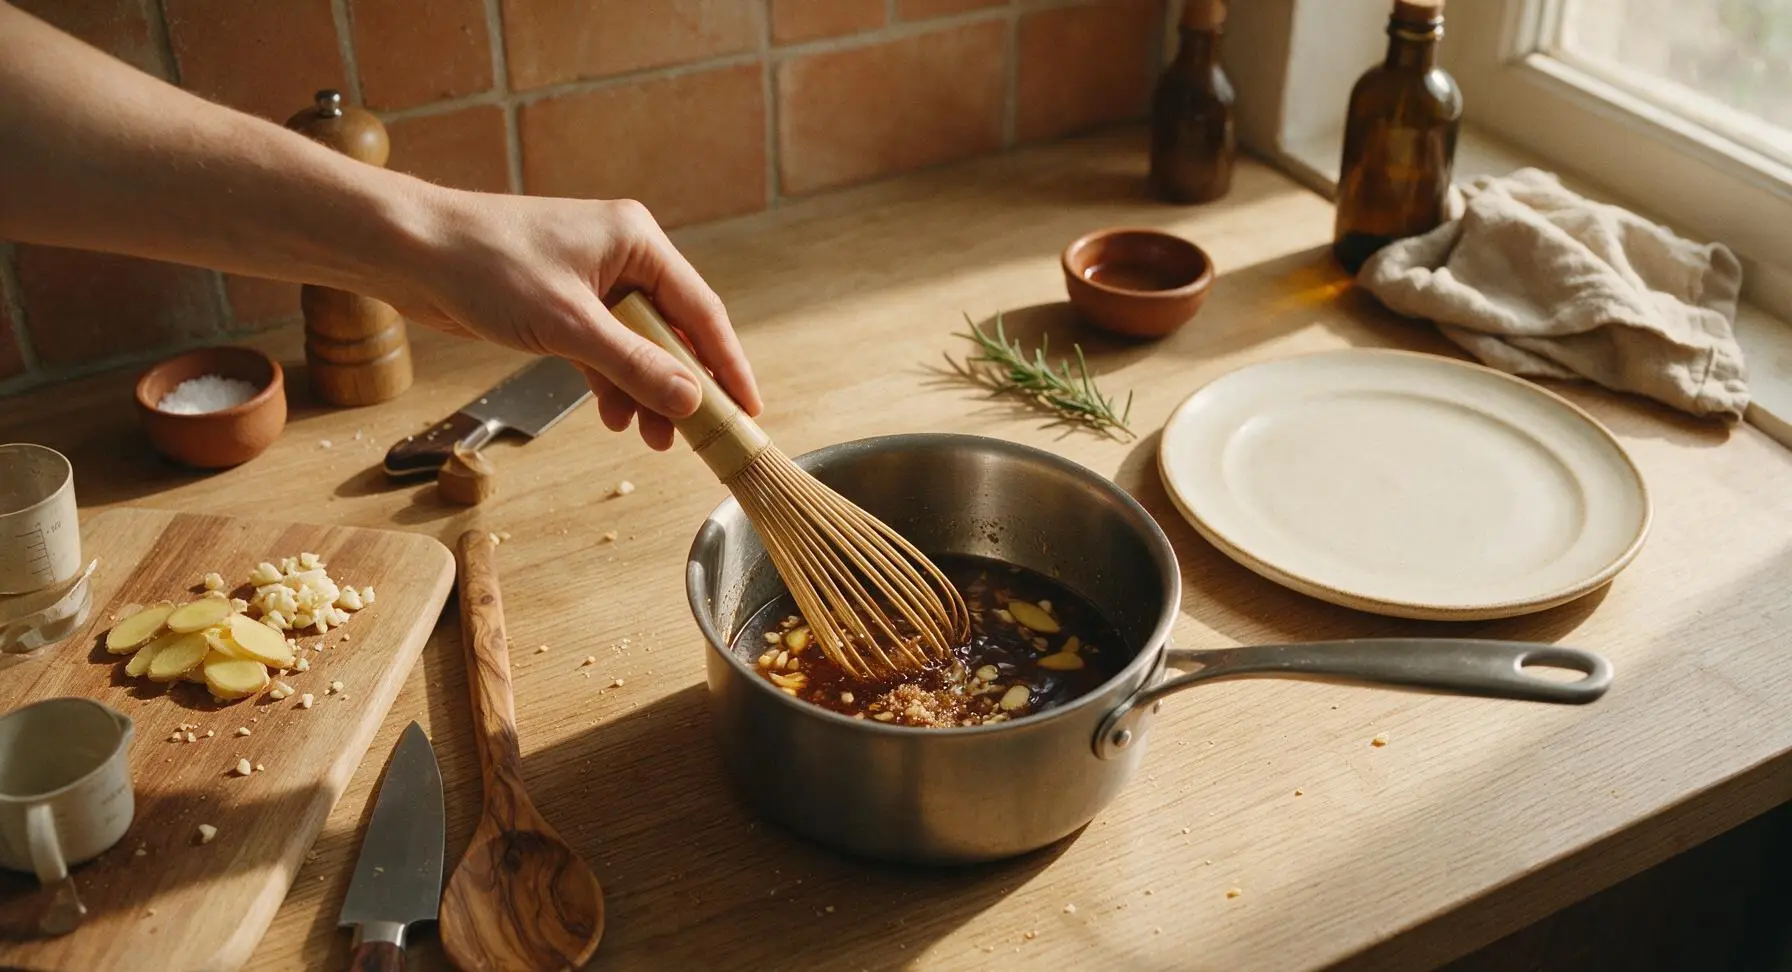
Set the hinoki cutting board with prepped aromatics to the left edge of the counter, then place the 16cm stainless steel saucepan in the center of the work surface (no heat yet). Pour in 1/2 cup (120ml) low-sodium soy sauce, 1/3 cup (80ml) mirin, 1/4 cup (60ml) sake, and 2 tablespoons (25g) light brown sugar into the pan. Add the crushed garlic and sliced ginger to the liquid. Stir gently with the bamboo whisk to dissolve the brown sugar completely, about 30 seconds, until no sugar granules sit at the bottom of the pan.
Step 2
step2:Mix Sauce Base
3

Simmer to Infuse

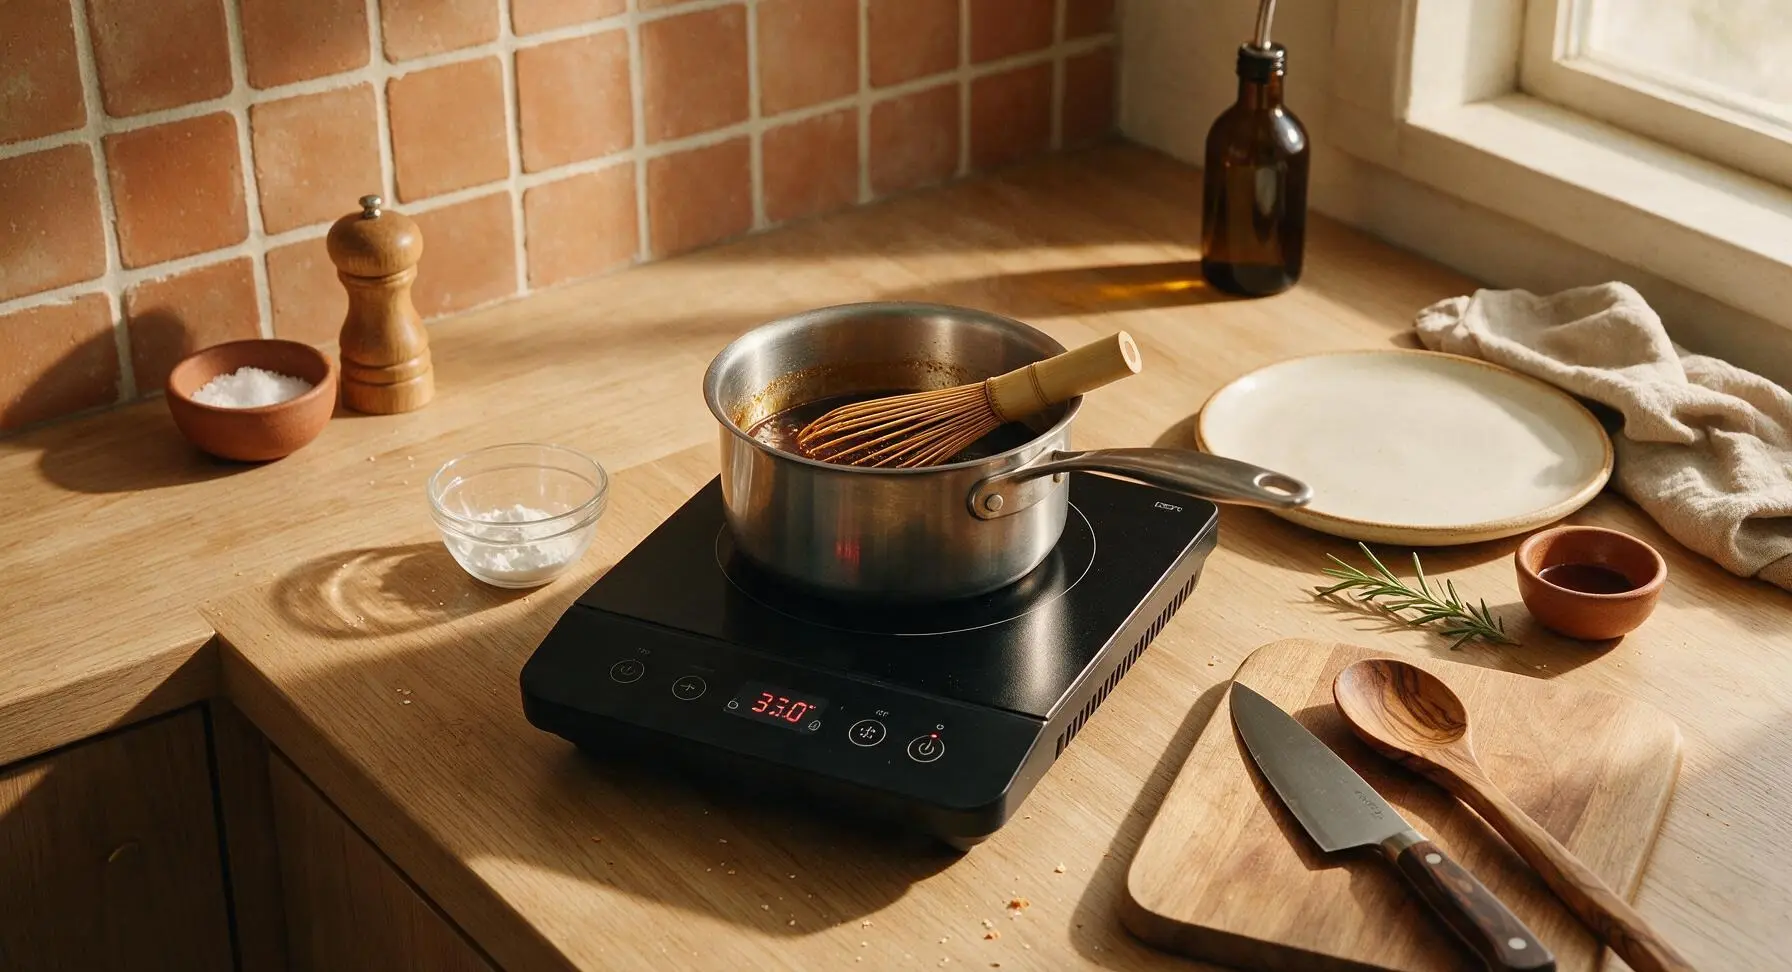
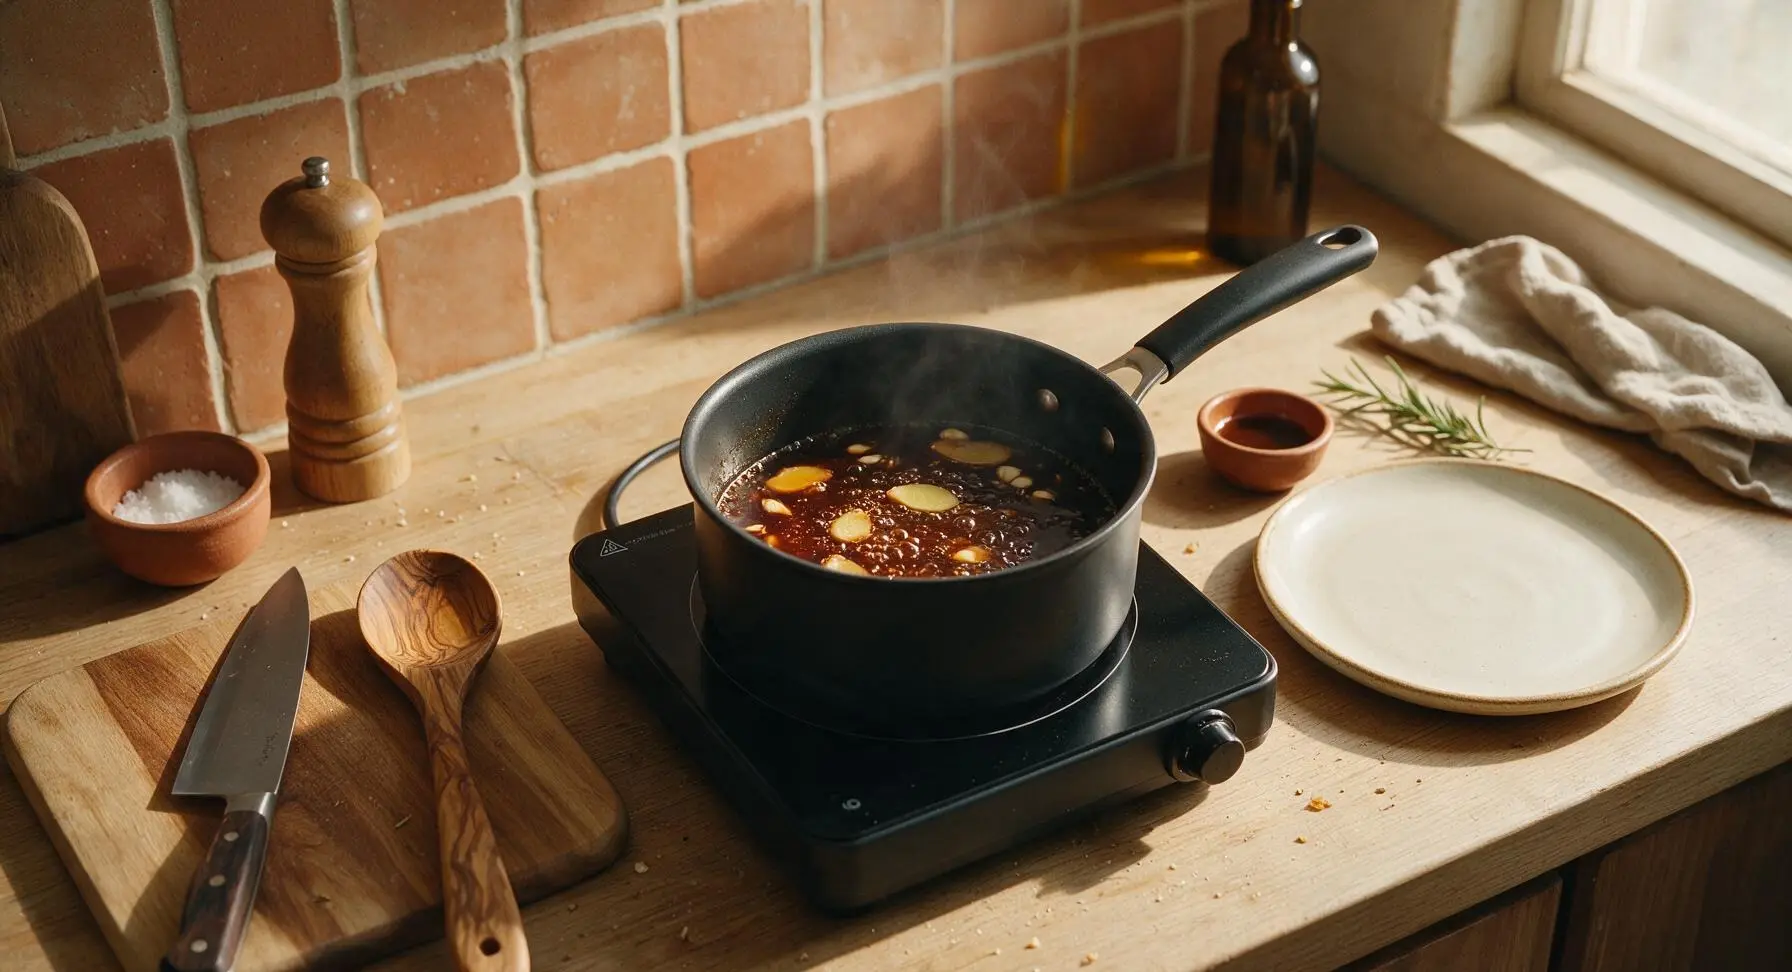
Place the matte black portable induction burner in the center of the counter, set to medium-low heat (325°F / 160°C), then set the saucepan on the burner. Bring the sauce to a gentle, low simmer—do not let it boil rapidly, as this will cook off too much alcohol and make the sauce overly salty. Let it simmer for 5 minutes, stirring occasionally with the bamboo whisk, to infuse the ginger and garlic flavor into the liquid. The sauce will reduce by roughly 15% and smell deeply aromatic, with small, steady bubbles breaking at the surface.
Step 3
step3:Simmer to Infuse
Step 3
step3:Simmer to Infuse
4

Mix Slurry Thickener

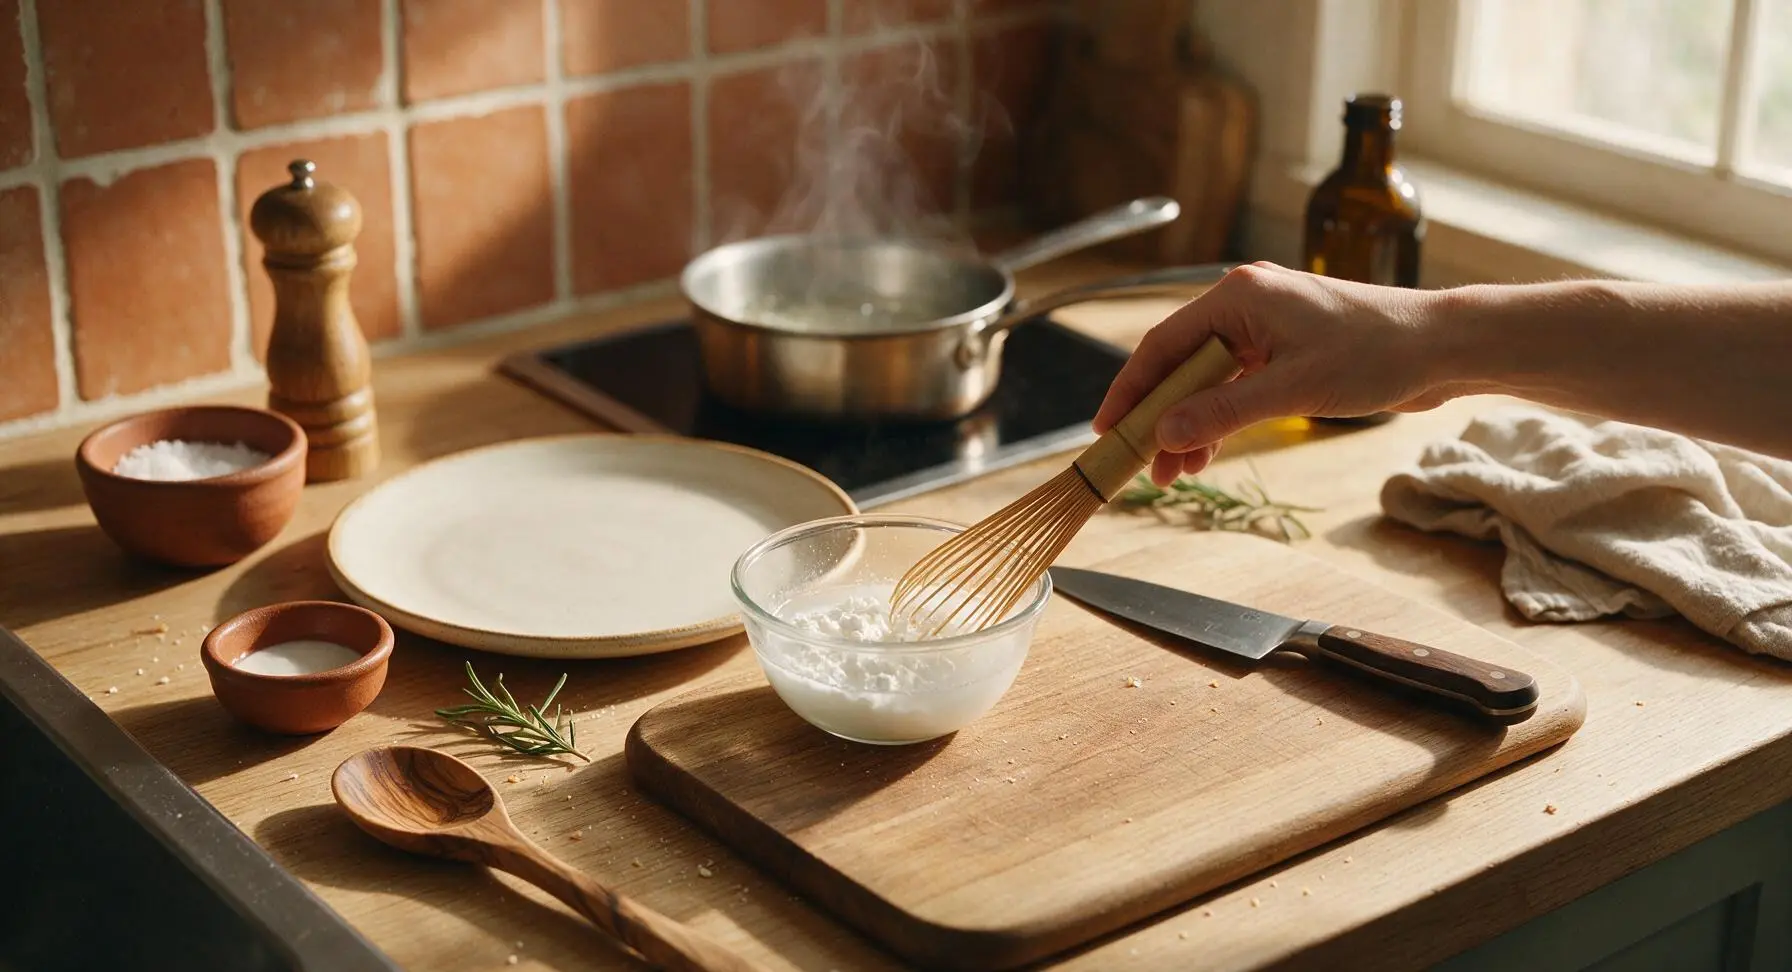
While the sauce simmers, combine 1 teaspoon (3g) cornstarch and 2 tablespoons (30ml) cold water in the 150ml clear glass prep bowl. Stir with the tip of the bamboo whisk until the cornstarch is fully dissolved, with no lumps remaining. This slurry will help the sauce cling evenly to chicken without becoming gummy or overly thick. Remember to re-stir the slurry right before adding it to the sauce, as cornstarch settles quickly in cold water.
Step 4
step4:Mix Slurry Thickener
5

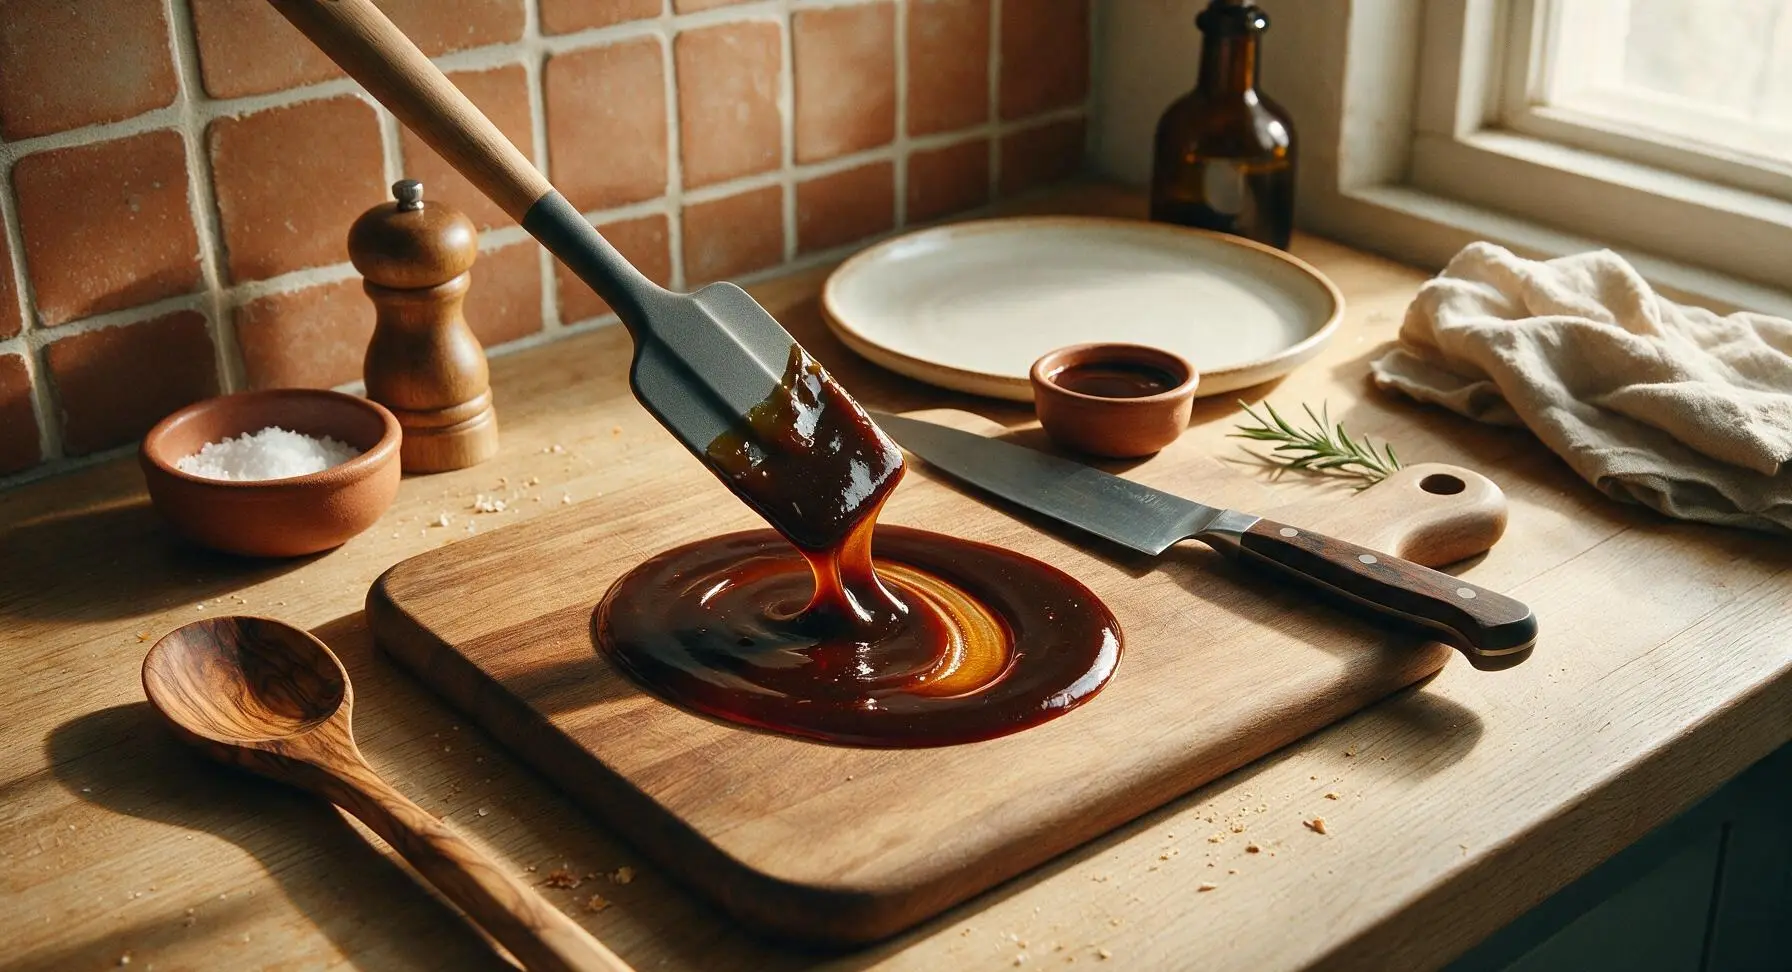
Thicken Sauce Smoothly

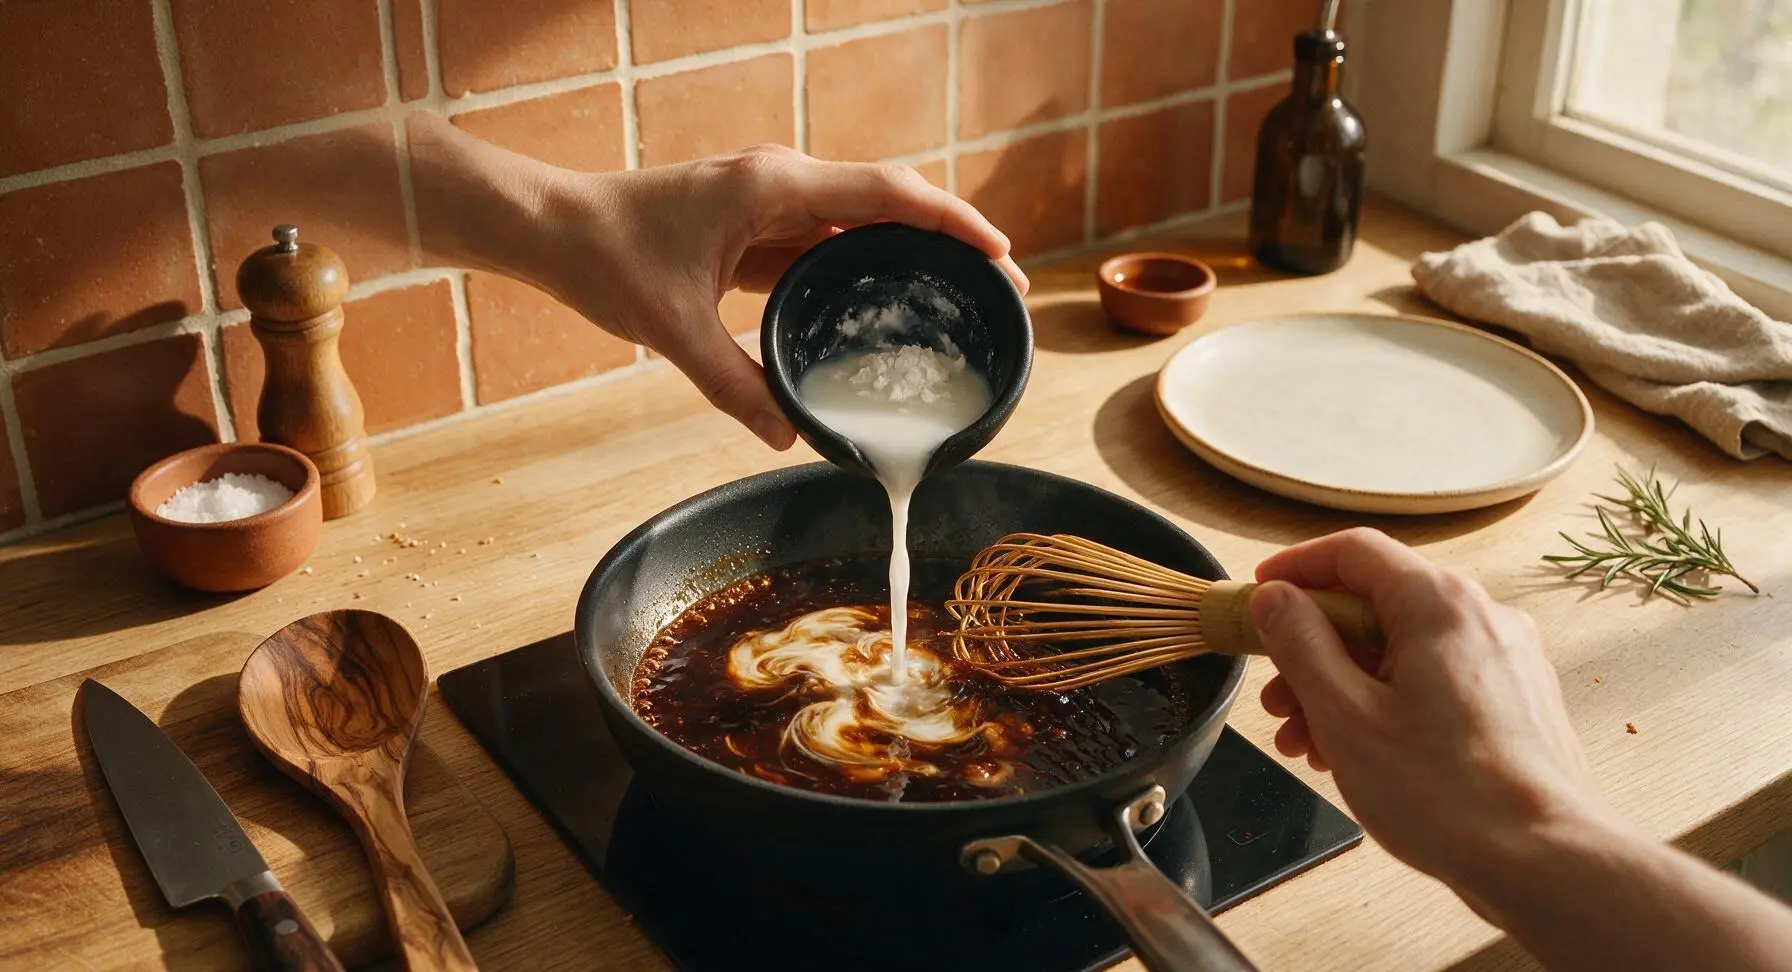
Give the cornstarch slurry a quick re-stir, then slowly pour it into the simmering sauce while whisking constantly. Continue to simmer and whisk for 1 to 2 minutes, until the sauce thickens to a glossy, nappe consistency: it should coat the back of the charcoal silicone spatula evenly, with a line drawn through the sauce on the spatula holding its shape without running. Do not over-thicken, as the sauce will thicken slightly more as it cools.
Step 5
step5:Thicken Sauce Smoothly
Step 5
step5:Thicken Sauce Smoothly
6

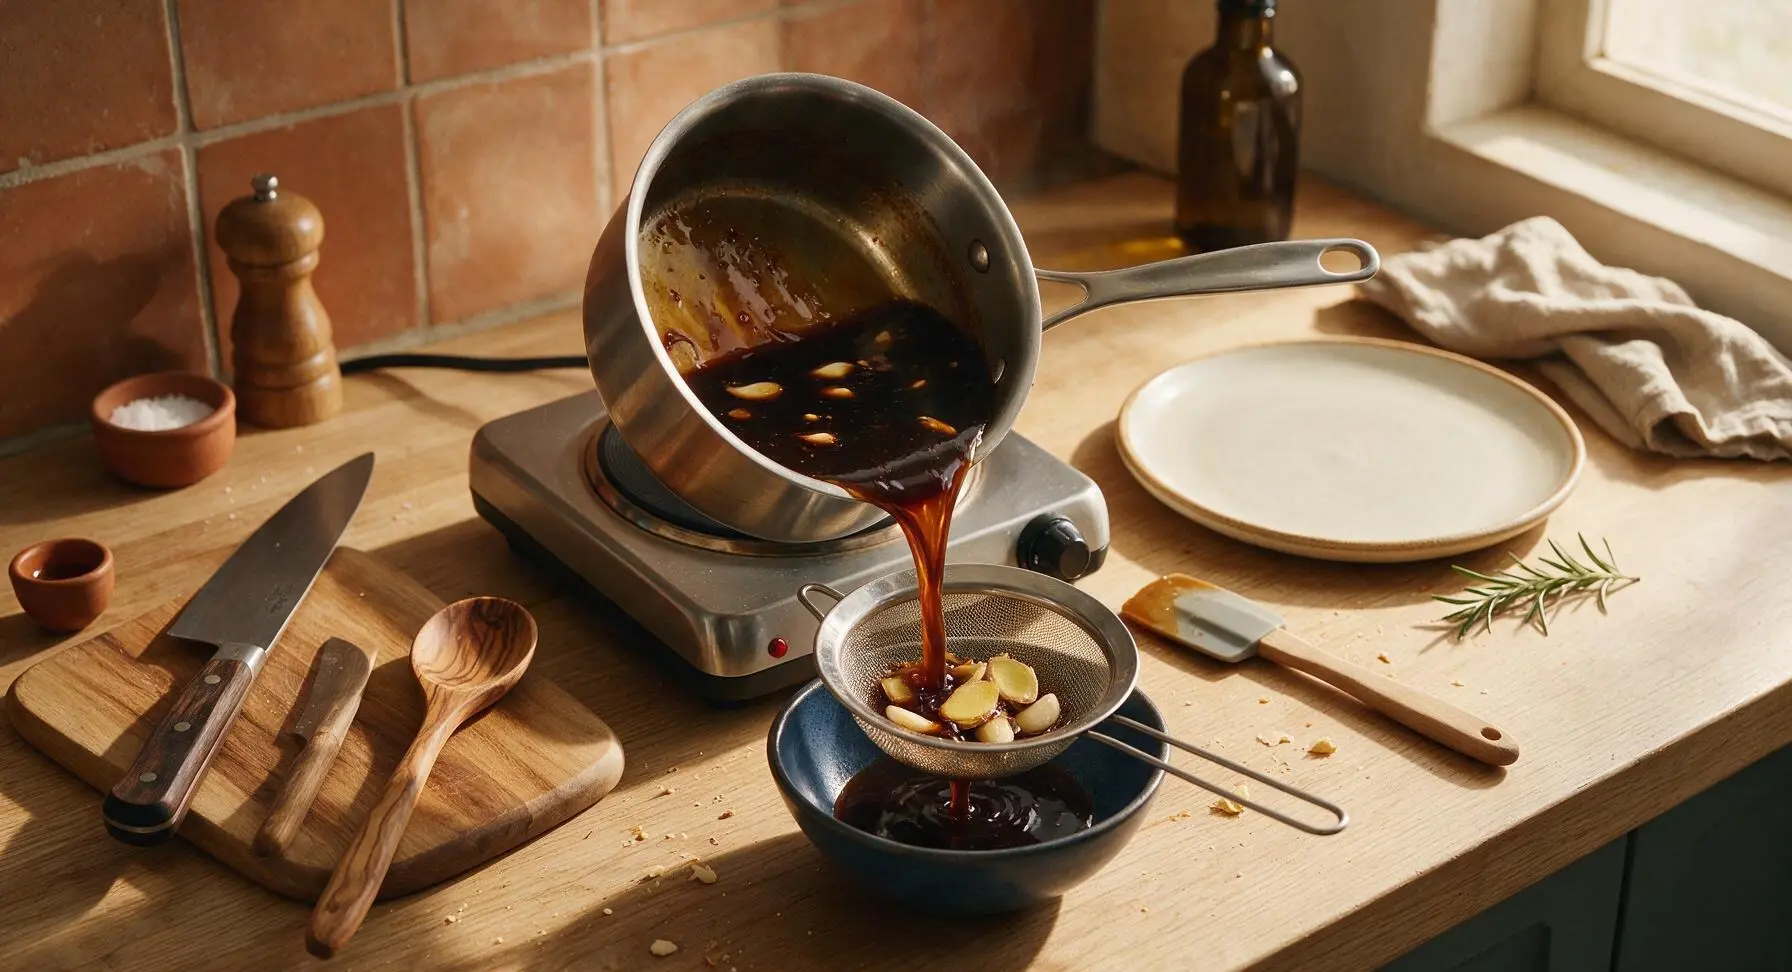
Strain for Smooth Texture

Turn off the heat on the induction burner. Place the fine-mesh stainless steel sieve over the matte indigo ceramic bowl, then pour the hot sauce through the sieve to remove the ginger slices and garlic pieces. Press gently on the aromatics with the silicone spatula to extract all flavorful liquid, then discard the spent ginger and garlic. Straining creates a silky, lump-free sauce that coats chicken evenly.
Step 6
step6:Strain for Smooth Texture
7

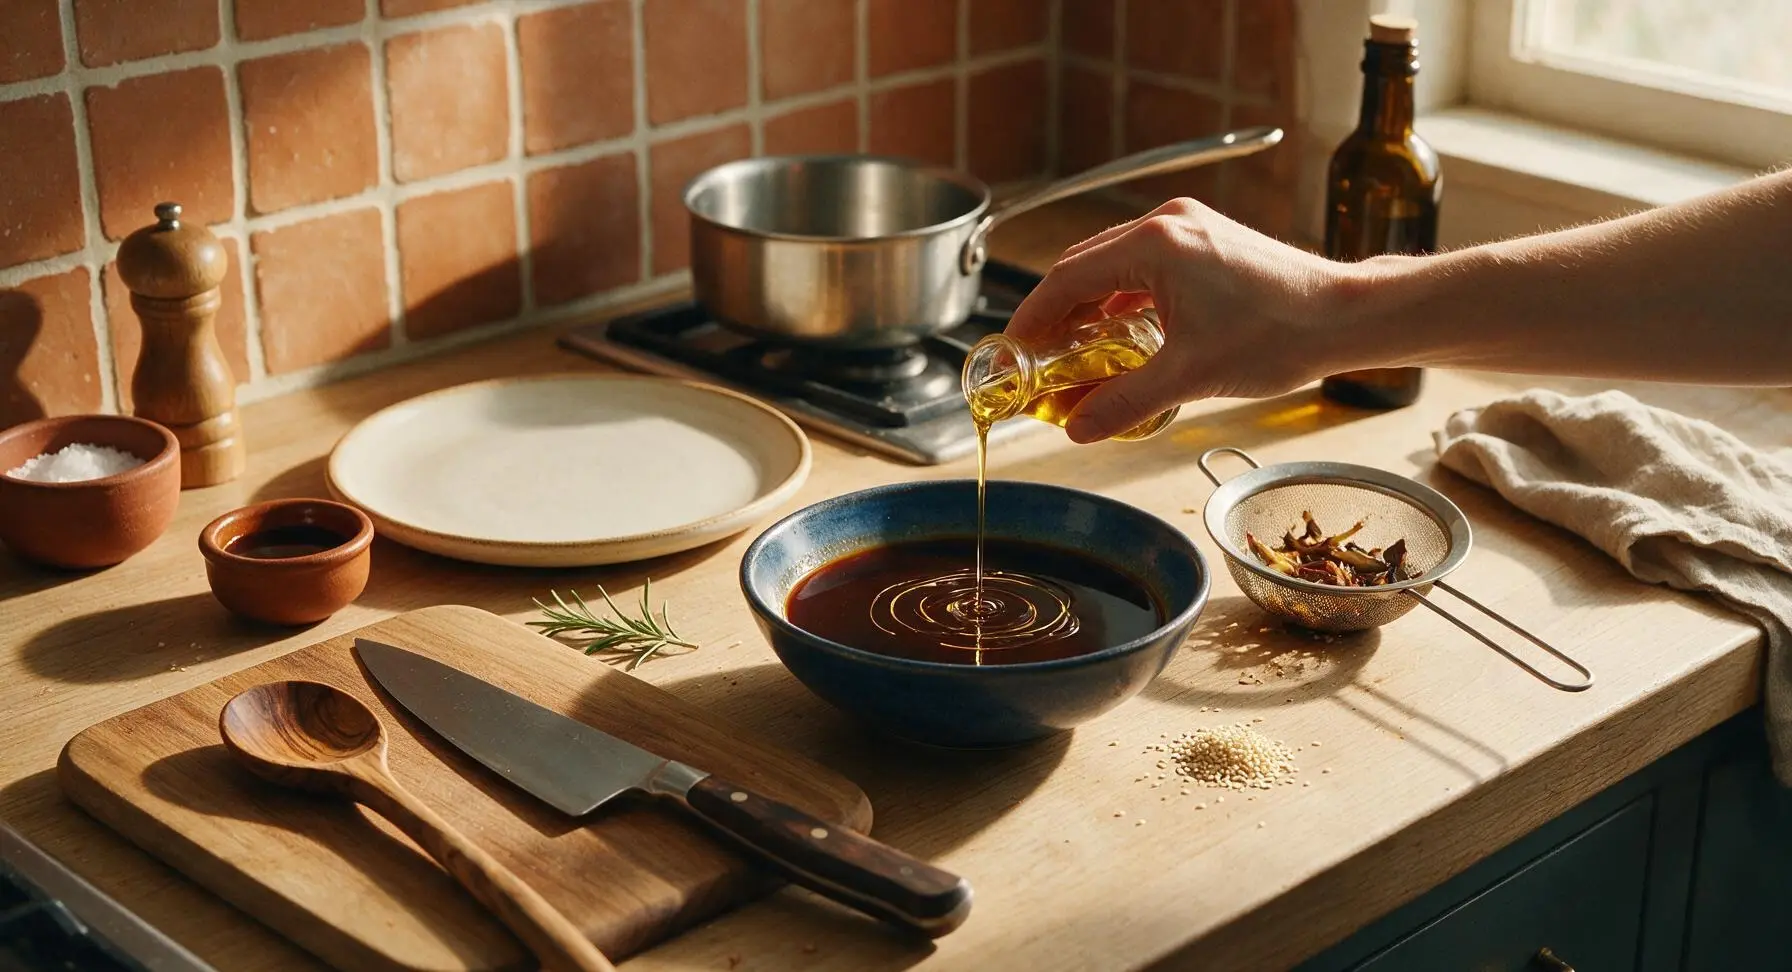
Add Finishing Notes

Stir 1 teaspoon (5ml) toasted sesame oil into the strained, warm sauce until fully incorporated. The sesame oil adds a subtle nutty depth that balances the sweet and salty flavors. Let the sauce cool for 3 minutes; it will continue to thicken as it rests to the perfect coating consistency for seared or grilled chicken. Stir in 1 teaspoon toasted white sesame seeds if using, reserving a pinch for garnish.
Step 7
step7:Add Finishing Notes

Tips

1.Use low-sodium soy sauce instead of regular full-sodium soy: the simmering and reduction process concentrates salt content, so low-sodium soy prevents the final sauce from tasting overly salty, even if you accidentally simmer it a minute too long.
2.Keep cornstarch amounts minimal: the 1:3 cornstarch to cold water ratio creates a light, glossy coating that clings to chicken without turning the sauce into a thick, gummy paste like many mass-produced store-bought teriyaki sauces.
3.Avoid rice vinegar as a sake substitute: if you don’t have cooking sake, use dry sherry instead. Rice vinegar adds sharp, sour notes that throw off the classic balance of sweet, salty, and umami flavors that define good teriyaki.


✨ You May Also Like

Main Course
🍜 United Kingdom

A showstopping classic of tender seared beef, savory mushroom duxelles, and crisp prosciutto wrapped in flaky golden puff pastry, baked to juicy perfection.

⏱️ 2 hours 1Main Course ★ 4.7
Main Course
🍜 India

Tender charred marinated chicken simmered in a rich, spiced creamy tomato sauce, this iconic Anglo-Indian curry pairs perfectly with basmati rice or warm naan.

⏱️ 50 minuteMain Course ★ 4.6
Main Course
🍜 Thailand

Classic tangy, sweet, and savory Thai stir-fried rice noodles with shrimp, tofu, and crunchy garnishes, balancing all five core Thai flavor profiles.

⏱️ 30 minuteMain Course ★ 4.5
Main Course
🍜 United Kingdom

Crispy golden beer-battered cod and fluffy double-fried chips, served with tangy tartar sauce and malt vinegar: the timeless, beloved British pub comfort classic.

⏱️ 45 minuteMain Course ★ 4.7
Main Course
🍜 Mexico

Smoky, chile-marinated pork tacos with caramelized pineapple, fresh cilantro, and lime: a beloved classic Mexican street food perfect for casual summer gatherings.

⏱️ 1 hour 45Main Course ★ 4.8
Main Course
🍜 United States

Crunchy Fritos corn chips layered with savory beef chili and melted cheddar, topped with cool, zesty fixings for a beloved, cozy Tex-Mex comfort food.

⏱️ 35 minuteMain Course ★ 4.8

teriyaki chicken sauce:Frequently Asked Questions

1.Can I use regular soy sauce instead of low-sodium soy sauce for this teriyaki sauce? ▾
You absolutely can, but skip any extra added salt first, and taste frequently as you simmer. Regular soy sauce has nearly double the sodium of low-sodium varieties, so it can easily make the sauce overly salty to pair with chicken. If it turns out too briny, stir in a tiny extra pinch of brown sugar and a splash of water to rebalance the flavors.
2.How long will this homemade teriyaki sauce stay fresh in the refrigerator? ▾
Stored in a tightly sealed, clean glass jar, it will keep well for 2 to 3 weeks in the fridge. Always use a clean, dry spoon to scoop out sauce to avoid introducing bacteria that can cause early spoilage. Toss it immediately if you spot visible mold, notice a sour off-smell, or see a slimy, unusual texture develop.
3.Do I really need both mirin and cooking sake, or can I skip one? ▾
They serve totally distinct flavor roles! Cooking sake adds deep, earthy umami and cuts through the richness of chicken fat, while mirin delivers that signature mild, rounded sweetness and glossy sheen. If you’re in a pinch, replace mirin with equal parts extra sake and extra light brown sugar, but don’t skip both, or you’ll lose that classic teriyaki depth.
4.How do I get that silky, clingy texture without any artificial additives? ▾
No fancy thickeners or artificial additives are required! After combining all your ingredients, simmer the sauce over medium-low heat for 8 to 10 minutes, stirring occasionally, until it reduces by roughly a third. The natural sugars from mirin and brown sugar will caramelize slightly, creating that glossy, sticky texture that coats chicken perfectly; stir in a tiny cornstarch slurry if you prefer extra thickness.
5.Is this sauce suitable for making ahead for weekly meal prep? ▾
It’s ideal for meal prep! Let the finished sauce cool completely after simmering, then pour it into portioned, airtight containers. It will keep for up to 3 months in the freezer. Thaw portions in the fridge overnight before using, give it a quick stir, and it’s ready to brush on grilled, pan-seared, or baked chicken with no extra cooking needed.
6.How should I prep the fresh ginger for this sauce, and do I need to strain it out? ▾
I recommend using a 1-inch knob of fresh ginger, peeled and cut into thin slices for a mild, bright zing. Simmer the slices right in the sauce as it reduces to infuse warm, aromatic flavor, then fish them out before storing or using the sauce. If you love a bolder ginger kick, grate ½ teaspoon of fresh ginger and leave it in for extra texture and sharp, warm flavor.

Comments (7)

2 days ago

OMG this teriyaki sauce is a total game changer! I’ve been buying the bottled stuff for years and it always tastes way too sugary, but this took 10 minutes flat to throw together and my kids devoured their teriyaki chicken bowls at family dinner last night. Even my super picky 7 year old asked for seconds! So easy I even made a double batch for meal prep this week.

yesterday

So glad your whole family loved it! The double batch for meal prep is such a smart call – it stays great in an airtight container in the fridge for up to a week, perfect for quick weeknight dinners.

1 week ago

Made this for a weekend potluck last weekend, tossed it with grilled chicken thighs and fresh pineapple chunks, and people were hounding me for the recipe the whole time. Way better than any takeout teriyaki I’ve had, no weird preservatives or artificial aftertaste. 10/10, will be making this all summer for backyard cookouts.

2 hours ago

Wait, has anyone tried swapping the regular soy sauce for low-sodium soy? I’m watching my salt intake and wondering if it’ll throw the sweet-savory flavor balance off? This looks SO good I don’t want to mess it up on my first try!

30 minutes ago

I used low-sodium soy when I made it last week! Added just a tiny pinch of flaky salt at the end and it tasted exactly the same, no weird off flavors at all. Worked perfectly for my low-salt meal plan!

5 minutes ago

Great question! Low-sodium soy works beautifully here, just like MidwestBakeQueen shared. You can also add a tiny splash extra mirin if you want a little more depth if you skip the added salt, totally up to your taste preference.

3 days ago

Bro this is so easy even I didn’t burn it lmao. I’m a total beginner in the kitchen and this came together in literally 10 minutes like the recipe said, tossed it with some frozen chicken strips and microwaved rice for a late night study session meal. Cheaper and way tastier than the takeout spot down the street from my dorm.

2 days ago

Same! I’m also a college student with basically zero cooking skills and I nailed this on the first try. Pro tip: add a little dash of sriracha if you like a tiny kick, it goes crazy with the sweet sauce.

2 weeks ago

I was so skeptical a homemade teriyaki sauce could be this simple but wow, it totally delivered. I’ve already used it on chicken, salmon, and even roasted broccoli this week. The balance of sweet and savory is perfect, not cloyingly sweet like the grocery store brands. Already added this to my permanent weekly dinner rotation.

yesterday

Quick question! Can I use tamari instead of regular soy sauce to make this gluten free? I’m hosting a gluten free friend for dinner next week and want to make teriyaki chicken bowls that she can safely enjoy too!

2 hours ago

Absolutely! Tamari works as a perfect 1:1 swap for soy sauce here, no other adjustments needed. Your friend is going to love it – I’ve had dozens of readers test this swap with fantastic results.

5 days ago

Made this for my office potluck the other day and it was the first dish completely gone! I was worried it would be too thin but it thickened up perfectly as it simmered, just like the recipe said. My only little tweak is I added a tiny extra bit of fresh garlic because I’m obsessed with garlic, and it was chef’s kiss.

3 days ago

Yesss extra garlic is always the move! I throw in a whole extra minced clove every time I make this, it makes the whole kitchen smell absolutely amazing for hours.

2 days ago

So happy it was a hit at your office potluck! The extra fresh garlic addition sounds delicious – I do that sometimes too when I’m making it for fellow garlic lovers. Thanks for sharing your fun tweak!



