
Thai Basil Burnt Ends
intro
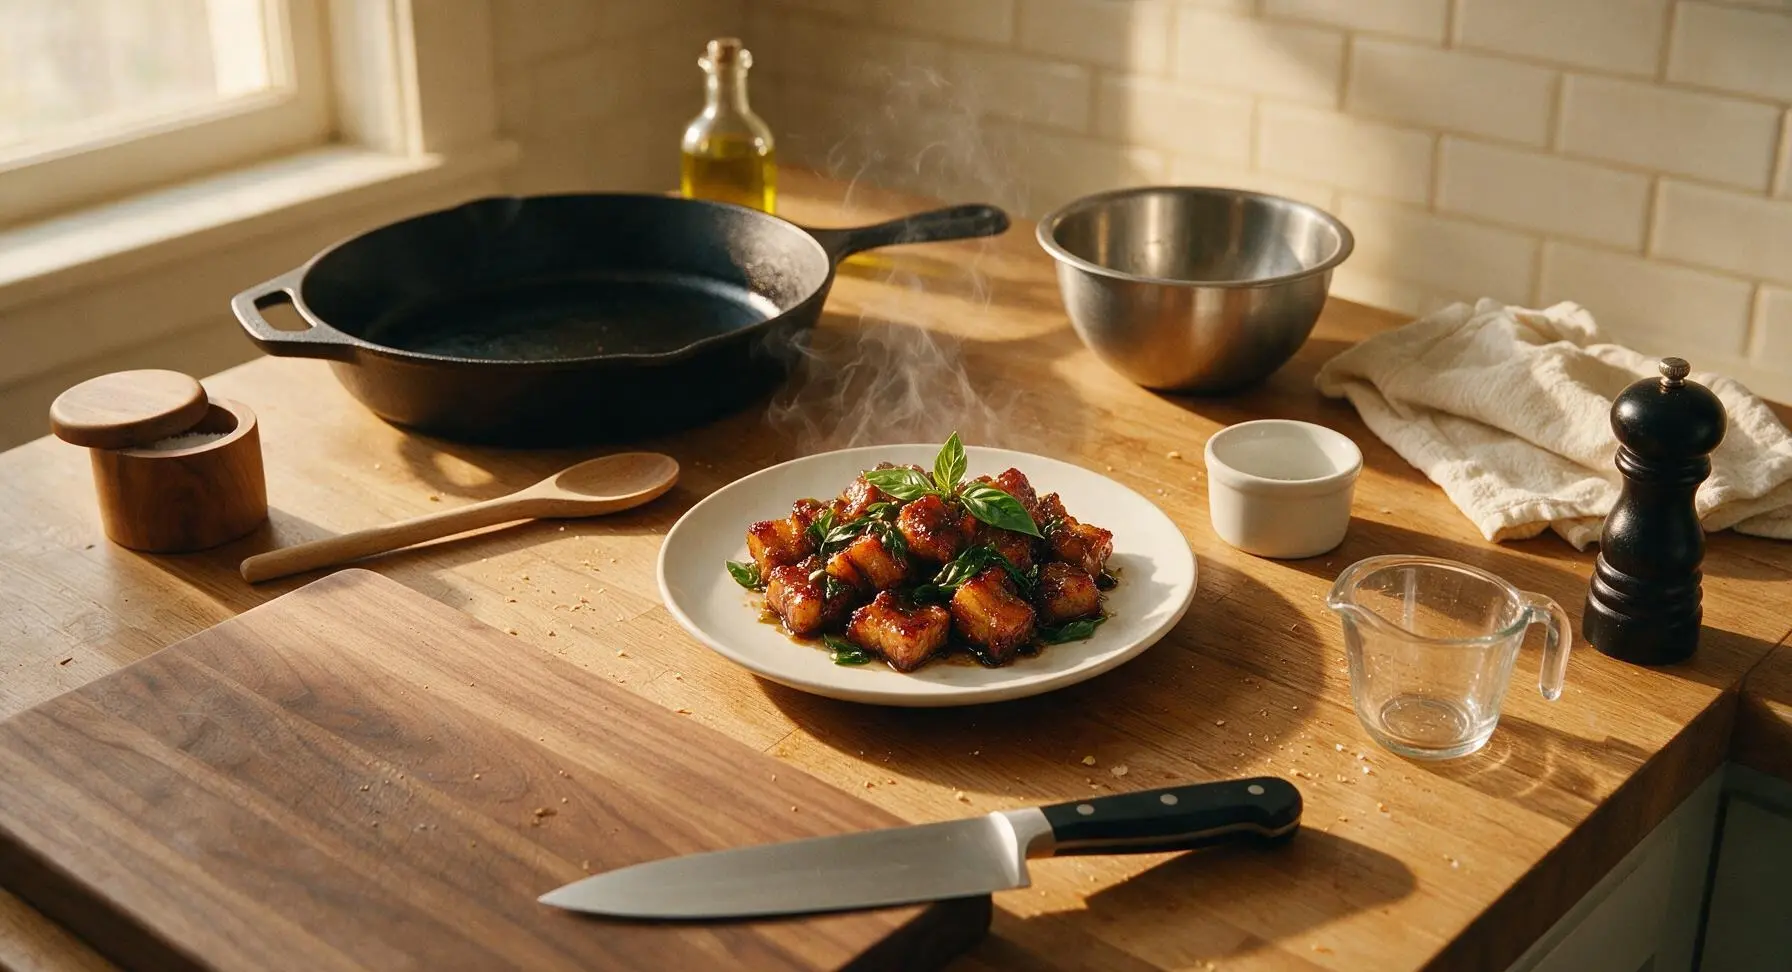
Smoky, caramelized pork belly burnt ends tossed in fiery, aromatic Thai basil sauce: sticky, savory, herbaceous, and made for summer backyard gatherings.
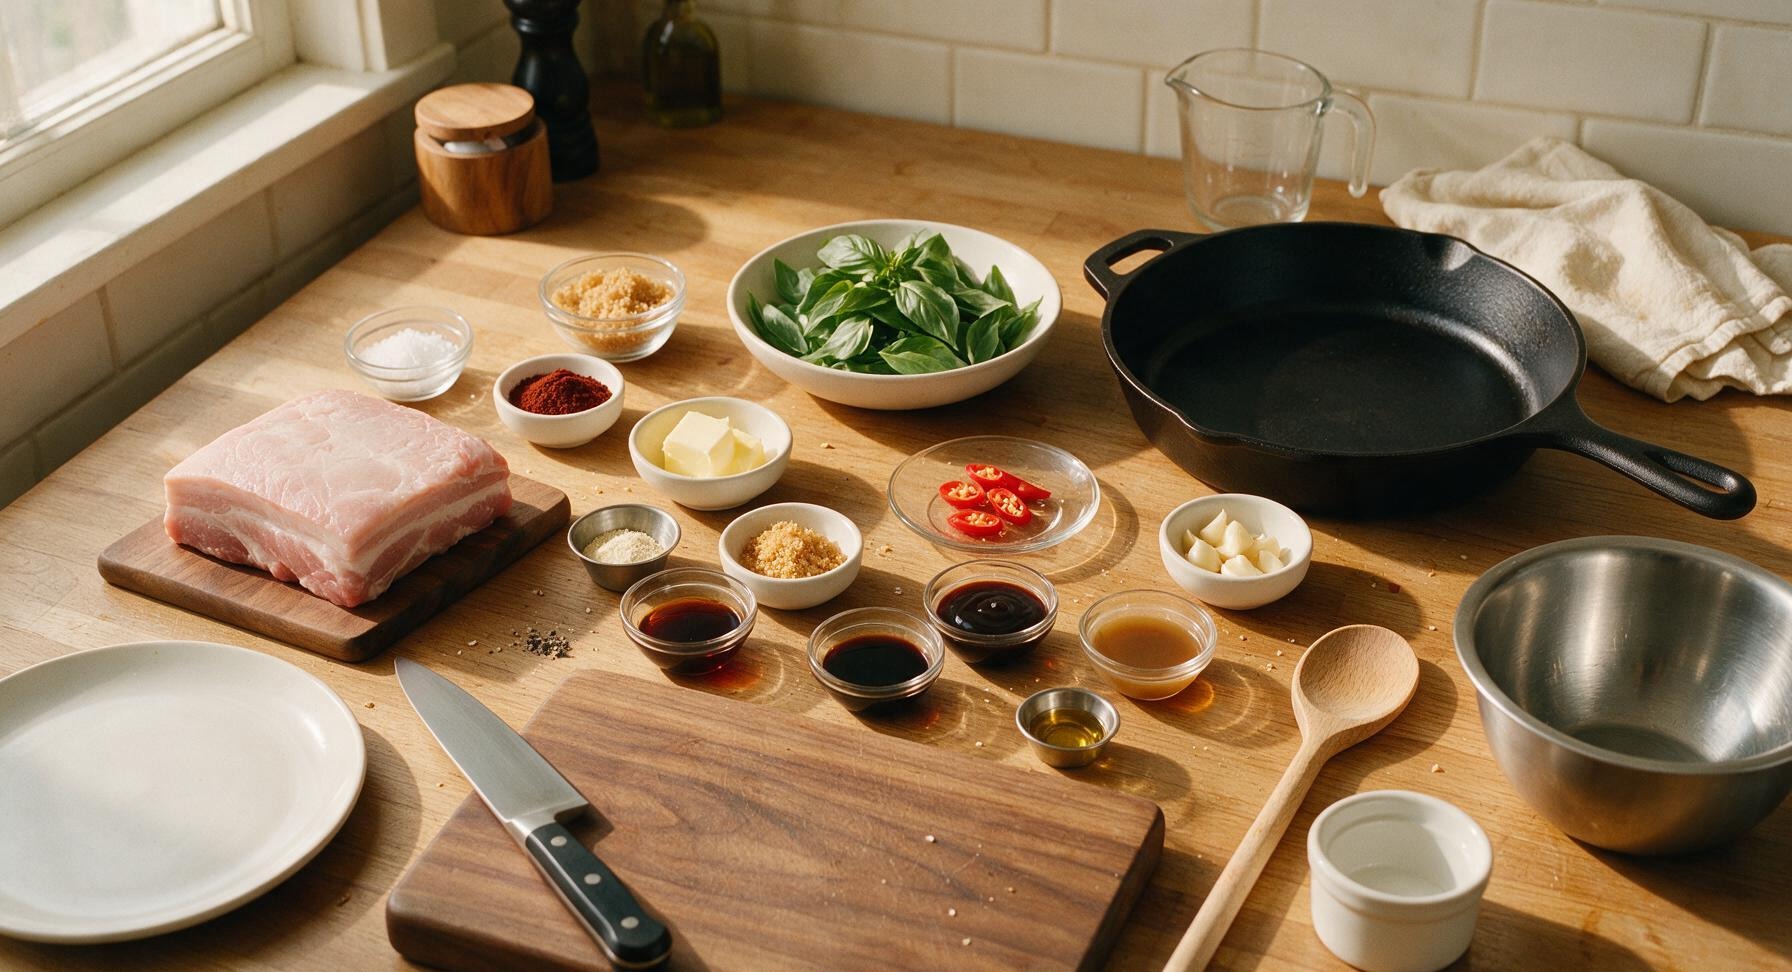
Ingredients
Steps
Cube Pork, Mix Rub
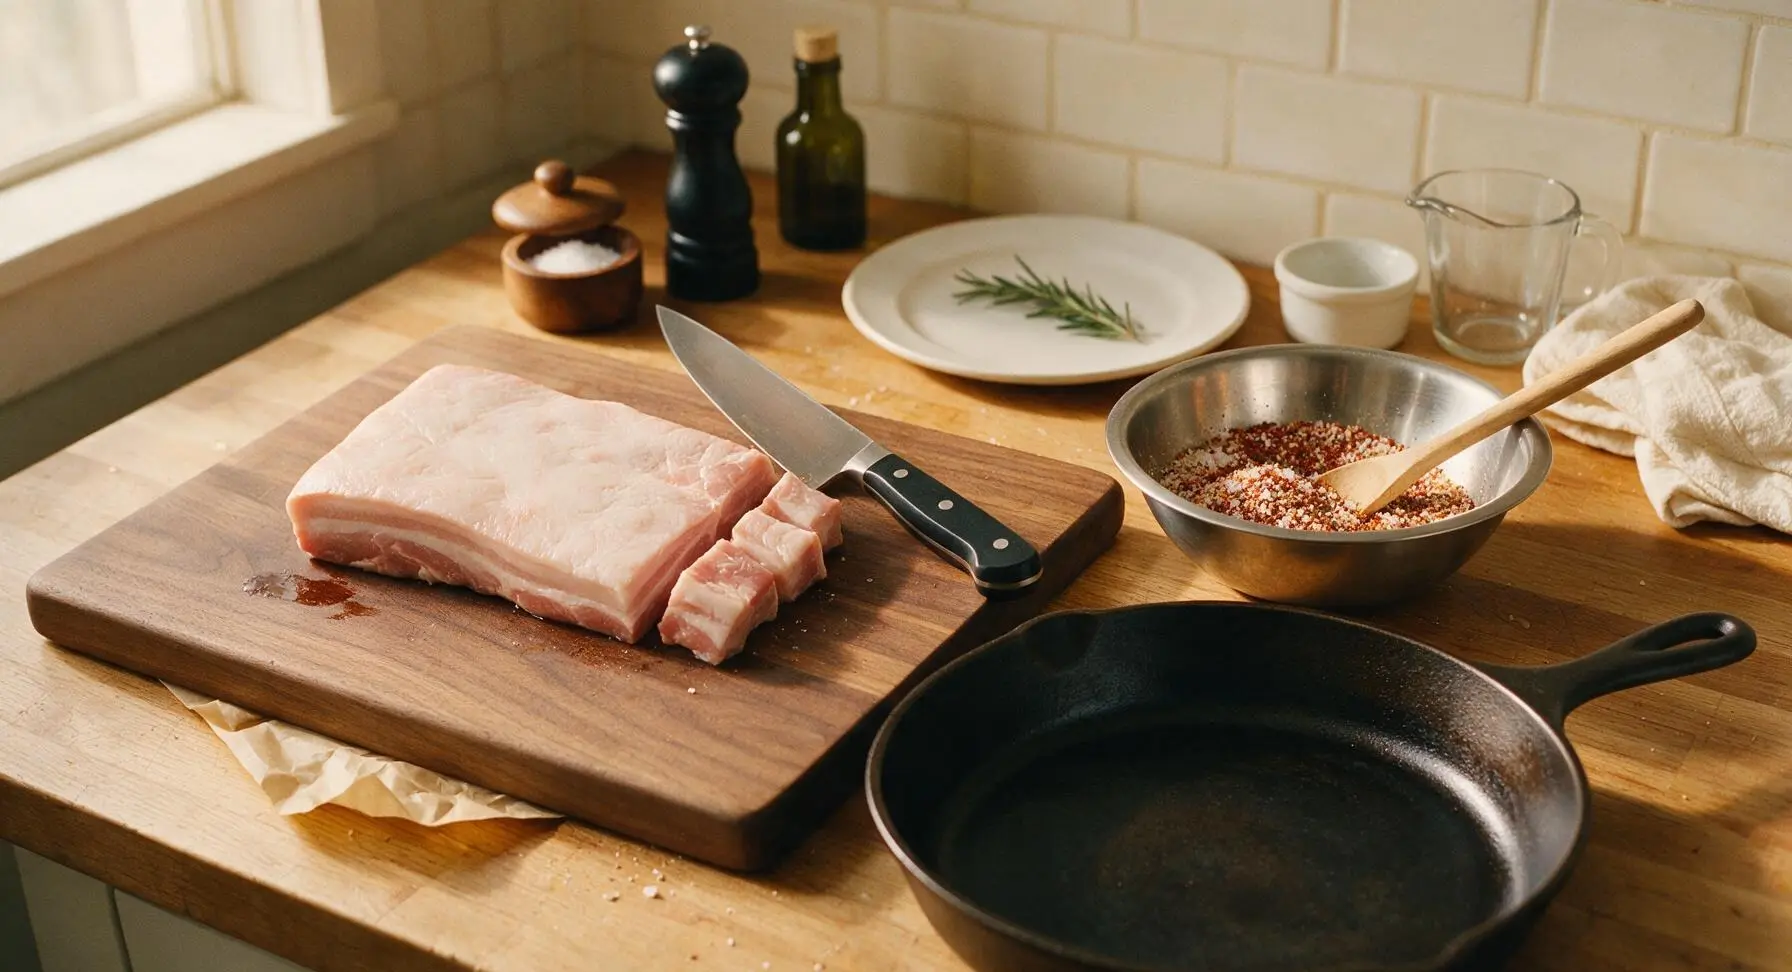
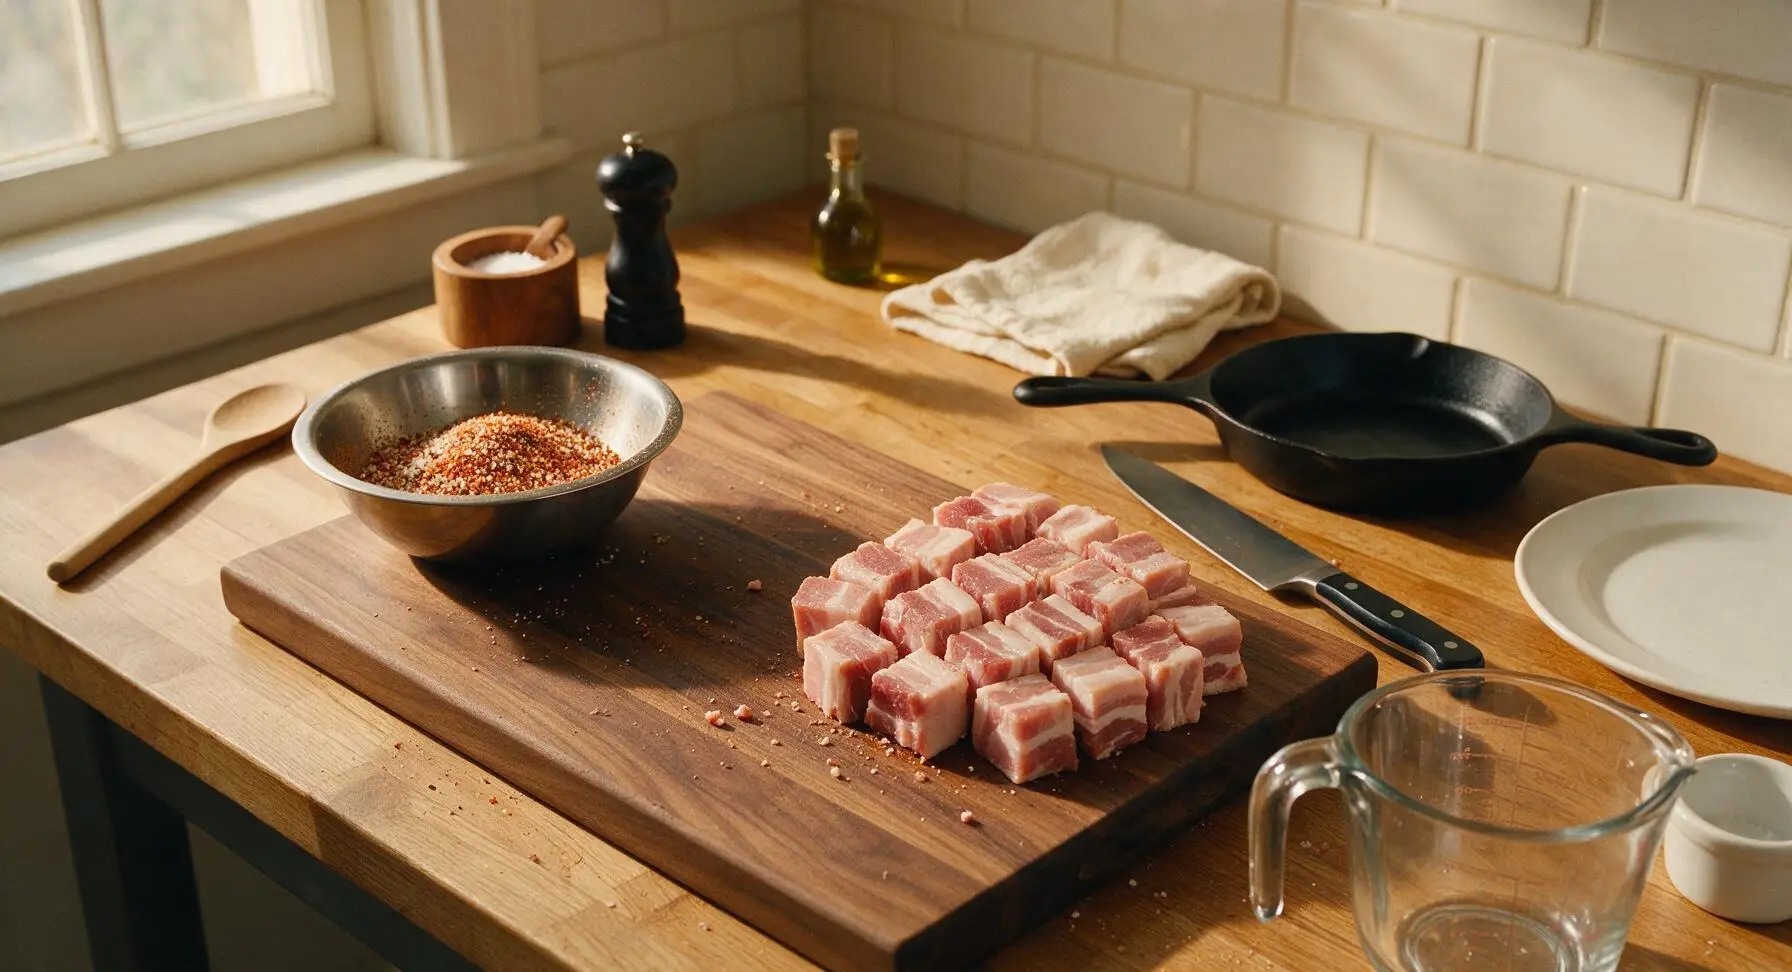
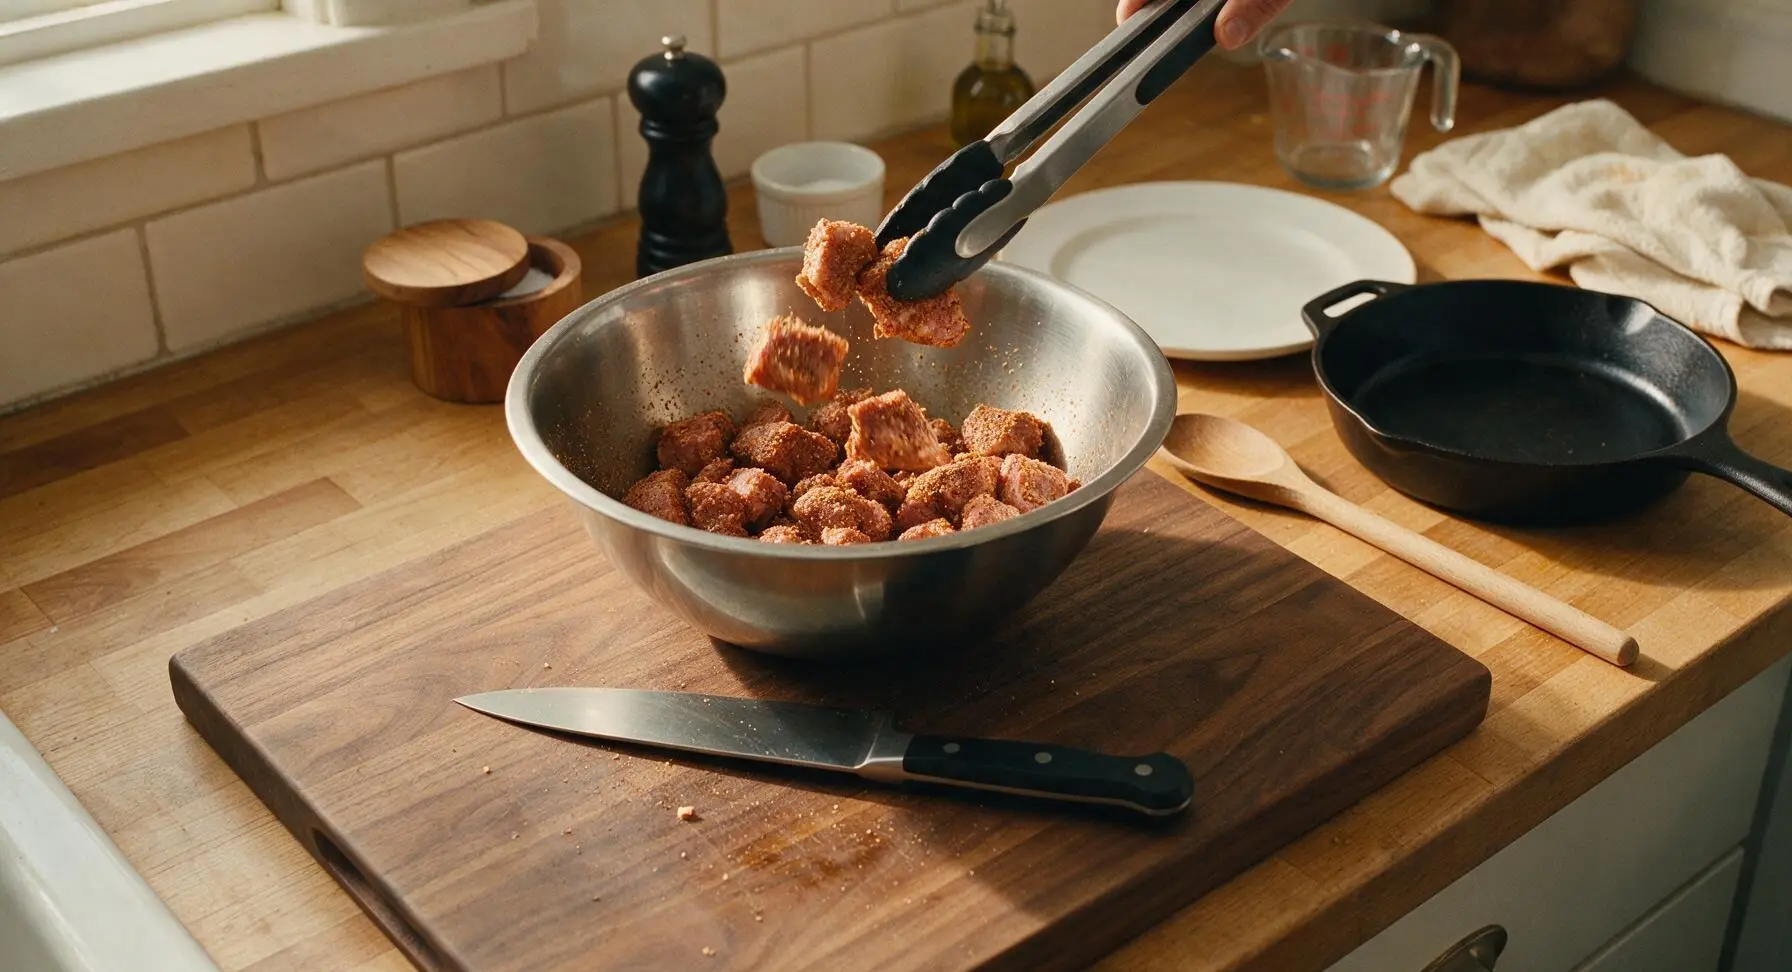
Pat the 1kg skinless pork belly completely dry with the linen towel, then set it on the acacia wood cutting board. Use the 8-inch chef knife to cut the pork into uniform 3cm cubes, trimming any hard, dense fat chunks as you work. In the 2-quart stainless steel mixing bowl, combine 1 tbsp kosher salt, 1 tbsp smoked paprika, 1 tsp garlic powder, and 1 tsp freshly ground black pepper, stirring to fully combine into an evenly colored, speckled dry rub.
Coat Cubes in Rub
Add all the cubed pork to the mixing bowl with the dry rub, tossing thoroughly with the silicone-tipped BBQ tongs until every cube is evenly coated on all sides, with no patches of bare pink meat visible. Let the seasoned cubes rest at room temperature for 15 minutes to allow the rub to adhere and form a tacky surface, while you preheat a charcoal grill to 120C (250F) for indirect cooking.
Braise Smoked Pork
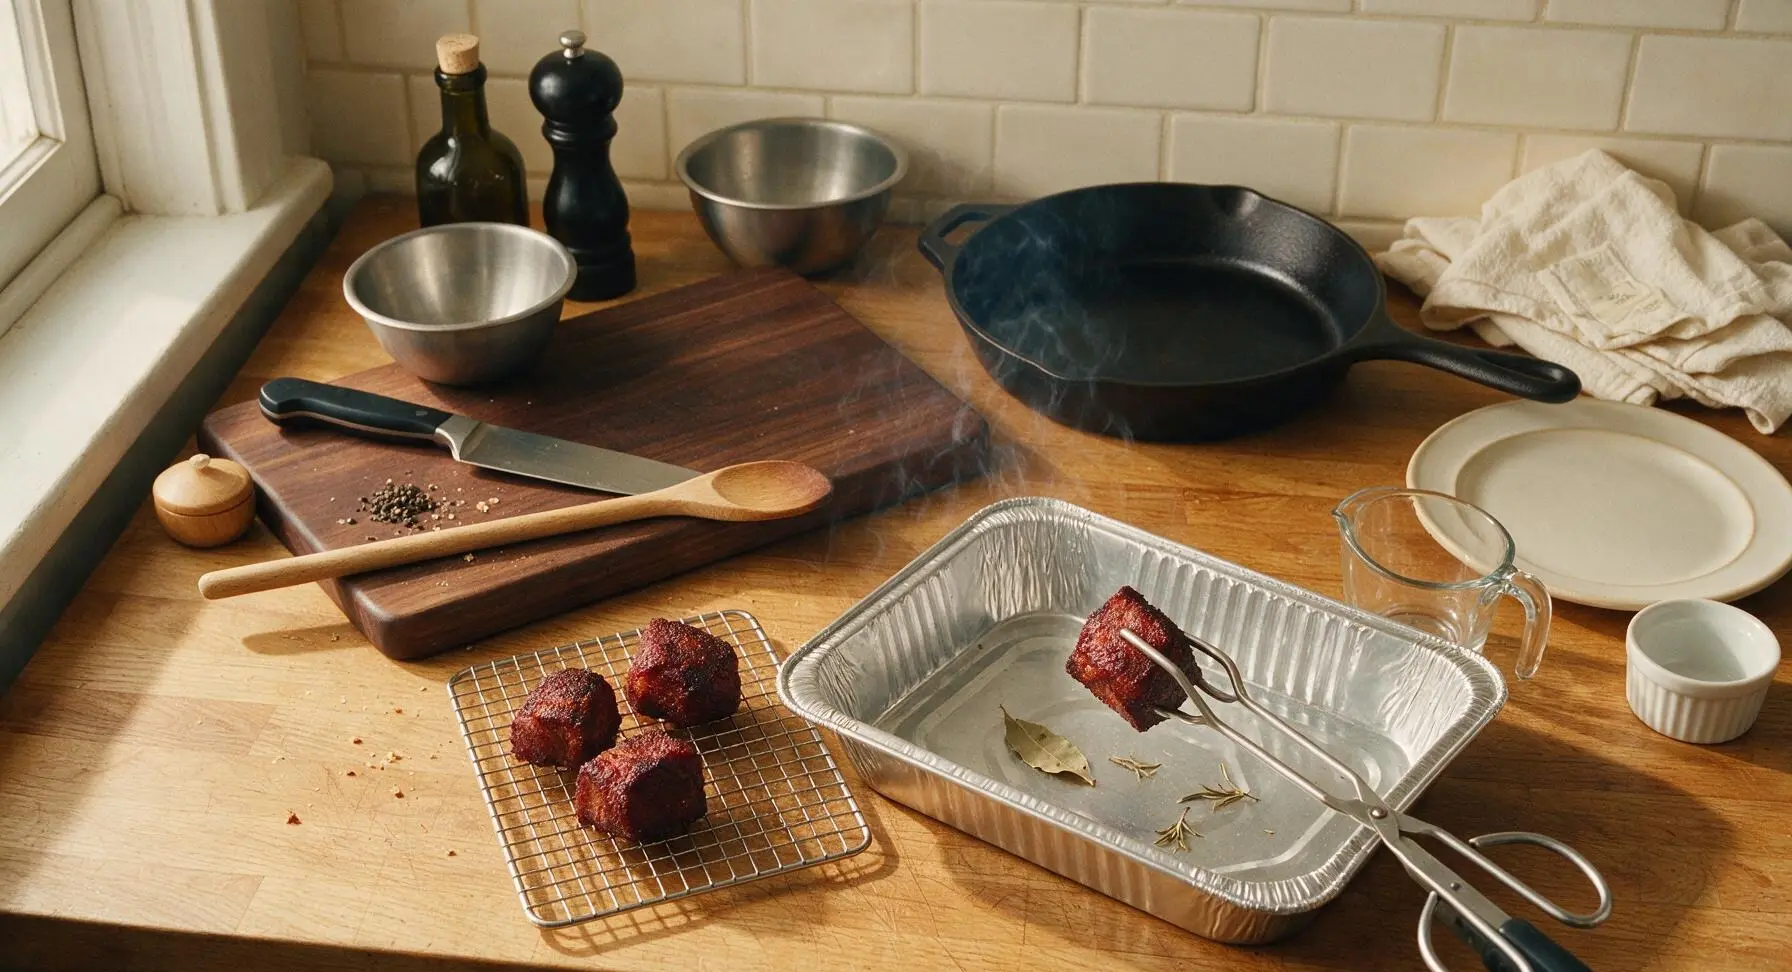
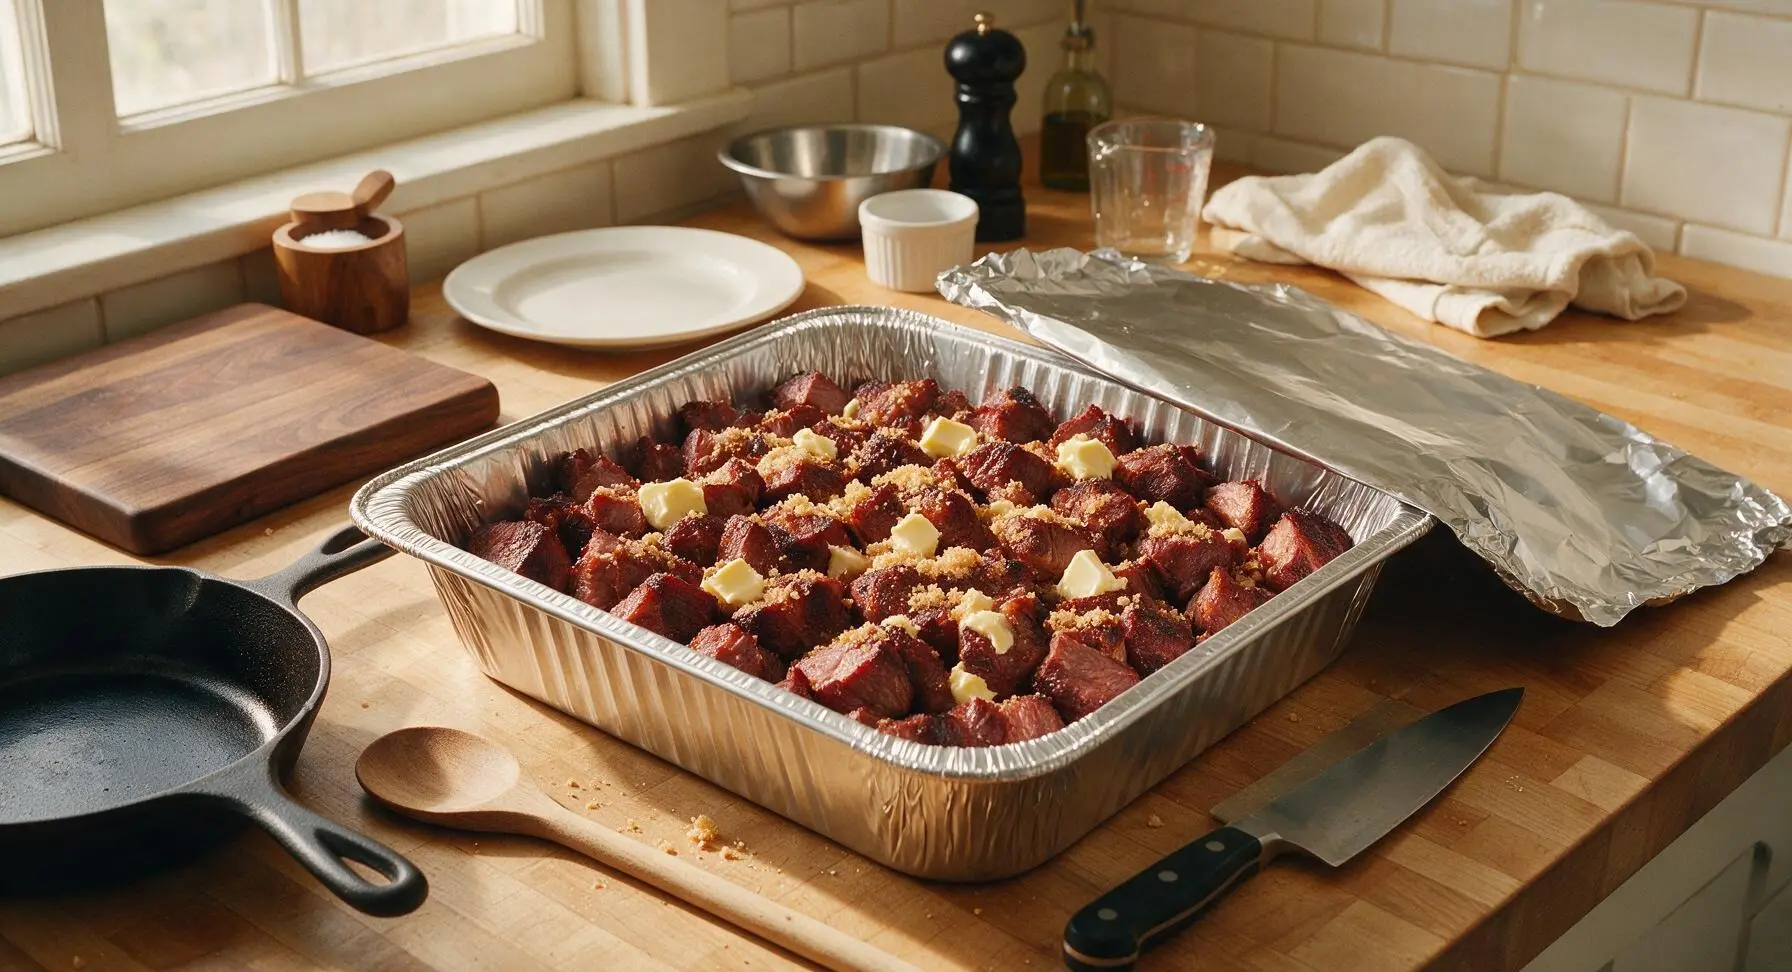
After 1 hour 45 minutes of slow smoking at 120C (250F) (with soaked hickory wood chips added for smoke), use the BBQ tongs to transfer the bark-covered, deep reddish-brown pork cubes back to the prep counter, placing them into the 9x13 inch heavy-duty aluminum foil pan. Add 2 tbsp of unsalted butter (cut into small pats) and 1 tbsp of grated palm sugar to the pan, tossing gently to coat the cubes. Cover the pan tightly with a double layer of heavy-duty aluminum foil, then return it to the grill’s indirect heat to braise for 30 minutes at 135C (275F). Test for doneness with the digital thermometer: the probe should slide into the pork with no resistance, like soft butter, when fully tender.
Make Basil Sauce
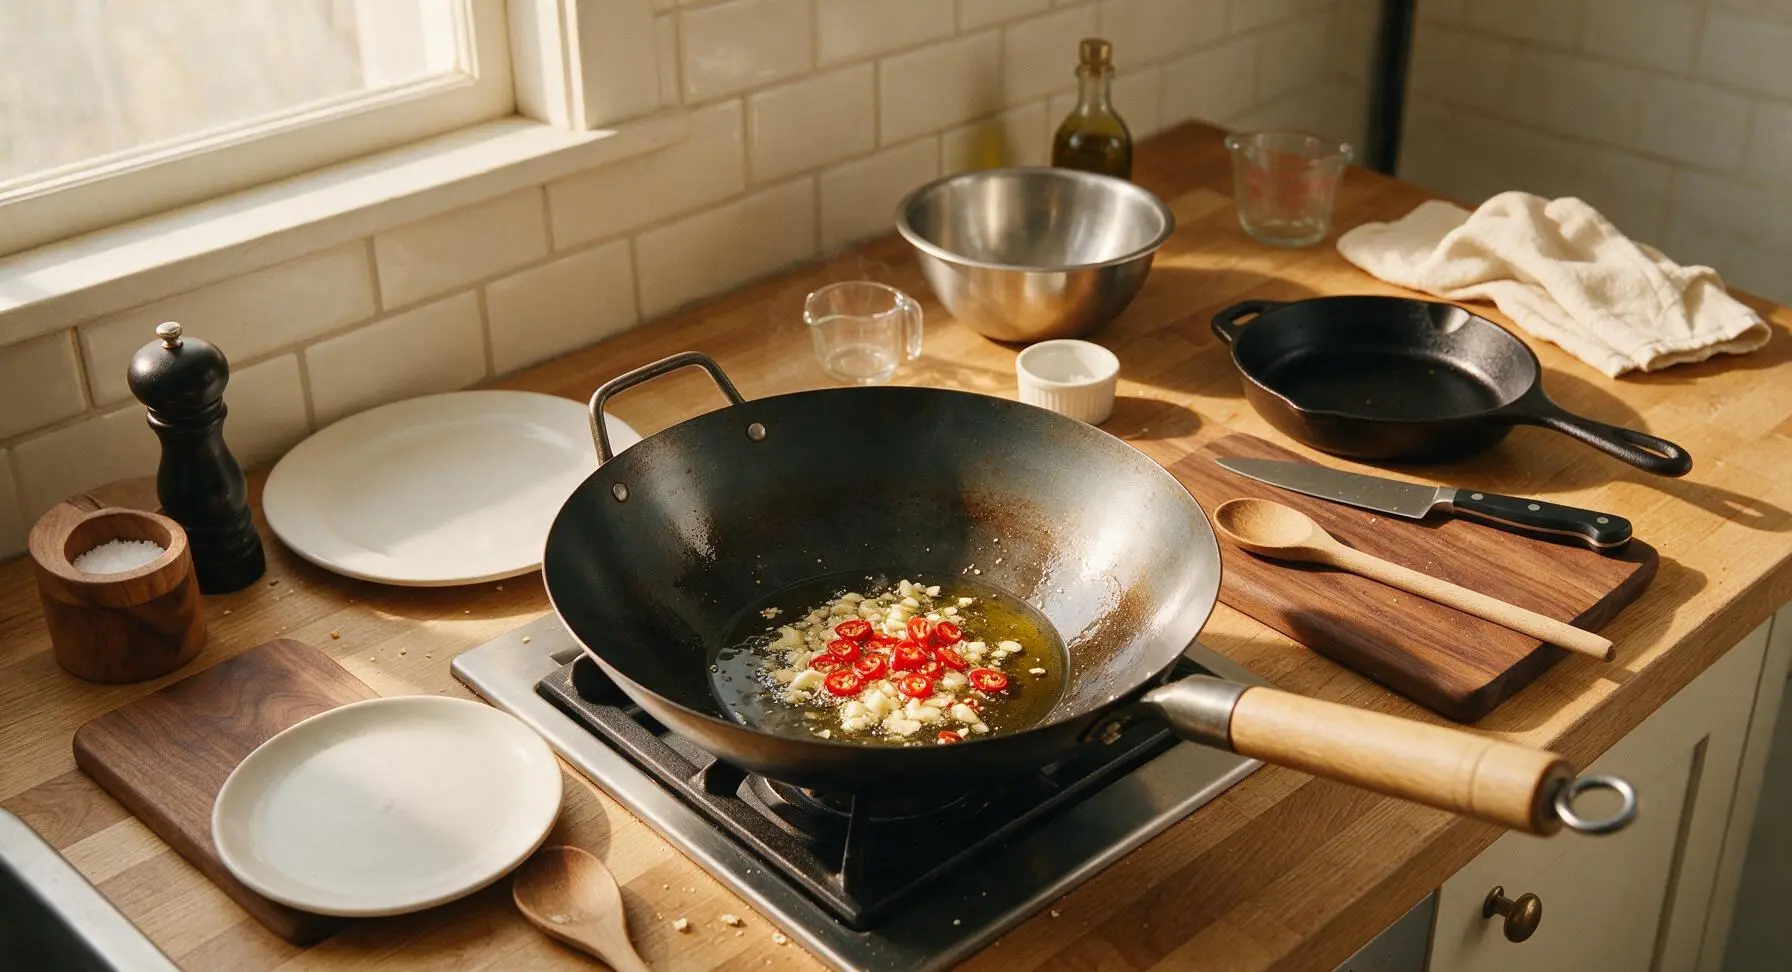
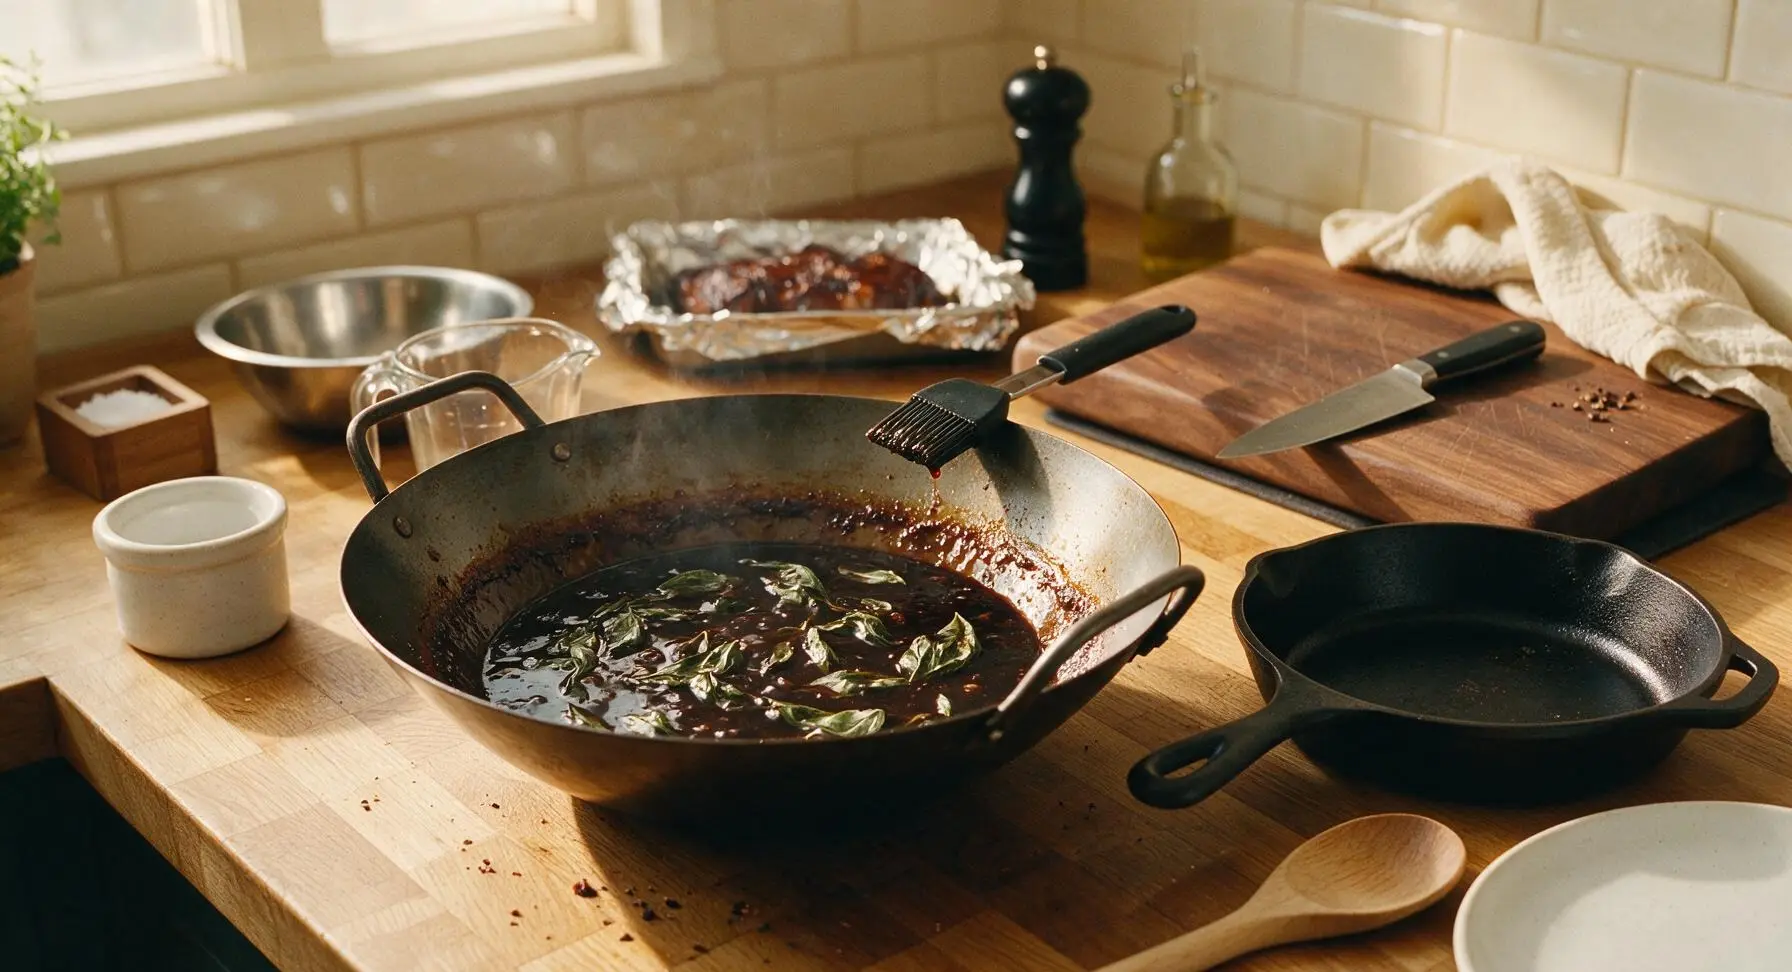
While the pork braises in the covered foil pan, heat the 10-inch seasoned carbon steel wok over medium heat on the counter’s built-in side burner. Add 1 tsp toasted sesame oil, then sauté the 6 crushed garlic cloves and 3 sliced bird’s eye chilies for 30 seconds until fragrant, taking care not to burn the garlic (it will turn bitter if browned too darkly). Add 2 tbsp fish sauce, 1 tbsp oyster sauce, 1 tbsp low-sodium soy sauce, and the remaining 2 tbsp of grated palm sugar, stirring for 1 minute until the sugar fully dissolves into a glossy, dark, thick sauce. Remove the wok from direct heat, then stir in 1/4 cup of loosely packed Thai basil leaves until just wilted.
Toss Ends in Sauce
After the 30-minute braise, carefully remove the hot foil pan from the grill (the pork will be fork-tender, with caramelized edges where butter and sugar melted). Use the BBQ tongs to transfer all braised pork cubes into the wok with the warm Thai basil sauce. Add the remaining 3/4 cup of fresh Thai basil leaves, then toss vigorously with the tongs for 1 minute until every cube is fully coated in glossy sauce, and the fresh basil is just slightly wilted from the pork’s heat. Use the silicone basting brush to dab excess sauce from the bottom of the wok onto any dry, uncoated spots on the cubes.
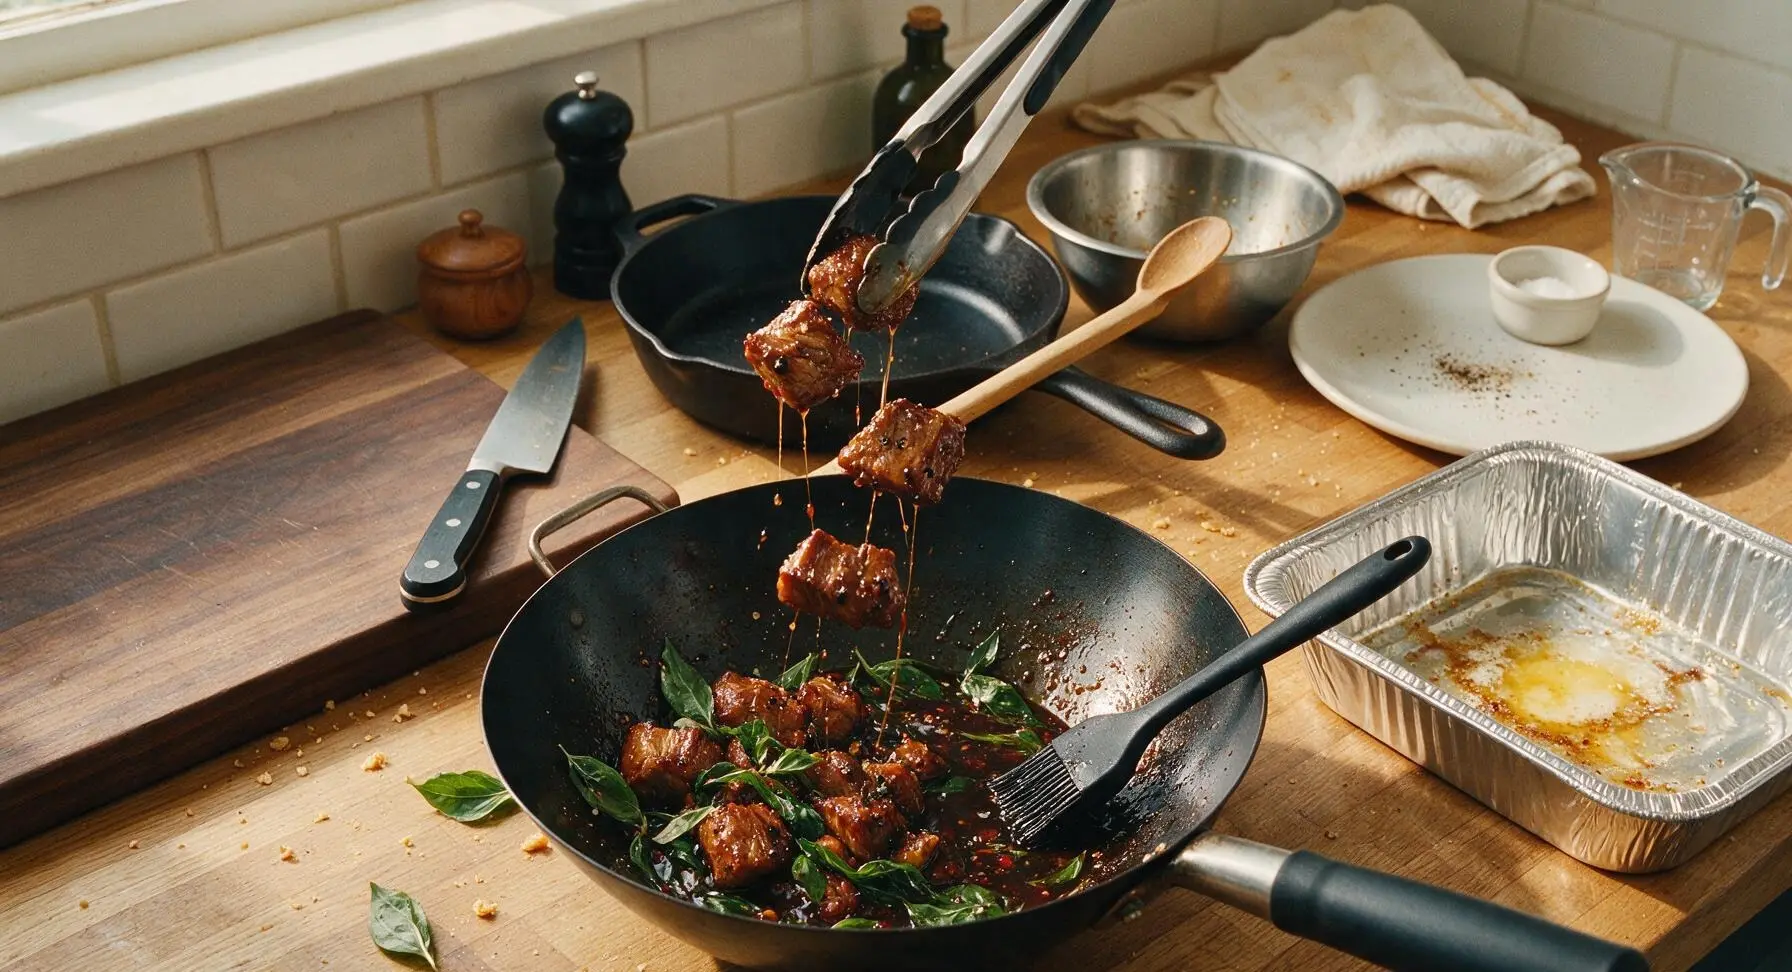
Plate and Garnish
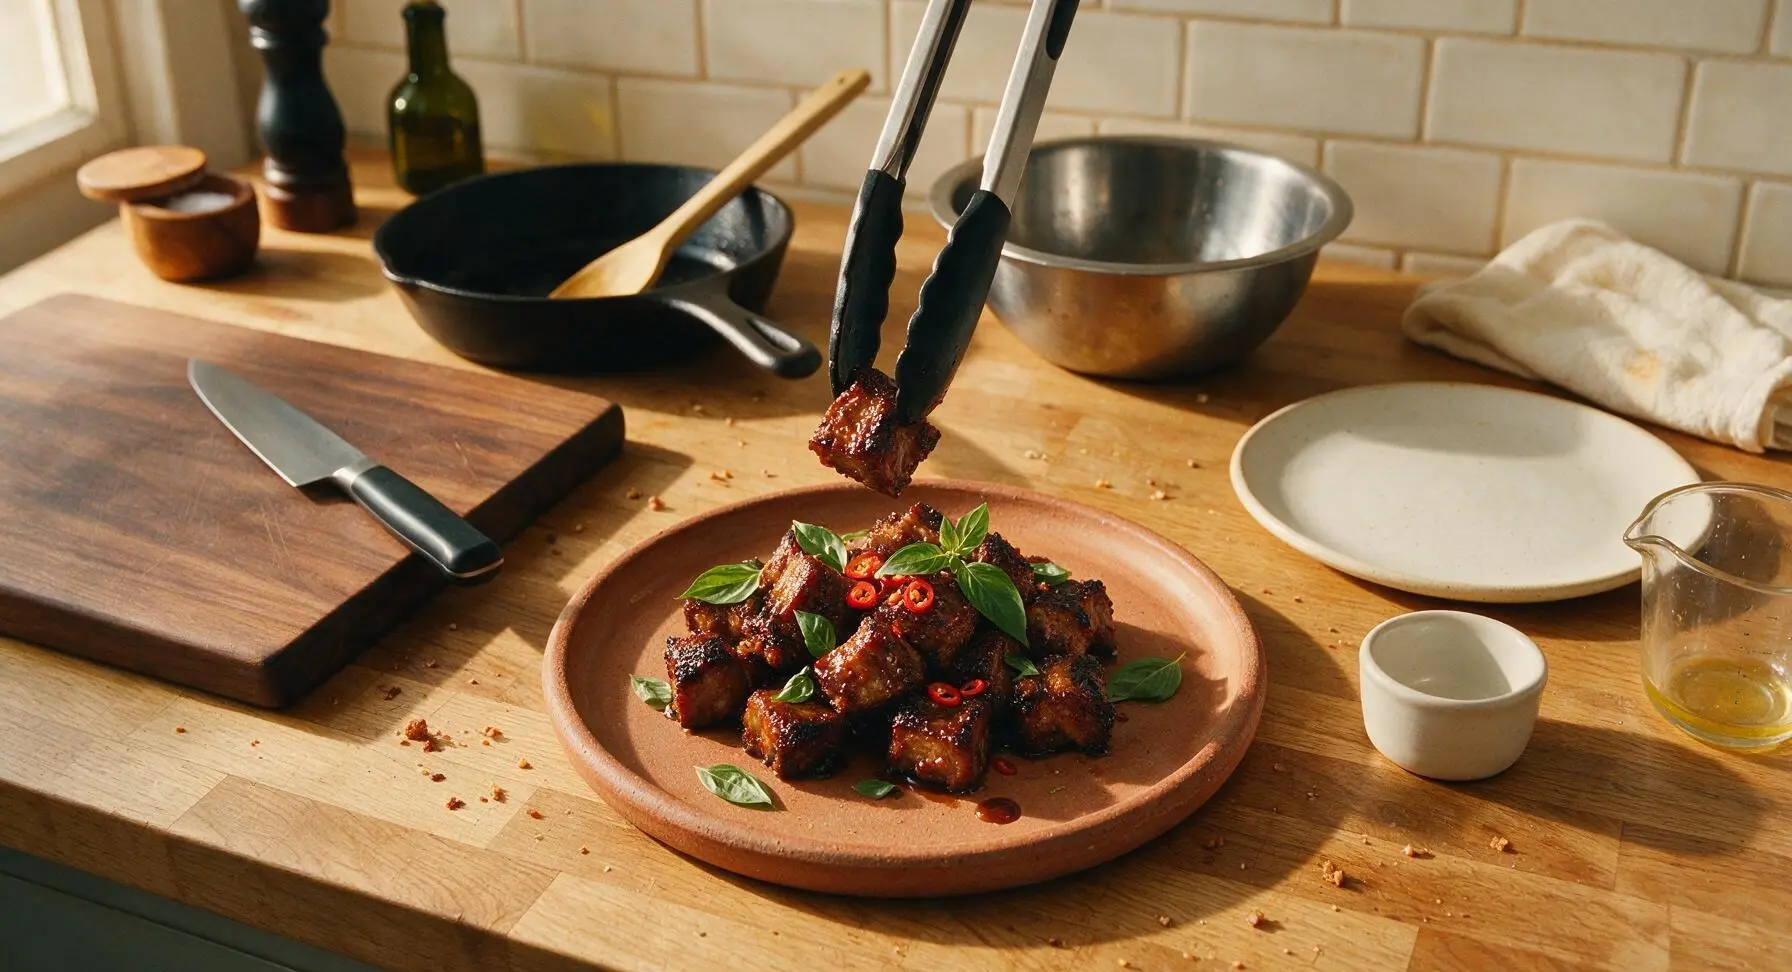
Transfer all the sauced burnt ends from the wok onto the matte terracotta serving platter, piling them loosely in the center. Drizzle any remaining sauce from the wok over the top of the pile, then garnish with a handful of extra whole Thai basil leaves and a pinch of thinly sliced bird’s eye chili for bright color. Let the burnt ends rest for 3 minutes before serving, to allow the sauce to set and cling to the bark.
Tips
2.Add the majority of fresh Thai basil off-heat when tossing with hot pork: cooking basil for longer than 30 seconds over high heat will turn the leaves black, bitter, and mushy, rather than keeping their bright, peppery anise flavor and vivid green color.
3.Resist the urge to serve immediately after tossing: letting the burnt ends rest for 3 minutes allows the sticky sauce to thicken and cling to the crispy bark instead of running off onto the platter, and gives the rendered pork fat time to settle for a balanced, non-greasy bite.






OMG these Thai Basil Burnt Ends are a GAME CHANGER. I made them for my Sunday football watch party and every single person asked for the recipe. The balance of sweet, savory, and that little basil kick? *Chef’s kiss* I was worried the 2+ hour cook time would be a pain but it was so worth every minute. 10/10 will make again for my next potluck.
Really tasty! My kids went back for seconds which is basically a miracle in my house because they turn their nose up at anything “too spicy”. I cut the chili amount by half to make it kid-friendly and it still had so much depth of flavor. Only reason I’m not giving 5 stars is I messed up the first batch of the sauce because I didn’t read the note about low heat, oops. Definitely going to nail it next time!
SO good. I meal prepped a big batch of these on Sunday and ate them all week with rice and roasted veggies. They held up way better than I thought they would in the fridge! I used pork belly instead of brisket because that’s what I had on hand and it still slapped. Anyone else tried swapping the protein?
I was intimidated because the difficulty says medium and I’m basically a beginner who can usually only make mac and cheese, but this recipe was so easy to follow! The steps were super clear, and I even impressed my roommates when I made these for our dinner night. They thought I ordered takeout from the fancy Thai place downtown lmao. Worth every second of cook time, no cap.
These were solid, but I felt like they were missing a little something for my taste. I added a squeeze of extra lime at the end and a tiny bit of fish sauce to amp up the umami, which helped a lot. Cook time was spot on though, the burnt ends had the perfect crispy char on the outside. Might try them again with my tweaks next time.
Made these for my family dinner last night and my husband who swears he “doesn’t like fusion food” ate THREE helpings. I served them with coconut rice and stir fried veggies on the side, and it was the perfect spread. The Thai basil aroma filled the whole house while these were cooking, it smelled heavenly. 10/10, adding this to our regular rotation!
Great recipe! I smoked the brisket point for an extra hour before cubing it up for the burnt ends, which gave it that classic deep smoke flavor that paired so well with the Thai basil sauce. My only note is that the sauce reduced way faster than I expected on my stove, so I had to pull it a couple minutes early to keep it from getting too thick.
Made these for my at-home date night with my partner last night and we both agreed it was better than our favorite local Thai restaurant! I paired it with a crisp riesling which cut the heat perfectly, and we even had leftovers for lunch today. The recipe instructions were so straightforward, even for a medium-difficulty cook. 10/10, will be making this for our next dinner party too.
I’ve made a lot of burnt end recipes in my day, but this Thai basil twist is easily top 3. The caramelization on the ends when you toss them in that sauce? Unreal. I cooked these on my Weber kettle and they came out perfect, no fancy smoker needed even. Don’t sleep on this recipe, folks.