
Thin Mint Cookies
intro
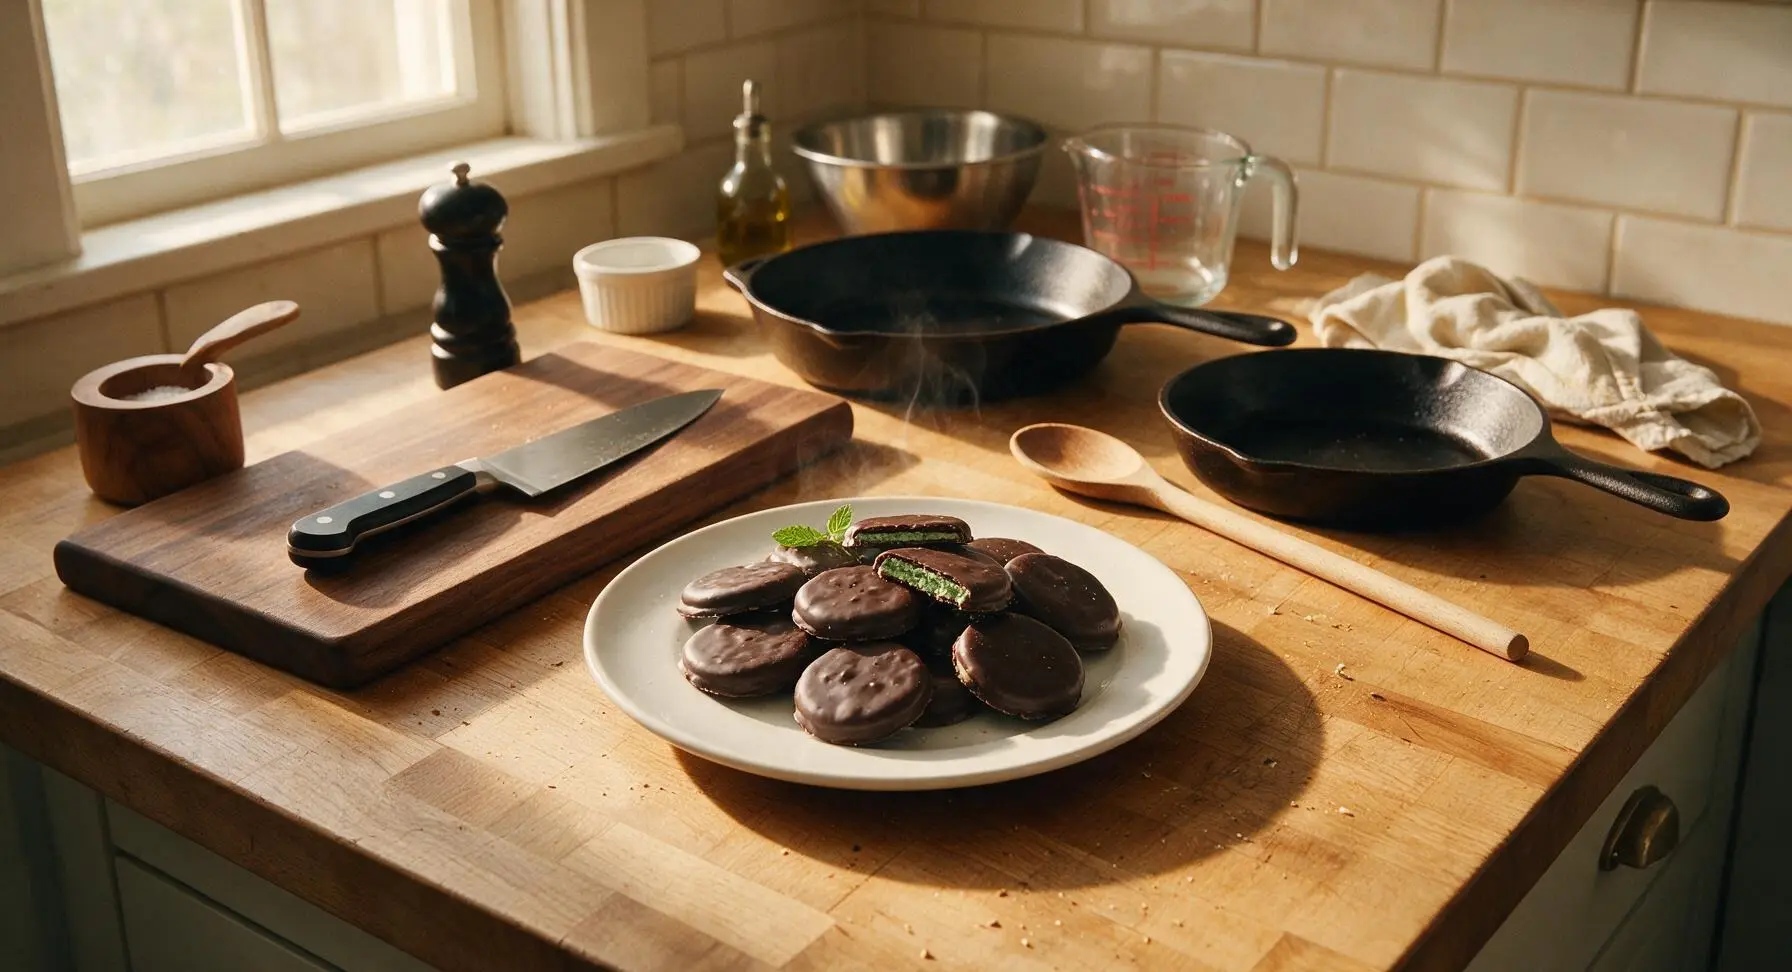
Crisp, cool chocolate-mint wafers enrobed in snappy dark chocolate—this copycat of the iconic Girl Scout Thin Mint is crunchy, perfectly minty, and endlessly snackable.
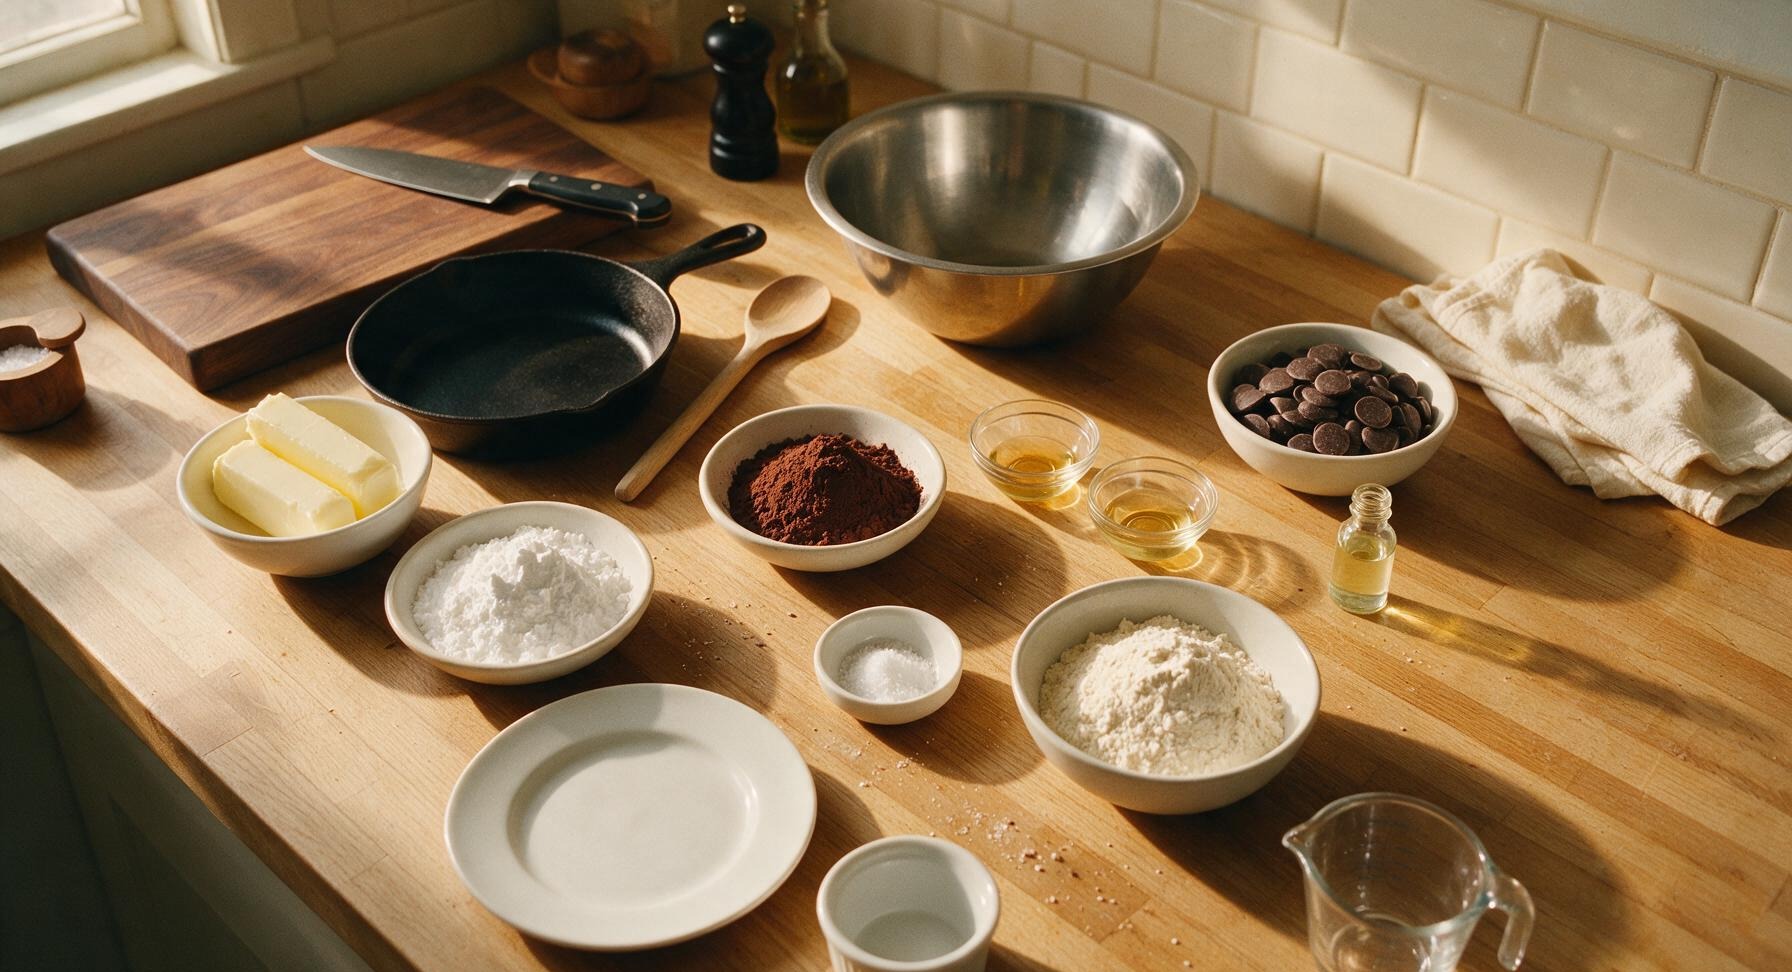
Ingredients
Steps
Cream Butter and Sugar
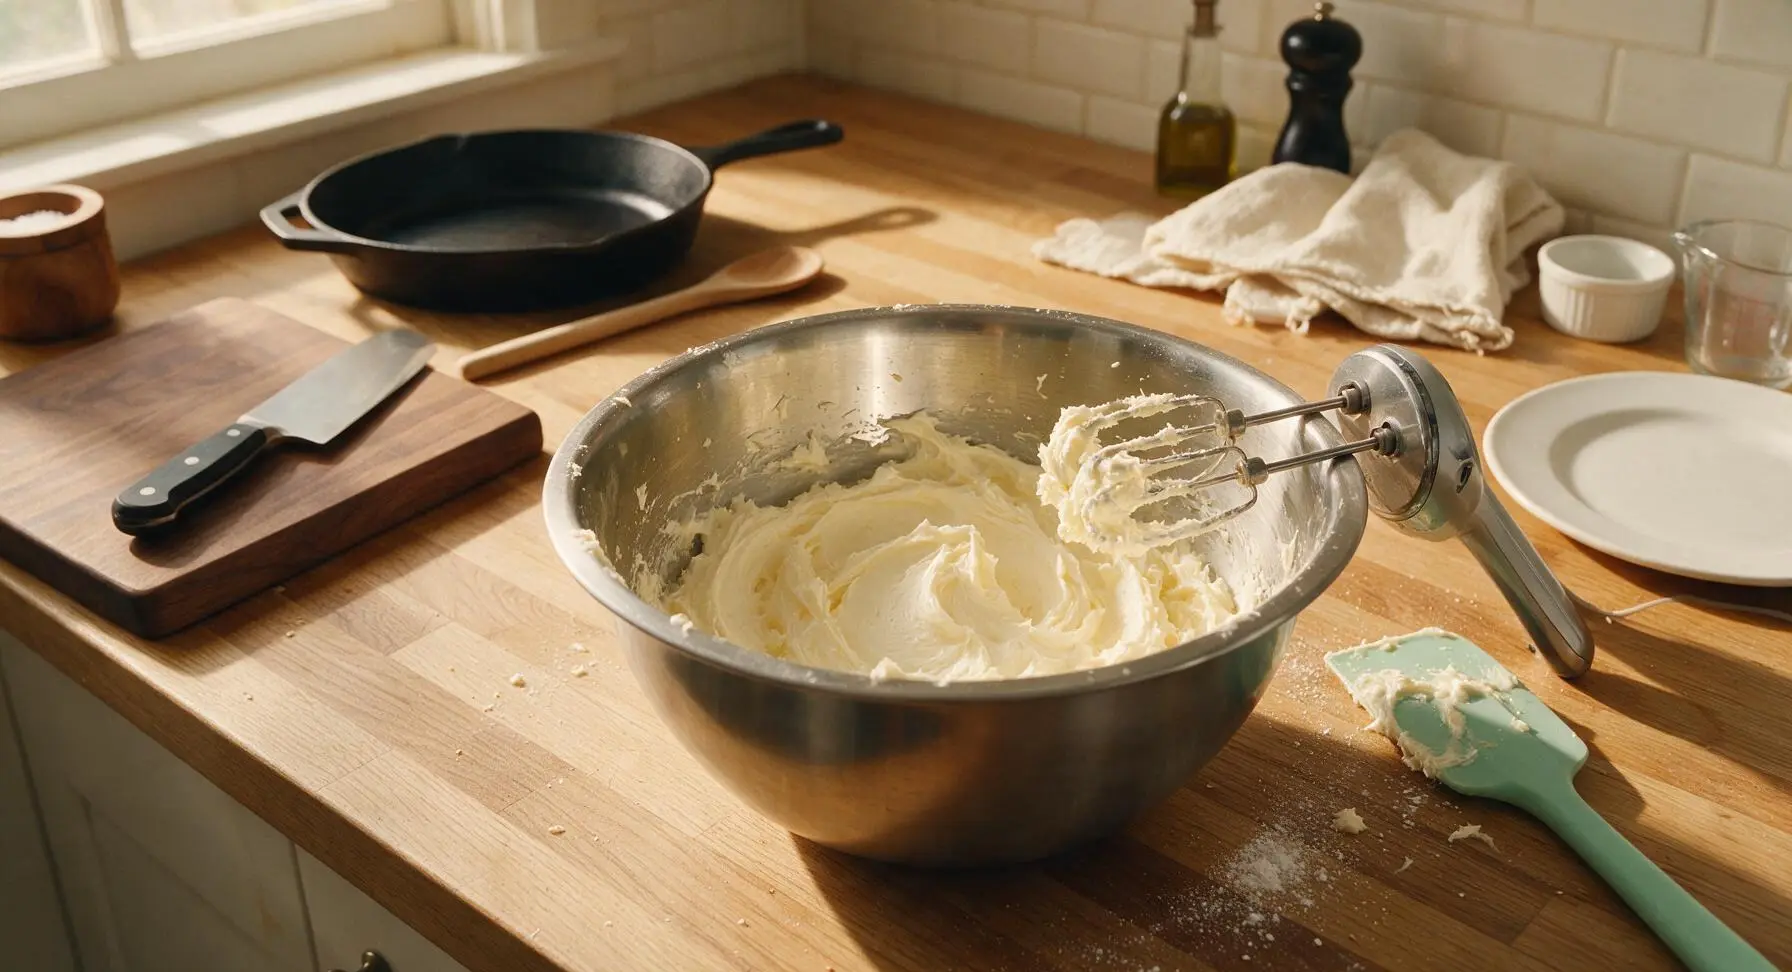
Place room-temperature unsalted butter into the large stainless steel mixing bowl. Using the electric hand mixer on medium speed, beat the butter for 1 minute until smooth and pale, with the consistency of soft mayonnaise. Add powdered sugar, then beat on medium-low speed for 2 minutes until light and fluffy, scraping down the bowl sides halfway through with the mint green silicone spatula to eliminate lumps. Avoid overbeating, as excess air will cause cookies to spread excessively while baking.
Mix Cookie Dough
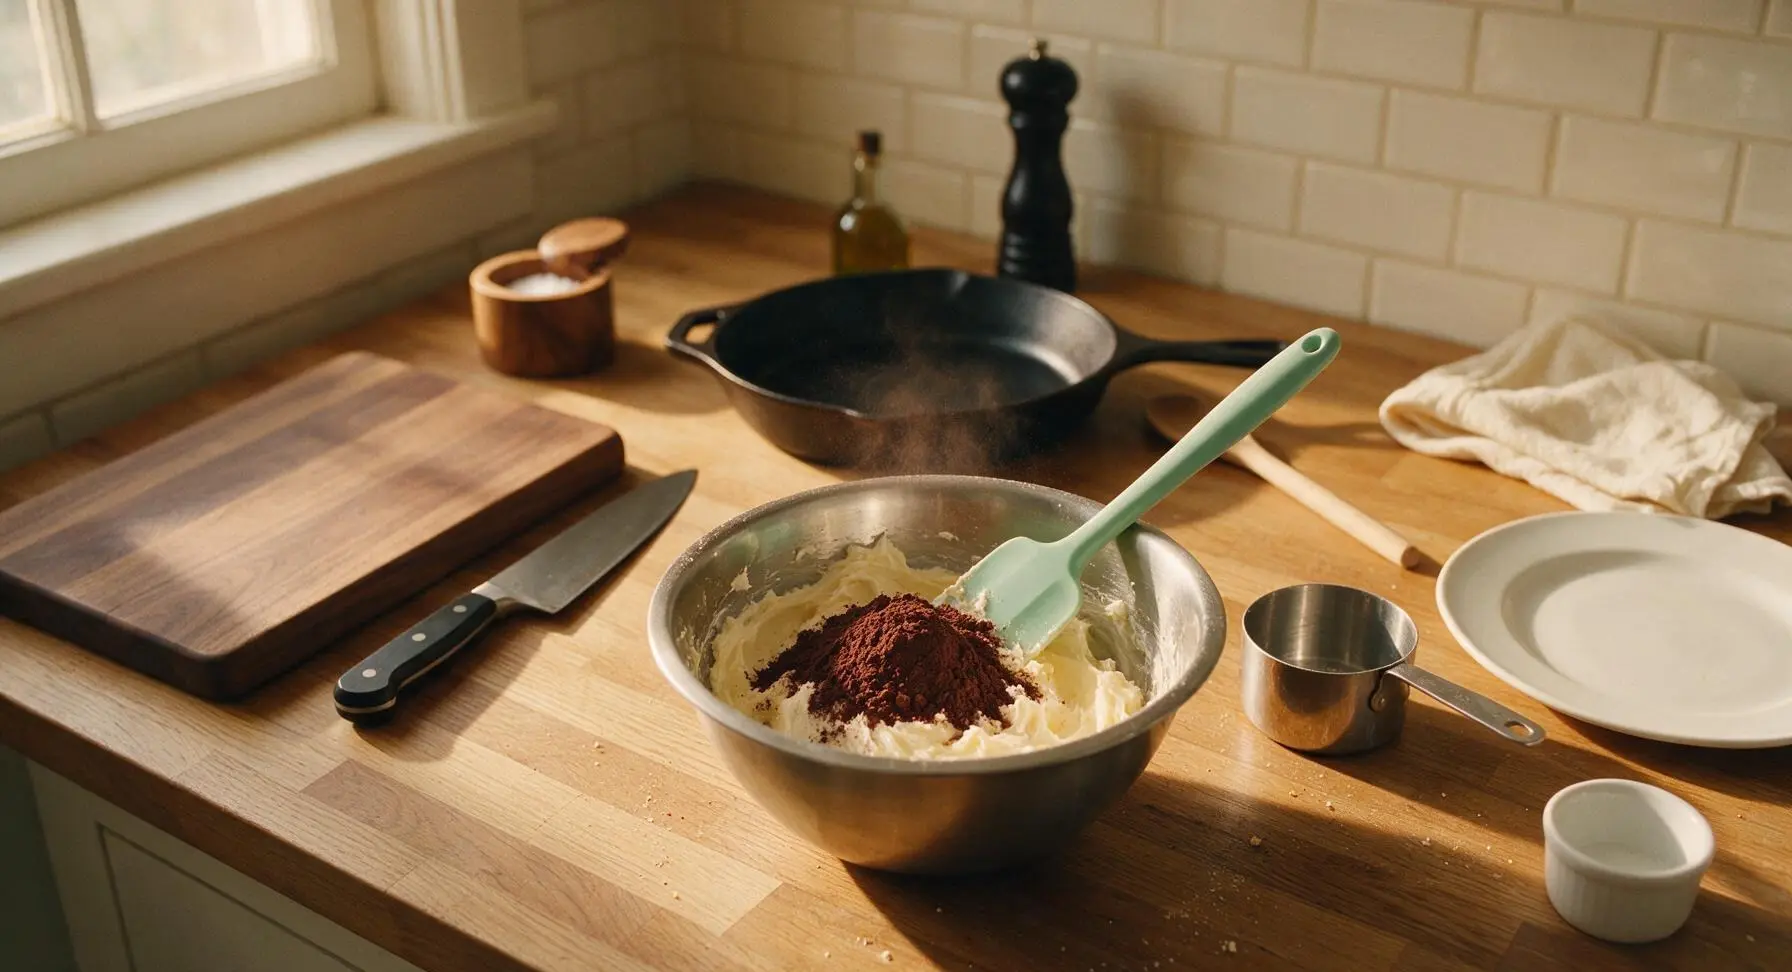
Add Dutch-process cocoa powder, peppermint extract, vanilla extract, and fine sea salt to the creamed butter mixture. Beat on low speed for 30 seconds until cocoa is fully incorporated with no dry streaks remaining. Add all-purpose flour in two equal additions, mixing on the lowest speed just until no dry flour is visible; the dough will form a firm, dark brown mass that pulls cleanly from the bowl sides. Do not overmix, as this will develop gluten and result in tough, dense cookies.
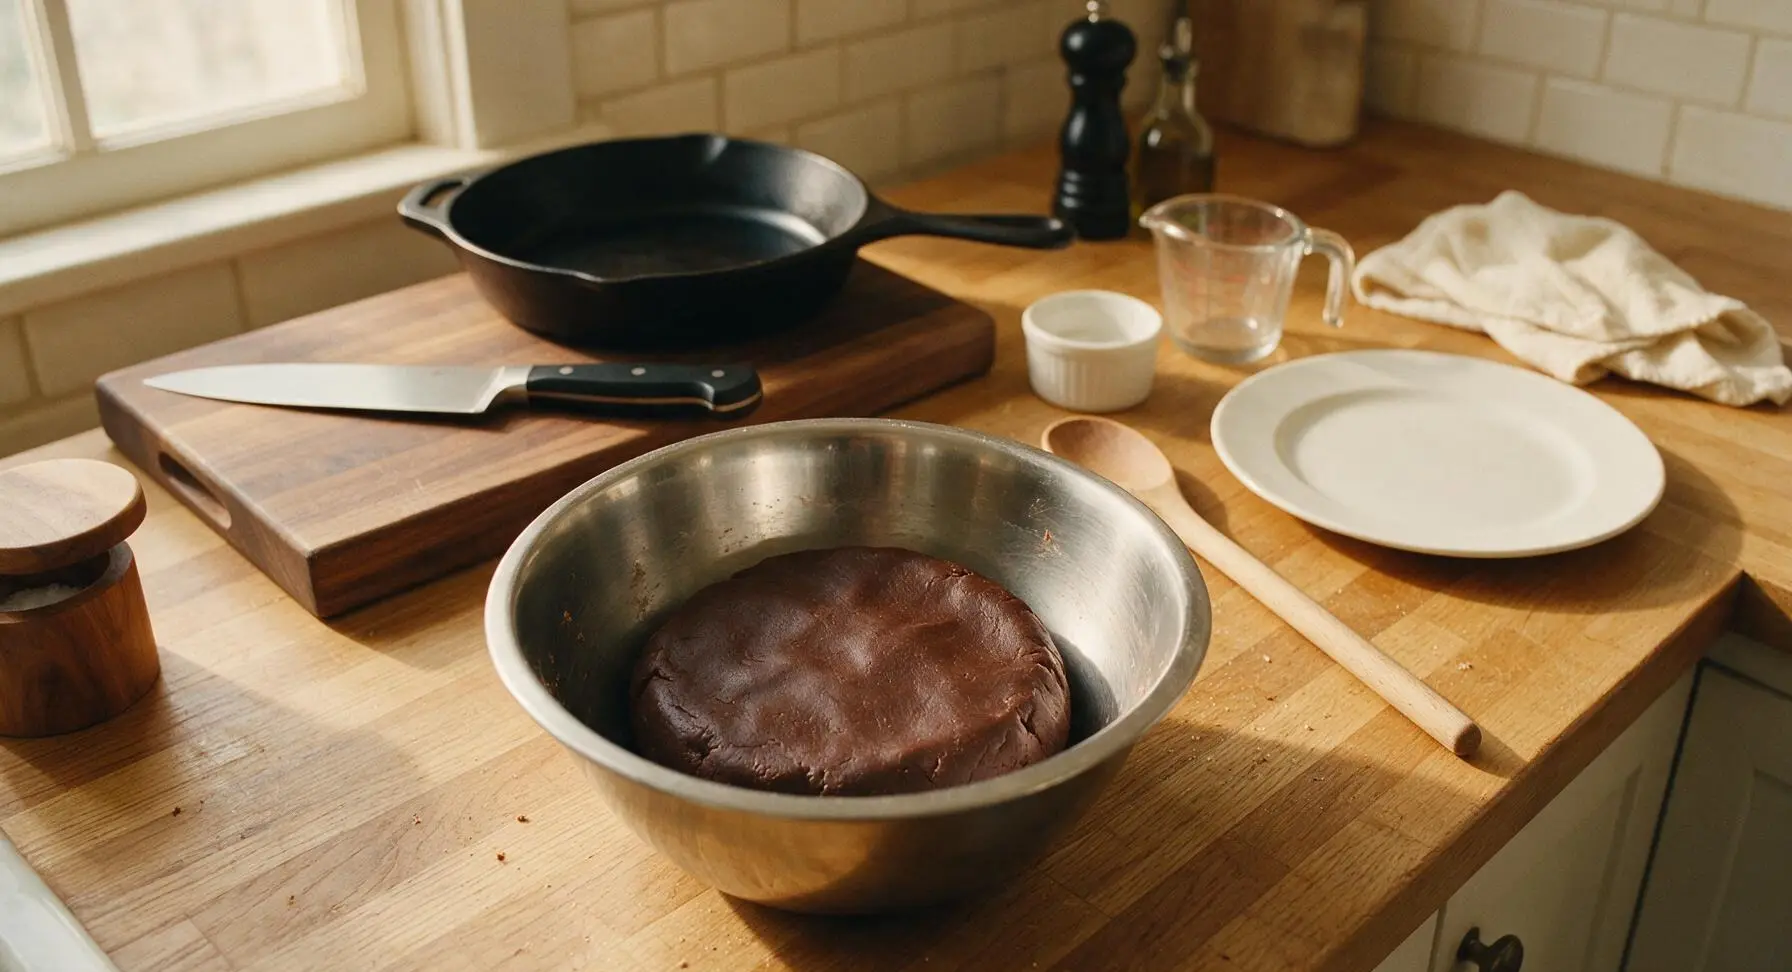
Chill Dough Thoroughly
Turn the dough out onto a sheet of unbleached tan parchment paper, pat into a 2cm thick flat disk, wrap tightly in the parchment, and refrigerate for a minimum of 2 hours (or up to 3 days) until completely firm. Chilling solidifies the butter in the dough, which is critical to prevent cookies from spreading and losing their thin, crisp shape during baking.
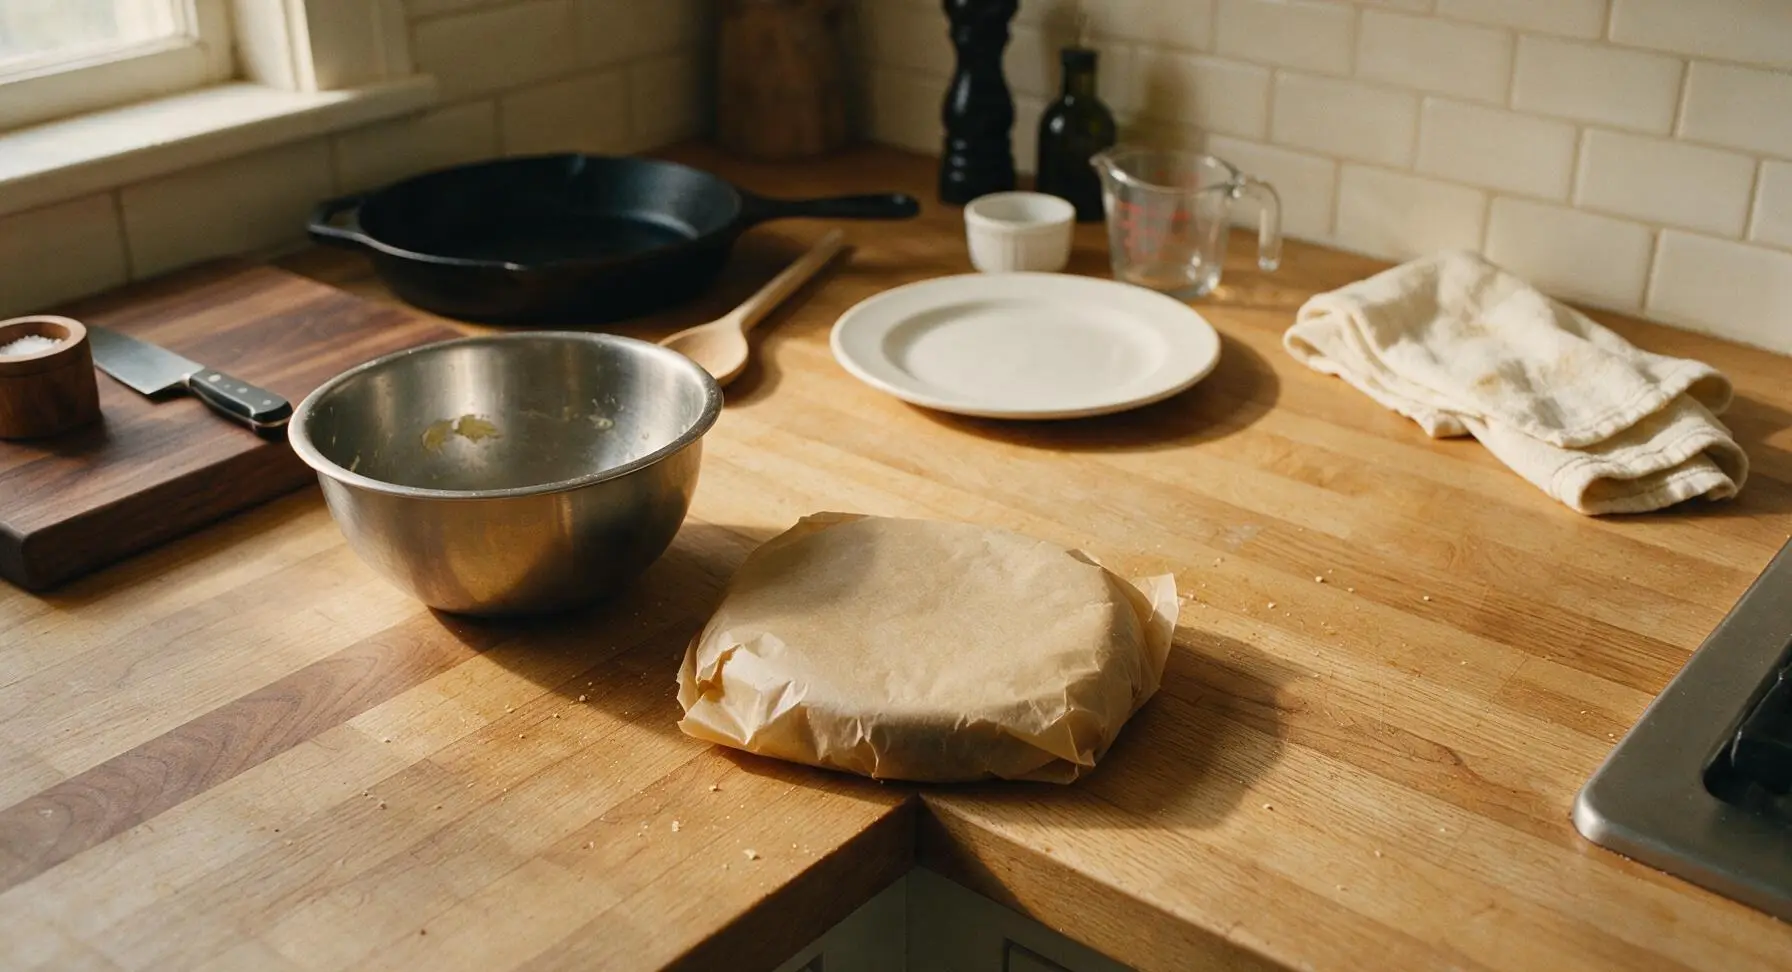
Roll and Cut Cookies
Remove chilled dough from the refrigerator, unwrap, and place between two fresh sheets of unbleached parchment paper. Using the hard maple rolling pin fitted with 3mm thickness guide rings, roll the dough to an even 3mm thickness across the entire sheet. Peel off the top parchment layer, then use the 5cm fluted round stainless steel cookie cutter to cut out dough circles, placing each cut cookie 2cm apart on a parchment-lined matte aluminum baking sheet. Gather dough scraps, re-roll once, and cut additional cookies until all dough is used.
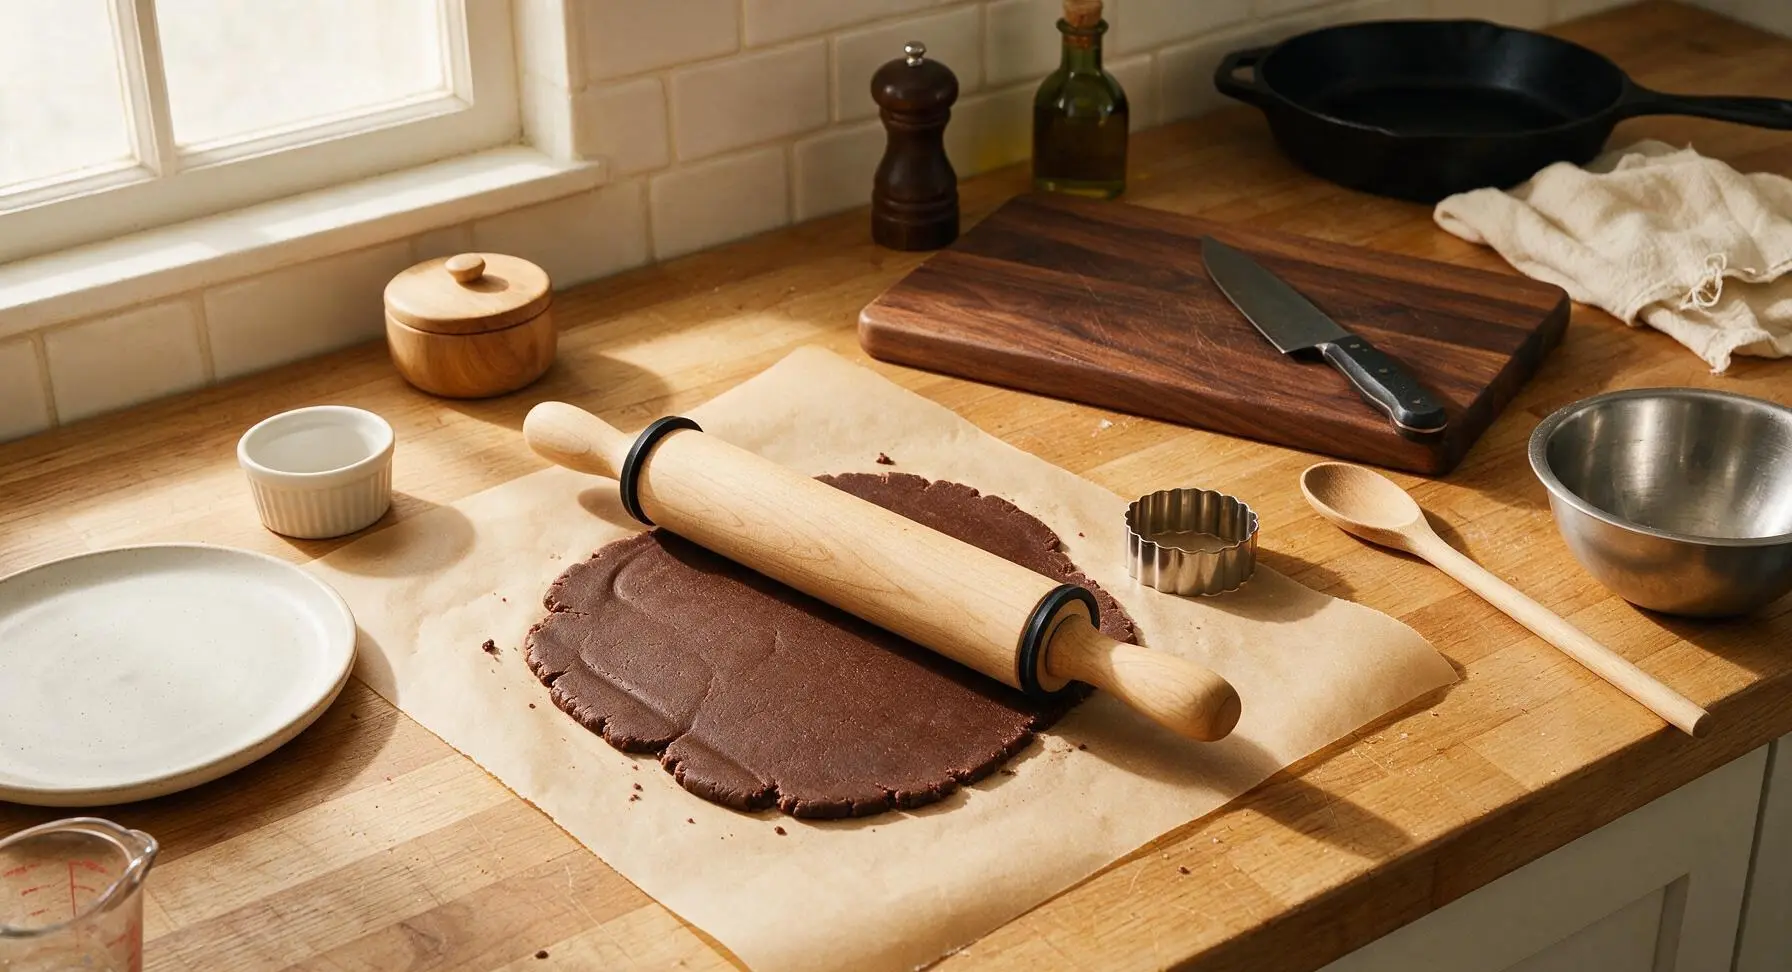
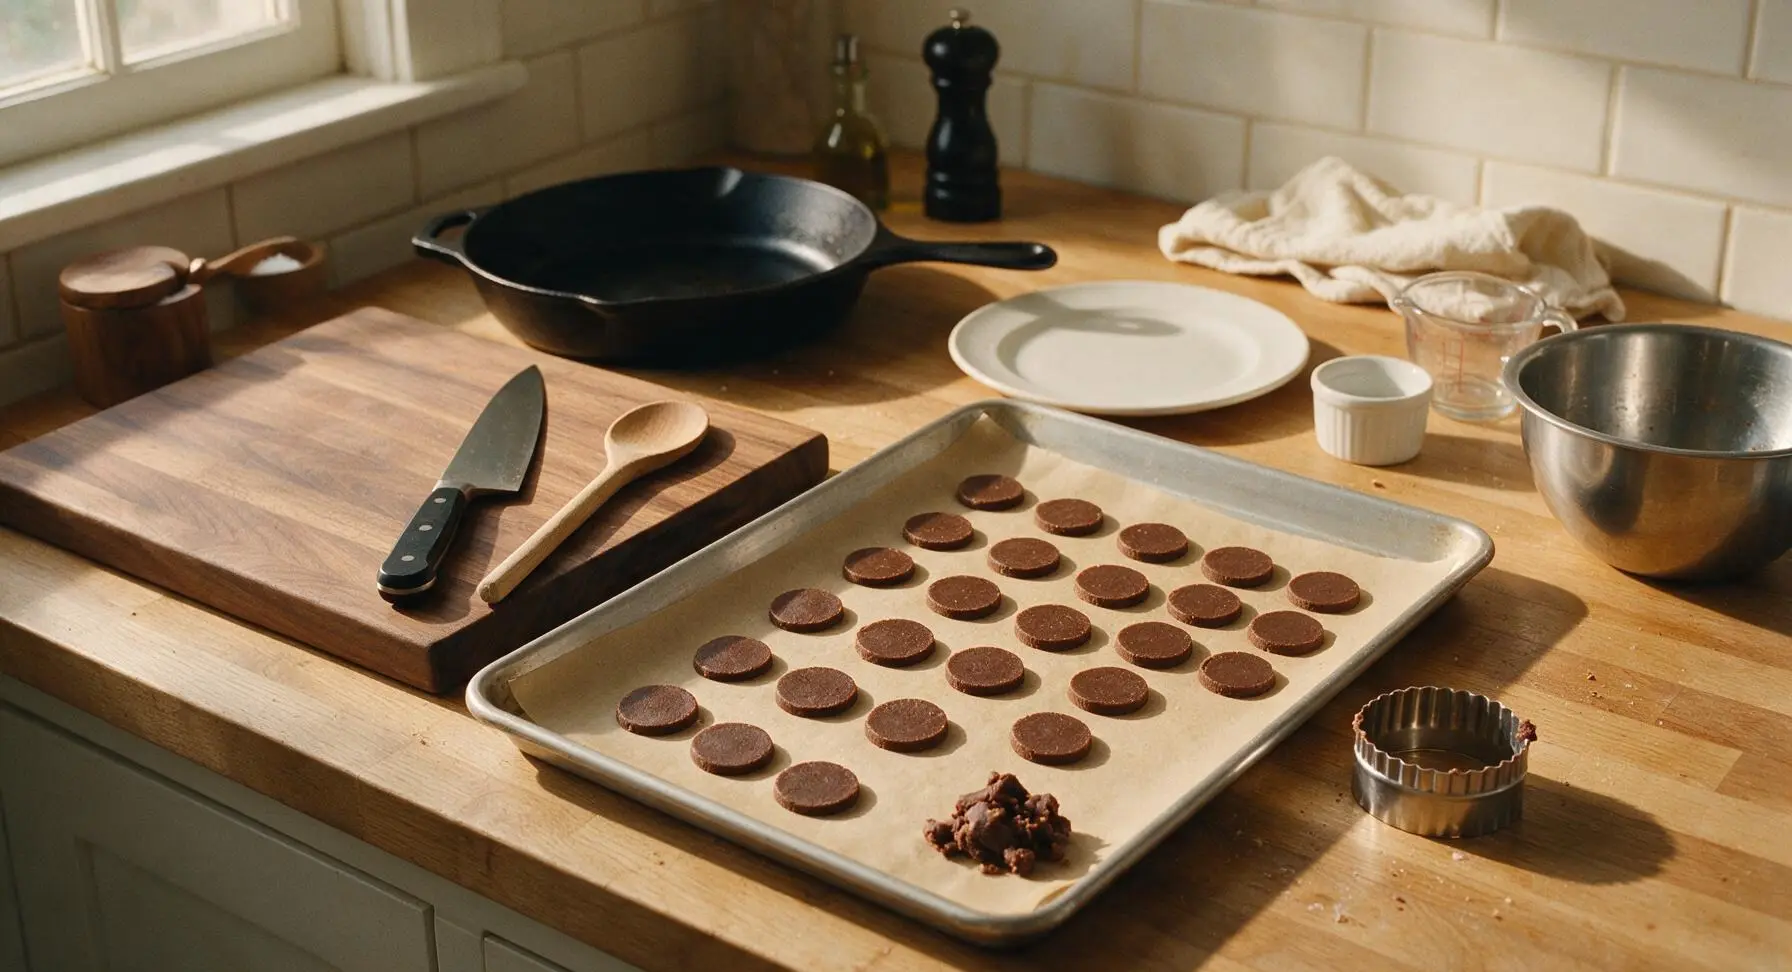
Bake Crisp Wafers
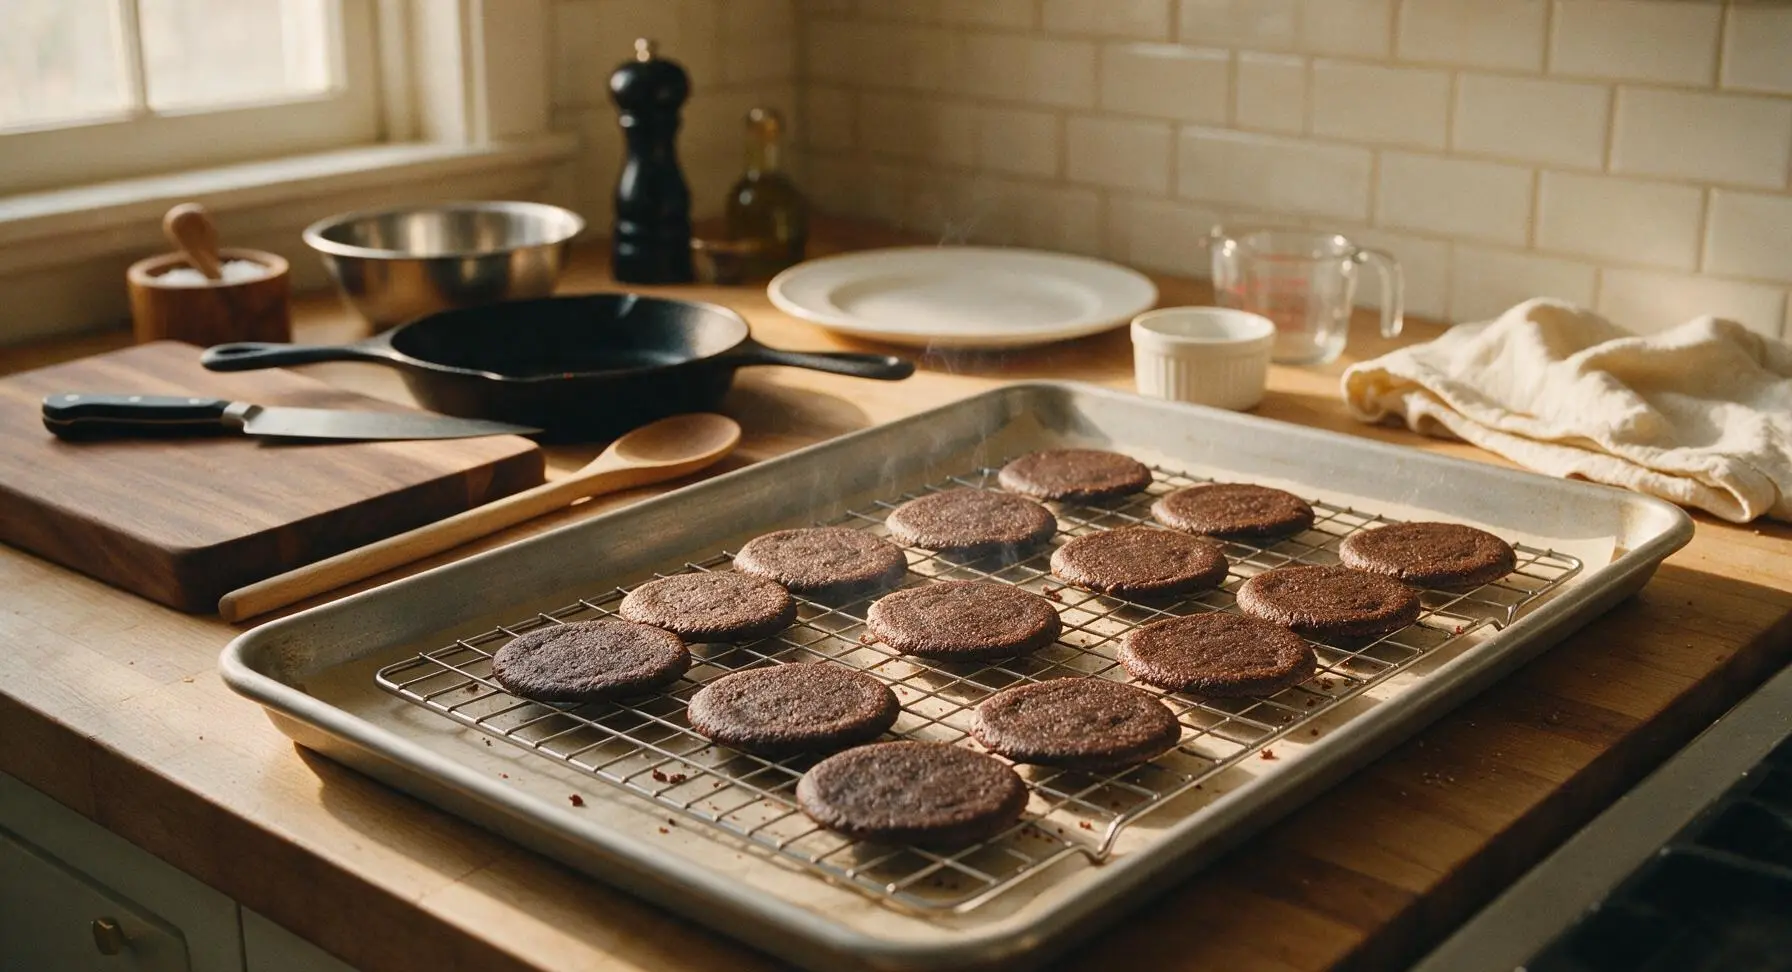
Preheat oven to 175C (350F). Bake cookies one sheet at a time for 8-10 minutes, until edges are just firm to the touch; cookies will feel slightly soft in the center when removed from the oven, and will crisp fully as they cool. Do not overbake, as cocoa burns quickly and will develop a bitter, off flavor. Immediately slide the parchment with baked cookies onto the chrome wire cooling rack to cool completely for 30 minutes before coating; warm cookies will melt chocolate coating and cause unsightly streaks.
Melt Mint Chocolate
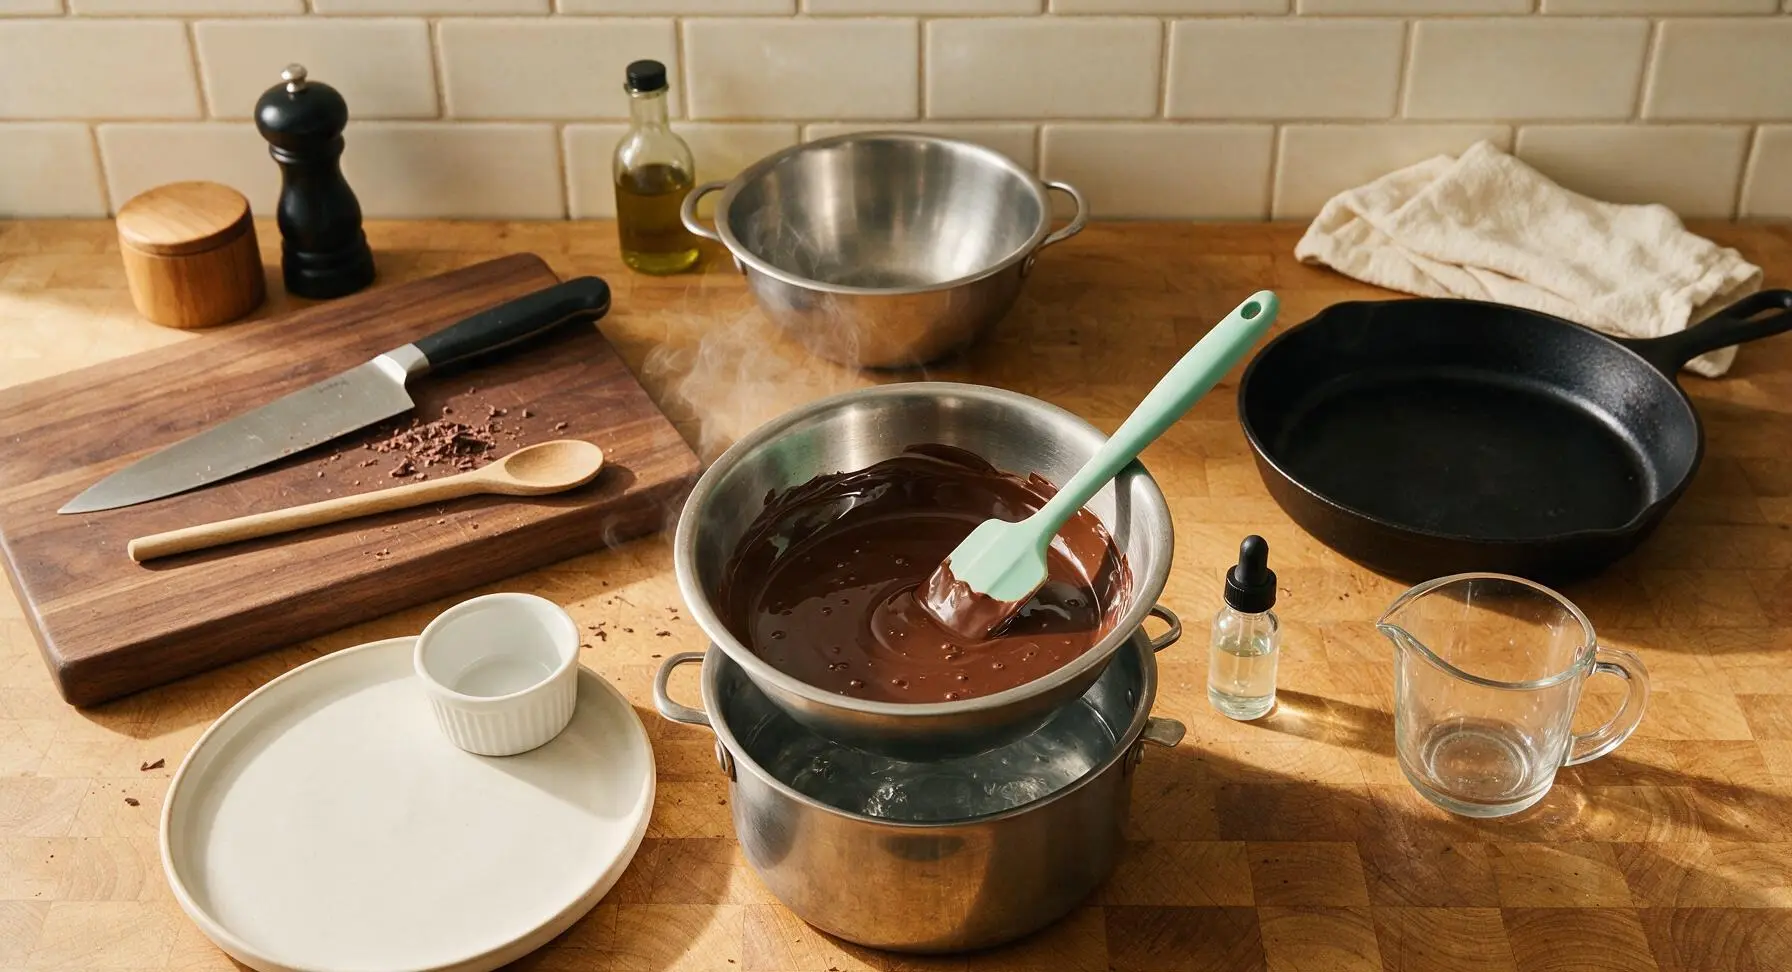
Fill the stainless steel double boiler base with 2cm of simmering water, ensuring water does not touch the bottom of the small stainless steel mixing bowl set on top. Place dark chocolate melting wafers in the small bowl, stirring constantly with the mint green silicone spatula until chocolate is completely smooth, melted to 32C (90F). Remove bowl from heat, stir in food-grade peppermint oil, and stir for 1 minute to cool slightly. Do not use peppermint extract here, as its alcohol content will cause chocolate to seize into a grainy mass.
Coat Cookies in Chocolate
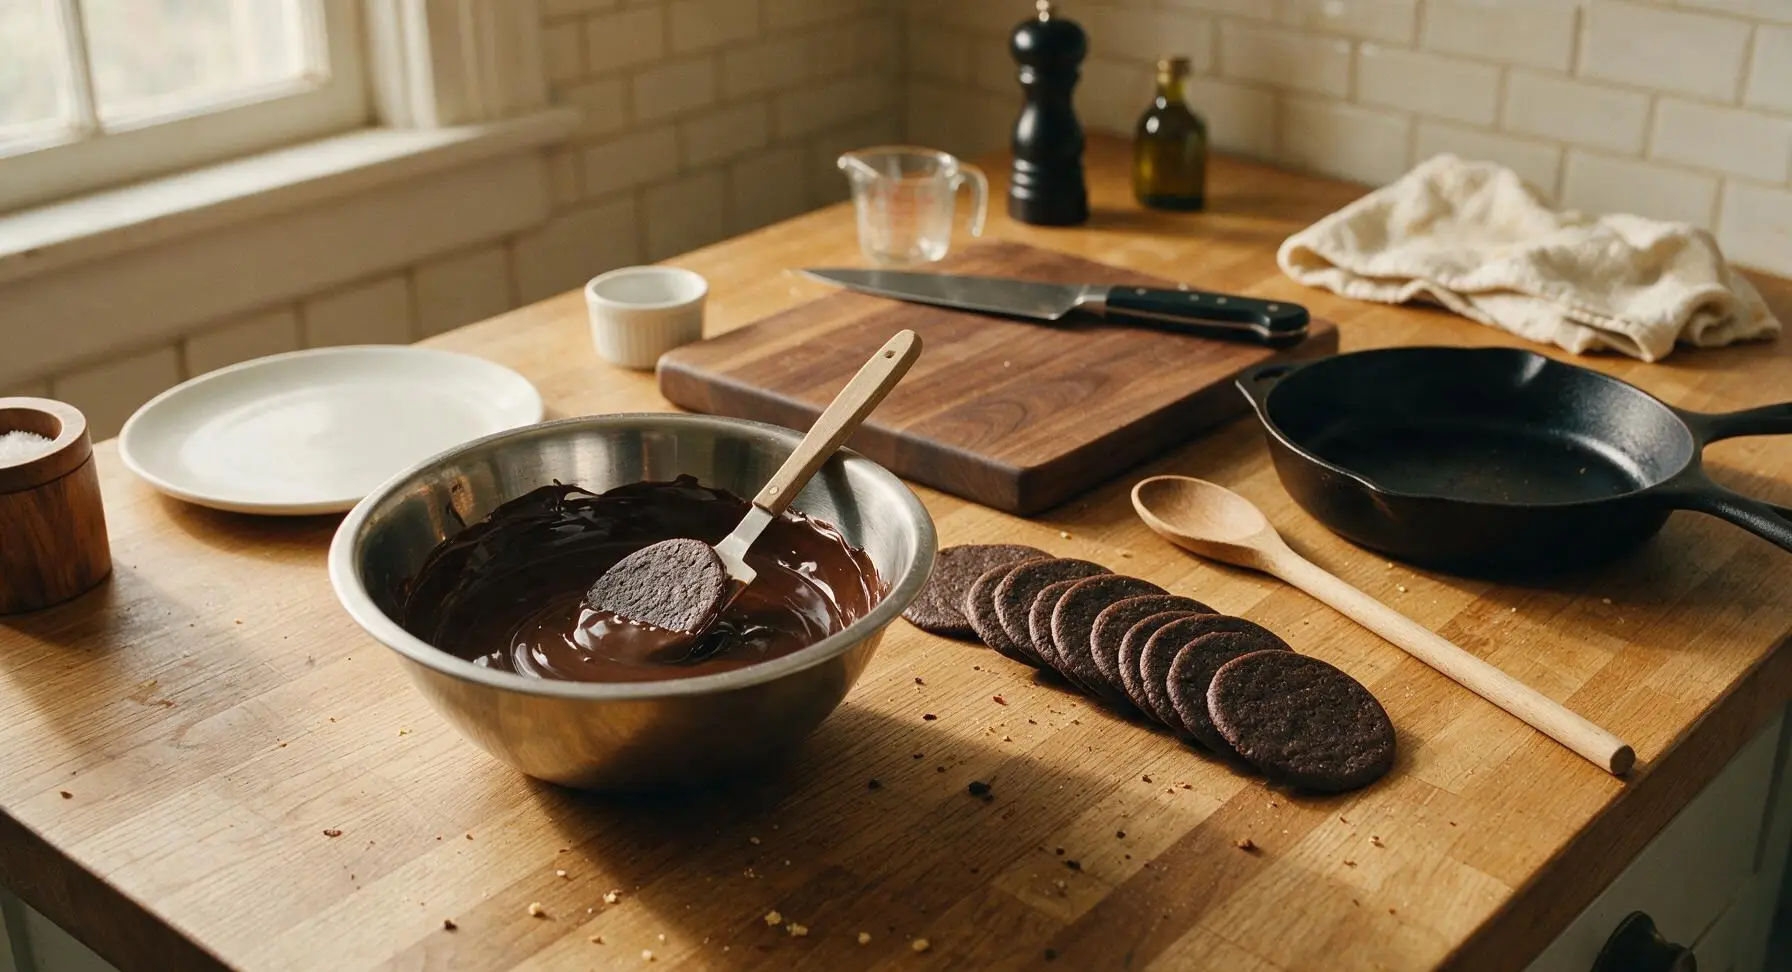
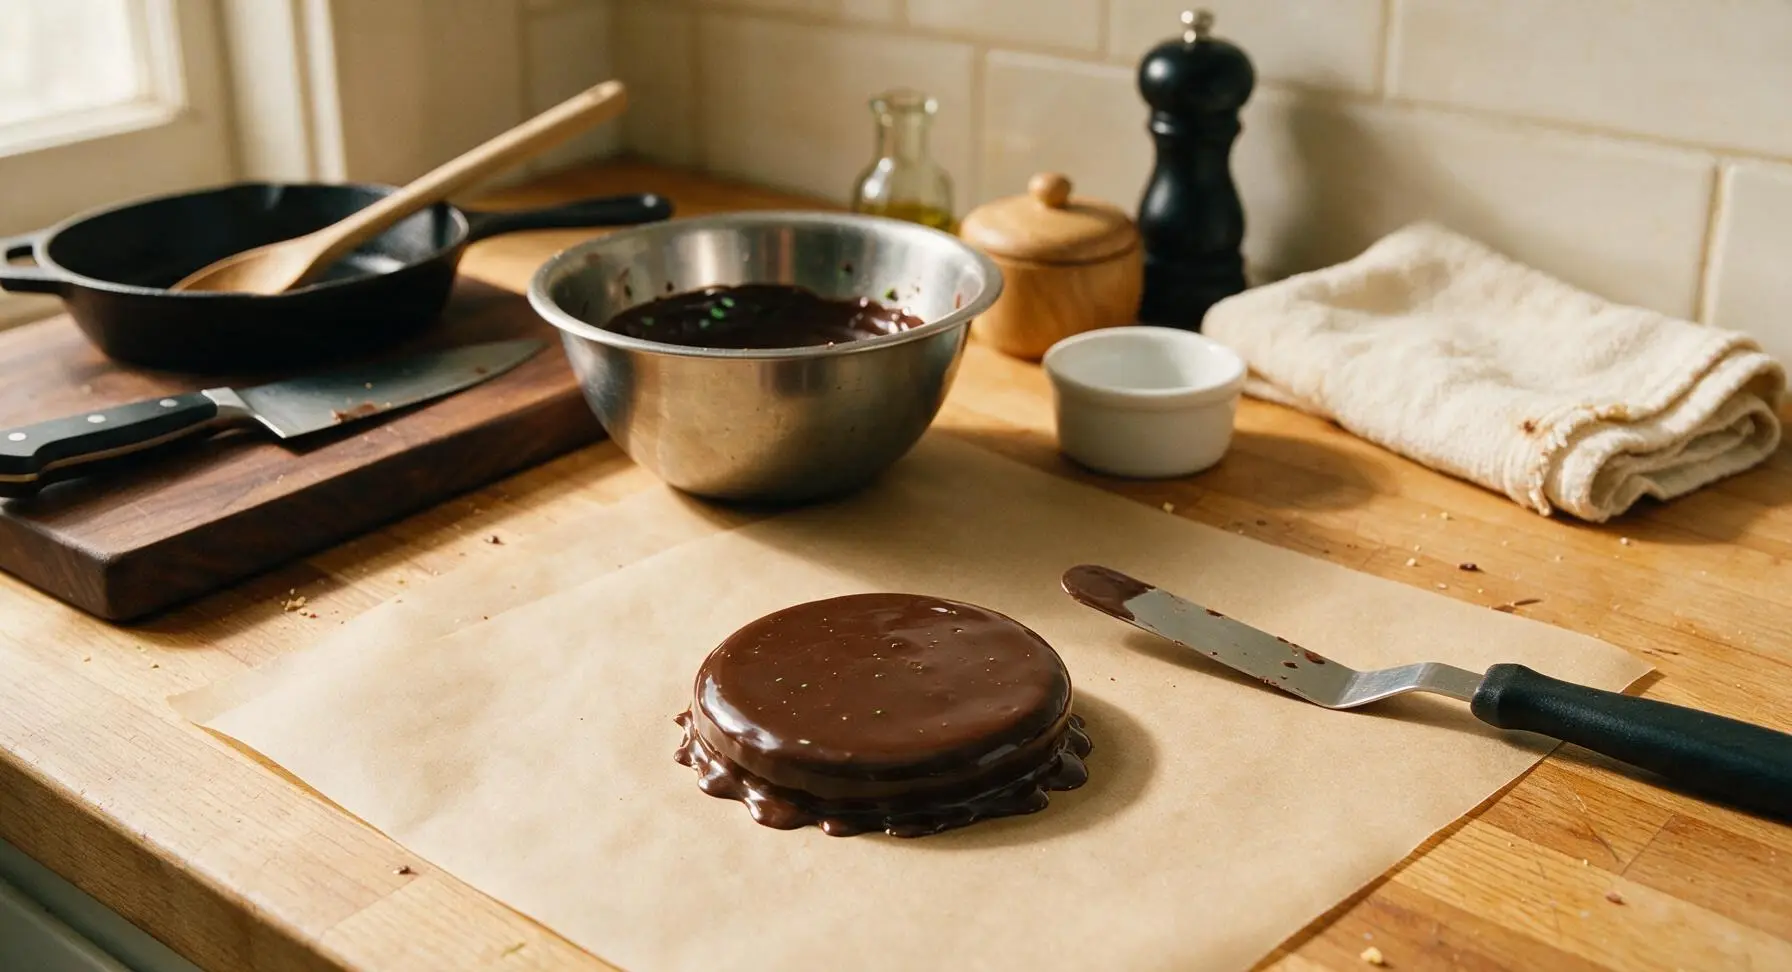
Working one cookie at a time, drop a fully cooled cookie wafer into the melted mint chocolate, using the small offset spatula to flip it and ensure every surface is covered in a thin, even chocolate layer. Lift the cookie out of the chocolate with the offset spatula, tap the spatula gently against the bowl edge to drip off excess chocolate, then place the coated cookie back onto a clean parchment-lined baking sheet. Repeat with all remaining cookies, ensuring no bare cookie spots remain.
Set Chocolate Coating
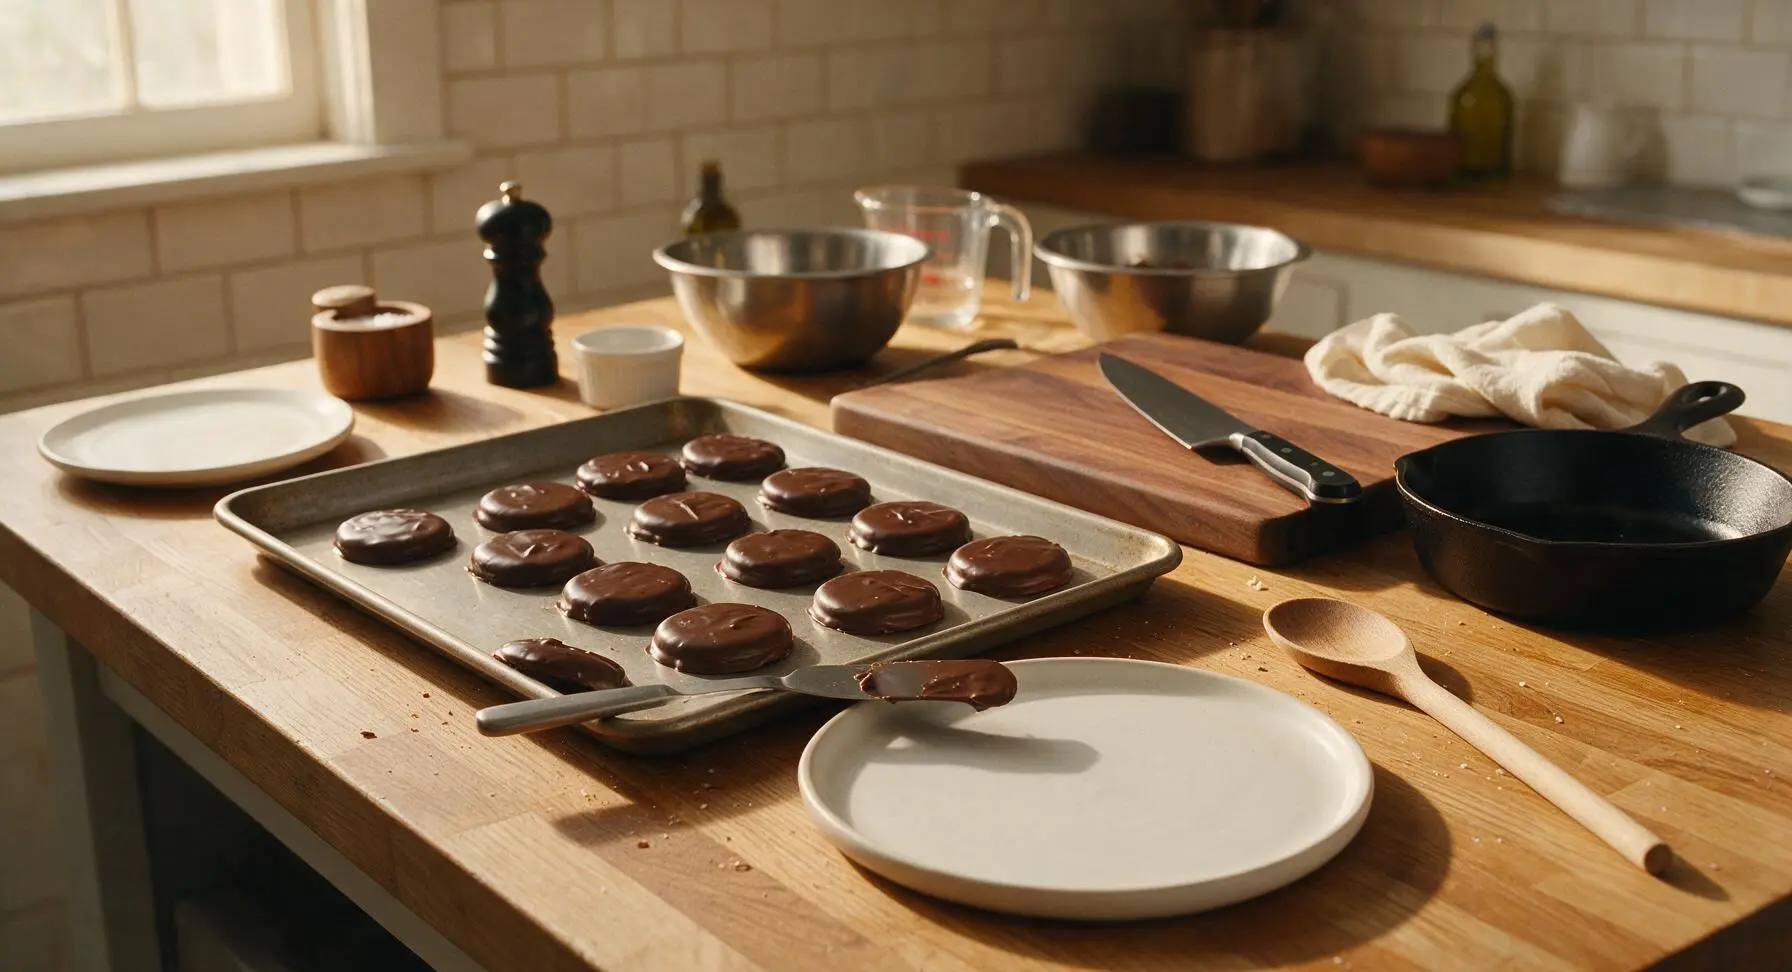
Transfer the baking sheet of chocolate-coated cookies to the refrigerator for 15 minutes, until the chocolate shell is completely firm and snappy to the touch, with no soft or sticky spots. Once set, transfer cookies to the round matte white ceramic serving platter for serving, or store in an airtight container at cool room temperature for up to 2 weeks.
Tips
2.Stick to food-grade peppermint oil for the chocolate coating: standard peppermint extract contains alcohol and water that will cause melted chocolate to seize into a lumpy, grainy mess that cannot be saved.
3.Let dipped cookies set in the refrigerator rather than on the counter: the quick cool creates a snappy, non-streaky chocolate shell that won’t melt on your fingers when picked up, matching the texture of the original Girl Scout cookie exactly.






OMG these are a total game changer!!! I’ve been craving Thin Mints ever since Girl Scout cookie season ended and I was so skeptical a copycat could hit the same, but WOW. The mint-chocolate ratio is perfect, the crunch is exactly right, and my kids went crazy for them—they ate half the batch before I even got them stored in the tin! I brought the rest to my office potluck yesterday and three people asked for the recipe before lunch. 10/10 will make every month from now on.
These were SO good, but I will say the difficulty felt a little higher than medium for me? I messed up the first batch of cookie dough because I overmixed it, and the dipping step took way longer than I expected—total time for me was closer to an hour, not 20 minutes cook time. Flavor was spot on though, my partner said they tasted better than the actual Girl Scout ones! Just wish I’d set aside more time to make them.
Absolute win for my weekend meal prep snack stash! I made a double batch on Sunday, popped half in the freezer, and they’re perfect for when that 3pm sweet craving hits at work. The mint flavor isn’t overpowering at all, and the frozen version tastes even more like the real Thin Mints I remember from childhood. Already texted this recipe to my whole family—my sister is making them for her daughter’s soccer team snack this week!