
tiramisu cheese
intro
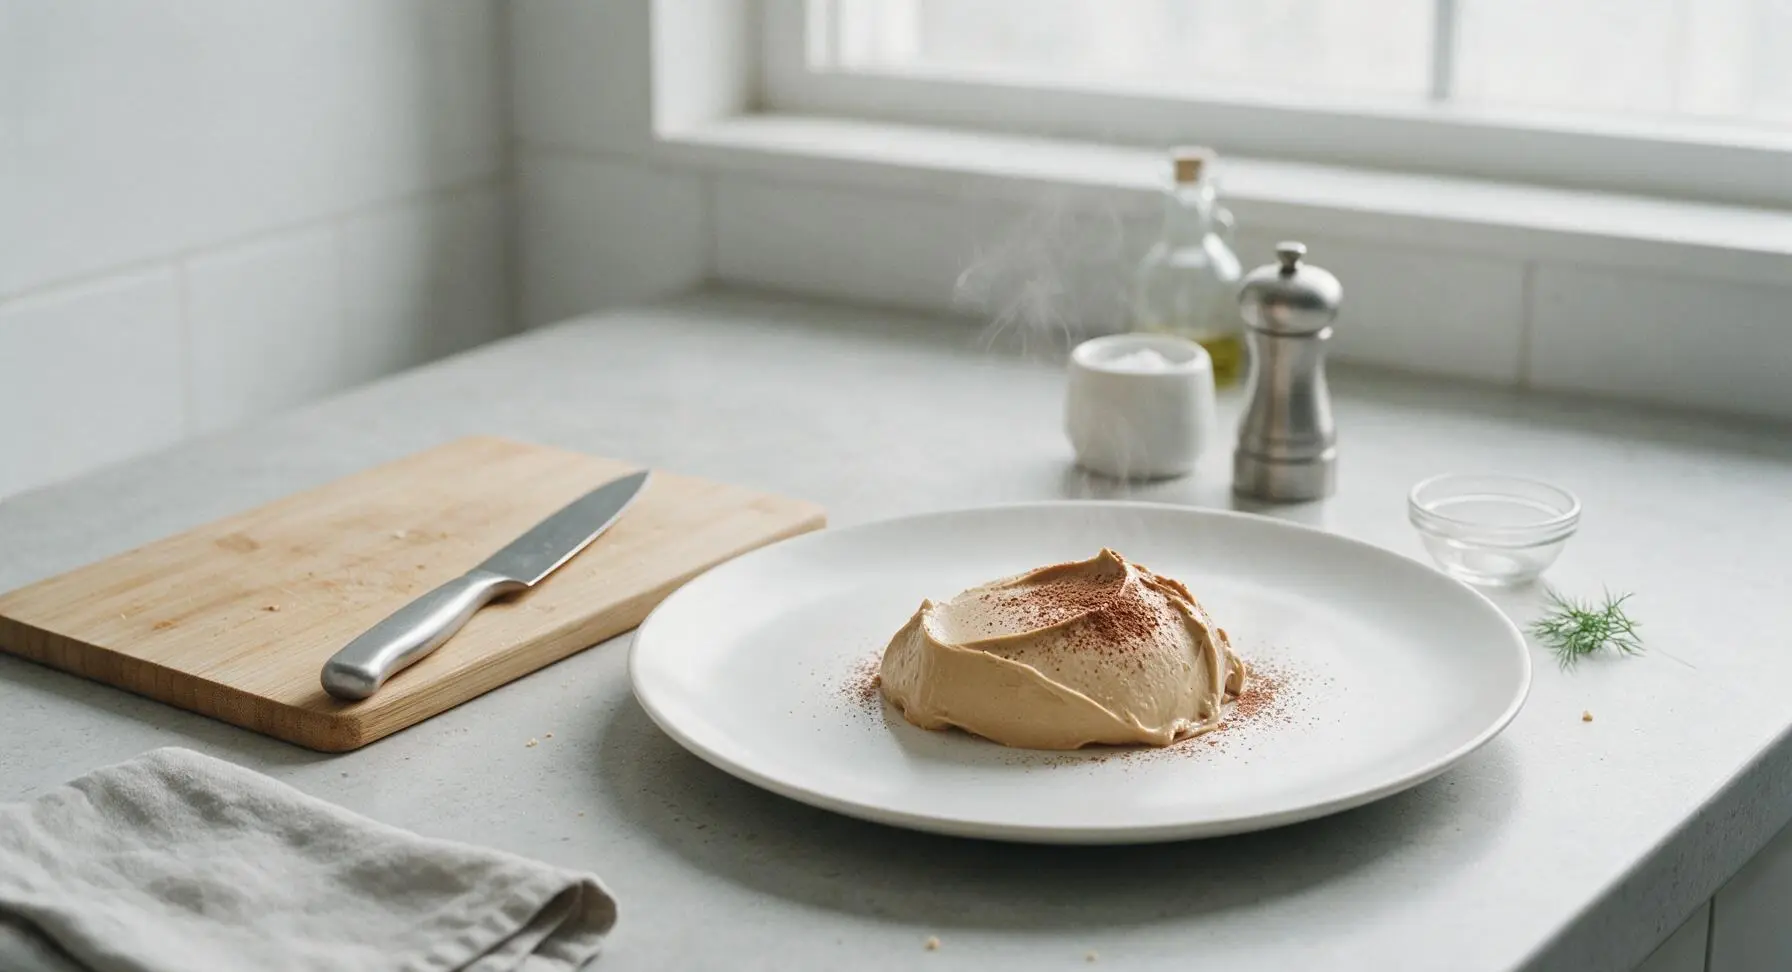
Silky, coffee-kissed tiramisu cheese is the luxuriously smooth, lightly boozy mascarpone core of classic tiramisu—perfect for layering, spreading, or serving on its own.
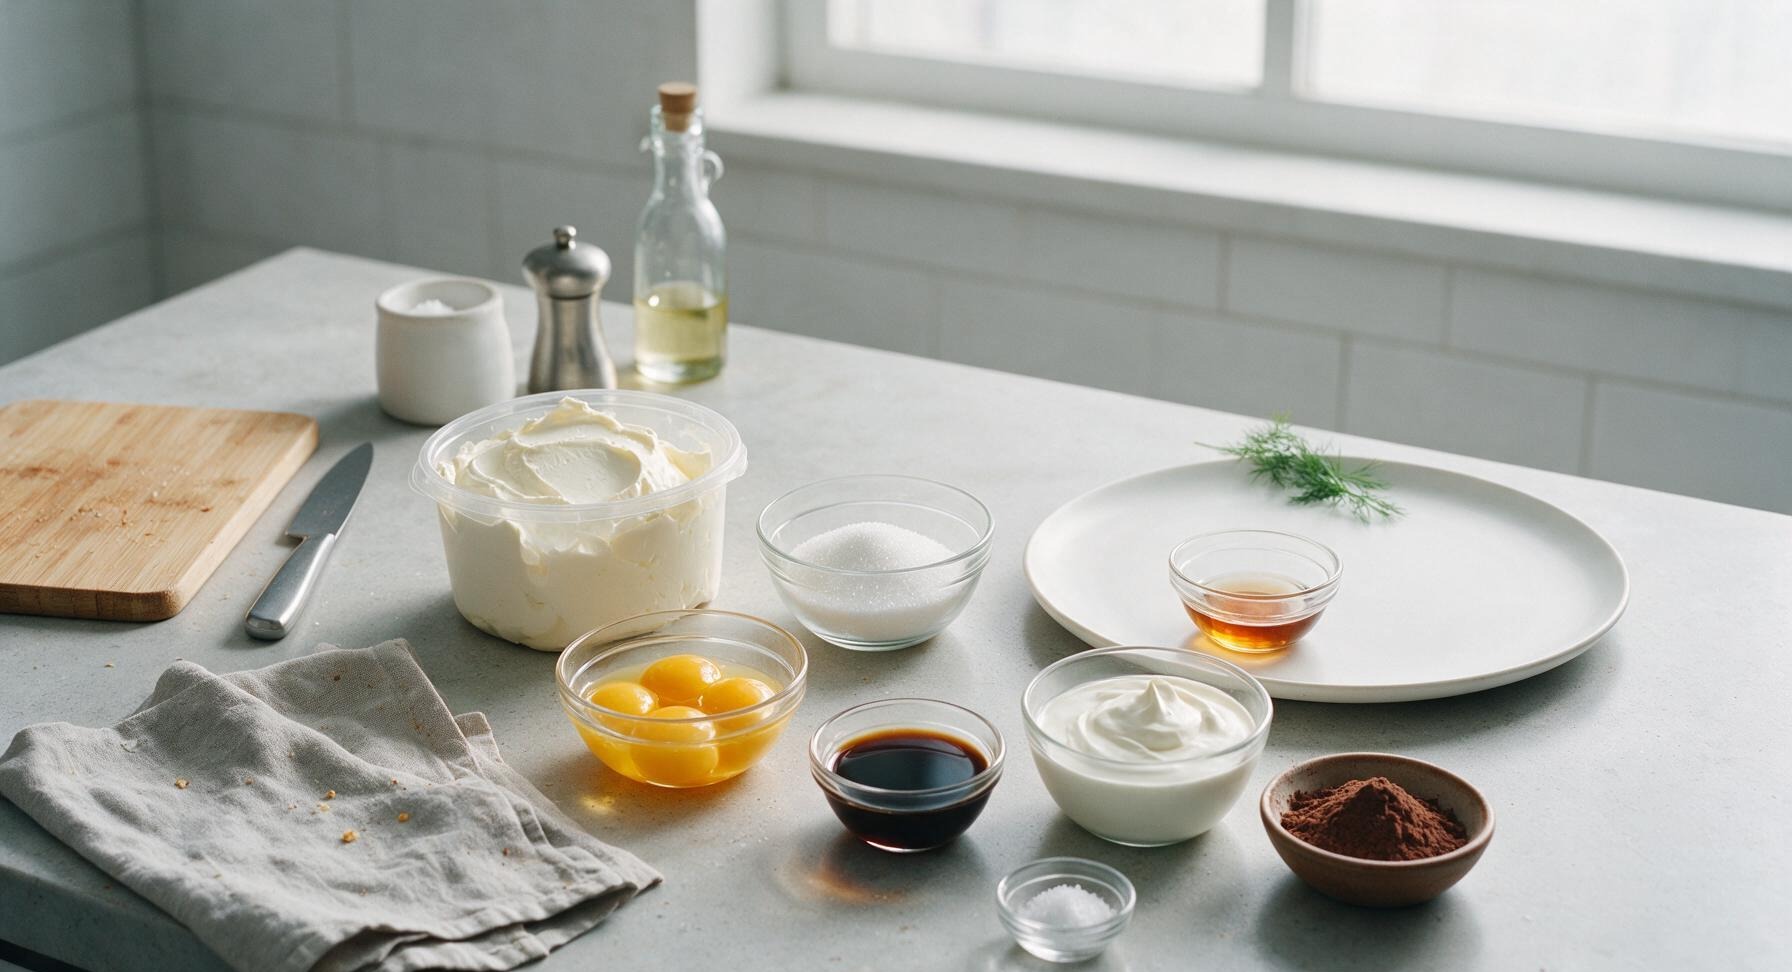
Ingredients
Steps
Set Up Double Boiler
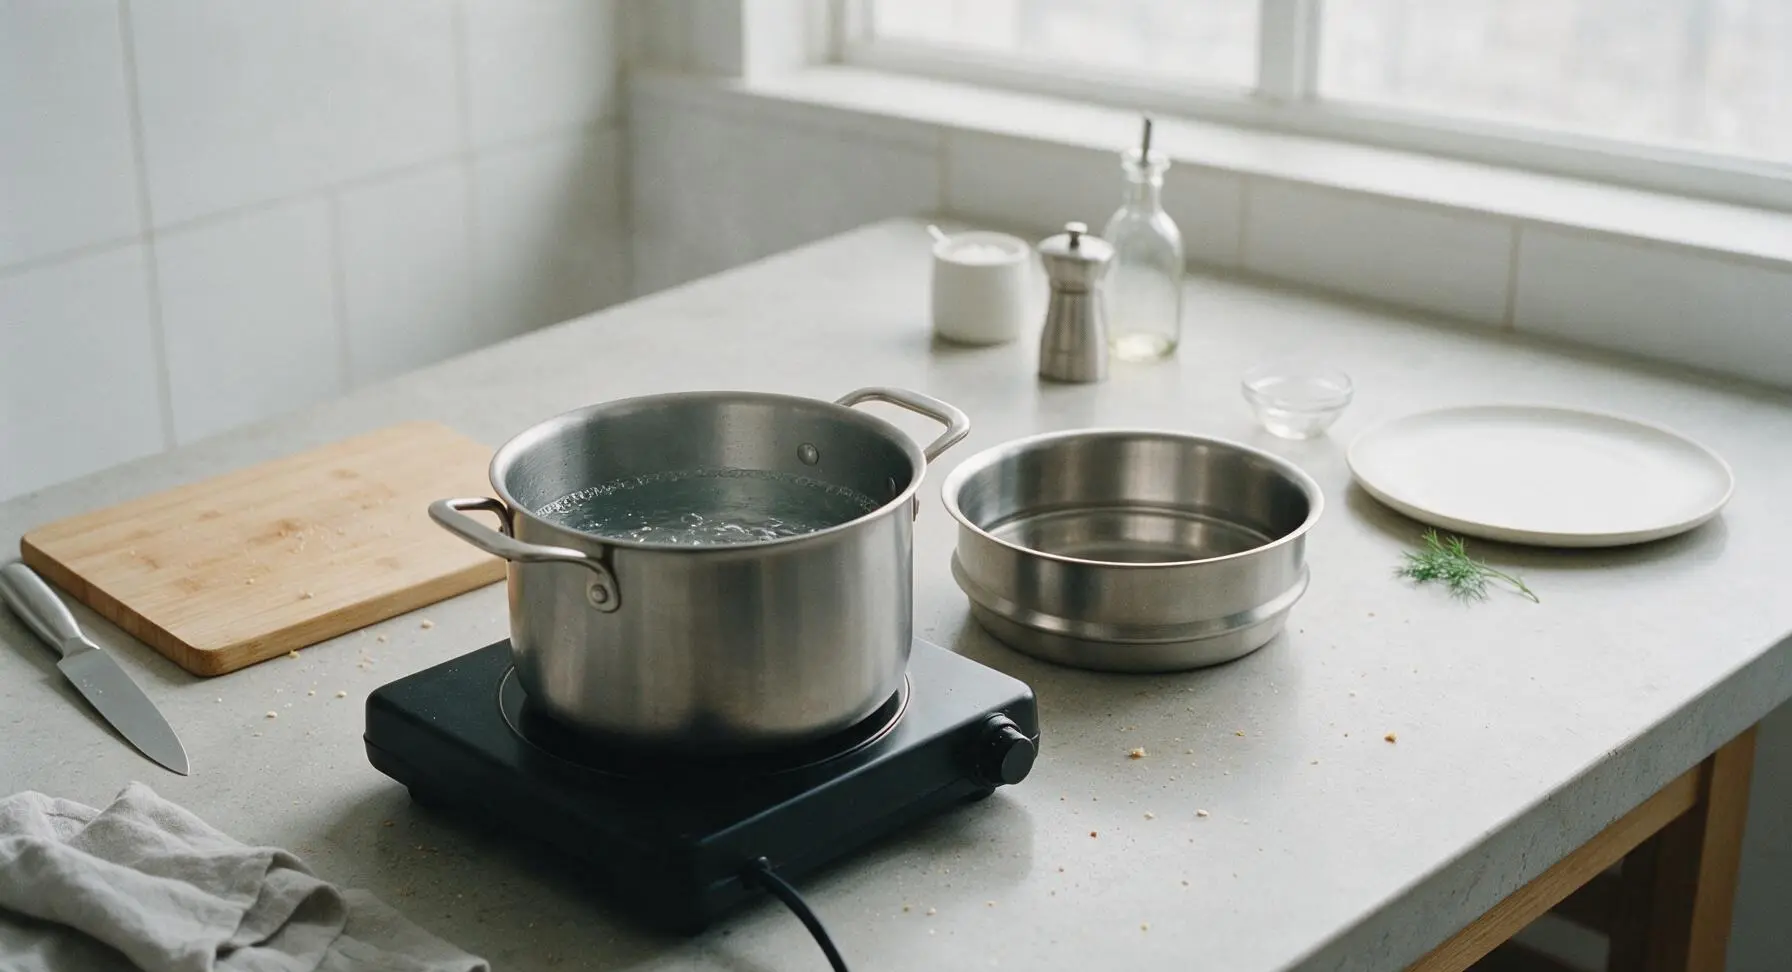
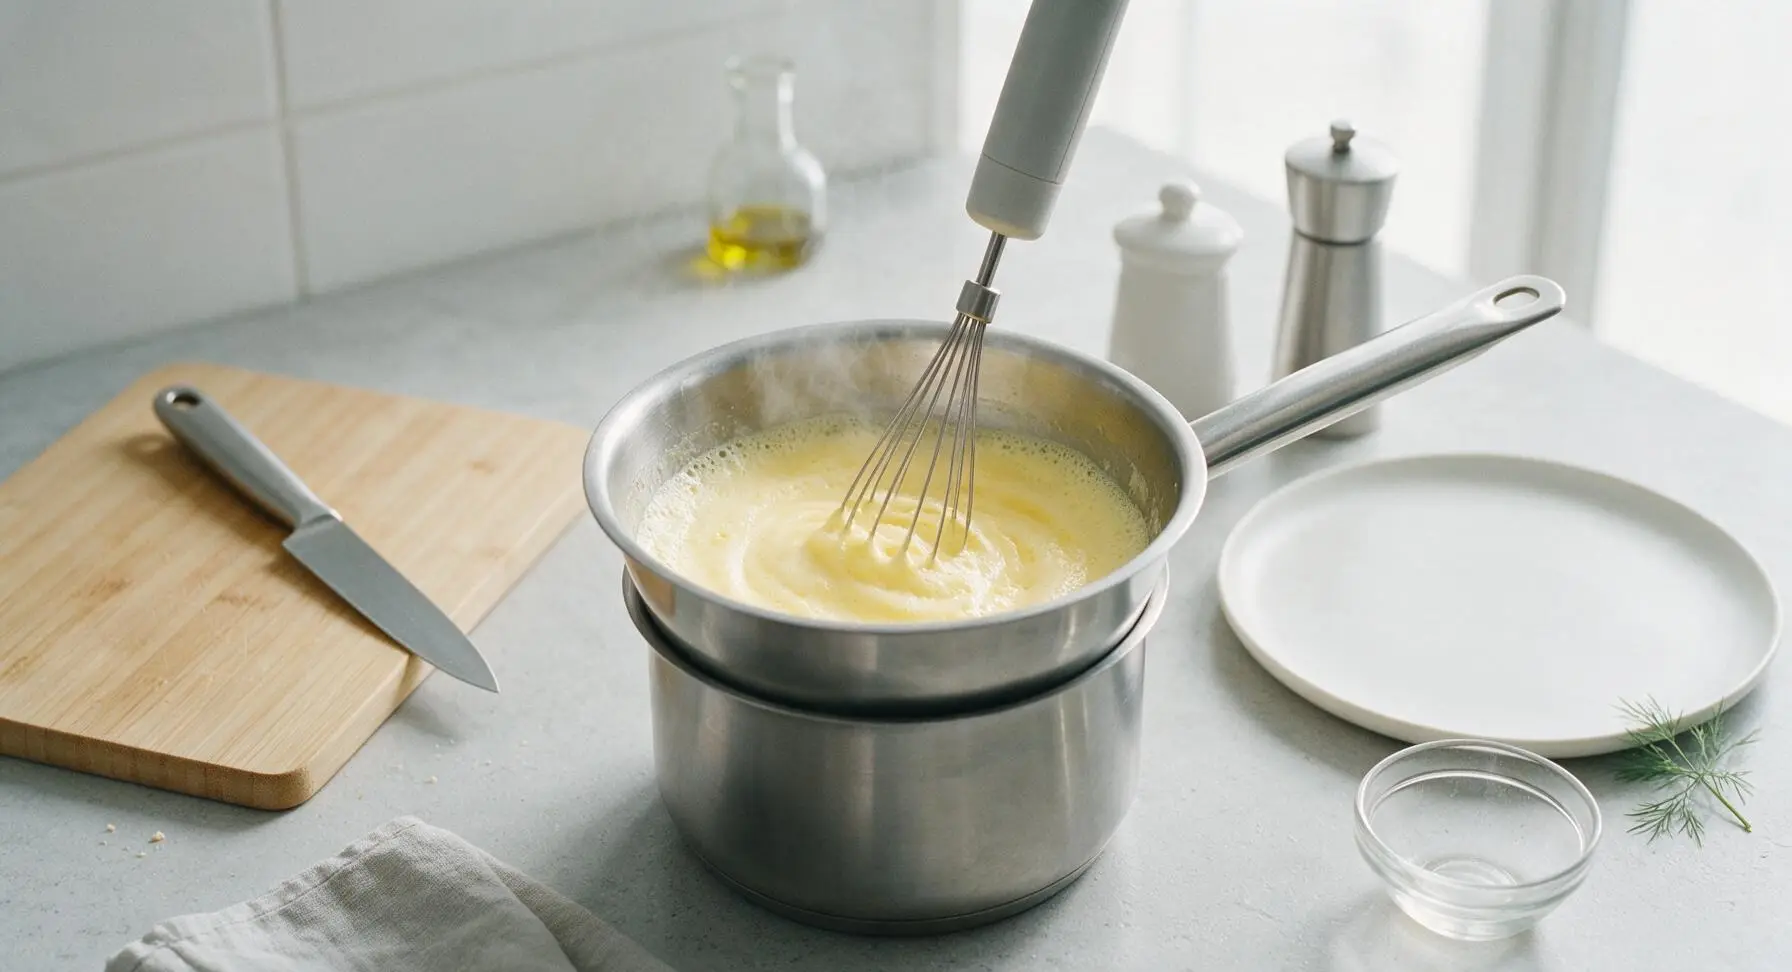
Fill the bottom pot of the matte stainless steel double boiler with 2 inches of water, ensuring the water level will not touch the base of the top insert when fitted. Place the pot on the center-left matte black portable induction burner, and heat over medium-low until the water reaches a bare simmer (85C/185F), with only tiny bubbles forming at the pot edges—no rolling boil, to avoid overheating eggs later.
Whisk Yolk Mixture
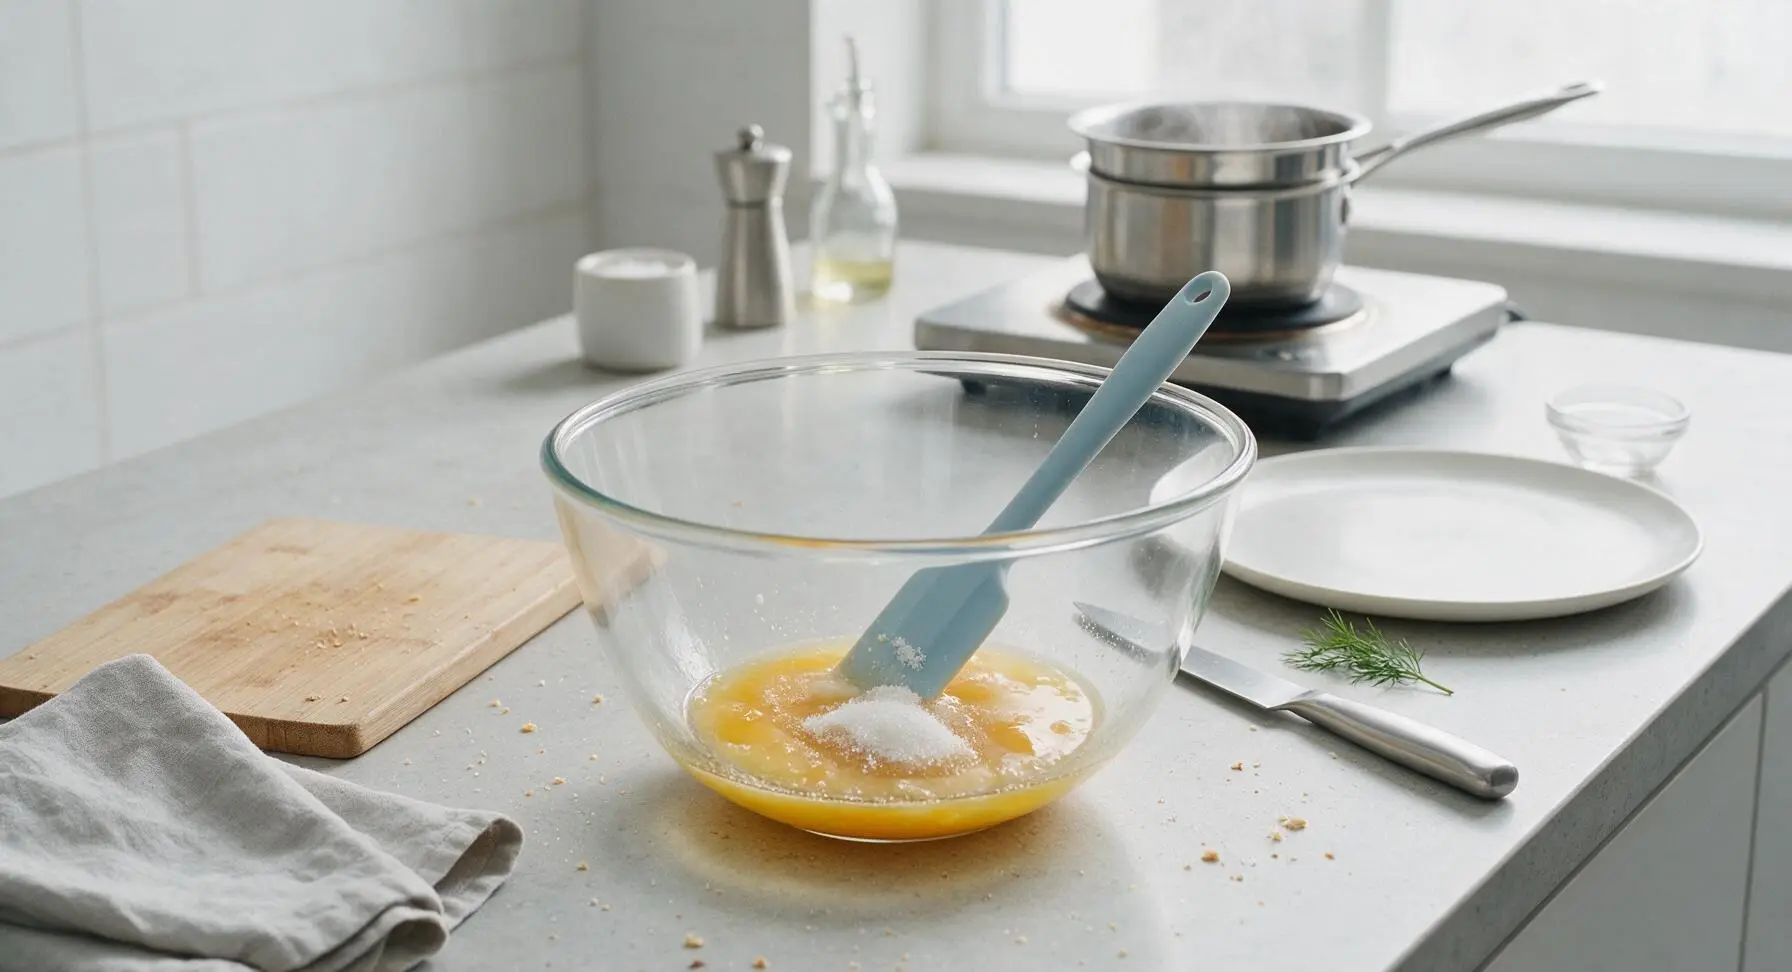
Add 6 pasteurized large egg yolks, 75g granulated sugar, 1/8 tsp fine sea salt, and 60ml dry Marsala wine to the 2L clear glass mixing bowl. Stir briefly with the light blue silicone spatula to combine, until the sugar begins to dissolve and the mixture forms a loose, pale golden liquid.
Cook Zabaglione Gently
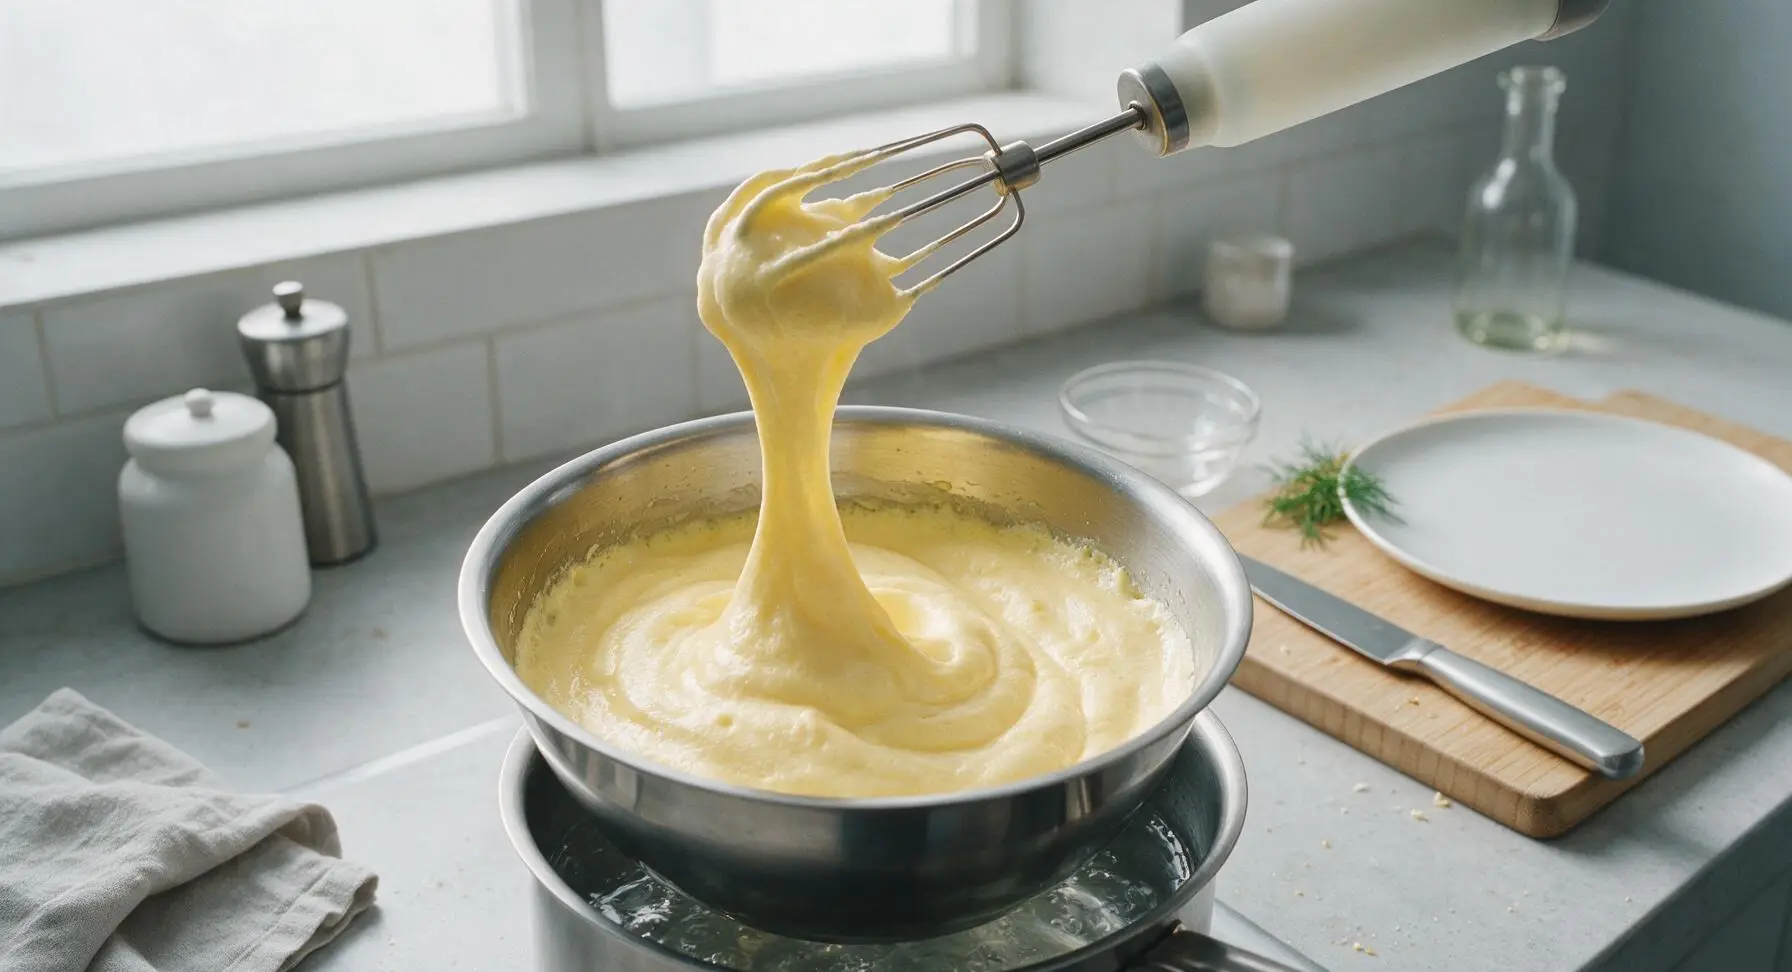
Pour the yolk mixture into the double boiler top insert, and set it over the simmering water. Whisk constantly with the handheld electric whisk on low speed for 6-8 minutes, until the mixture triples in volume, turns pale lemon yellow, and leaves a thick ribbon trail that holds its shape for 3 seconds when the whisk is lifted. The mixture should reach 71C/160F to safely pasteurize the eggs; never let it boil, as this will curdle the yolks into lumps.
Fold in Mascarpone
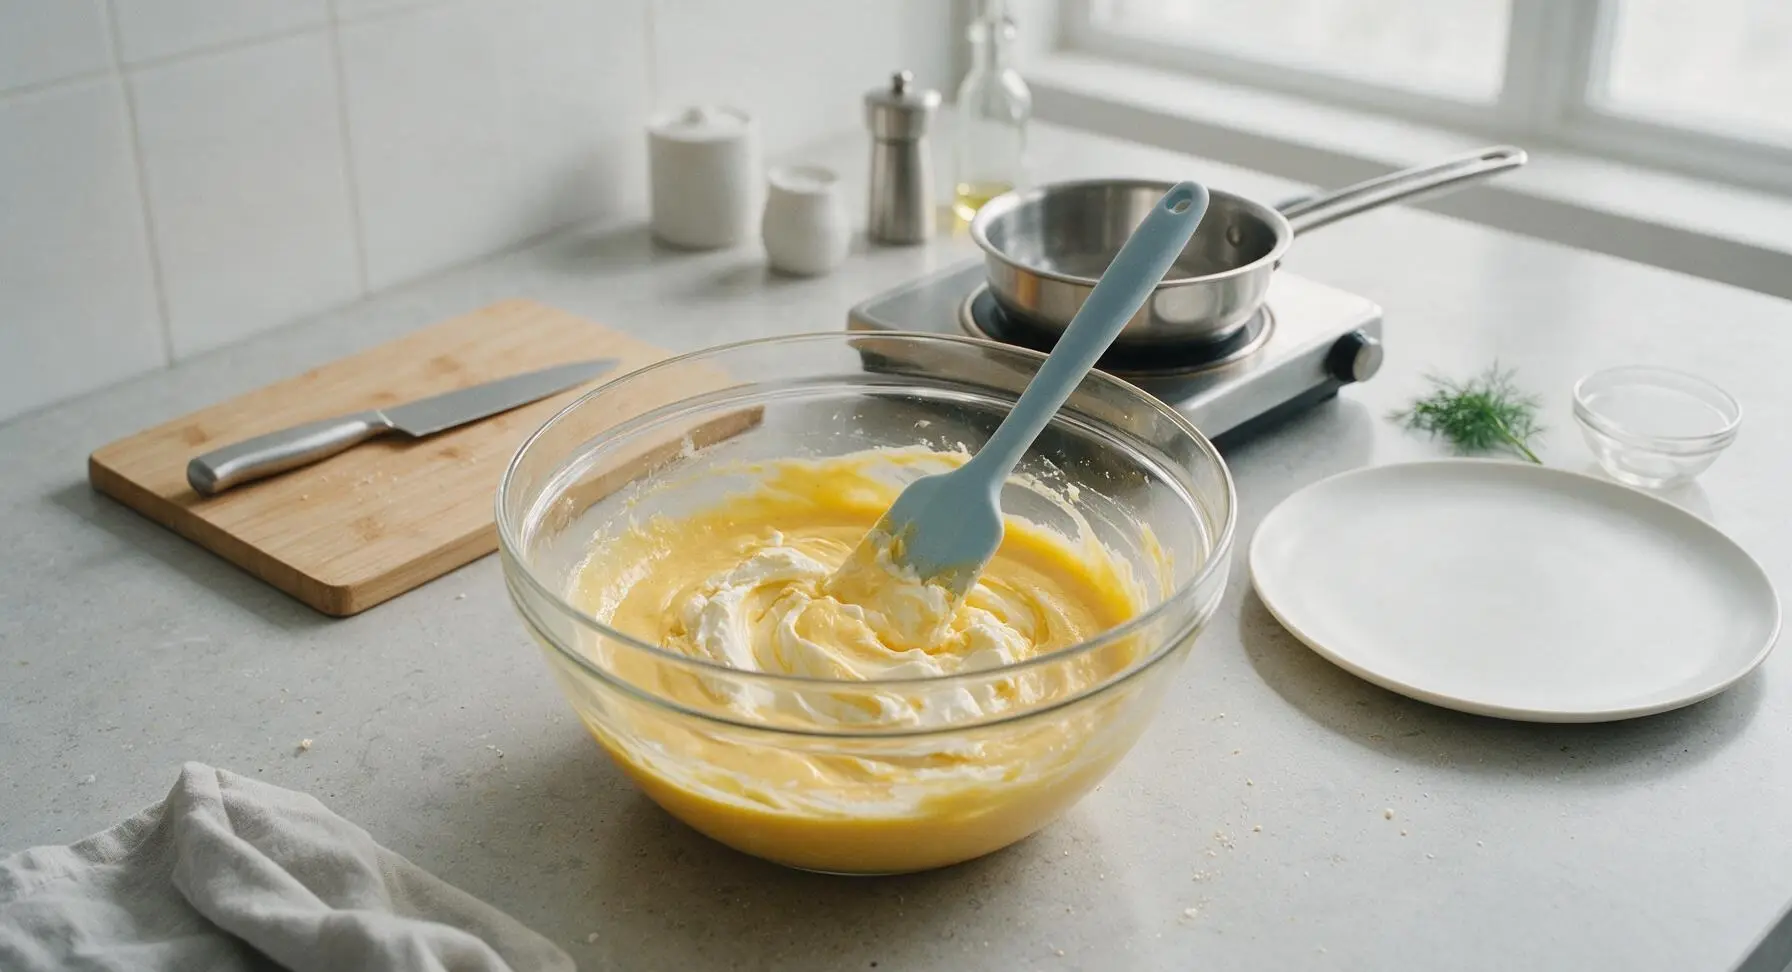
Lift the double boiler insert off the heat, and set it on the marble counter to cool for 5 minutes, until the zabaglione is just warm to the touch (35C/95F). Add 500g room-temperature mascarpone cheese in 3 equal additions, folding gently with the light blue silicone spatula in a figure-8 motion, scraping the bowl bottom each time, until no white streaks of mascarpone remain. Do not overmix, as this will cause the mixture to split and turn grainy.
Whip Heavy Cream
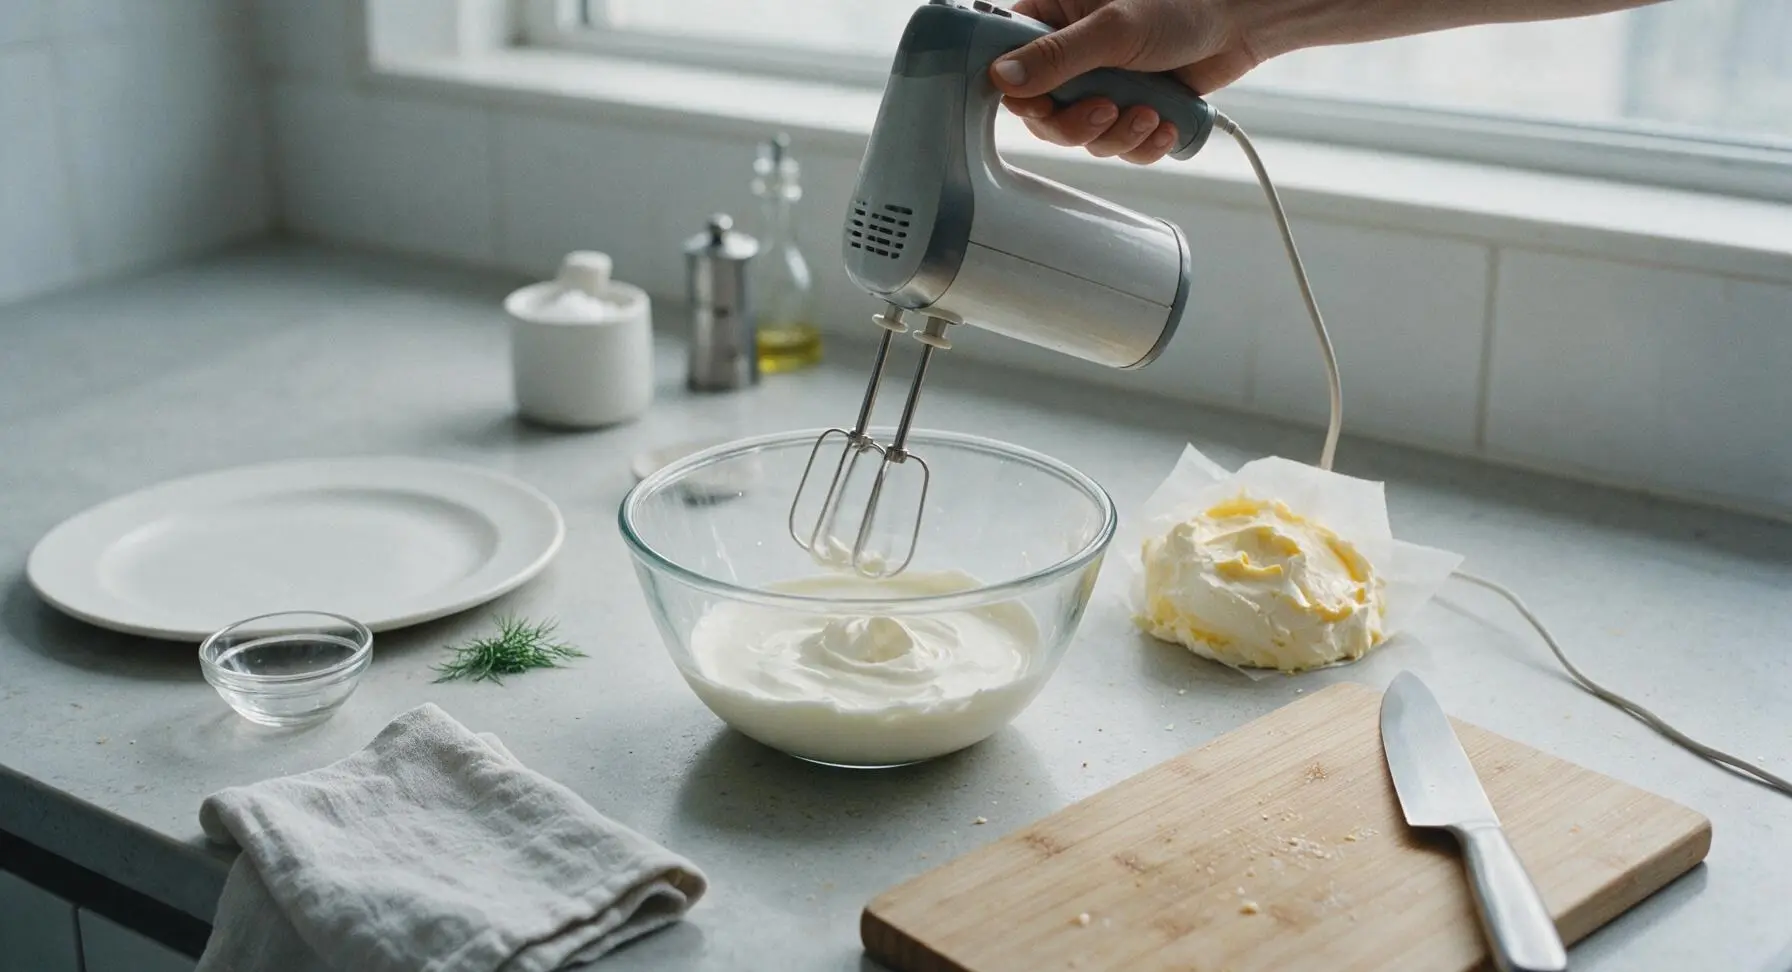
Pour 120ml cold heavy whipping cream into the chilled 1L clear glass mixing bowl. Using the handheld electric whisk on medium speed, whip the cream to soft peak stage: when the whisk is lifted, the cream peak will curl gently over at the tip, not stand straight up. Do not whip to stiff peaks, as this will create a grainy final texture.
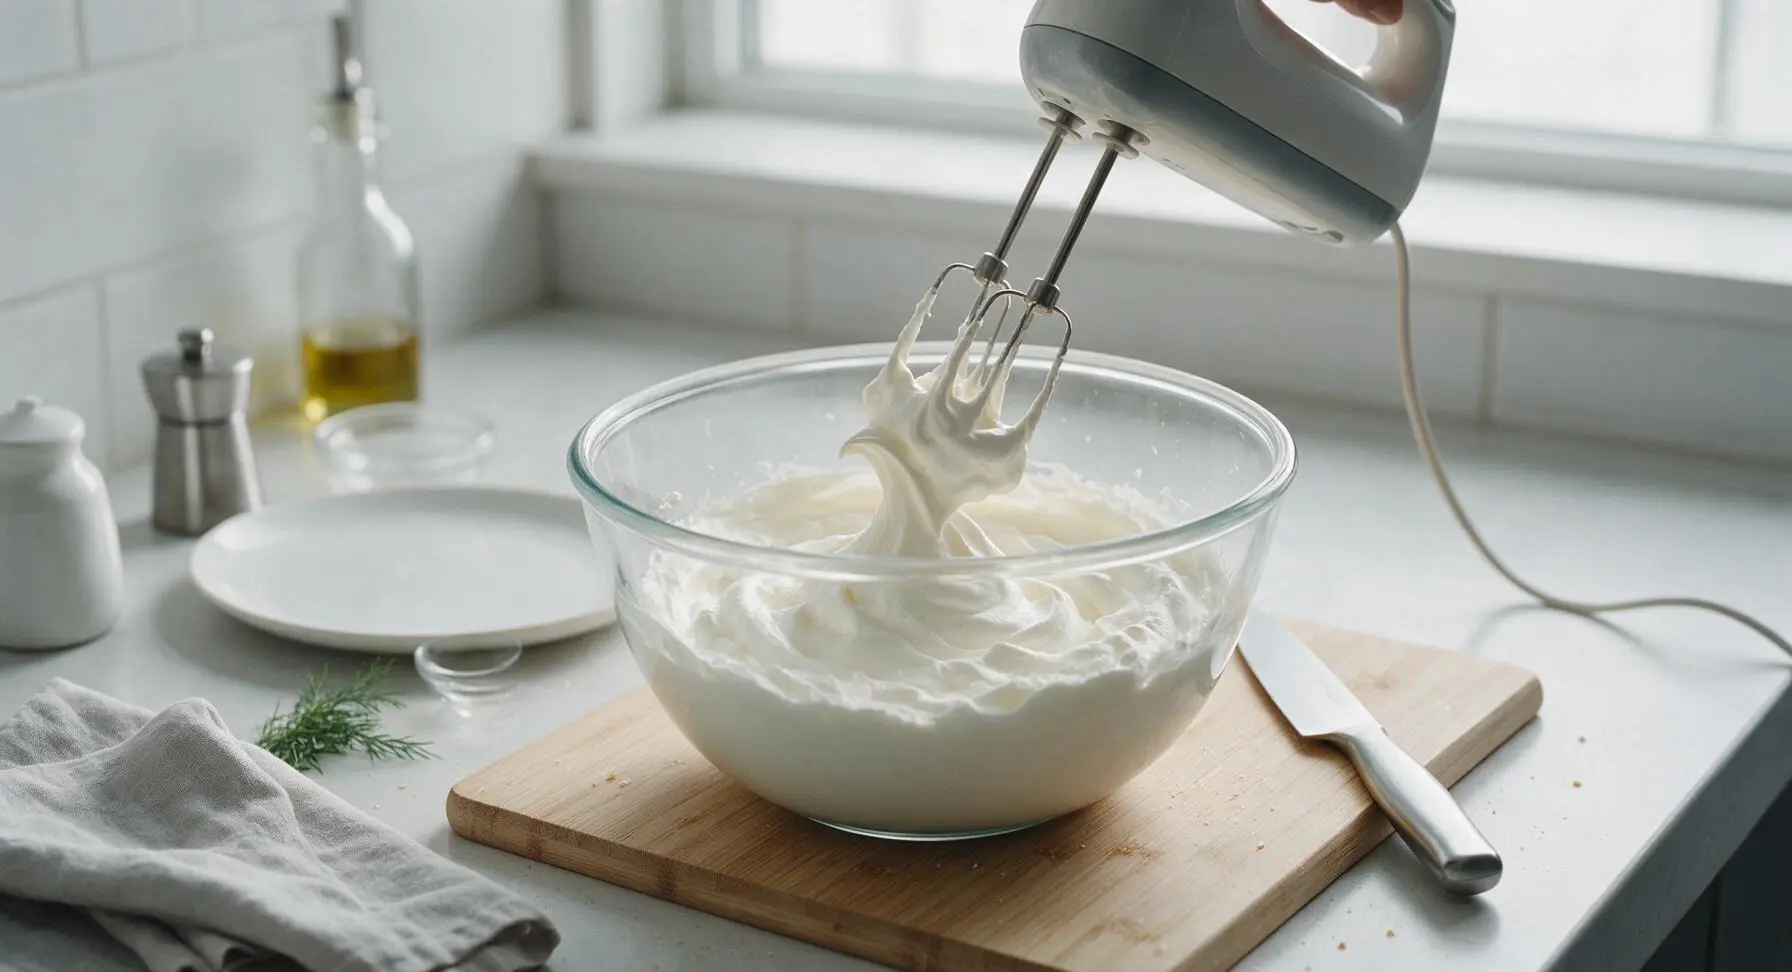
Fold Cream Into Base
Add one-third of the whipped cream to the mascarpone-zabaglione base, folding firmly with the silicone spatula to lighten the dense custard. Add the remaining whipped cream in two equal additions, folding very gently in a figure-8 motion to preserve trapped air, until no white streaks remain. Fold in 30ml cold strong cold brew coffee, mixing just until evenly distributed.
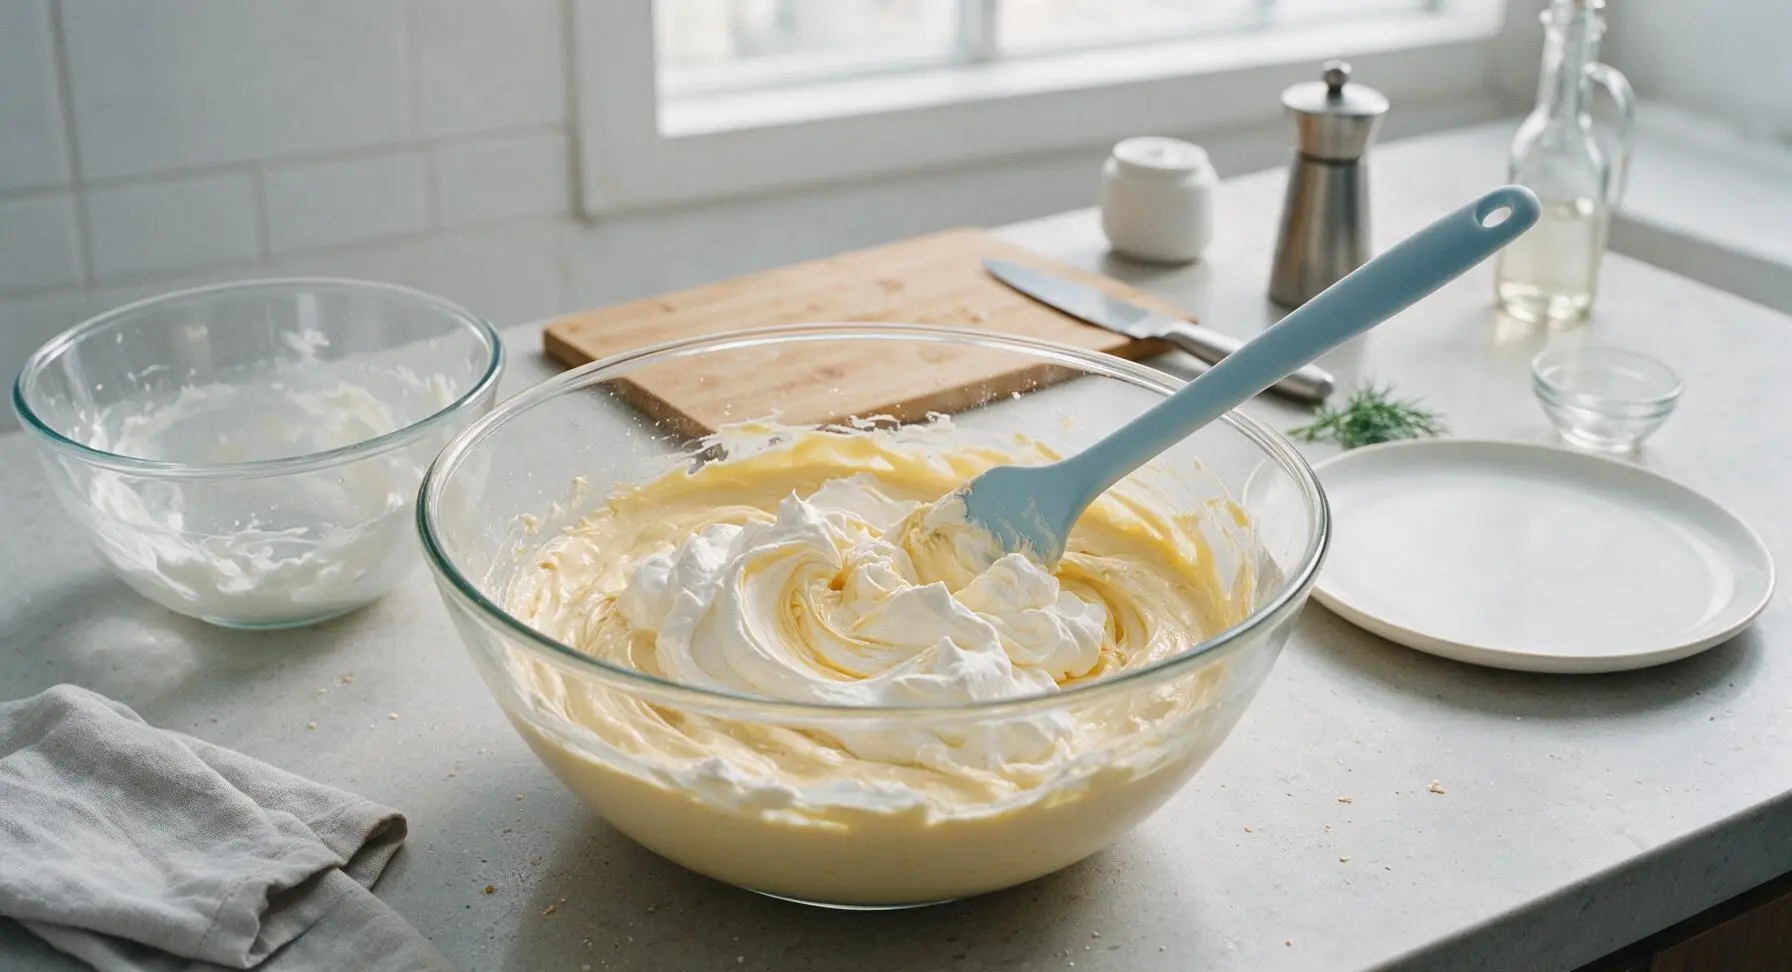
Portion and Chill
Spoon the smooth, uniform tiramisu cheese into the clear straight-sided glass dessert cup, smoothing the top gently with the silicone spatula to create a flat, even surface 1cm below the cup rim. Loosely cover the cup with plastic wrap, and chill in the refrigerator for a minimum of 2 hours, until the cheese firms to a thick, scoopable, velvety consistency. Do not freeze, as this will cause the mascarpone to separate and turn watery.
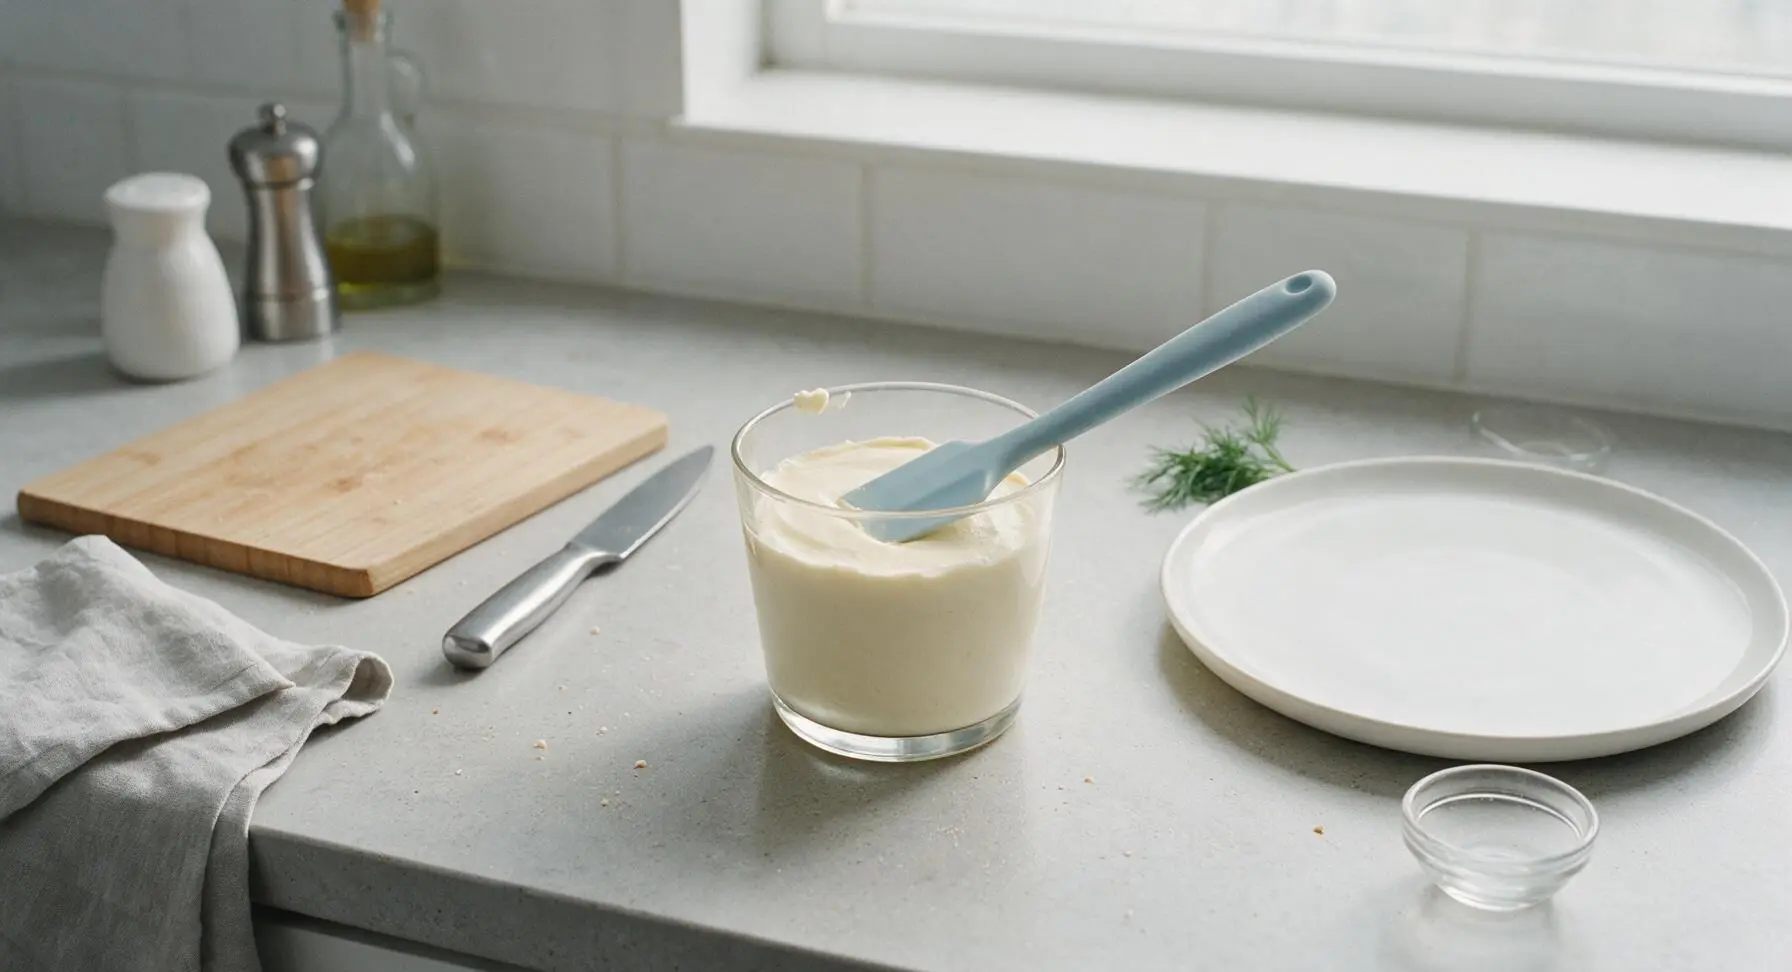
Dust Cocoa Garnish
Remove the chilled tiramisu cheese from the refrigerator. Place 1 tbsp unsweetened cocoa powder in the fine-mesh stainless steel sieve, hold the sieve 10cm above the cup, and tap the sieve edge gently to dust a thin, even layer of cocoa across the entire cheese surface. Tuck one small fresh mint leaf at the cup edge for a bright color accent, if desired.
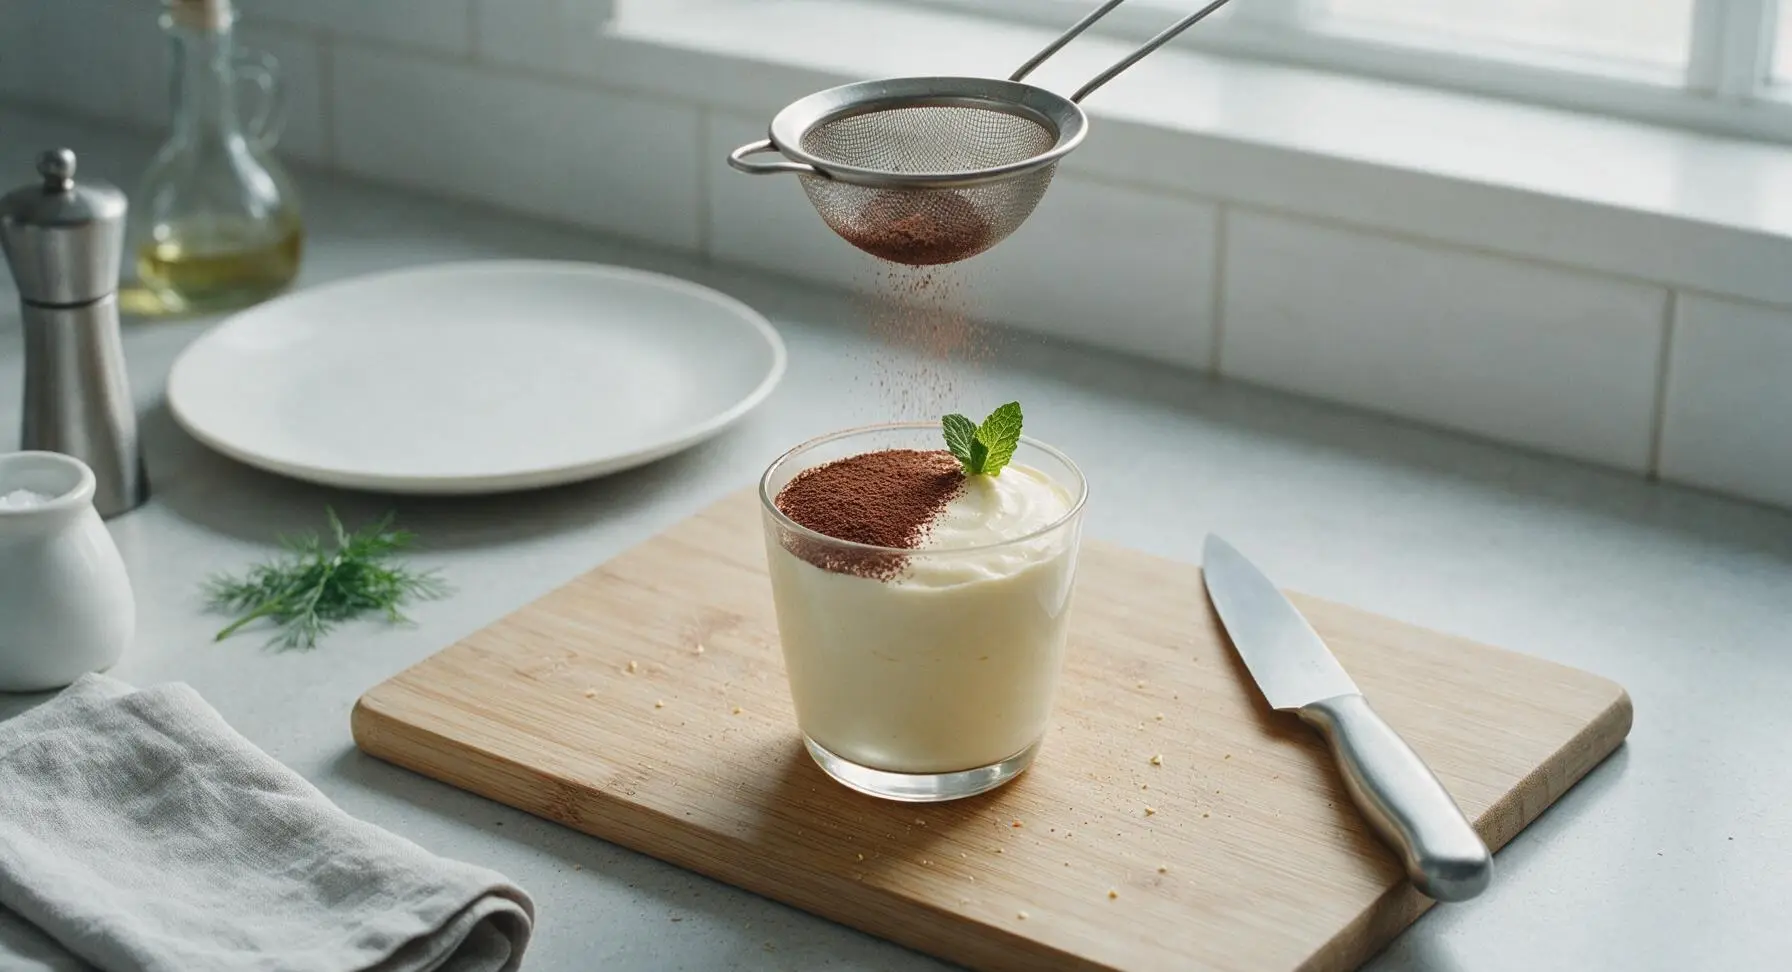
Tips
2.Keep the double boiler water at a bare simmer, not a rolling boil: high heat will cook the egg yolks too quickly, forming tiny curdled scrambled egg bits that ruin the smooth consistency of the tiramisu cheese.
3.For a non-alcoholic version, replace the Marsala wine with equal parts cold brew coffee plus 1/2 tsp pure vanilla extract: this preserves the deep, rich, aromatic flavor profile without alcohol, making the recipe kid-friendly for family gatherings.






OMG this creamy tiramisu cheese was an absolute game changer for our Sunday family dinner! I brought it out after the pasta course and every single person asked for seconds, even my super picky 7 year old who turns his nose up at most desserts. SO good, I’ll be making this for every potluck from now on!
Tasted amazing, no notes on the flavor at all – that creamy, coffee-kissed sweetness is exactly what I want in a tiramisu-adjacent treat. Only reason it’s 4 stars is I definitely overfolded the cheese mixture the first time and it got a little runny, total user error on my end. Gave it another go last night and it turned out perfect, fluffy and rich just like the photos.
I was so intimidated because I thought tiramisu-adjacent recipes were super high effort, but 10 minute cook time? Are you kidding? That’s unhinged for how rich and fancy this tastes. I served it at my roommate’s birthday dinner and everyone thought I ordered it from the fancy Italian spot down the block.
Meal prepped a batch of this to have with my morning fruit and graham crackers all week and I’m not exaggerating when I say it made dragging myself out of bed for work so much easier. The texture is so silky, no grainy cheese bits at all if you let the mascarpone soften properly first.
Just pulled this out of the fridge to chill for tonight’s taco night with friends (don’t judge, tiramisu cheese hits different after spicy carnitas) and the little test bite I took already has me hooked. Will update if there are any leftovers, but I highly doubt there will be.
Flavor was great, but I wish there was a note about making sure your heavy cream is super cold before whipping! My first batch didn’t set up right because I used cream that had been sitting on the counter for 20 minutes. Once I fixed that it was great, just a heads up for other new bakers.
Won first place in our neighborhood potluck dessert contest with this!!! I dusted a little extra cocoa powder on top and added a couple chocolate covered espresso beans for garnish and people were coming up to me for the recipe an hour after the party ended.
As a broke grad student who can barely boil pasta without burning it, I was shocked this turned out as good as it did. I used the cheap grocery store mascarpone because that’s all I could afford and it still tasted luxe as hell. 10/10, will be making this for every date night from now on.
This is so good, but I wish it had just a little more rum flavor? I added a tablespoon of dark rum to my second batch and it was perfect for my taste, but the base recipe is still chef’s kiss even without it. Super creamy, not overly sweet, exactly what I crave when I want tiramisu without all the ladyfinger layering hassle.
I’ve been making tiramisu for my family for over 40 years, and this creamy cheese version is now my go-to for when I don’t feel like messing with soaking ladyfingers for hours. My grandkids beg for it every time they come over, it’s smooth, not too bitter, just the right amount of cocoa dusted on top.
Great macro-friendly swap if you use part-skim ricotta and light mascarpone! I added a little extra cocoa powder and a pinch of stevia to cut the sugar a bit and it still tastes decadent, perfect for when I’m craving something sweet after a workout but don’t want to blow my calorie goals.
Served this at my weekend brunch spread alongside waffles, fresh berries, and mimosas and it was the first dish to get completely wiped out. People were dipping their waffle bites in it, putting it on top of fruit, I even caught one friend eating it straight out of the serving bowl with a spoon lmao. 10/10 no notes.
I was worried the medium difficulty rating meant I’d mess this up, but the step-by-step instructions were so easy to follow! I’ve never made a cheese-based dessert that didn’t come out lumpy before, but this was silky smooth on my very first try. Already texted the recipe to all my baking friends.
Just finished making this for my partner’s birthday and they said it’s better than the tiramisu we had on our trip to Rome last year. That’s the highest possible praise if you ask me, I’ll definitely be adding this to our regular dessert rotation.