
Tiramisu Cheesecake
intro
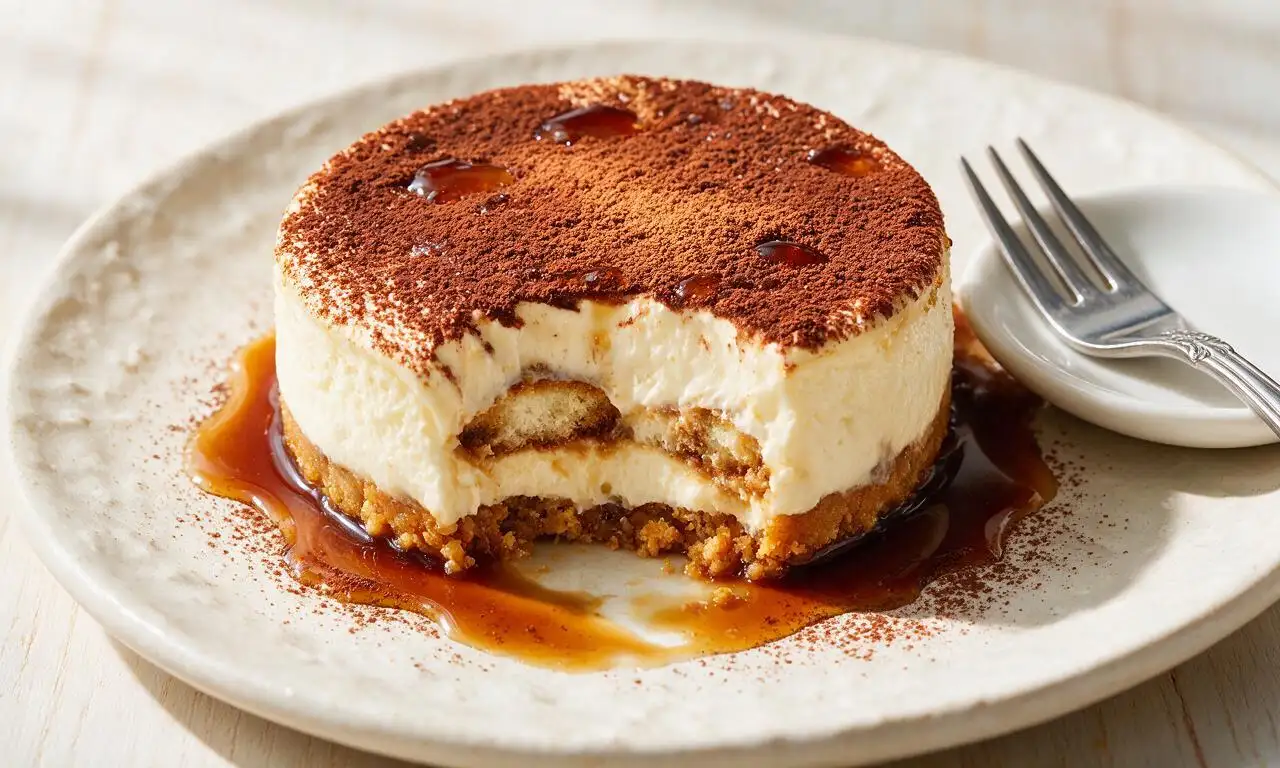
A luscious fusion of classic Italian tiramisu and rich New York-style cheesecake, infused with coffee and cocoa for a decadent, crowd-pleasing make-ahead dessert.
Ingredients
Steps
Make graham cracker crust
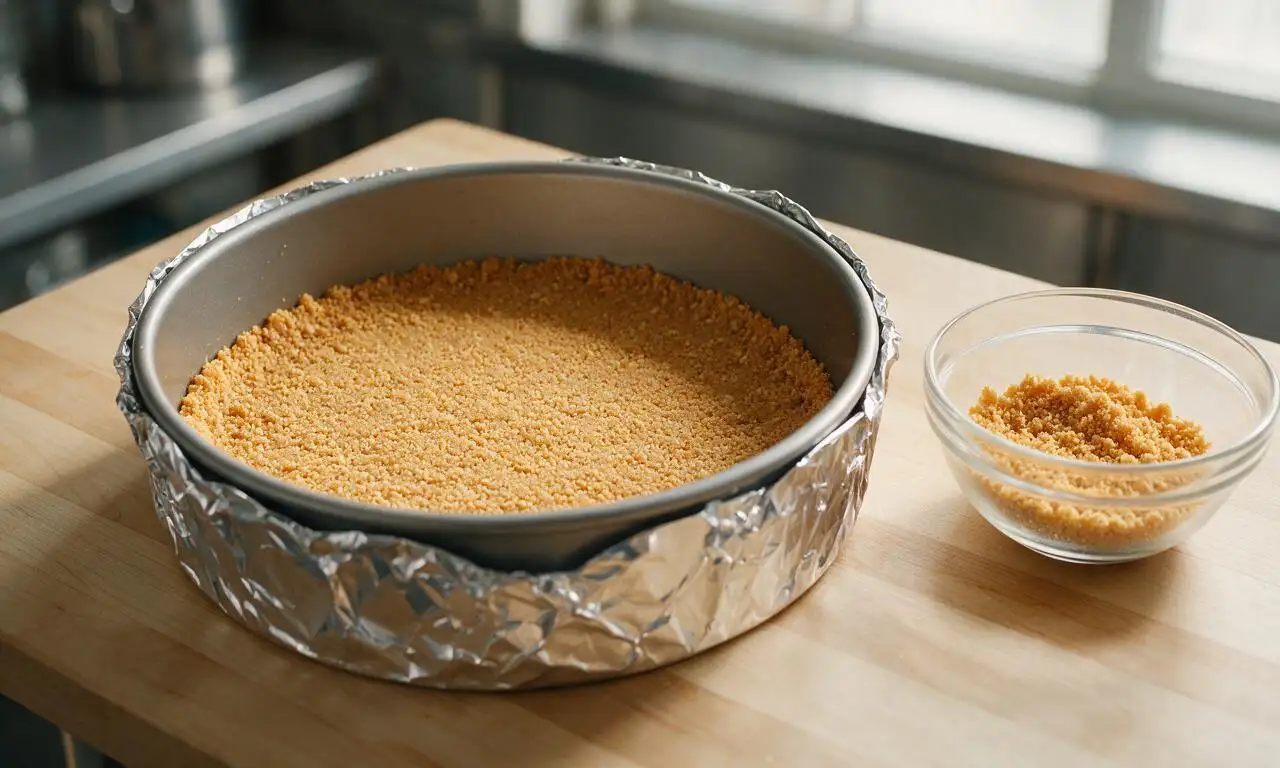
Preheat your oven to 175°C (350°F). Wrap the exterior of a 9-inch (23cm) springform pan with 2 layers of heavy-duty aluminum foil to prevent water leaks during the water bath bake. Mix 150g (1 ½ cups) graham cracker crumbs, 25g (2 tablespoons) granulated sugar, and 85g (6 tablespoons) melted unsalted butter in a medium bowl until all crumbs are evenly moistened. Press the crumb mixture firmly into the pan bottom and 1 inch up the pan sides to form a tight, even crust. Bake for 10 minutes, then transfer to a wire rack to cool while you prepare the filling.
Blend smooth cheese base
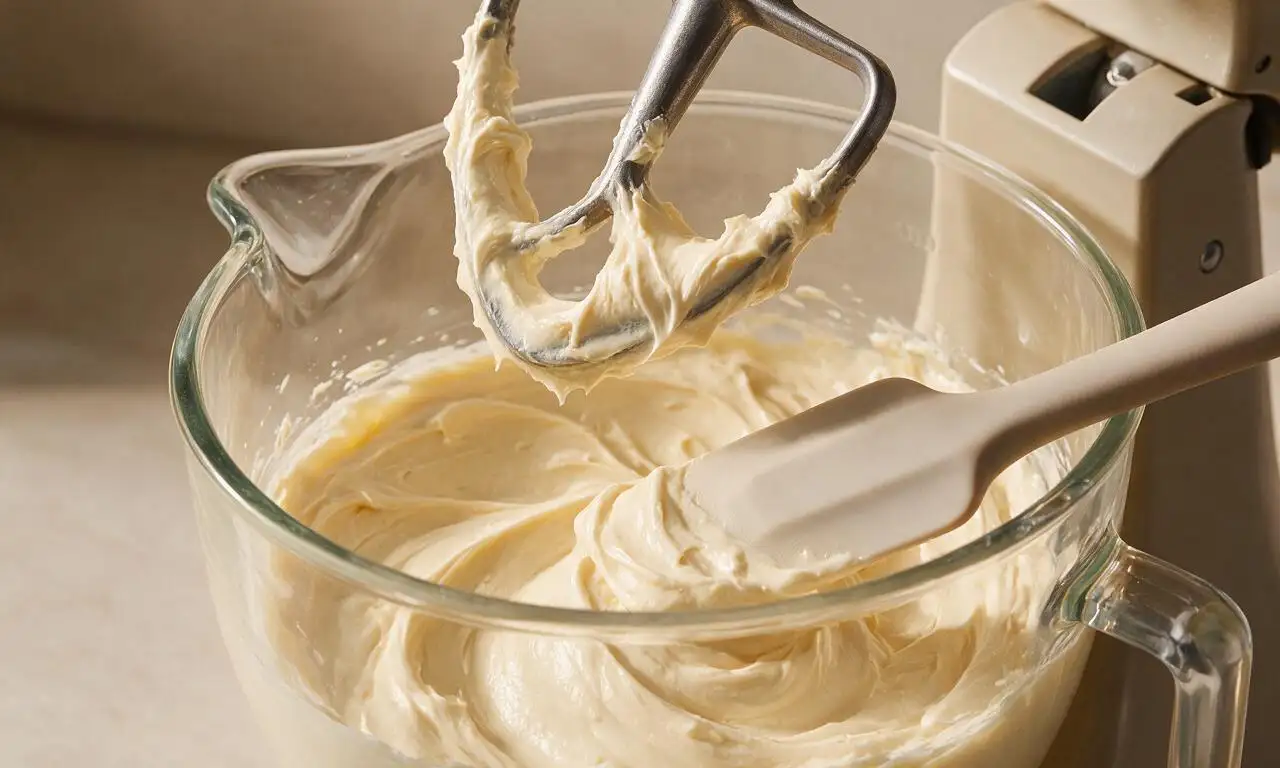
In a large stand mixer fitted with a paddle attachment, beat 450g room-temperature full-fat cream cheese and 227g room-temperature mascarpone cheese on medium-low speed for 3 minutes until completely smooth, with no visible lumps. Add the remaining 150g (¾ cup) granulated sugar and 16g (2 tablespoons) all-purpose flour, then beat for 2 more minutes on low speed, scraping down the bowl sides and paddle with a silicone spatula halfway through to ensure even mixing. Do not beat on high speed, as this traps excess air that causes cheesecake cracking during baking.
Incorporate eggs and dairy
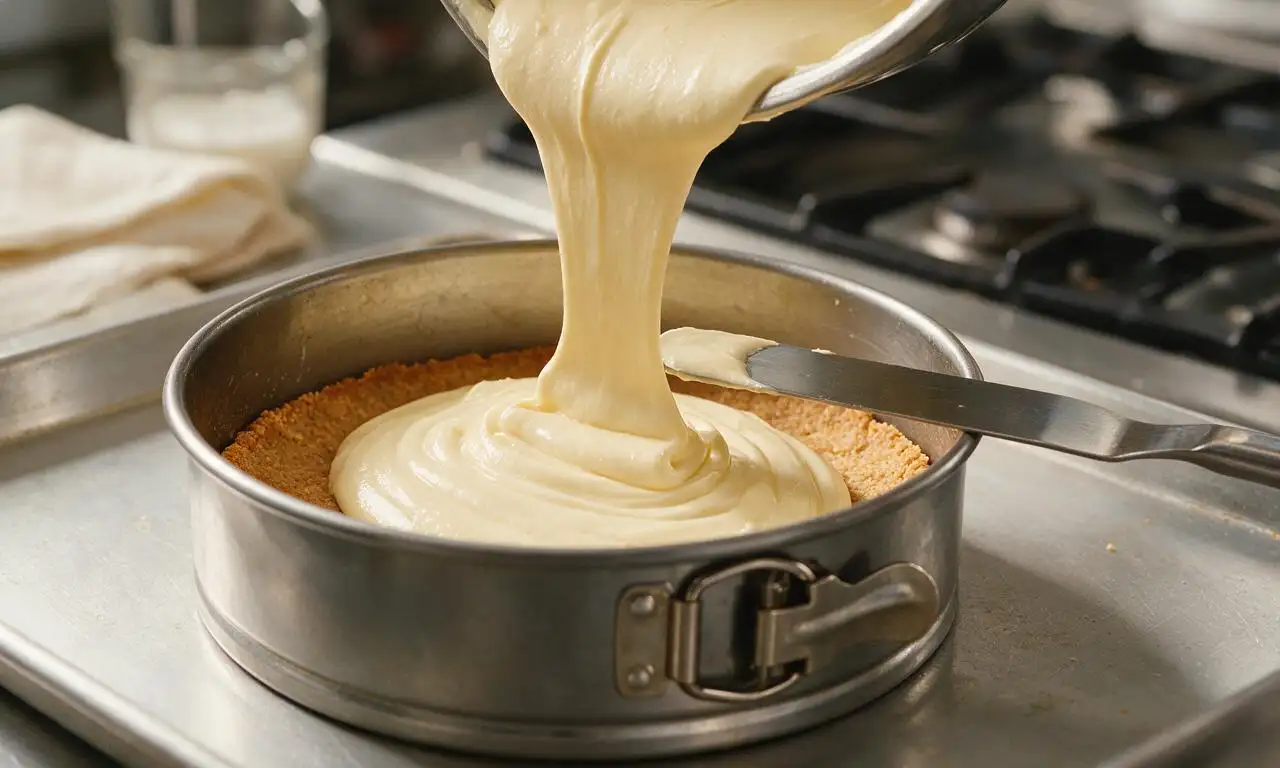
Add 3 room-temperature large eggs one at a time, beating on low speed for 30 seconds after each addition, and scraping down the bowl sides after every egg to avoid lumps. Stir in 113g (½ cup) full-fat sour cream and 2 teaspoons vanilla extract, mixing on low speed for 1 minute until fully combined, taking care not to overmix. Pour exactly half of the finished cheesecake batter over the cooled graham cracker crust, spreading it into a flat, even layer with an offset spatula.
Bake in water bath
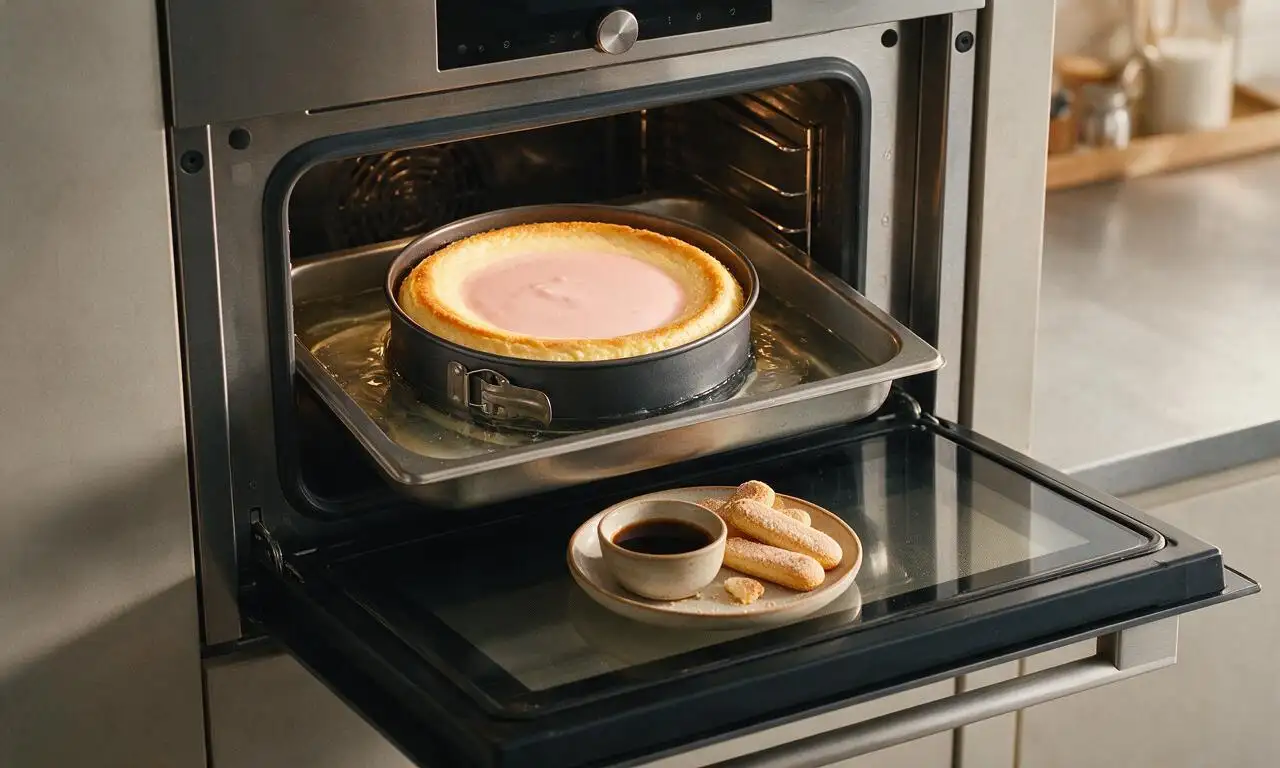
Stir together 120ml (½ cup) cooled espresso and 30ml (2 tablespoons) Kahlua in a shallow dish. Dip 8 ladyfinger cookies for 1 second per side (do not oversoak, as this causes sogginess) then arrange them in a single even layer over the first layer of cheesecake batter. Pour the remaining cheesecake batter over the ladyfingers, smoothing the top gently. Set the springform pan inside a larger roasting pan, then pour hot tap water into the roasting pan until it reaches 1 inch up the sides of the cheesecake pan. Bake at 175°C (350°F) for 55 minutes: the edges will be fully set, but the 2-inch center will jiggle slightly like firm Jell-O. Turn off the oven, crack the door open 1 inch, and let the cheesecake cool inside the oven for 1 full hour to prevent sudden temperature changes that cause cracking.
Chill cheesecake fully
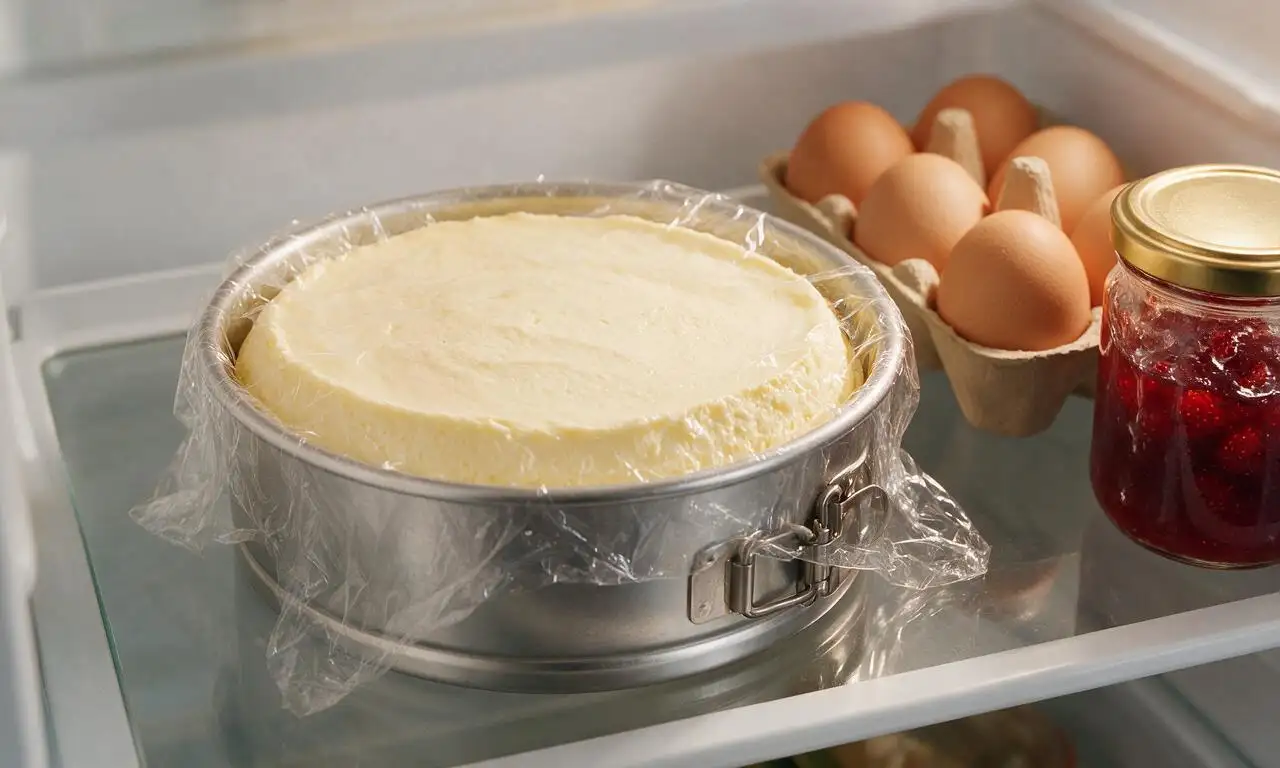
Remove the cheesecake from the water bath, peel off the aluminum foil, and run a thin paring knife around the inner edge of the pan to loosen the cheesecake sides from the metal. Transfer to a wire rack to cool to room temperature, about 1 hour, then cover loosely with plastic wrap and refrigerate for a minimum of 6 hours (preferably overnight) until completely firm to the touch. Do not add any toppings before the cheesecake is fully chilled, as warm surfaces will melt whipped cream and cause cocoa to clump.
Add toppings and serve
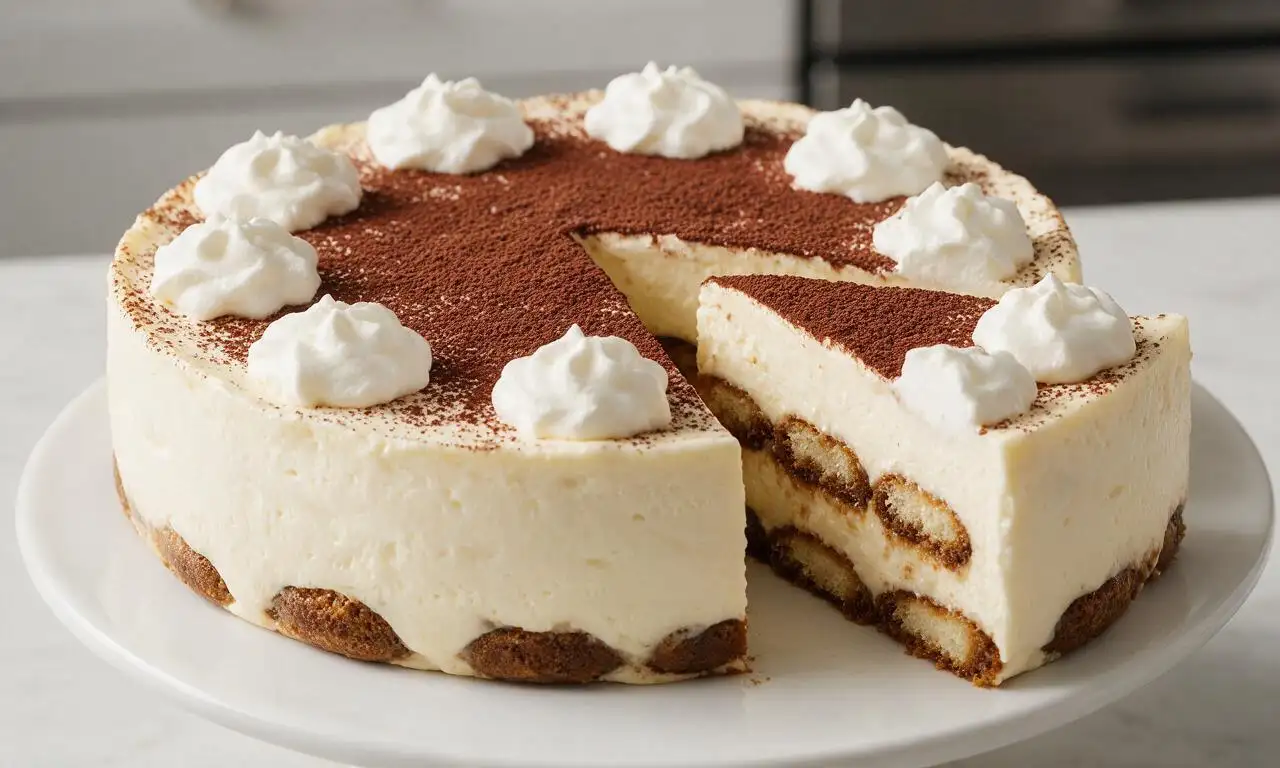
When ready to serve, unlatch the springform pan and transfer the cheesecake to a flat serving platter. Whip 240ml (1 cup) cold heavy whipping cream with 15g (2 tablespoons) powdered sugar on medium speed for 2 minutes until soft, billowy peaks form. Dollop the whipped cream in even mounds around the cheesecake edge, then dust the entire top surface evenly with 2 tablespoons unsweetened cocoa powder. Slice into 8 equal wedges to serve.
Tips
2.Never oversoak ladyfingers in the espresso mixture: dipping longer than 1 second per side will make the cookies absorb too much liquid, leading to a soggy, unset cheesecake center.
3.Do not skip the water bath: the gentle, moist heat from the water cooks the cheesecake evenly, preventing rubbery edges, surface cracks, and a dry texture.






OMG this creamy tiramisu cheesecake was the star of our Sunday family dinner! I was nervous about the medium difficulty rating but the steps were so straightforward, even as a casual baker. The coffee and mascarpone flavor balance is *chef’s kiss*, no one believed I made it from scratch. 10/10 will be making this for every potluck from now on!
Brought this to my office holiday party last week and people were literally coming up to me for the recipe all night. Only note is don’t skip the chilling time! I almost cut it short at 4 hours and it was way too soft, stuck it back in the fridge for 3 more and it was perfect. SO good.
My kids loved it! I was worried the coffee flavor would be too strong for them so I swapped half the espresso for decaf and they went back for second slices before I even finished serving everyone. The creamy texture is unreal, way better than the store-bought tiramisu cheesecake I usually grab for birthdays.
Wait, has anyone tried making this with a gluten-free graham cracker crust? I have a friend with celiac coming to our girls’ night next weekend and I want to make this but don’t want to mess up the texture. Also how far in advance can I make it?
I’m usually a savory cook, not big on baking, but I made this for my wife’s birthday and she teared up it was so good. Followed the recipe exactly, didn’t cut any corners on the chill time (waited a full 8 hours, trust the process) and it came out perfectly creamy, no weird lumps or cracks on top. Will definitely be adding this to my special occasion rotation.
Full transparency, I messed up the first batch because I overmixed the cheesecake filling and it cracked while baking 😅 Tried again yesterday, mixed on low speed like the tips said, and it came out perfect! That creamy, boozy (I added a tiny extra splash of Kahlua, don’t judge) tiramisu flavor is unmatched.
Game changer! I’ve made a lot of tiramisu and a lot of cheesecake in my day, but combining them? Why didn’t I think of that earlier? The cocoa dusting on top with that little layer of soaked ladyfingers is pure genius, every bite tastes like a fancy restaurant dessert but I made it in my own kitchen.
Wait, the cook time says 2 hours plus 6+ hours chill—has anyone ever frozen this to make it set faster? I’m crunched for time before a dinner party on Saturday and don’t want to wait the full chill time if I don’t have to.
Made this for my roommate’s graduation party and we ate half the pan in one sitting lmao. It’s so rich and creamy, the espresso cuts the sweetness perfectly so you don’t get that cloying sugary aftertaste a lot of cheesecakes have. 10/10, even my super picky Italian roommate said it tasted like the tiramisu his nonna makes.
I will say, this is definitely medium difficulty like the recipe says—don’t go into it thinking it’s a no-bake 30 minute dessert! The water bath step felt intimidating at first but I wrapped my springform pan in three layers of foil and no water got in, thank goodness. The end result was so worth the extra effort.
I was skeptical this would hold up for meal prep desserts for the week but I sliced it up, put individual slices in airtight containers, and they stayed perfectly creamy for 4 whole days in the fridge! Total win for my weekly lunch prep, I don’t have to make a separate dessert every night now.
Has anyone tried adding a layer of dark chocolate ganache on top of this? I’m a total chocoholic and feel like a thin ganache layer would pair so well with the coffee and mascarpone, but I don’t want to overpower the classic tiramisu flavor.
Tried this after seeing it pop up on my feed and I’m obsessed. The ladyfinger layer soaked in espresso and rum is so authentic, it doesn’t taste like a cheap knockoff tiramisu cheesecake you get at the grocery store bakery. I brought slices to my coworkers and they all asked for the link within 10 minutes of taking their first bite.
Full disclosure: I forgot to add the sugar to the mascarpone filling on my first go-round. It was… not great. Remade it, measured everything out properly this time, and it was a home run. My daughter asked for it as her birthday cake this year instead of the usual funfetti, so that’s the highest possible praise if you ask me.
Wait, does anyone know if this works with dairy-free cream cheese and mascarpone substitutes? I’m dairy intolerant but have been craving tiramisu cheesecake for months and don’t want to make a whole pan that turns out grainy or weird.
Made this for our weekly game night with friends and it was gone in 15 minutes. Everyone was raving about it, even the guy who swears he “doesn’t like cheesy desserts” had two slices. The ladyfinger crust layer is such a nice touch instead of just straight graham cracker, it really sells the tiramisu vibe.
I’ve been baking for 40+ years and I have to say, this recipe is so well written. The tips for preventing cracks, the exact chill time note, the water bath instructions—all so clear for new bakers, and the end result is rich, creamy, perfectly balanced between coffee, sweet, and that hint of rum. I’ll be passing this recipe along to my grandkids for sure.
Okay don’t come for me, but I added a scoop of vanilla protein powder to the filling? It sounds weird but it actually worked! It added a little extra protein boost and didn’t mess up the texture at all, I still got that super creamy tiramisu flavor. Even my trainer asked for the recipe when I brought a slice for him.
Served this at my boozy brunch last weekend and it was the perfect pairing with mimosas. It’s rich but not heavy, so people didn’t feel too stuffed after eating a slice with their pancakes and eggs. I topped each slice with a little dollop of whipped cream and an espresso bean for garnish, it looked so fancy for barely any extra work.
I made this on a rainy Saturday when I had nothing else to do and it turned my whole weekend around. The process was so therapeutic, and waiting for it to chill felt like a little reward the next day when I got to have a slice with my morning coffee. It’s creamy, dreamy, and tastes like a hug in dessert form. 10/10