
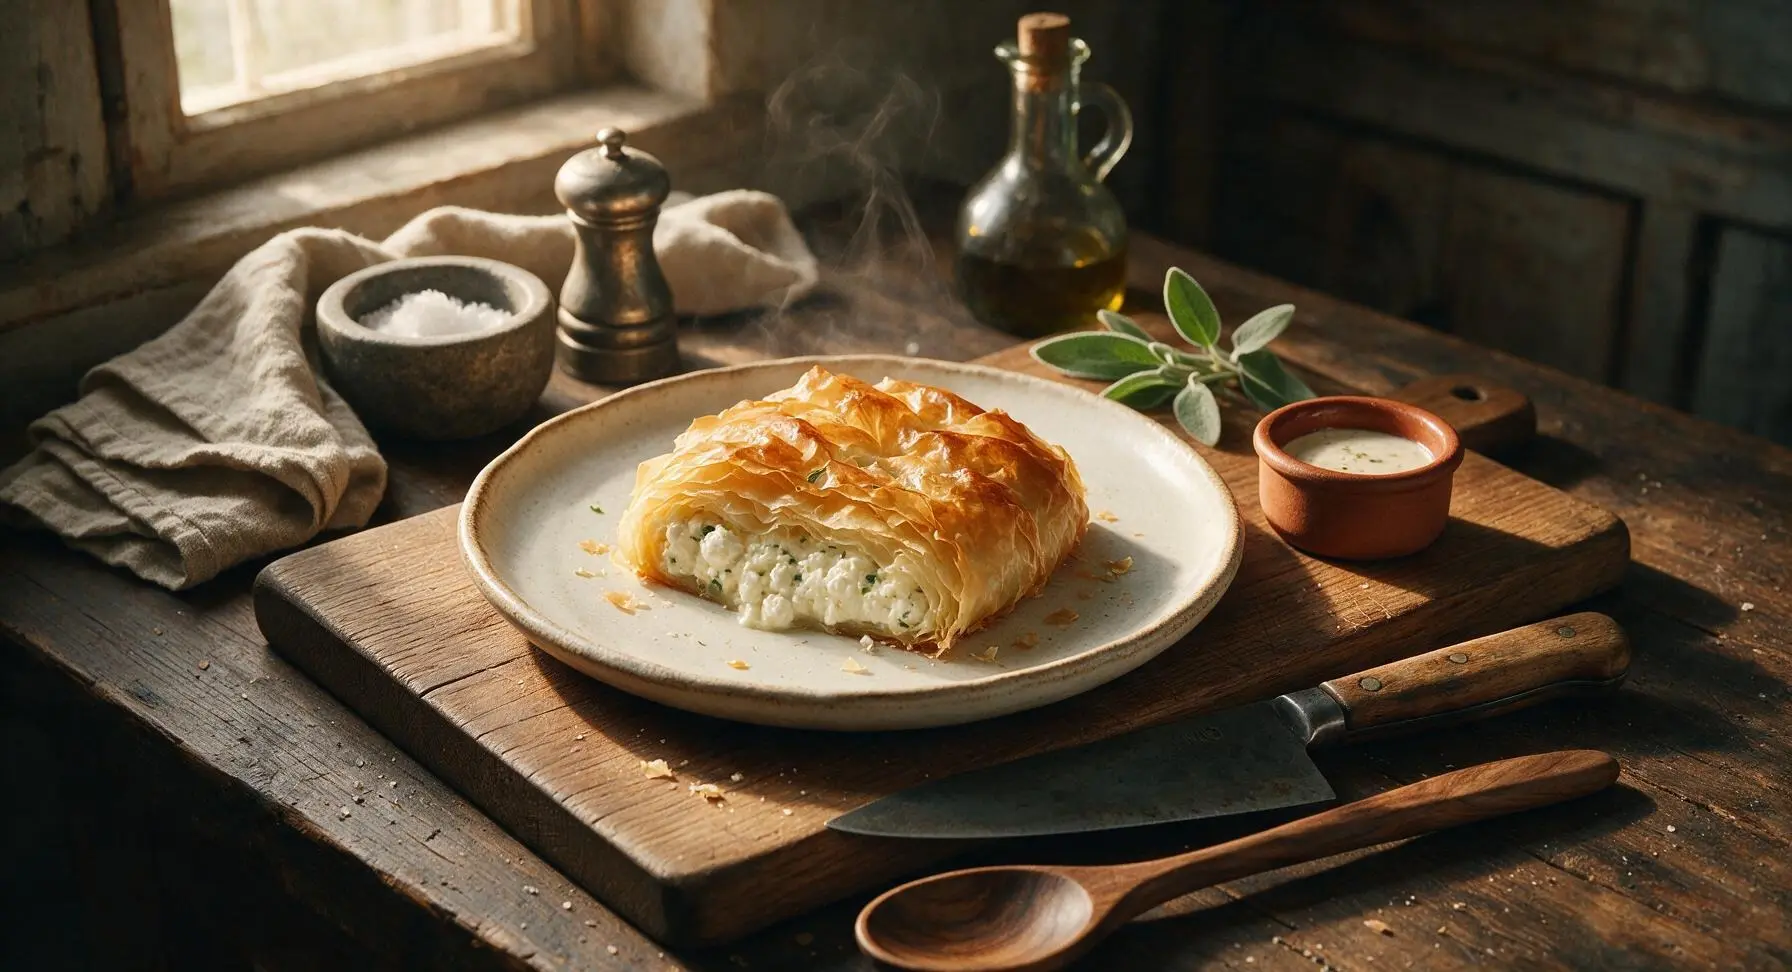
tiropita

title 1
tiropita
⏱️ cook time 40 minutes
🍽️ servings 8
⚡ Difficulty medium

intro

Crisp, golden flaky phyllo layers wrapped around a salty, creamy feta and ricotta filling, tiropita is the beloved Greek cheese pie that travels beautifully and disappears fast at any shared meal.

Ingredients
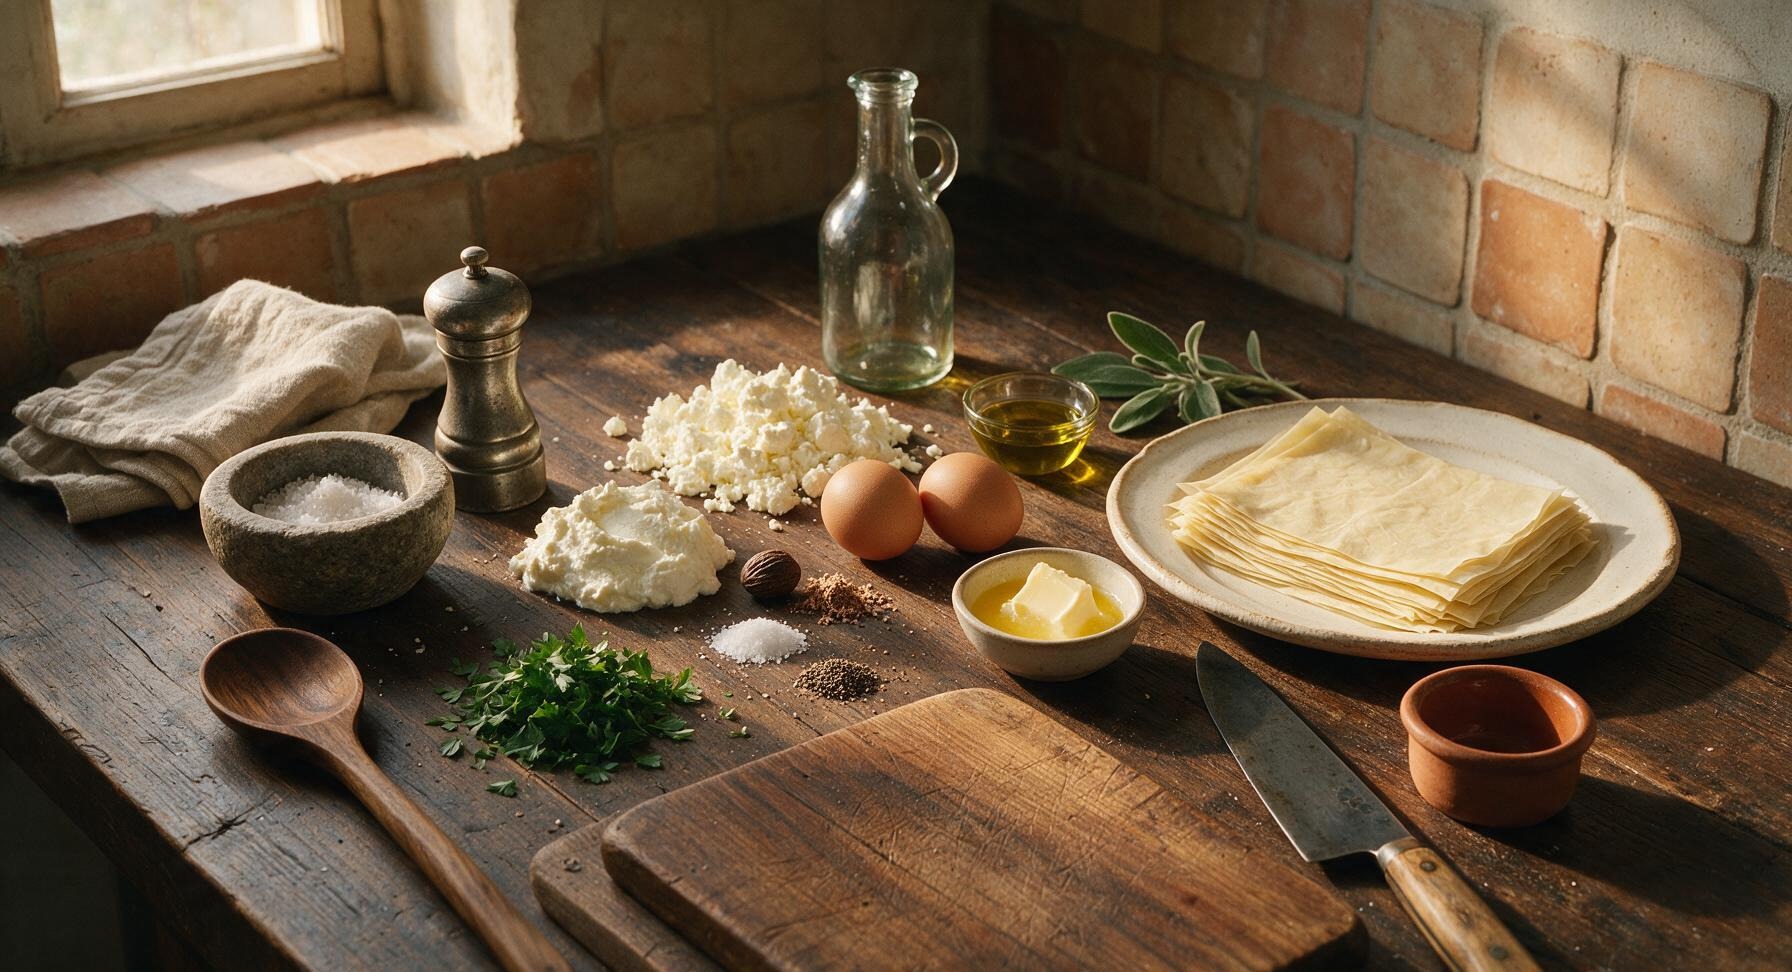
Phyllo dough (thawed) 400g (15 sheets)
Feta cheese 300g, crumbled
Whole milk ricotta cheese 200g
Large eggs 2
Unsalted butter 113g (1 stick), melted
Extra virgin olive oil 2 tbsp
Whole nutmeg 1/4 tsp, freshly grated
Kosher salt 1/2 tsp
Freshly ground black pepper 1/4 tsp
Fresh flat-leaf parsley 2 tbsp, chopped

Steps

1

Mix Cheese Filling

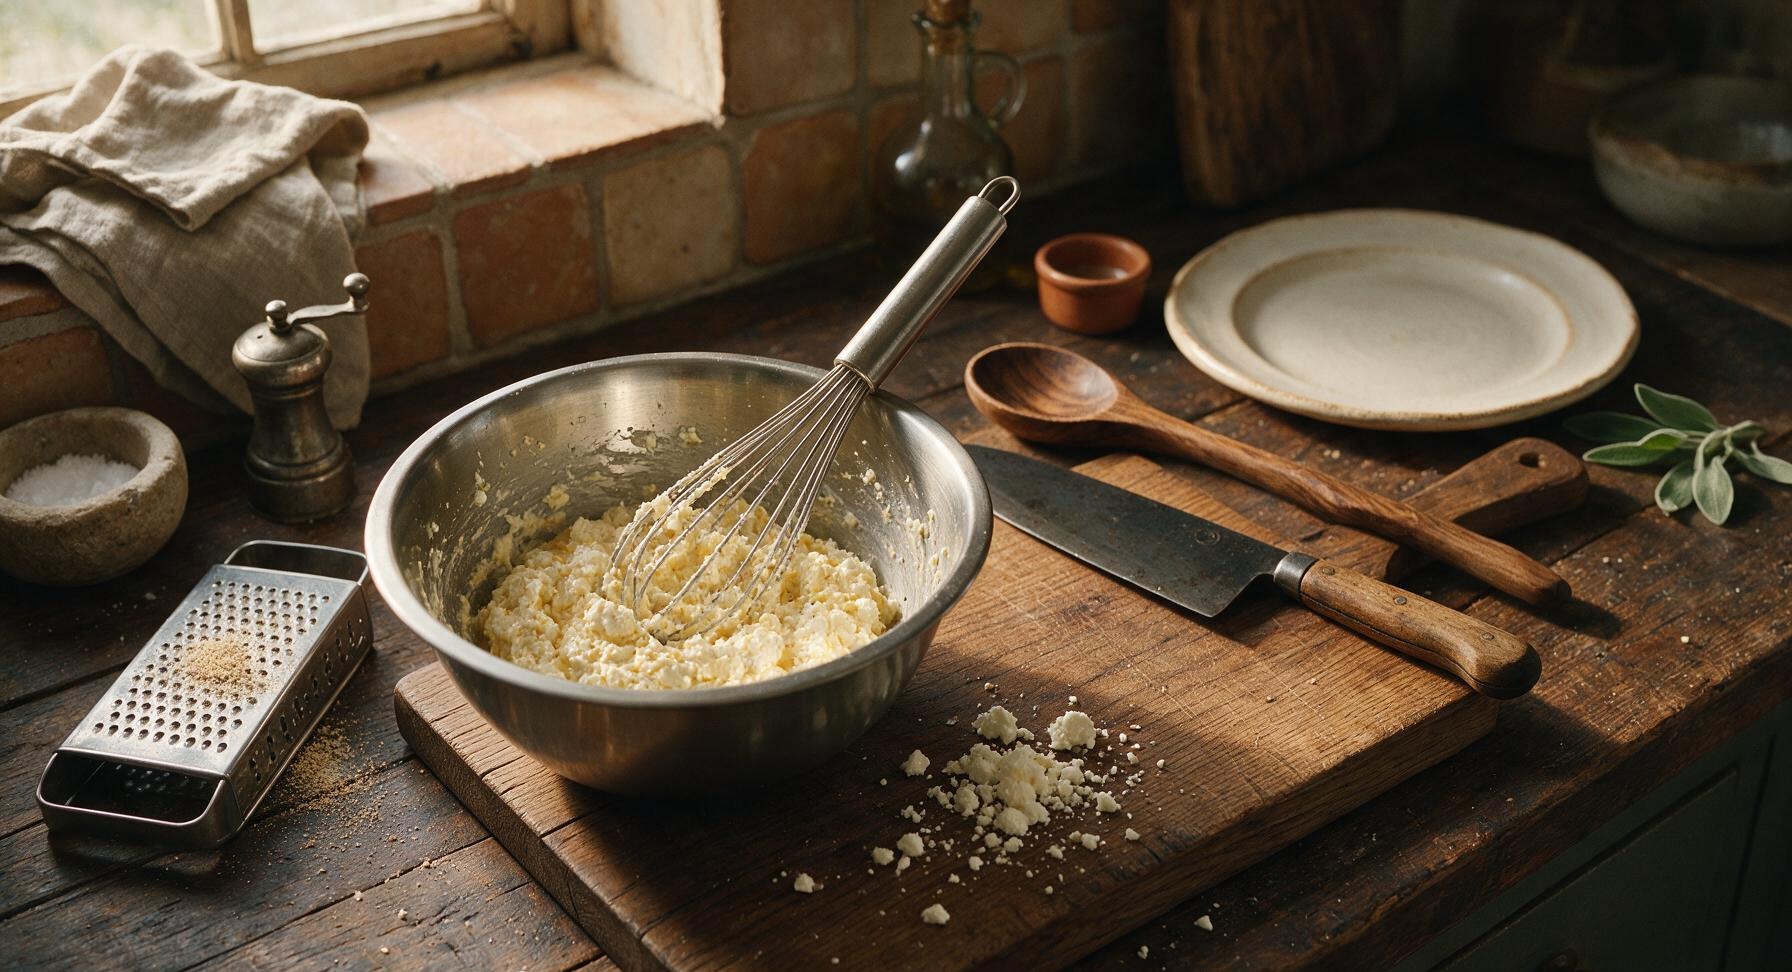
Before you begin, preheat your oven to 180C (350F). Crumble 300g feta cheese into the stainless steel mixing bowl, add 200g whole milk ricotta, then crack 2 large eggs into the bowl. Grate fresh nutmeg over the bowl using the box grater, then add 1/2 tsp kosher salt and 1/4 tsp black pepper. Use the stainless steel wire whisk (retrieved from its wall hook) to stir until completely smooth, with no large lumps of feta remaining. Set the bowl aside while you prep the phyllo.
Step 1
step1:Mix Cheese Filling
2

Prep Pan and Phyllo

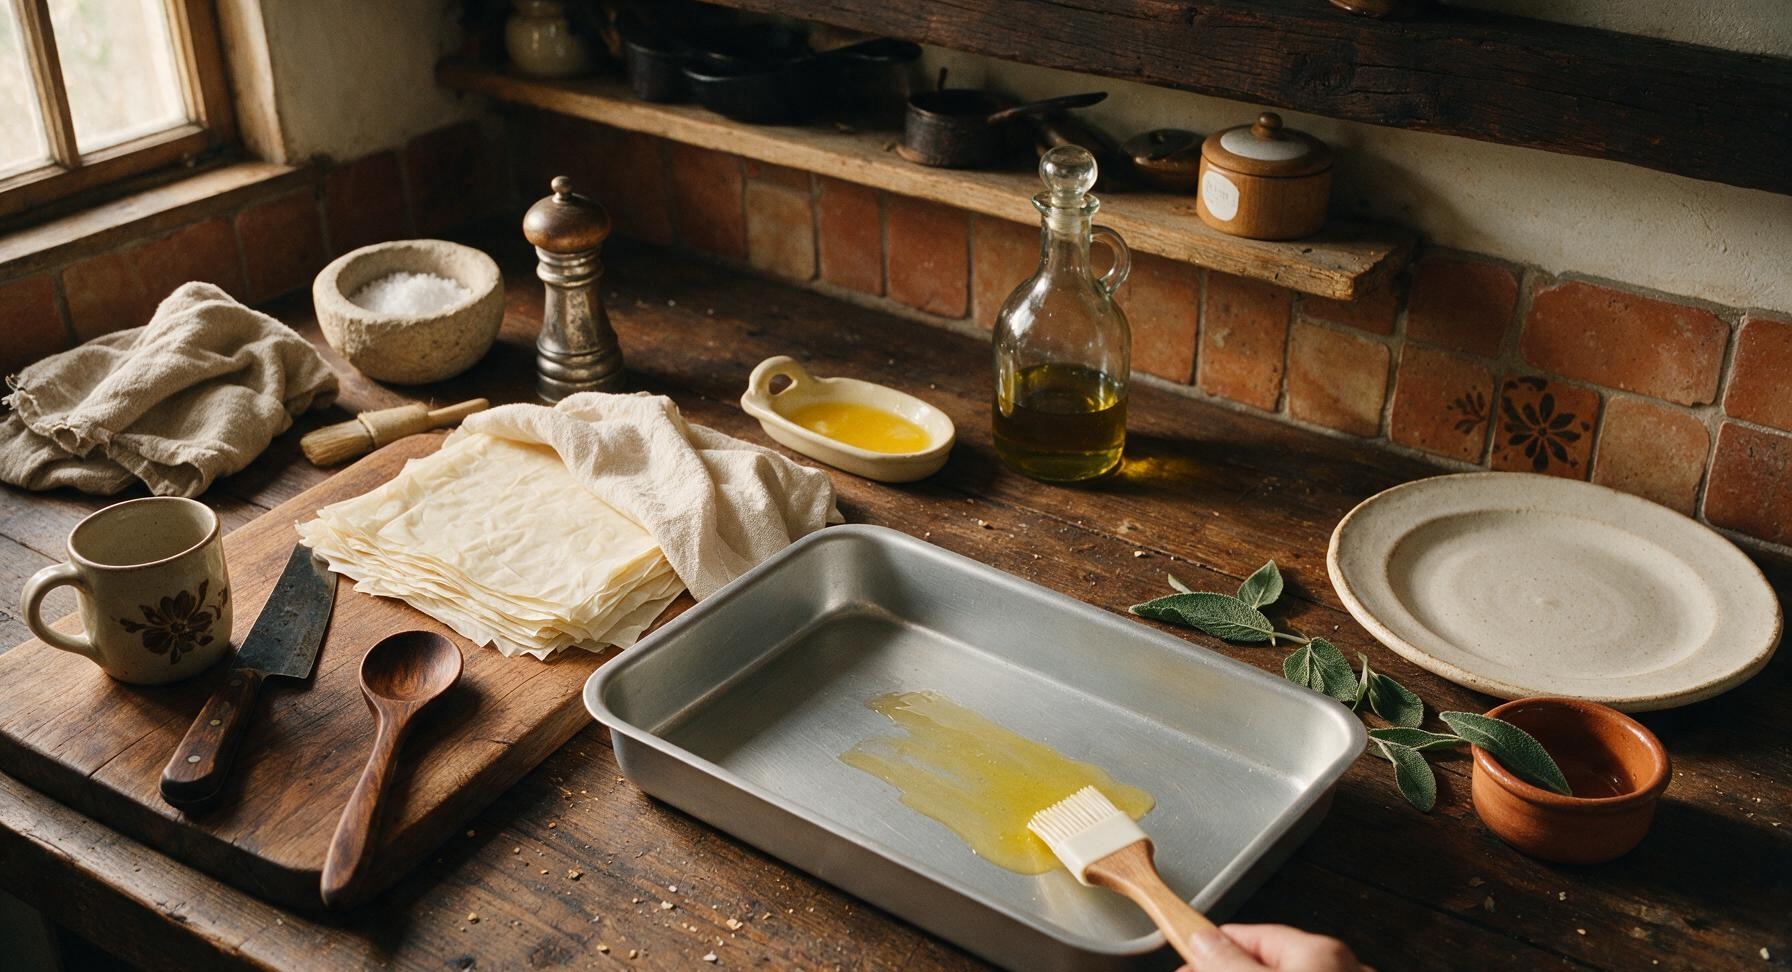
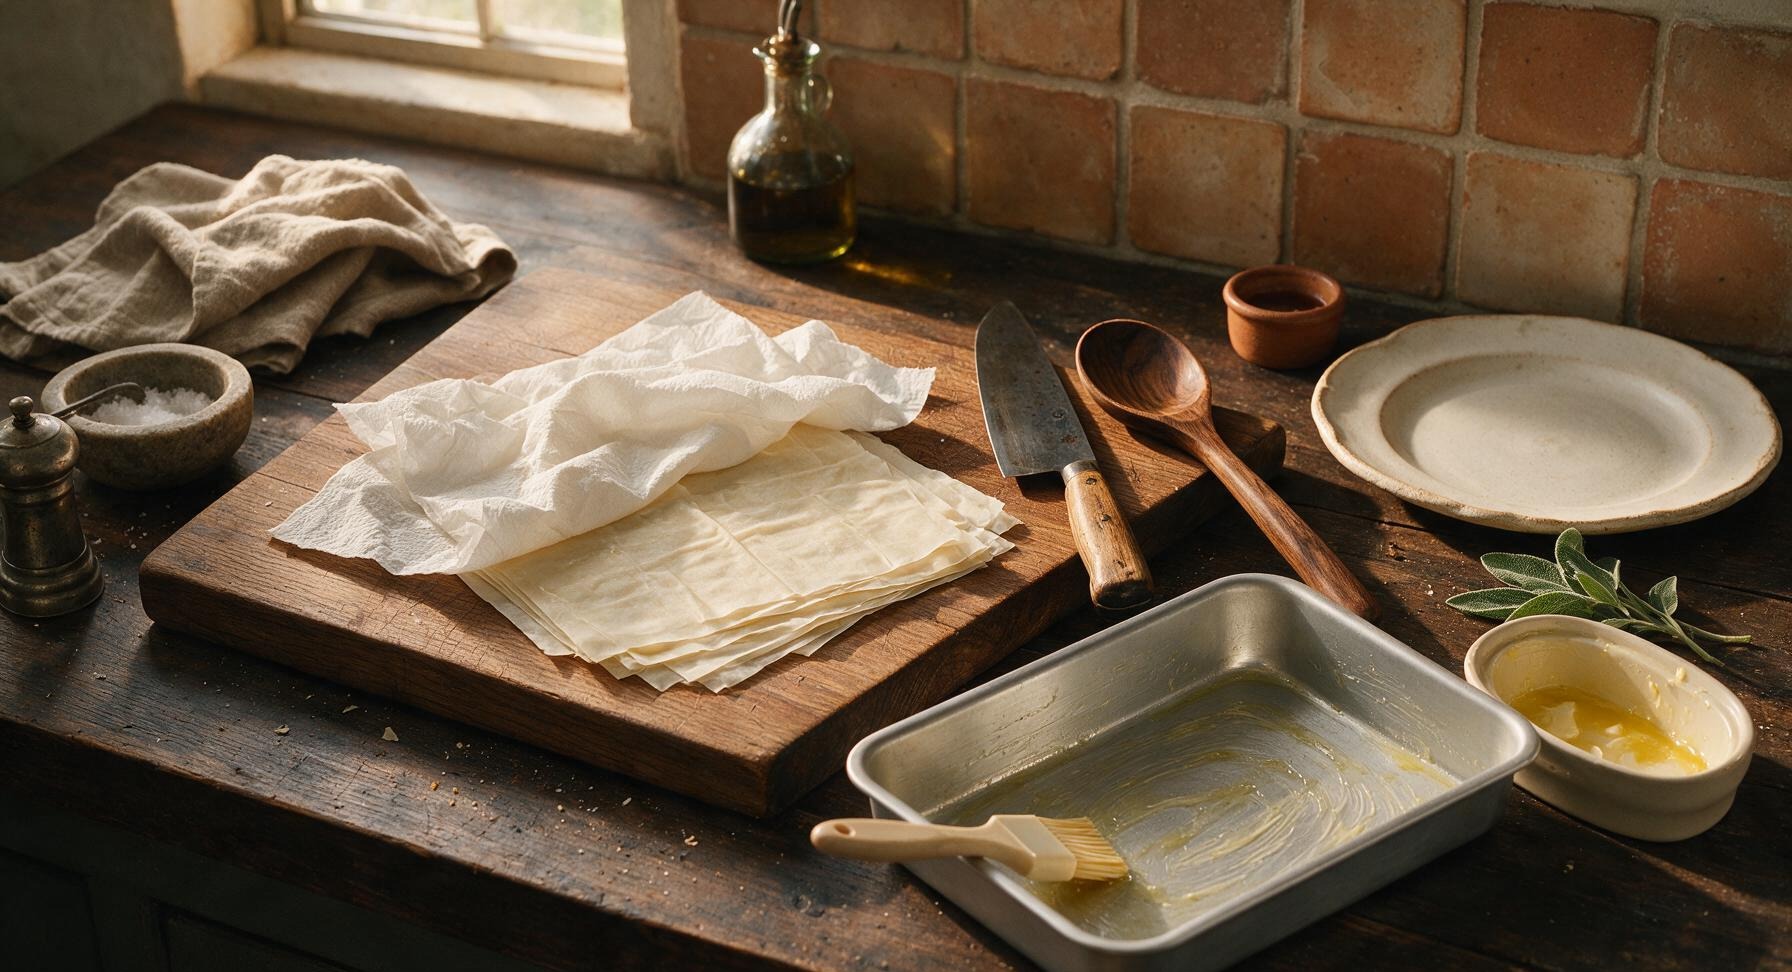
Retrieve the 9x13 inch matte silver aluminum baking pan from the rear oak shelf. Stir 2 tbsp extra virgin olive oil into the melted butter in the pale cream butter dish, then use the silicone pastry brush to coat the entire interior (bottom and sides) of the pan with the butter-oil mixture to prevent sticking. Unroll the thawed phyllo dough on the beech wood cutting board, and cover loosely with a slightly damp paper towel to prevent it from drying out as you work.
Step 2
step2:Prep Pan and Phyllo
Step 2
step2:Prep Pan and Phyllo
3

Layer Phyllo Base

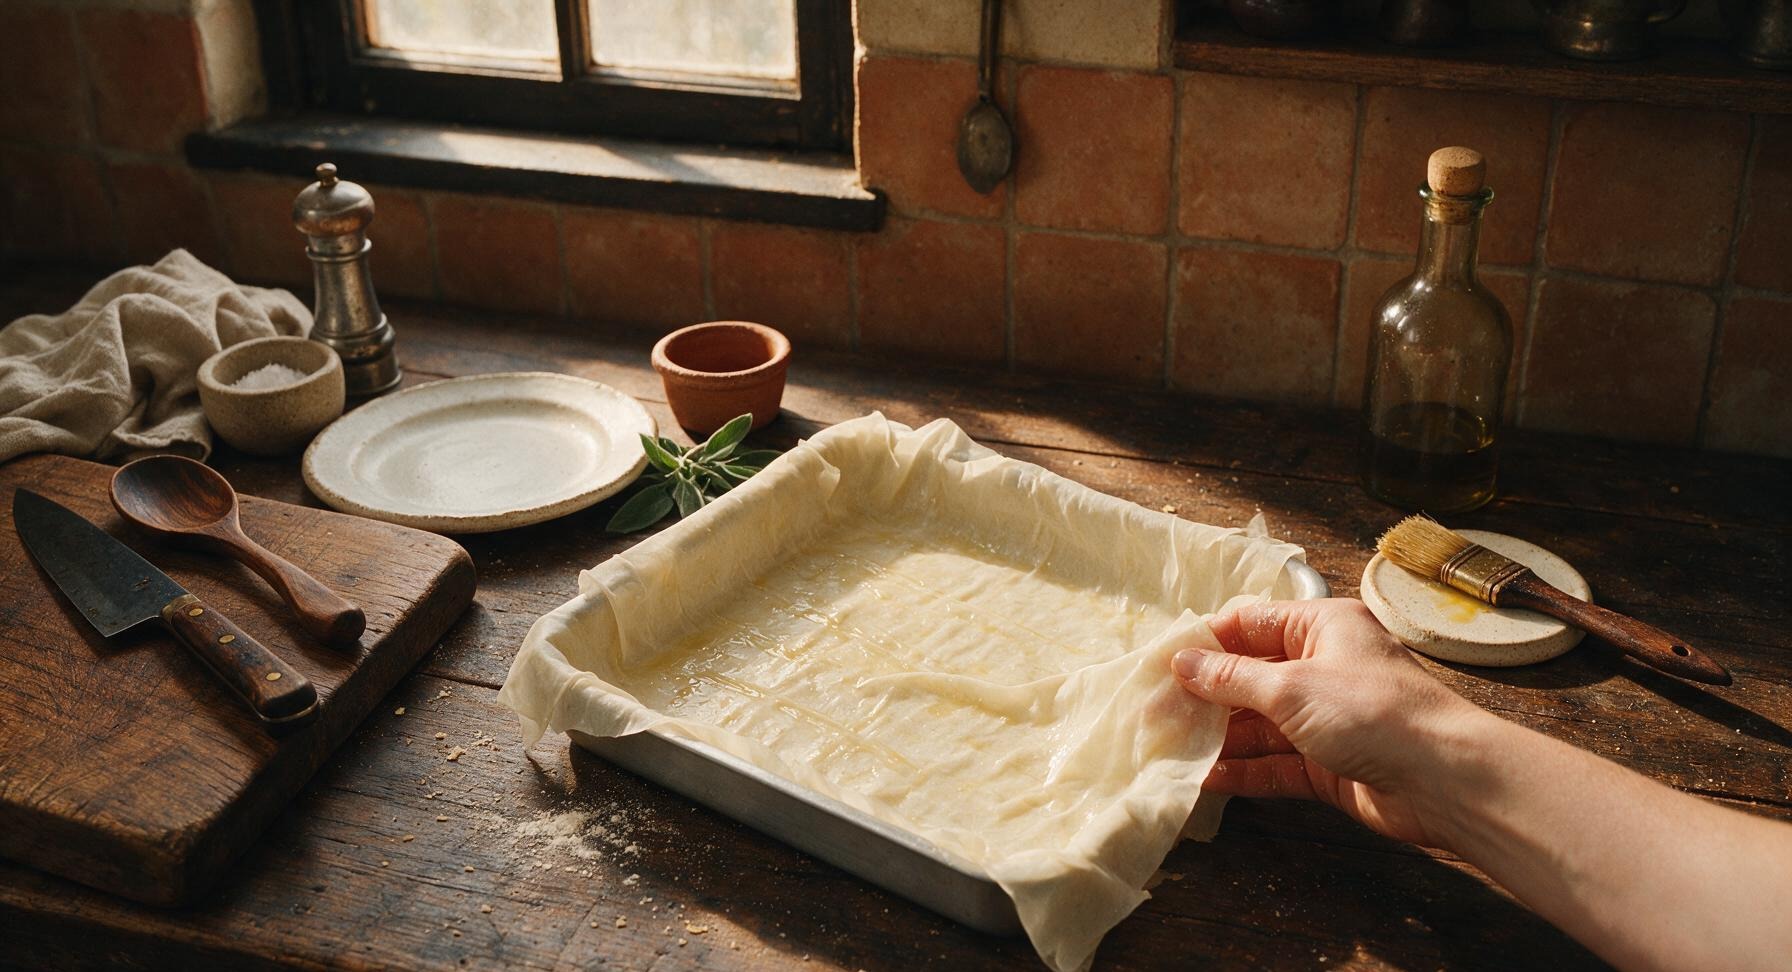
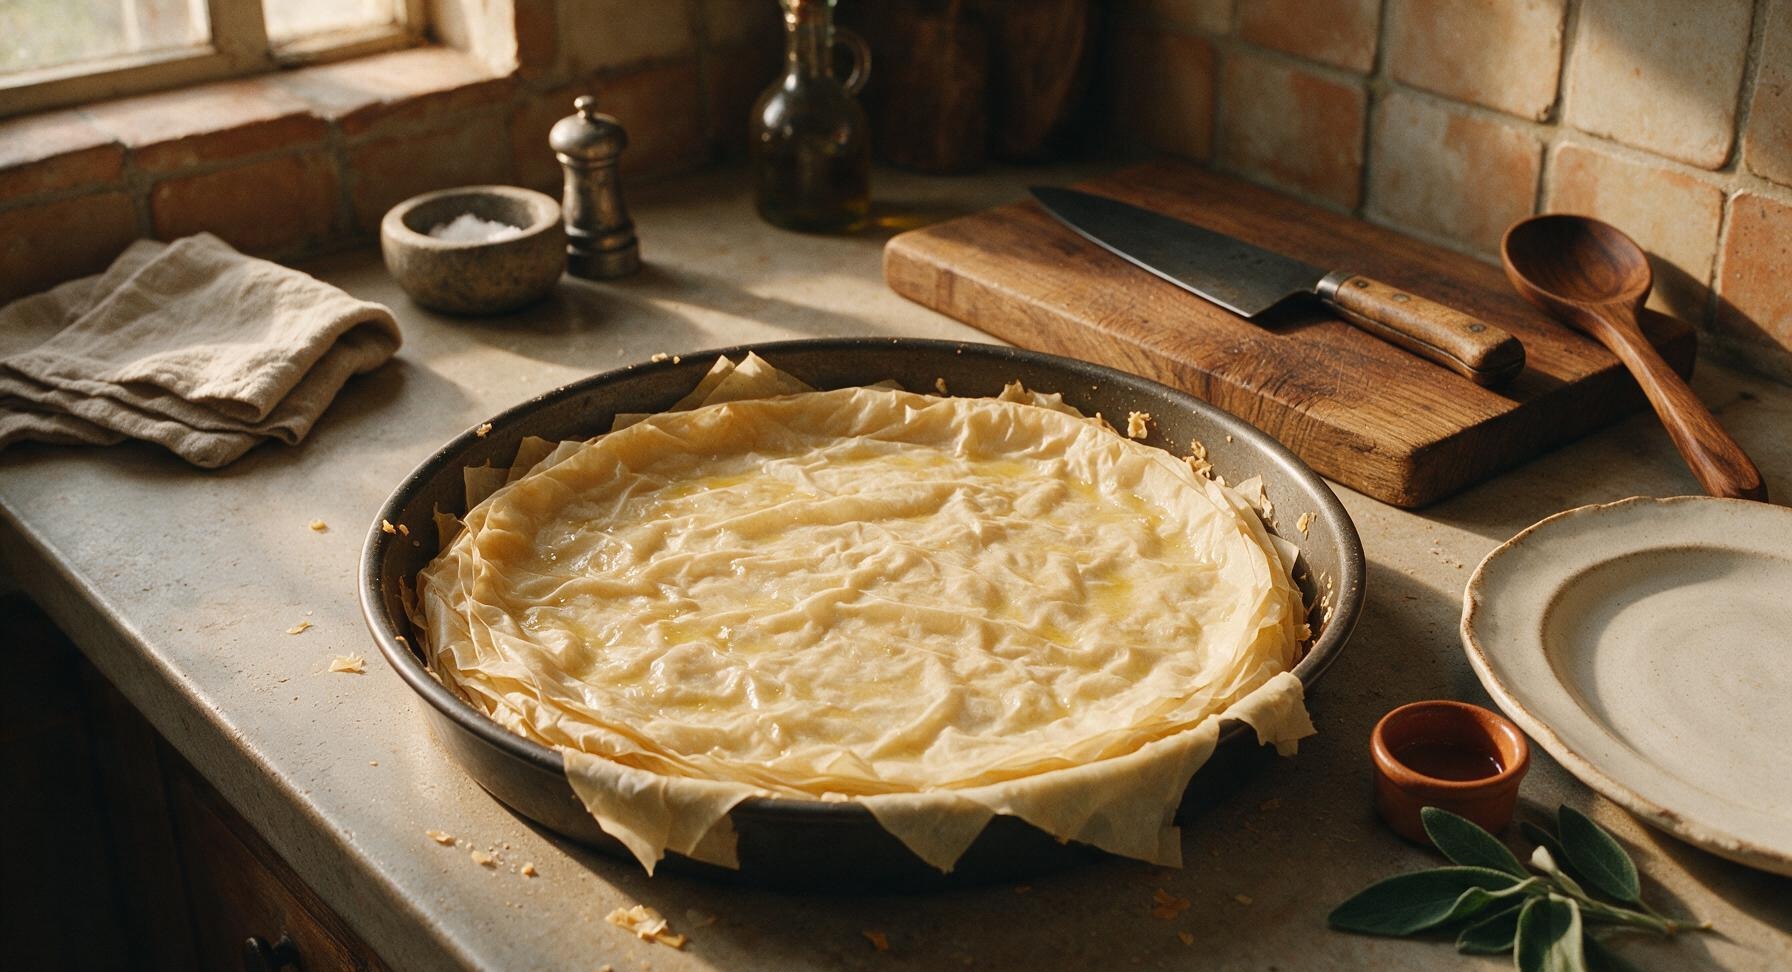
Take one sheet of phyllo at a time, laying it flat in the buttered baking pan and allowing edges to overhang the pan sides by about 2cm. Brush each individual phyllo sheet lightly with the butter-oil mixture before adding the next sheet. Repeat until you have used 8 sheets of phyllo for the bottom crust, patching any gaps between sheets with small phyllo scraps to prevent filling leakage.
Step 3
step3:Layer Phyllo Base
Step 3
step3:Layer Phyllo Base
4

Add Cheese Filling

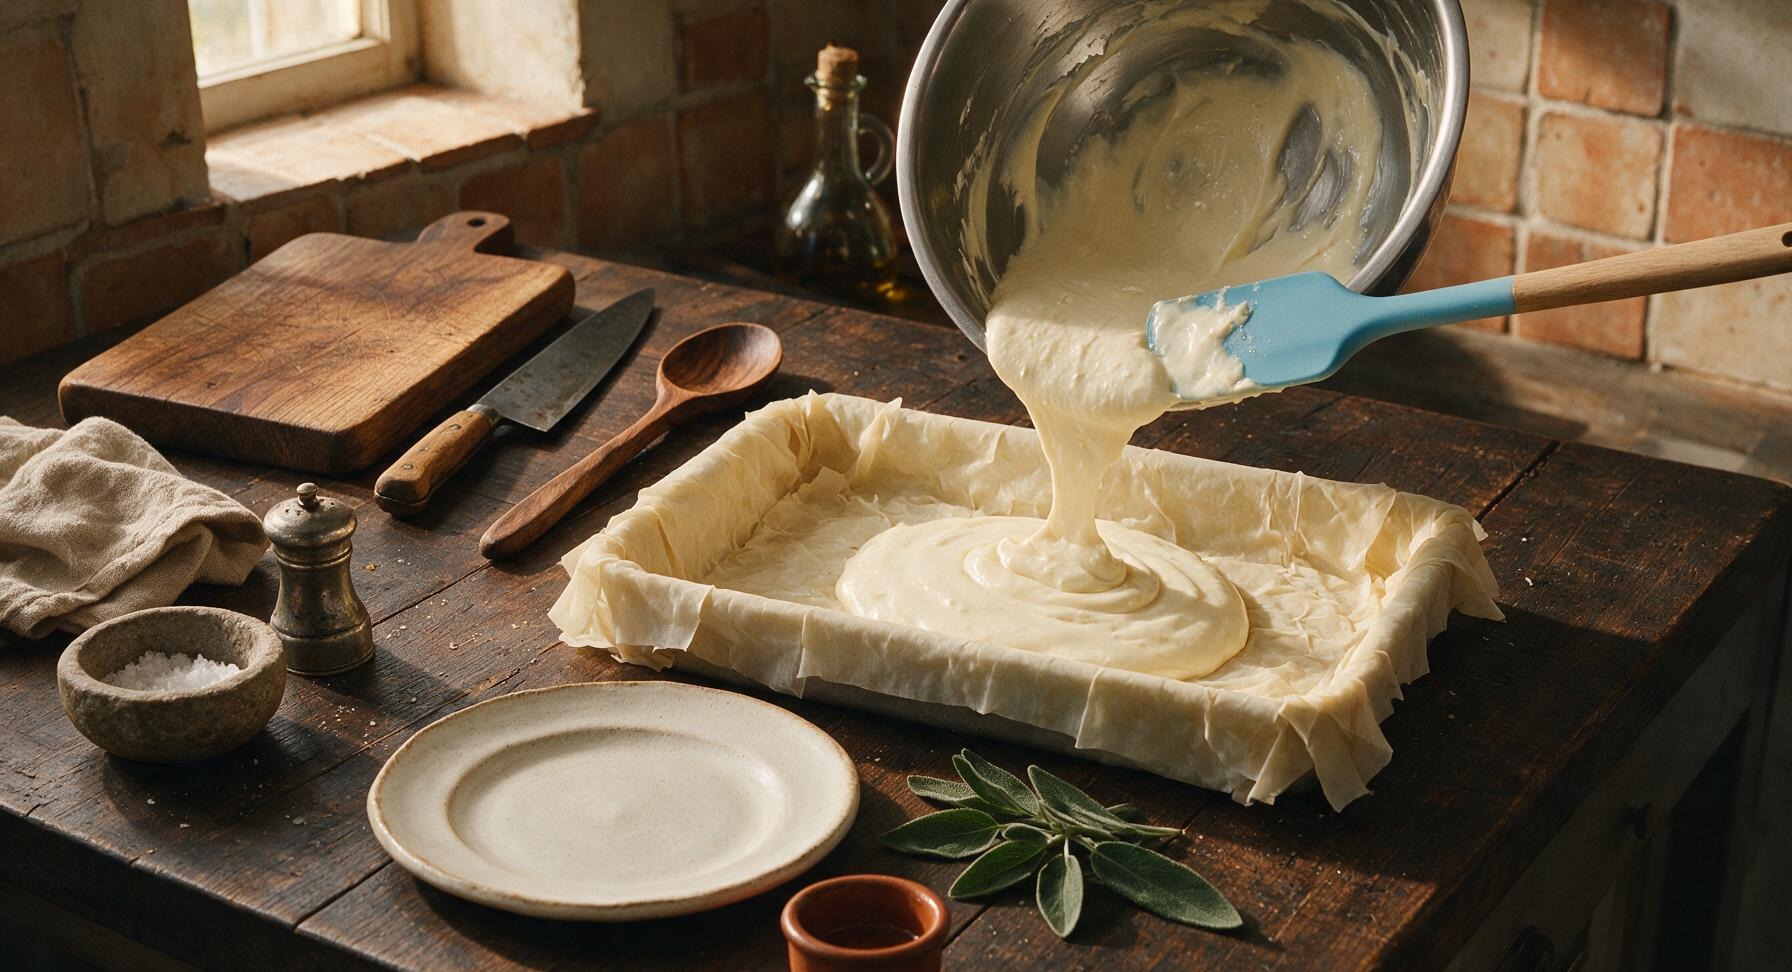
Pour the entire mixed cheese filling from the stainless steel mixing bowl over the layered phyllo base. Use the sky blue silicone spatula to spread the filling into an even, smooth layer across the entire pan, right up to the edges. Tap the pan gently on the marble counter once or twice to release any trapped air bubbles in the filling that could cause uneven puffing during baking.
Step 4
step4:Add Cheese Filling
5

Top with Phyllo Layers

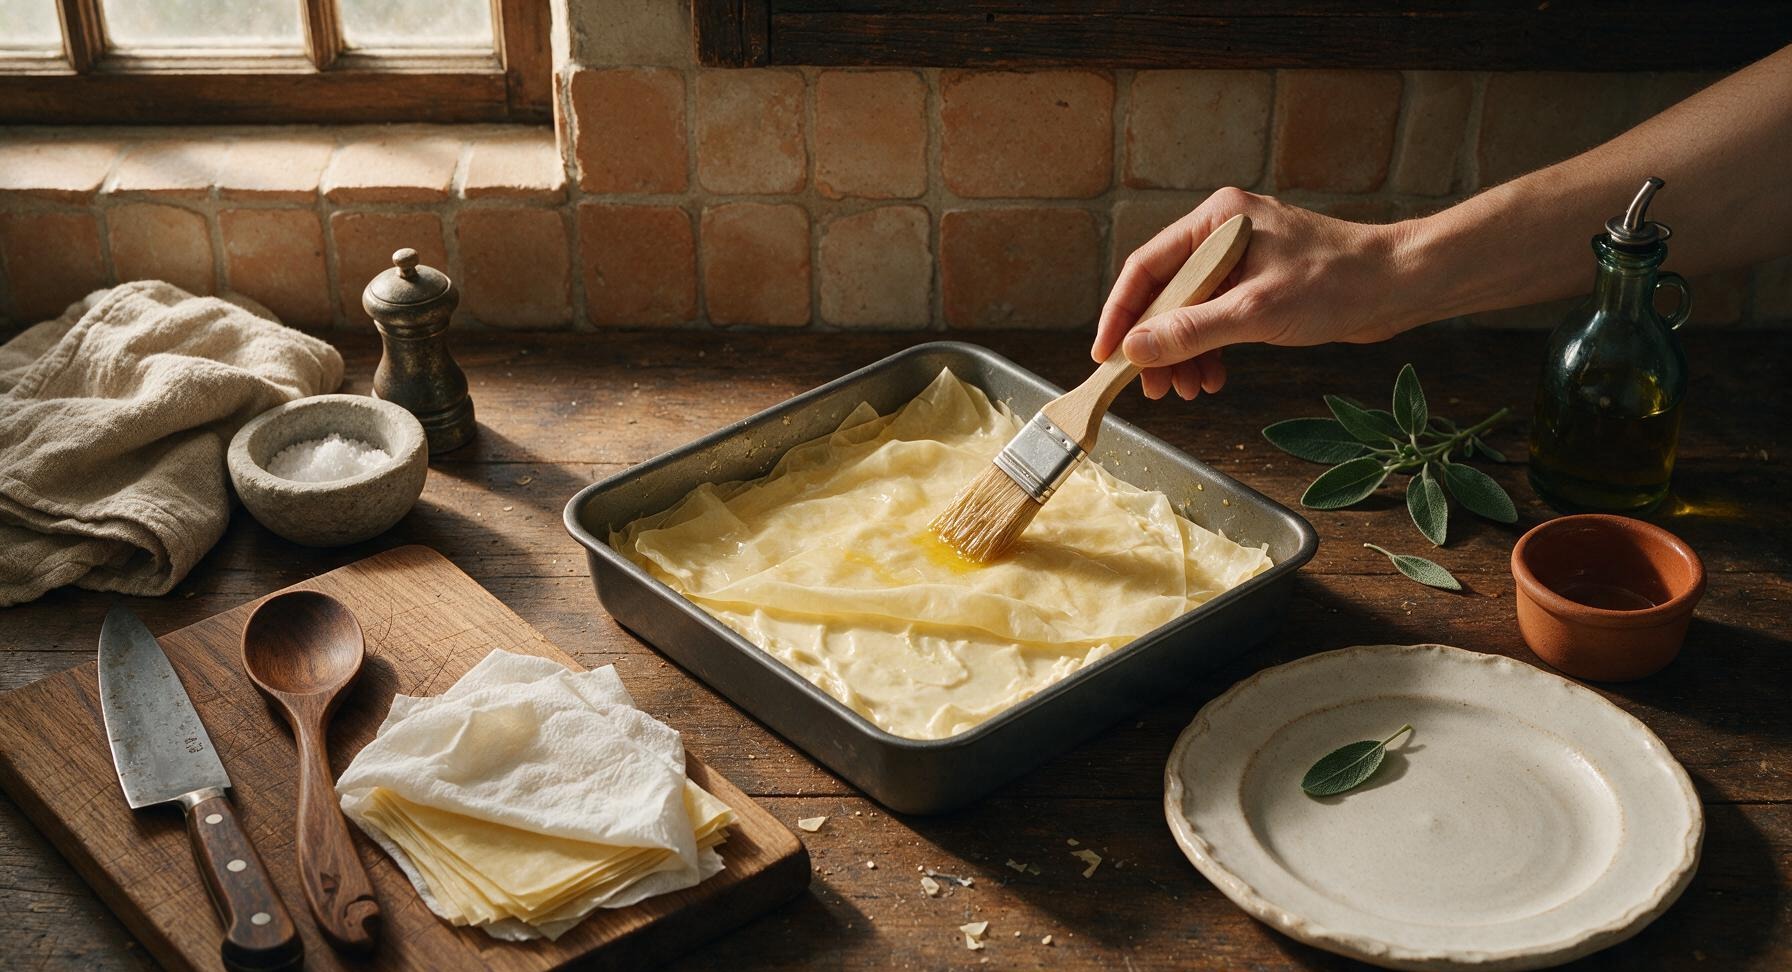
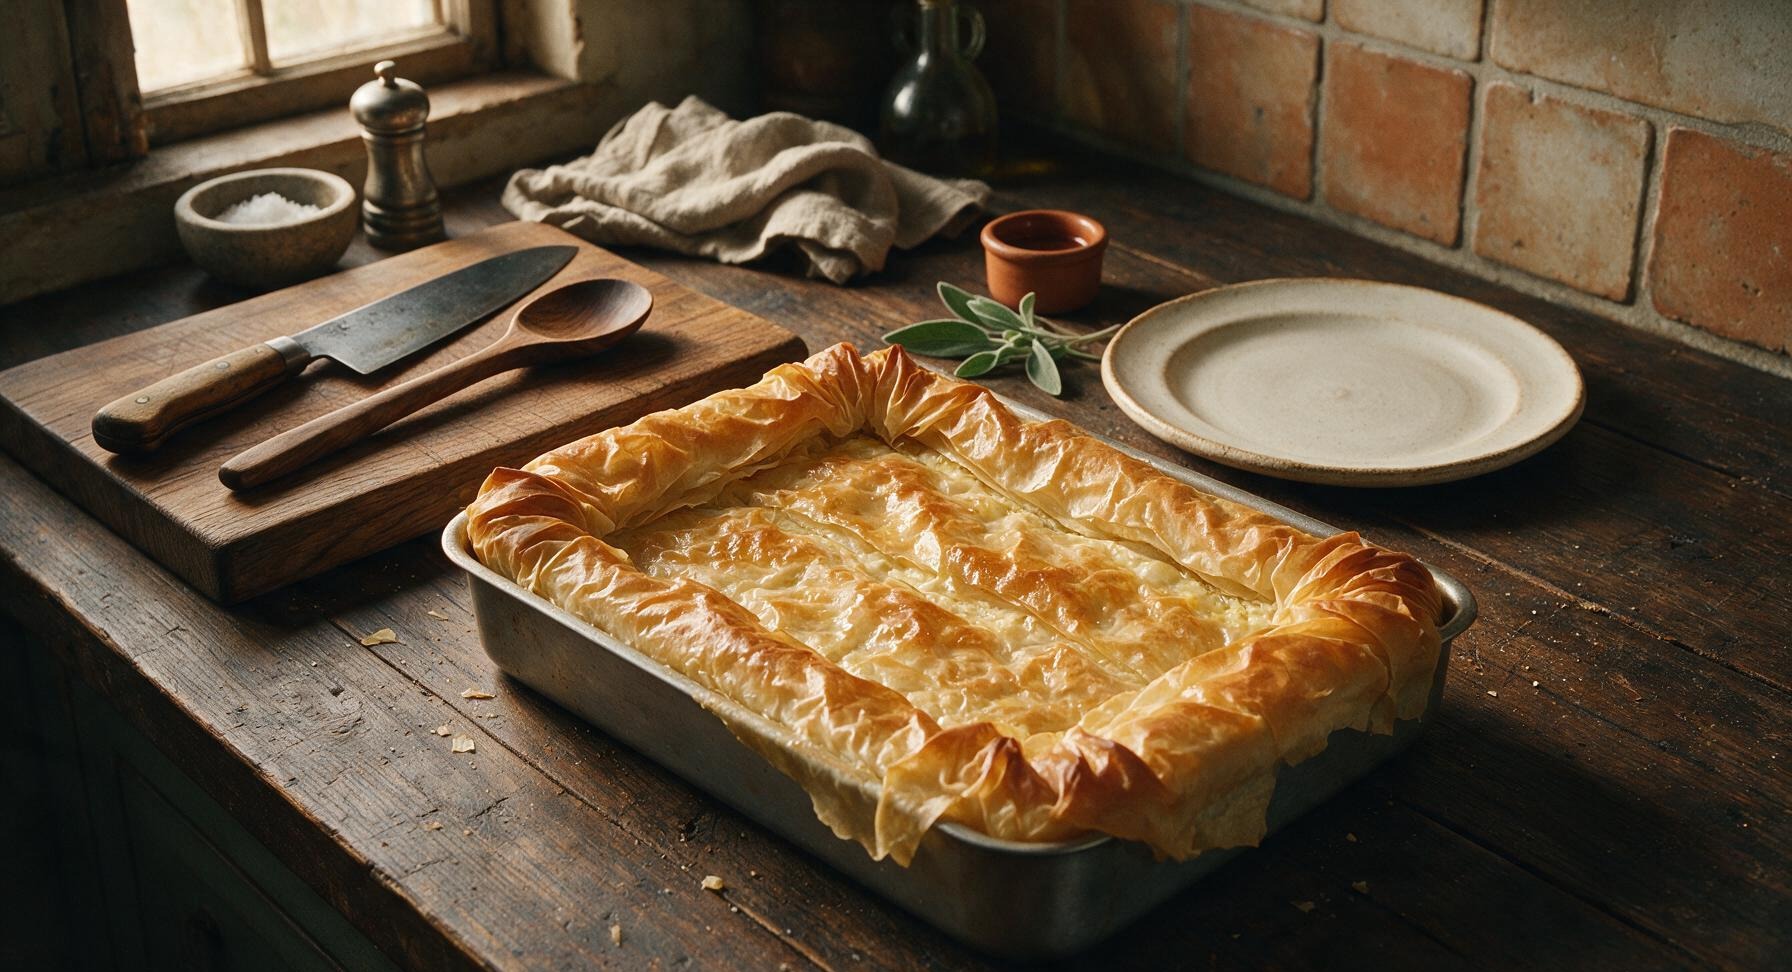
Continue layering individual phyllo sheets over the smooth cheese filling, brushing each sheet lightly with the remaining butter-oil mixture just as you did for the base layer. Use 7 more phyllo sheets for the top crust. When all top sheets are layered, fold the overhanging phyllo edges from the base layer over the top crust to seal the pie, brushing the folded edges with butter to help them adhere and crisp.
Step 5
step5:Top with Phyllo Layers
Step 5
step5:Top with Phyllo Layers
6

Score and Bake Tiropita

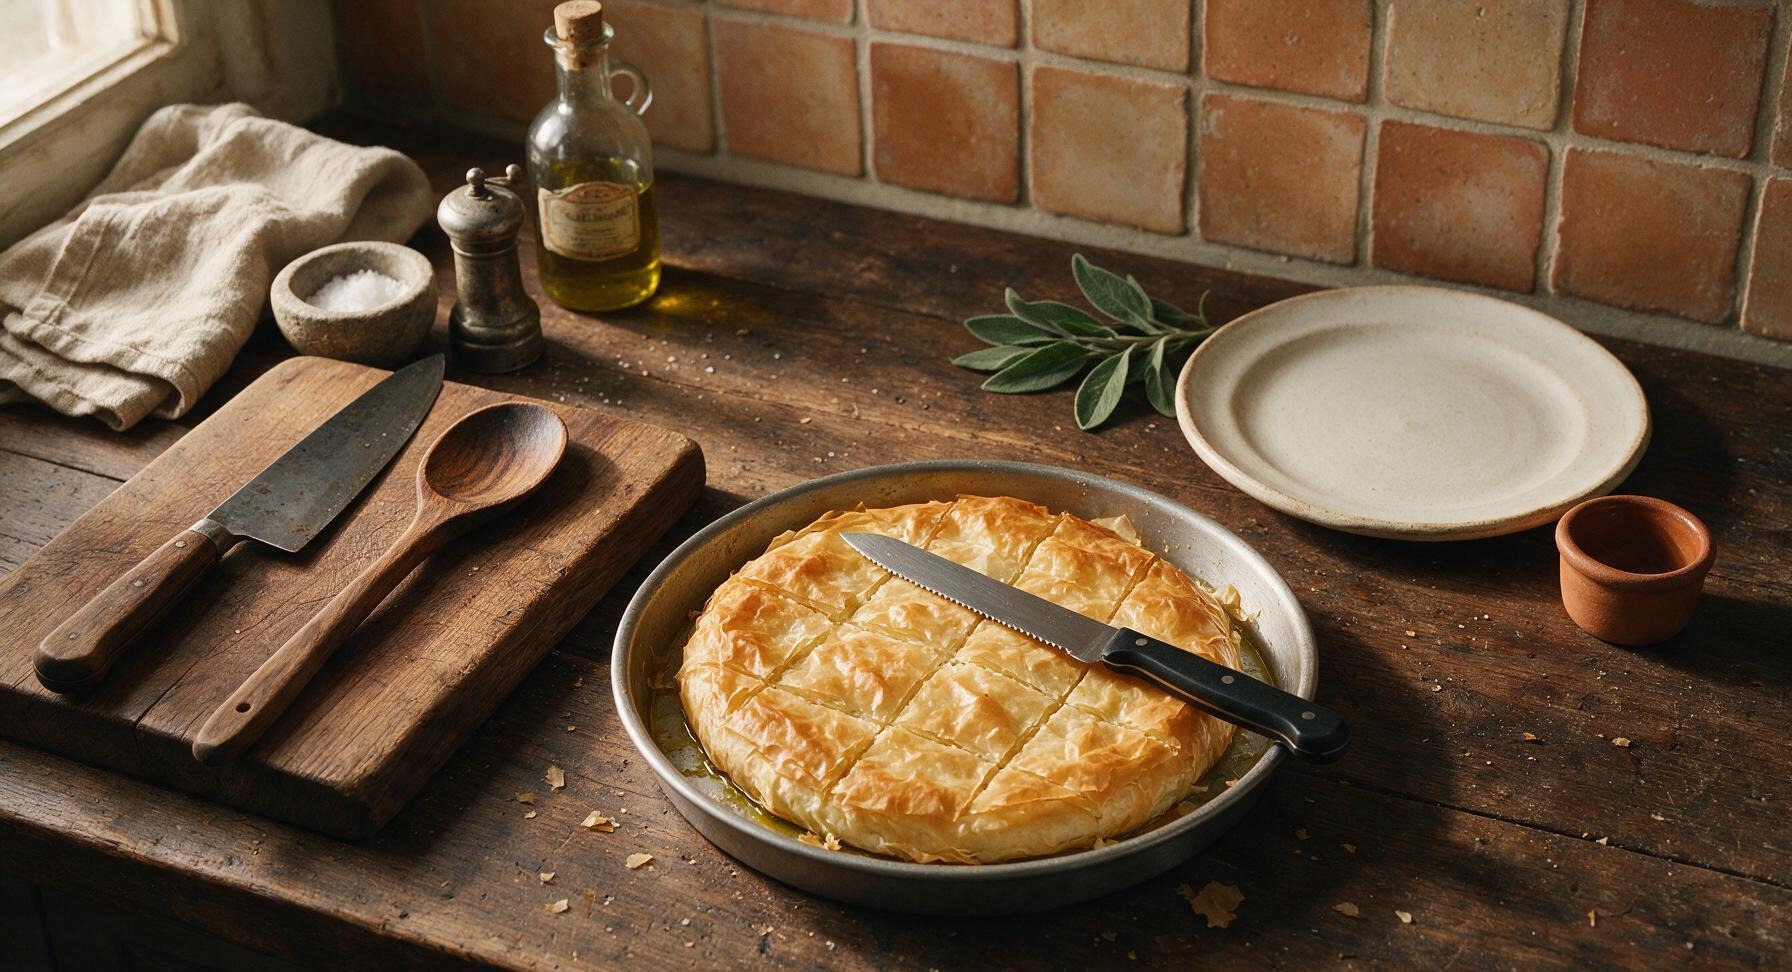
Use the serrated utility knife from the cutting board to score the top of the pie into 8 equal square pieces, cutting only through the top 3 phyllo layers (do not cut all the way through to the filling, as this will cause leakage). Place the pan in the preheated 180C (350F) oven, and bake for 40 minutes, until the top phyllo is deep golden brown and crisp, and the filling is set in the center with no liquid jiggling when you gently shake the pan.
Step 6
step6:Score and Bake Tiropita
7

Cool and Serve

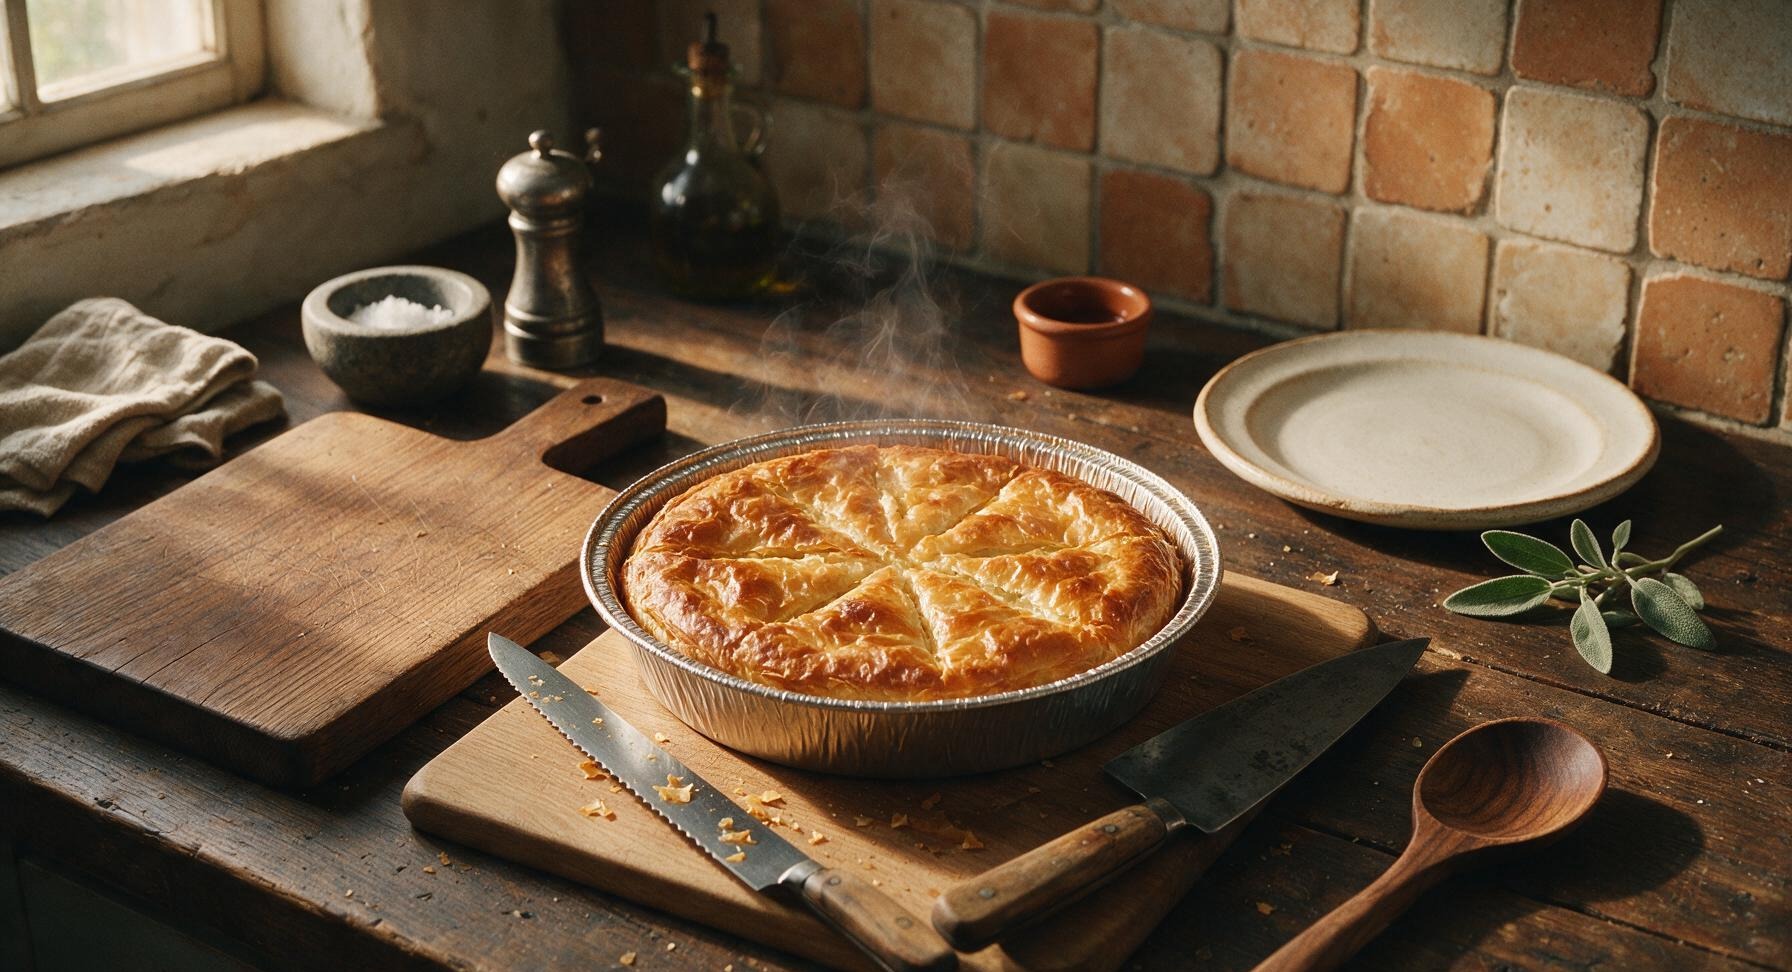
Once baked, carefully remove the tiropita from the oven, and set the pan on the marble counter to cool for 15 minutes before cutting fully through the pre-scored marks. This resting time allows the hot cheese filling to set, so slices hold their clean square shape when lifted. Garnish with chopped fresh flat-leaf parsley before transferring slices to the serving platter.
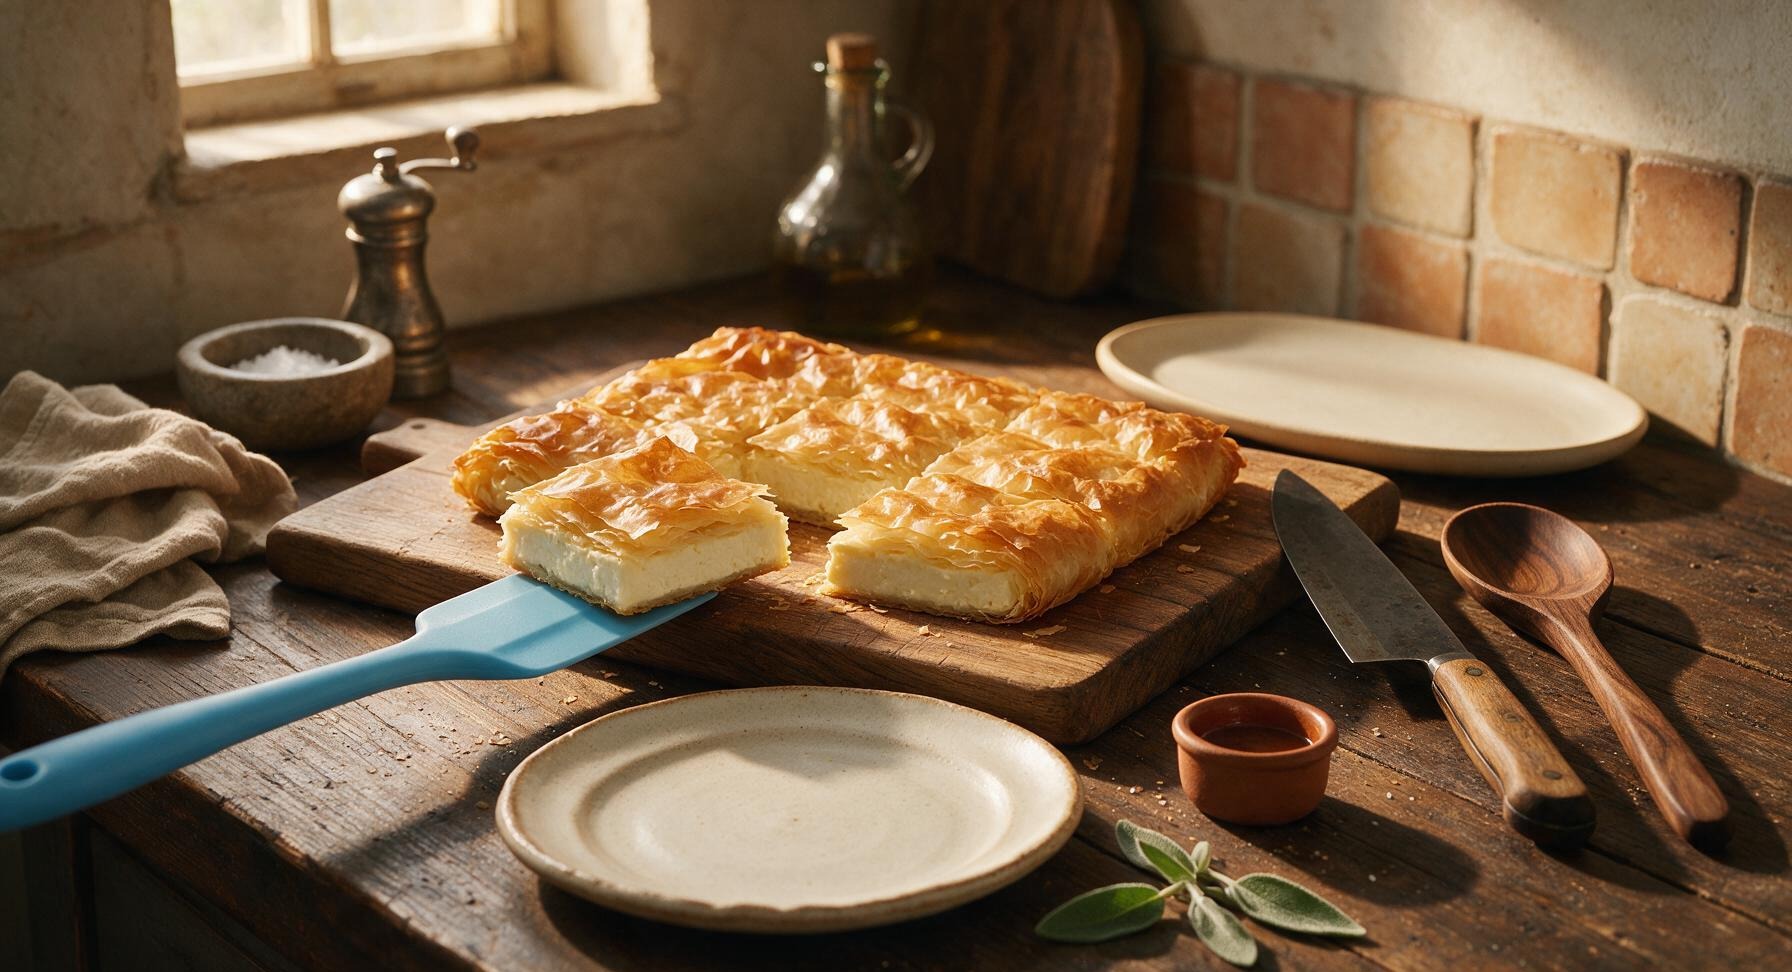
Step 7
step7:Cool and Serve
Step 7
step7:Cool and Serve

Tips

1.Thaw phyllo dough in the refrigerator for 8 hours (or overnight) before using, rather than thawing on the counter. Counter-thawed phyllo becomes sticky and tears easily, and dries out in as little as 2 minutes if left uncovered, leading to broken layers that leak filling during baking.
2.Mix olive oil into your melted butter for brushing phyllo layers: pure butter has a low smoke point that can cause the top crust to burn before the filling sets, while the olive oil raises the smoke point and adds a subtle savory, fruity note that pairs perfectly with feta.
3.Always cover unused phyllo sheets with a slightly damp (not soaking wet) paper towel while you work. Phyllo is made with very thin, low-moisture dough that dries and becomes brittle extremely quickly when exposed to air, leading to cracked, uneven crust layers.


✨ You May Also Like

Snacks & Appetizers
🍜 Mexico

Crispy thick-cut tortilla chips piled high with seasoned beef, melted cheese, and bright fresh toppings for a shareable, crowd-favorite bite.

⏱️ 25 minuteSnacks & Appetizers ★ 4.8
Snacks & Appetizers
🍜 United States

Crisp, sweet-tangy spiced pickled watermelon rind is a zero-waste summer staple, perfect with grilled meats, charcuterie, or eaten straight from the jar as a bright snack.

⏱️ 30 minuteSnacks & Appetizers ★ 4.6
Snacks & Appetizers
🍜 Germany

A tangy, jellied pork cold cut slow-simmered with aromatic spices, set into a firm sliceable loaf, served cold with mustard and crusty bread.

⏱️ 3 hours 4Snacks & Appetizers ★ 4.8
Snacks & Appetizers
🍜 United States

Creamy, tangy, perfectly seasoned hard-boiled egg halves filled with a rich, smooth yolk mixture, a timeless, crowd-pleasing bite for holiday and casual gatherings alike.

⏱️ 40 minuteSnacks & Appetizers ★ 4.8
Snacks & Appetizers
🍜 Russia

Silky, dill-forward no-smoke cured salmon, a Scandinavian classic with bright salty-sweet flavor, ideal for holiday starter platters and open-faced rye sandwiches.

⏱️ 48 hours Snacks & Appetizers ★ 4.7
Snacks & Appetizers
🍜 Japan

Crisp golden bottoms, juicy savory pork and vegetable filling, and tangy dipping sauce make these pan-fried gyoza a beloved shareable bite.

⏱️ 45 minuteSnacks & Appetizers ★ 4.8

tiropita:Frequently Asked Questions

1.What’s the best way to thaw frozen phyllo dough so it doesn’t tear? ▾
Thaw it slowly in the refrigerator for 24 hours first, then leave it on the counter for 1 hour still sealed before unrolling. Never thaw it straight from the freezer at room temperature, as condensation will make sheets stick and tear. Keep unused sheets covered with a damp (not sopping wet) paper towel while you work to prevent drying out.
2.Can I use low-fat feta or ricotta to cut down on calories? ▾
I don’t recommend it for the best texture and flavor. Low-fat feta is dry and lacks that signature salty, rich tang, while low-fat ricotta makes the filling watery and grainy instead of creamy. If you want a lighter bite, swap ¼ of the full-fat ricotta for low-fat, but keep the feta full-fat to preserve that classic tiropita taste.
3.Why does my tiropita filling turn out soggy? ▾
Soggy filling almost always traces back to excess moisture in your cheese. Drain ricotta in a fine-mesh sieve for 30 minutes (or squeeze gently in cheesecloth) before mixing, and pat crumbled feta dry if it’s packed in heavy brine. Don’t overbeat the eggs either—too much air can make the filling separate and release moisture as it bakes.
4.Do I have to butter every single layer of phyllo? ▾
You don’t need a perfect, thick coat on every inch, but a light, even brush of melted unsalted butter on each phyllo layer creates that signature shatteringly crisp, golden crust. Skipping butter on too many layers leaves you with dry, papery, doughy sections instead of flaky, separate layers. Use a light hand—you don’t need to douse each sheet, just a thin coating works.
5.Can I freeze tiropita before baking it? ▾
Absolutely! Assemble the full tiropita in your baking dish, but skip the baking step. Wrap it tightly in two layers of plastic wrap and one layer of aluminum foil, and it will keep in the freezer for up to 3 months. When ready to bake, pop it straight into the preheated oven (no thawing needed) and add 15-20 minutes to the total bake time until golden and set.
6.What’s the ideal oven temperature for baking tiropita? ▾
Preheat your oven to 375°F for the best results. This temperature is hot enough to make the phyllo puff up and crisp quickly, without burning the top layers before the filling cooks through. If your oven runs hot, drop the temp by 25°F and tent the top with foil halfway through baking if it’s browning too fast.
7.How do I know when my tiropita is fully done baking? ▾
You’ll know it’s done when the top is a deep, even golden brown all over, the edges pull slightly away from the pan sides, and the center of the filling is set with no jiggling when you give the pan a gentle shake. Let it rest for 20 minutes before slicing, too—this lets the filling firm up for clean slices instead of oozing cheese.
8.Can I add other mix-ins to the basic cheese filling? ▾
The simple classic filling is beloved for a reason, but small amounts of add-ins work beautifully! Try a handful of chopped fresh dill or mint, a pinch of freshly grated nutmeg, a few tablespoons of fully squeezed sautéed spinach, or a sprinkle of cracked black pepper. Just don’t overload the filling, or it will get heavy and watery.
9.My phyllo sheets keep tearing as I work—what am I doing wrong? ▾
Tearing usually happens when phyllo is too dry, not fully thawed, or pulled apart too quickly. Thaw it properly, keep the stack of unused sheets covered with a slightly damp lint-free towel as you work, and peel each sheet off slowly from the top of the stack. Small tears are totally fine—just patch them with a phyllo scrap and a little butter, no one will notice.
10.Can I use salted butter instead of unsalted to brush the phyllo? ▾
You can, but cut back on any extra salt you add to the filling to compensate. Feta is already quite salty, so salted butter can push the whole pie into too-salty territory if you’re not careful. I prefer unsalted butter because it lets me control sodium levels and has a clean, sweet dairy flavor that pairs perfectly with tangy cheese filling.
11.How long do leftover tiropita stay fresh in the fridge? ▾
Leftover tiropita keeps well in an airtight container in the fridge for up to 4 days. Don’t store it while it’s still warm, or condensation will make the phyllo soggy—let it cool completely to room temperature first before sealing. Reheat slices in a 350°F oven or toaster oven for 8-10 minutes to crisp the phyllo back up; microwaving leaves it chewy and limp.
12.Do I need to blind bake the bottom phyllo layers before adding filling? ▾
No, blind baking isn’t necessary for tiropita! The weight of the filling, combined with the hot oven temperature, will cook the bottom layers fully as long as you’ve buttered them well. Just position your oven rack in the lower third of the oven so the bottom crust gets enough direct heat to turn crisp instead of soggy.
13.What size pan works best for a classic family-style tiropita? ▾
A 9x13 inch rectangular baking pan is the standard, giving you thick, evenly cut slices with a perfect ratio of flaky phyllo to creamy filling. If you prefer thinner, crispier tiropita, you can use a slightly larger 10x15 inch jelly roll pan—just adjust your phyllo layer count so you don’t have too much filling for the pan size.
14.Why does my tiropita puff up super high in the oven then deflate after I take it out? ▾
A small amount of deflating is totally normal! That initial puff comes from steam building up between phyllo layers and in the filling as it bakes. If it deflates dramatically and leaves a soggy crust, you’re either taking it out too early before the filling sets, or opening the oven door too often in the first 30 minutes, which drops the temperature fast.
15.Can I make individual tiropita triangles instead of a whole pan pie? ▾
Definitely! Cut phyllo sheets into 3-inch wide strips, place a tablespoon of filling at the end of each strip, then fold the strip over the filling in a triangle pattern all the way to the end, like folding a flag. Brush each triangle with butter, and bake at 375°F for 20-25 minutes until golden. These make perfect portable appetizers or lunchbox snacks.
16.My feta is really briny and salty—how do I adjust that? ▾
If your feta is extra briny, crumble it and give it a quick rinse under cold water, then pat it completely dry with paper towels before mixing it into the filling. You can also tweak the ratio slightly: use ¼ less feta and ¼ more ricotta to mellow out the salt level so it doesn’t overpower the creamy, mild filling. Never skip drying it after rinsing, or you’ll add excess moisture.
17.Do I need to score or prick the top of the tiropita before baking? ▾
Yes, score the top into your desired serving slices with a sharp knife and prick the phyllo a few times in each section before baking. This lets steam escape as it cooks, which prevents big, uneven air bubbles from forming under the top phyllo layers and keeps the crust from cracking randomly as it rises. Don’t cut all the way through to the filling, just the top few phyllo layers.
18.Can I make tiropita without eggs for an egg-free or vegan version? ▾
For an egg-free version, swap the eggs for ¼ cup of full-fat Greek yogurt (dairy or plant-based) mixed with 1 tablespoon of cornstarch to help bind the filling. For a fully vegan take, use vegan feta, vegan ricotta, and melted vegan butter to brush the phyllo. The flavor will be slightly different, but you’ll still get that signature crisp, flaky, savory pie texture.

Comments (5)

2 days ago

OMG this tiropita was an absolute game changer for our weekly family dinner night! I was nervous to work with phyllo for the first time (medium difficulty had me sweating a little tbh) but the layers came out perfectly flaky, and the feta-ricotta filling was so creamy and tangy. My kids loved it — they devoured three slices each before I even sat down to eat! Already planning to make a double batch for our church potluck next weekend. 10/10 would recommend!

yesterday

Wait did you do anything special to keep the phyllo from drying out while you were layering? I tried making spanakopita last month and half my sheets cracked and crumbled before I could get them in the pan 😅

yesterday

Great question! I recommend keeping a damp (not soaking wet!) paper towel over the unused phyllo sheets while you work, and brushing each layer generously with melted butter to lock in moisture. It makes such a difference, and you’ve got this!

1 week ago

Made this on Sunday for meal prep and it held up perfectly all week for quick work lunches! I added a tiny bit of nutmeg to the cheese mix like my yiayia used to do, and it hit so close to the tiropita I grew up eating at family gatherings in Astoria. Cook time was right at 40 minutes for me, no extra time needed even with my janky old apartment oven. SO good.

5 days ago

Love that you added a personal touch with the nutmeg — that’s such a classic, warm addition that pairs beautifully with the salty feta! So glad it held up for your meal prep, it’s one of my favorite make-ahead dishes too.

5 days ago

Took this to my book club potluck last night and people were begging me for the recipe before the first round of drinks even came out! The flaky phyllo and salty cheese combo is chef’s kiss, I will say I accidentally used too much butter on the top layers so it was a little greasier than I wanted, but that was totally my user error, not the recipe’s fault. Will definitely dial that back next time!

3 days ago

Wait, can I make this ahead and freeze it before baking? My partner and I are going camping next month and I’m trying to stock the cooler with easy, hearty meals we can pop in the camp oven after hiking all day.

2 days ago

I do this all the time! Assemble the whole pie, wrap it super tight in two layers of plastic wrap and foil, and it freezes great for up to 3 months. No need to thaw before baking, just add 10-15 minutes to the cook time! Made this on our last camping trip and it was perfect after a long hike to the lake.

30 minutes ago

I was so excited to make this for my Greek neighbor’s welcome party but my filling came out really runny? I followed the measurements exactly, used crumbled feta and ricotta, but when I cut into it after baking all the cheese oozed out the sides. Did I do something wrong? Flavor was still amazing, just not as pretty as the photos lol

5 minutes ago

Oh I had that happen the first time too! Make sure you drain your ricotta really well before mixing it in — I let mine sit in a fine sieve over a bowl for an hour before baking now, and no more runny filling!

just now

@AthensEats is exactly right! Excess moisture in the ricotta is the number one culprit for runny filling. I also recommend giving your feta a quick pat dry with paper towels if it’s stored in brine, to cut down on extra liquid. So glad the flavor was still a hit even with the oops!



