
Toasted Marshmallow
intro
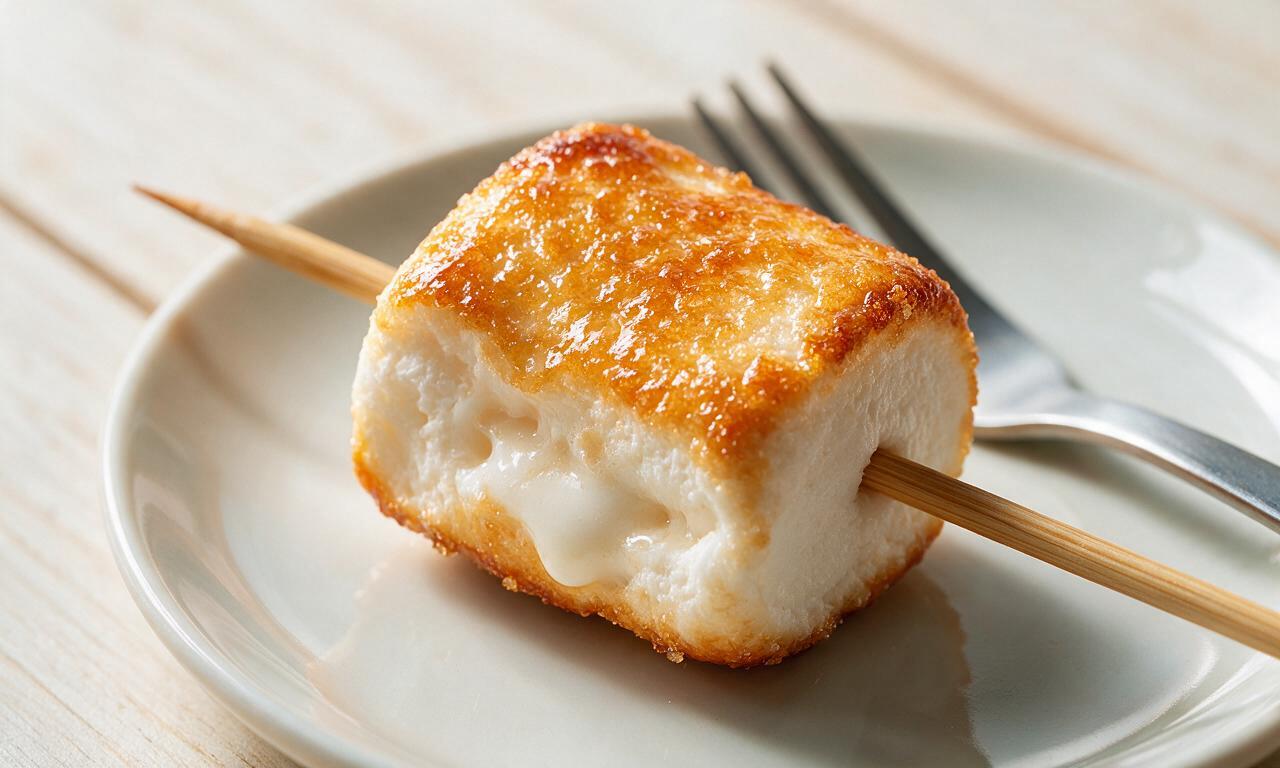
Golden, gooey caramelized marshmallows with a crisp sugar shell and molten fluffy center, a beloved casual outdoor sweet treat for warm-weather gatherings.
Ingredients
Steps
Prep safe heat source
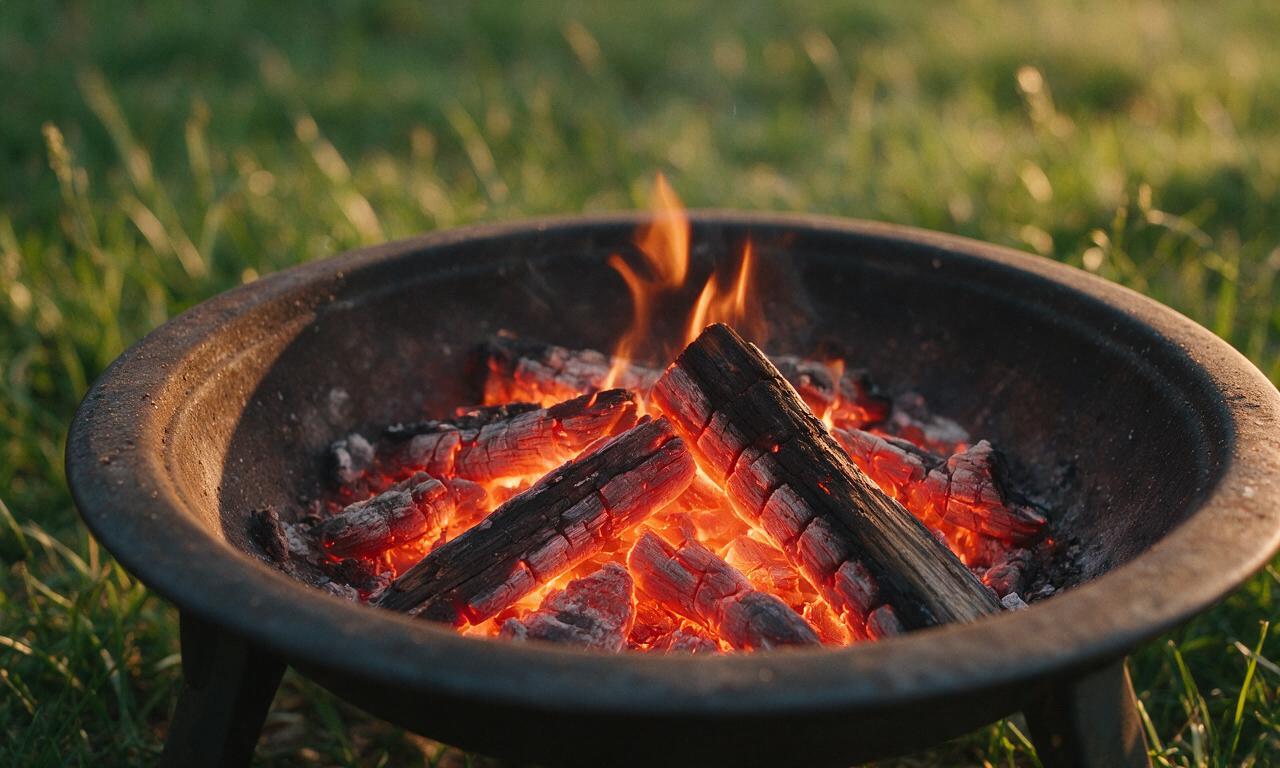
Set up a low, even bed of glowing wood campfire embers or preheat a tabletop propane fire pit to medium-low heat, avoiding tall open flames that burn marshmallows instantly. Wait 5 minutes for heat to stabilize to a consistent 350°F (175°C) measured 6 inches above the heat surface, the ideal toasting height.
Prep marshmallow skewers
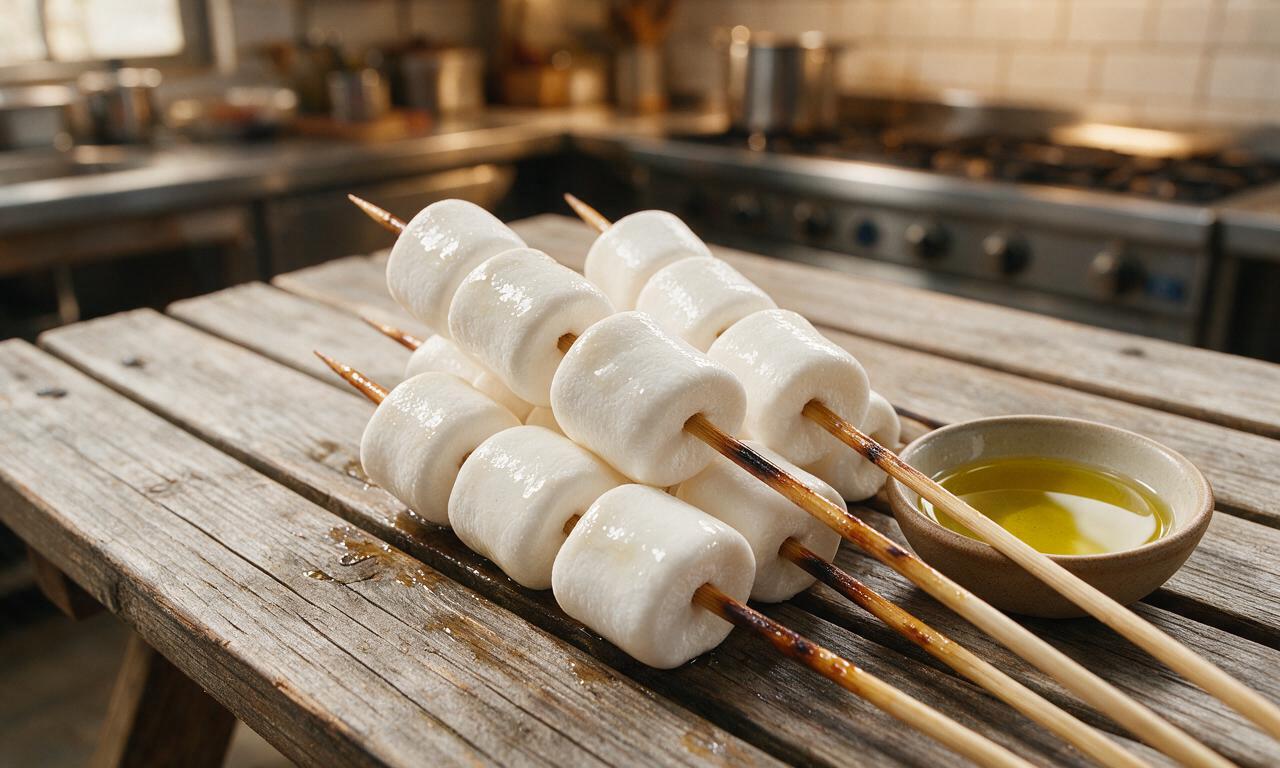
Lightly coat the last 3 inches of four 12-inch bamboo or metal skewers with 1/4 teaspoon of canola oil per skewer (1 teaspoon total) to prevent sticking. Thread 4 large marshmallows onto each oiled skewer, spacing pieces 1/2 inch apart to allow even heat flow around every side.
Position over steady heat
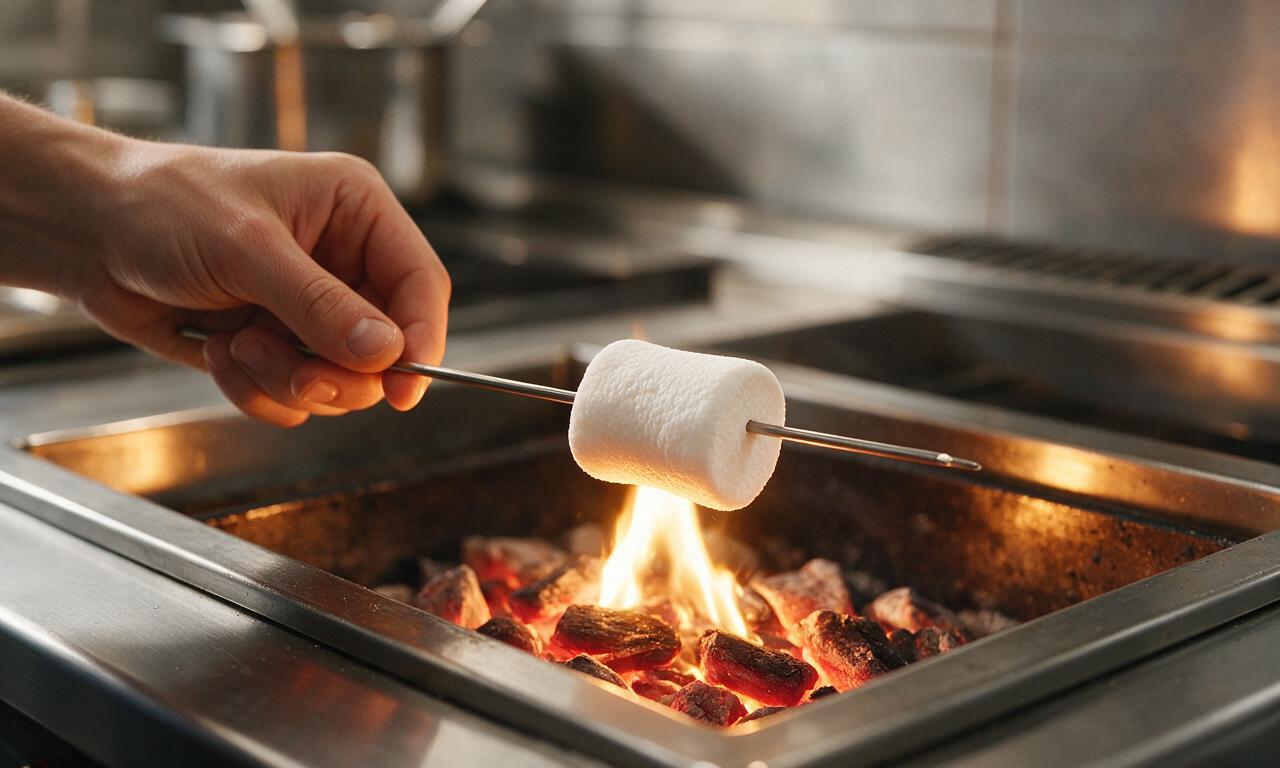
Hold each loaded skewer perfectly level, 6 inches directly above the glowing embers, keeping marshmallows completely out of direct flame. Keep your hand positioned far enough up the skewer to avoid heat discomfort, maintaining a steady hold to prevent softened marshmallows from sliding off.
Rotate for even cooking
Turn the skewer in a slow, continuous circular motion for 60 to 90 seconds, cooking every side of the marshmallows evenly. Raise the skewer to 8 inches above the heat source immediately if you notice dark, burnt black spots forming faster than the rest of the surface toasts.
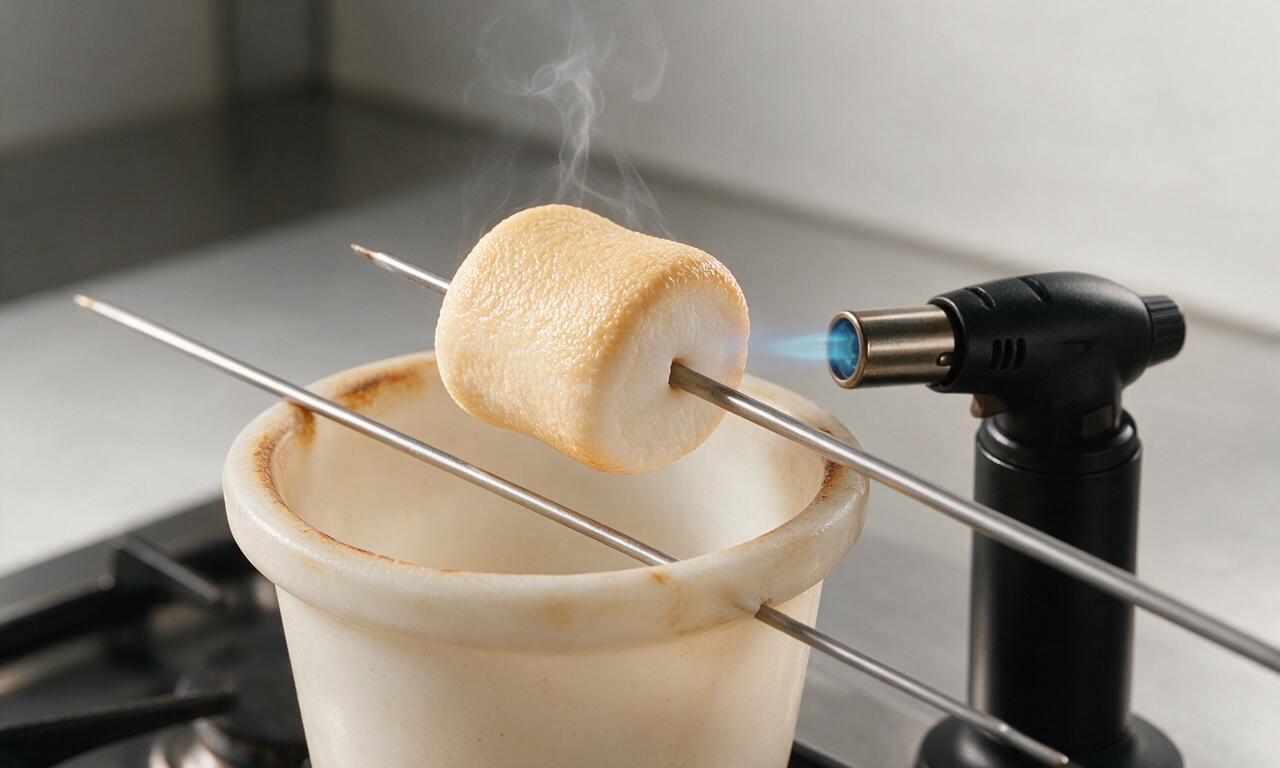
Build golden caramel crust
Continue rotating the skewer for an additional 30 to 45 seconds, until each marshmallow is a deep, even golden amber color with a slightly crisp, crackly caramelized sugar shell. Marshmallows will expand to roughly 1.5 times their original size as their interior melts into a light, gooey, molten consistency.
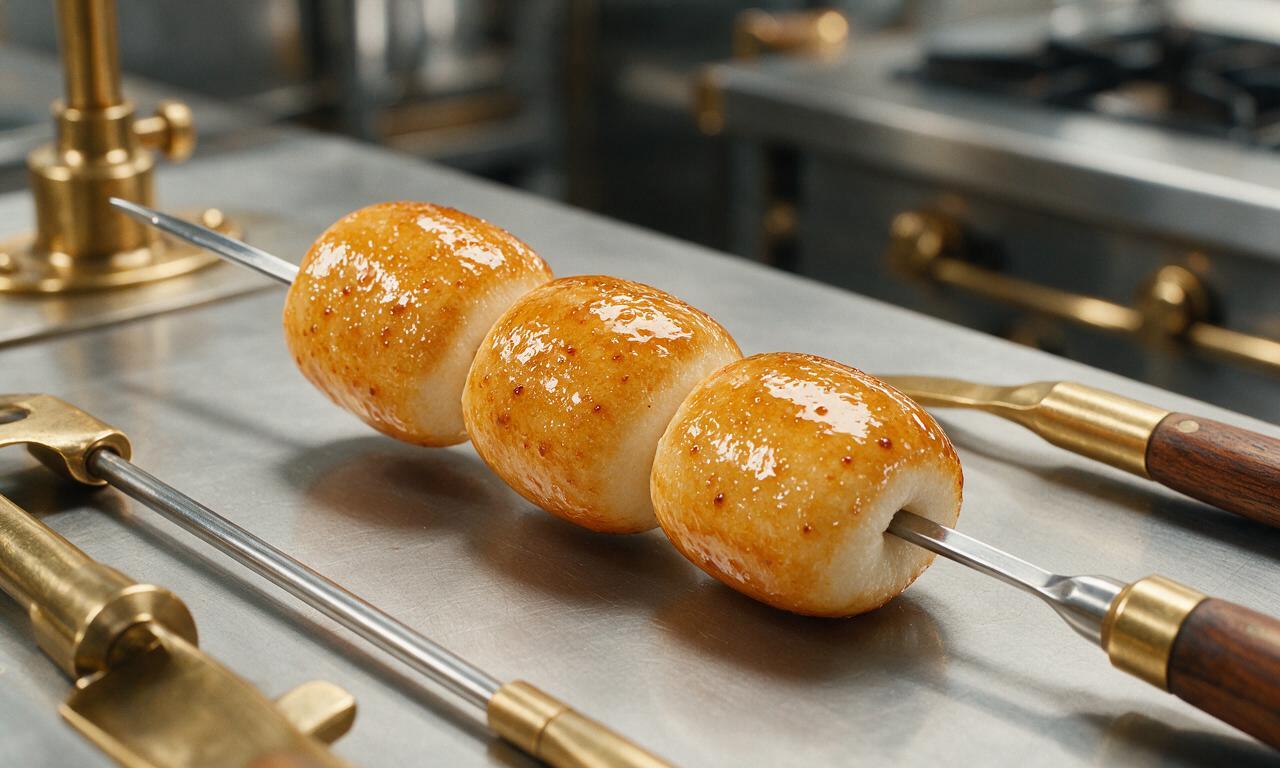
Cool briefly and serve
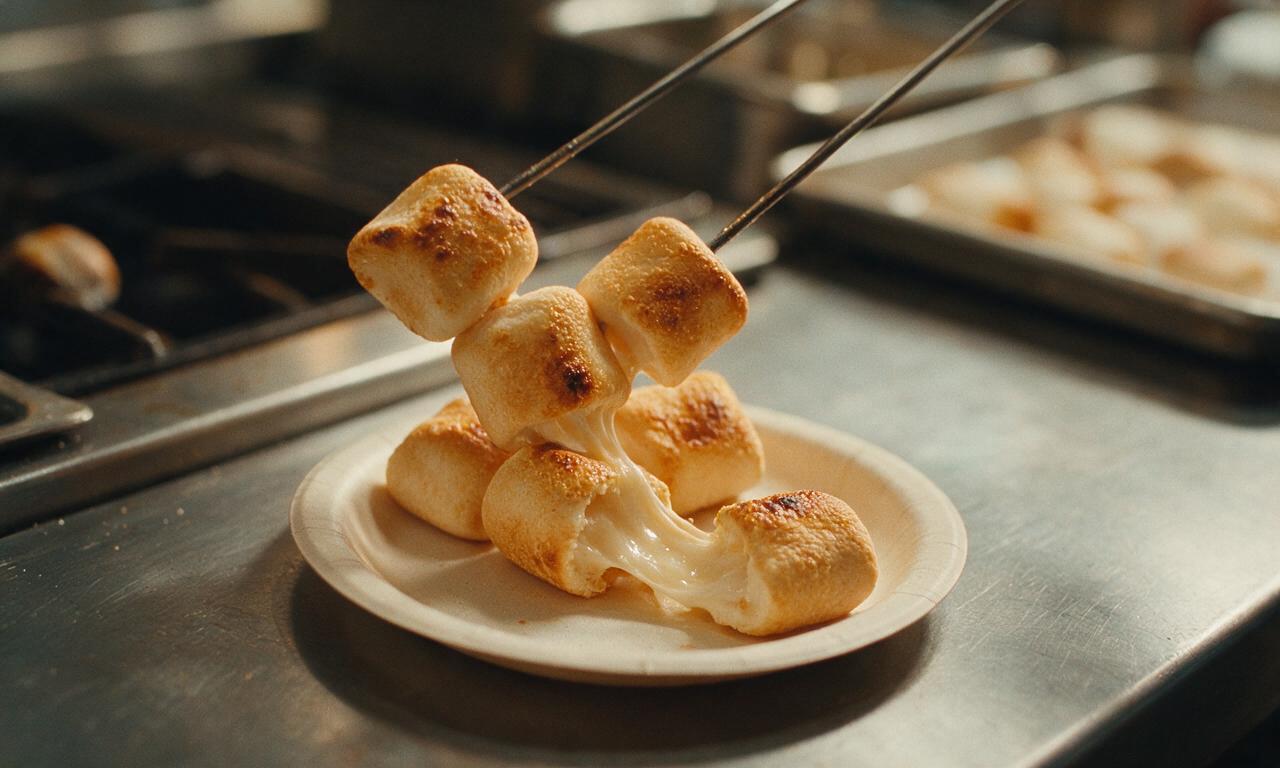
Pull the skewer away from the heat source, and let the toasted marshmallows rest for 15 seconds to let the molten interior set slightly and the outer shell crisp up, preventing burns from hot oozing sugar. Slide marshmallows off the skewer to serve immediately while warm.
Tips
2.If using wooden bamboo skewers, soak them in cold tap water for 30 minutes before threading marshmallows to prevent the wood from smoldering or catching fire over the heat.
3.For a balanced flavor boost, sprinkle warm freshly toasted marshmallows with a pinch of flaky sea salt (1/8 teaspoon per serving) to cut through the rich, sweet caramelized sugar.






OMG this method is a total game changer! I’ve been burning marshmallows my whole camping career, holding them right in the flame like a dummy. Tried the slow rotate 6 inches above the coals like the recipe says and got that perfect golden crispy outside, gooey center every single time. My kids went crazy for them at our backyard fire pit last weekend!
SO good. Made these for our neighborhood potluck s'mores bar and people kept asking how I got every marshmallow perfectly toasted. 10/10, zero fancy tools needed.
I was skeptical you could get good toasted marshmallows on a gas stove top but this guide worked! We didn’t have a fire going last night so I held them over the low gas flame with a metal skewer, kept them rotating, and they turned out perfect for our indoor s'mores night. My 7 year old said they were better than the ones we make camping!
Wait, has anyone tried this with the giant campfire marshmallows vs the regular sized ones? Wondering if I need to adjust the distance from the coals for the bigger ones before our big camping trip next week.
No fire pit, no campfire, no problem? I used my little countertop torch to toast marshmallows for my hot cocoa last night following this timing guide and it worked perfectly in like 10 minutes total. Way better than just dropping a plain marshmallow in my drink, 10/10 would recommend for dorm life.
I will say, if you’re using wooden skewers, definitely soak them in water for 10 minutes first like the recipe mentions! I skipped that step on my first batch and the end of my skewer caught fire, oops. Second batch was flawless though.
Tried this on our last backpacking trip over a small camp stove and it worked like a charm. We didn’t have a big fire ring but still got that perfect toasty marshmallow for our s'mores. Super easy to follow even when you’re tired after a long hike.
Help! I tried this last night and my marshmallow kept sliding off the skewer when I rotated it? What am I doing wrong? I used regular sized marshmallows, held them the right distance from the fire, but they kept slipping and falling into the coals 😭
Made these for my daughter’s birthday party s'mores station and it was a massive hit! All the kids were able to toast their own without burning them (mostly, a couple of the older boys insisted on charring theirs anyway) and we had zero complaints. Will be using this method every time we have people over for bonfires.
Tested this with vegan marshmallows last night and it works exactly the same! Perfect golden crust, gooey insides, no weird burning. I was worried the vegan ones would melt too fast, but keeping them 6 inches from the coals worked perfectly. 10/10 for all my fellow vegan s'mores fans.
Who knew toasting a marshmallow needed an actual method? I’ve been just shoving mine in the flame for 2 seconds and calling it done for 30 years. Tried this last weekend up at the lake and my marshmallows were chef’s kiss. My partner made fun of me for following a recipe for marshmallows until he tried one, now he’s a convert too.
Wait, can you toast frozen marshmallows? I have a giant bag in my freezer from last winter that I forgot about, wondering if I can pull them out and use this method without thawing first.
I made these to top my sweet potato casserole last Thanksgiving and everyone lost their minds! I always just put plain marshmallows on top and broiled them, but toasting them individually first on skewers gave them such a better, deeper flavor and no weird burnt spots under the broiler. Game. Changer.
Pro tip: if you don’t have skewers, a clean metal clothes hanger straightened out works totally fine. I forgot our skewers on our last camping trip and used that, followed the rotation method, and got perfect marshmallows. Don’t let missing gear stop you!
Tried this with those fancy flavored marshmallows (the salted caramel ones from Trader Joe’s) and it was unreal. The toasting brought out the caramel flavor so much more than just eating them plain. My roommate and I ate a whole bag in one sitting oops.
I live in a tiny apartment with no balcony, so I used my oven broiler on a baking sheet lined with parchment, watched them like a hawk and rotated every 10 seconds like the recipe suggested, and got perfectly toasted marshmallows for my s'mores dip! No fire needed at all, so easy.
Took this method on our annual boy scout campout last weekend and taught the whole troop how to do it. We had way less burnt marshmallows (and way fewer kids upset that their treat fell in the fire) than last year. The scout leaders all thanked me, it was so easy to teach even the 8 year olds.
This was my first time ever toasting marshmallows on a camping trip last weekend and I didn’t burn a single one! I was so nervous I’d make a fool of myself in front of my partner’s family, but this step by step was so easy to follow. Even my partner’s dad, who swears his marshmallow method is the best, said mine were perfect.
Wait, is there a trick for toasting the mini marshmallows without them melting all over the place? I want to top my homemade hot cocoa with perfectly toasted minis but they’re so small I’m worried they’ll just slide off the skewer or burn instantly.