
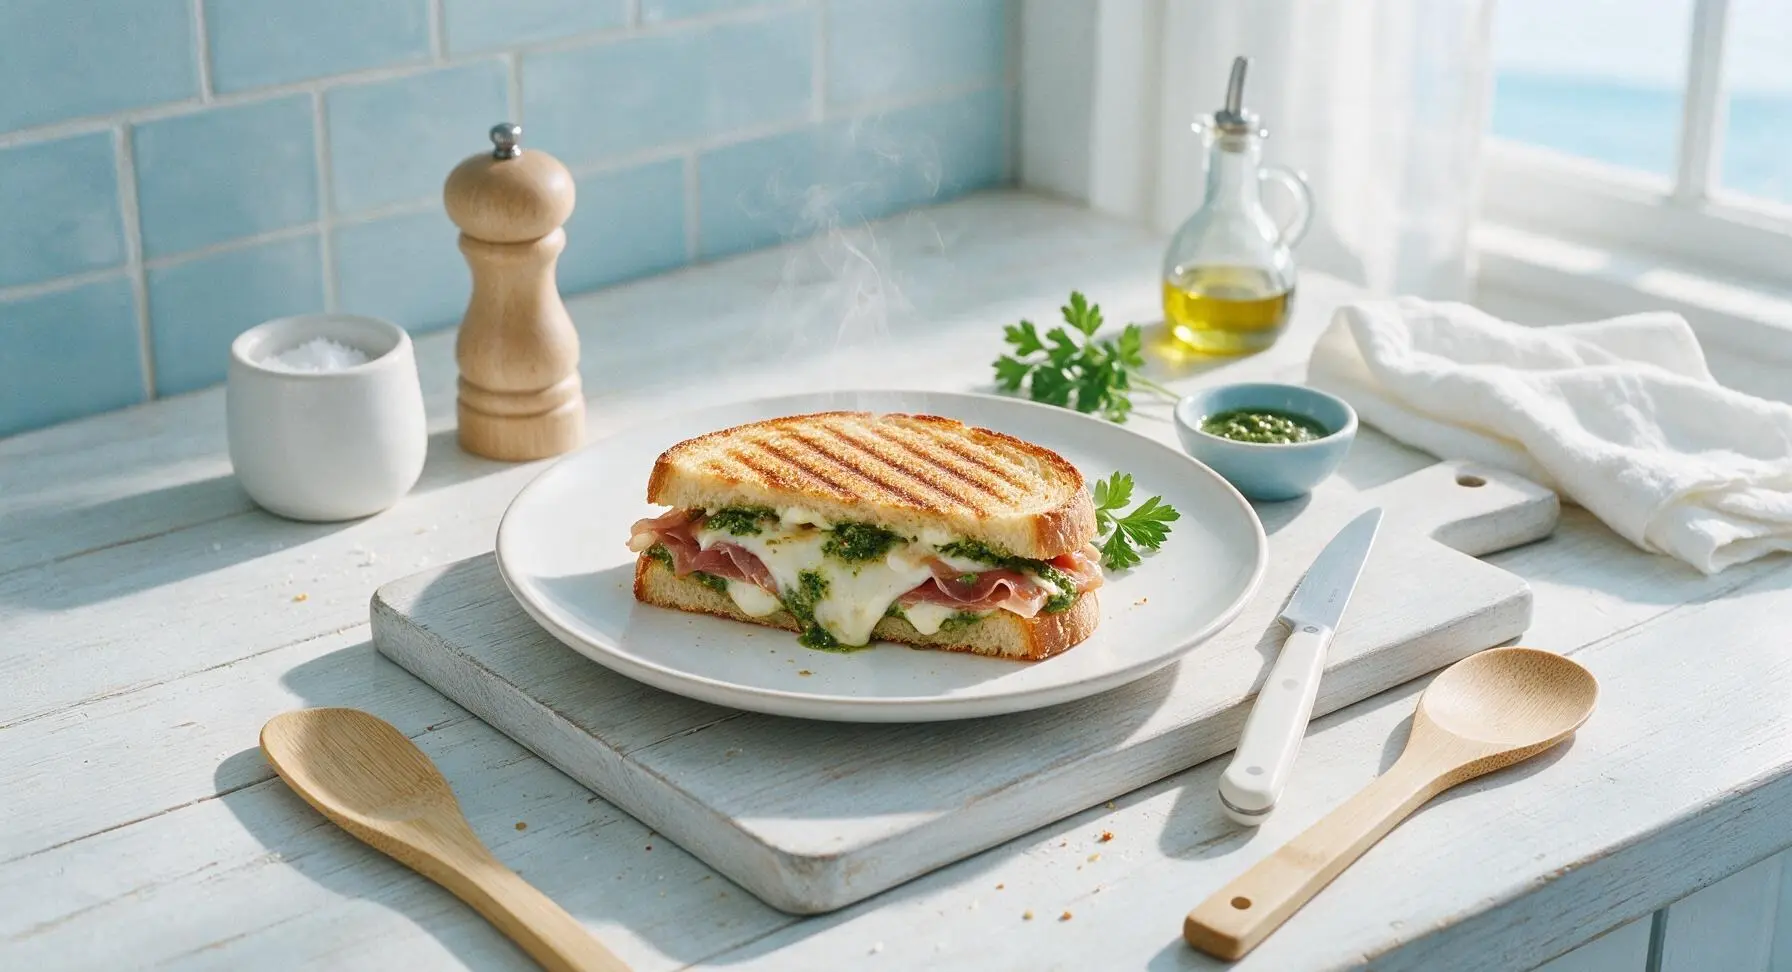
toasted panini

title 1
toasted panini
⏱️ cook time 12 minutes
🍽️ servings 2
⚡ Difficulty easy

intro

Crispy golden pressed bread oozing with melted mozzarella, savory prosciutto, and bright basil pesto, this classic toasted panini delivers satisfying crunch and rich flavor in every fast, easy bite.

Ingredients
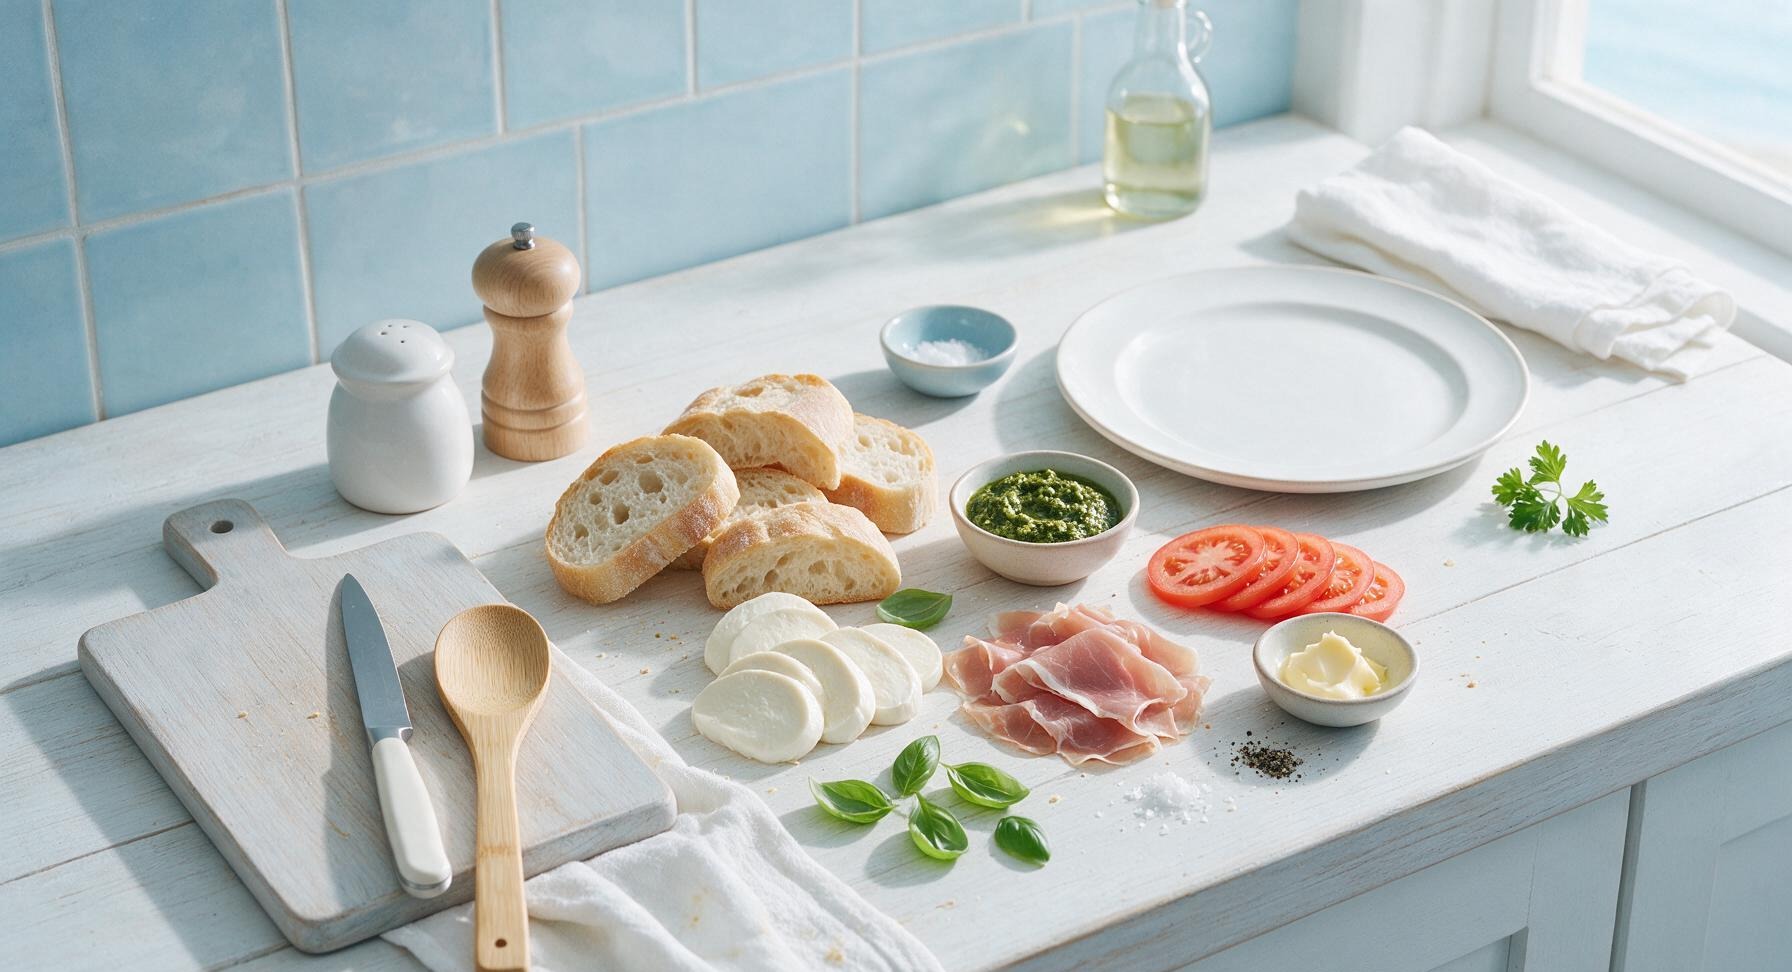
Ciabatta bread 4 (1-inch thick) slices
Fresh mozzarella cheese 80g, sliced 1/4-inch thick
Thinly sliced prosciutto 40g
Basil pesto 2 tablespoons
Roma tomato 1 medium, thinly sliced
Salted butter 1 tablespoon, softened
Flaky sea salt 1/4 teaspoon
Freshly ground black pepper 1/8 teaspoon
Fresh basil leaves 8 whole leaves

Steps

1

Slice and prep bread

Place the ciabatta loaf on the acacia wood cutting board. Using the serrated bread knife, cut 4 even 1-inch thick slices, discarding the narrow end heels if present. Lay slices flat in two matching pairs, aligning cut surfaces to ensure evenly sized sandwiches. Pat cut surfaces lightly with a clean corner of the terracotta linen towel if the bread feels overly moist, to prevent sogginess during cooking.
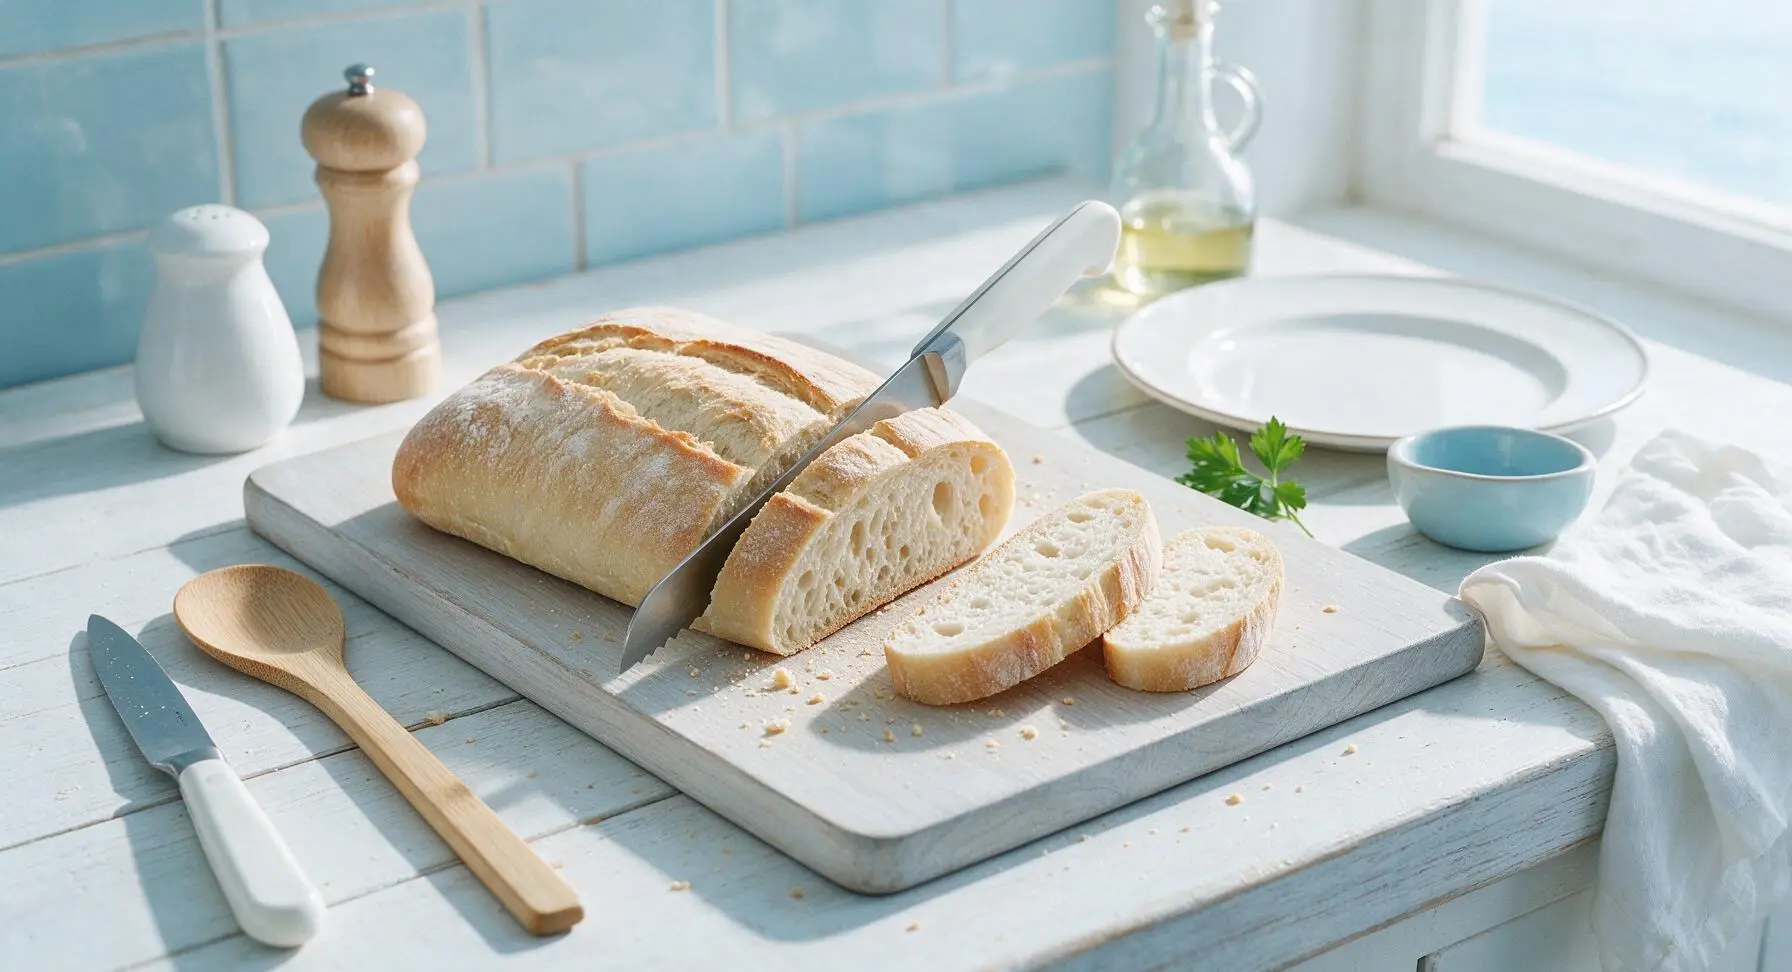
Step 1
step1:Slice and prep bread
2

Spread pesto on bread

Scoop basil pesto from the small glass ramekin using the stainless steel butter spreader. Spread a thin, even 1/2 tablespoon layer of pesto across the cut side of all 4 bread slices, leaving a 1/4-inch border around each edge to prevent oozing when pressed. Avoid spreading pesto too thickly, as excess oil will soak into the bread and create a soggy crust.
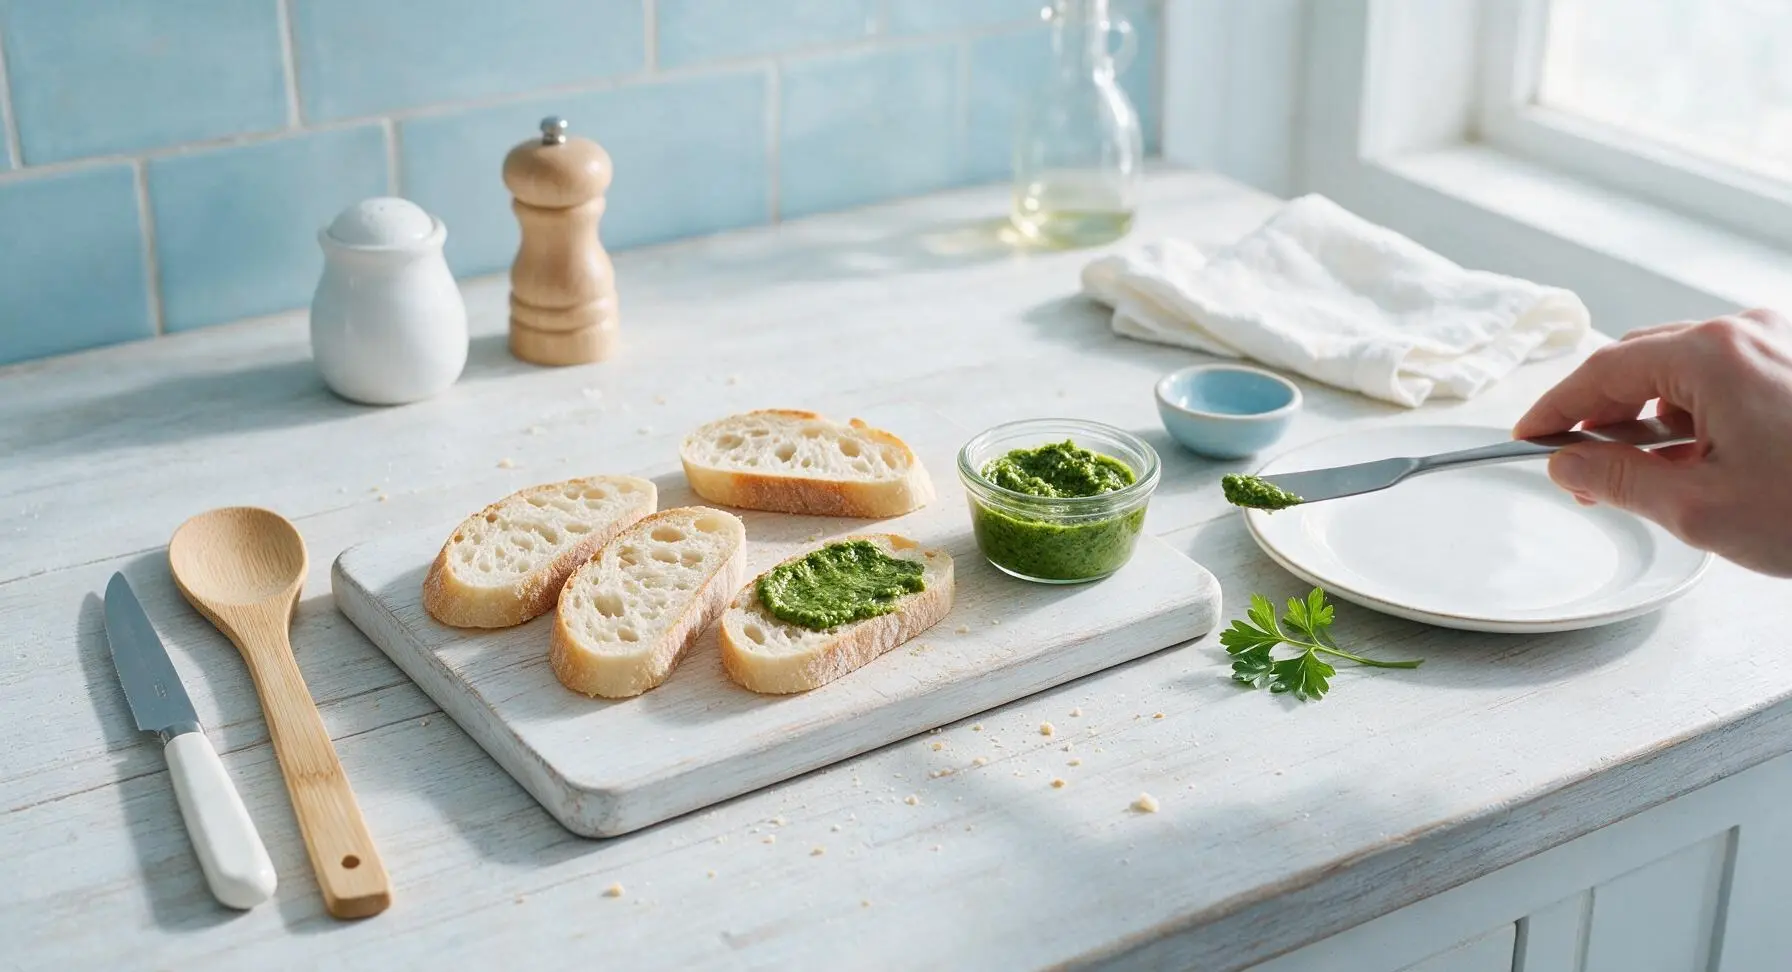
Step 2
step2:Spread pesto on bread
3

Layer sandwich fillings

Divide the sliced mozzarella evenly across two of the pesto-coated bread slices, arranging cheese in a single flat layer. Top cheese with half the prosciutto per sandwich, followed by 2 thinly sliced roma tomato slices per sandwich (patted dry with the linen towel to remove excess juice), 4 fresh basil leaves per sandwich, and a light pinch of flaky sea salt and black pepper. Top each filling stack with the remaining two bread slices, pesto side facing down, to form two neat closed sandwiches.
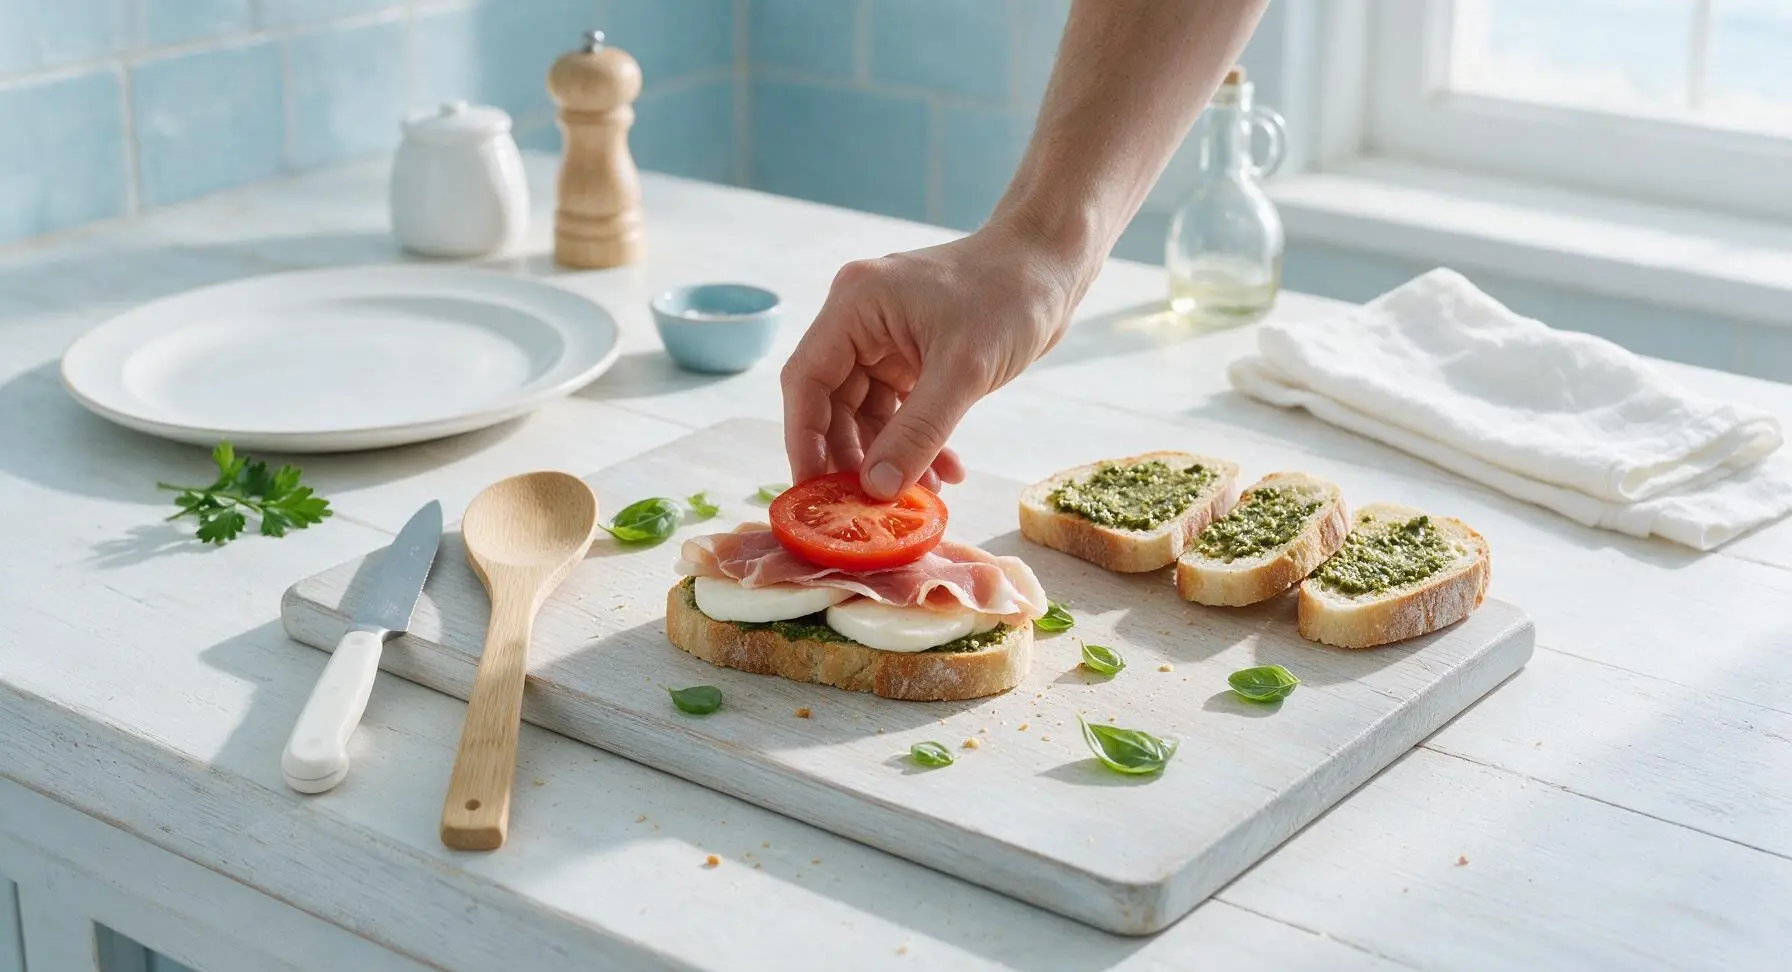
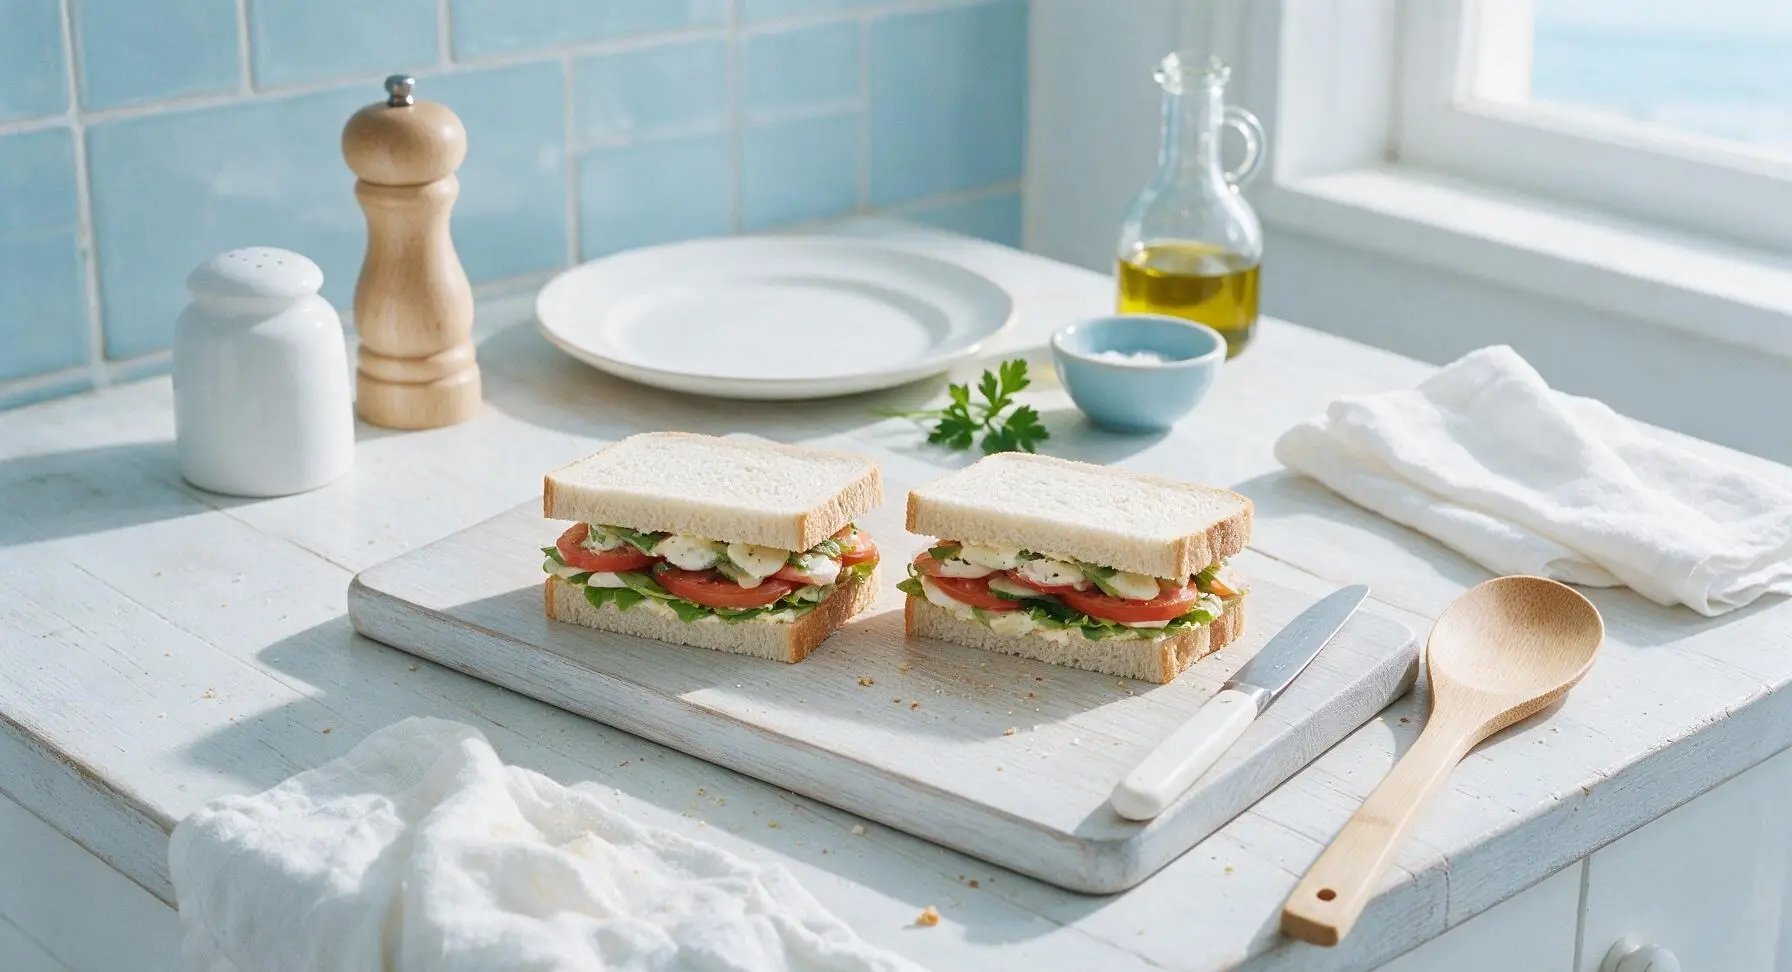
Step 3
step3:Layer sandwich fillings
Step 3
step3:Layer sandwich fillings
4

Butter bread exteriors

Use the stainless steel butter spreader to apply a thin, even layer of softened butter across the top outer surface of each assembled sandwich, covering the entire crust to the edge. Flip sandwiches carefully and spread butter across the opposite outer surface, using 1/4 tablespoon of butter per side for a total of 1 tablespoon across both sandwiches. The thin butter layer will create a crisp, golden, evenly browned crust when pressed.
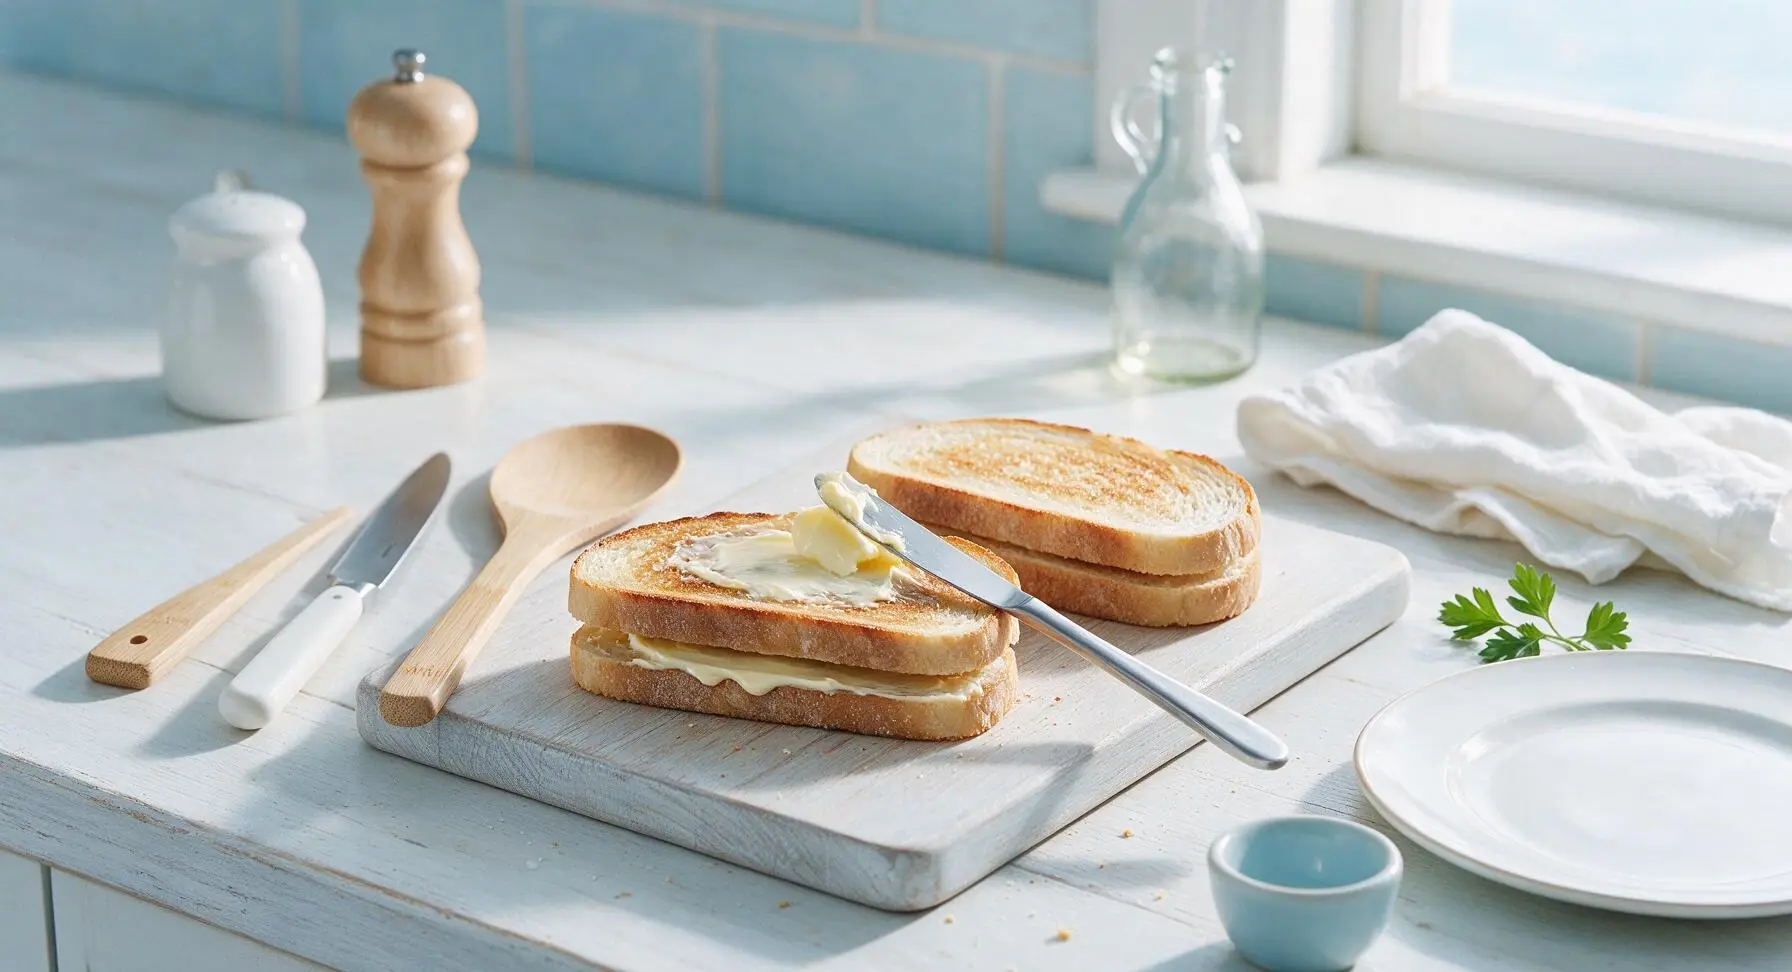
Step 4
step4:Butter bread exteriors
5

Preheat panini press

Set the matte black cast iron electric panini press on the right half of the counter, with the slotted stainless steel turner placed to its immediate right. Preheat the press to 375°F (190°C) for 3 minutes, until a drop of water flicked onto the ridged plate sizzles and evaporates within 2 seconds. Do not oil the press plates, as the butter on the bread exterior will prevent sticking.
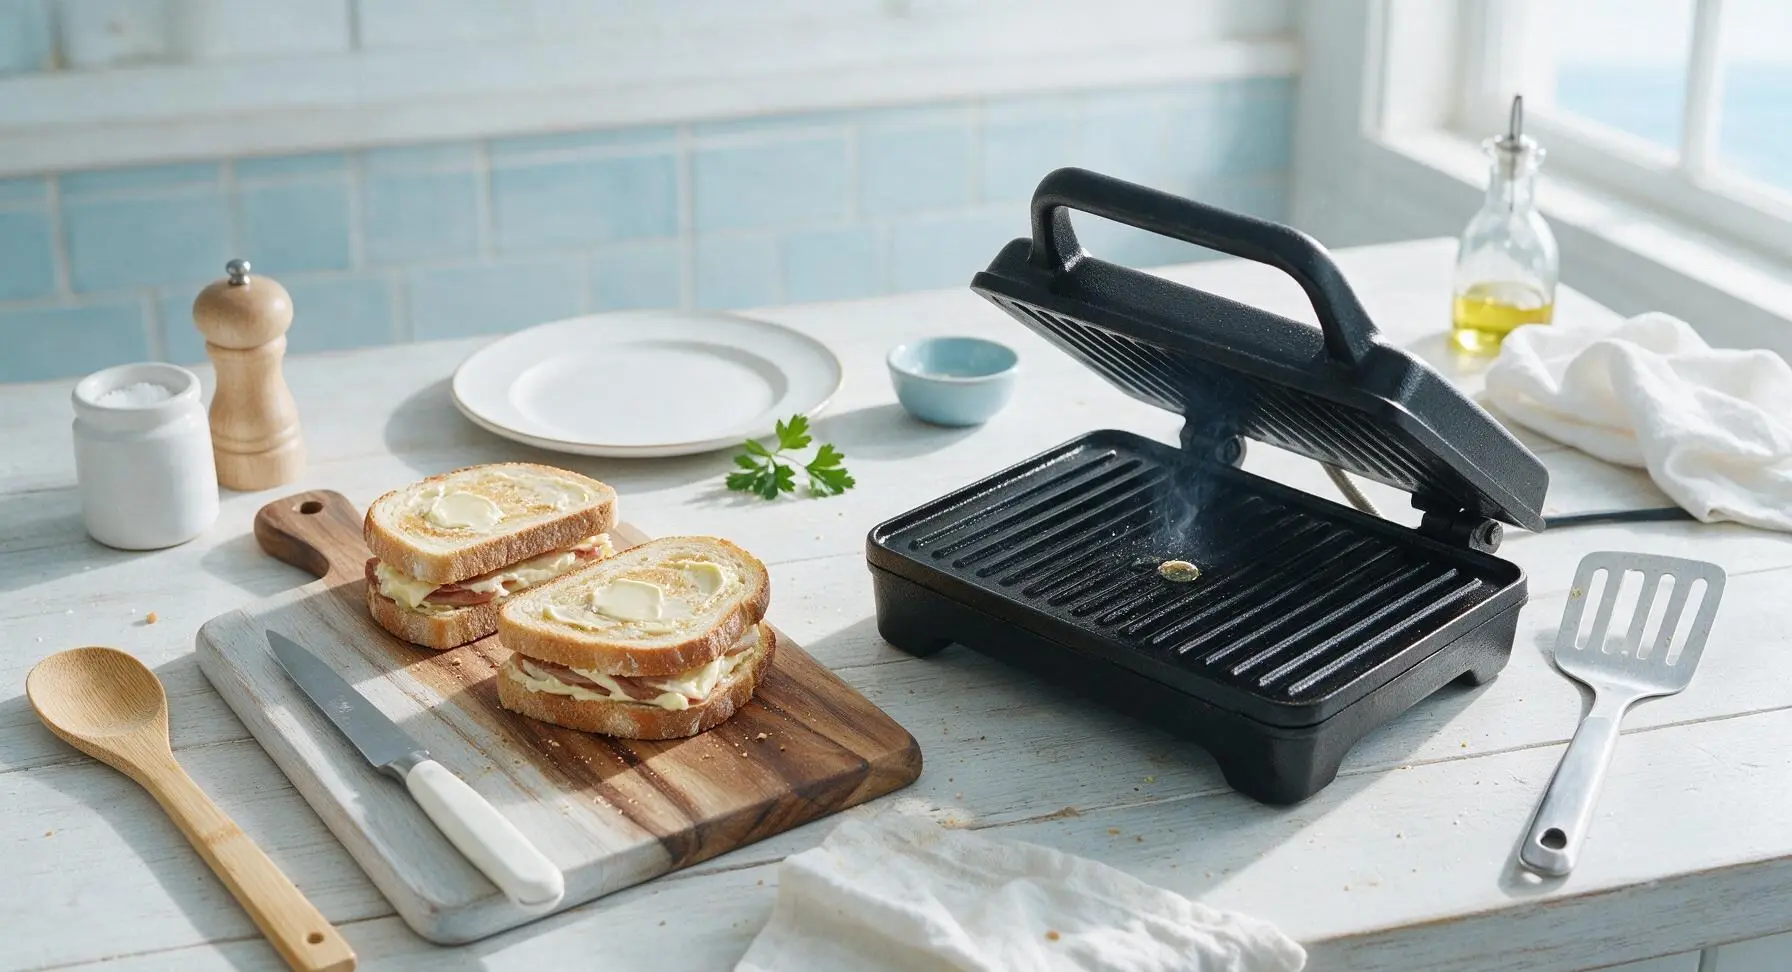
Step 5
step5:Preheat panini press
6

Cook first panini side

Carefully place one buttered sandwich onto the preheated panini press. Lower the upper press plate to apply firm, even pressure across the entire sandwich. Cook for 4 minutes, until the bottom bread surface is deep golden brown with distinct dark grill ridges, and the cheese closest to the bottom slice begins to visibly melt around the edges.
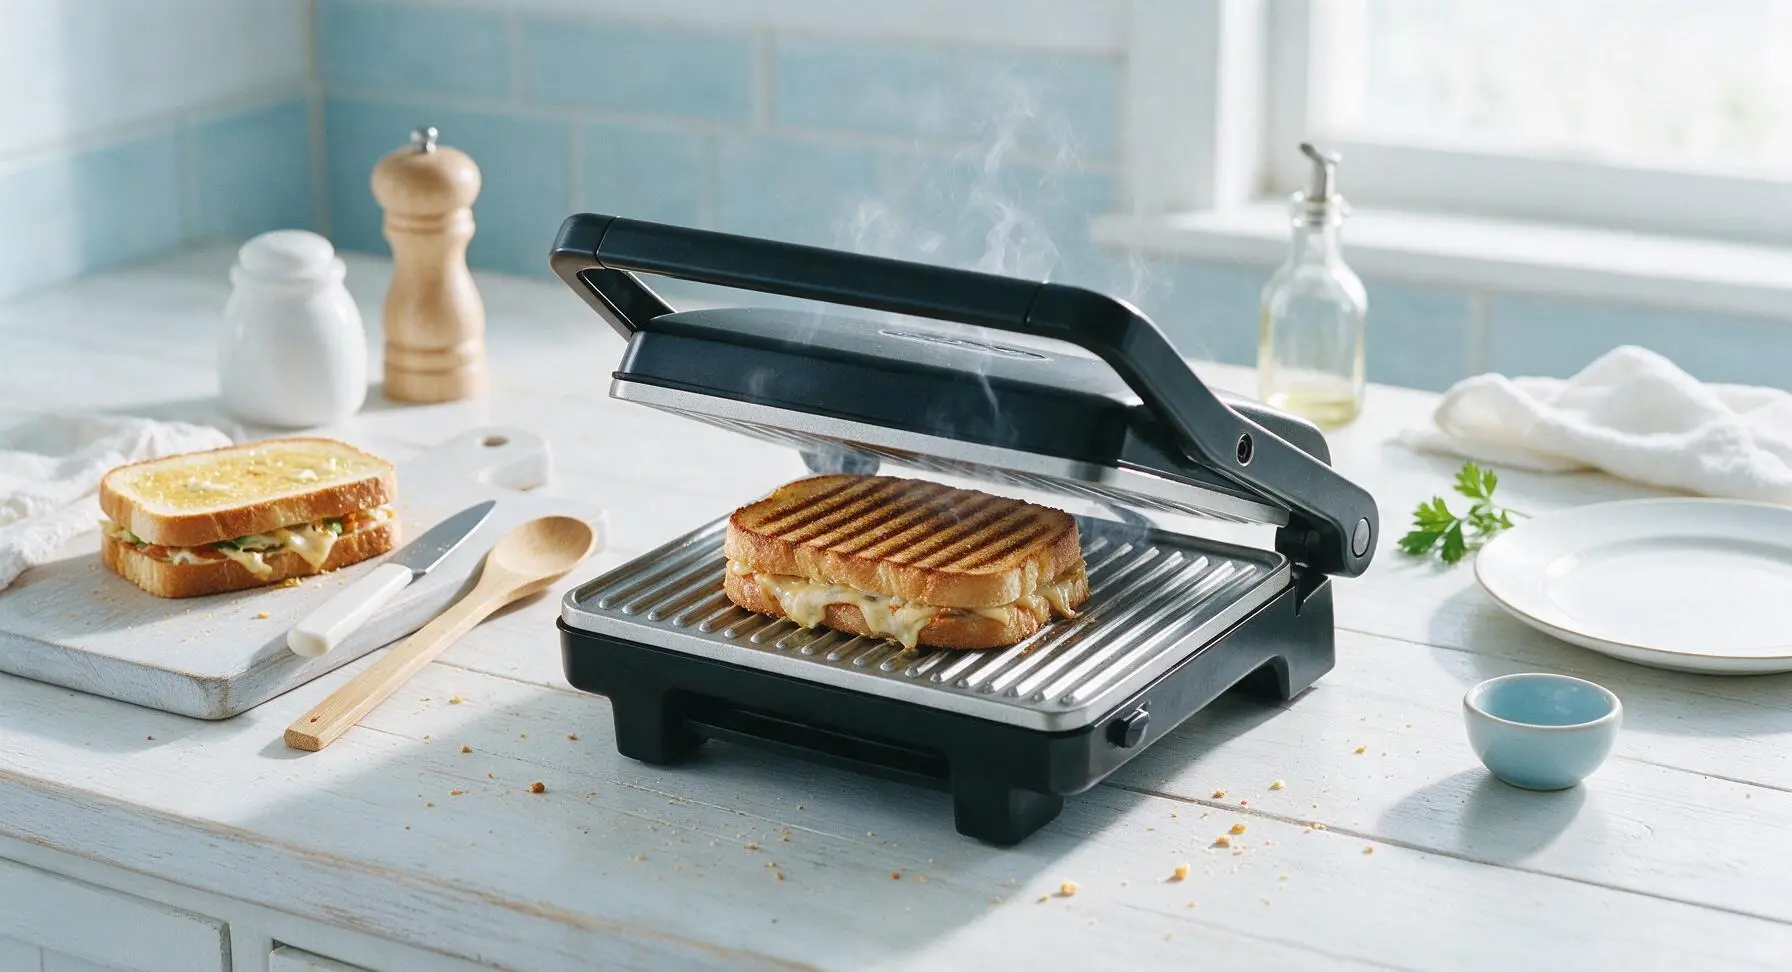
Step 6
step6:Cook first panini side
7

Flip and finish cooking

Lift the upper press plate, use the slotted stainless steel turner to carefully flip the sandwich. Lower the press plate again, and cook for an additional 3 to 4 minutes, until the second side matches the first in golden color and crisp ridge marks. Verify doneness with the instant-read thermometer: the center of the sandwich should reach 165°F (74°C), with mozzarella fully melted and stretchy. Transfer the cooked sandwich to the top matte cream ceramic plate, then repeat the cooking process for the second sandwich.
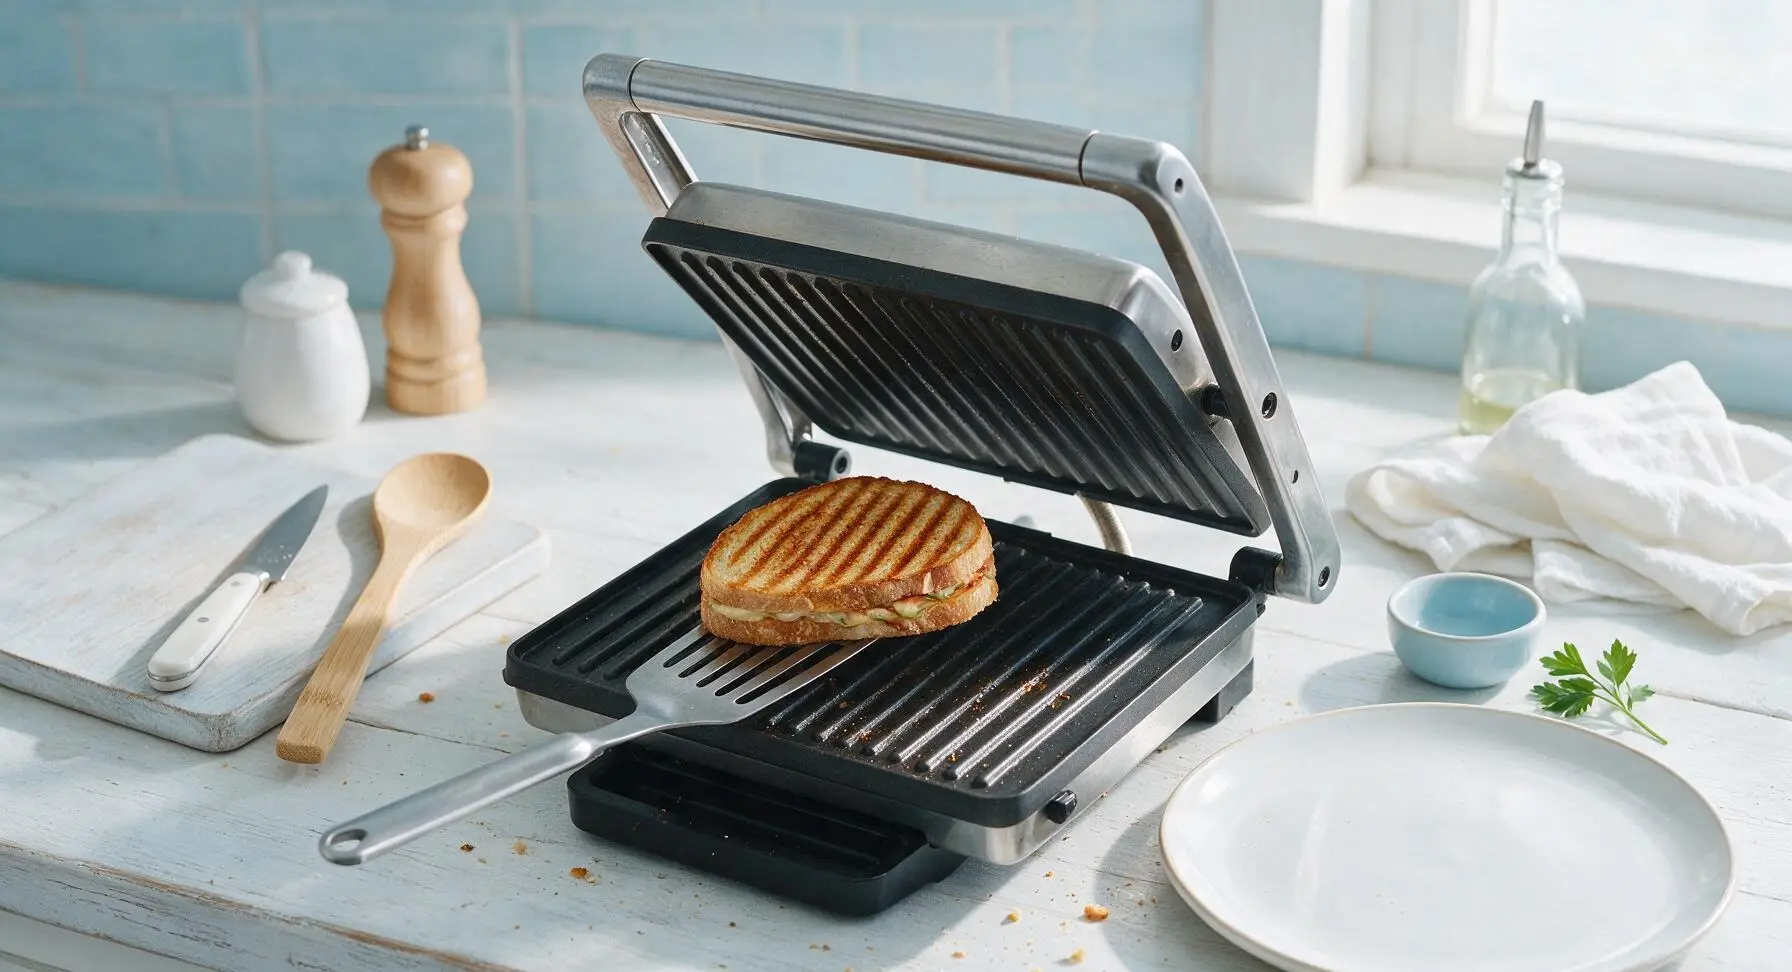
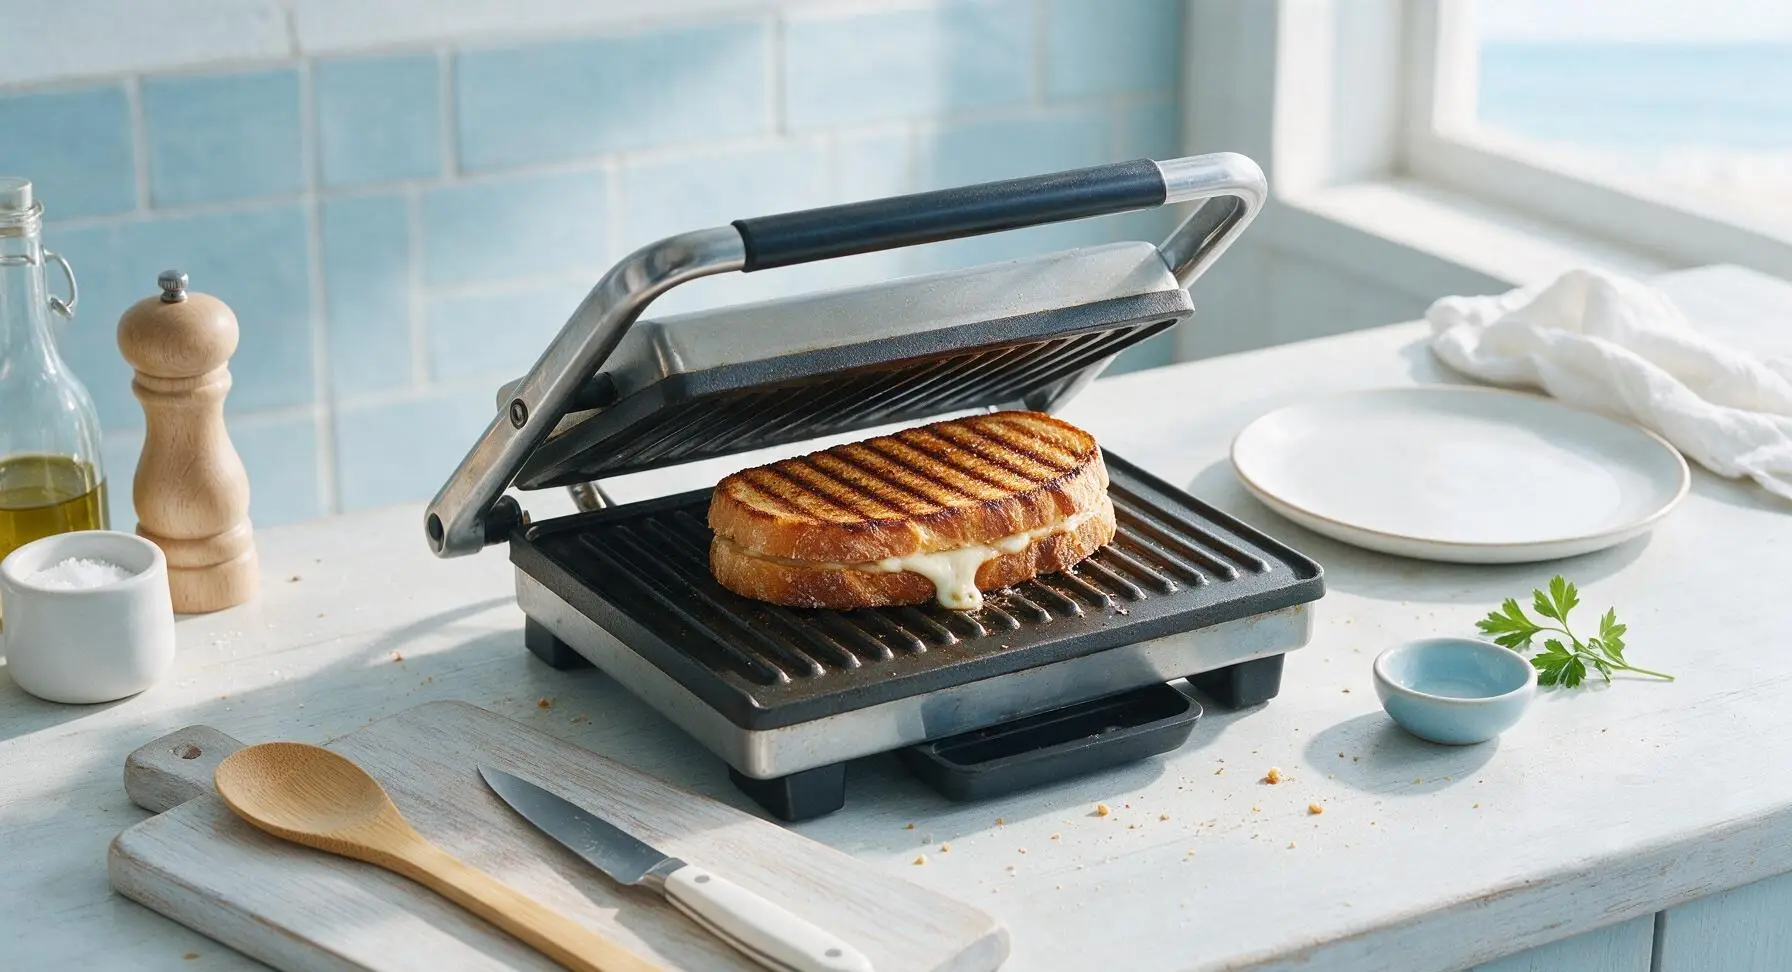
Step 7
step7:Flip and finish cooking
Step 7
step7:Flip and finish cooking
8

Rest, slice, and plate

Let both cooked panini rest on the matte cream ceramic plate for 1 minute to allow cheese to set slightly. Use the serrated bread knife to cut each panini diagonally into two equal triangular halves. Arrange the four halves leaning against each other on the plate, tuck a fresh basil leaf between the slices for garnish, and serve immediately.
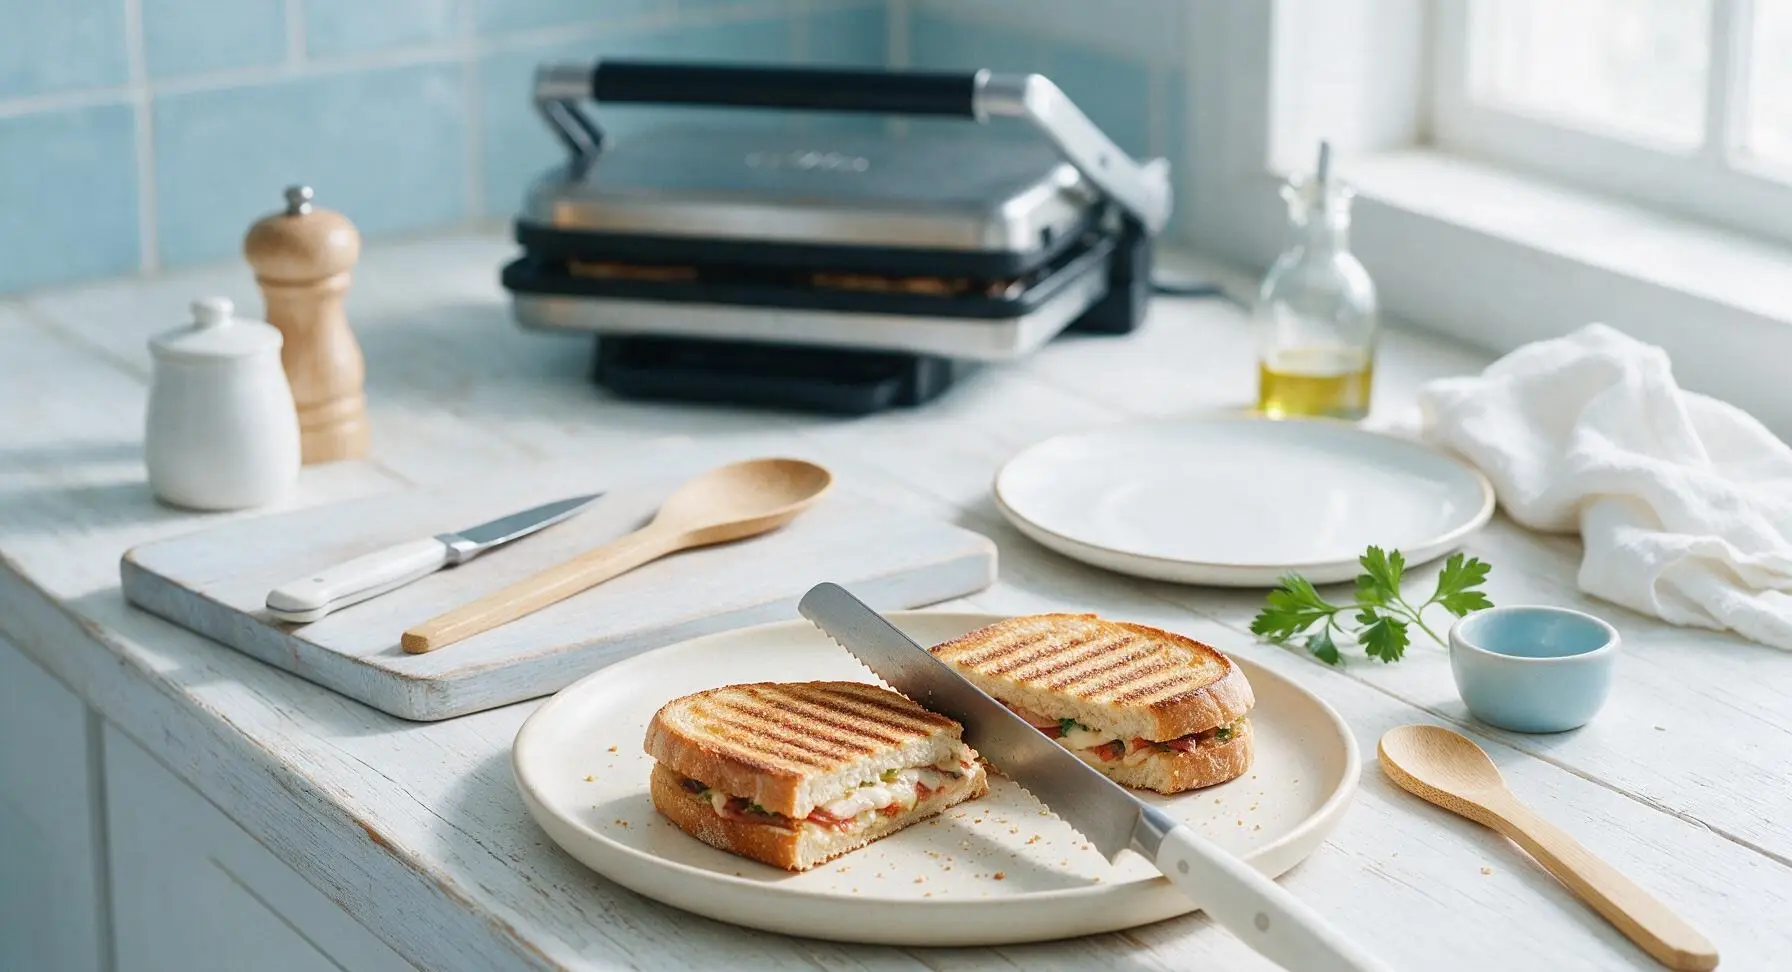
Step 8
step8:Rest, slice, and plate

Tips

1.Pat tomato slices dry with a linen towel before adding them to the sandwich: excess tomato juice will soak through the bread and create a soggy center instead of a crisp, evenly pressed crust.
2.Avoid overstuffing the panini: fillings stacked more than 1 inch thick will prevent even pressure from the press, leading to unevenly melted cheese and bread layers that slide apart when you take a bite.
3.Let cooked panini rest for 1 full minute before slicing: this short rest allows melted cheese to firm up slightly so it doesn’t gush out the sides when cut, and gives the crust time to set to perfect shatteringly crisp texture.


✨ You May Also Like

Lunch
🍜 United States

Creamy, salty, tangy nostalgic Midwestern sandwich pairing rich peanut butter with crisp briny dill pickles for a fast, satisfying no-cook meal.

⏱️ 5 minutesLunch ★ 4.6
Lunch
🍜 United States

Crispy, melty pressed sandwich layered with savory roast pork, ham, Swiss cheese, pickles, and tangy mustard: a beloved Cuban-American comfort classic.

⏱️ 25 minuteLunch ★ 4.9
Lunch
🍜 United States

Hearty, briny New Orleans pressed sandwich stacked with cured Italian meats, provolone, and zesty olive salad, served cold for bold, portable flavor.

⏱️ 1 hour 20Lunch ★ 4.7
Lunch
🍜 United States

A tangy, creamy Southern American staple, this no-cook cheesy sandwich is packed with sharp cheddar and sweet pimentos for a satisfying, portable bite.

⏱️ 1 hour 15Lunch ★ 4.8
Lunch
🍜 United States

Crispy Cajun-spiced fried shrimp piled on crusty French bread with tangy remoulade and fresh toppings, the iconic Louisiana street food sandwich.

⏱️ 35 minuteLunch ★ 4.4
Lunch
🍜 United States

Stacked, savory deli-style corned beef sandwich with melted Swiss, tangy mustard, and crisp griddled rye— a fast, hearty, satisfying classic.

⏱️ 15 minuteLunch ★ 4.9

toasted panini:Frequently Asked Questions

1.Do I need a special panini press to make this classic panini? ▾
You absolutely don’t! If you don’t own a press, heat a regular skillet over medium heat, set your assembled sandwich inside, then weigh it down with a heavy cast iron skillet topped with a couple of canned goods for even pressure. Flip the sandwich halfway through cooking to get that signature crispy, golden crust on both sides, just like a dedicated press would produce.
2.Why is ciabatta the recommended bread for this panini instead of regular sandwich bread? ▾
Ciabatta has a sturdy, open crumb and chewy, crisp crust that holds up beautifully to pressing and moist ingredients like pesto and tomato without turning soggy. Regular soft sandwich bread compresses too much under weight, turns mushy easily, and won’t deliver that satisfying, shatteringly crisp outer crunch this classic recipe is known for.
3.My fresh mozzarella always makes my panini soggy—how do I prevent that? ▾
Great question! Fresh mozzarella holds a lot of excess whey that leaks out as it melts, so pat slices very dry with paper towels before layering. You can also let sliced mozzarella rest on a wire rack for 10 minutes prior to assembly to drain off extra moisture, so you get perfectly melted cheese without a soggy, wet bread interior.
4.Can I make this panini ahead of time for meal prep or packed lunches? ▾
I recommend prepping individual components ahead instead of fully assembling the sandwich to avoid sogginess. Slice bread, portion pesto, pat cheese dry, and slice tomatoes up to 2 days in advance, storing each separately in airtight containers in the fridge. Assemble and press the panini right before eating for the best crispy texture and cheese pull.
5.What’s the ideal cooking temperature and time for a perfectly toasted panini? ▾
Aim for medium heat (around 375°F on a panini press) and cook for 3 to 5 minutes total. You’ll know it’s done when the bread is deep golden brown with distinct grill marks, the mozzarella is fully melted and oozing slightly at the edges, and the prosciutto is warmed through with slightly crisped spots.
6.Can I substitute prosciutto for a vegetarian version of this panini? ▾
Absolutely! Swap the prosciutto for thin slices of roasted red pepper, marinated artichoke hearts, or grilled zucchini for a delicious vegetarian take. For extra savoriness, add a sprinkle of flaky sea salt and a thin layer of softened sun-dried tomato spread to match the salty, rich depth prosciutto adds to the original recipe.
7.Should I seed my Roma tomatoes before adding them to the panini? ▾
Yes, definitely—seeding Roma tomatoes cuts down on excess watery pulp that would make your bread soggy during pressing. Simply slice the tomato lengthwise, scoop out the seedy, juicy core with a small spoon, then cut into thin ¼-inch slices, patting them lightly with a paper towel before layering for the best texture.
8.Is store-bought basil pesto fine to use, or do I need to make it from scratch? ▾
Store-bought pesto works perfectly for this quick, easy recipe! Look for a refrigerated pesto in the deli section for the brightest, freshest flavor, and give it a quick stir before spreading. If you have extra fresh basil on hand, stir in a tablespoon of chopped fresh leaves to bump up that bright herbal note without making pesto from scratch.
9.How thick should I slice the ciabatta for the best panini texture? ▾
Slice your ciabatta into 1 to 1.5-inch thick horizontal slices. Any thinner, and the bread will compress too much under pressure, turning dense and tough instead of light and crisp. Any thicker, and heat won’t reach the center to melt cheese fully before the outside burns, leaving you with cold fillings and overcooked bread.
10.My panini always sticks to the press—how do I stop that? ▾
First, make sure your press (or skillet) is fully preheated before adding the sandwich—cold cooking surfaces are the top cause of sticking. You can also give the grates a light brush with olive oil, or spread a very thin layer of softened butter on the outer sides of the ciabatta, which adds flavor and creates a nonstick barrier for clean release.
11.Can I add extra fillings like balsamic glaze to this classic panini? ▾
Of course! A light drizzle of thick balsamic glaze right before pressing adds a wonderful tangy sweetness that pairs perfectly with salty prosciutto and creamy mozzarella. Just avoid adding too many wet, drippy fillings, always pat wet ingredients dry first to keep bread crisp, and don’t overstuff so the sandwich presses evenly.
12.What’s the best way to reheat leftover panini so it stays crispy, not rubbery? ▾
Skip the microwave—it will turn the bread chewy and rubbery and make cheese greasy. Instead, reheat leftover panini in a 350°F oven, toaster oven, or back on the panini press for 2 to 3 minutes, until cheese is remelted and bread crisps back up. For a quick fix, reheat in a dry skillet over low heat, flipping halfway through.
13.Do I need to butter the outside of the bread before pressing? ▾
It’s not strictly required, but I highly recommend it! A thin spread of softened unsalted butter (or even a light brush of olive oil) on the outer cut sides of the ciabatta helps the bread toast to a perfect deep golden, crispy crust, adds rich, buttery flavor, and prevents sticking to your press or skillet without making bread greasy.
14.Can I use shredded low-moisture mozzarella instead of fresh mozzarella? ▾
You absolutely can! Shredded low-moisture mozzarella melts extra smoothly and has zero risk of making your bread soggy, since it contains very little excess whey. It has a slightly milder, saltier flavor than fresh mozzarella, so add a light pinch of black pepper or flaky salt to balance flavors if you make that swap.
15.How do I keep my fillings from sliding out when I press the panini? ▾
First, don’t overstuff the sandwich—stick to a thin, even layer of each filling. Place half the cheese directly against both inner sides of the bread to act as a natural glue that holds prosciutto, pesto, and tomato in place as it melts. Press the top lid down gently at first, instead of slamming it hard, to keep fillings from squishing out the sides.
16.Is this panini suitable for freezing for quick future meals? ▾
It freezes really well! Assemble uncooked panini, wrap them tightly in plastic wrap then aluminum foil, and freeze for up to 3 months. When you’re ready to eat, don’t thaw it—cook straight from frozen on a medium-low panini press for 7 to 8 minutes, until bread is crisp and the center is fully heated through and melty.
17.What side dishes pair best with this classic toasted panini? ▾
This rich, savory panini pairs perfectly with light, bright sides to cut through its cheesy, salty richness. Try a simple arugula salad tossed with lemon vinaigrette, a cup of creamy tomato soup, crispy baked sweet potato fries, or a side of briny olives and pickled pepperoncini for a classic, well-rounded deli-style meal at home.
18.Why does my prosciutto get tough and chewy instead of crisp when I press the panini? ▾
That usually happens if your heat is too low, leading to long cook times that dry out the thin prosciutto, or if you’re using overly thick prosciutto slices. Stick to paper-thin prosciutto slices, cook at medium heat for the recommended 3 to 5 minutes, and tuck prosciutto between cheese layers so it doesn’t directly touch the hot press and overcook.
19.Can I make this panini gluten-free without losing that classic texture? ▾
Yes! Swap regular ciabatta for a sturdy gluten-free ciabatta loaf, which has a similar chewy, firm crumb that holds up to pressing without turning mushy. Double check that your store-bought pesto is labeled gluten-free, as some versions add hidden wheat thickeners, then cook as normal for a crispy, melty panini that matches the classic’s great texture.

Comments (4)

2 days ago

OMG this classic panini recipe is such a game changer for busy weeknights! I threw together some leftover roasted turkey, provolone, and a little jarred pesto I had in the fridge, followed the 12 minute cook time exactly, and it came out perfectly crispy without that sad soggy bread I always get from local sandwich shops. My kids devoured theirs in 5 minutes flat and begged me to add these to our regular Sunday family lunch rotation. It’s so easy even my 16 year old could make it without asking me a million questions, total win!

yesterday

Wait quick question – did you use a dedicated panini press or just a regular pan? I don’t have any fancy small appliances and have been nervous to try making paninis at home without one!

yesterday

Great question! You absolutely don’t need a fancy panini press to get that perfect crispy, pressed texture. Just use a heavy cast iron skillet, or weigh down a regular frying pan with a foil-wrapped brick or a second heavy pan stacked on top while it cooks. Works like a charm every time!

3 days ago

SO good! I made a batch of these for a day hike picnic last weekend, used crusty sourdough, black forest ham, swiss, and a slather of dijon, and they held up perfectly even after being stuffed in my backpack for a couple hours on the trail. The 12 minute cook time is no joke – I whipped up four of these in less time than it took my partner to pack our trail mix and water bottles. Only tiny personal preference note is I’ll probably spread a thin layer of butter on the outside of the bread next time for extra richness and golden color, but they were still delicious as written!

2 days ago

Love the hiking picnic idea – these are such a great portable, hearty meal for outdoor days! That thin butter slather on the bread crust is such a pro move, it adds such incredible flavor and crunch, we use that trick all the time. So glad these worked out for your trip!

1 week ago

Brought these to our neighborhood block party potluck last week and people were literally lining up to ask for the recipe! I set up a little build-your-own station with different cheeses, deli meats, roasted veggies, and spreads, cooked them up quick on my countertop press, and they were the first dish completely gone. It’s so easy to scale for a crowd even with the short cook time, which is a total potluck superpower. Will absolutely be adding this to my go-to rotation for every gathering from now on!

2 hours ago

As a broke college student with barely any kitchen tools and a super tight meal prep budget, this recipe is an absolute lifesaver! I make a batch of these on Sunday afternoons, wrap them up in parchment paper, and grab one for lunch between classes all week. They reheat shockingly well even in the gross dorm common room microwave (I know, not ideal, but it works!) and taste way better and fresher than the overpriced paninis they sell at the campus cafe. 10/10, already sent the recipe to all my roommates!

30 minutes ago

Wait how do you store them to reheat without getting soggy? I tried meal prepping paninis last semester and they turned all mushy and sad by day two, would love any tips!



