
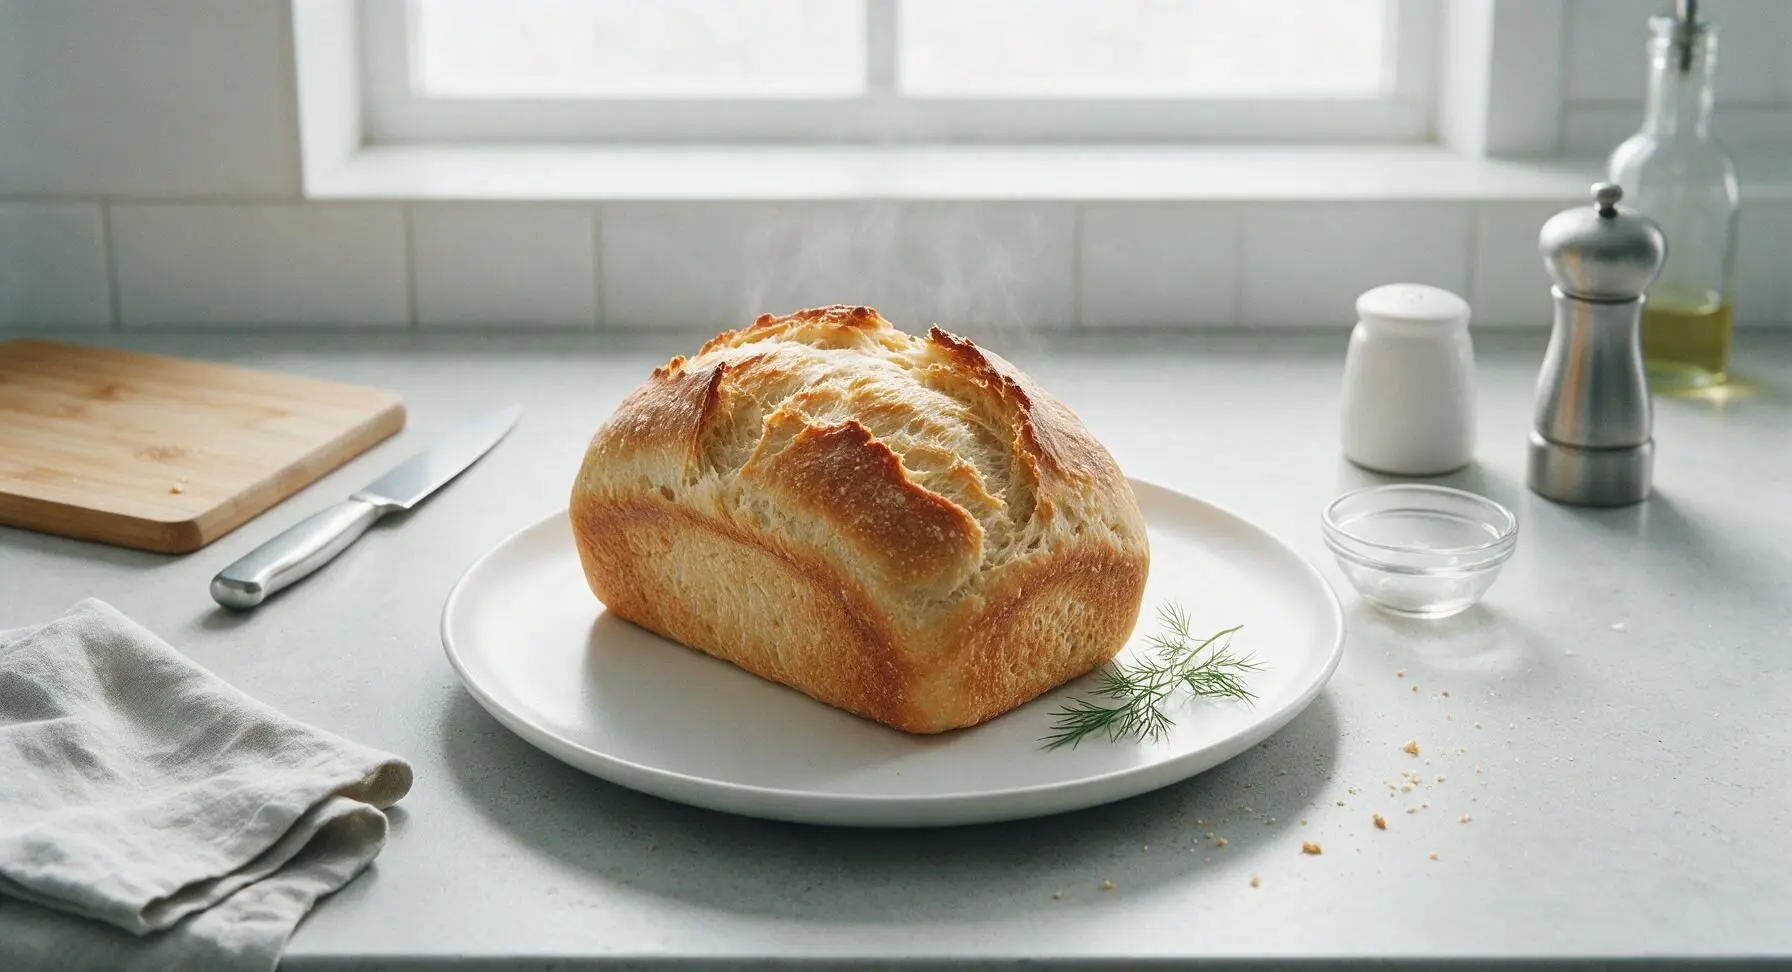
toaster oven bread

title 1
toaster oven bread
⏱️ cook time 35 minutes
🍽️ servings 4
⚡ Difficulty easy

intro

Crusty, soft-crumbed small-batch loaf baked entirely in a toaster oven, with a crackly golden crust and chewy airy center—no large oven or kneading required.

Ingredients
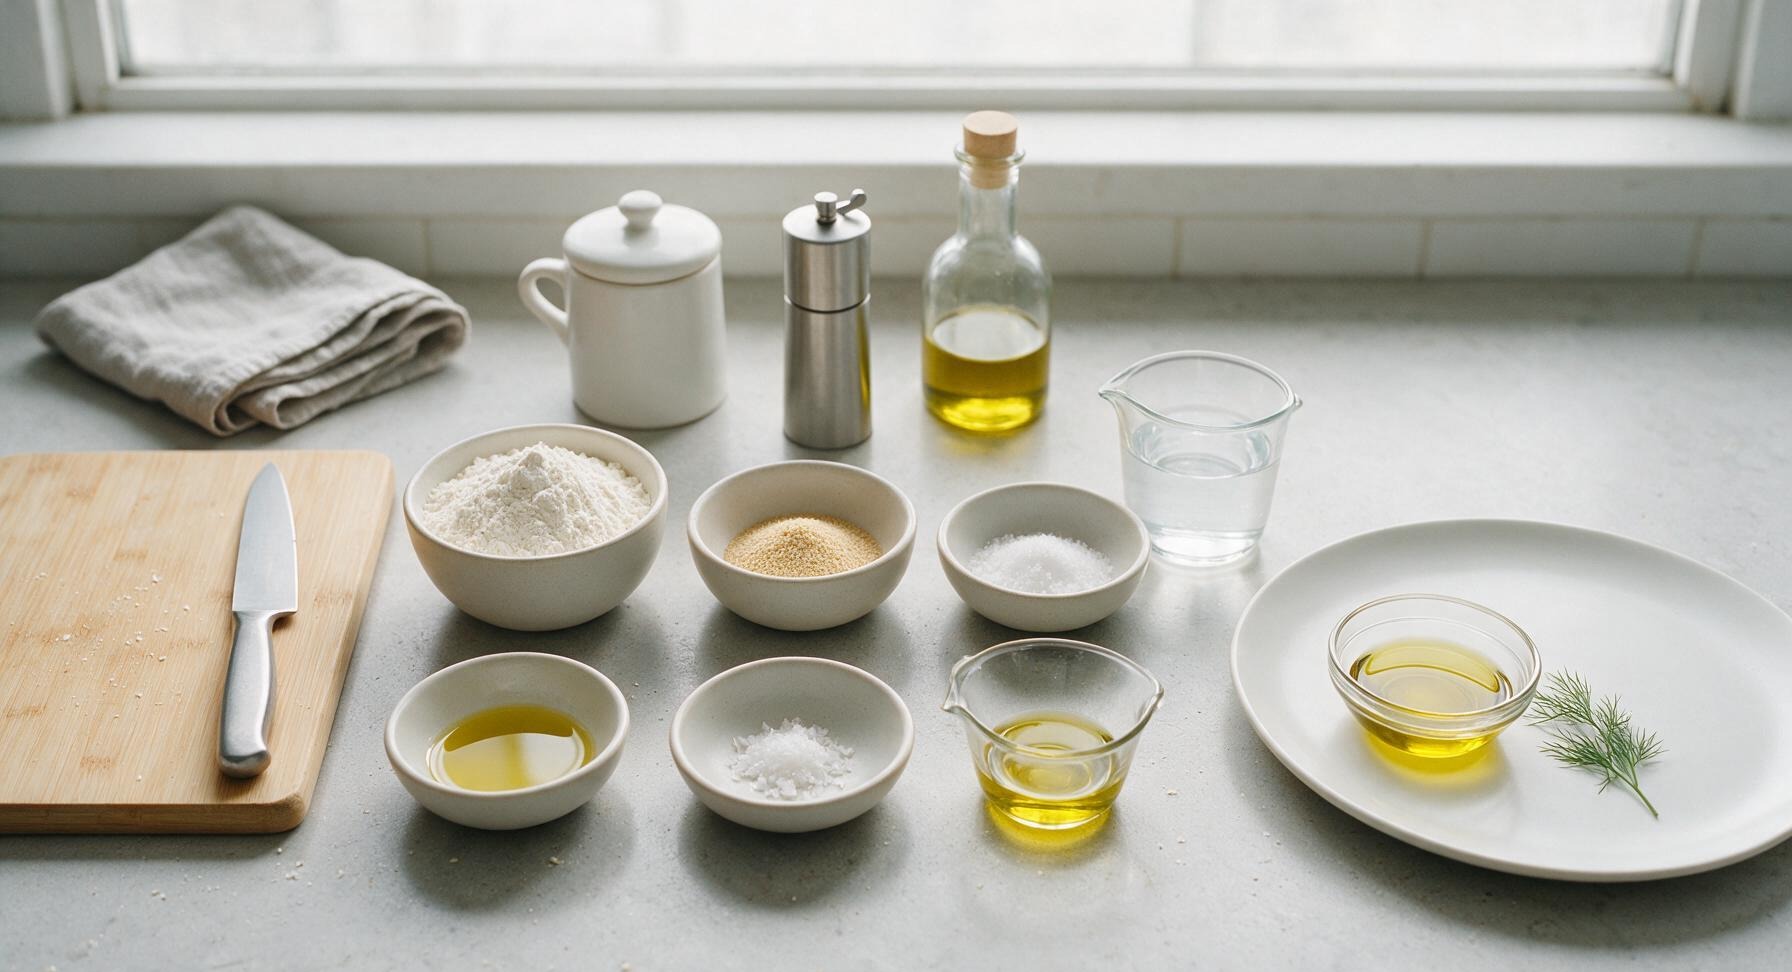
All-purpose flour 240g (2 cups)
Instant dry yeast 3g (1 tsp)
Kosher salt 5g (1 tsp)
Lukewarm water (100°F/38°C) 180ml (3/4 cup)
Extra-virgin olive oil 15ml (1 tbsp)
Flaky sea salt 2g (1/2 tsp)

Steps

1

Combine Dry Ingredients

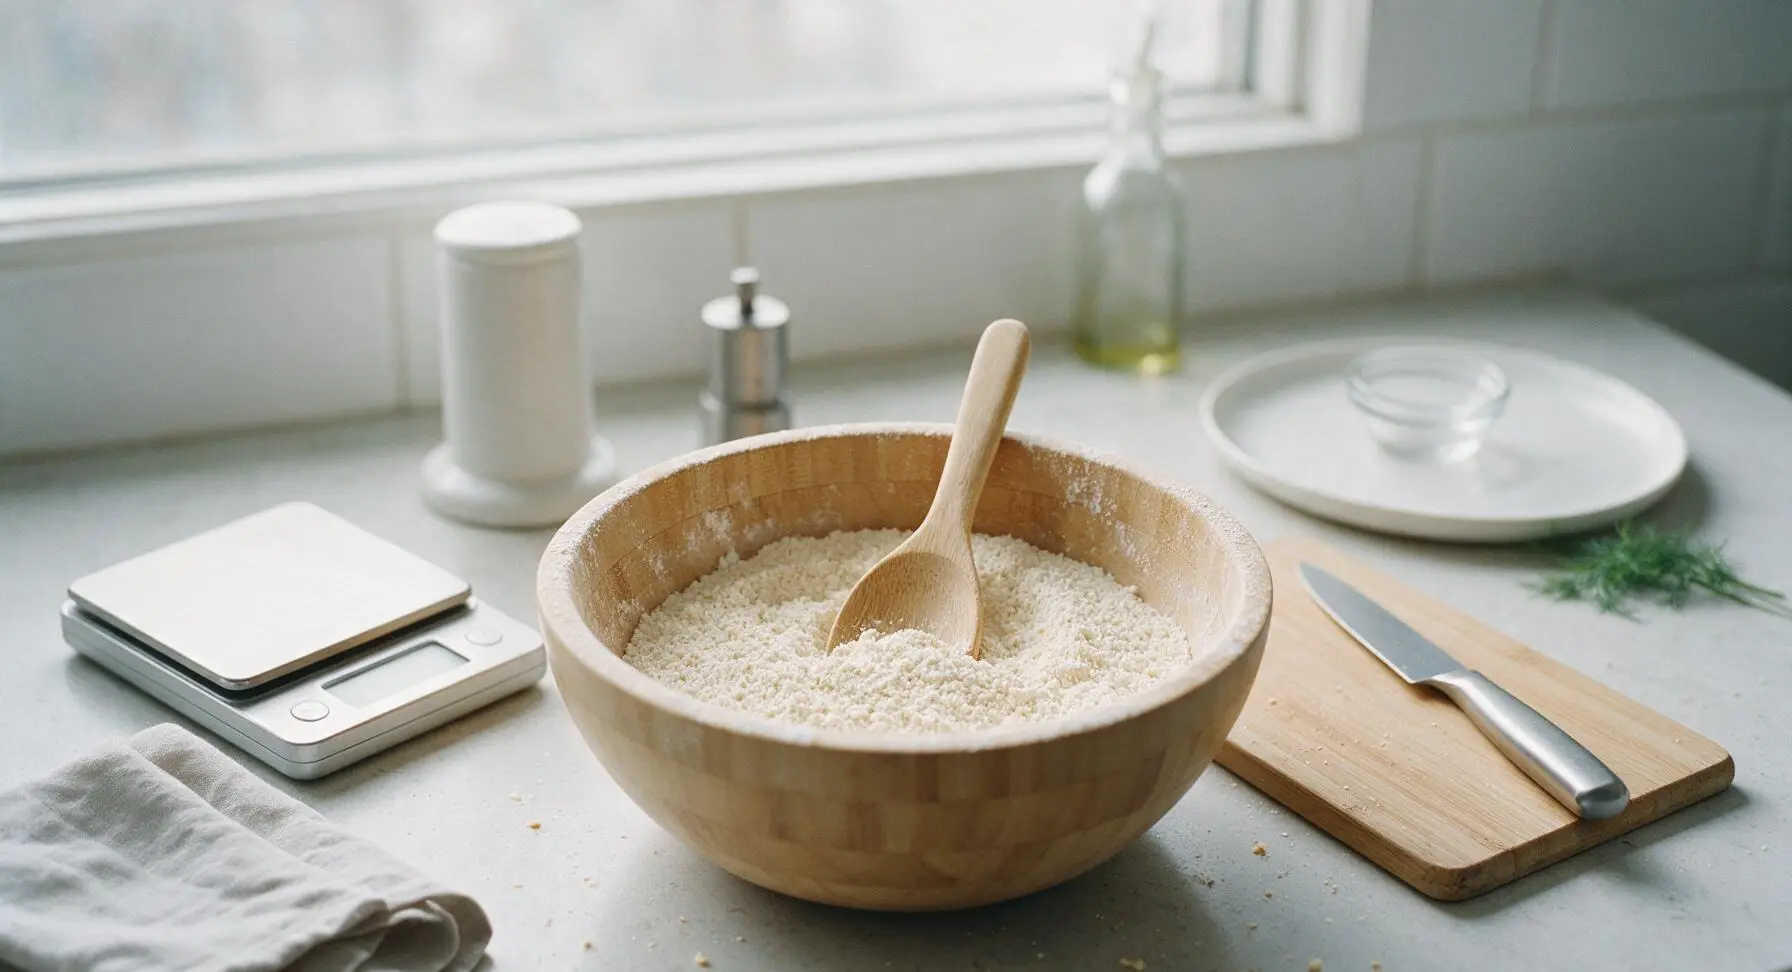
Add 240g all-purpose flour, 3g instant yeast, and 5g kosher salt to the bamboo mixing bowl. Stir briefly with the bamboo mixing spoon to evenly distribute the yeast and salt throughout the flour, so no concentrated clumps of yeast or salt remain at the bottom of the bowl. The mixture will be a uniform pale off-white when fully combined.
Step 1
step1:Combine Dry Ingredients
2

Mix in Wet Ingredients

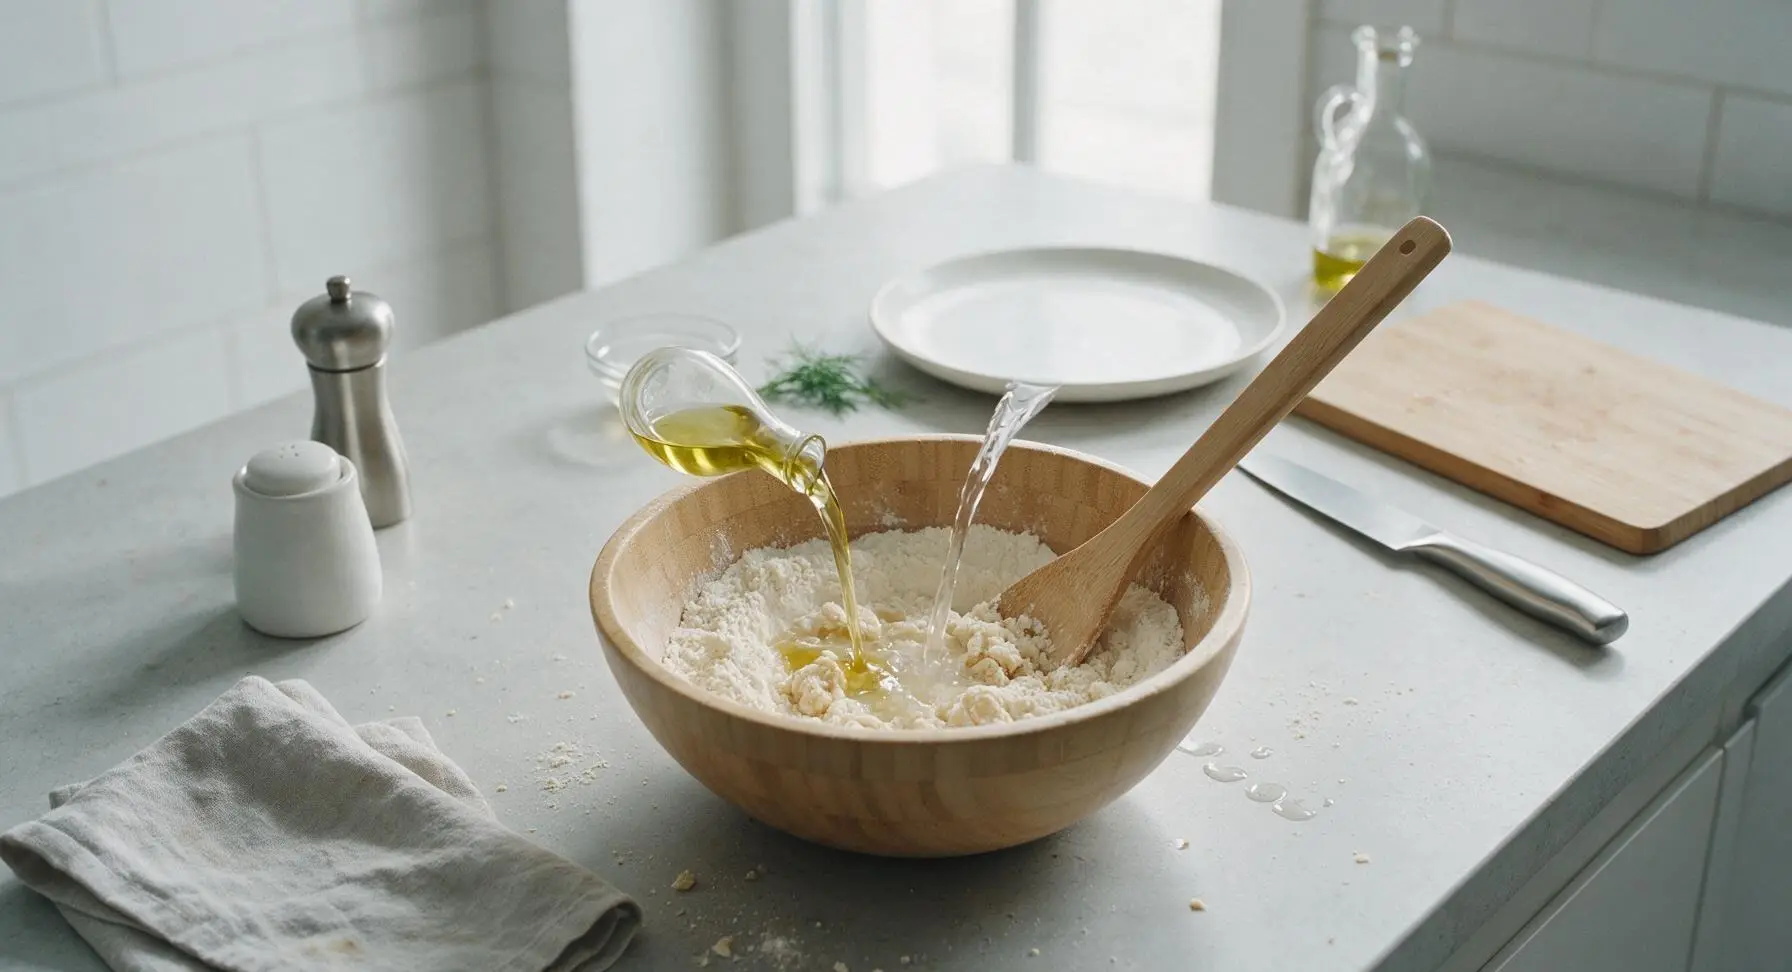
Pour 180ml lukewarm (100°F/38°C, neutral to the touch, not hot) water and 15ml extra-virgin olive oil into the combined dry ingredients. Stir with the bamboo mixing spoon for 30–45 seconds, until no dry flour pockets remain. The dough will be shaggy, sticky, and slightly lumpy—do not knead, as overmixing will create a dense, tough crumb.
Step 2
step2:Mix in Wet Ingredients
3

Let Dough Rise

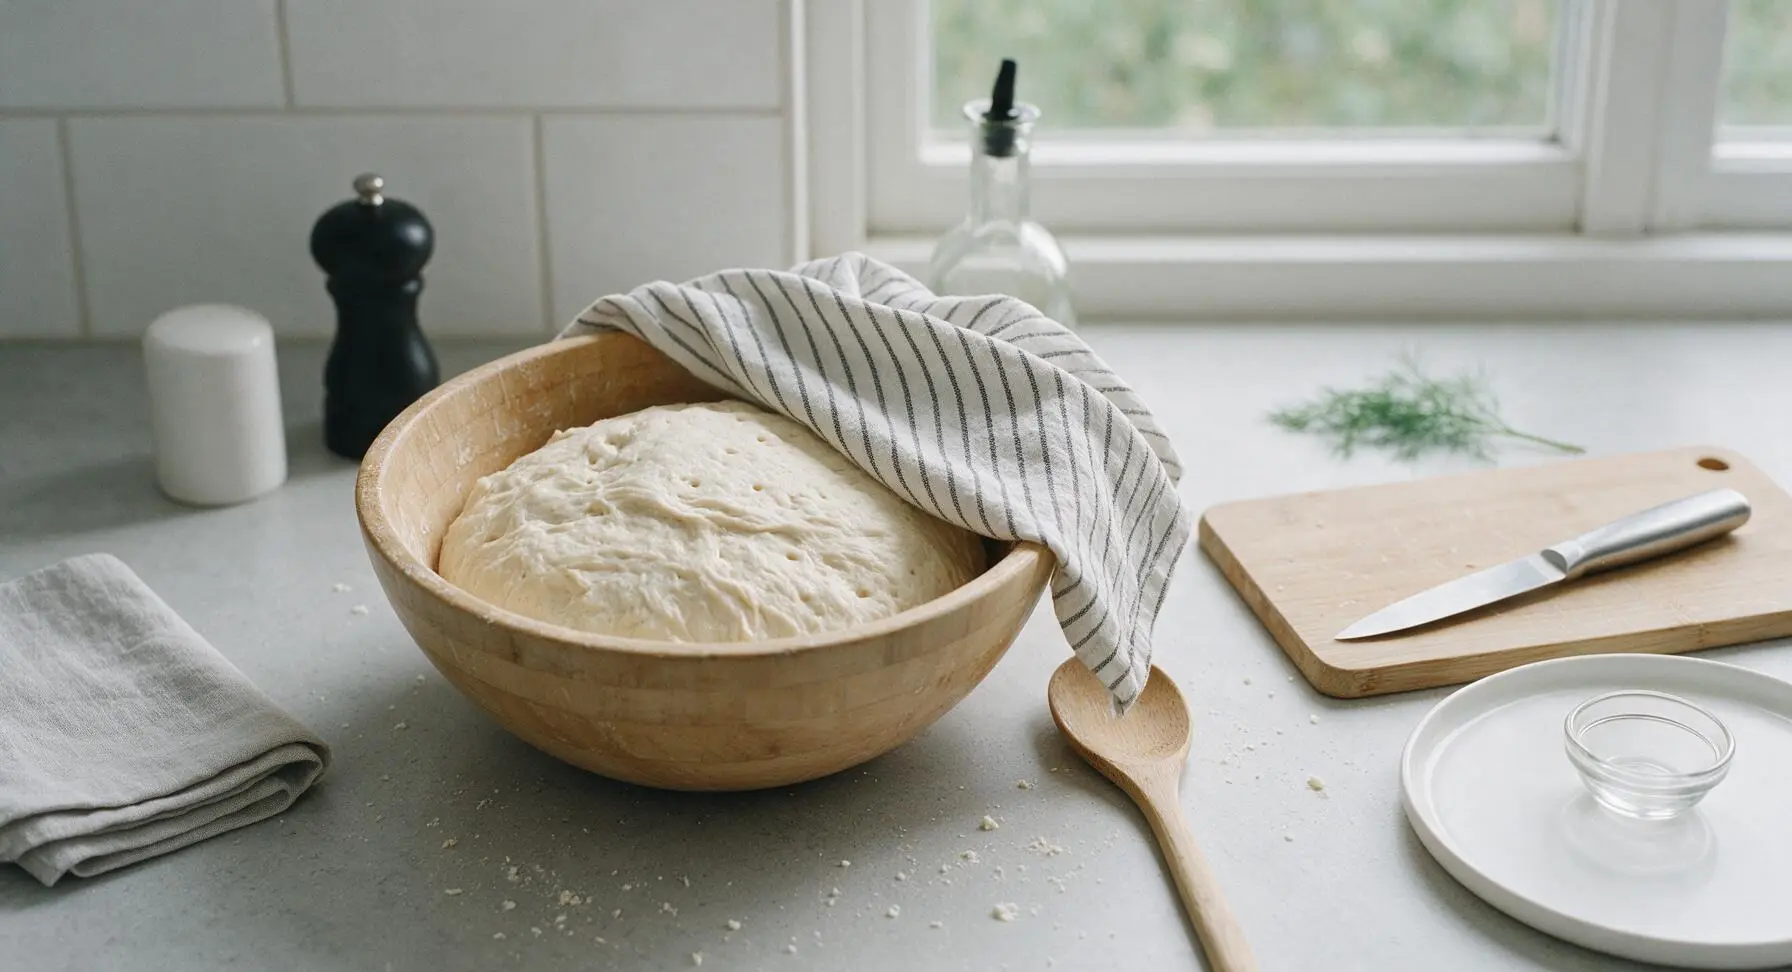
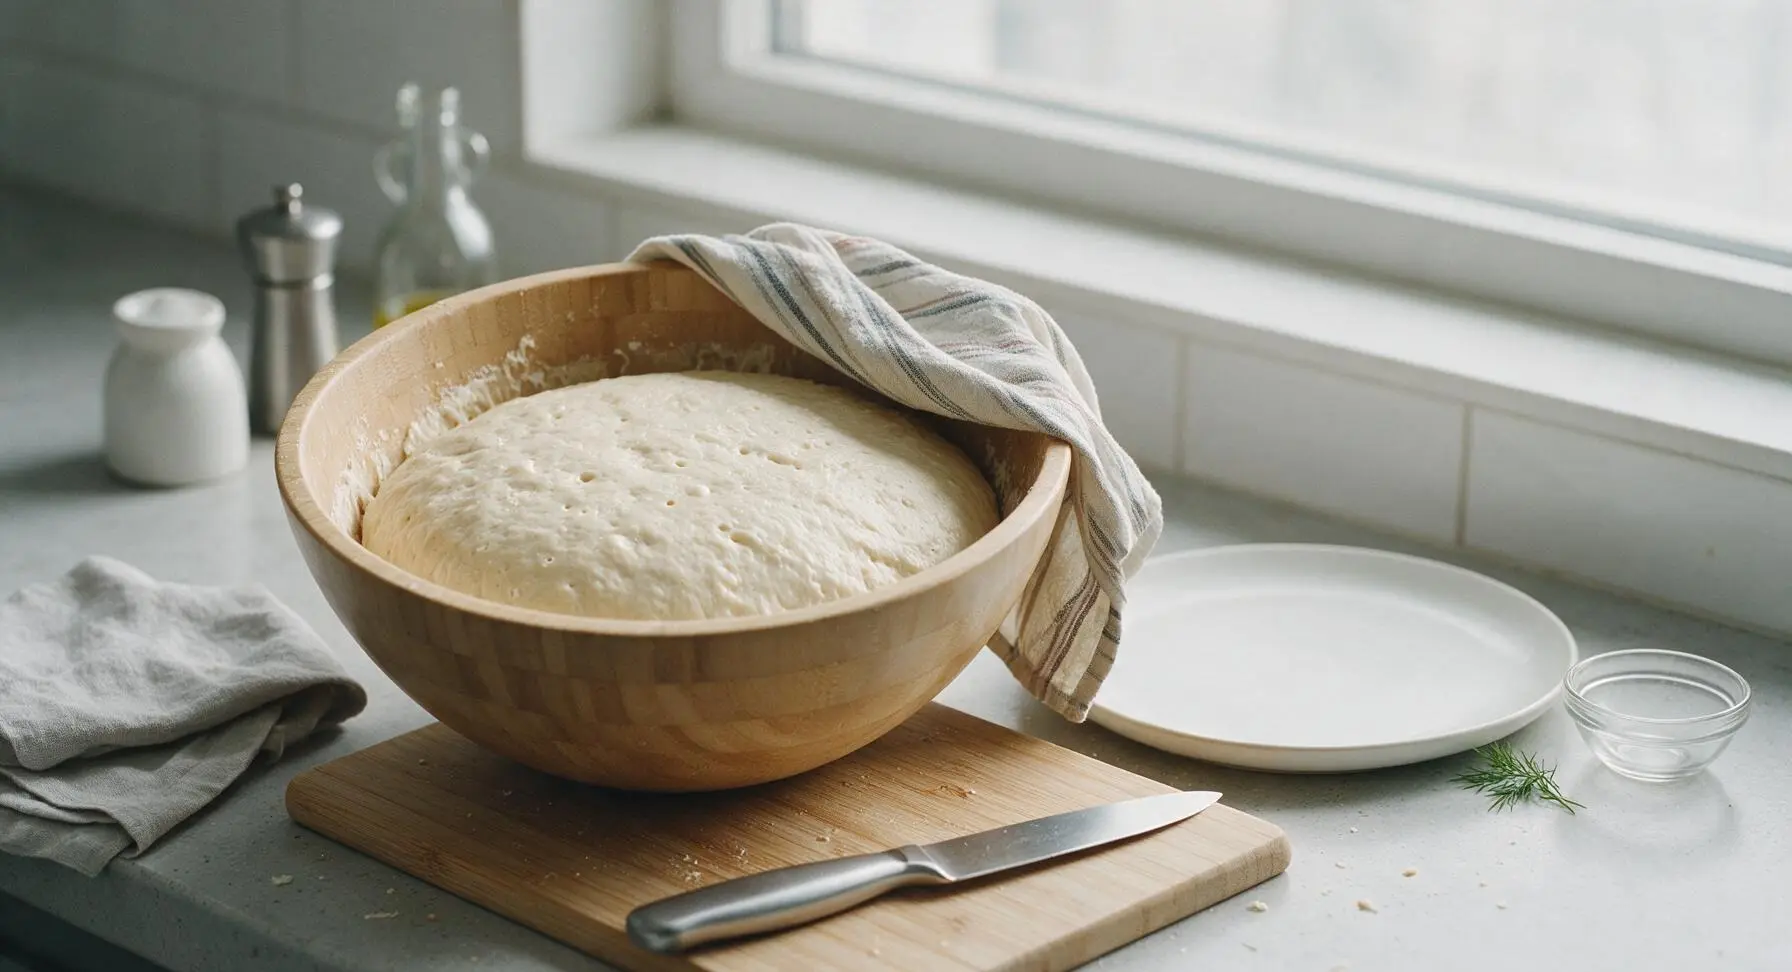
Drape the corner of the striped cotton tea towel loosely over the top of the bamboo mixing bowl to cover the shaggy dough. Let the dough rest at room temperature (68–72°F / 20–22°C) for 1 hour, until it doubles in volume, develops visible air bubbles across the surface, and jiggles slightly when the bowl is tapped gently.
Step 3
step3:Let Dough Rise
Step 3
step3:Let Dough Rise
4

Shape the Loaf

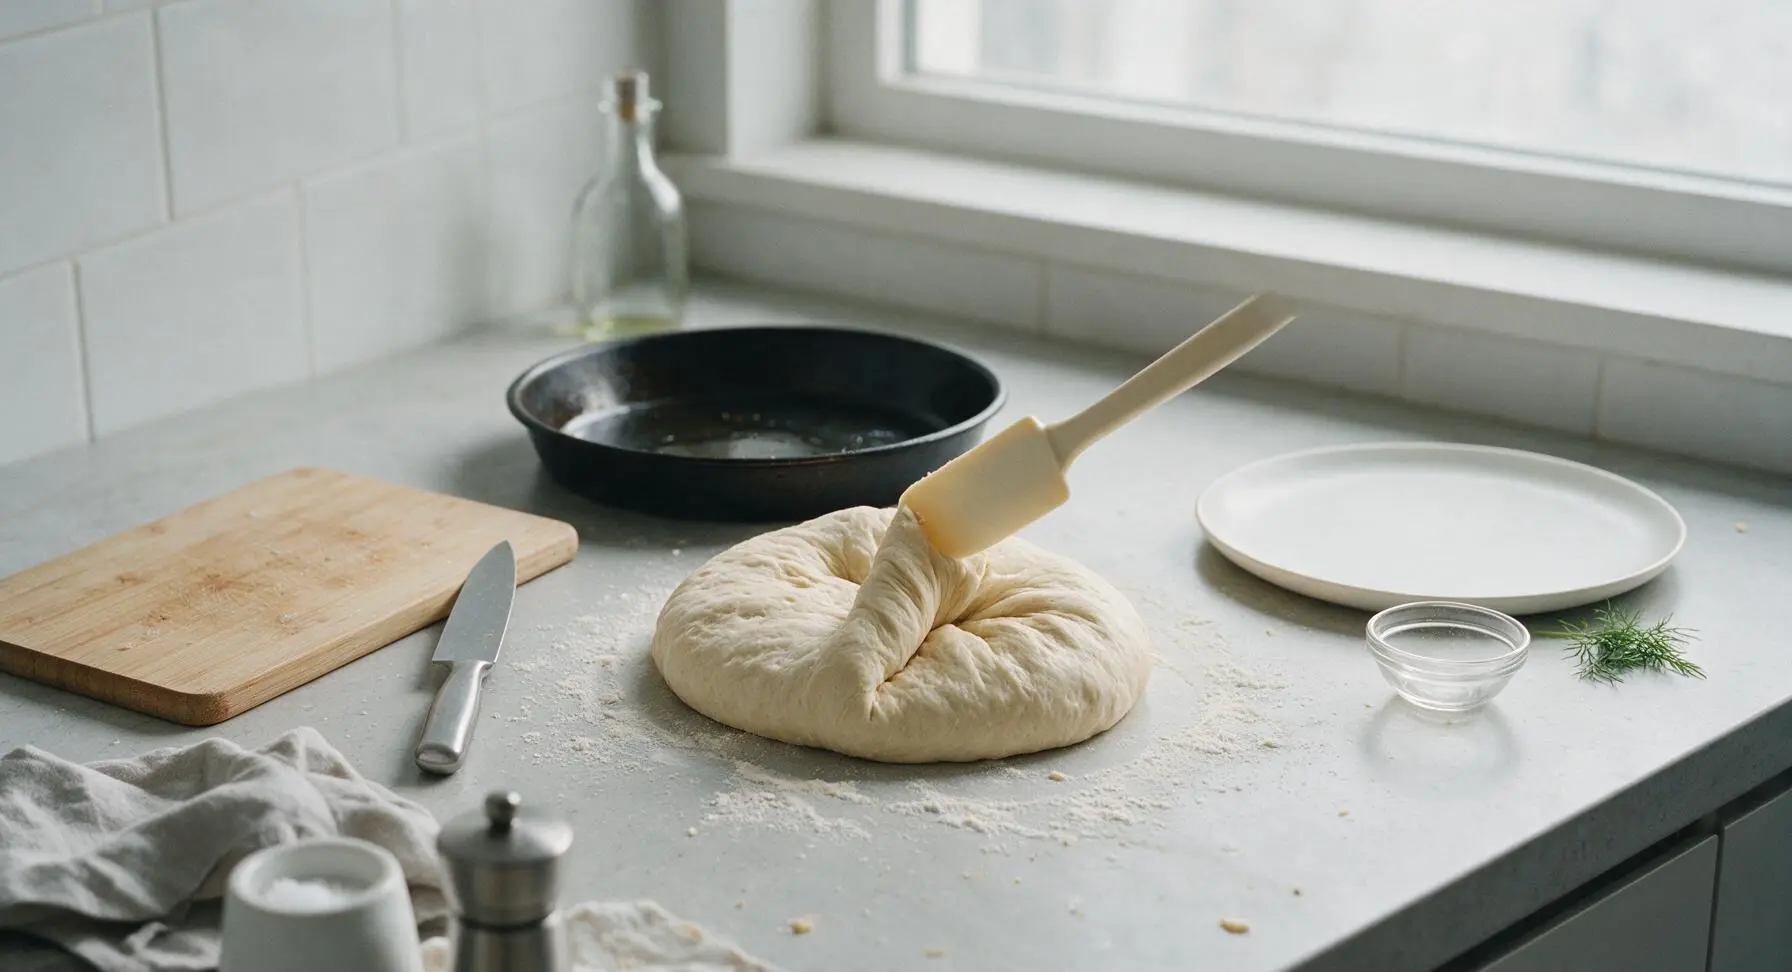
Retrieve the 6-inch round seasoned carbon steel baking pan from its storage spot under the toaster oven, and rub a thin layer of olive oil across the inner surface to prevent sticking. Use the cream silicone dough scraper to gently turn the risen dough out onto a lightly floured spot on the counter (use only 1 tsp extra flour to prevent sticking, as too much flour will dry out the crust). Fold the outer edges of the dough in toward the center to form a tight, smooth round ball, then place it seam-side down in the center of the prepared baking pan.
Step 4
step4:Shape the Loaf
5

Preheat Toaster Oven

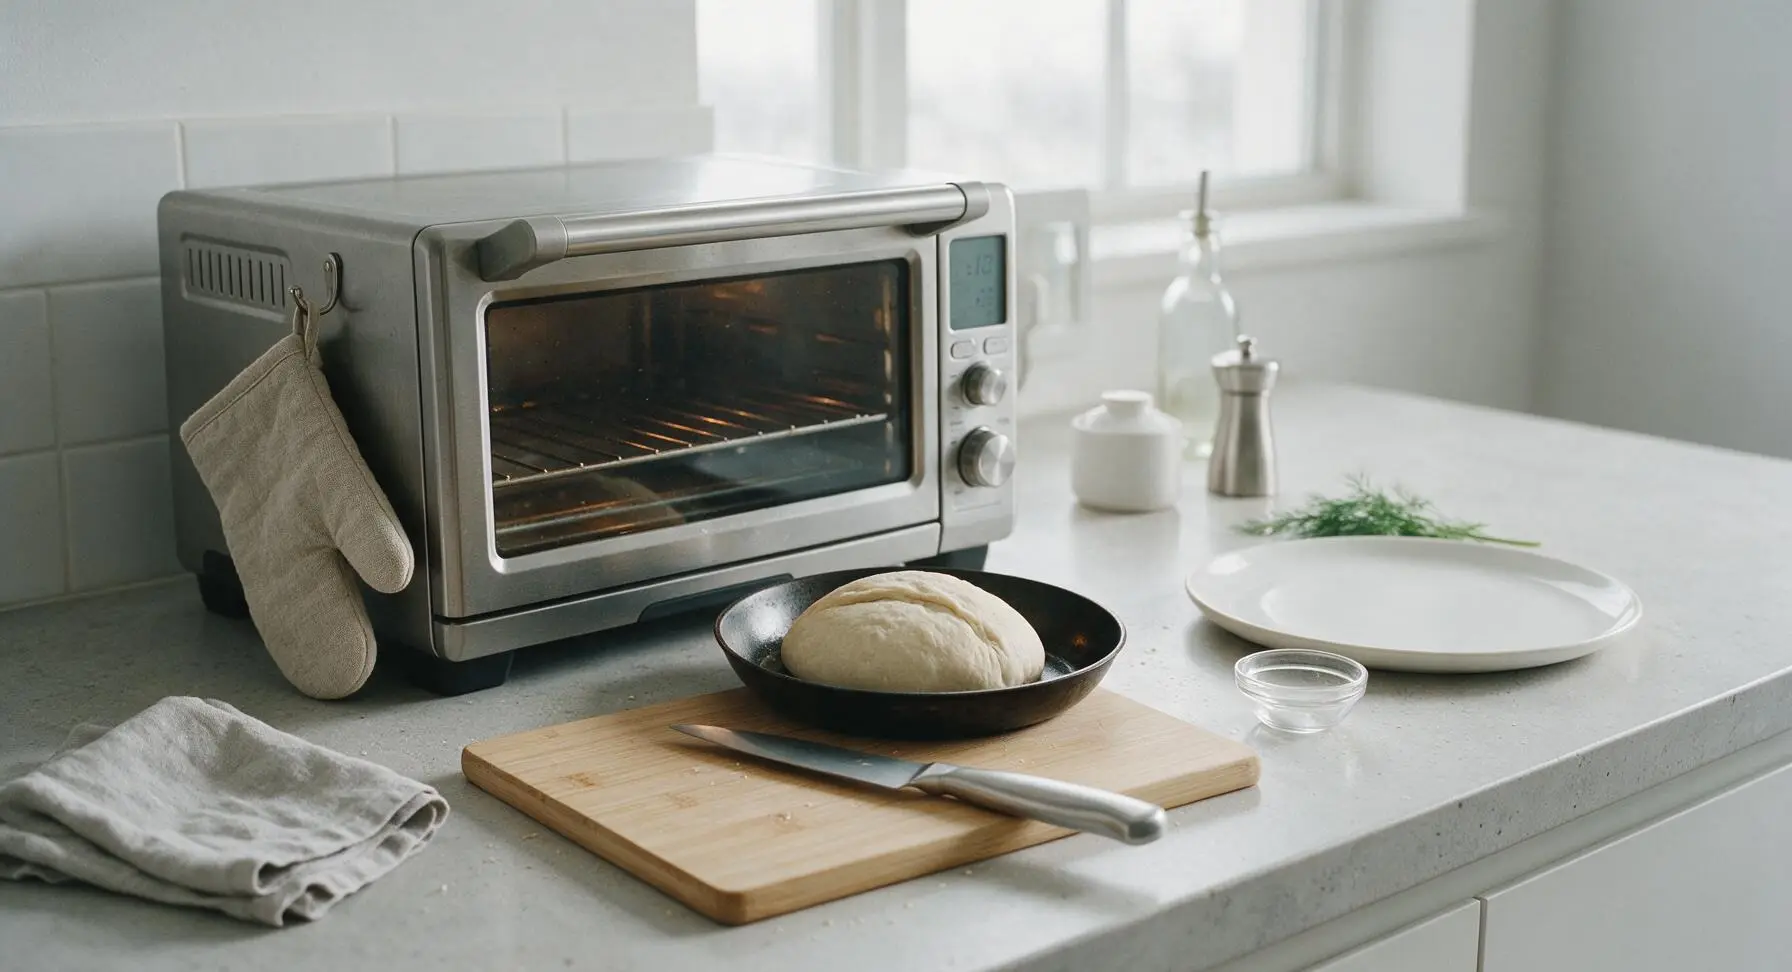
Set the stainless steel toaster oven to 400°F (200°C), and adjust the wire rack to the middle position. Let the toaster oven preheat fully for 10 minutes—do not place the bread in before the oven is fully hot, as this will prevent a crisp, tall crust from forming. While the oven preheats, let the shaped dough rest in the pan, uncovered, for 10 minutes to puff slightly before baking.
Step 5
step5:Preheat Toaster Oven
6

Score and Bake Loaf

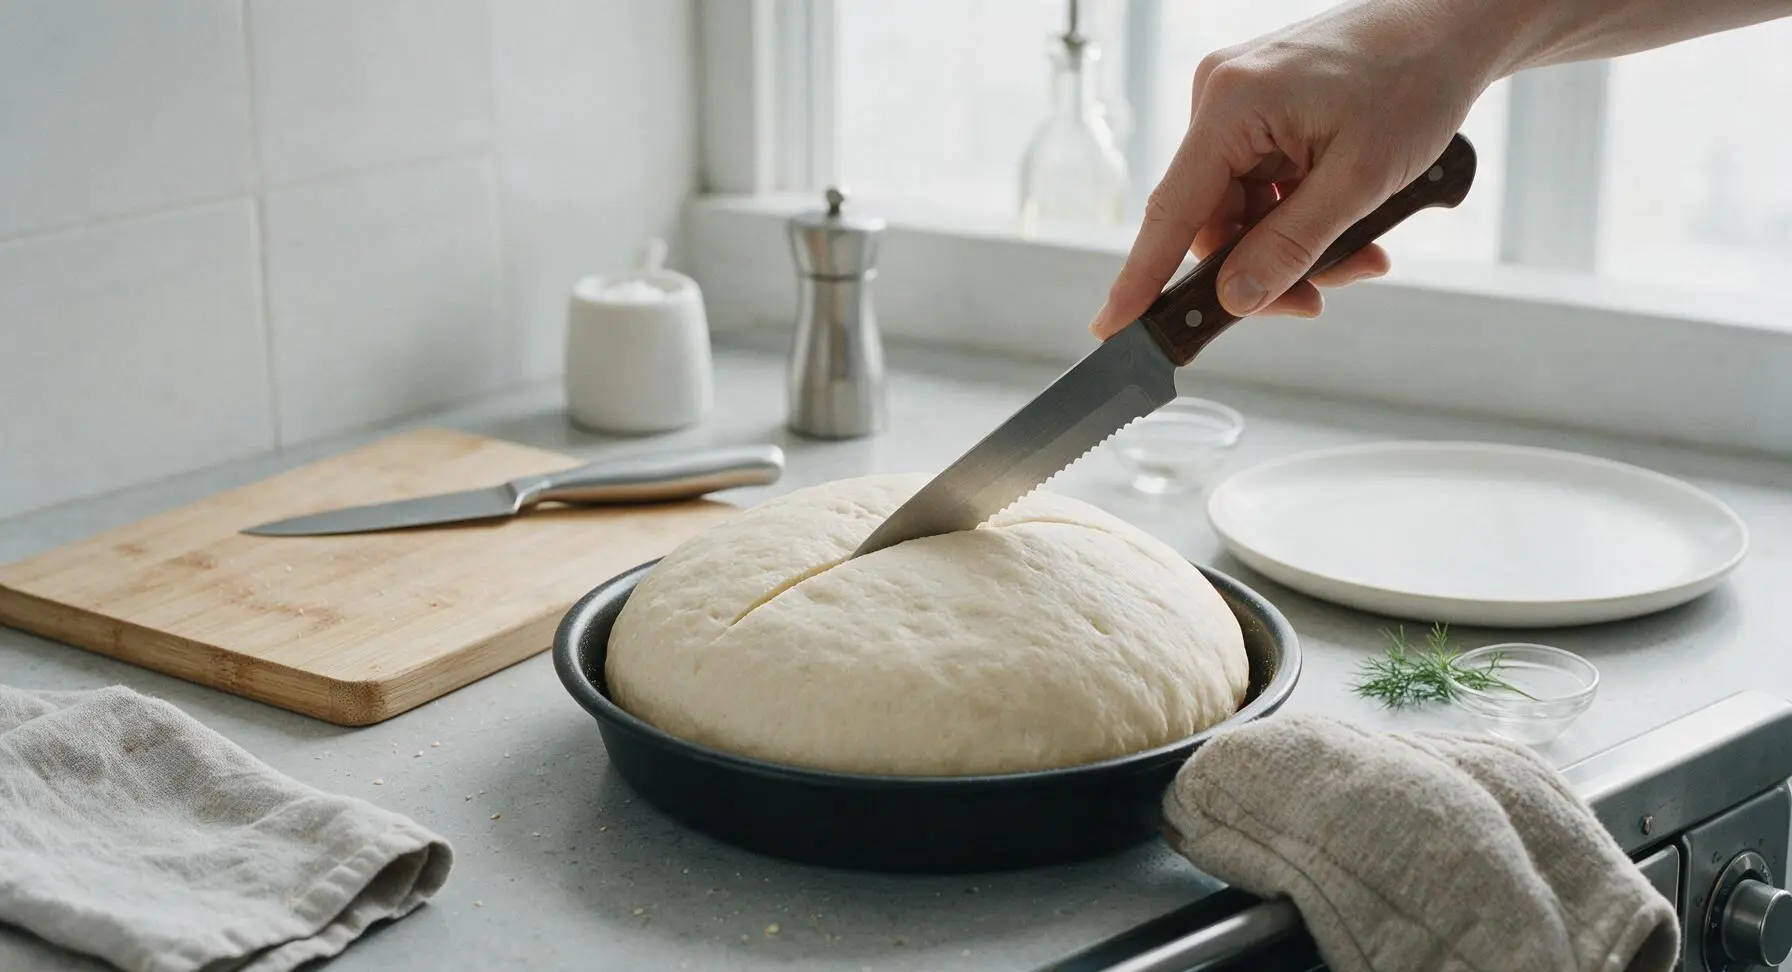
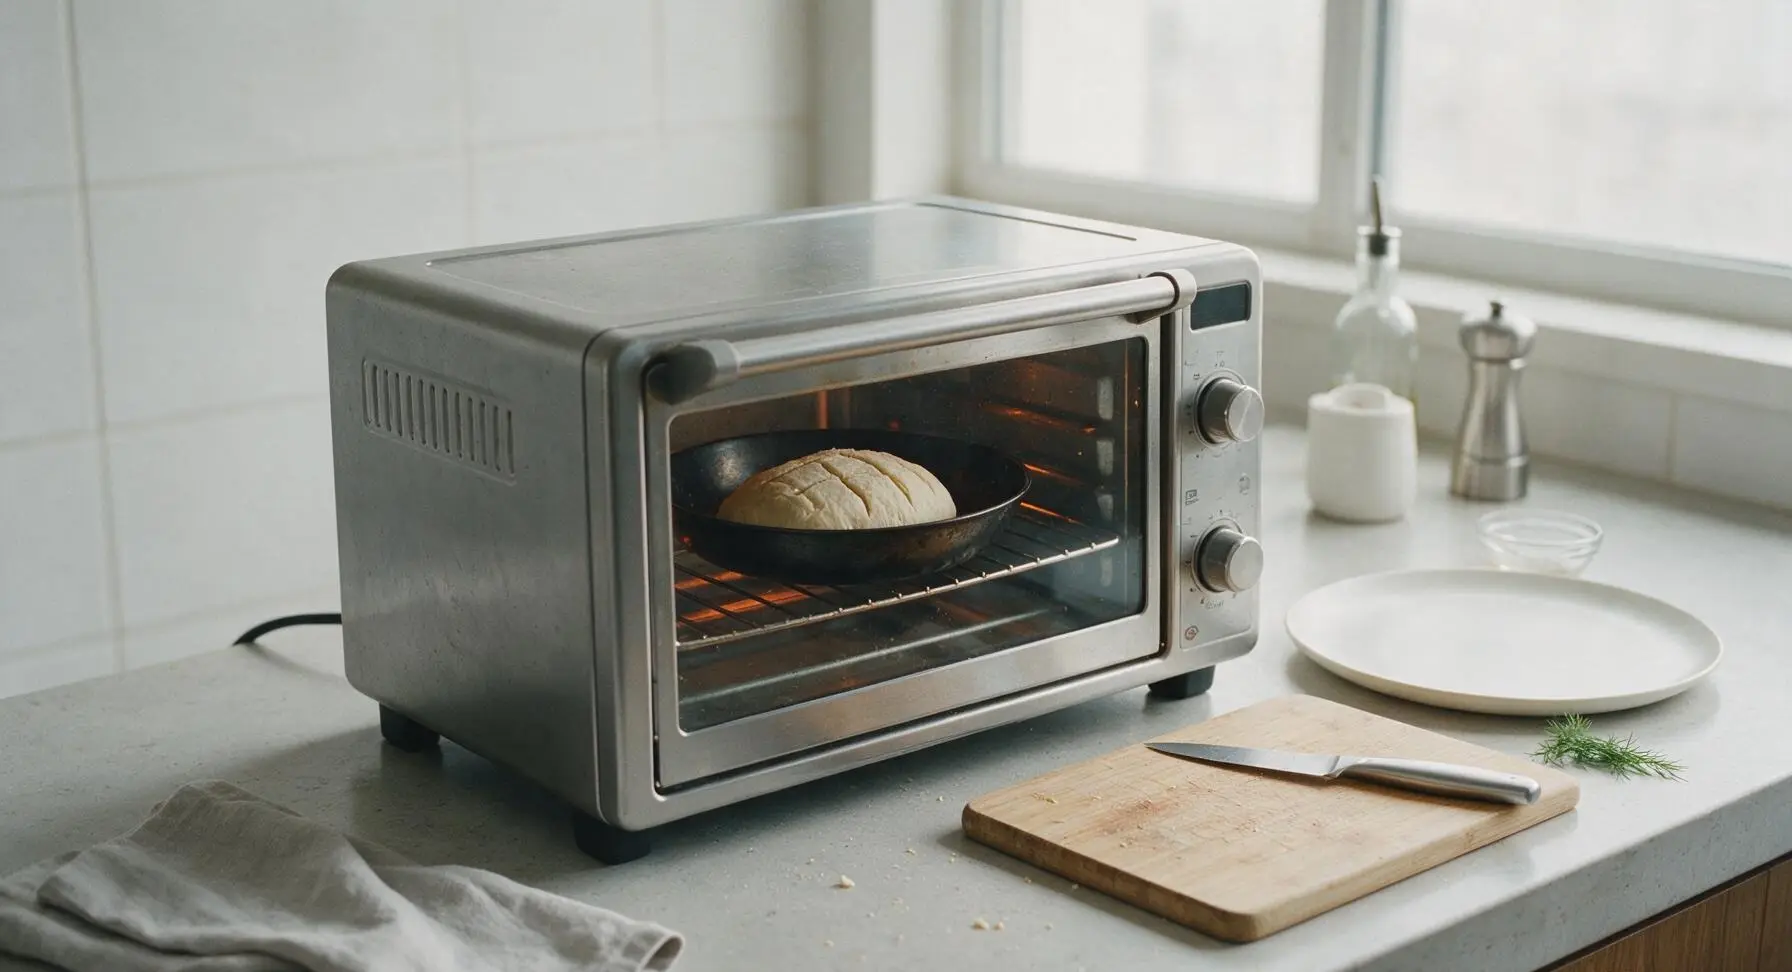
Once the toaster oven is fully preheated, use the serrated paring knife to make a single 1/2-inch deep, 4-inch long score across the top of the puffed dough. Carefully slide the pan onto the middle rack of the toaster oven, wearing the oatmeal linen oven mitt to protect your hand from hot oven edges. Bake for 30 minutes with the toaster oven door fully closed.
Step 6
step6:Score and Bake Loaf
Step 6
step6:Score and Bake Loaf
7

Check Crust Doneness

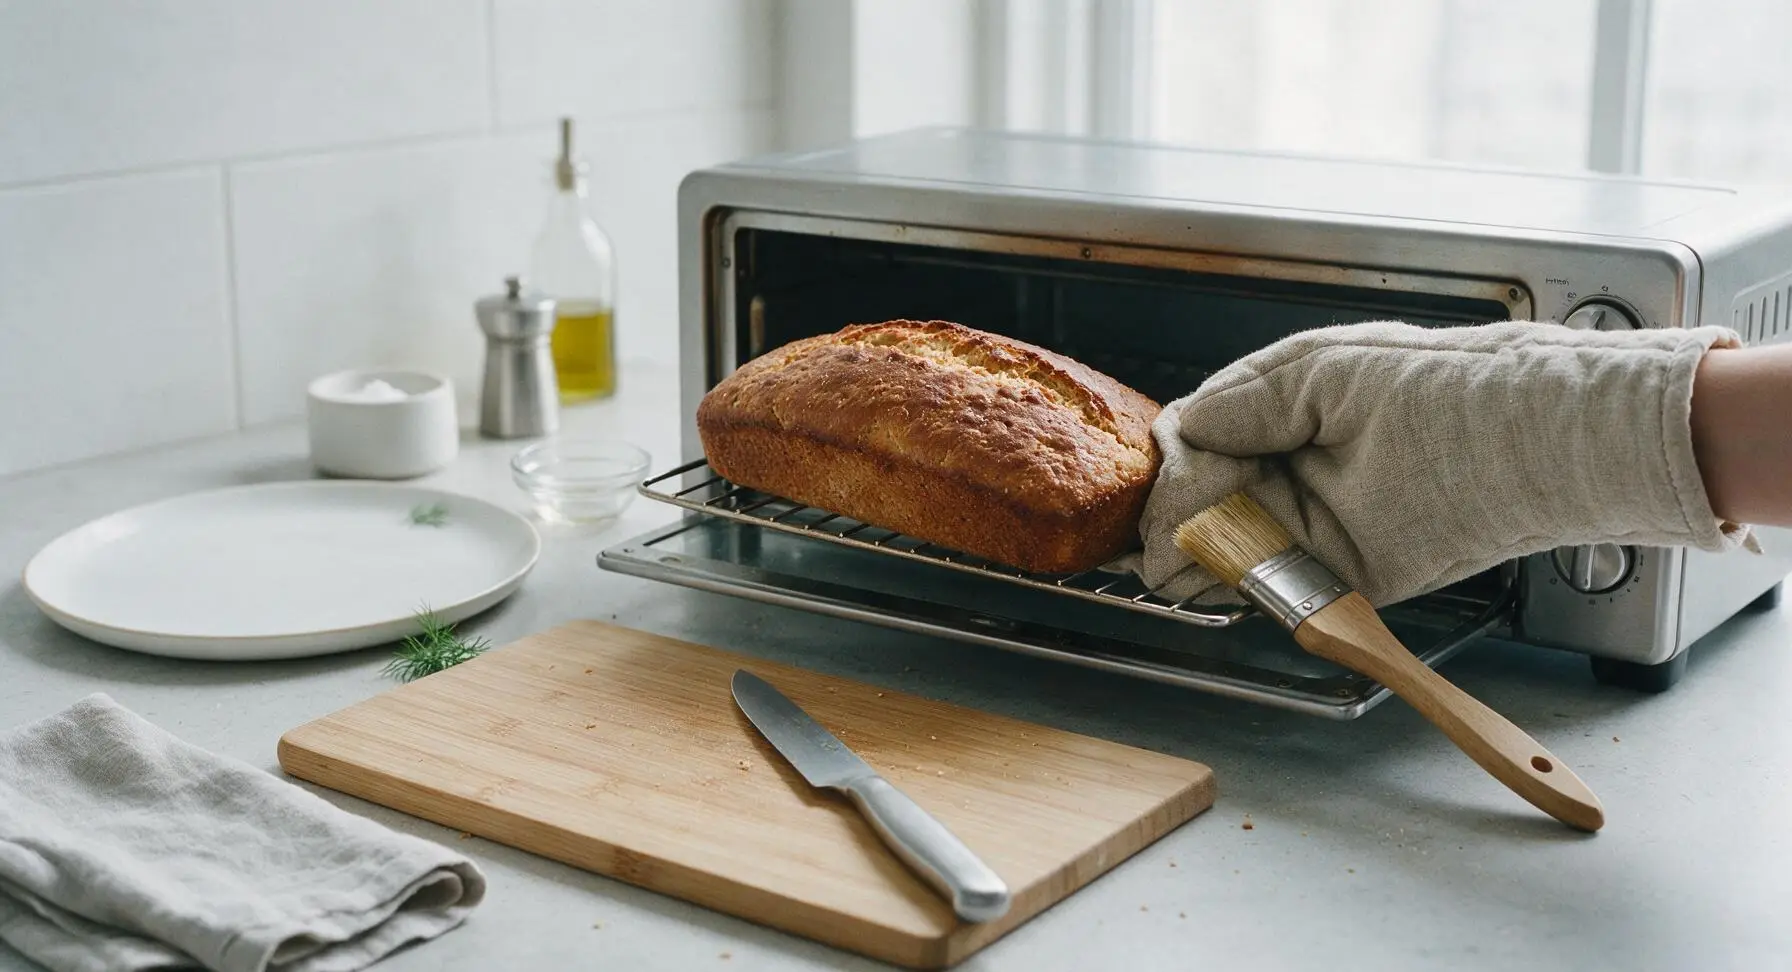
After 30 minutes of baking, carefully pull the middle rack out slightly using the oatmeal linen oven mitt. The loaf should be deep golden brown across the top, sound hollow when tapped firmly on the bottom, and reach an internal temperature of 190–200°F (88–93°C) if checked with a thermometer. If the top is browning too quickly, tent a small piece of aluminum foil over the loaf for the remaining cook time. Brush the top of the hot loaf with 1/4 tsp olive oil using the natural bristle pastry brush, then bake for 5 more minutes to set the crisp crust.
Step 7
step7:Check Crust Doneness
8

Cool Before Serving

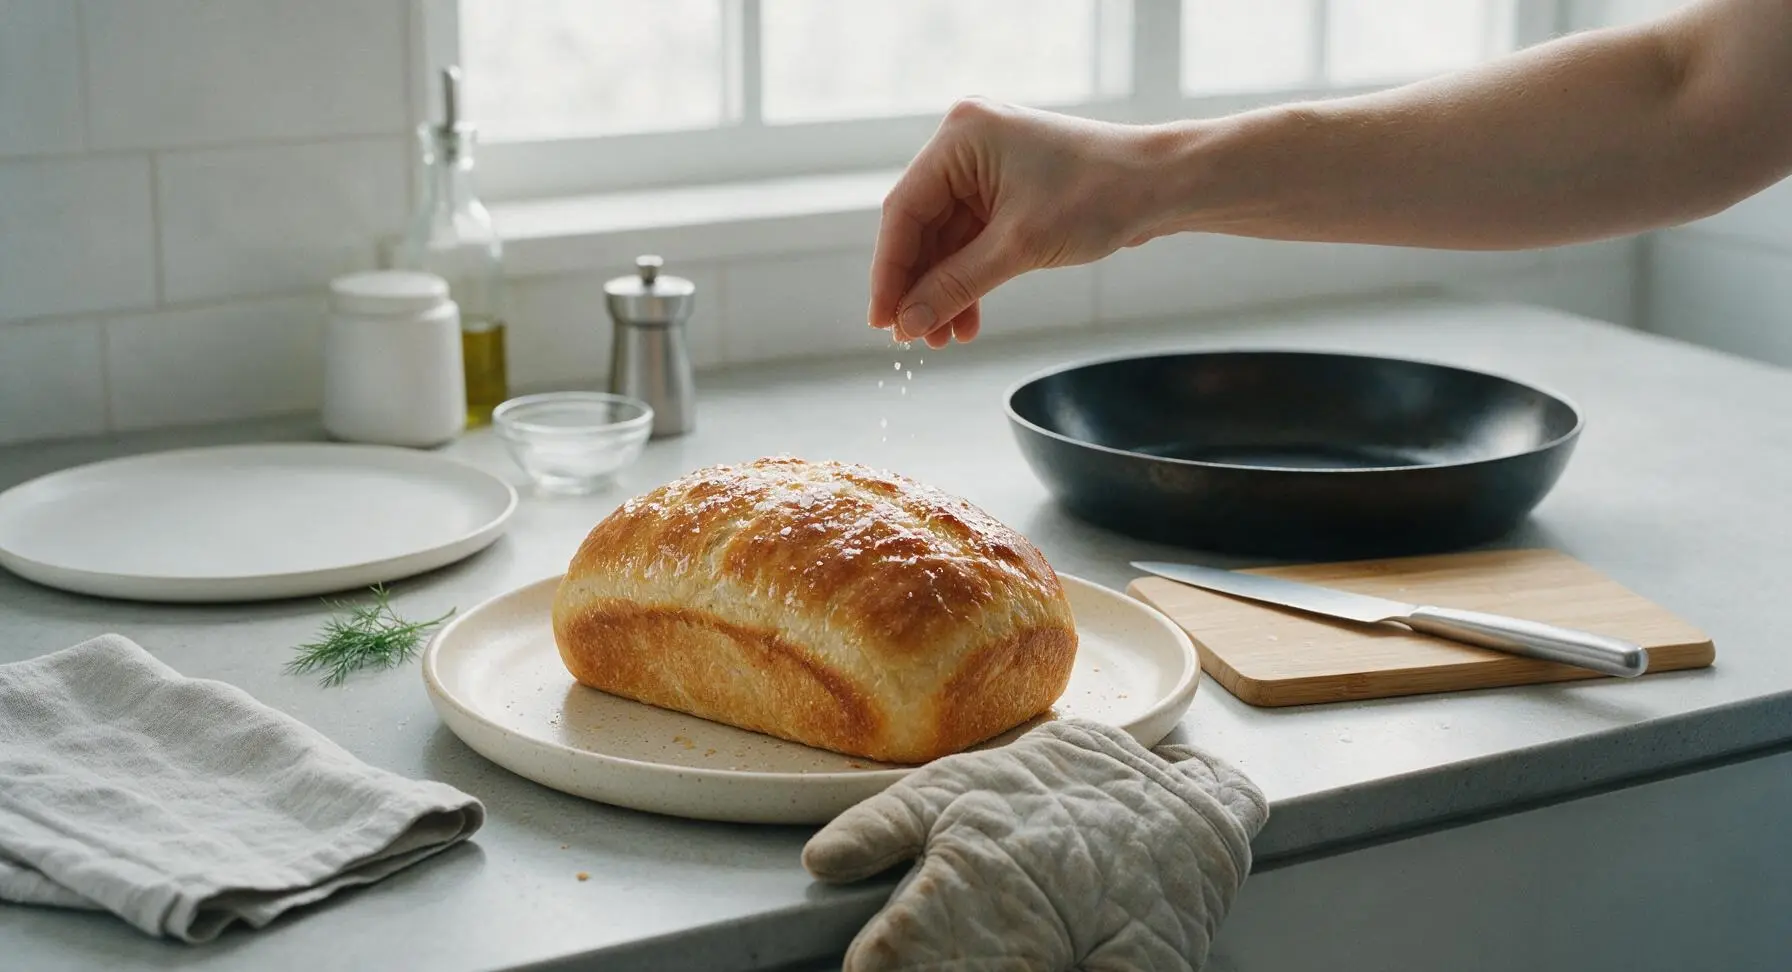
Once fully baked, use the oven mitt to remove the pan from the toaster oven. Transfer the hot loaf to the matte cream speckled stoneware serving plate, and sprinkle the top lightly with flaky sea salt from the terracotta ramekin. Let the loaf rest for 10 minutes before slicing—cutting hot bread immediately will cause the crumb to become gummy and compressed.
Step 8
step8:Cool Before Serving

Tips

1.Do not use water hotter than 110°F (43°C) to mix the dough, as high heat will kill instant yeast and prevent the loaf from rising properly; lukewarm water that feels neutral on your wrist is the ideal temperature.
2.Avoid adding extra flour when shaping the sticky dough, as excess flour will create a thick, tough crust instead of the desired thin, crackly exterior. Lightly oil your hands or the dough scraper if the dough sticks too much, rather than adding more flour.
3.Let the baked loaf rest for the full 10 minutes on the serving plate before slicing. As the bread cools, the internal crumb sets; cutting it too early will cause the soft interior to compress and turn gummy, even if the loaf is fully baked through.


✨ You May Also Like

Desserts & Baking
🍜 Italy

Creamy, coffee-kissed classic Northern Italian no-bake dessert, with layers of rum-spiked mascarpone cream, soft ladyfingers, and a rich cocoa dusting.

⏱️ 4 hours 3Desserts & Baking ★ 4.7
Desserts & Baking
🍜 France

Flaky, shatteringly crisp, buttery French croissants with golden exteriors and soft, airy layered interiors, perfect for pairing with coffee for a special morning treat.

⏱️ 12 hours Desserts & Baking ★ 4.5
Desserts & Baking
🍜 United States

Warm, spiced baked apples topped with a fluffy golden biscuit crust, this cozy dessert pairs perfectly with vanilla ice cream for cool-weather comfort.

⏱️ 55 minuteDesserts & Baking ★ 4.6
Desserts & Baking
🍜 United States

A star-spangled classic American blueberry pie with buttery flaky crust and bright sweet-tart filling, perfect for summer patriotic gatherings.

⏱️ 1 hour 25Desserts & Baking ★ 4.7
Desserts & Baking
🍜 United States

A beloved no-bake regional Maine candy with a chewy coconut-potato center coated in rich dark chocolate, a New England holiday staple since the 1870s.

⏱️ 2 hours 3Desserts & Baking ★ 4.8
Desserts & Baking
🍜 France

Luxuriously creamy, floral frozen custard made with aromatic Tahitian vanilla beans, boasting a smooth, rich texture that melts slowly on the tongue.

⏱️ 3 hours 3Desserts & Baking ★ 4.5

toaster oven bread:Frequently Asked Questions

1.Do I actually need to knead this toaster oven bread? ▾
You don’t! This no-knead recipe relies on slow, gentle gluten development during its rise to build that chewy, airy crumb. Just mix ingredients until no dry flour lumps remain—no 10 minutes of hand kneading or stand mixer work required, making it perfect for quick, low-effort small-batch baking.
2.What size loaf does this small-batch recipe make? ▾
It makes a single 1-pound, roughly 6-inch round loaf, ideal for 2 to 4 people. It’s sized to fit easily in most standard toaster ovens without crowding the heating elements, and yields enough for a couple days of toast, small sandwiches, or side servings for a casual family meal.
3.I don’t have a kitchen thermometer—how do I get the right 100°F water temperature? ▾
Aim for water that feels comfortably warm, not hot, to the touch, similar to the temperature of a nice warm bath. If it’s too hot to hold your finger in for a few seconds, it will kill the yeast; if it’s cold, the yeast will take far longer to rise, so stick to that mild, bath-warm sweet spot.
4.Can I use active dry yeast instead of instant dry yeast? ▾
Absolutely! If using active dry yeast, dissolve it in the lukewarm water with a tiny pinch of sugar first, and let it sit for 5 minutes until it gets foamy before mixing with the other ingredients. Use the exact same measurement as the instant yeast called for, no other adjustments needed.
5.What kind of pan is safest and best for baking this in a toaster oven? ▾
Use a small 6-inch cast iron skillet, a tiny enameled Dutch oven that fits your toaster oven cavity, or a small metal baking pan lined with parchment paper. Avoid glass pans, as they can shatter under high heat close to the elements, and leave 1 inch of space between the pan and elements for even, consistent airflow.
6.Why isn’t my bread getting that signature crackly, golden crust? ▾
That crackly crust comes from steam during the first 10 minutes of baking. Create this by spritzing the top of the loaf lightly with water right before putting it in, or tossing a couple ice cubes into the hot pan next to the loaf right before closing the door. Always fully preheat your toaster oven first for best results.
7.How long does the first rise take, and can I do it in the fridge? ▾
At room temperature (around 70°F), the first rise takes 1.5 to 2 hours, until the dough doubles in size and looks bubbly. For deeper, nuttier flavor, cover mixed dough tightly and let it rise in the fridge for 8 to 12 hours, then let it rest at room temp for 30 minutes before shaping and baking.
8.My toaster oven runs very hot—will that burn the bread? ▾
Most toaster ovens have uneven, hotter heat close to the top elements, so turn the temperature down by 25°F if you know your unit runs hot. Tent the top of the loaf with a small piece of aluminum foil halfway through baking if the crust browns too fast before the center cooks, and use an oven thermometer for accuracy if you have one.
9.How do I know when the bread is fully baked so I don’t get a gummy center? ▾
The loaf should be deep golden brown all over, sound hollow when you tap the bottom, and register 190 to 200°F on an instant-read thermometer. Let it cool for at least 20 minutes before slicing, too—cutting it too early traps steam and can make the crumb feel gummy even if it’s fully baked.
10.Can I add mix-ins like garlic, herbs, or cheese to this loaf? ▾
Definitely! Fold in up to ¼ cup of add-ins like chopped rosemary, roasted garlic, shredded parmesan, or everything bagel seasoning when you first mix the dough. Pat very wet mix-ins like oil-packed sun-dried tomatoes dry first, as extra moisture can make the crumb dense and soggy.
11.I don’t have extra-virgin olive oil—can I use a different fat? ▾
Sure! Swap the olive oil for an equal amount of neutral oil like canola, avocado, or vegetable oil with no major texture changes. Olive oil adds a subtle fruity, savory note to the crust, but neutral oils work perfectly if that’s what you have; just avoid melted butter, which can make the crust overly greasy.
12.How should I store leftover bread to keep it crusty and fresh? ▾
Store completely cooled leftover bread cut-side down on a cutting board at room temperature for up to 2 days, or wrap it tightly in plastic wrap and freeze for up to 3 months. Don’t store it in the fridge, as cold, dry air will make it go stale much faster than leaving it out on the counter.
13.Do I need a convection toaster oven for this recipe to work? ▾
No, a standard non-convection toaster oven works great! If you do have a convection setting, you can turn it on for more even browning, and reduce the baking temperature by 25°F to account for circulating hot air. The recipe will turn out crusty and soft inside either way, as long as your oven can reach 425°F.
14.Why is my loaf turning out dense instead of light and airy? ▾
Dense loaves usually stem from one of three common issues: your yeast was old and inactive so the dough didn’t rise enough, your water was too hot and killed the yeast, or you cut the rise short before air pockets could develop. Test yeast that’s been open more than 6 months first to confirm it’s still active.

Comments (3)

30 minutes ago

Wait, can I use regular all-purpose flour instead of bread flour for this next time? I made it last night with the last of my bread flour and it was incredible, but I ran out when I went to grab ingredients to make another loaf today and don’t wanna make a second trip to the store! Also, does it work if my toaster oven is the super basic $30 one I got from Target, no fancy convection setting? I borrowed my neighbor’s fancy convection one last night but my own is way simpler.

5 minutes ago

Great questions! All-purpose flour works perfectly here, you might just have a slightly less chewy crumb but it’ll still taste delicious. Your basic non-convection toaster oven will work great too — just keep an eye on the loaf the last 5 minutes of bake time to make sure the top doesn’t get too dark, since smaller non-convection models often have uneven hot spots. Hope you love the next loaf just as much!

1 week ago

Super easy, no fuss bread that’s perfect for small households! I hate making full loaves that go stale before I can finish them, so this small batch size is ideal for weekly meal prep. OMG, I made it to go with our spaghetti dinner last night, and my kids loved it slathered with garlic butter. Only note is I sprinkled a little everything bagel seasoning on top before baking and it was *chef’s kiss*. SO good.

3 days ago

Game. Changer. I brought this to my friend’s backyard potluck this weekend (I doubled the recipe to make two tiny loaves, worked like a charm) and people were asking me for the recipe before we even finished appetizers! The crust is perfectly crispy, the center is so fluffy, and it’s so easy even someone who burns toast 90% of the time (read: me) can pull it off. 10/10, no notes.

2 days ago

Wait, this looks so good! Did you (or anyone!) try this with any gluten free flour blends? I’ve been hunting for a small batch GF bread recipe that works in a toaster oven, would love to know if this adapts well!

yesterday

Hi Greg! We’ve tested this recipe with a 1:1 all-purpose gluten free flour blend (the kind with xanthan gum already mixed in) and it turned out fantastic! You might need to add 1-2 extra minutes of bake time if the center still feels soft when you tap the top of the loaf. Let us know how it goes if you give it a try!



