
Turkey Caprese Panini

title 1
Turkey Caprese Panini
⏱️ cook time 8 minutes
🍽️ servings 4
⚡ Difficulty easy

intro

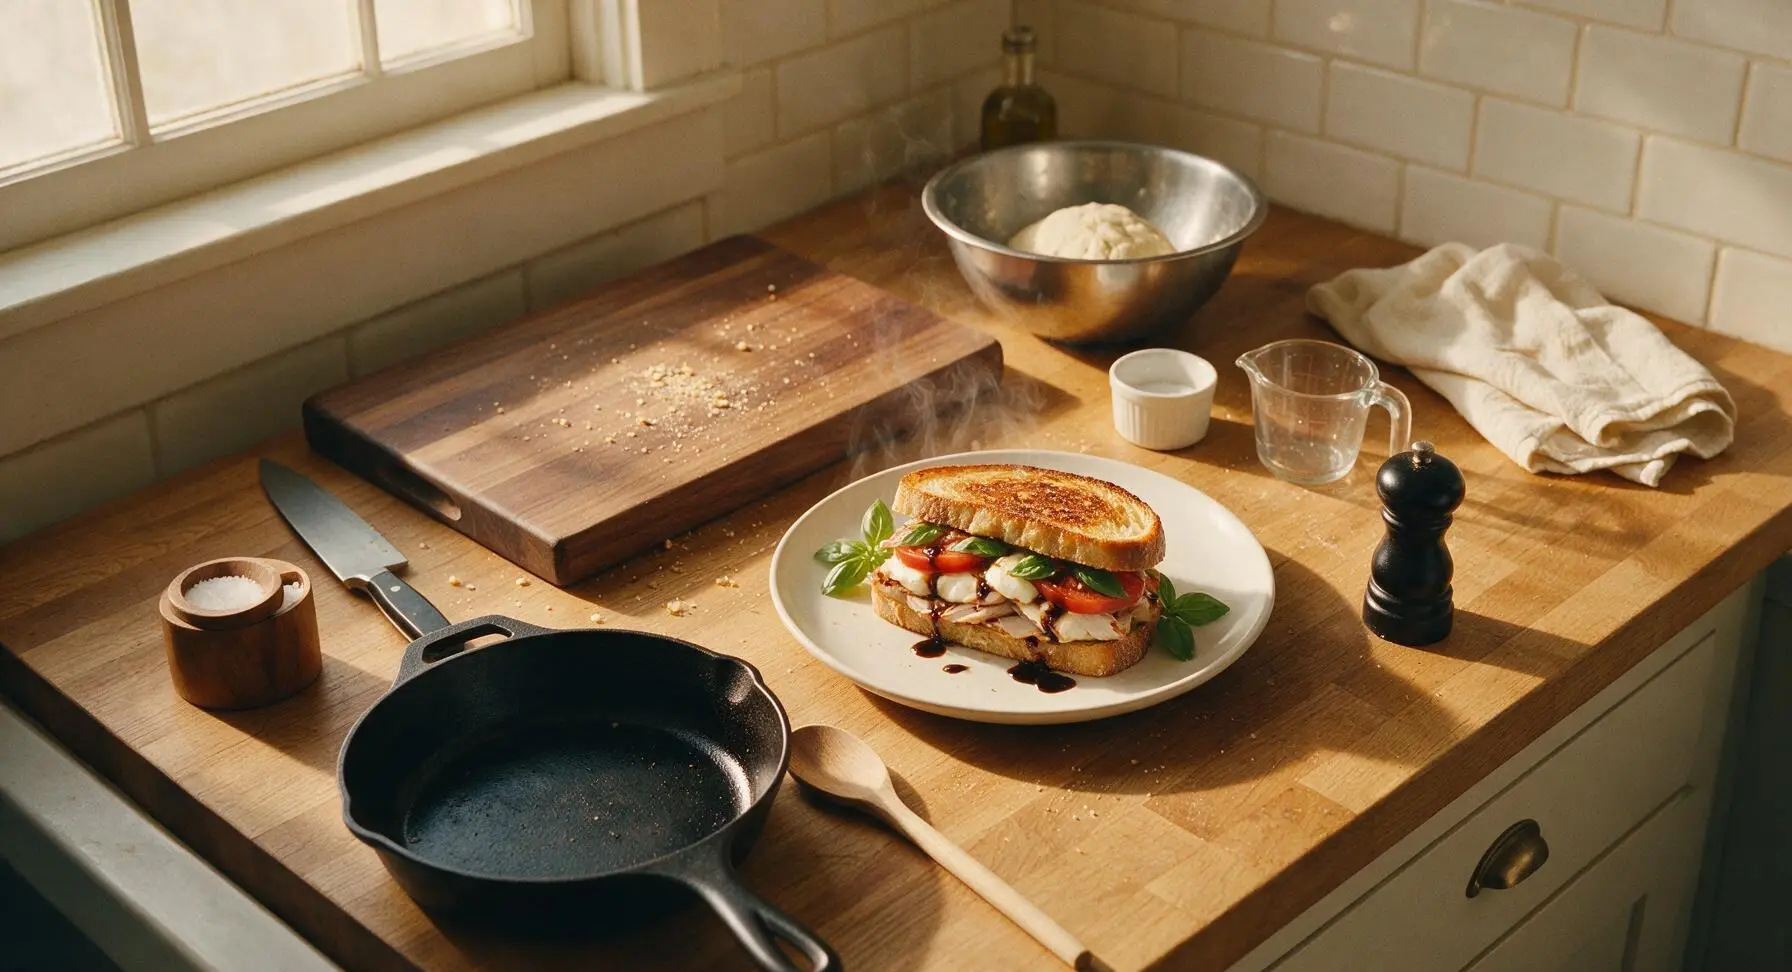
Crispy pressed sourdough loaded with tender roasted turkey, melted fresh mozzarella, ripe summer tomato, and basil, finished with tangy balsamic glaze for a bright, satisfying bite.

Ingredients
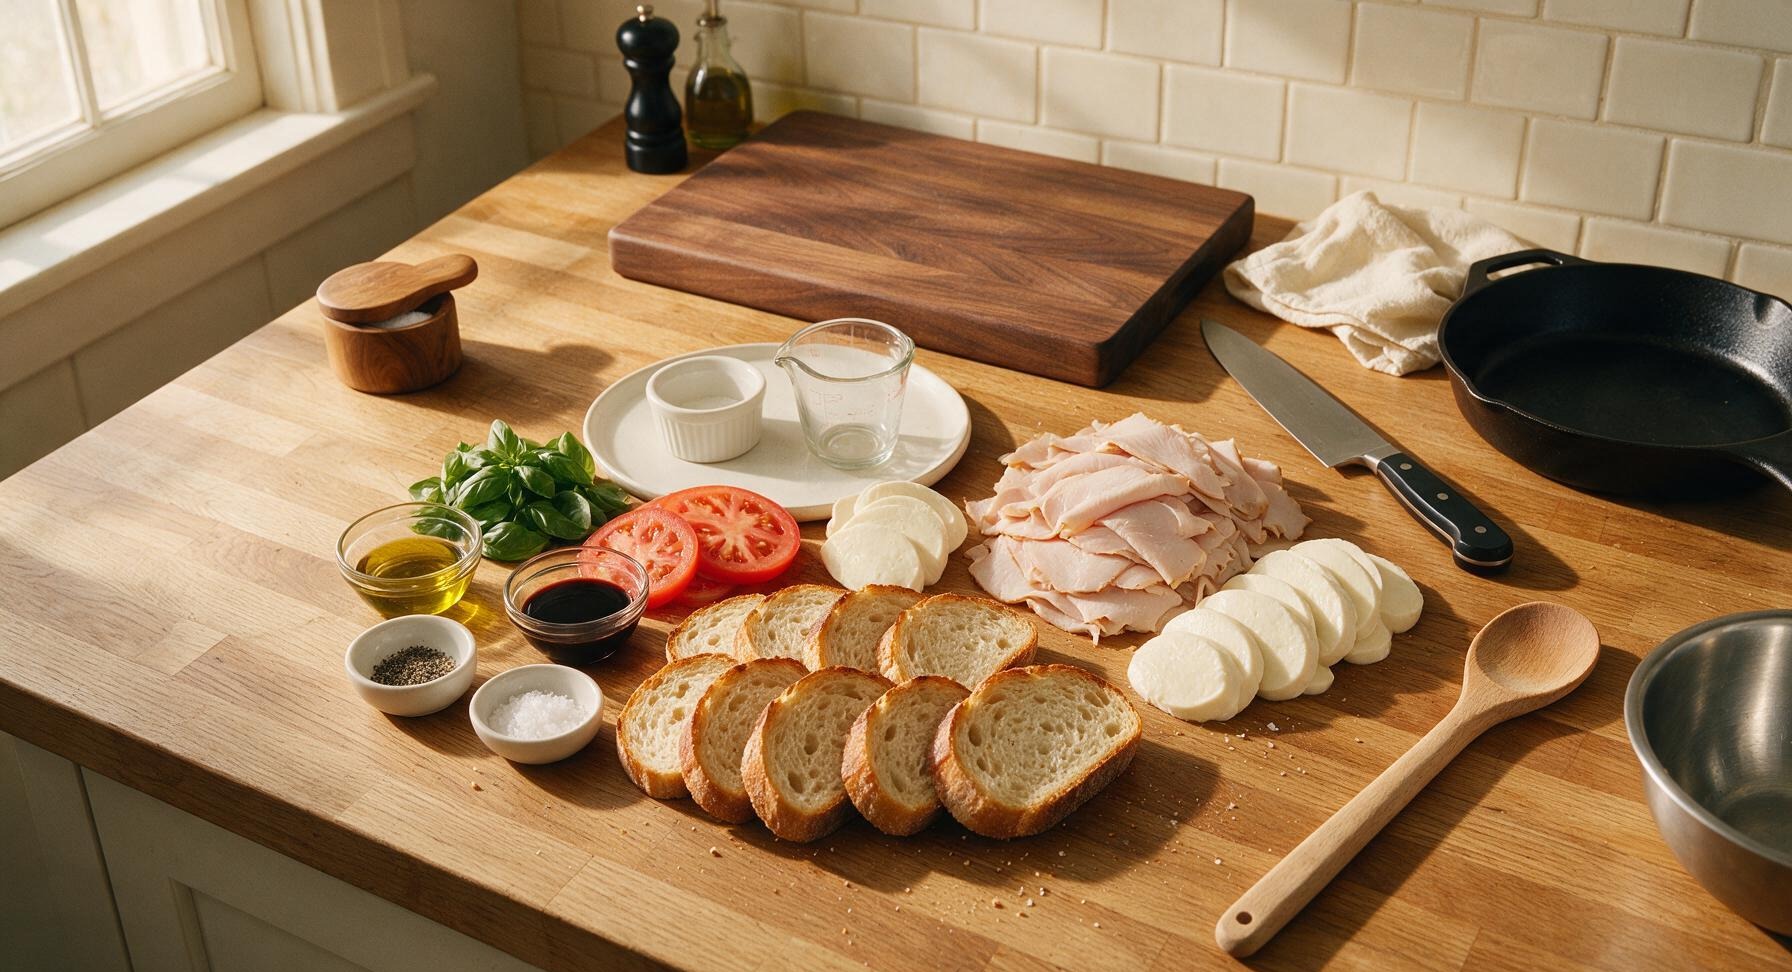
Thick-cut sourdough bread 8 slices (1/2-inch thick)
Thinly sliced roasted deli turkey breast 340g (12oz, low-sodium)
Fresh mozzarella cheese 226g (8oz, sliced 1/4-inch thick)
Ripe summer tomatoes 2 medium, sliced 1/4-inch thick
Fresh basil leaves 1 cup, loosely packed, whole
Extra-virgin olive oil 2 tablespoons
Balsamic glaze 3 tablespoons
Flaky sea salt 1/2 teaspoon
Freshly ground black pepper 1/4 teaspoon

Steps

1

Prep Sandwich Ingredients

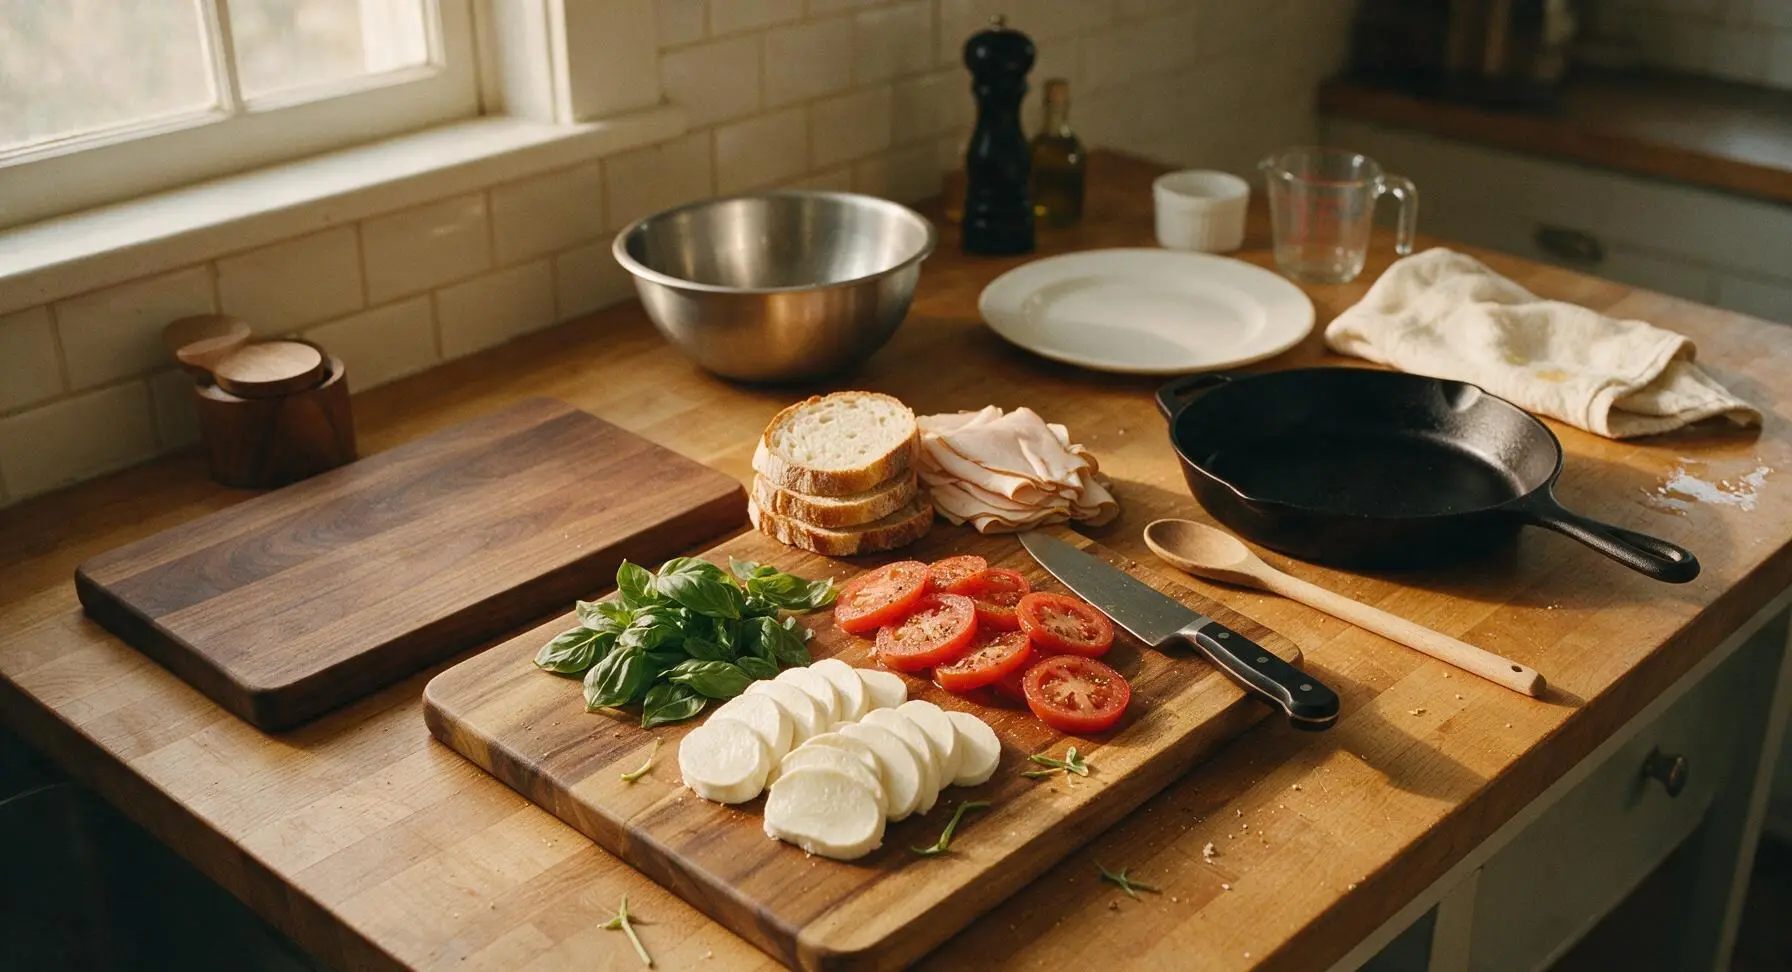
Set the acacia wood cutting board in the center of the work surface. Pat fresh mozzarella slices and tomato slices thoroughly dry with a corner of the linen towel to remove excess surface moisture. Use the 8-inch chef knife to trim any uneven mozzarella or tomato pieces to a uniform 1/4-inch thickness. Pluck basil leaves from their stems, discarding any bruised, yellowed, or wilted leaves. Season tomato slices lightly with 1/4 teaspoon flaky sea salt and a pinch of black pepper, then let them rest 2 minutes to draw out residual juice, and pat dry again before assembling.
Step 1
step1:Prep Sandwich Ingredients
2

Oil Bread Slices

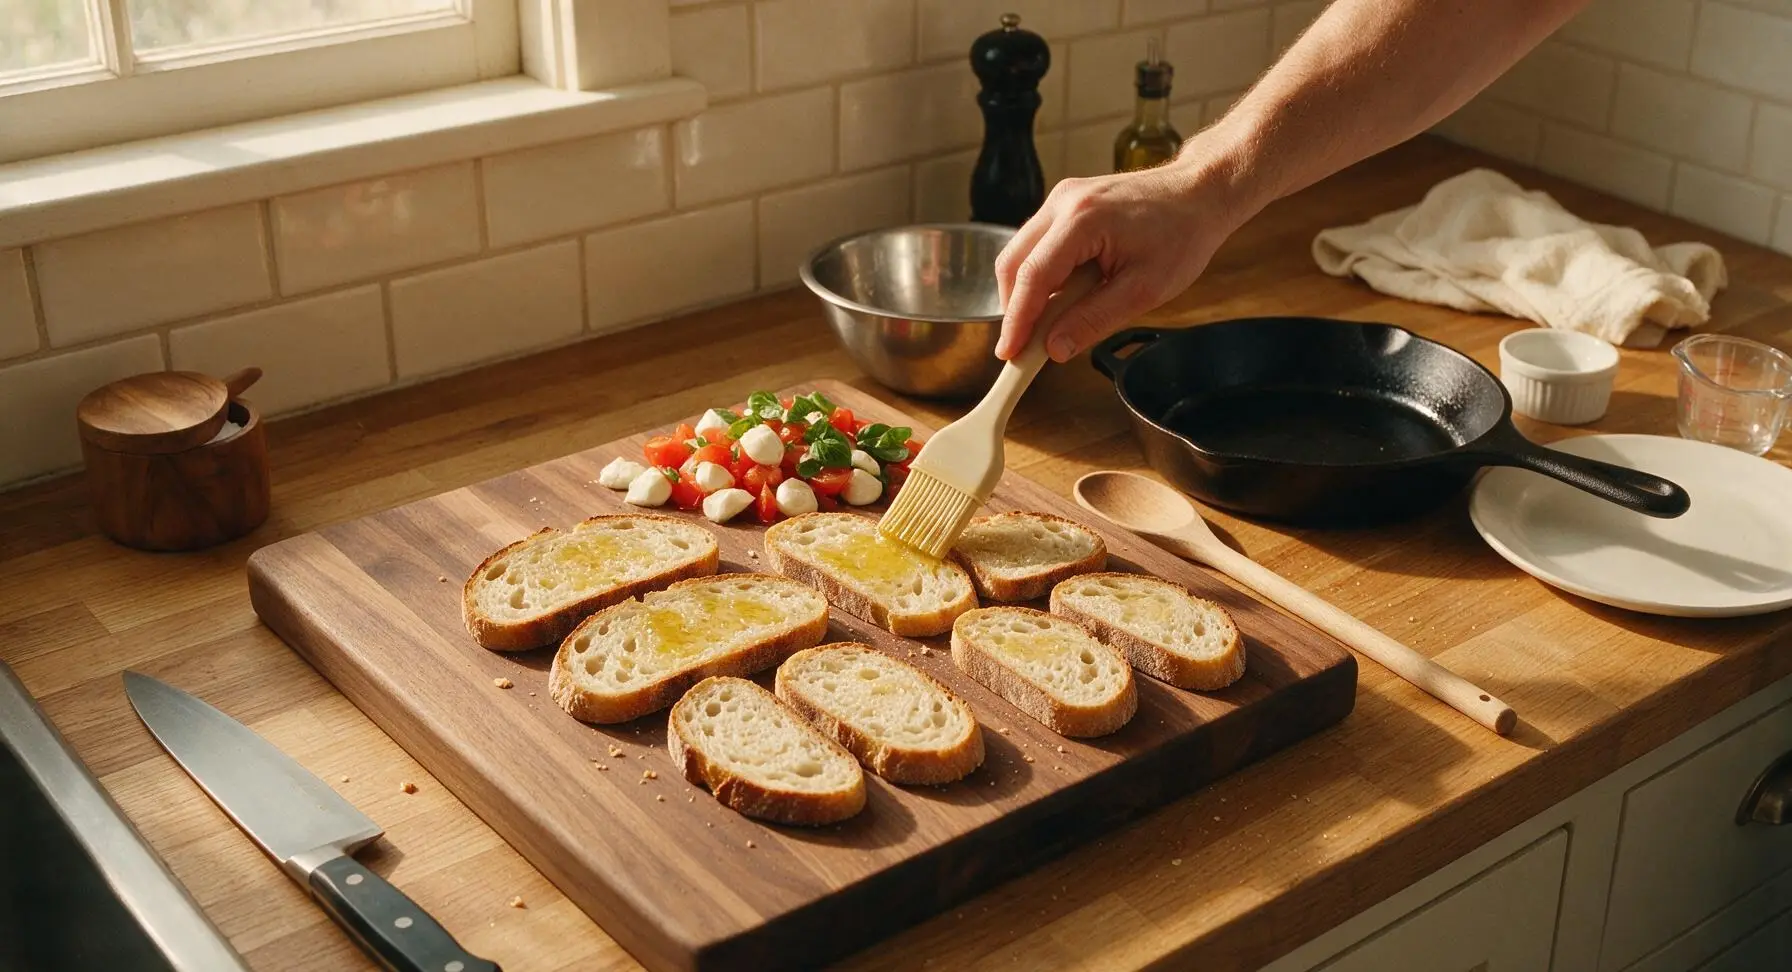
Arrange all 8 sourdough slices in a single flat layer across the cutting board. Use the silicone basting brush to spread a thin, even coating of extra-virgin olive oil across one outer side of every bread slice — this oiled side will face the panini press to create a shatteringly crisp, golden crust. Use only a light coating: over-oiling will result in greasy, heavy bread instead of a crisp texture.
Step 2
step2:Oil Bread Slices
3

Layer Panini Fillings

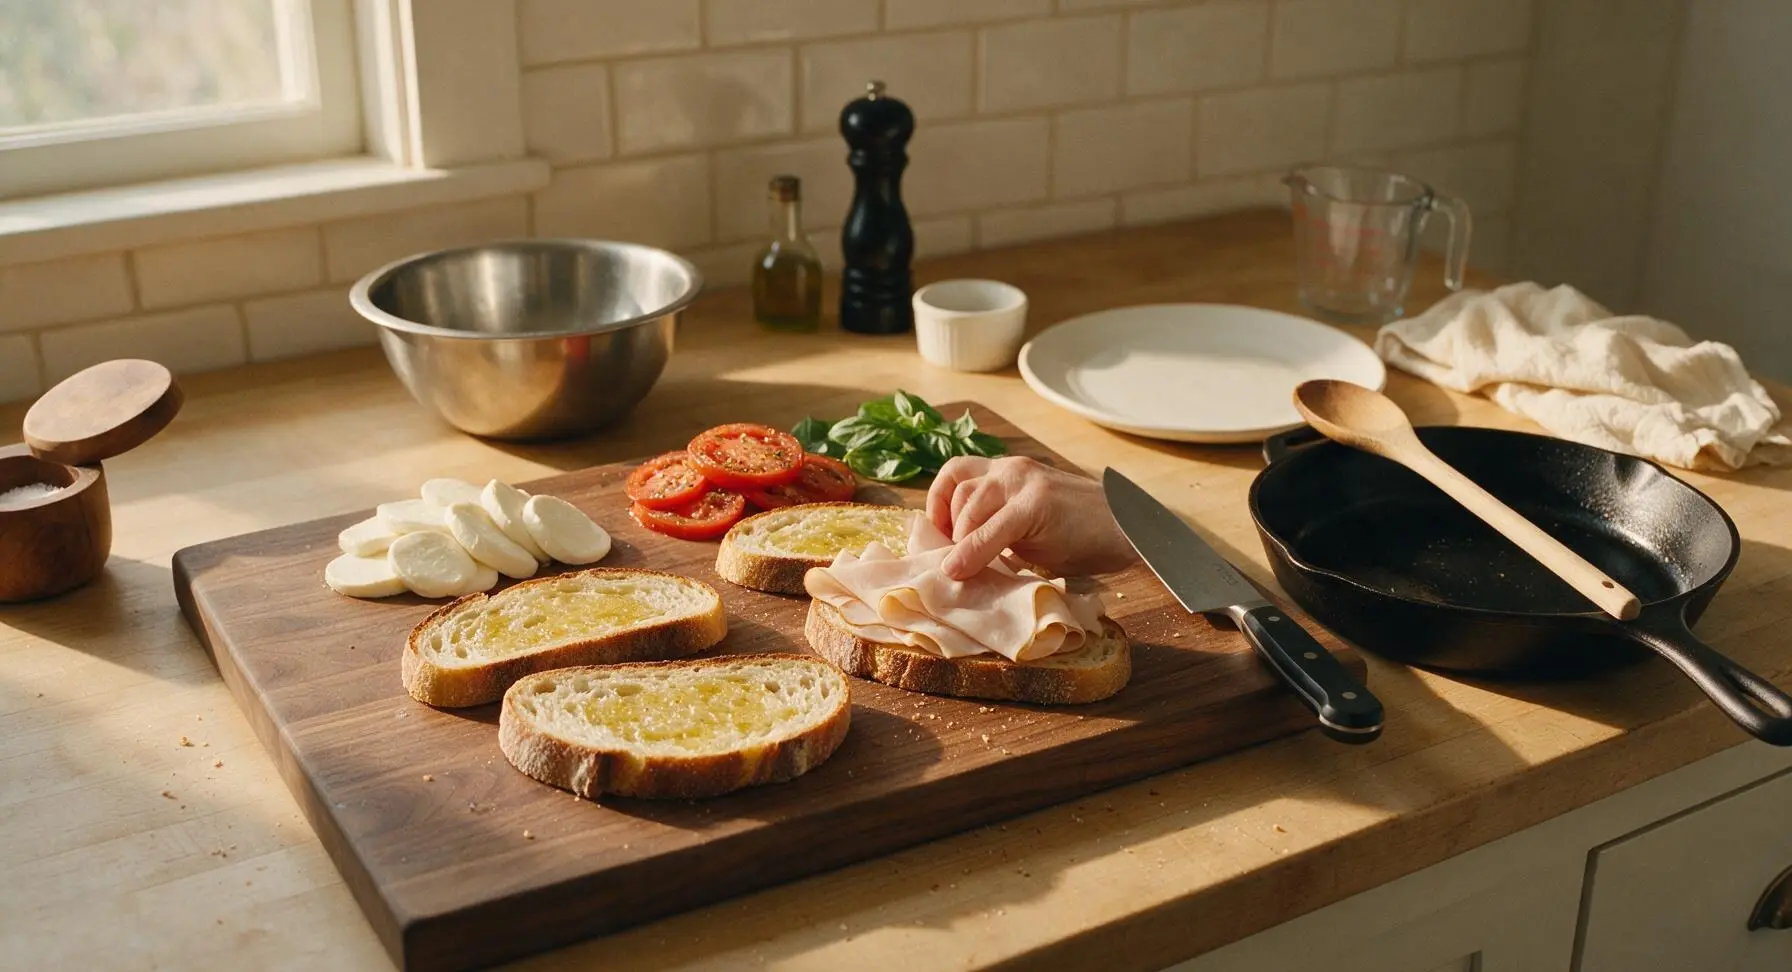
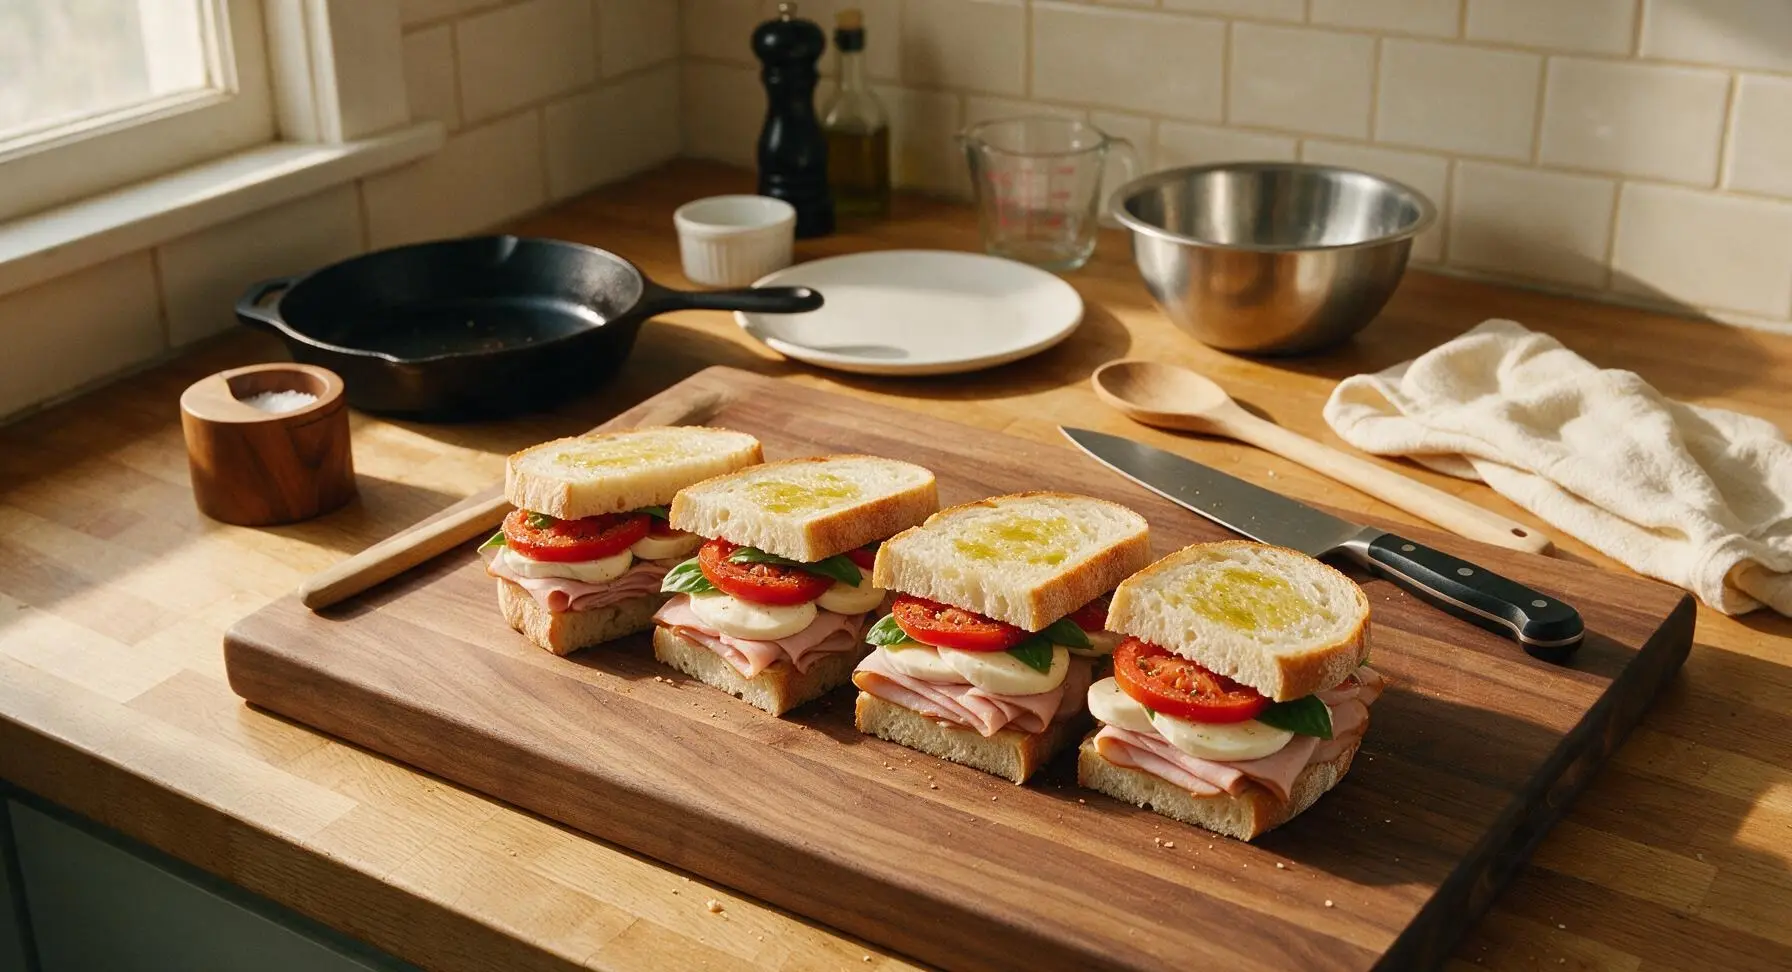
Flip 4 of the bread slices so their oiled side faces down to form the sandwich bases. Layer fillings evenly across each base: first 3-4 slices (85g / 3oz) of deli turkey, followed by 2 slices of mozzarella, 2 slices of seasoned, patted-dry tomato, 3-4 fresh basil leaves, and a 1/2 teaspoon drizzle of balsamic glaze. Top each sandwich with the remaining 4 bread slices, oiled side facing up, and press gently with the palm of your hand to compact layers slightly for even cooking.
Step 3
step3:Layer Panini Fillings
Step 3
step3:Layer Panini Fillings
4

Preheat Panini Press

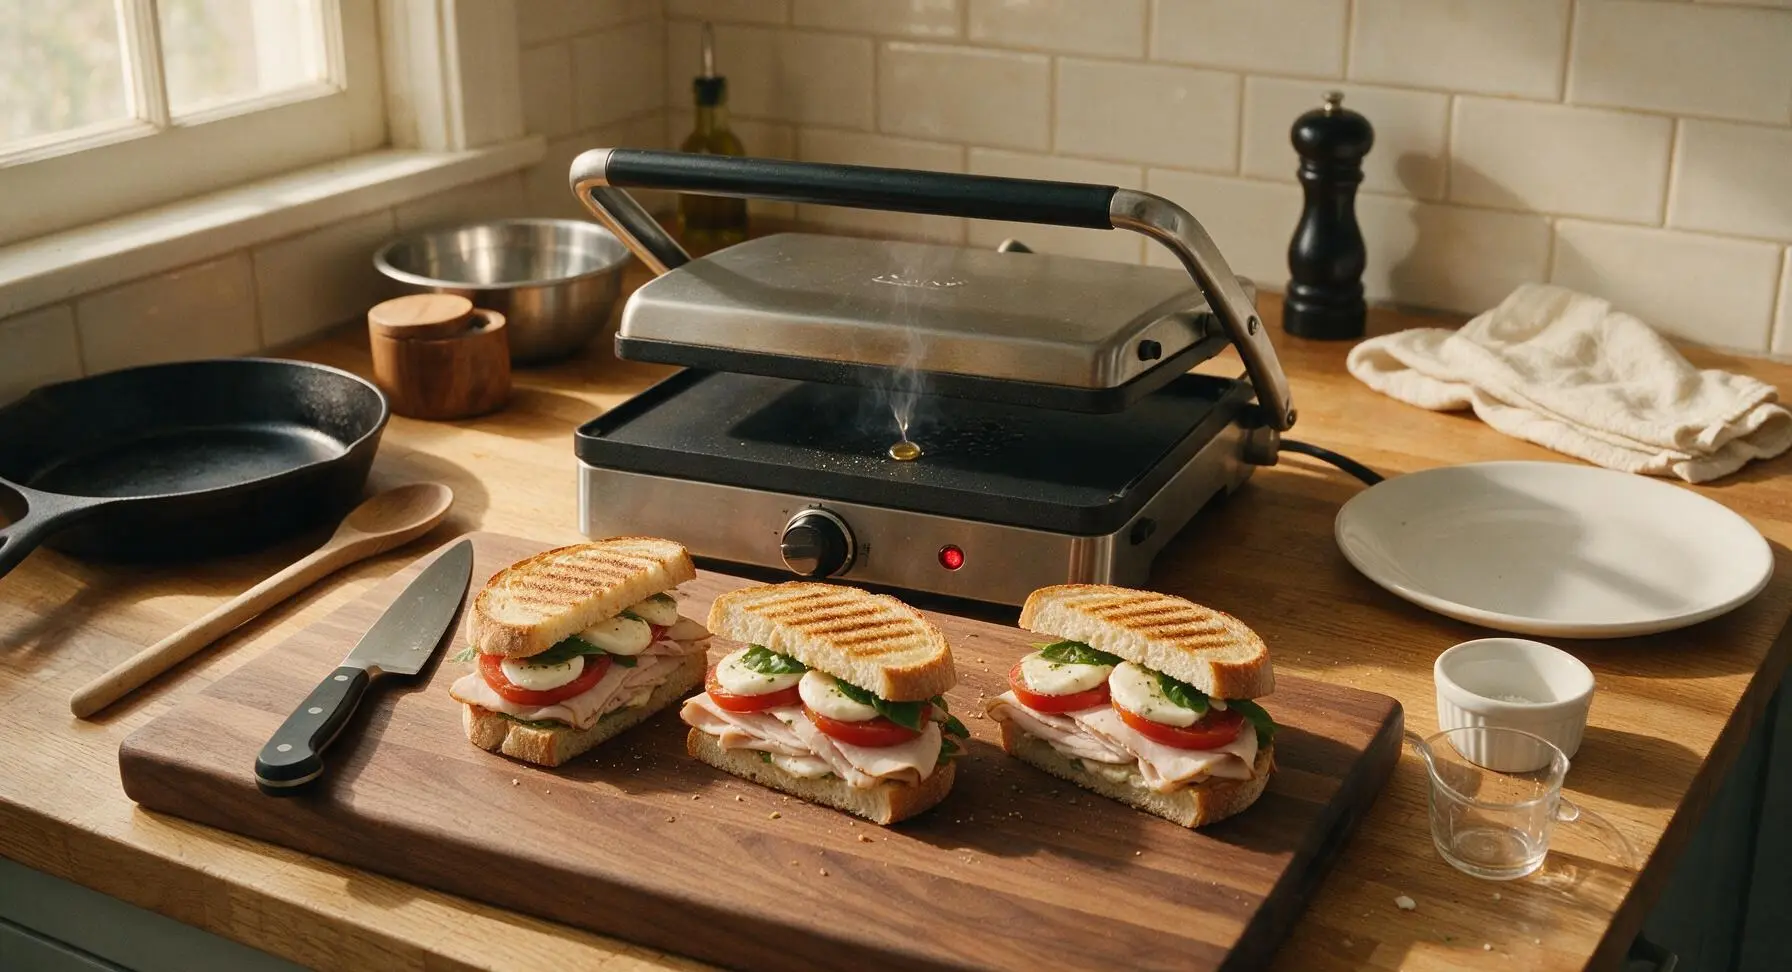
Position the brushed stainless steel panini press behind the cutting board on the counter, leaving clear prep space in front. Preheat the press to medium-high heat (190C / 375F) for 3 minutes, until a single drop of water flicked onto the lower plate sizzles and evaporates instantly on contact. Do not apply additional oil to the press plates, as the bread slices are already oiled.
Step 4
step4:Preheat Panini Press
5

Cook Pressed Sandwiches

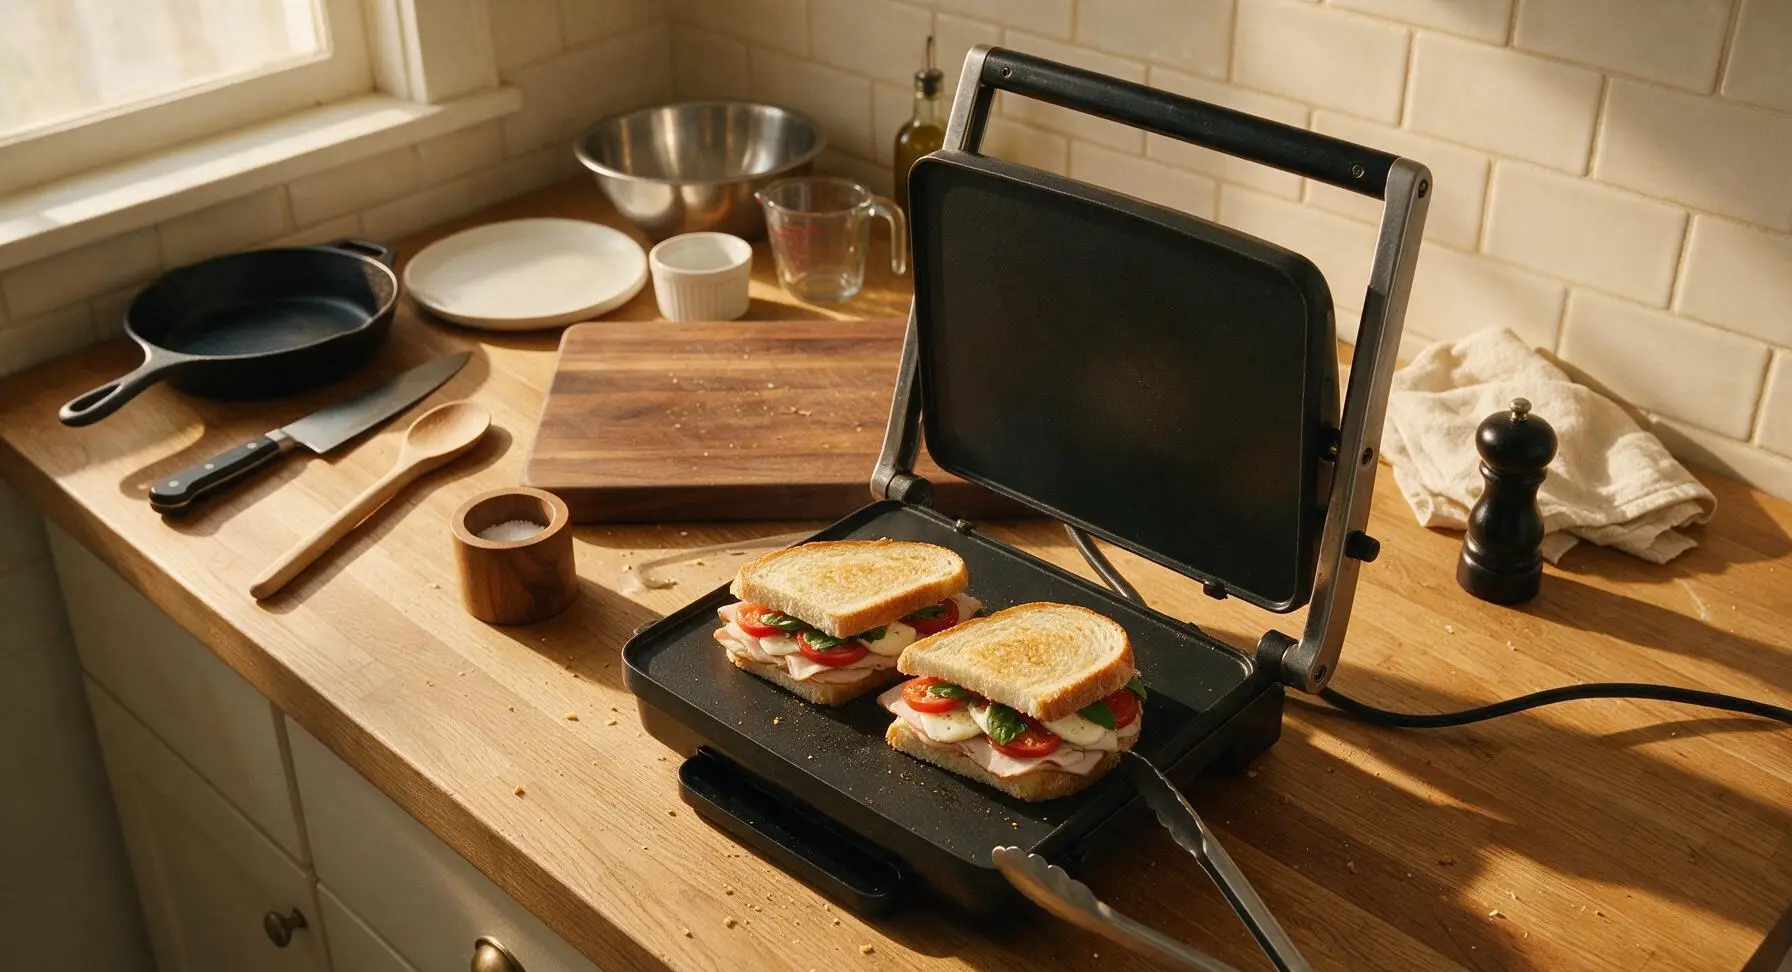
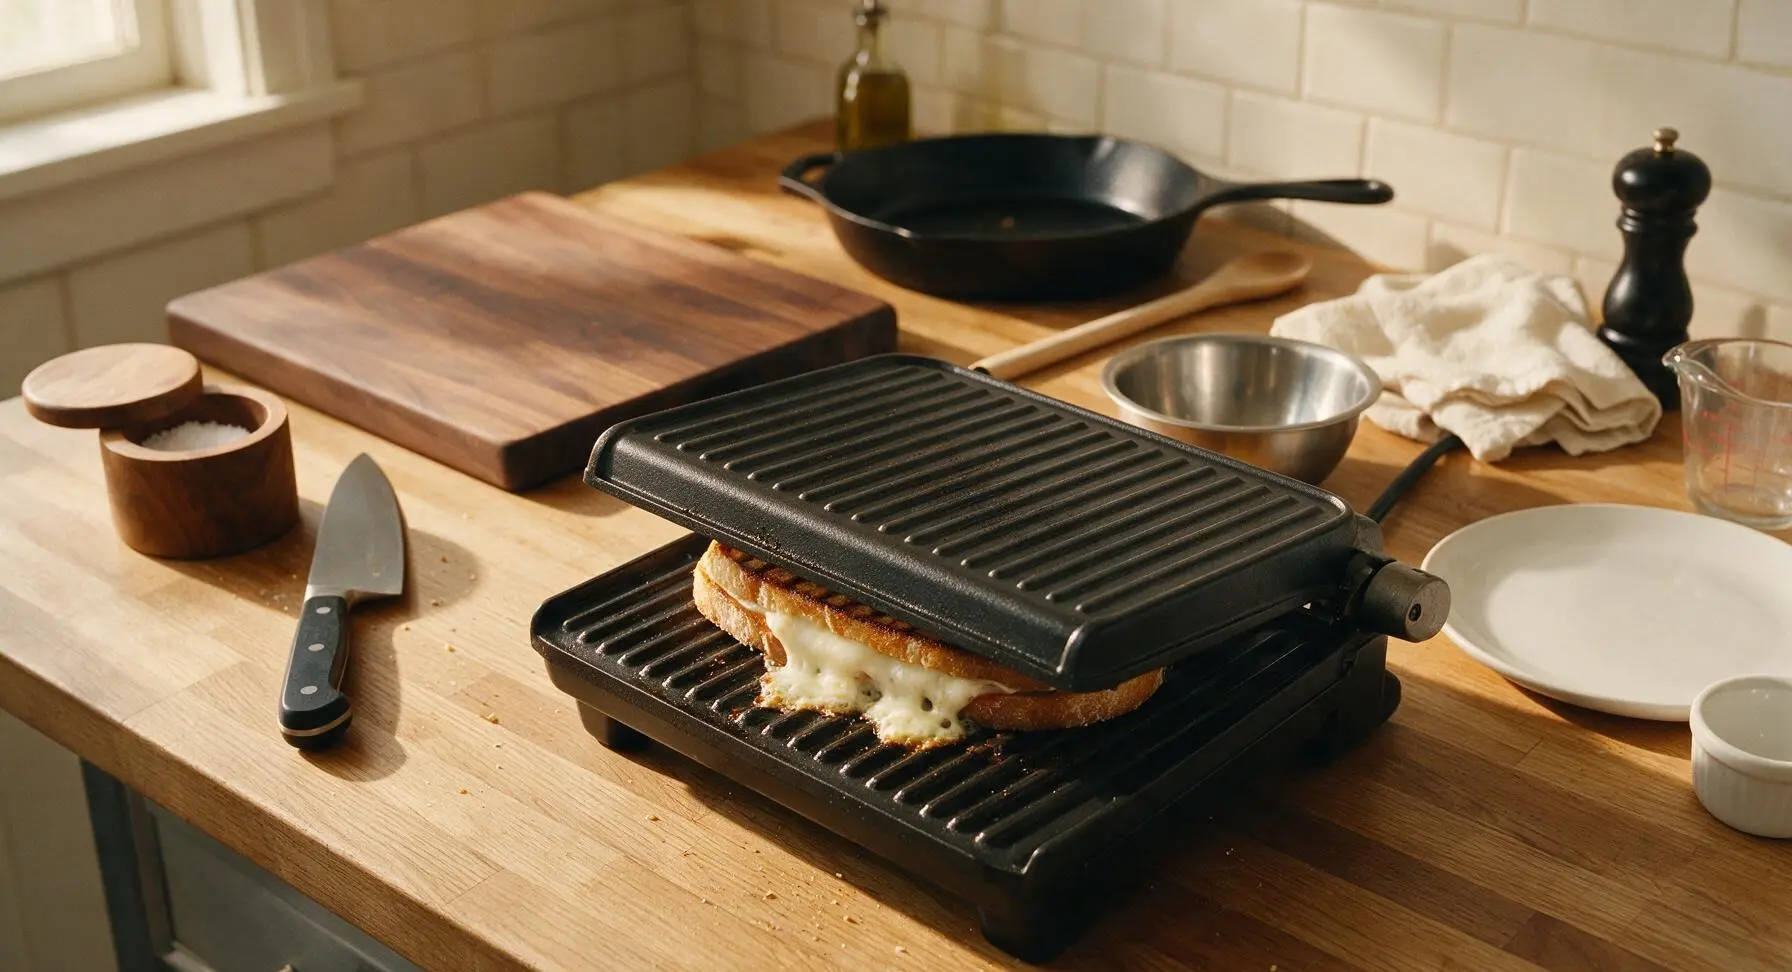
Use the stainless steel tongs to place 2 sandwiches at a time on the preheated panini press. Close the lid, applying gentle, even pressure (do not press too hard, or fillings will squeeze out), and cook for 3-4 minutes per batch. Sandwiches are done when the bread is deep golden brown with distinct dark parallel grill marks, and the mozzarella is fully melted, with small amounts oozing gently from the sandwich edges. Transfer cooked sandwiches to a clean section of the cutting board, then repeat cooking with the remaining 2 sandwiches.
Step 5
step5:Cook Pressed Sandwiches
Step 5
step5:Cook Pressed Sandwiches
6

Rest and Slice Panini

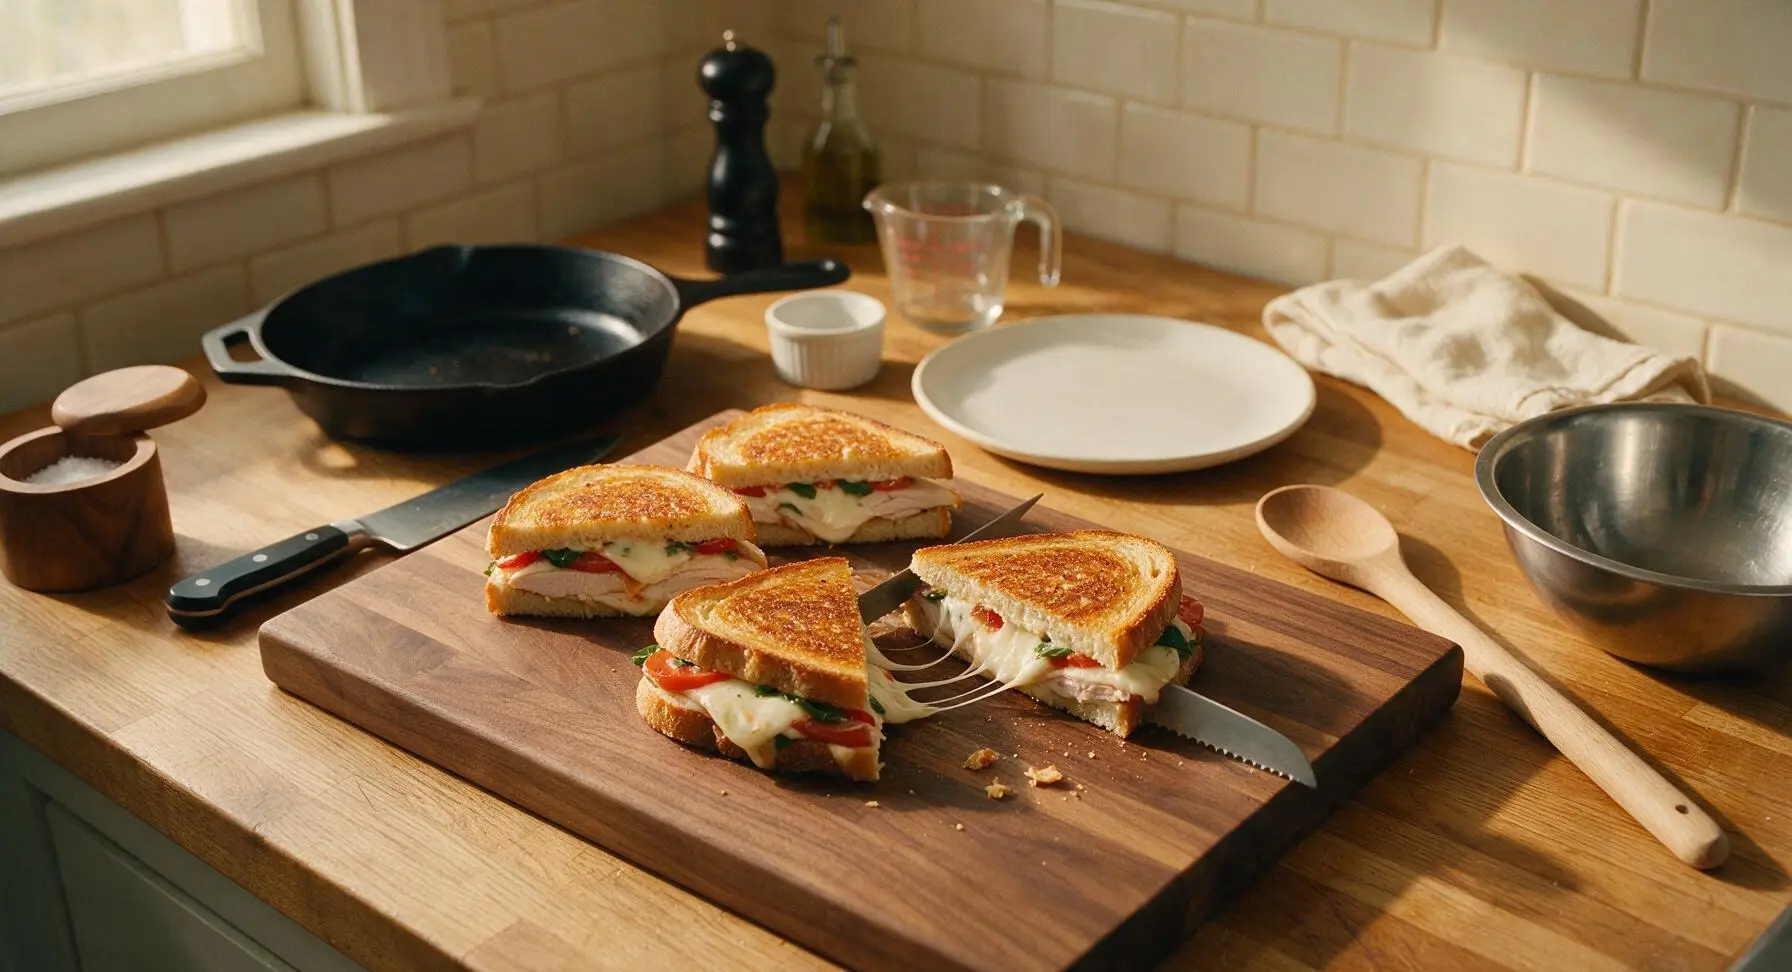
Let all cooked panini rest for 1 full minute on the cutting board to allow melted cheese to set slightly — this prevents fillings from sliding out when cut. Use the serrated bread knife to cut each panini diagonally into two equal triangular halves, using a gentle sawing motion to avoid squishing the sandwich and pressing fillings out.
Step 6
step6:Rest and Slice Panini
7

Plate and Garnish

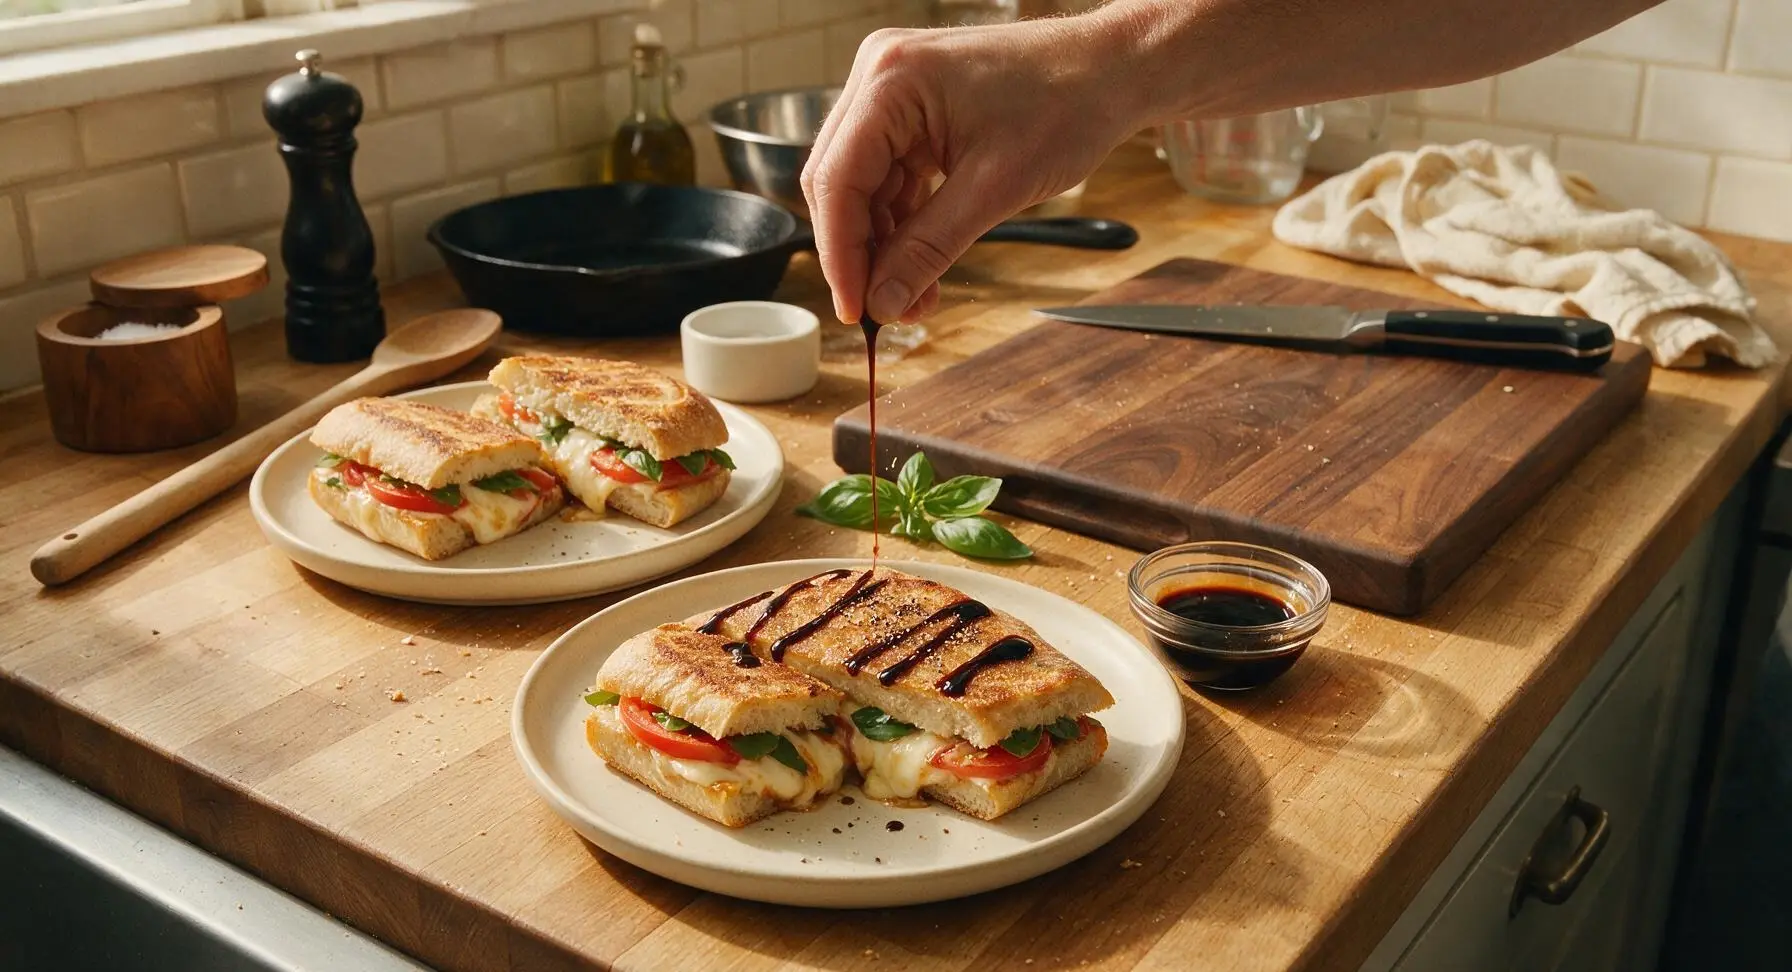
Arrange 2 panini halves (1 full sandwich) per serving on the matte cream ceramic dinner plates. Drizzle the remaining balsamic glaze in a thin zigzag pattern across the top of each sandwich, top with a single fresh basil leaf for garnish, and add a light crack of fresh black pepper. Serve immediately while the bread is crisp and cheese is melted.
Step 7
step7:Plate and Garnish

Tips

1.Pat mozzarella and tomato slices completely dry before assembling: excess moisture from fresh cheese and ripe summer tomatoes will soak through the sourdough and result in a soggy, rather than crisp, panini crust, even with proper oiling and pressing.
2.Avoid overstuffing sandwiches: piling on too much turkey, cheese, or tomato will prevent even heat transfer, leading to unmelted cheese and fillings that squeeze out the sides when you close the press lid.
3.Skip the urge to press down hard on the panini lid while cooking: firm, even lid contact is all you need for crisp bread and grill marks; excessive pressure squeezes out melted cheese and compacts the bread into a dense, tough texture.


✨ You May Also Like

Lunch
🍜 United States

Creamy, salty, tangy nostalgic Midwestern sandwich pairing rich peanut butter with crisp briny dill pickles for a fast, satisfying no-cook meal.

⏱️ 5 minutesLunch ★ 4.6
Lunch
🍜 United States

Crispy, melty pressed sandwich layered with savory roast pork, ham, Swiss cheese, pickles, and tangy mustard: a beloved Cuban-American comfort classic.

⏱️ 25 minuteLunch ★ 4.9
Lunch
🍜 United States

Hearty, briny New Orleans pressed sandwich stacked with cured Italian meats, provolone, and zesty olive salad, served cold for bold, portable flavor.

⏱️ 1 hour 20Lunch ★ 4.7
Lunch
🍜 United States

A tangy, creamy Southern American staple, this no-cook cheesy sandwich is packed with sharp cheddar and sweet pimentos for a satisfying, portable bite.

⏱️ 1 hour 15Lunch ★ 4.8
Lunch
🍜 United States

Crispy Cajun-spiced fried shrimp piled on crusty French bread with tangy remoulade and fresh toppings, the iconic Louisiana street food sandwich.

⏱️ 35 minuteLunch ★ 4.4
Lunch
🍜 United States

Stacked, savory deli-style corned beef sandwich with melted Swiss, tangy mustard, and crisp griddled rye— a fast, hearty, satisfying classic.

⏱️ 15 minuteLunch ★ 4.9

Turkey Caprese Panini:Frequently Asked Questions

1.Can I make this panini if I don’t own a dedicated panini press? ▾
Absolutely! Grab a heavy cast iron or nonstick skillet, preheat it over medium-low, and set your assembled sandwich inside. Weigh it down with a second heavy skillet or foil-wrapped canned goods pot, cook 3–4 minutes per side until golden and melty, pressing gently occasionally to get that signature crisp texture without squeezing fillings out.
2.How do I prevent my panini from getting soggy from the fresh tomato slices? ▾
The biggest trick is to pat sliced tomatoes thoroughly with paper towels on both sides to remove excess seedy juice and surface moisture before layering them in. For extra protection, place mozzarella directly against both inner bread slices to create a moisture barrier, and add balsamic glaze after pressing instead of drizzling it inside the sandwich.
3.Can I use regular pre-sliced deli mozzarella instead of fresh mozzarella? ▾
It works totally fine in a pinch! Fresh mozzarella delivers that classic creamy, mild caprese melt, but low-moisture deli mozzarella melts smoothly and has far less excess whey, making it a great pick if you’re extra worried about soggy bread. Just skip adding extra salt, since deli mozzarella is usually pre-salted.
4.How thick should I cut my sourdough slices for the best texture? ▾
Aim for ½ to ¾-inch thick slices cut from a rustic, crusty sourdough loaf. Slices thinner than ½ inch will get overly crispy and squish completely flat under pressure, while slices thicker than 1 inch won’t heat all the way through to melt the cheese evenly, and will throw off the balance of bread to filling.
5.Can I prep these paninis ahead for packed lunches or picnics? ▾
You can prep all individual components up to 2 days ahead: slice and store tomatoes, wash and dry basil, and portion out turkey and cheese. Wait to assemble and press the paninis right before eating for the crispiest crust. If you do press them ahead, let them cool fully before wrapping to avoid trapped steam making the bread soggy.
6.Do I have to use balsamic glaze, or can I use regular balsamic vinegar? ▾
Balsamic glaze is thick, reduced, syrupy balsamic that clings to fillings instead of soaking straight into bread, so it’s ideal for this recipe. If you only have regular balsamic, simmer it in a small saucepan over low heat for 8–10 minutes until reduced by half to make a quick, affordable homemade glaze that works perfectly.
7.Can I use leftover roasted Thanksgiving turkey instead of deli turkey? ▾
That’s one of my all-time favorite ways to use up holiday leftover turkey! Just slice it thinly against the grain to keep it tender, and use the same amount you would of deli turkey. The deeper, roasted savory flavor of leftover roasted turkey pairs even better with the bright tomato, basil, and creamy mozzarella, in my opinion.
8.Should I butter or oil the outside of the bread before pressing? ▾
I recommend brushing the outer sides of each sourdough slice with a thin layer of softened unsalted butter for the richest, evenly golden crispy crust. If you prefer olive oil for that subtle Mediterranean note, use a light, mild extra-virgin olive oil—skip heavy, grassy artisanal oils that will overpower the delicate caprese flavors.
9.How do I stop fresh mozzarella from oozing out all over the press while cooking? ▾
First, pat fresh mozzarella slices dry with paper towels to remove excess whey, since extra moisture makes it run much more when heated. Don’t overstuff the panini, cook over medium-low heat so cheese melts gradually instead of bursting out at high heat, and only press firmly enough to get even contact with the cooking surface.
10.What simple add-ins pair well with the classic turkey caprese flavors? ▾
A thin spread of basil pesto on the inner bread slices is a no-fail herby addition, as is a light sprinkle of flaky sea salt and cracked black pepper over the tomato slices. A few thin slices of avocado, a handful of peppery arugula, or a thin layer of roasted red pepper spread also work beautifully without overpowering the core flavors.
11.How do I tell when my panini is fully done cooking? ▾
It’s ready when the outer sourdough is deep golden brown and crisp to the touch, the mozzarella is fully melted and slightly stringy when you lift a corner of the top bread slice, and the turkey is warmed all the way through. This takes 4–5 minutes in a medium-heat panini press, or 3–4 minutes per side on the stovetop.
12.Can I make a vegetarian version of this panini without the turkey? ▾
Definitely! Simply skip the turkey entirely for a classic caprese panini, or swap it for thin slices of grilled, patted-dry zucchini or eggplant for a heartier bite. Be sure to salt grilled veggies ahead of time and pat off excess moisture to avoid soggy bread, and keep all the classic caprese components exactly as written.

Comments (7)

2 days ago

OMG this was SO good! Threw this together for the kids’ after-school snack a couple days ago and they devoured every bite. I didn’t have fresh basil on hand so I used a little basil pesto spread instead and it worked perfectly. That 8 minute cook time is no joke, total lifesaver for chaotic busy weeknights!

yesterday

Wait the pesto swap is genius! I’ve got a half jar of basil pesto in my fridge I’ve been trying to use up, definitely trying that hack for lunch tomorrow.

yesterday

So glad your family loved it! The pesto swap is such a great call—we love adding a little balsamic glaze on top too if you have it on hand for an extra pop of flavor!

1 week ago

Total game changer for my weekly meal prep! I made four of these on Sunday, wrapped them tight in parchment, and they held up perfectly all week for work lunches. Way better than the sad cafeteria sandwiches I used to force down every day. The melted mozzarella with the savory turkey and juicy tomato? *Chef’s kiss*

5 days ago

Thrilled this works for your meal prep rotation! Pro tip: If you’re storing them pre-made, hold the balsamic glaze until right before reheating to keep the bread from getting soggy!

5 minutes ago

Made this in my dorm panini press last night and my roommate literally begged me for the recipe after stealing a bite. Super easy even for someone who burns toast half the time, no fancy ingredients needed. 10/10 will be making this every other night now.

3 days ago

Brought these to our neighborhood block party potluck last weekend, cut them into little slider-sized bites, and they were the first plate gone! Everyone kept asking where I got the recipe, I felt like a total rockstar. So simple but tastes like something you’d pay $15 for at a fancy lunch spot.

2 days ago

Wait I was at that potluck!!! Those were the little caprese bites I went back for thirds of, no way this is where you got the recipe? Small world! Making them for my kid’s soccer team snack this weekend.

2 hours ago

I made this last week with regular sourdough and it was absolutely incredible, but quick question—has anyone tried this with gluten free sourdough? I have a friend with celiac coming over this weekend and I want to make it for her, but I don’t want the GF bread to get too crispy or fall apart when I press it. Don’t want to mess up such a perfect recipe!

30 minutes ago

I made it with GF sourdough last month for my sister who has celiac! Just spray a little extra olive oil on the outside of the bread and don’t press it super hard, it came out perfect, no crumble at all, and she loved it.

5 minutes ago

Great question! The GF sourdough swap works beautifully, just like the comment above mentioned—light pressure on the press and a light coating of olive oil will give you that perfect crispy exterior without the crumble. Hope your friend loves it!

yesterday

Made this for dinner last night when I forgot to thaw the chicken I planned to use, grabbed the deli turkey I had in the fridge and it came together in literally 10 minutes total. My husband said it’s better than the paninis we get at our favorite Italian cafe down the street. Total weeknight win!

2 weeks ago

Stumbled on this recipe two weeks ago when I was looking for quick lunch ideas to make between my kid’s back-to-back soccer practices, and it’s been in our regular dinner rotation ever since. I added a couple slices of ripe avocado once when I had it on the counter, total game changer. My picky 7 year old who turns his nose up at anything with “fancy cheese” even asked for seconds last night!

1 week ago

Love the avocado addition! That creamy texture pairs so perfectly with the tangy tomato and savory turkey—we might have to add that as a suggested variation in the recipe notes, thanks for sharing the great tip!



