
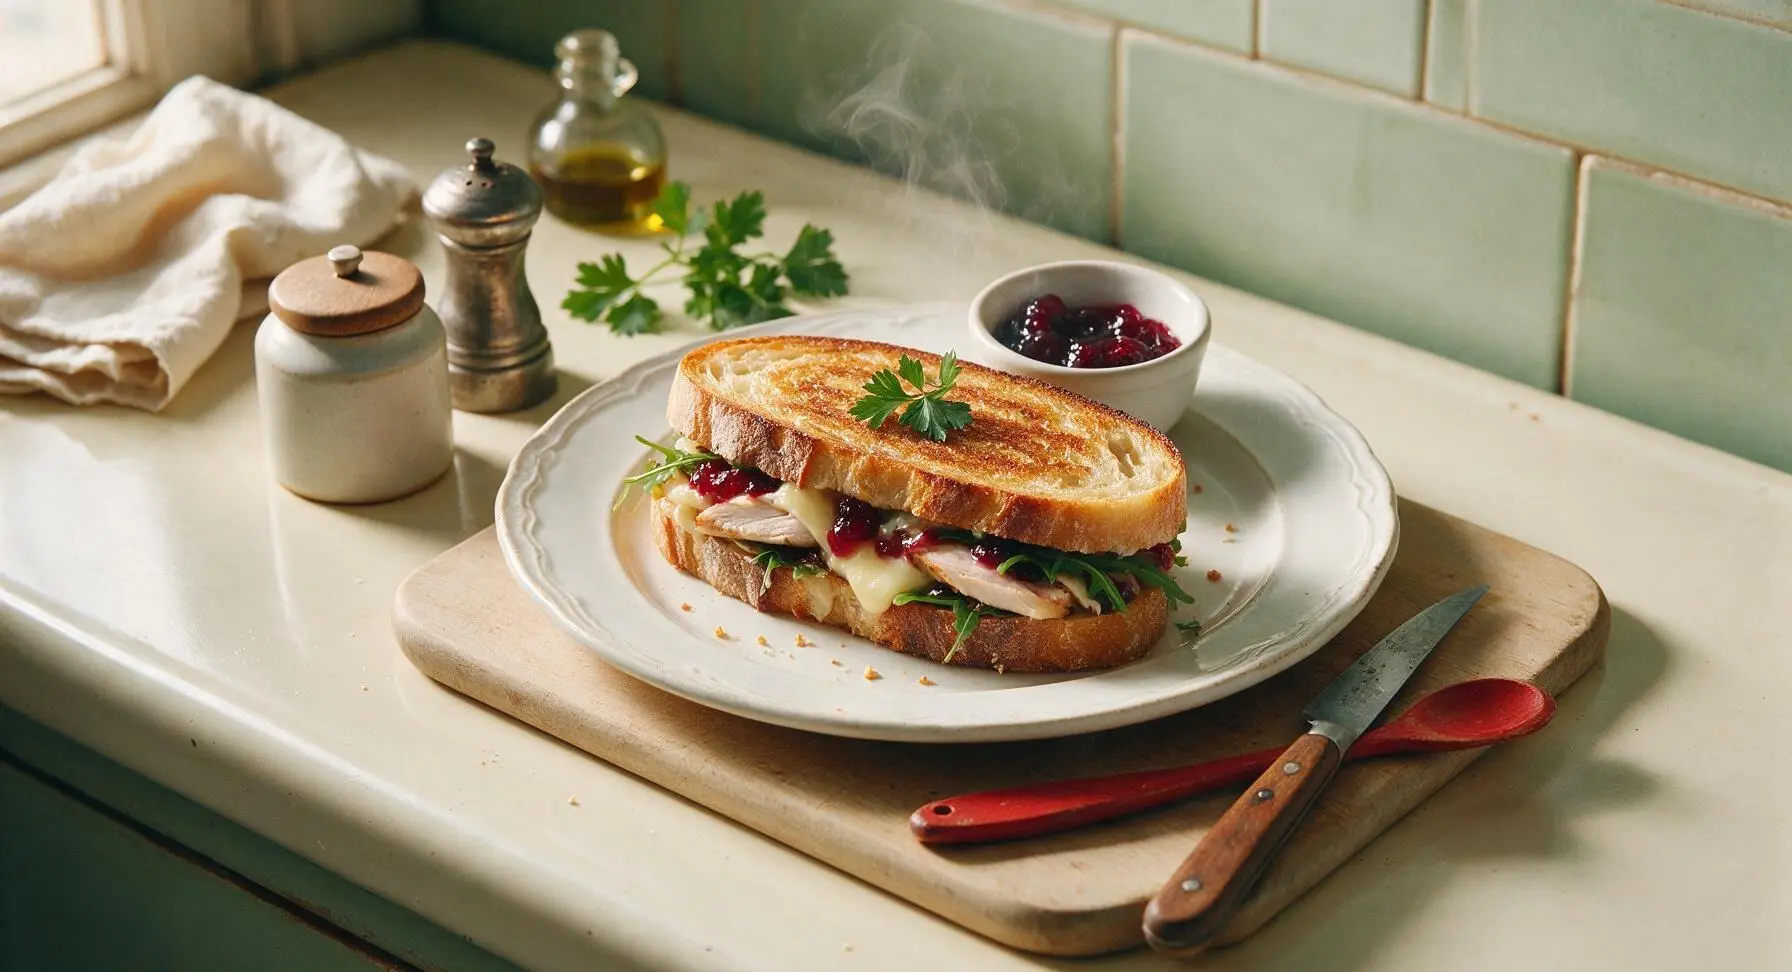
turkey panini ideas

title 1
turkey panini ideas
⏱️ cook time 8 minutes
🍽️ servings 4
⚡ Difficulty easy

intro

Crispy golden sourdough pressed around tender roasted turkey, melted brie, tart cranberry chutney, and peppery arugula: a cozy, fast fall panini perfect for quick lunches.

Ingredients
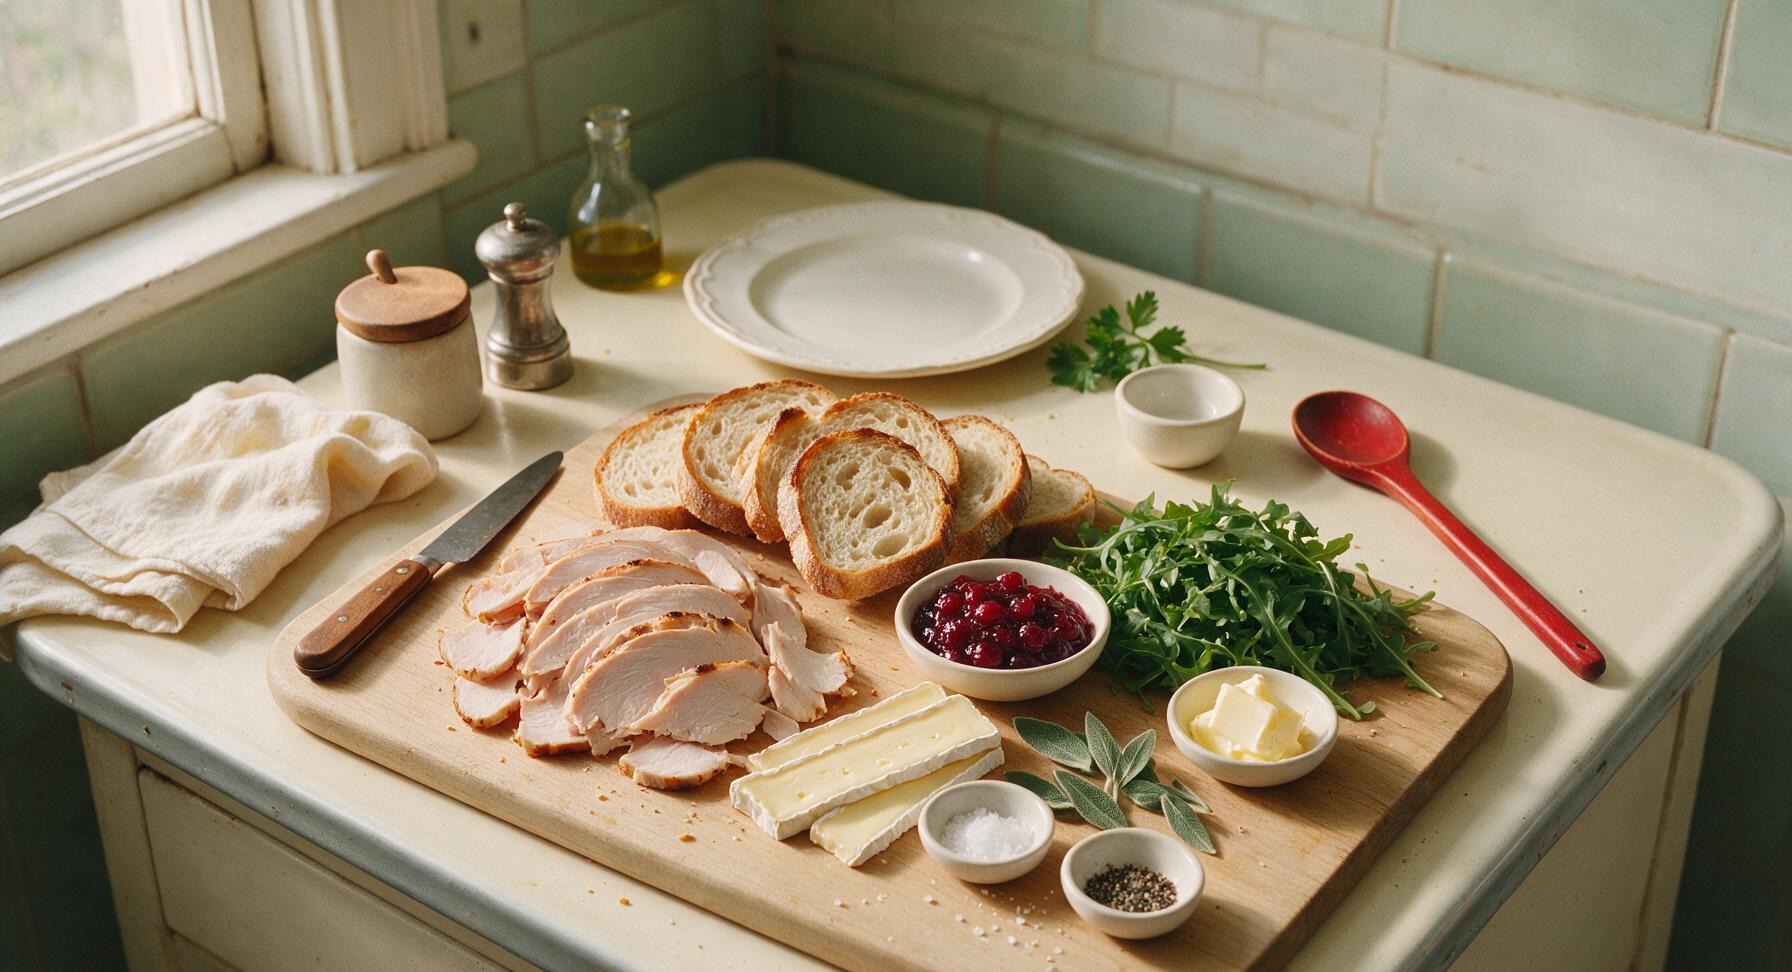
Roasted turkey breast, thinly sliced 450g
Sourdough bread, 1/2-inch thick slices 8 slices
Brie cheese, rind on, thinly sliced 120g
Cranberry chutney 120g (1/2 cup)
Fresh arugula, loosely packed 60g (2 cups)
Unsalted butter, softened 30g (2 tbsp)
Fresh sage leaves 8 leaves
Flaky sea salt 1/2 tsp
Coarse black pepper 1/4 tsp

Steps

1

Preheat Panini Press

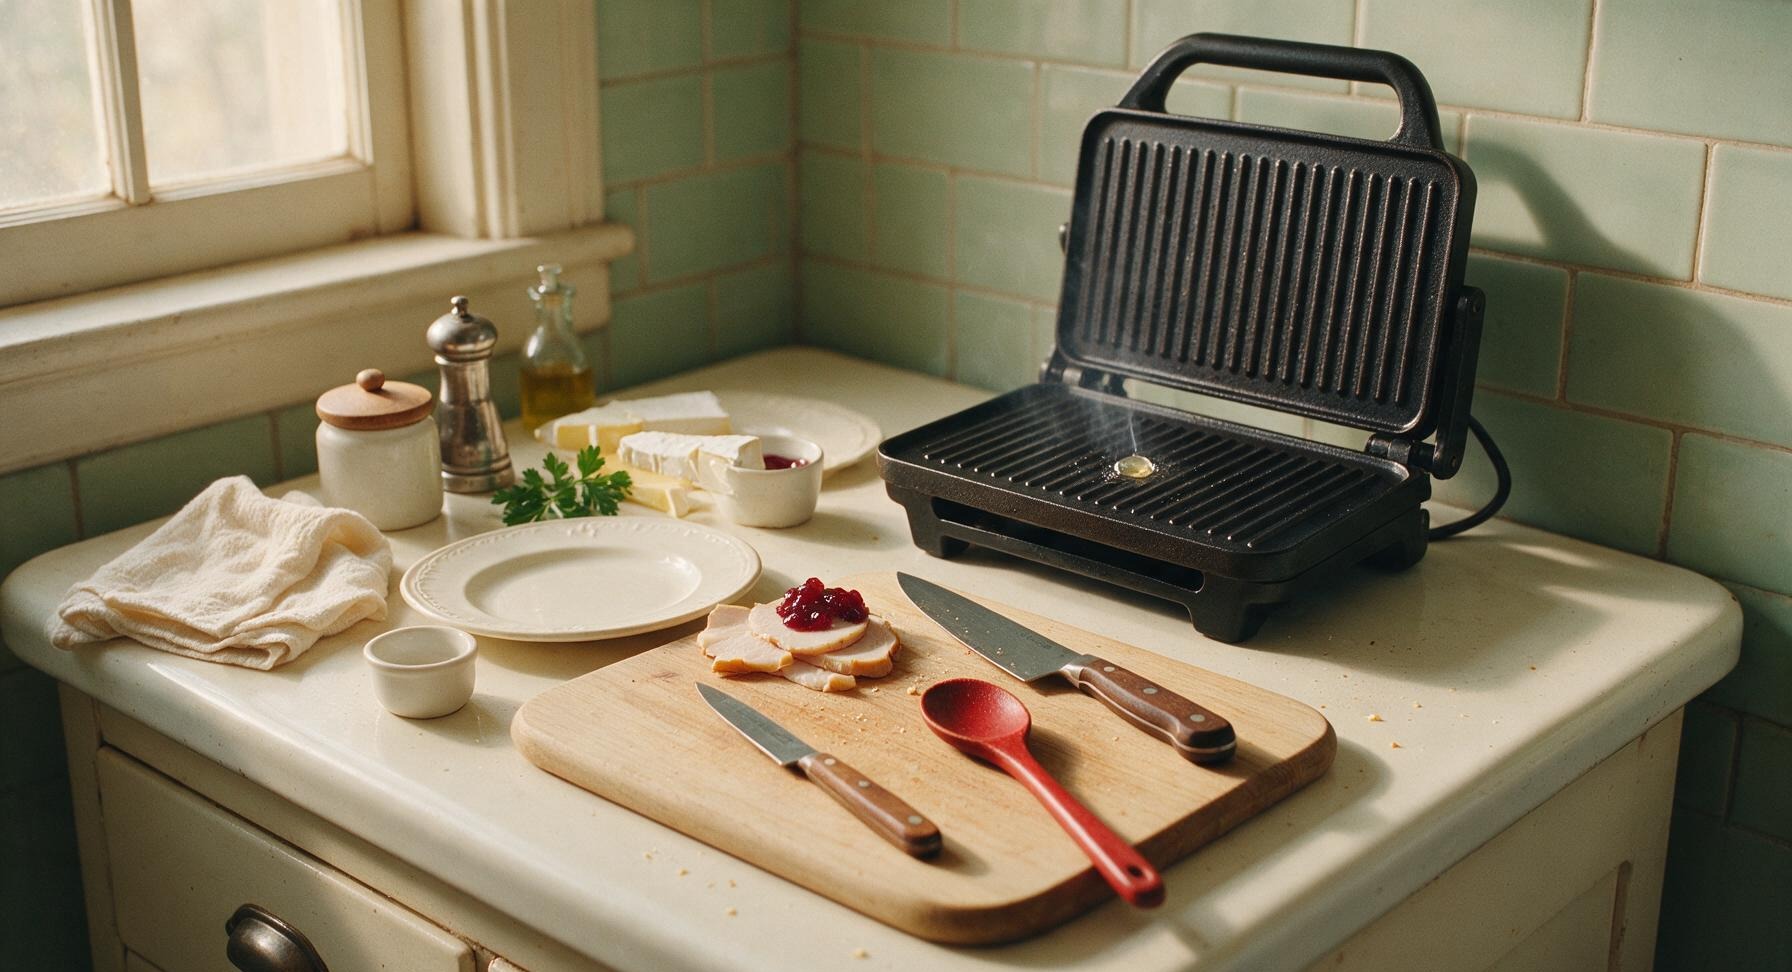
Place the matte black cast iron panini press in its fixed position 10cm behind the cutting board on the back right of the counter. Preheat to medium-high (190C / 375F) for 4 minutes, until a drop of water flicked onto the ribbed cooking surface sizzles and evaporates in 1-2 seconds. While the press heats, arrange all ingredients within arm’s reach to streamline assembly.
Step 1
step1:Preheat Panini Press
2

Butter Bread Slices

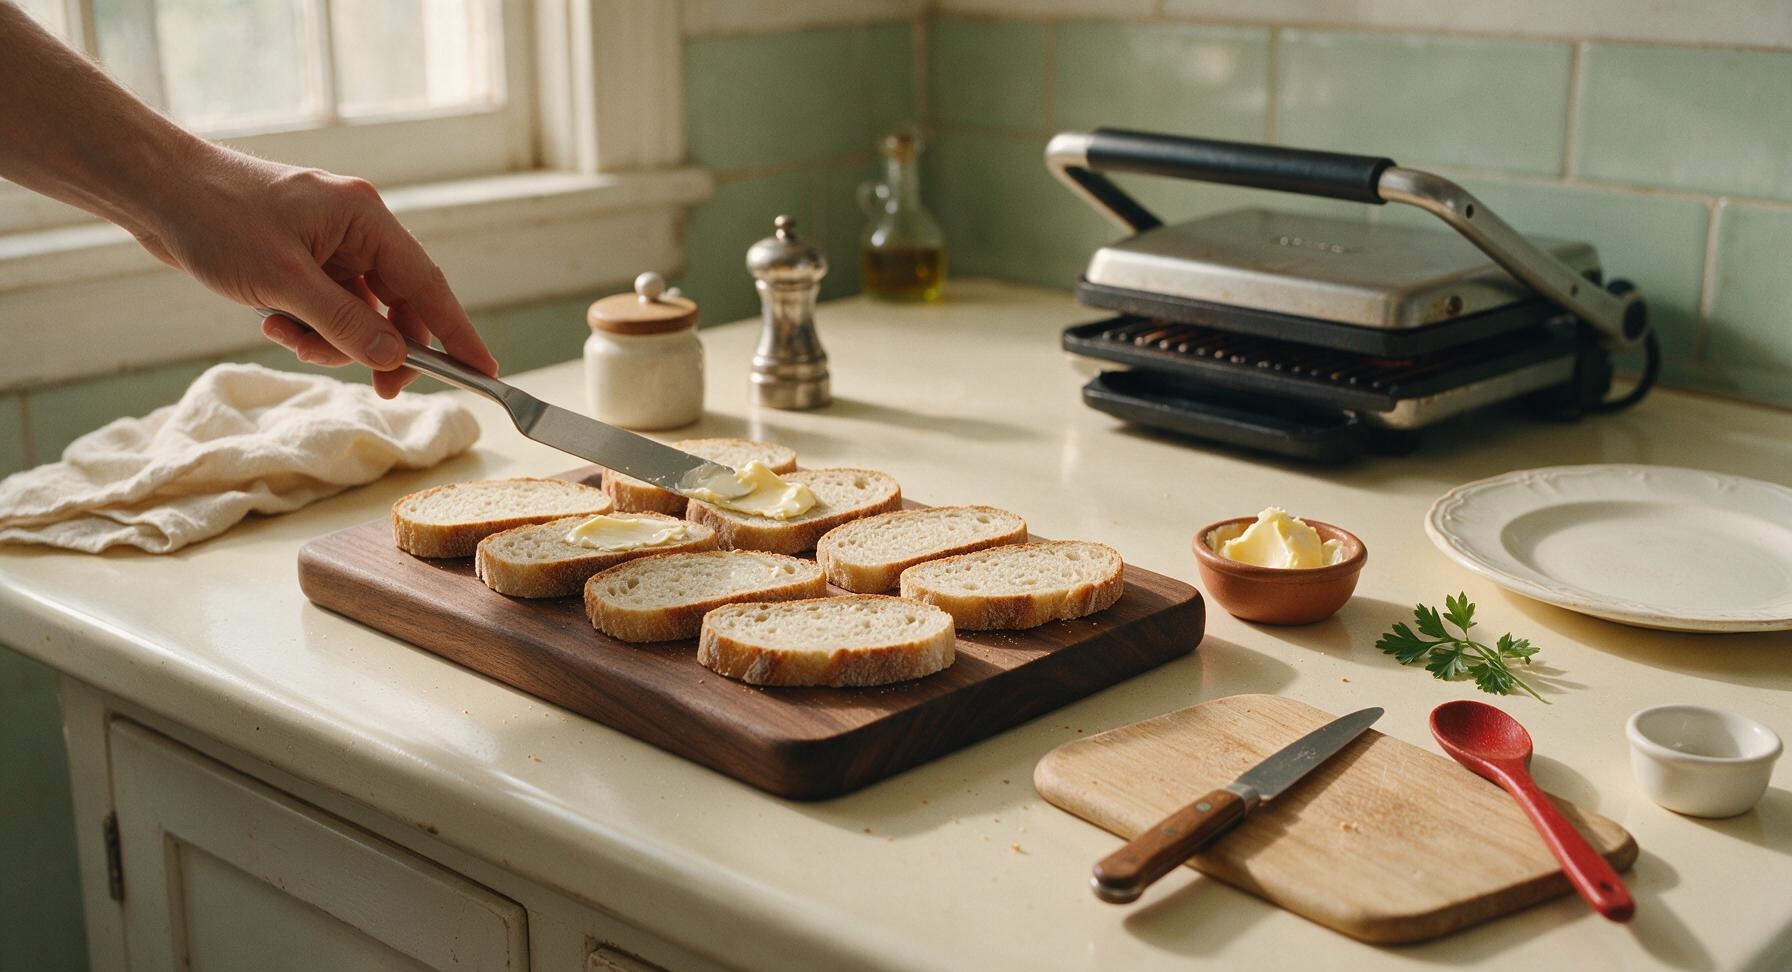
Lay all 8 sourdough slices flat across the dark walnut cutting board. Use the offset spatula to spread ½ teaspoon of softened unsalted butter evenly across one full side of each slice, spreading all the way to the crust edges to ensure uniform crisping. Lightly season each buttered surface with a tiny pinch of flaky sea salt and coarse black pepper. Keep buttered sides facing up for now to avoid sticking to the board.
Step 2
step2:Butter Bread Slices
3

Spread Cranberry Chutney

Flip 4 of the bread slices over so the unbuttered side faces up. Use the small maple wooden spoon to spread 1 tablespoon of cranberry chutney evenly across the unbuttered surface of these 4 slices, spreading all the way to the edges to prevent dry bites. Leave the remaining 4 slices buttered-side up to use as sandwich tops.
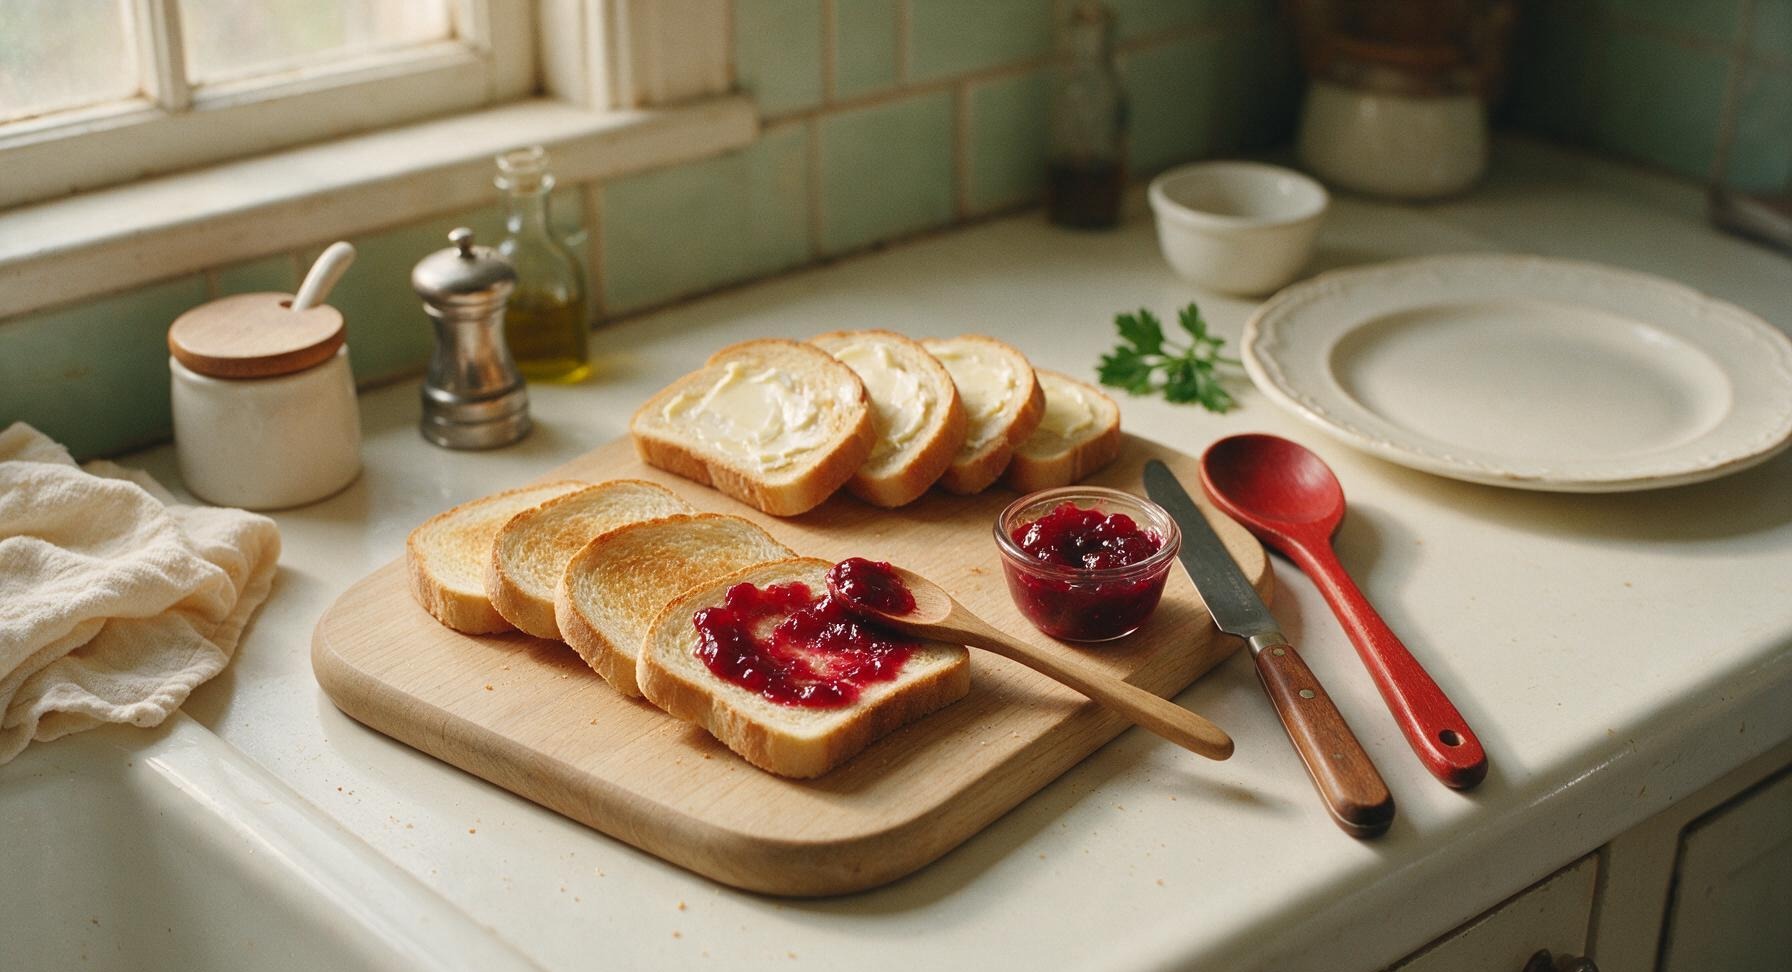
Step 3
step3:Spread Cranberry Chutney
4

Layer Sandwich Fillings

Top each chutney-covered bread slice with 2 thin slices of brie (about 30g per sandwich), followed by 110g of thinly sliced roasted turkey, 2 fresh sage leaves, and a 15g handful of loosely packed arugula. Top the arugula with one more thin slice of brie to help seal the sandwich as the cheese melts during pressing. Do not overstack fillings, as excess will squeeze out under press pressure.
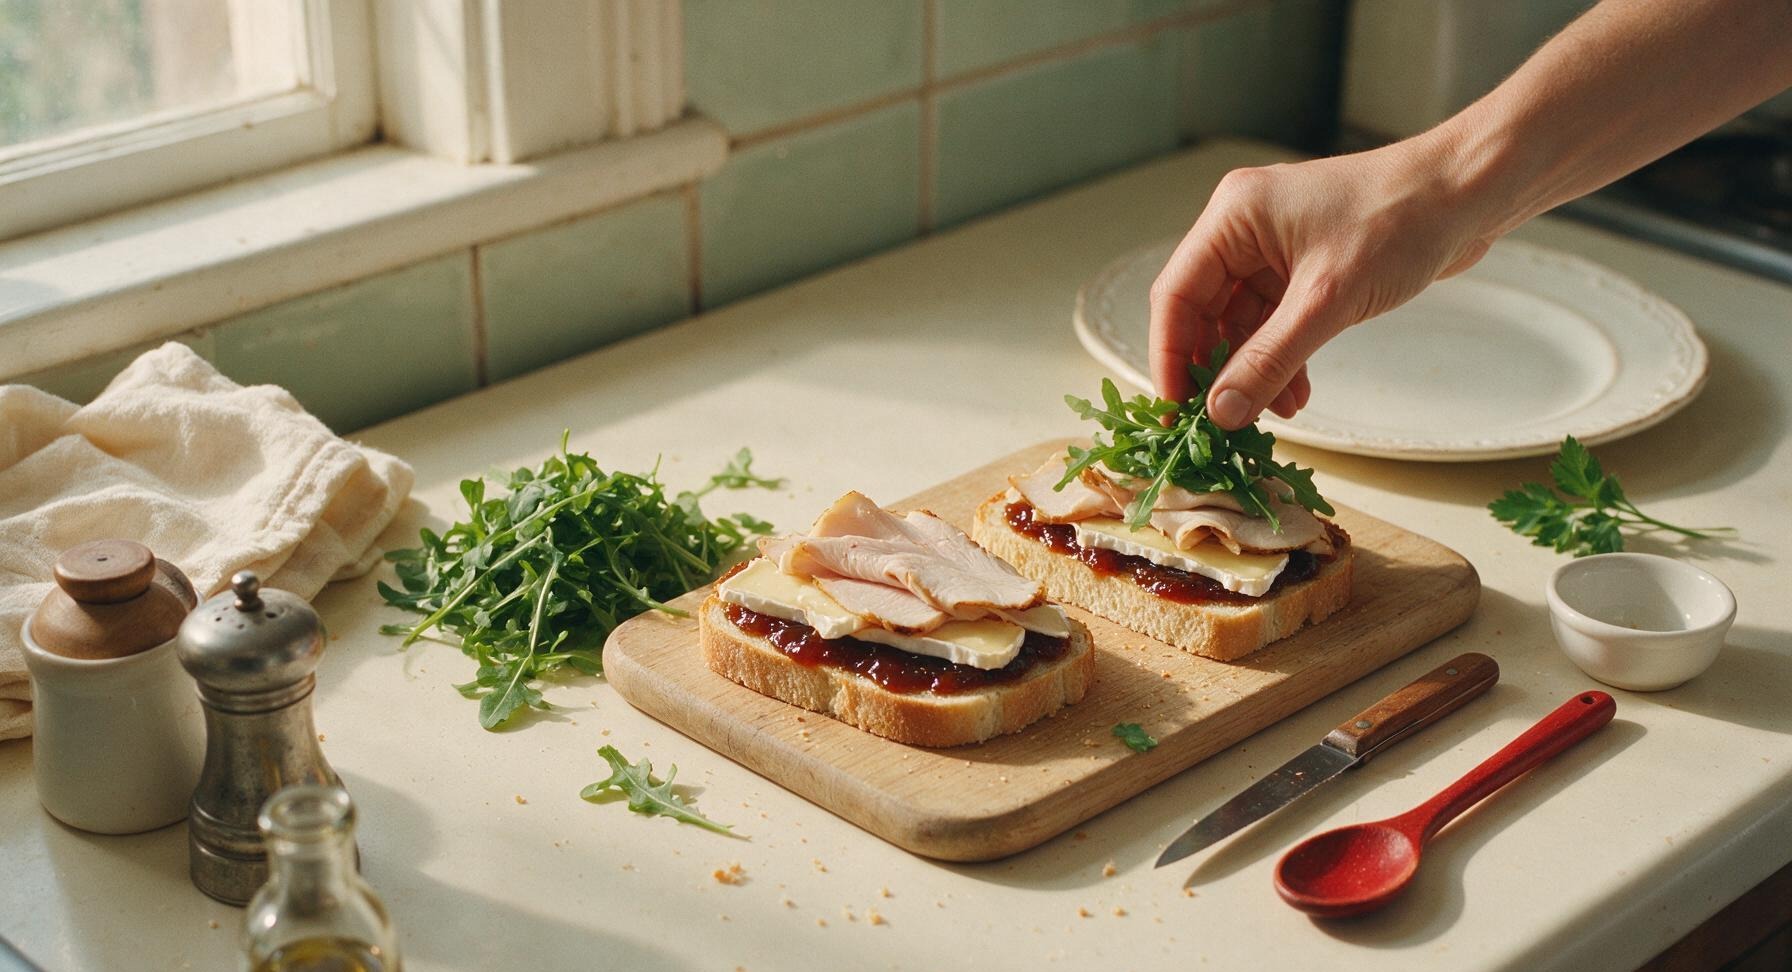
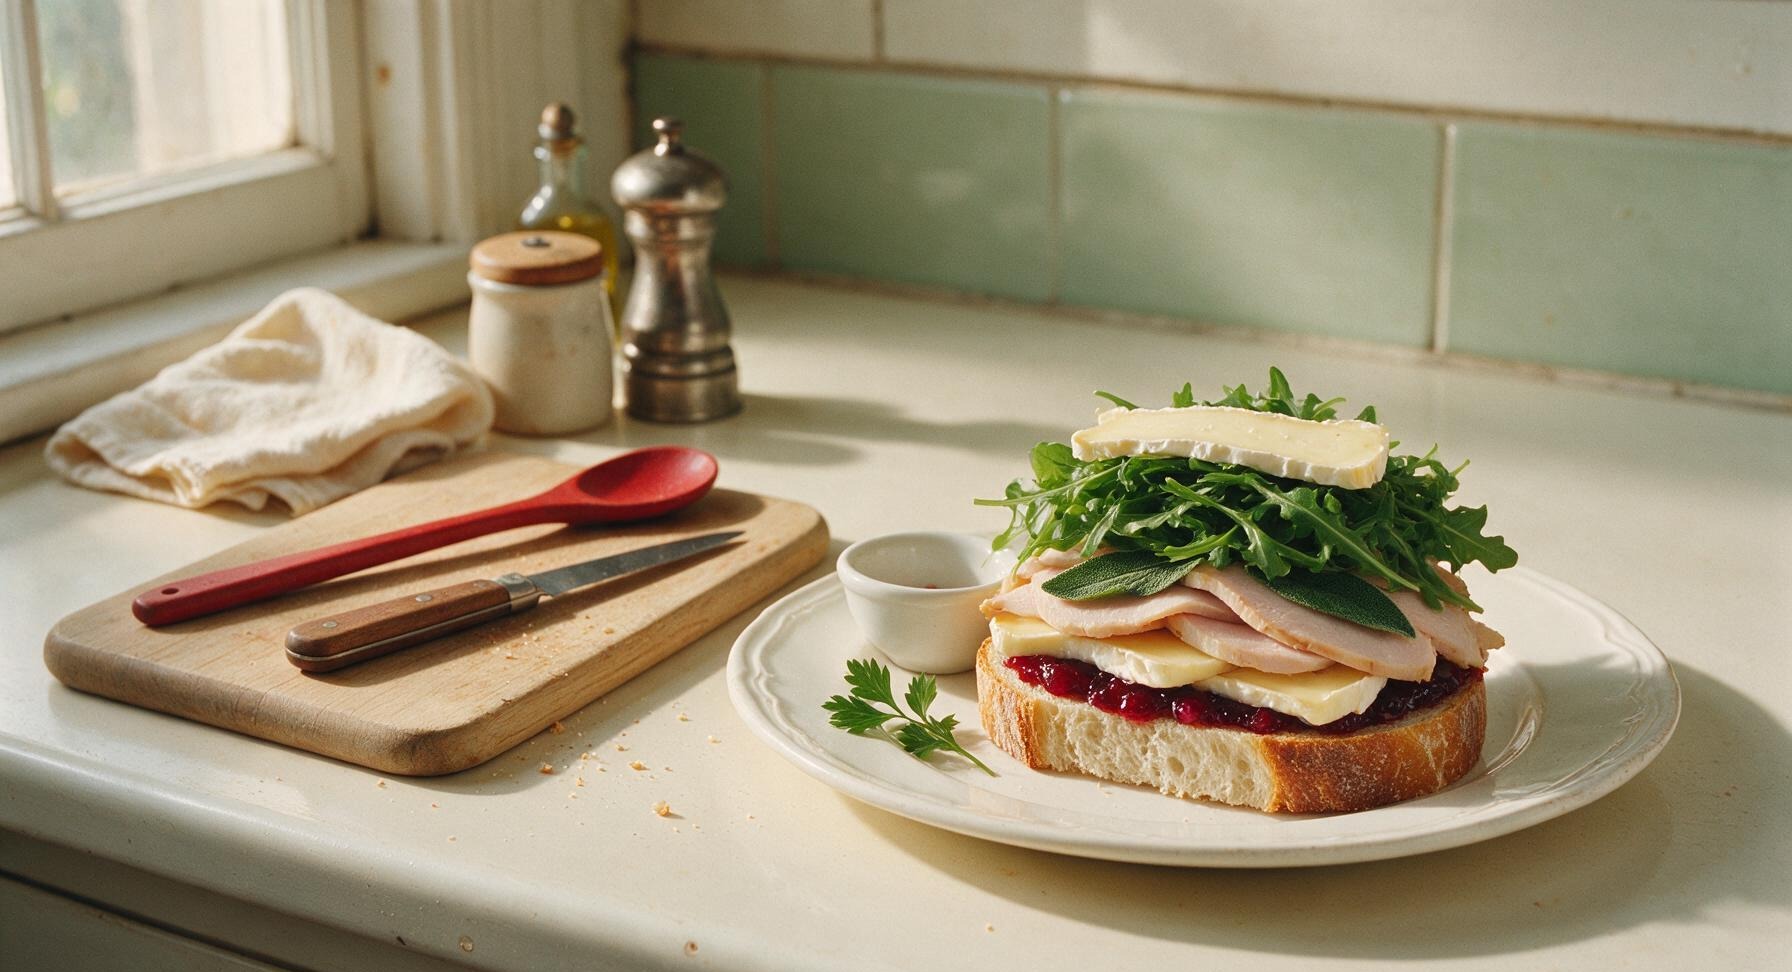
Step 4
step4:Layer Sandwich Fillings
Step 4
step4:Layer Sandwich Fillings
5

Assemble Closed Sandwiches

Place the remaining 4 buttered bread slices on top of each filled stack, with the buttered side facing outward to form closed sandwiches. Press down gently on the top of each sandwich with the palm of your hand to compact fillings slightly, which prevents shifting during transfer to the press. Brush any stray arugula leaves or bread crumbs into a small loose pile on the edge of the board.
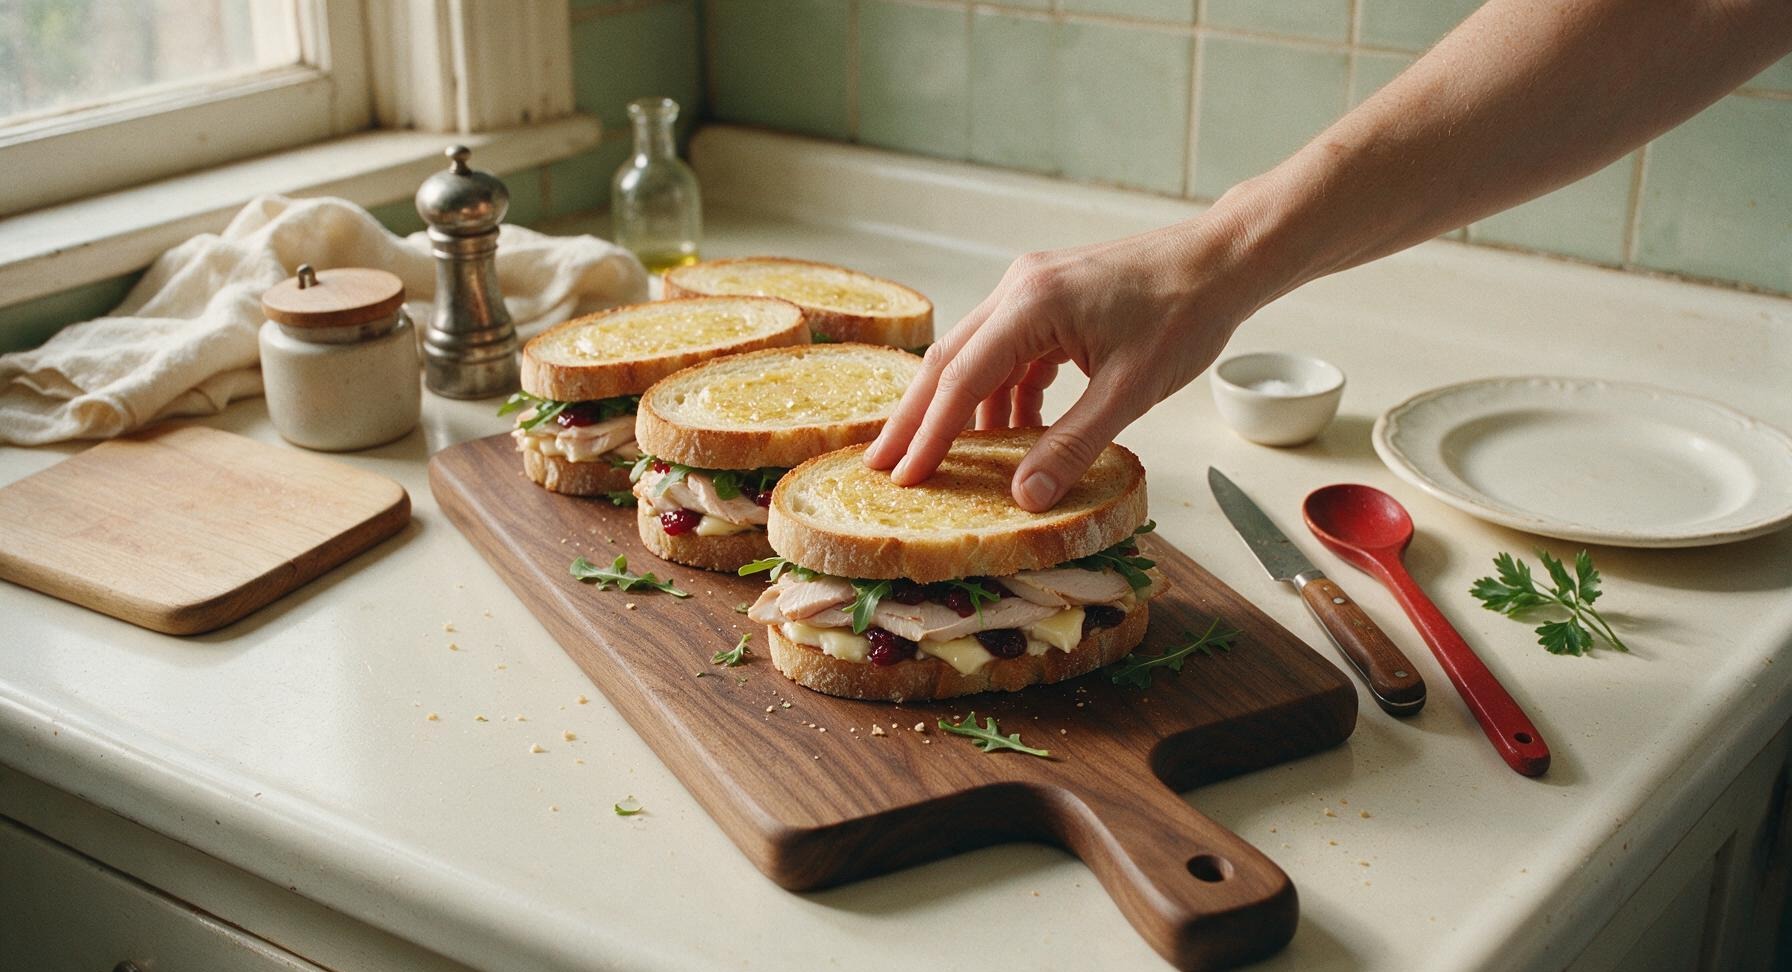
Step 5
step5:Assemble Closed Sandwiches
6

Press Paninis Until Crisp

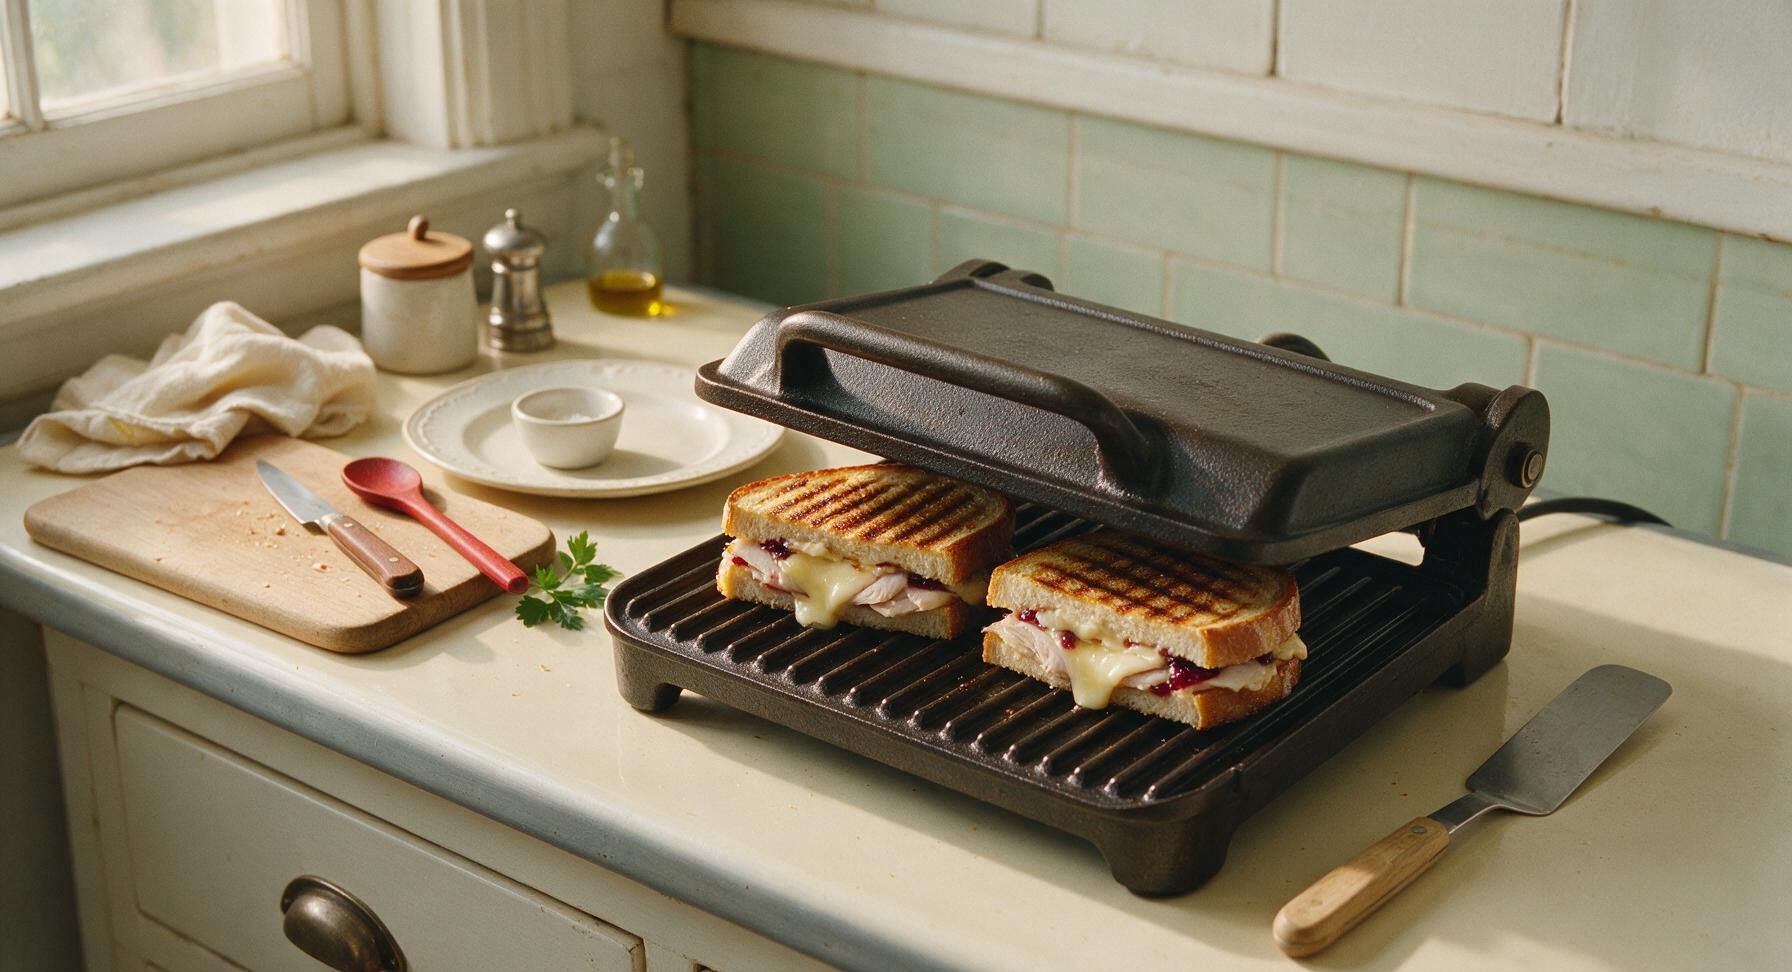
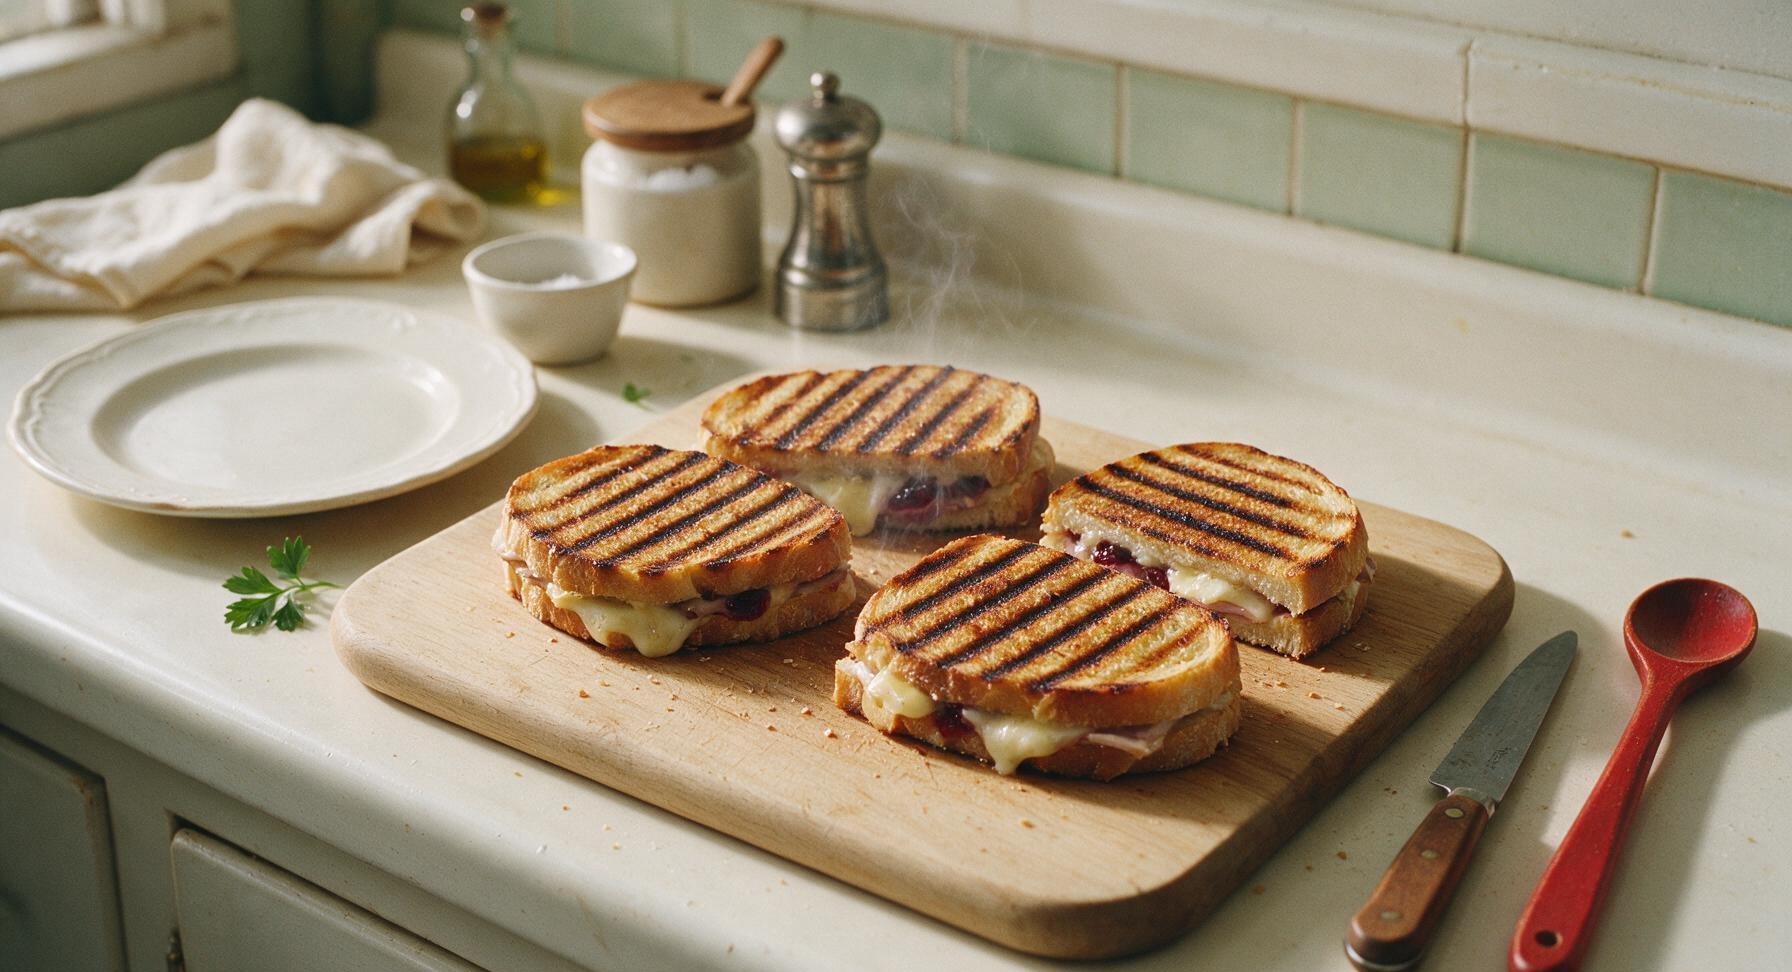
Use the offset spatula to transfer 2 sandwiches at a time to the preheated panini press. Close the lid, applying light even pressure, and cook for 3-4 minutes per batch, until the bread is deep golden brown with distinct dark grill marks, and brie is visibly melted and oozing slightly from the sandwich edges. Transfer cooked paninis back to a clean section of the cutting board, then repeat with the remaining 2 sandwiches.
Step 6
step6:Press Paninis Until Crisp
Step 6
step6:Press Paninis Until Crisp
7

Rest Paninis Briefly

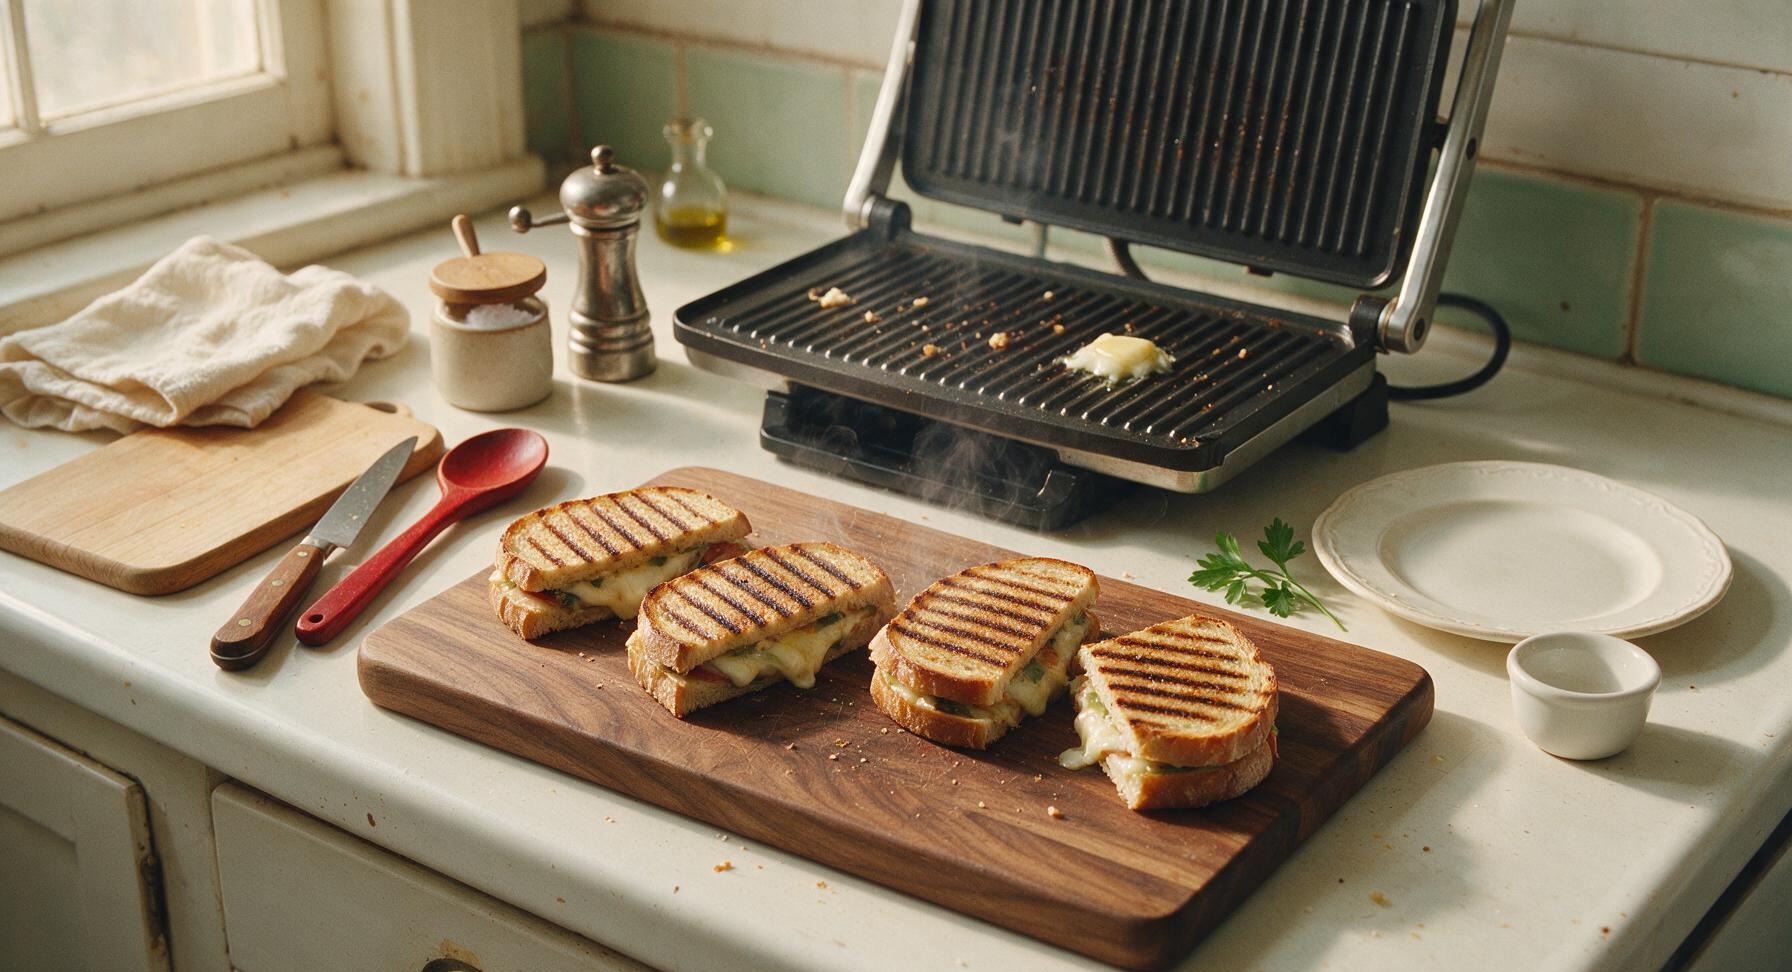
Let all cooked paninis rest for 2 full minutes on the cutting board before slicing. This short rest allows melted cheese to set slightly so it does not run out when cut, and lets trapped steam escape so the crispy crust stays firm instead of turning soggy. Do not stack paninis while resting, as this will trap steam against the bread.
Step 7
step7:Rest Paninis Briefly
8

Slice and Plate Paninis

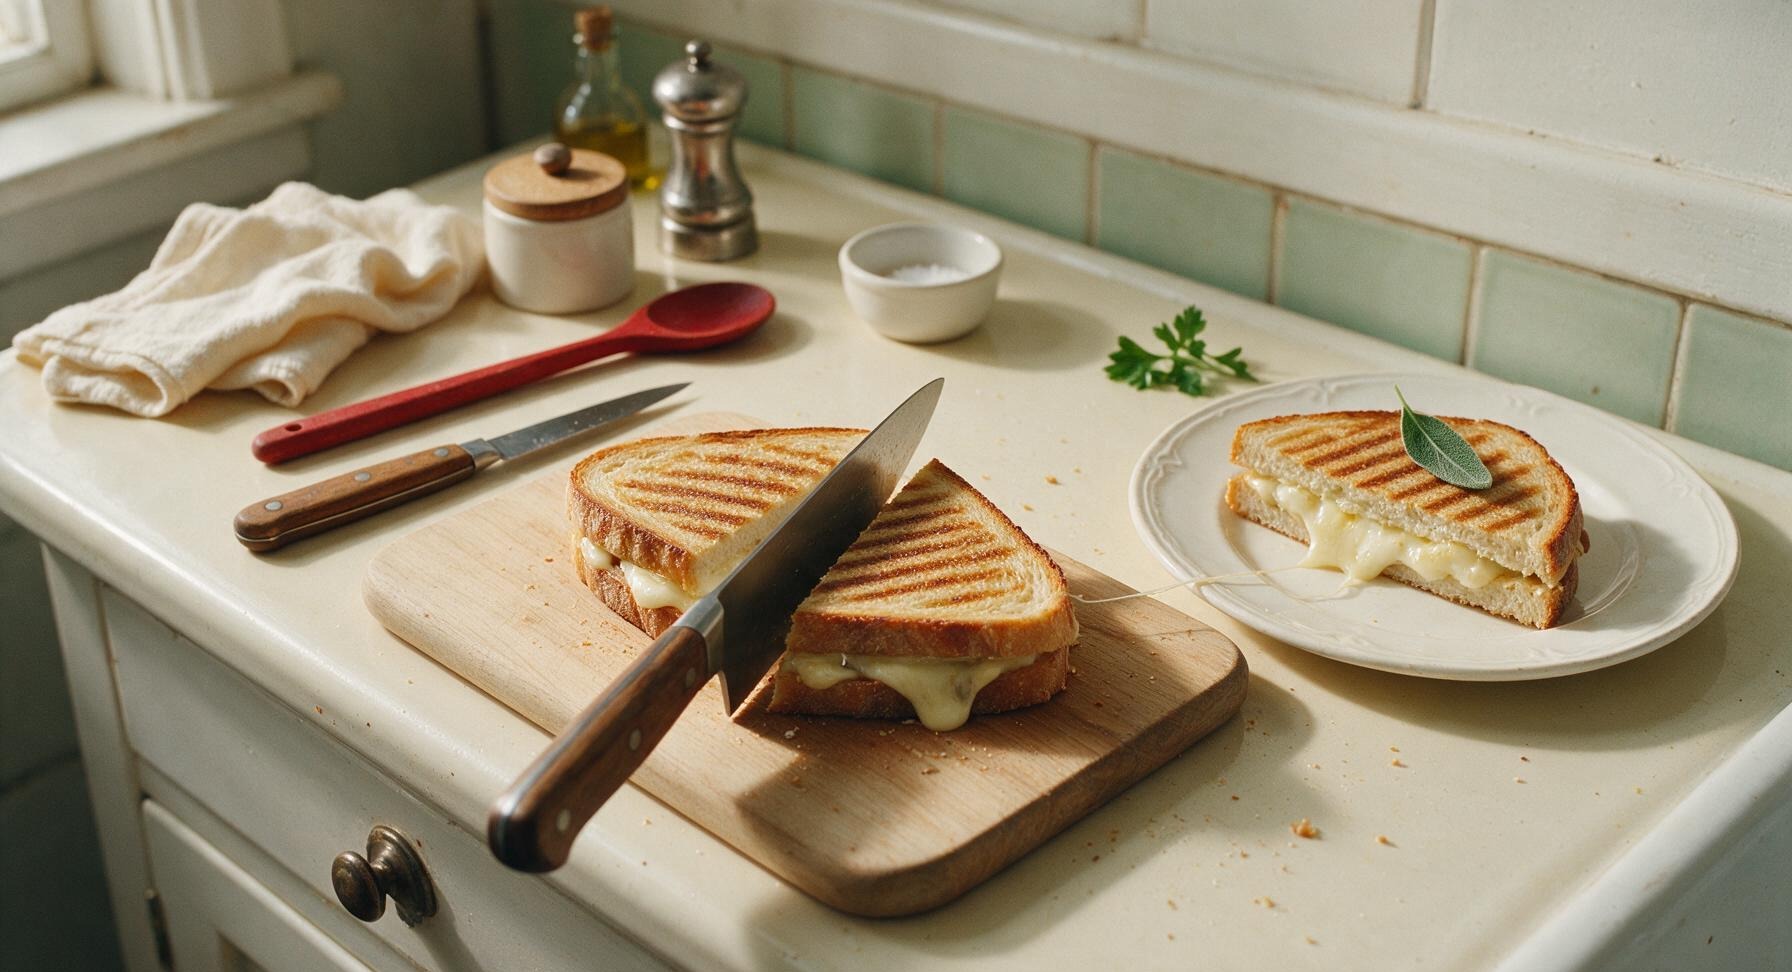
Use the chef knife to cut each rested panini diagonally across the middle into two equal triangular halves. Transfer two halves to the matte cream ceramic dinner plate, arranging them to show the layered cross-section. Garnish with a single fresh sage leaf, and serve immediately while warm and crispy.
Step 8
step8:Slice and Plate Paninis

Tips

1.Butter bread all the way to the crust edges: skimping on edge coverage leaves dry, pale, un-crisped spots on the panini crust, and creates gaps where steam can seep in and make bread soggy. Even, thin butter coverage creates a uniform golden, crunchy exterior every time.
2.Don’t overstuff your sandwiches: fillings piled higher than 2cm will squeeze out the sides when you close the press lid, leaving burnt cheese on your press and sparse, dry bites in the center of your sandwich. Thin, even layers press evenly and stay contained.
3.Skip the urge to press down hard on the panini lid while cooking: heavy pressure squeezes out all the melted cheese and compresses the bread into a dense, hard cracker instead of a light, crispy crust. Light, even pressure from the lid’s own weight is all you need for perfect grill marks.


✨ You May Also Like

Lunch
🍜 United States

Creamy, salty, tangy nostalgic Midwestern sandwich pairing rich peanut butter with crisp briny dill pickles for a fast, satisfying no-cook meal.

⏱️ 5 minutesLunch ★ 4.6
Lunch
🍜 United States

Crispy, melty pressed sandwich layered with savory roast pork, ham, Swiss cheese, pickles, and tangy mustard: a beloved Cuban-American comfort classic.

⏱️ 25 minuteLunch ★ 4.9
Lunch
🍜 United States

Hearty, briny New Orleans pressed sandwich stacked with cured Italian meats, provolone, and zesty olive salad, served cold for bold, portable flavor.

⏱️ 1 hour 20Lunch ★ 4.7
Lunch
🍜 United States

A tangy, creamy Southern American staple, this no-cook cheesy sandwich is packed with sharp cheddar and sweet pimentos for a satisfying, portable bite.

⏱️ 1 hour 15Lunch ★ 4.8
Lunch
🍜 United States

Crispy Cajun-spiced fried shrimp piled on crusty French bread with tangy remoulade and fresh toppings, the iconic Louisiana street food sandwich.

⏱️ 35 minuteLunch ★ 4.4
Lunch
🍜 United States

Stacked, savory deli-style corned beef sandwich with melted Swiss, tangy mustard, and crisp griddled rye— a fast, hearty, satisfying classic.

⏱️ 15 minuteLunch ★ 4.9

turkey panini ideas:Frequently Asked Questions

1.Can I use deli turkey instead of homemade roasted turkey breast? ▾
Absolutely! Opt for low-sodium, 1/8-inch thick sliced roasted deli turkey if you don’t have leftover homemade roasted breast on hand. Skip ultra-thin shaved turkey, though—it gets squished too easily during pressing and won’t deliver that satisfying, hearty bite in every serving.
2.Do I have to leave the brie rind on, or can I cut it off? ▾
You can absolutely trim the rind if you prefer brie’s ultra-creamy, mild interior without the slightly earthy, chewy rind texture. That said, leaving the rind on helps the brie hold its shape as it melts, so it won’t ooze completely out of the panini while pressing, cutting down on messy grill cleanup.
3.I don’t own a panini press—can I still make this on my stovetop? ▾
Totally! Heat a heavy cast iron skillet over medium-low, set your assembled sandwich in the pan, and place a second heavy skillet (or foil-wrapped brick) on top to weigh it down. Cook 3 to 4 minutes per side until the bread is deep golden and the brie is fully melted through the center.
4.Can I swap the sourdough for a different type of bread? ▾
You can, but sourdough’s tangy, sturdy crumb is ideal for standing up to creamy brie and tart chutney without getting soggy. If you swap it, pick a thick, crusty loaf like ciabatta, rustic country white, or whole grain. Skip soft, thin sandwich bread, which turns mushy under pressure and leaks fillings.
5.How do I keep the panini from getting soggy from the cranberry chutney? ▾
Great question! Spread a thin, even layer of chutney across the inner side of both bread slices, and pat your arugula completely dry if you washed it right before assembling. Nestle brie slices as a barrier between the chutney and bread to lock moisture out so the crust stays perfectly crisp.
6.Can I use canned jellied cranberry sauce instead of cranberry chutney? ▾
You absolutely can, though I recommend mashing it first with a pinch of orange zest and a dash of black pepper to mimic chutney’s bright, layered flavor. Spread it extra thin to avoid sogginess, since canned jellied sauce has higher moisture content than thick, slow-cooked chutney.
7.Can I make these paninis ahead of time for weekly meal prep? ▾
I don’t recommend assembling and pressing them fully ahead, as the bread will turn soggy as it sits in the fridge. You can pre-slice all your ingredients and store them separately in airtight containers for up to 3 days, then assemble and press in 5 minutes right when you’re ready to eat for best texture.
8.Why do you use arugula instead of a milder green like spinach? ▾
Arugula’s bright, peppery bite cuts through rich, creamy brie and sweet-tart cranberry chutney to balance every bite, so the sandwich never feels heavy. If you don’t have arugula, swap it for shredded baby kale or watercress; plain spinach tastes too mild and wilts very quickly under press heat.
9.How do I keep brie from oozing all over my panini press while cooking? ▾
First, don’t overstuff the sandwich—3 to 4 thin slices of brie per panini is plenty. Make sure your press is fully preheated before adding the sandwich, and don’t slam the lid down extremely hard right away; gentle, even pressure lets cheese melt slowly instead of squeezing out the sides mid-cook.
10.Can I add extra fillings without ruining the panini’s crispy texture? ▾
Stick to small amounts of low-moisture add-ins to keep that perfect crisp! Thin slices of crisp Honeycrisp apple, a sprinkle of candied pecans, a thin smear of Dijon, or a few strips of crispy bacon all work beautifully. Skip wet fillings like fresh tomato unless you pat them extremely dry first.
11.What temperature should I set my panini press to for the best results? ▾
Set your press to medium-high, around 375°F, for the ideal balance of crispy bread and fully melted cheese. If it’s too hot, the sourdough will burn before the brie melts in the center; if it’s too low, you’ll end up with pale, soft bread and rubbery, under-melted cheese after a long cook.
12.Can I adapt this panini to be vegetarian? ▾
It’s so easy to adapt for a meat-free meal! Swap the roasted turkey for thin slices of roasted sweet potato, marinated baked tofu, or extra brie and a handful of toasted walnuts for hearty texture. Just make sure any veggie swaps are patted dry of excess moisture before adding to keep bread crisp.
13.What sides pair best with this panini for a full, balanced lunch? ▾
Keep sides light to complement the rich, cozy fillings! A simple side salad tossed in lemon vinaigrette, a cup of creamy butternut squash soup, a small serving of salted root vegetable chips, or a handful of briny pickled gherkins all pair beautifully. Skip heavy, creamy sides that make the meal feel overly filling.

Comments (7)

2 days ago

OMG this panini is a total game changer for my weeknight meal prep! I had leftover Thanksgiving turkey in the freezer and a random wheel of brie I picked up on sale, threw this together in literally 8 minutes like the recipe said and my whole family lost their minds. The crispy sourdough with the melty brie and tangy cranberry? *Chef’s kiss* Even my super picky 7 year old asked for a second half! Will be making this on repeat all fall.

yesterday

Wait did you use regular canned cranberry sauce or the whole berry kind? I’ve got both in my pantry and can’t decide which would hit better!

yesterday

So glad your family loved it, Molly! Both canned and homemade whole berry cranberry sauce work beautifully here—if you love extra texture, go for whole berry, but the smooth jellied kind melts into the brie so nicely too!

3 days ago

SO good! I brought these to our neighborhood potluck last weekend and they were gone in 10 minutes flat. I added a little sprinkle of arugula for a peppery kick and it paired perfectly with the sweet cranberry and creamy brie. Super easy to make even when you’re juggling a million things before a party. 10/10.

2 days ago

Love the arugula add-in, Sarah! That peppery bite cuts through the richness of the brie so well—we’ll have to note that as a fun variation in the recipe! So happy they were a potluck hit!

2 hours ago

Made this for a quick lunch while working from home today and wow, way better than the sad deli sandwich I usually throw together. Only note is I’d recommend pressing it a little longer if you like your bread extra crispy like I do, but otherwise it’s flawless. Will be adding this to my regular lunch rotation.

30 minutes ago

Wait, quick question before I make this tonight! I don’t own a panini press—will this still get that perfect crispy outside if I use a regular cast iron skillet and press it down with a heavy spatula? I’ve been drooling over this recipe since it popped up on my feed!

5 minutes ago

I did that exact thing last week! Just butter the outside of the bread real good, weigh the top down with a smaller pot filled with canned goods while it cooks, flip once, and it gets just as crispy as a panini press! No fancy equipment needed :)

just now

Great question, Liz! You absolutely don’t need a panini press for this recipe. Jess’s trick with a weighted pot works perfectly, just cook 3-4 minutes per side until the bread is golden and the brie is fully melted. Enjoy!

1 week ago

Made this for my partner’s birthday lunch today and they said it’s the best sandwich I’ve ever made. Used smoked turkey from the local deli instead of regular roasted and it added such a nice deep flavor. 10/10, no notes.

5 days ago

Oh the smoked turkey swap is genius! I’ve got a pound of that in my fridge from the weekend, I’m definitely trying that instead of regular turkey tomorrow for lunch. Thanks for the tip!

1 week ago

This is such a nice twist on the old turkey and cranberry sandwiches I make after Thanksgiving every year! My grandkids came over for a visit and I made these for a quick snack, they gobbled them right up. I did leave the brie out for 20 minutes before adding it so it melted extra smooth, would definitely recommend that trick!

5 days ago

What a fantastic tip about letting the brie come to room temp first, Carol! That cuts down on cook time a little and ensures every bite has that perfectly melty cheese, no cold clumps. So happy your grandkids enjoyed them—nothing beats an after-school snack that the whole crew loves!

2 weeks ago

Meal prepped four of these on Sunday for work lunches this week and they held up way better than I thought they would! I stored the cranberry sauce separate so the bread didn’t get soggy, then toasted it up in the office toaster oven when I was ready to eat. Absolute lifesaver for busy work days when I don’t want to spend $15 on a sad takeout sandwich downtown. Will be a meal prep staple for me from now on!



