
types of chorizo
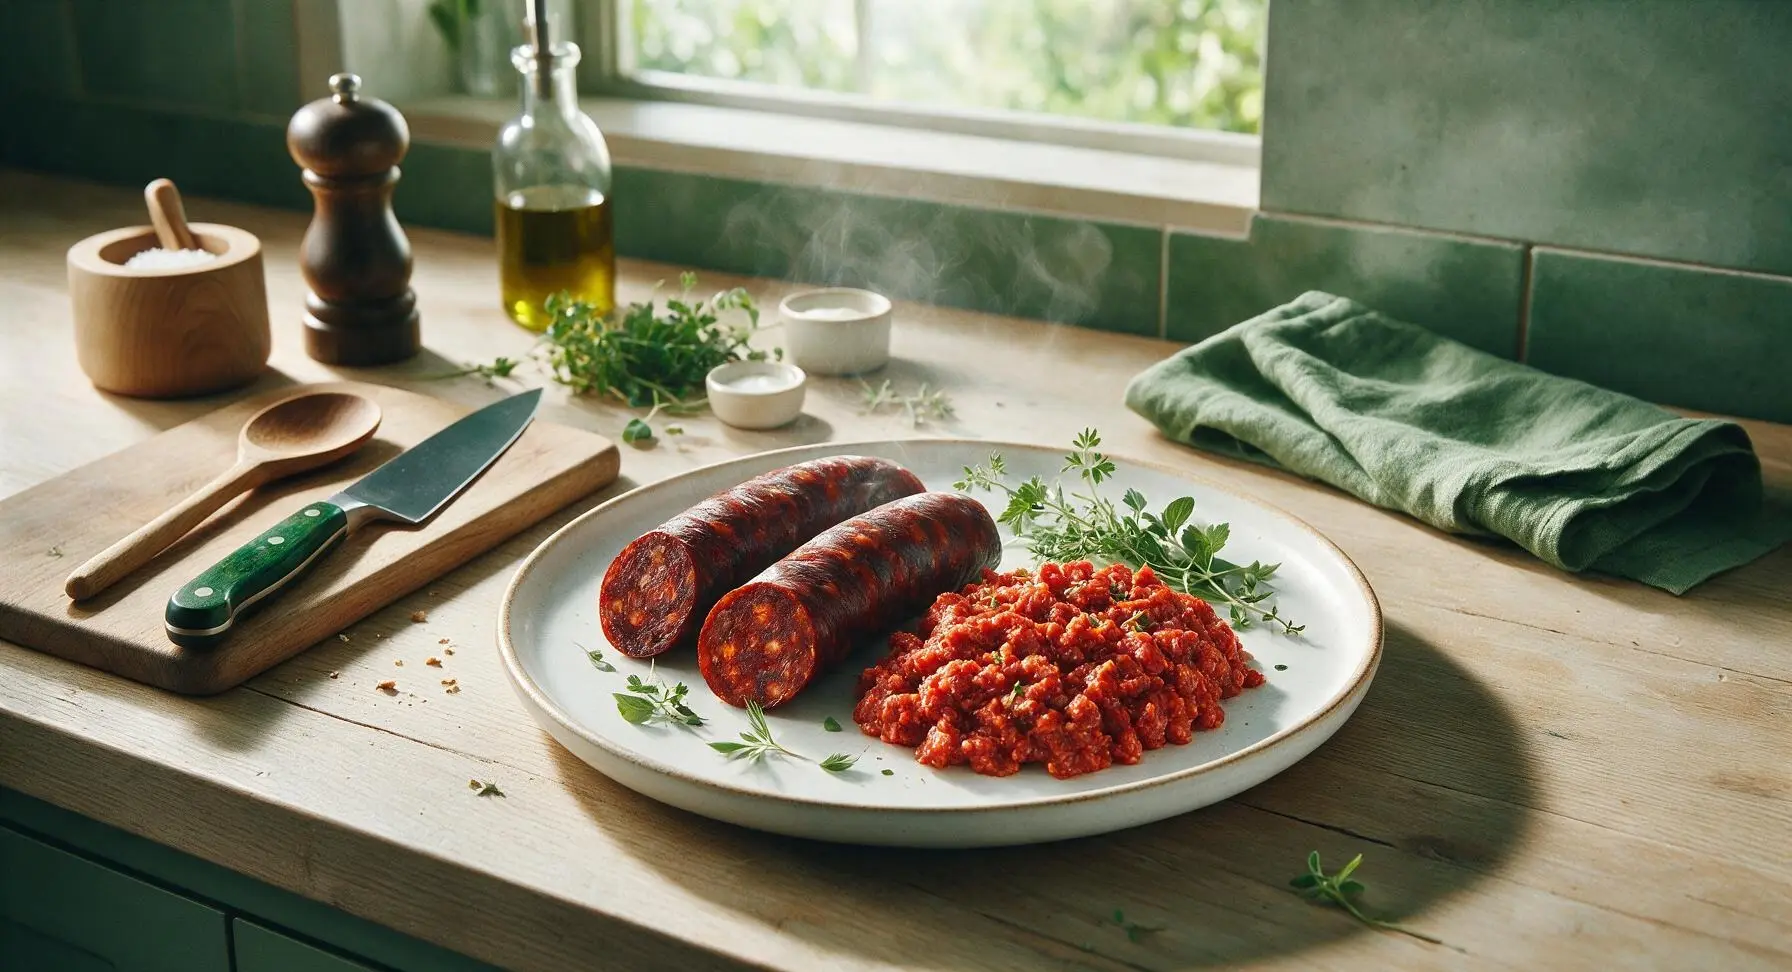
intro
Learn to identify, prep, and cook the two most iconic global chorizo styles—smoky cured Spanish chorizo and bright spiced fresh Mexican chorizo—for a simple, flavor-packed appetizer spread.
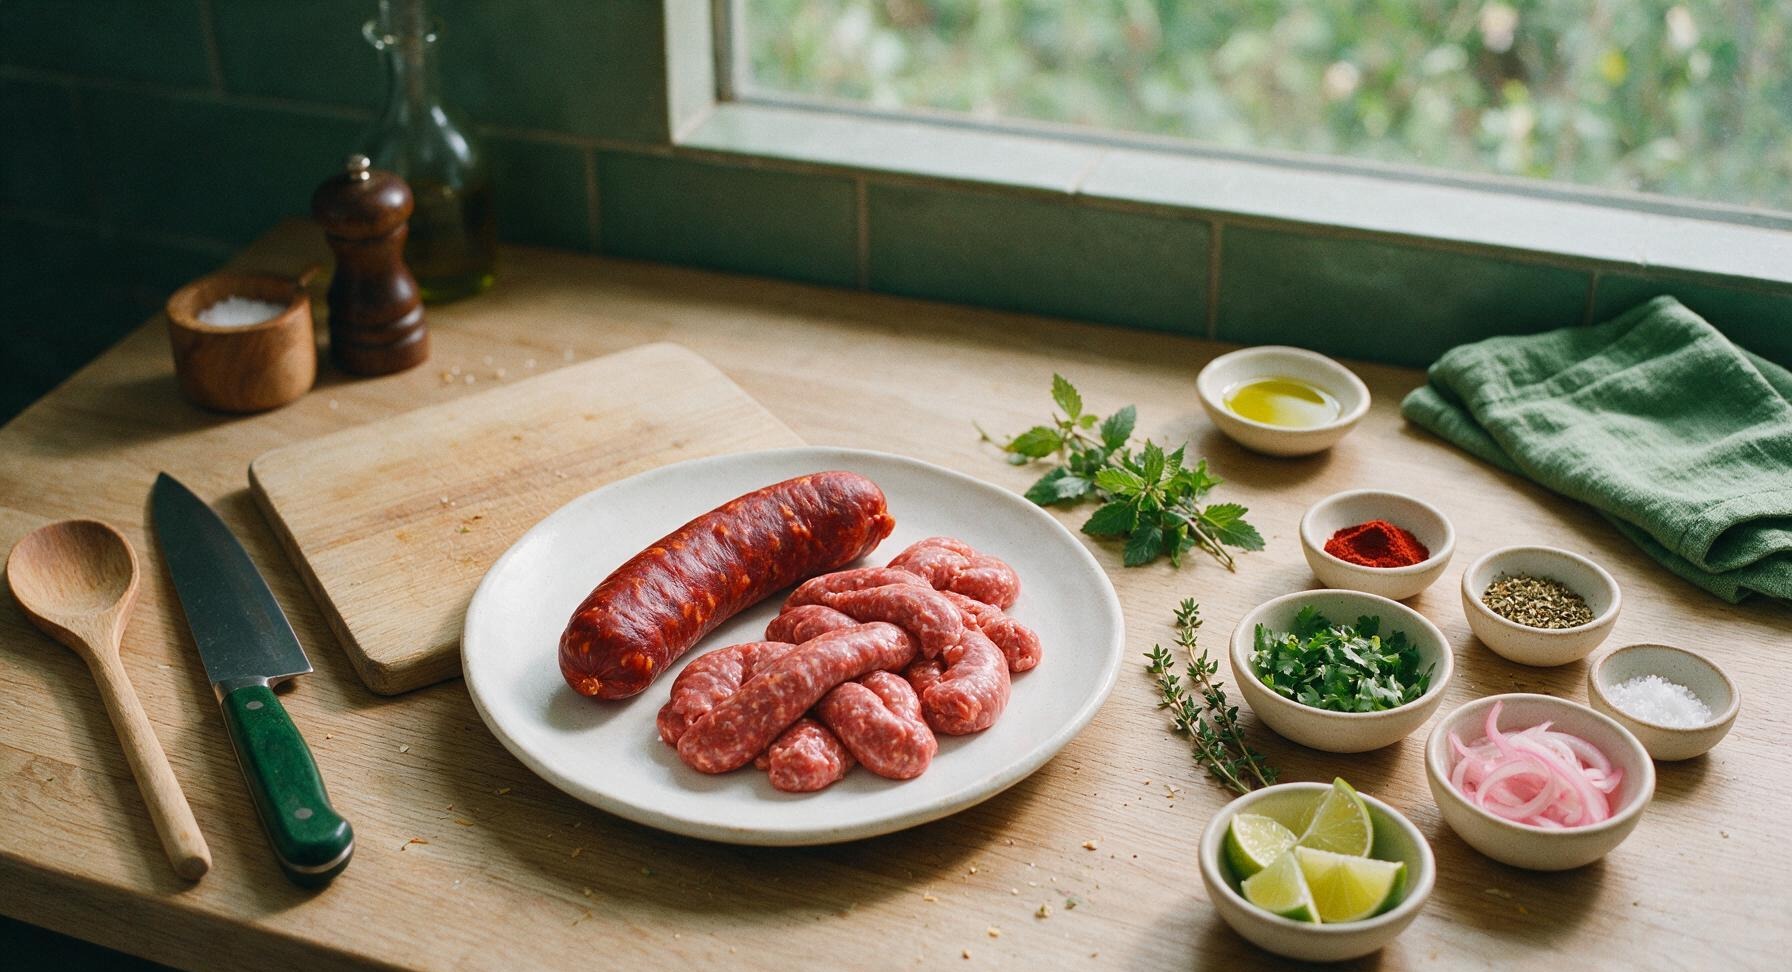
Ingredients
Steps
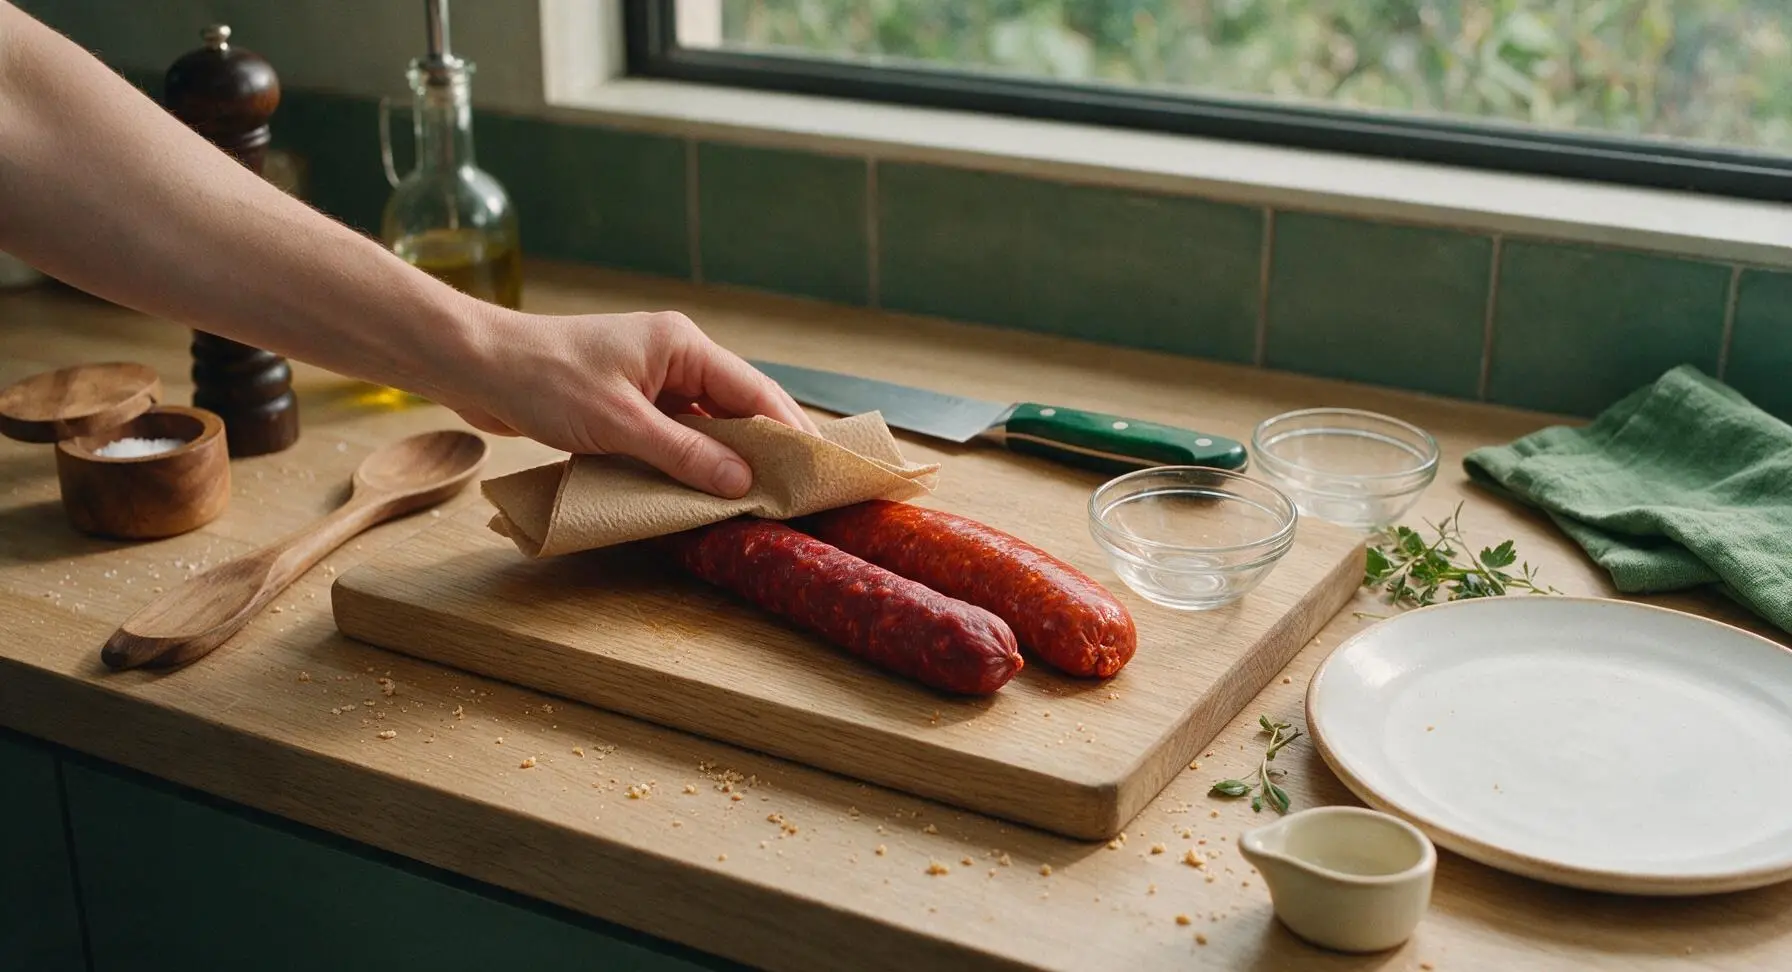
Pat Chorizo Links Dry
Start by noting key visual differences between the two chorizo varieties: cured Spanish chorizo is firm, dry, deep ruby red, and fully cooked (safe to eat without heating), while fresh Mexican chorizo is soft, pliable, bright rust red, and raw, requiring cooking to an internal temperature of 165°F for safe eating. Tear a small sheet from the natural brown paper towel roll and pat both links thoroughly dry to remove excess surface moisture, which ensures even searing later.
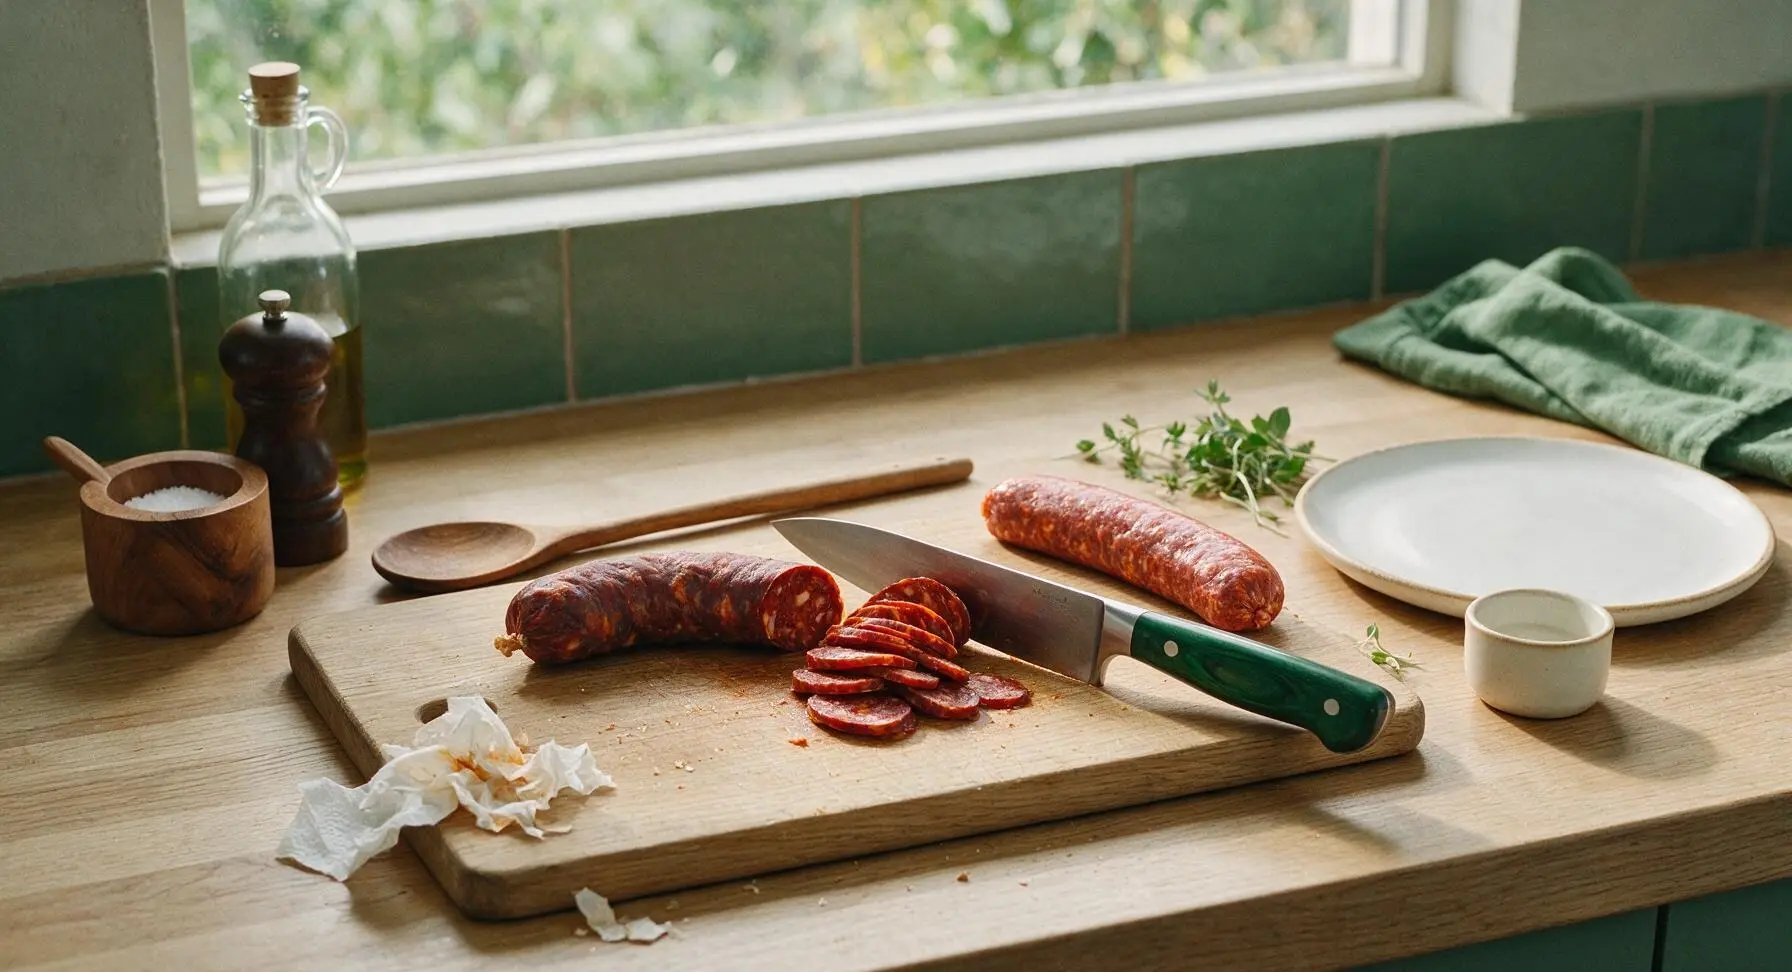
Slice Cured Spanish Chorizo
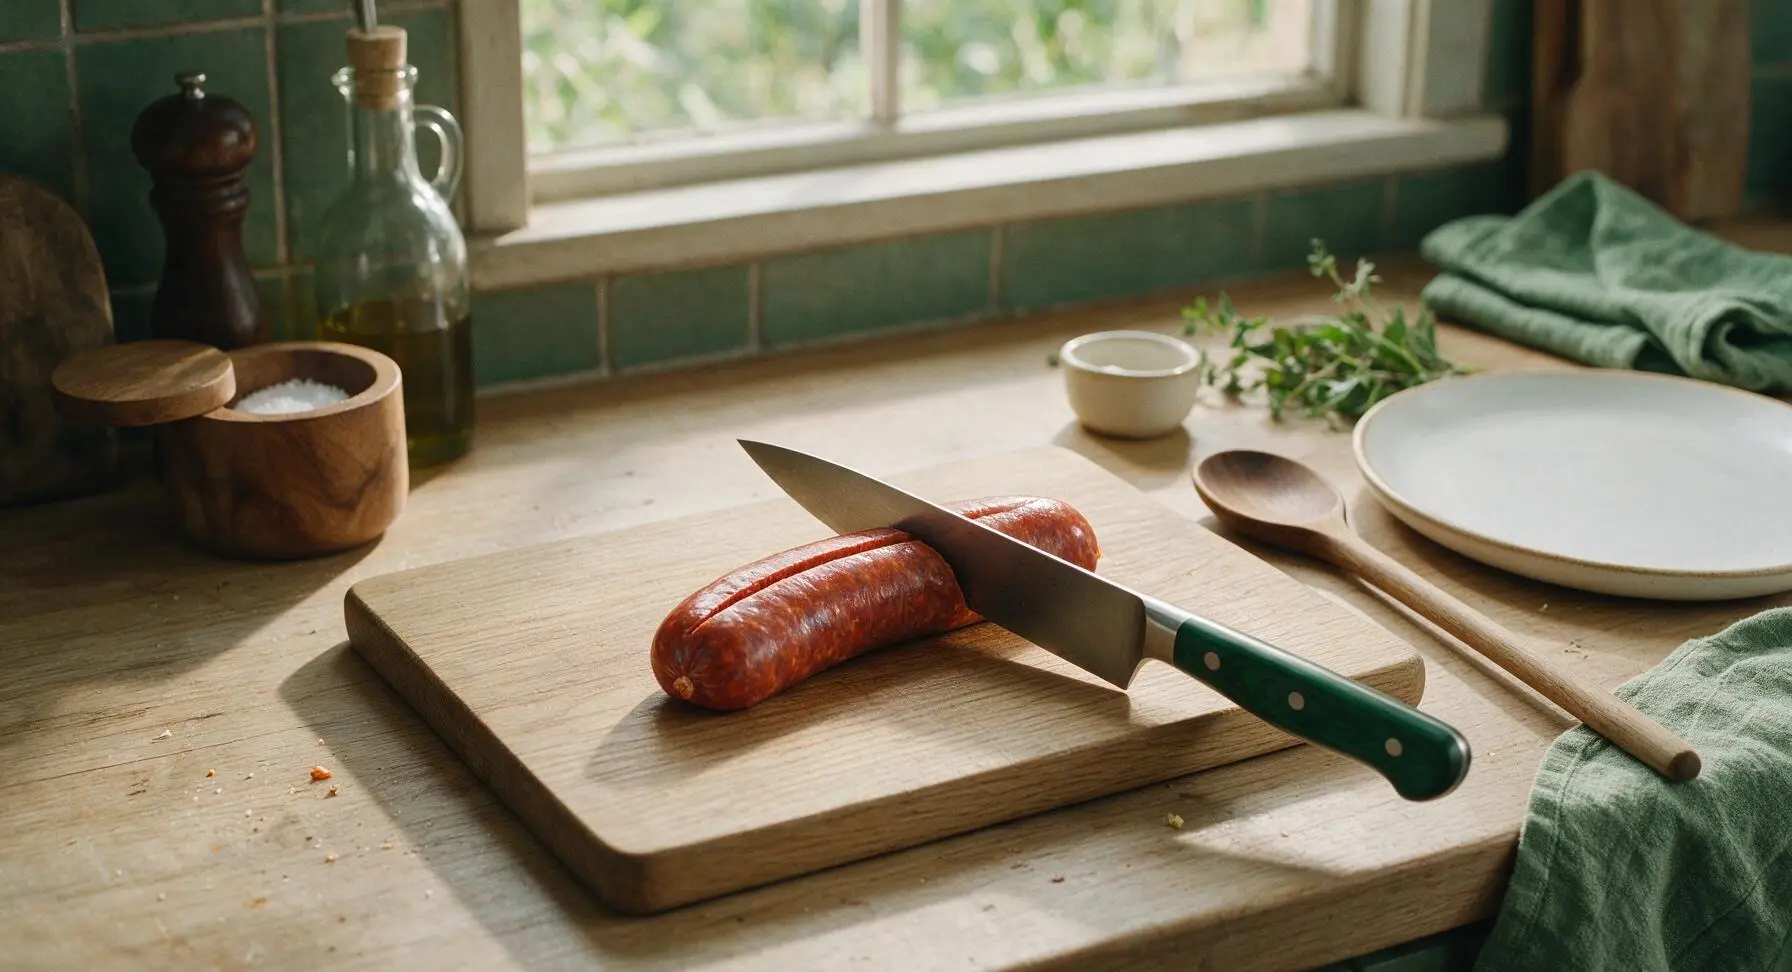
Set the fresh Mexican chorizo link to the side of the cutting board. Place the cured Spanish chorizo link centered on the board, and use the chef knife to cut it on a slight bias into uniform 1/4-inch thick slices. Apply even, gentle pressure to avoid crushing the dense, marbled sausage as you cut. Transfer the cut slices to one of the clear glass prep bowls, and set aside. You will notice a rich, smoky paprika aroma as you slice.
Prep Fresh Chorizo Links
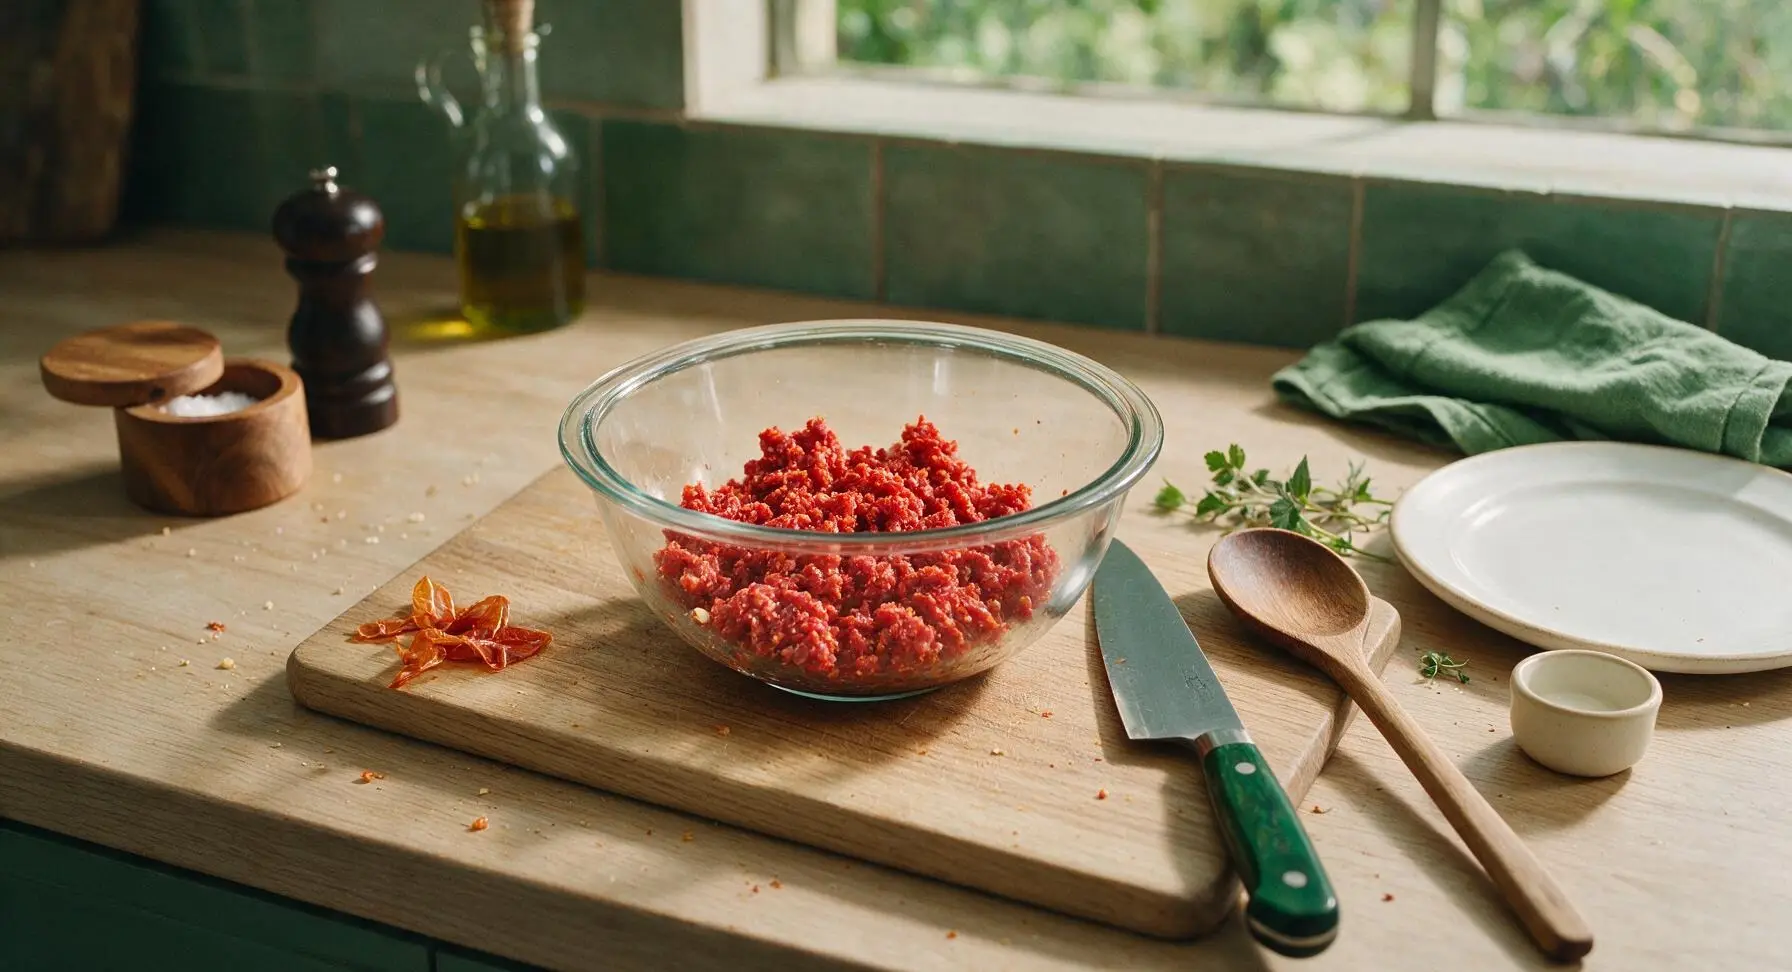
Place the fresh Mexican chorizo links on the cutting board. Run the sharp tip of the chef knife lengthwise down each link to make a shallow slit through the thin natural casing, then peel the casing away completely and discard the scraps. Crumble the soft, raw chorizo meat loosely with your fingers into a second clear glass prep bowl; avoid packing the meat tightly, as this will prevent even browning during cooking.
Preheat Carbon Steel Skillet
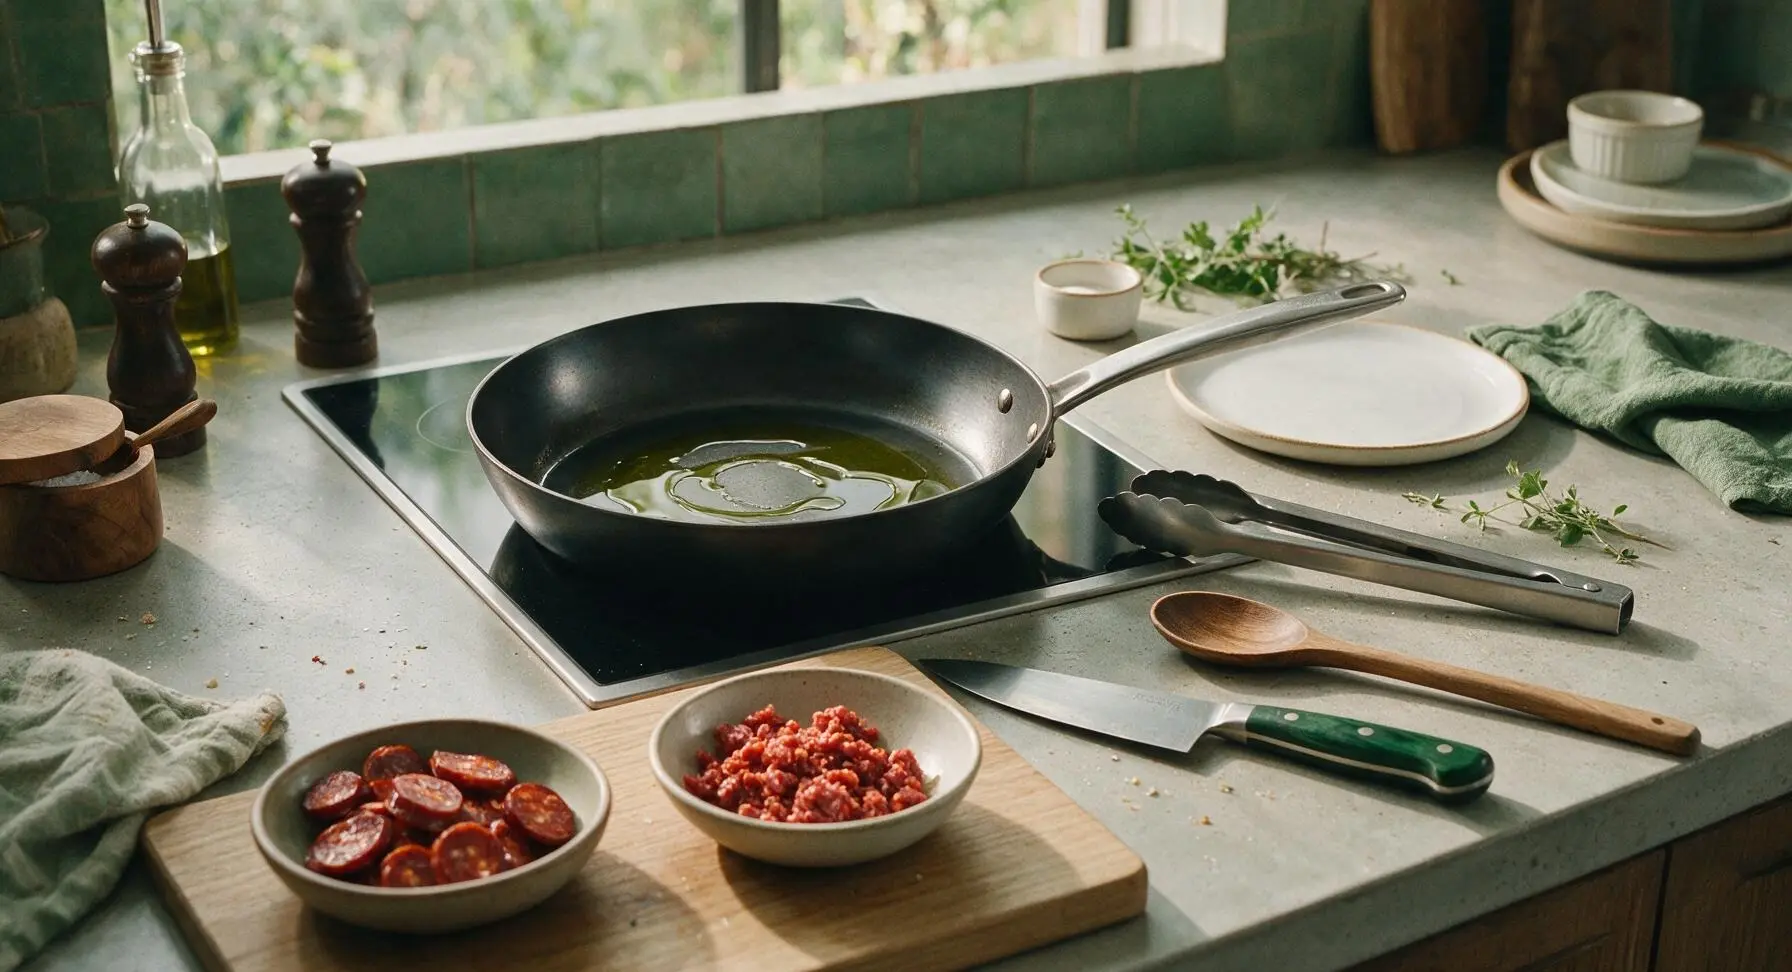
Retrieve the 10-inch matte black carbon steel skillet from lower storage and place it centered on the flush-mounted induction stovetop set into the back of the counter. Add 1 teaspoon of extra-virgin olive oil to the skillet, then set heat to medium. Let the skillet preheat for 3 minutes, until the oil shimmers across the pan surface but does not release smoke. Set the brushed stainless steel tongs on the counter edge immediately to the right of the stovetop for easy access.
Sear Spanish Chorizo Slices
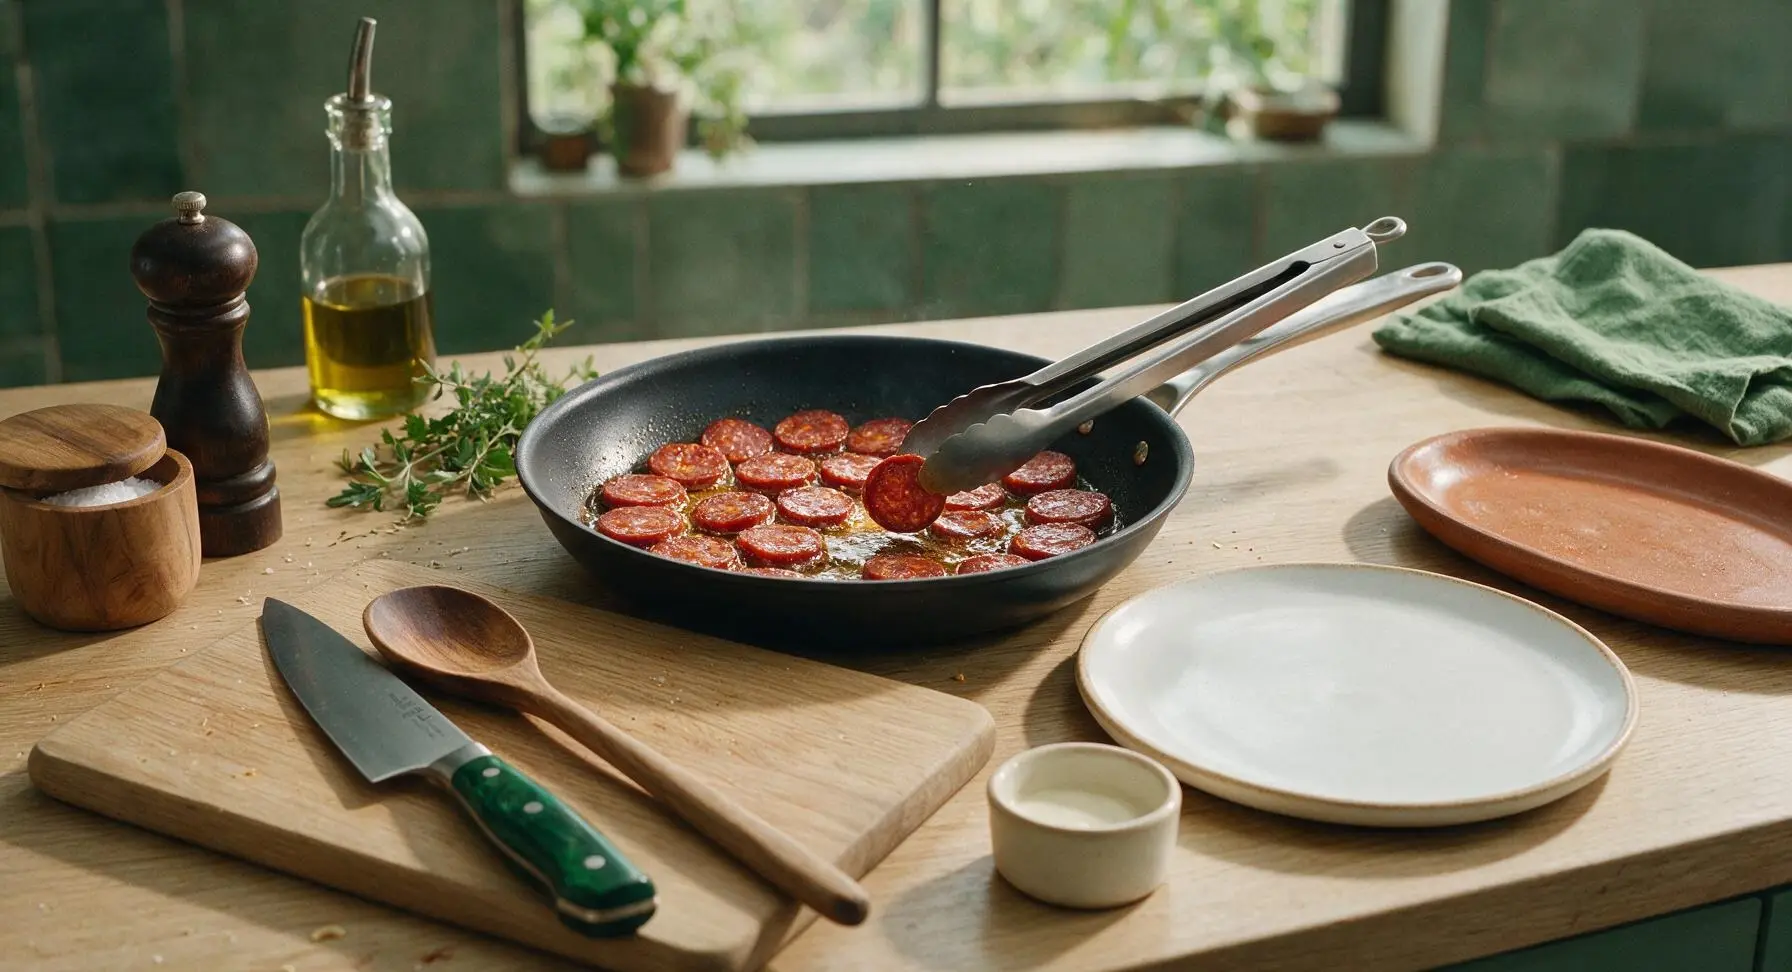
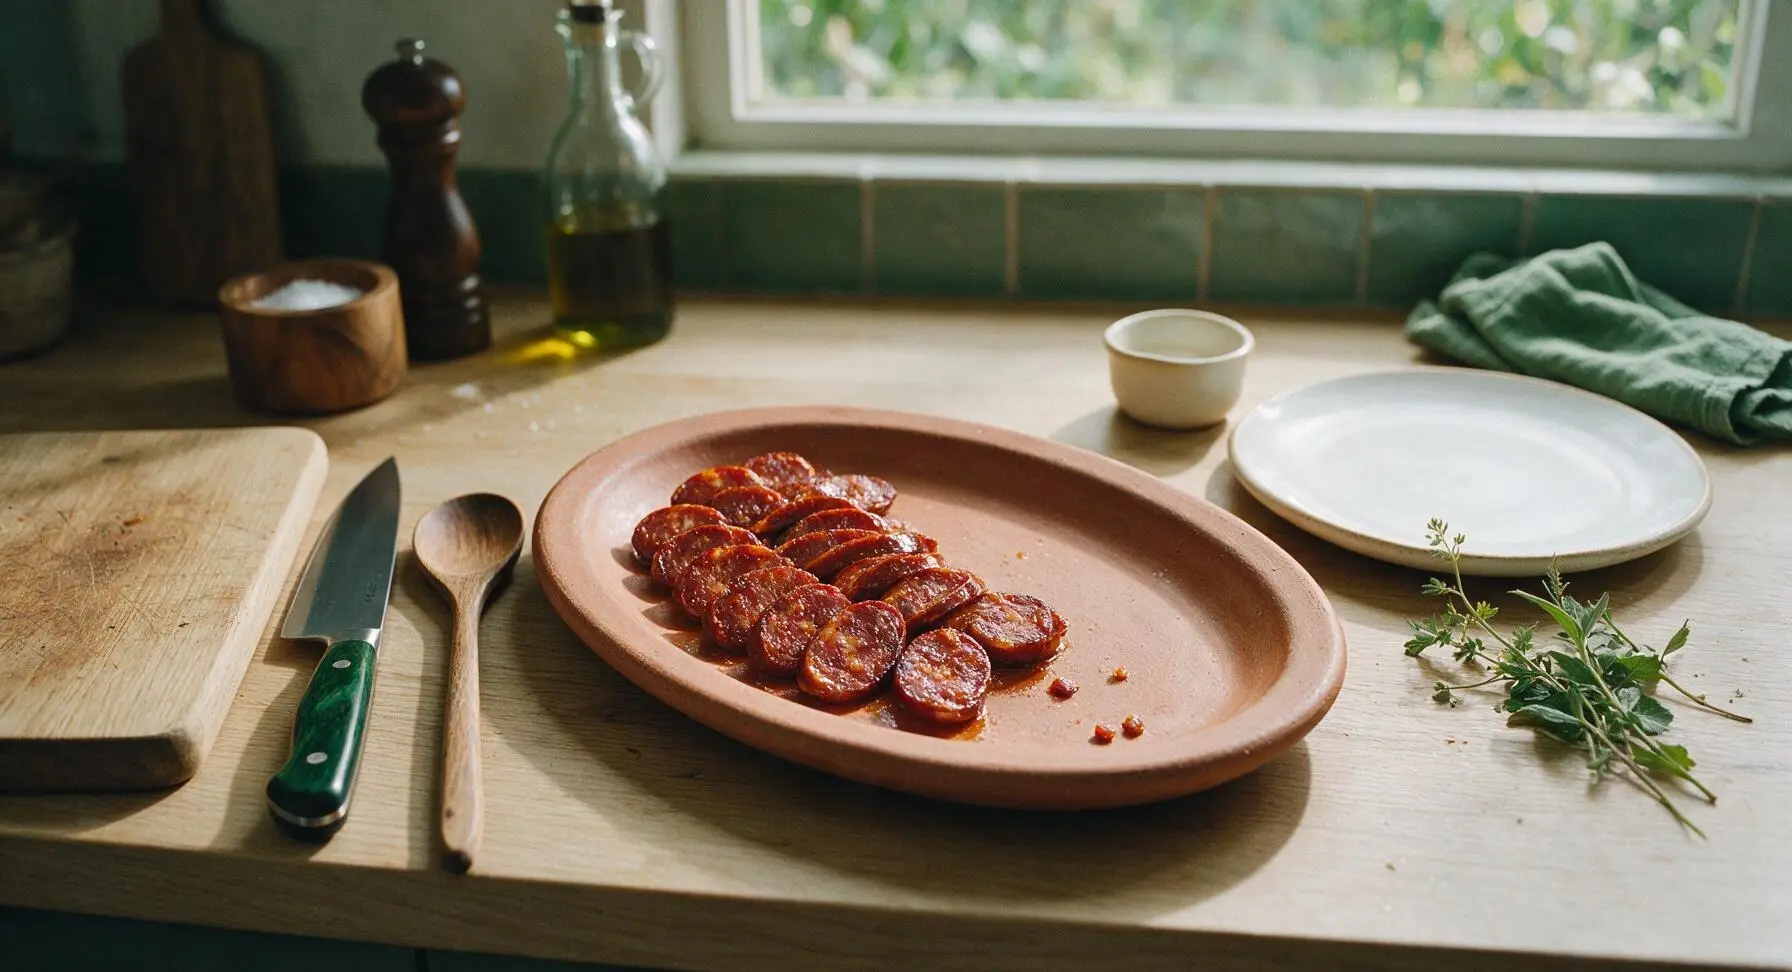
Use the stainless steel tongs to arrange the sliced Spanish chorizo in a single, even layer in the preheated skillet, leaving small gaps between slices for air flow. Cook for 45 seconds per side, until the slice edges turn golden and slightly crisp, and the marbled white fat renders and bubbles gently around the meat. Do not overcook—this chorizo is already cured, so you are only crisping the texture and amplifying its smoky flavor. Transfer seared slices to the left half of the oval terracotta serving platter, moved from its stacked position at the counter’s right edge.
Brown Fresh Chorizo Crumble
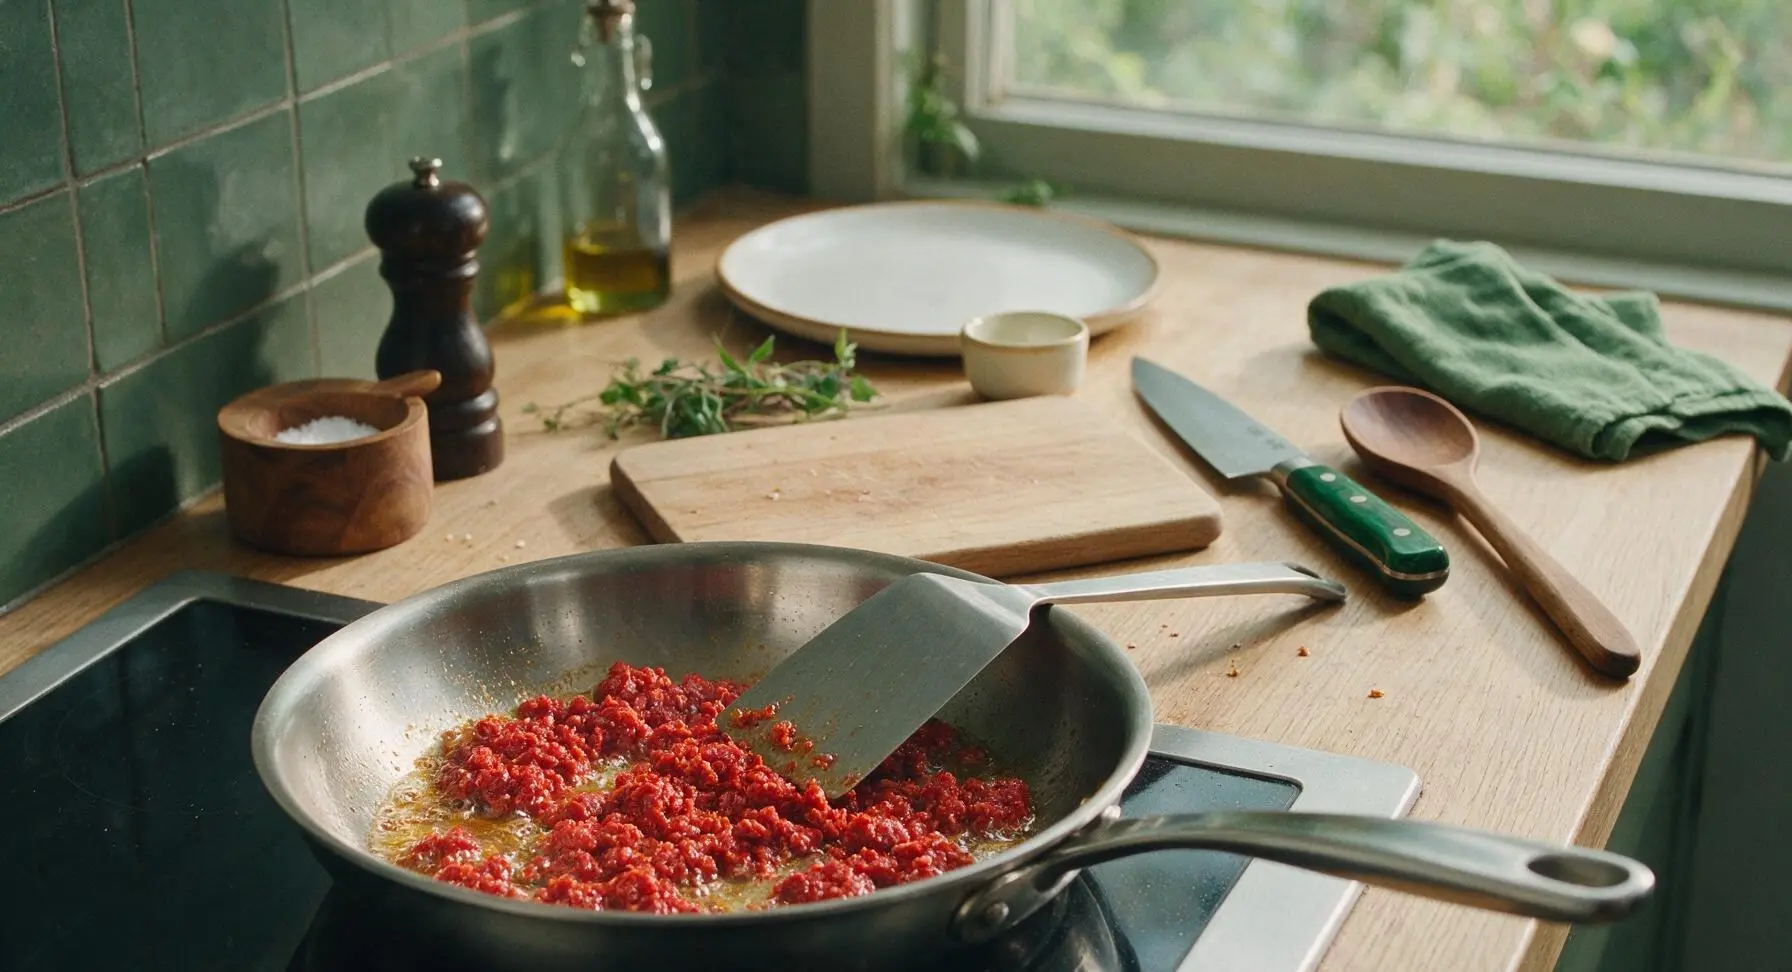
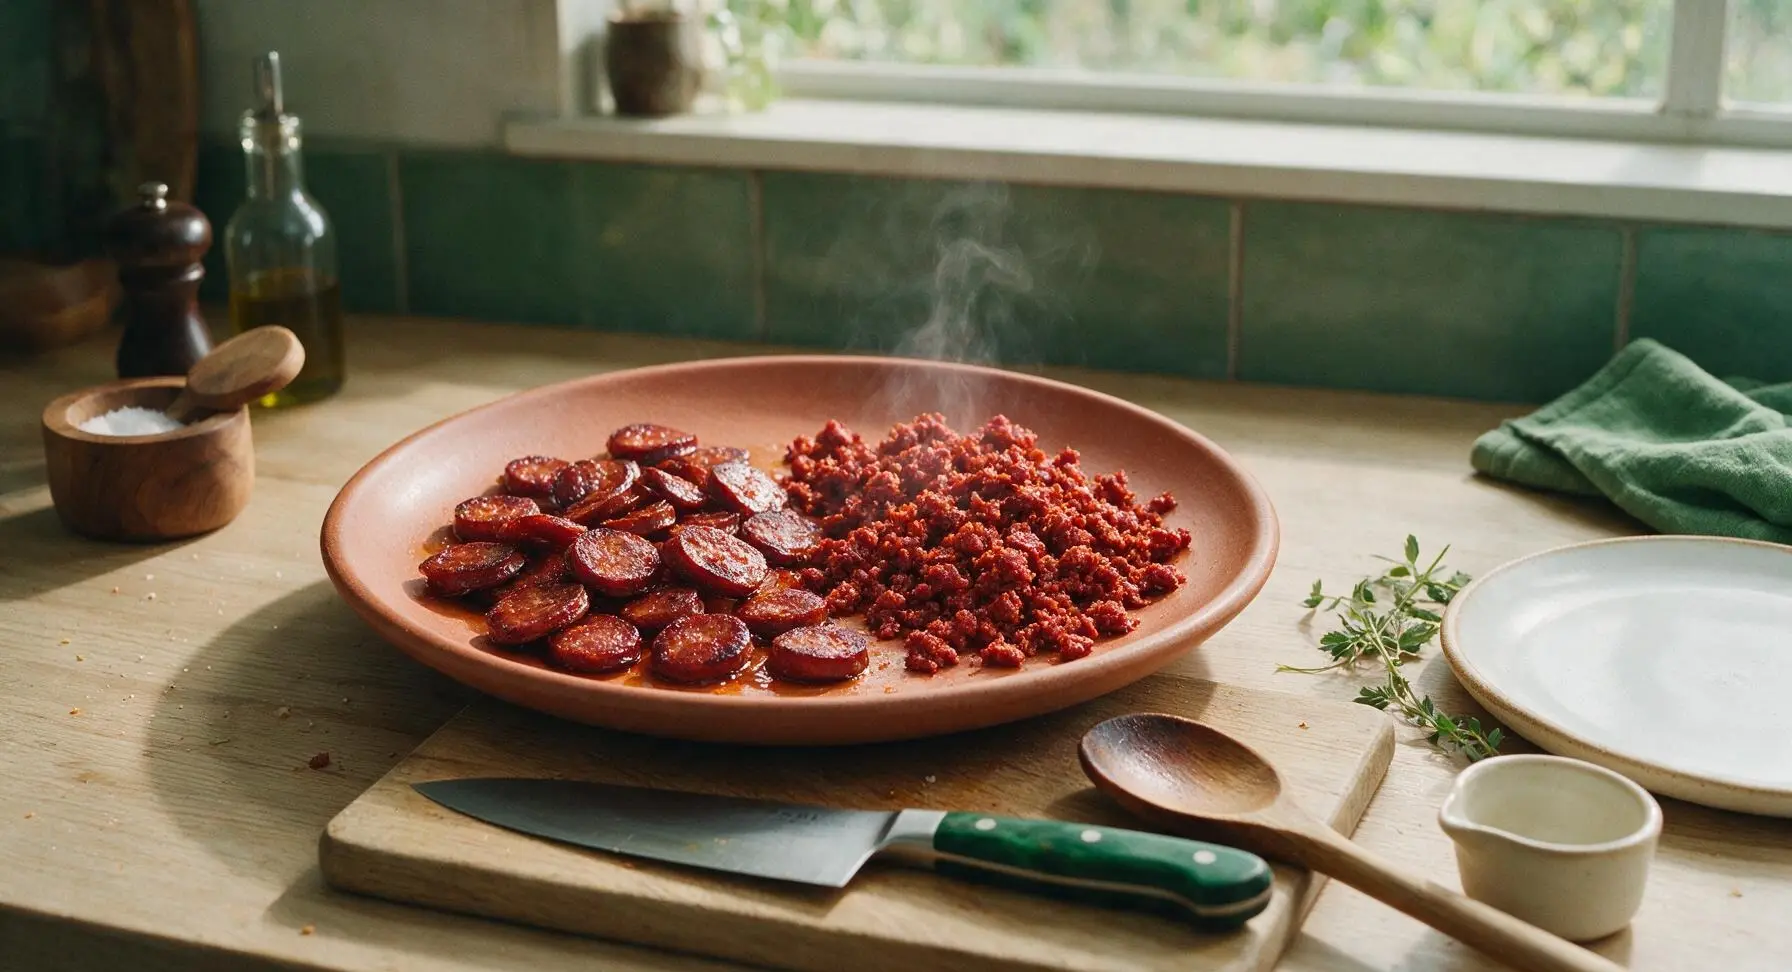
Leave the rendered chorizo fat from the Spanish slices in the skillet, and reduce heat slightly to medium-low. Add the crumbled fresh Mexican chorizo to the skillet, using the stainless steel spatula to break the meat into small, pea-sized crumbles as it cooks. Cook for 8-10 minutes, stirring occasionally, until no pink meat remains (internal temperature reaches 165°F), the crumbles turn a deep rust red, and the edges turn slightly crisp. Use the slotted edge of the spatula to transfer cooked chorizo to the right half of the terracotta serving platter, leaving excess rendered fat in the skillet.
Garnish and Serve Warm
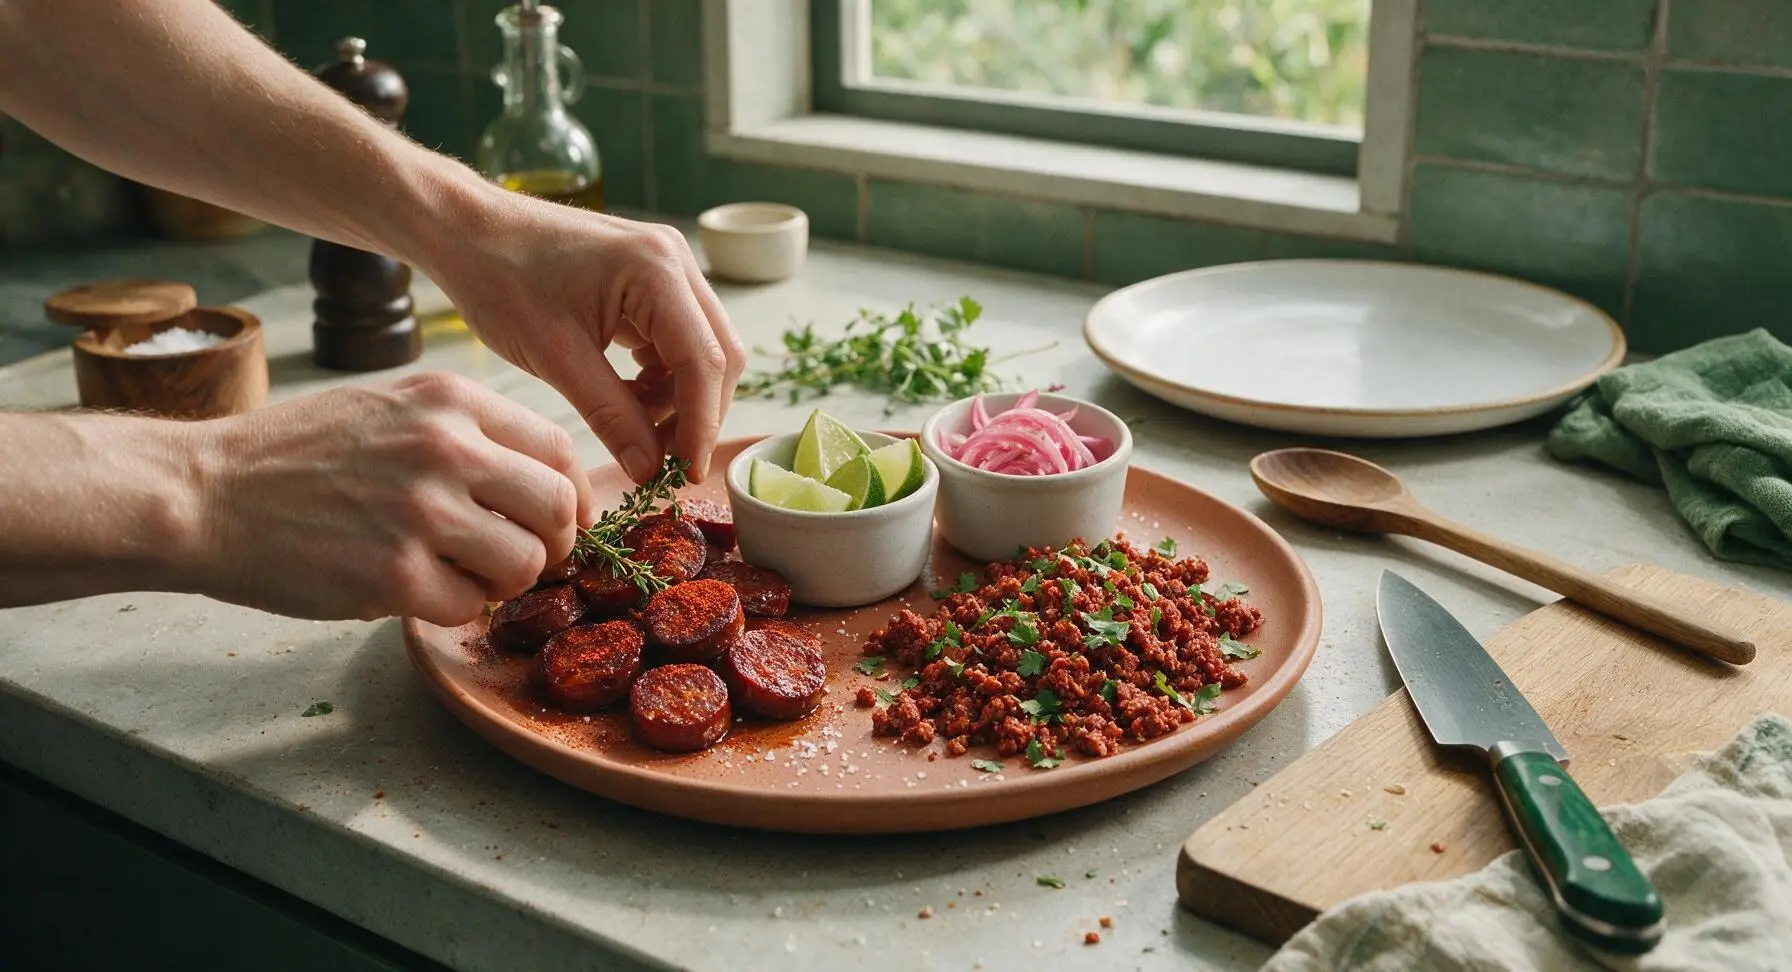
Sprinkle the seared Spanish chorizo with 1/2 teaspoon smoked paprika, tucking fresh thyme sprigs between the slices for aroma. Sprinkle the crumbled Mexican chorizo with 1/2 teaspoon dried Mexican oregano and a light scattering of chopped fresh cilantro. Move the two matte white ceramic ramekins from the stacked tableware to the center of the platter between the two chorizo portions, filling one with lime wedges and the other with pickled red onions. Finish with a light pinch of flaky sea salt across the entire platter, and serve immediately while warm.
Tips
2.Pat chorizo links extremely dry with paper towel before slicing and searing: excess surface moisture will cause slices to steam in the pan instead of developing a craveable crisp, golden edge on the rendered fat.
3.Save the rendered chorizo fat left in the skillet after cooking: it is packed with smoky, spicy flavor, and can be stored in a sealed glass jar in the fridge for up to 1 week to use for frying eggs, roasting potatoes, or sautéing greens.






OMG this guide is a total game changer! I’ve been buying pre-made chorizo from the grocery store for years and never realized how easy it is to make both the fresh Mexican-style and the cured Spanish-style at home! Made the fresh version for taco night last night and my kids loved it, they asked for seconds before I even sat down to eat. Do you think I can swap the pork for ground turkey for a lighter meal prep option?
Made the Spanish-style chorizo for my neighborhood potluck last weekend and people were hounding me for the recipe all night! Only reason I’m not giving 5 stars is I wish there was a note about how long it stays good in the fridge after cooking? I had a little leftover and wasn’t sure if it was still safe to eat 4 days later.
As someone who’s still super new to cooking from scratch, I was so nervous to try making chorizo for the first time but this guide was so easy to follow! The 15 minute cook time is no joke, I had the fresh variety done faster than my rice cooker finished making rice 😂 Quick question: can I use the Spanish-style in paella the same way I use store-bought?
Just whipped up the fresh chorizo to throw in my breakfast hash and HOLY COW it’s so much better than the crumbly stuff in the tube. The spice level is perfect, not too hot that my partner who hates spicy food couldn’t eat it, but enough zing to keep it interesting. 10/10 will be making this every Sunday from now on.
Prepped a double batch of both varieties before my camping trip last weekend and they were perfect for cooking over the campfire! Used the fresh one for camp breakfast tacos and sliced the cured one to add to campfire mac and cheese. Total hit with my whole friend group.
Loved both recipes! I added an extra teaspoon of cayenne to the fresh variety because I love super spicy food and it was chef’s kiss. My only tiny feedback is I wish the guide had a note about adjusting salt level if you’re using regular vs smoked paprika? I almost over-salted my first batch.
This is exactly the easy weeknight win I needed! 15 minute cook time is no lie, I got dinner on the table in under 25 minutes total last night with the fresh chorizo, roasted veggies, and corn tortillas. My 3 kids all cleared their plates which is basically a miracle in my house.
Made the cured chorizo variety to add to my holiday charcuterie board and it was the first thing gone! All my guests thought I bought it from a fancy specialty deli, I felt so fancy telling them I made it myself with this super simple guide.
Wait why did I ever spend so much money on fancy artisanal chorizo at the grocery store? This costs like a third of the price to make at home and tastes 10x better. Absolute staple for my meal prep rotation now.
Threw the fresh chorizo patties on the grill last weekend for burger night and they were insane. Topped with pepper jack and pickled red onions, best burger I’ve made all summer. 10/10.
So happy this guide clarifies that both varieties are naturally gluten free as long as you check your spice labels! I’ve been avoiding chorizo for years because so many store-bought versions have hidden gluten fillers. Made the fresh one for stuffed peppers last night and it was SO good.
Solid, straightforward guide to making both chorizo styles. I’ve been making my own for 40 years and this recipe is spot on for the classic flavor profiles. I did add a touch more garlic to the Spanish variety for my own taste, but that’s just personal preference.