
Vanilla Almond Milk (Homemade Plant-Based Milk)
intro
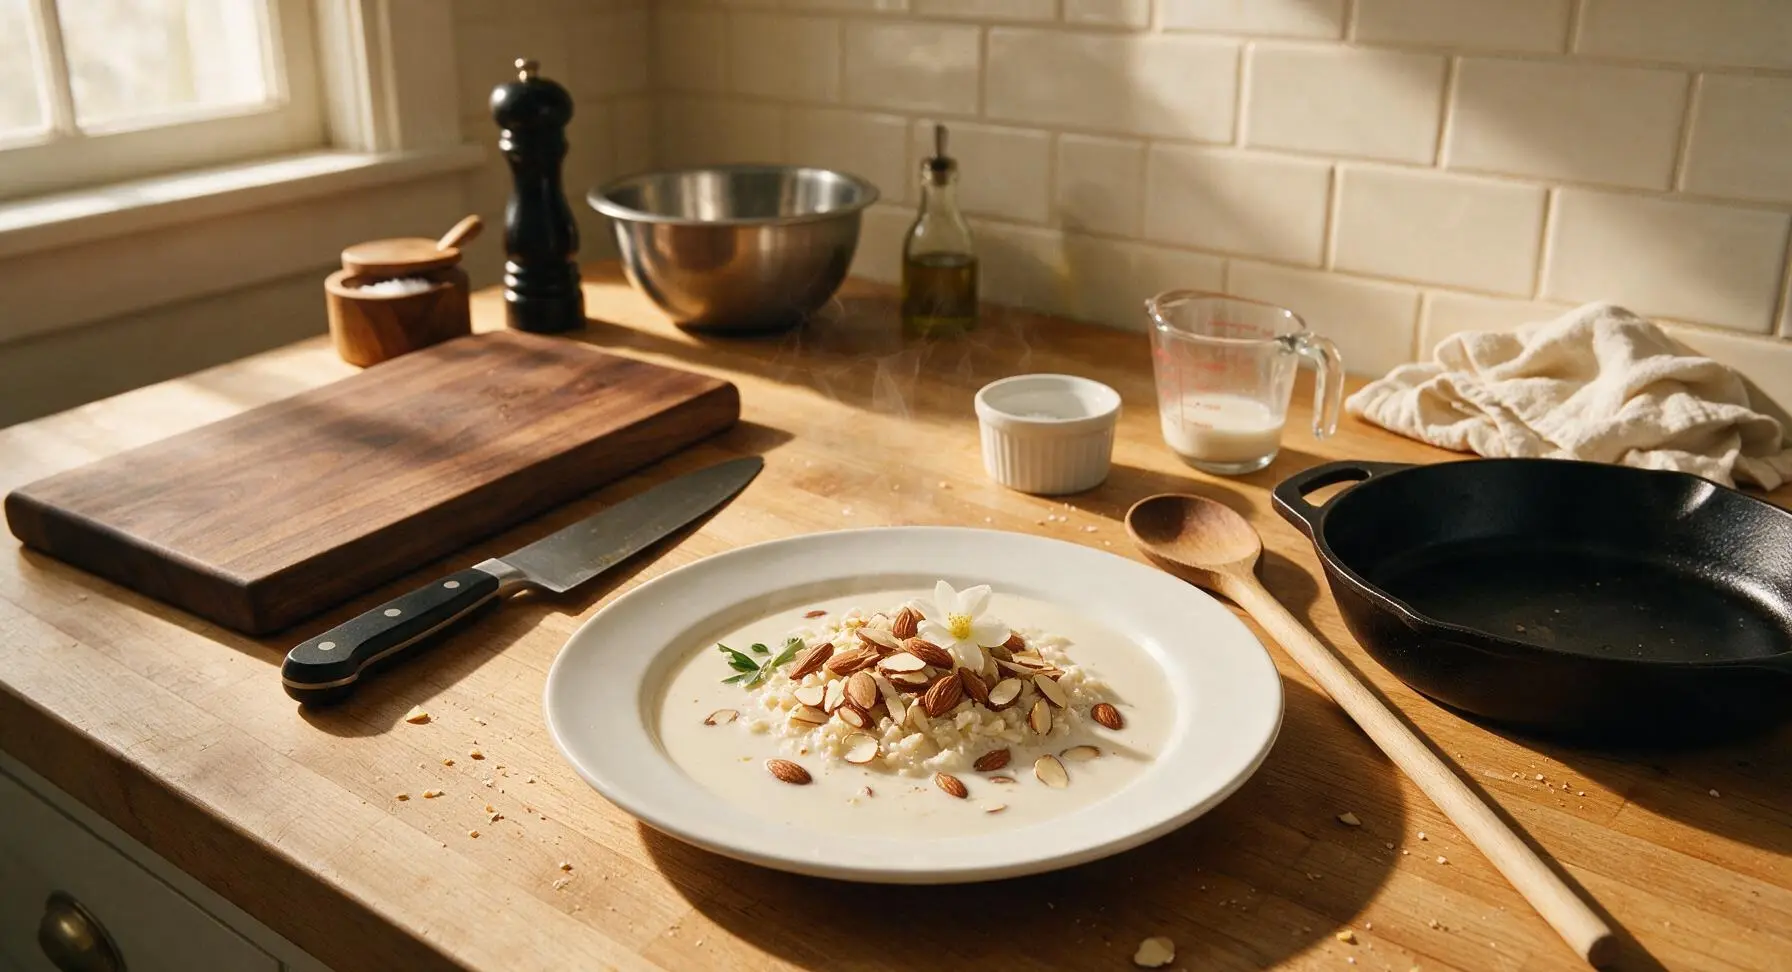
Creamy, subtly sweet homemade vanilla almond milk, free of additives and stabilizers, with rich nutty flavor and warm vanilla notes perfect for coffee, cereal, or sipping straight.
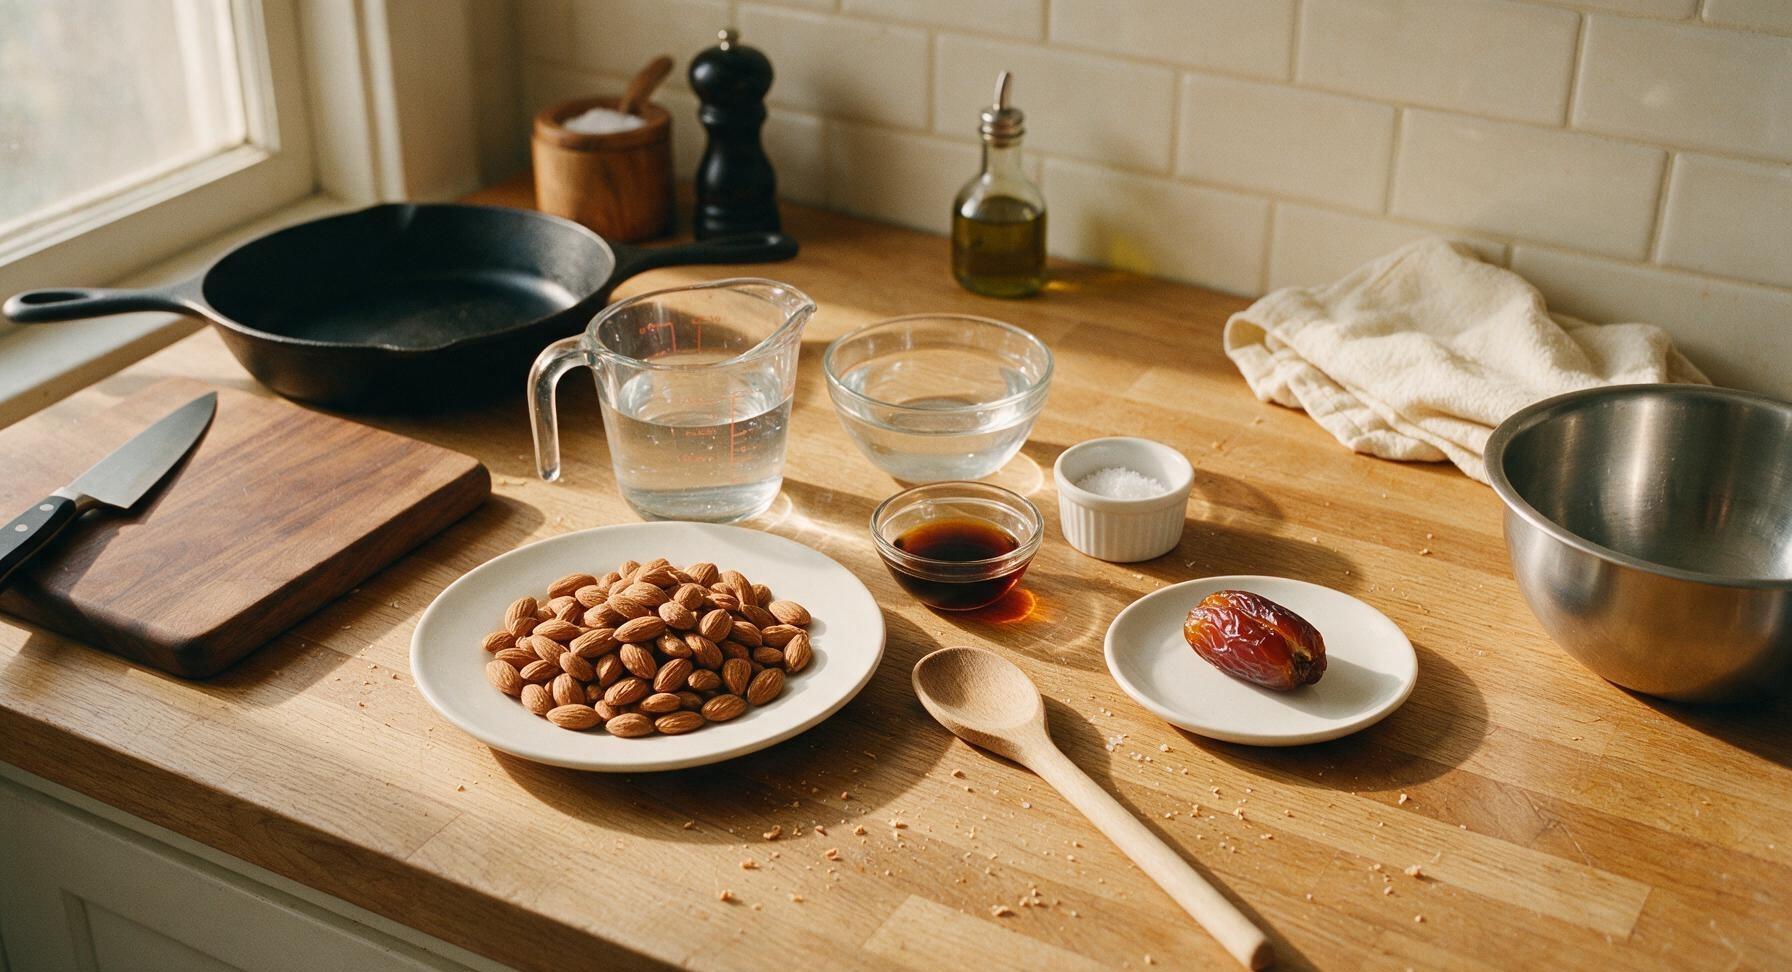
Ingredients
Steps
Soak Raw Almonds
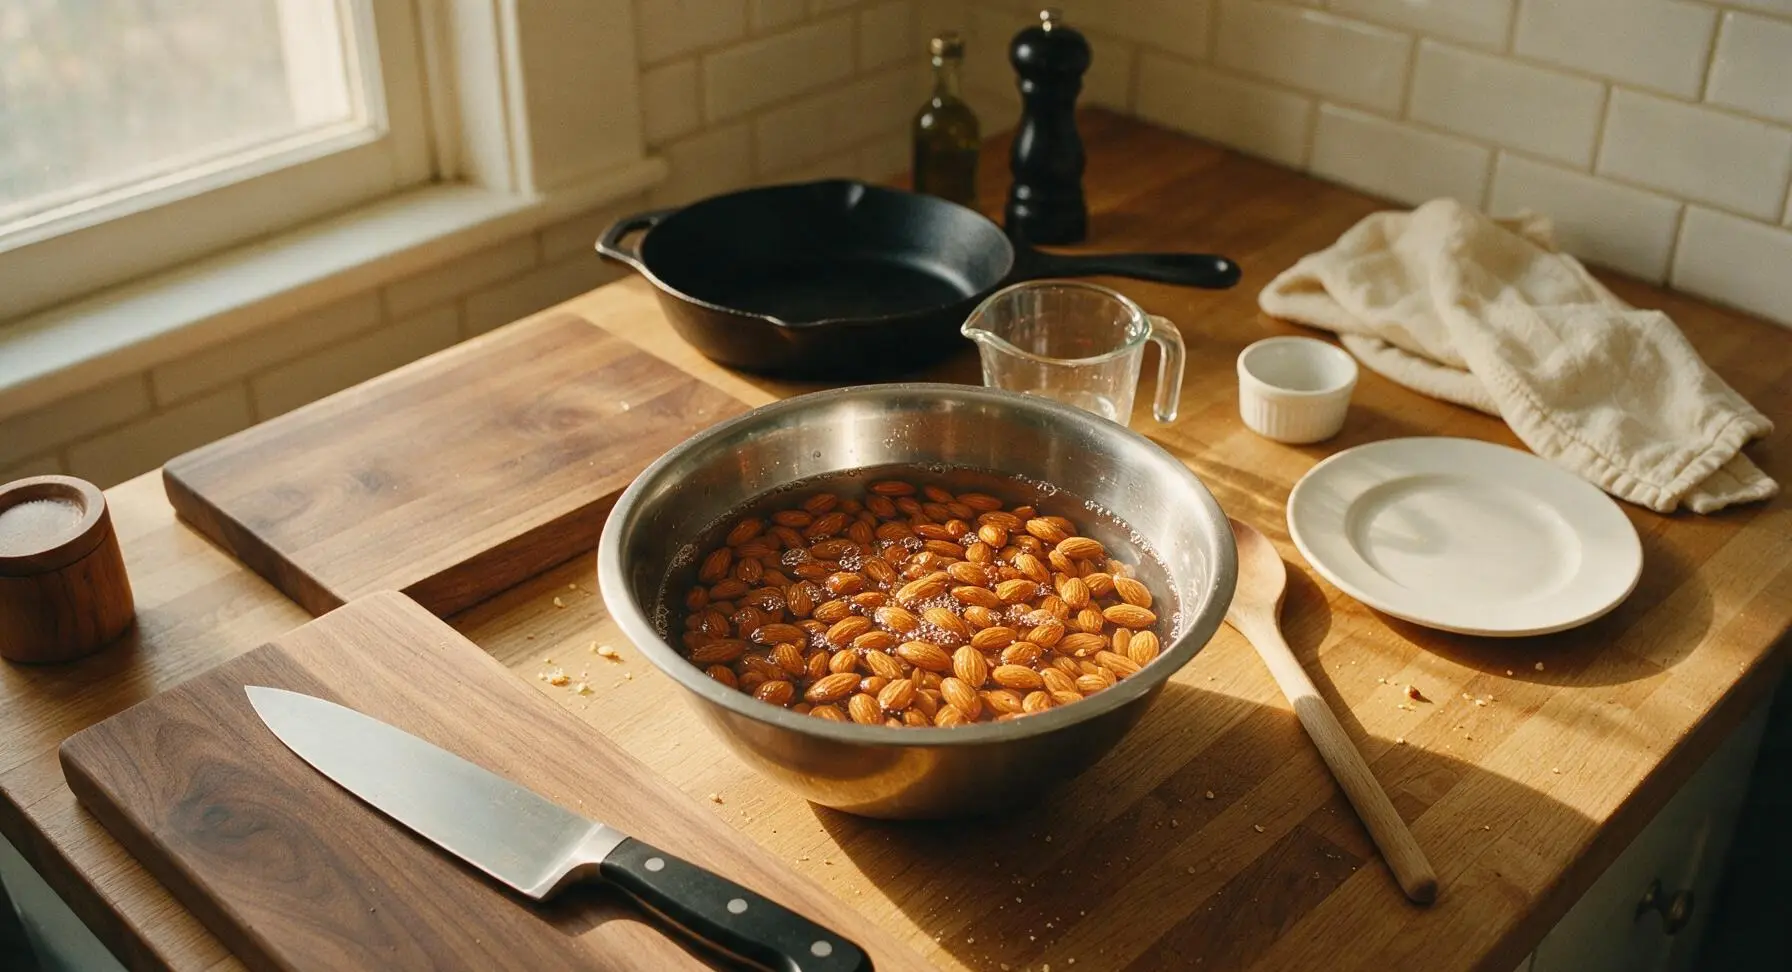
Place 1 cup raw unsalted almonds in the medium clear glass mixing bowl, use the clear glass measuring cup to pour 1 cup filtered cold water over the almonds to cover, and let soak at room temperature for 8-12 hours (or overnight). Soaking softens the nuts to create a creamier final milk and reduces bitter enzyme coatings. The almonds will swell slightly and feel plump to the touch when fully soaked.
Drain and Rinse Almonds
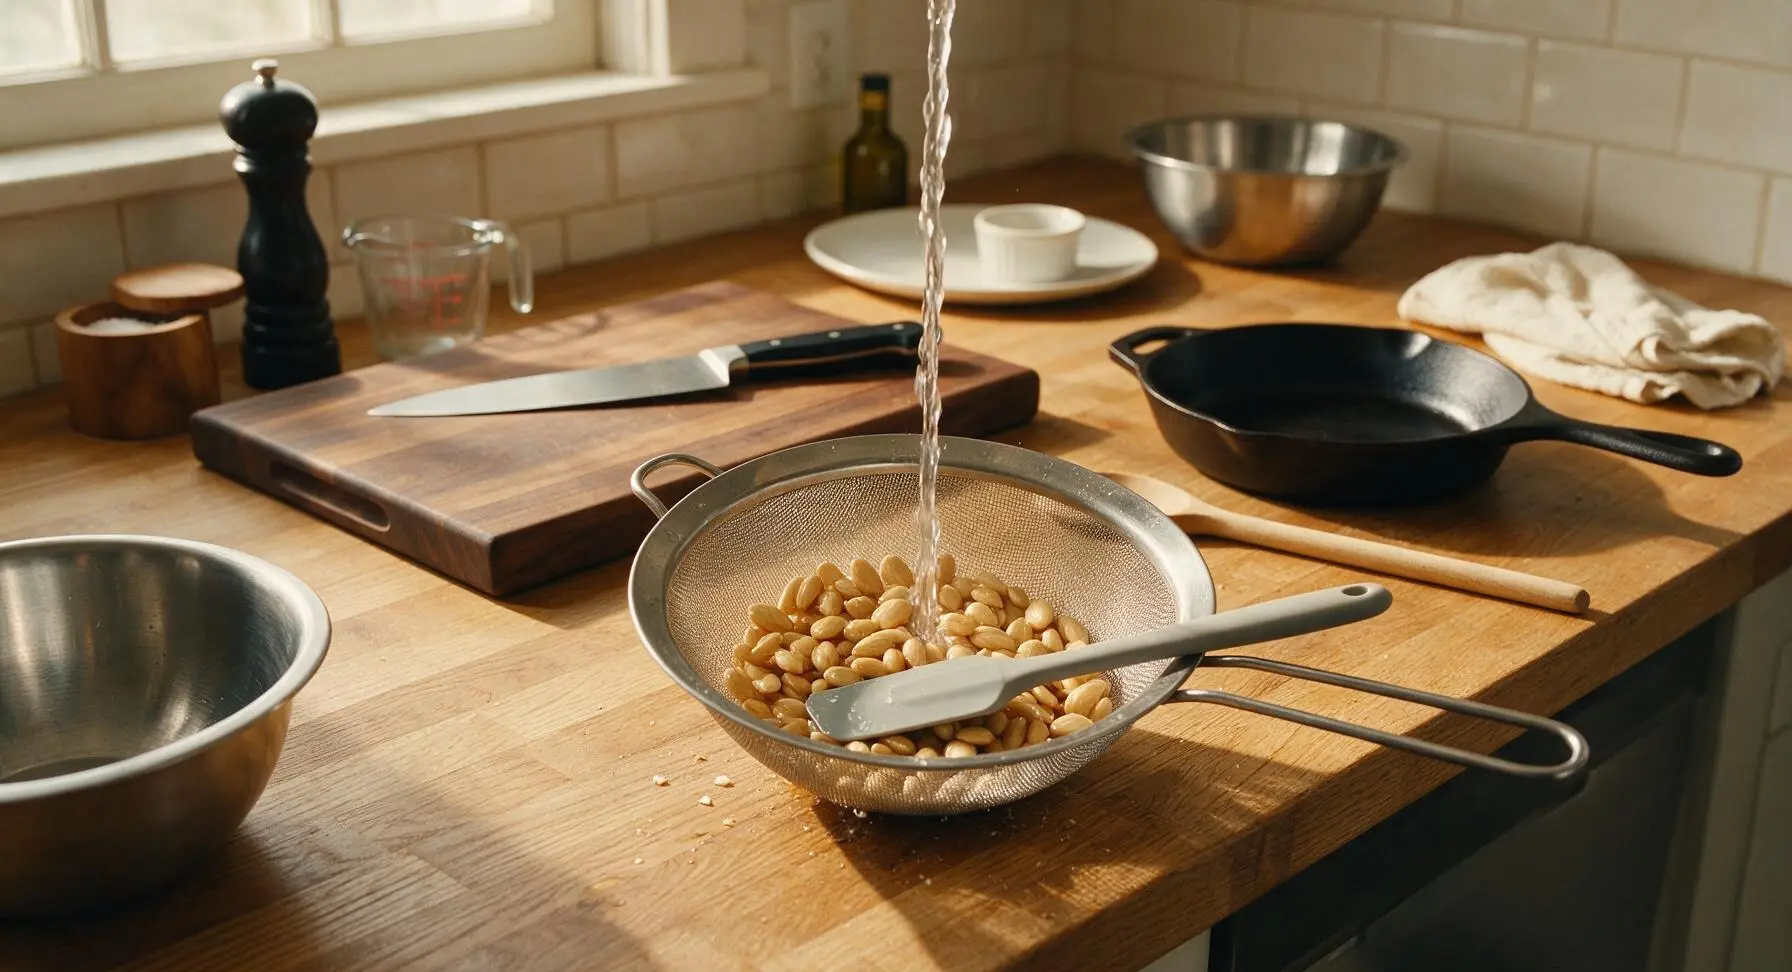
After the 8-12 hour soak, pour the almonds and cloudy soaking water into the fine-mesh stainless steel sieve positioned over the sink (out of frame). Discard the cloudy soaking water (it contains bitter tannins and phytic acid, do not use it for blending). Rinse the plumped almonds thoroughly under cool running water until the water runs clear, about 30 seconds. Shake the sieve gently to remove excess clinging water from the almonds.
Add Ingredients to Blender
Transfer the rinsed, drained almonds to the pitcher of the high-speed blender. Use the clear glass measuring cup to add 4 cups fresh filtered cold water, then add the pitted Medjool date, 1 teaspoon pure vanilla extract, and 1/8 teaspoon fine sea salt. Secure the blender lid tightly, ensuring the center vent cap is pressed firmly in place to prevent splatters.
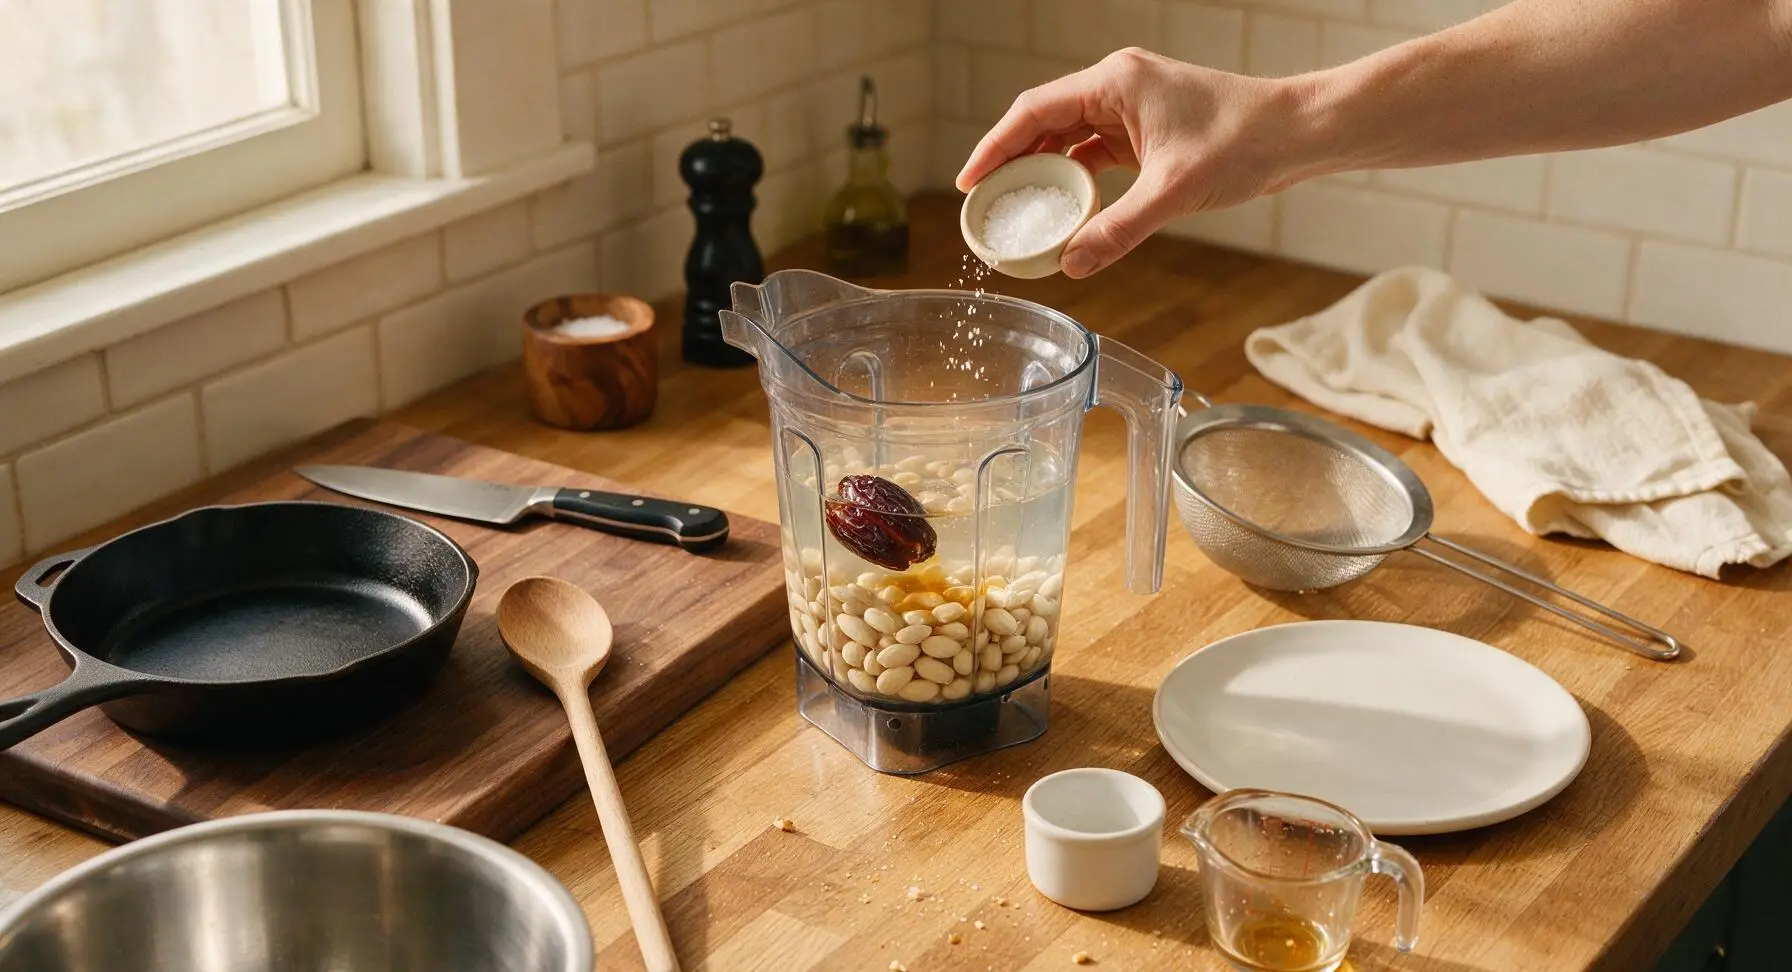
Blend Until Smooth
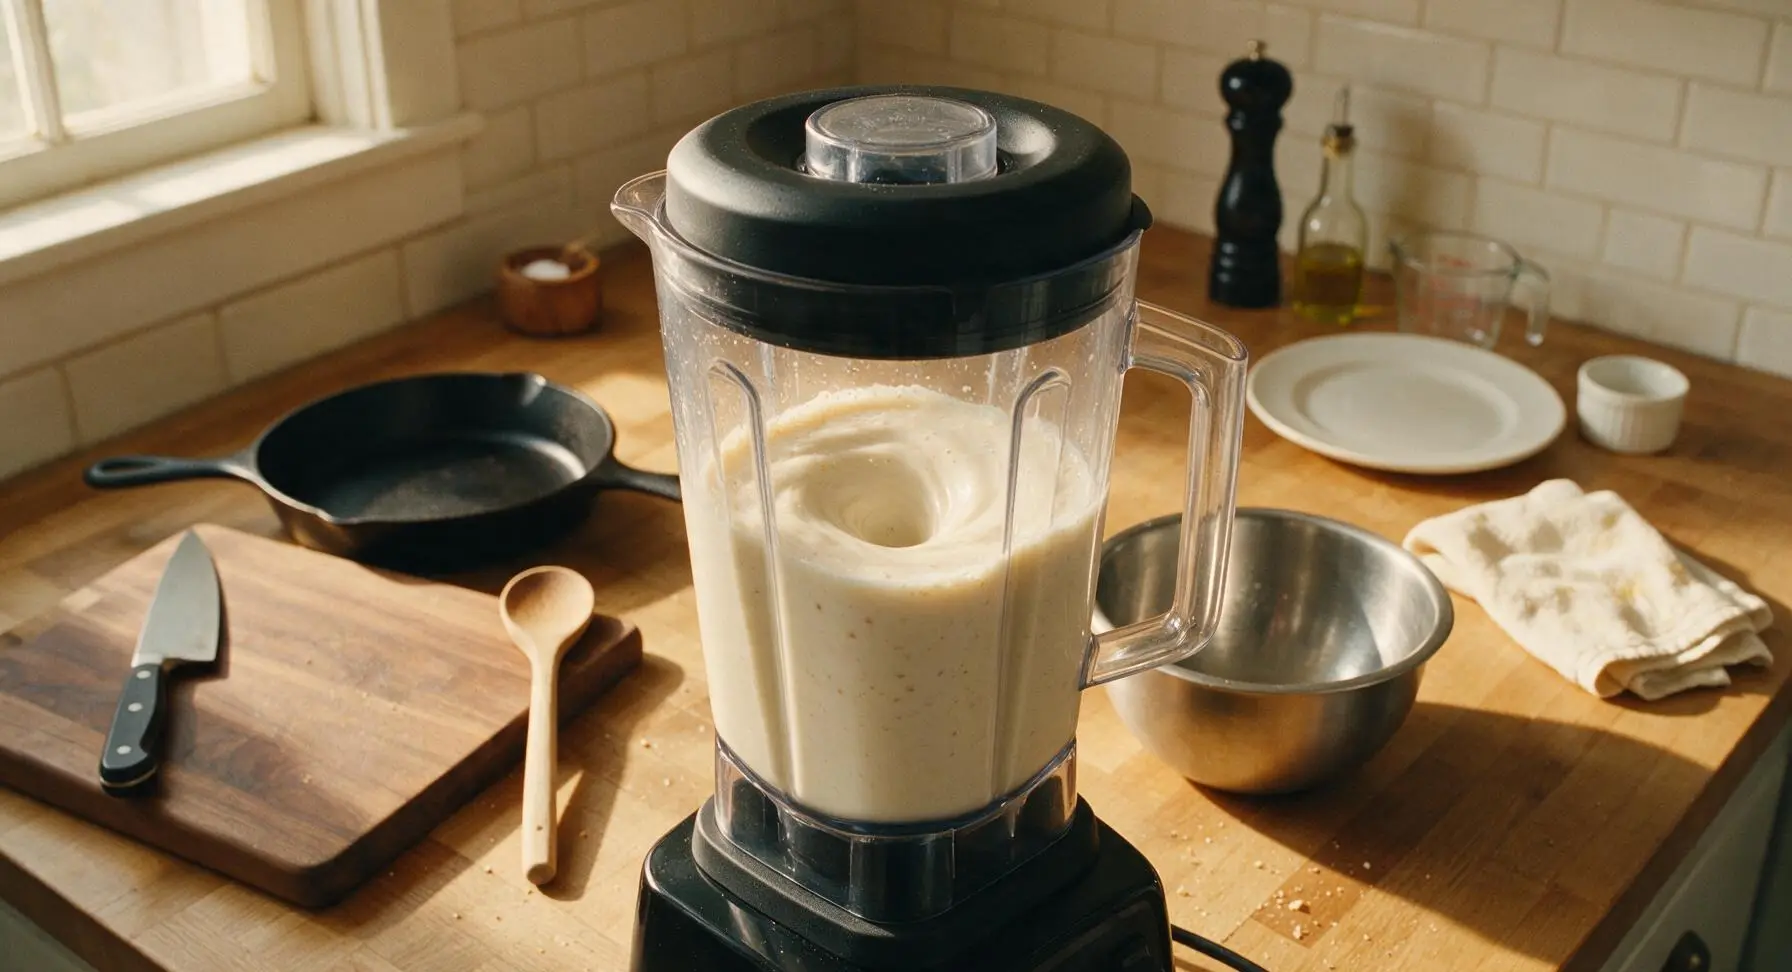
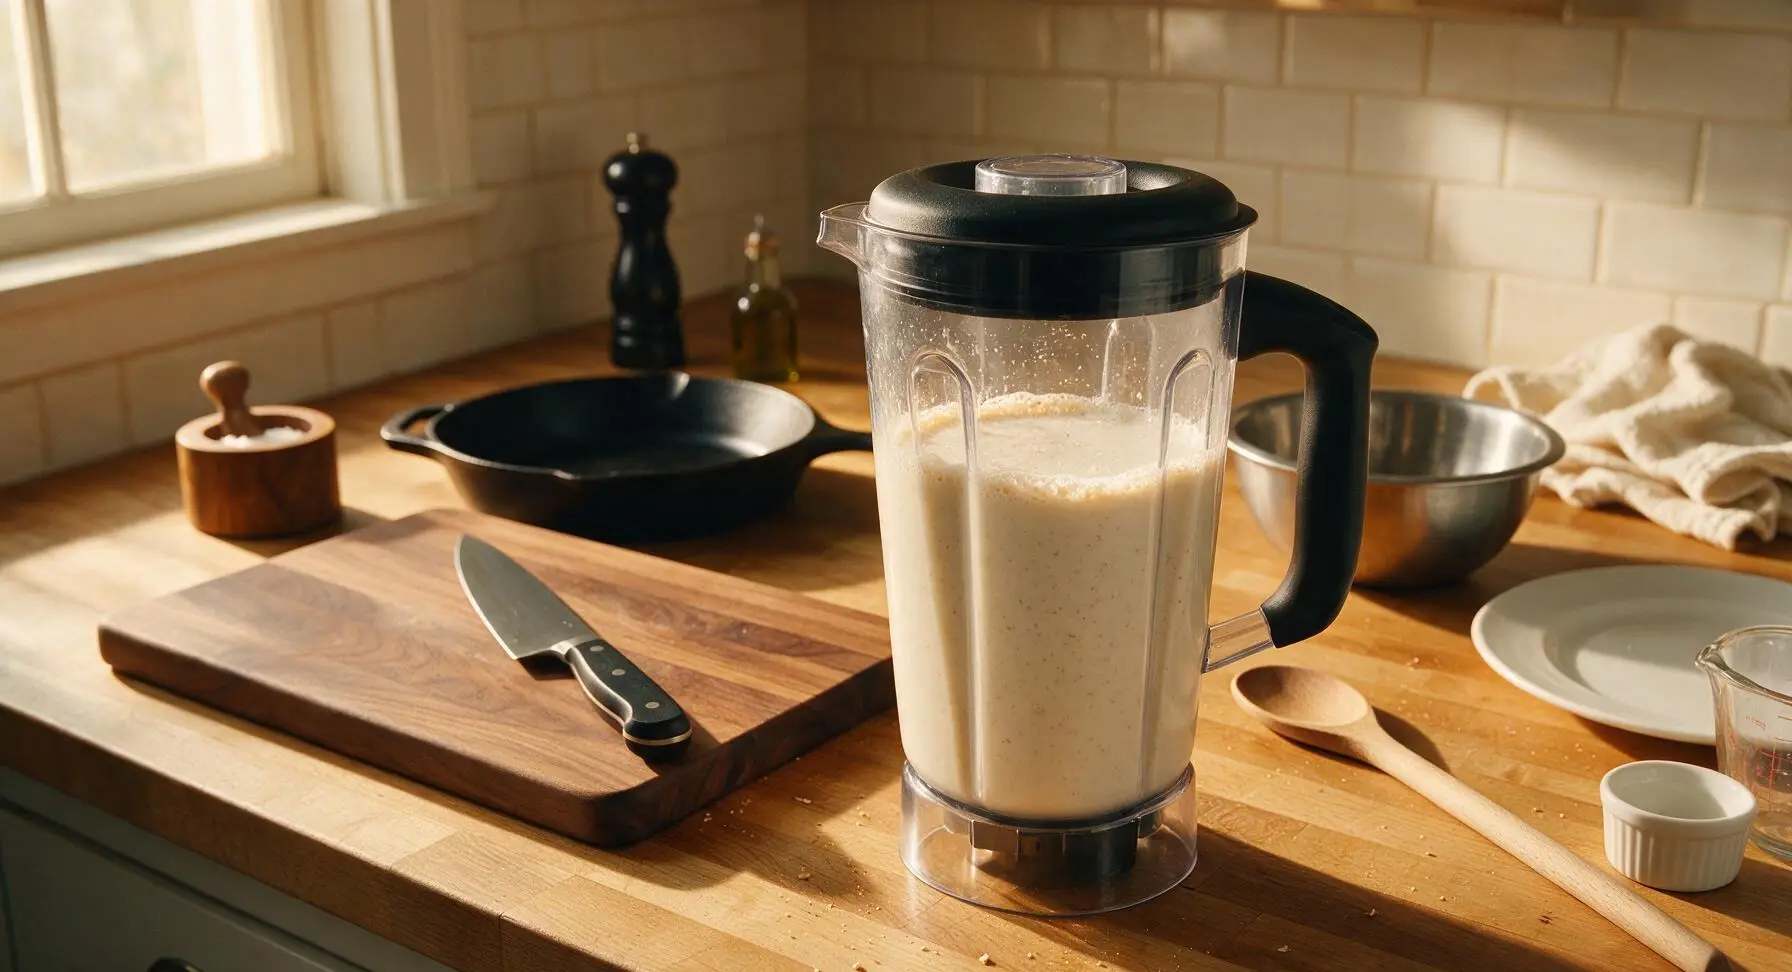
Blend the mixture on high speed for 60-90 seconds, until the almonds are completely broken down and the liquid is a pale, opaque creamy ivory color. You will see fine nut particles suspended evenly in the liquid, with no large almond chunks remaining at the bottom of the pitcher. Stop the blender once the mixture looks frothy and uniform; do not over-blend, as this can break pulp into micro-particles that cause gritty texture.
Set Up Straining Station
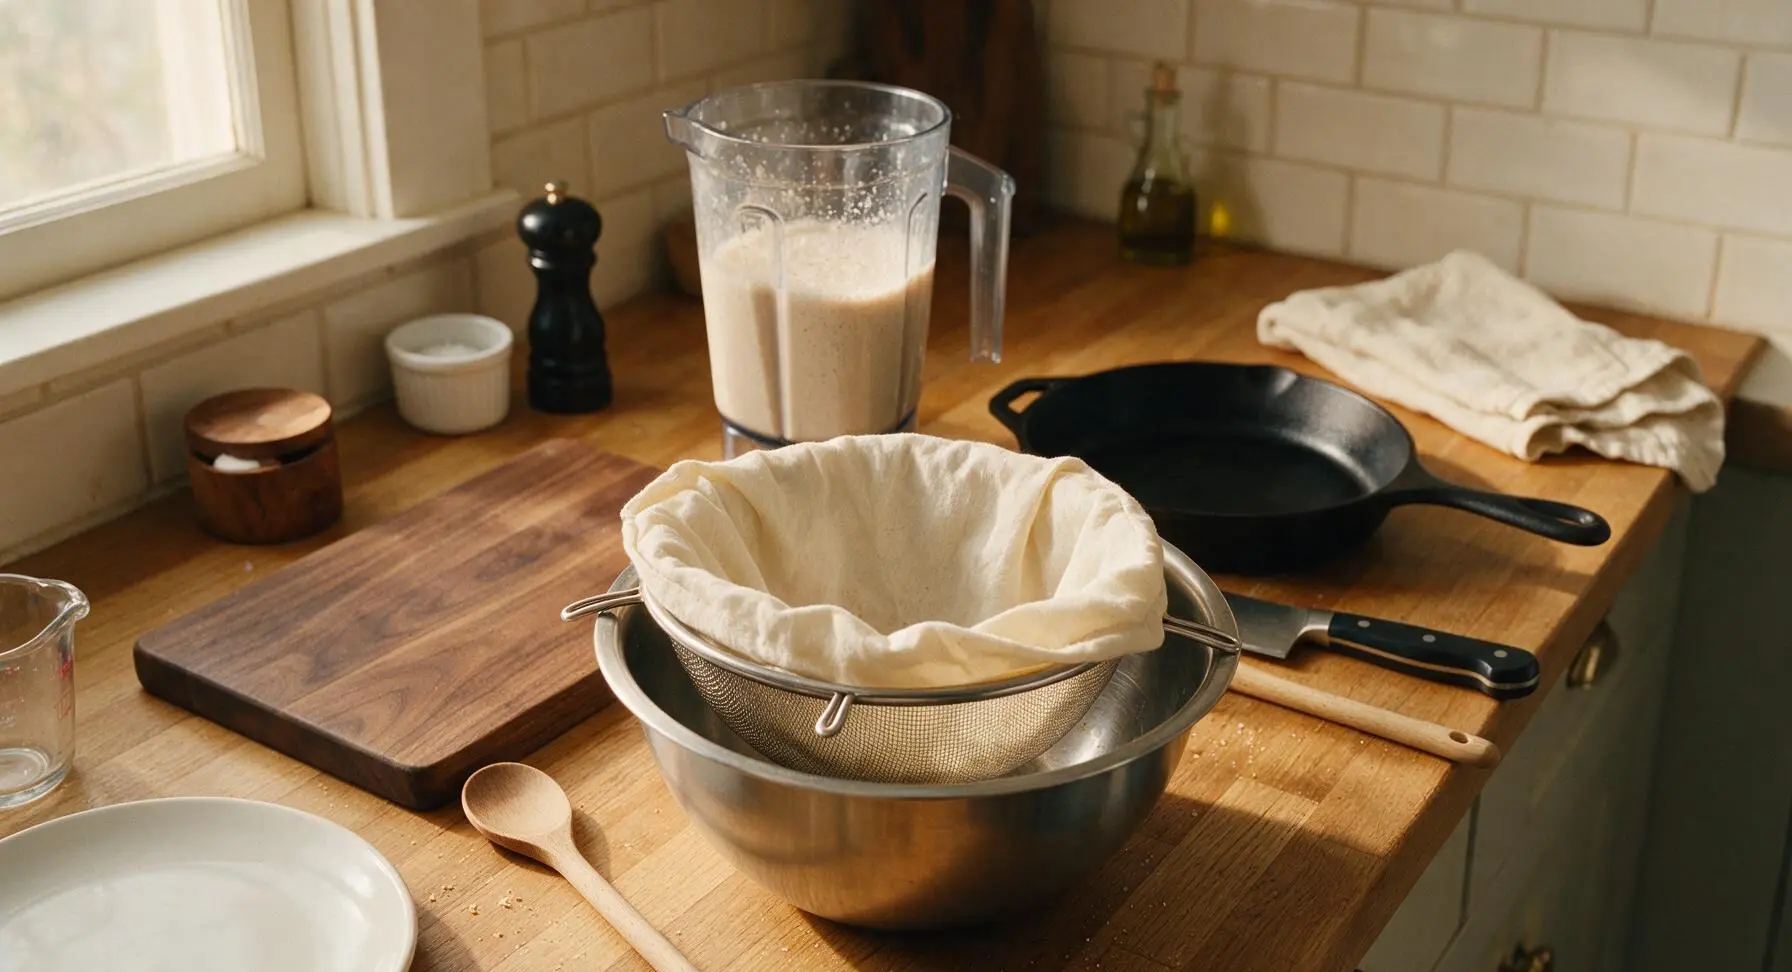
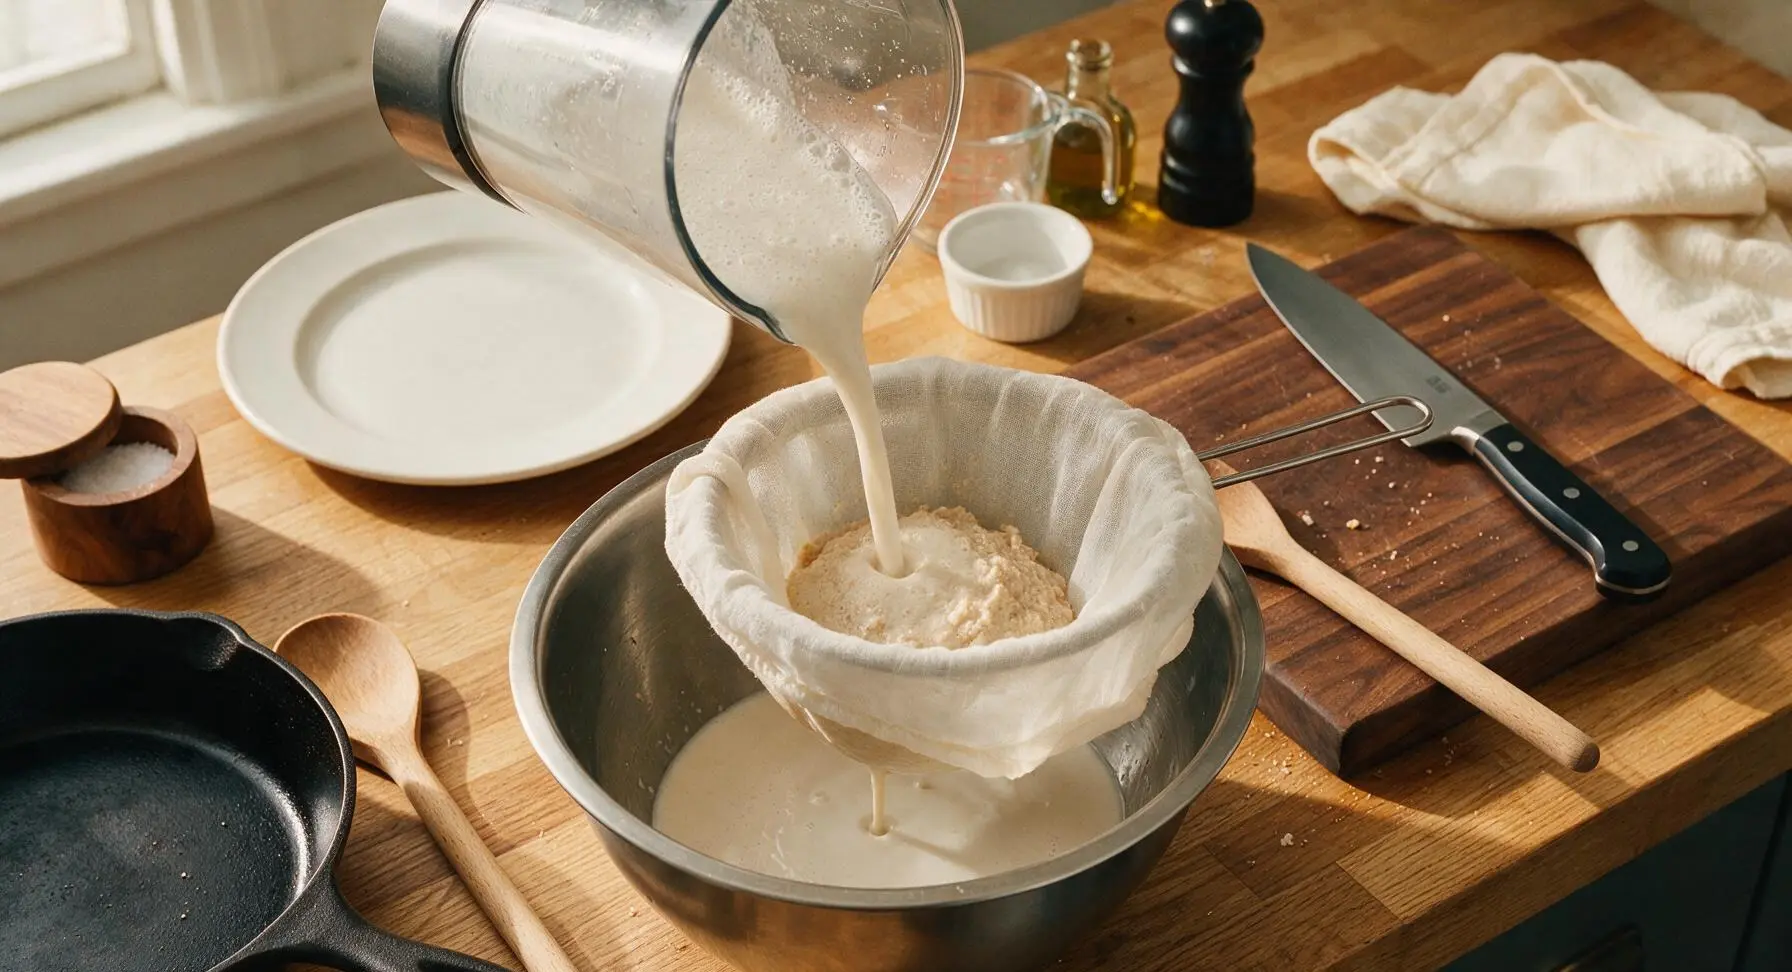
Place the fine-mesh stainless steel sieve over the top of the empty medium clear glass mixing bowl. Line the sieve with the unbleached cotton nut milk bag, folding the drawstring edges over the rim of the sieve to hold the bag open securely. This double straining setup catches fine nut pulp to produce silky, non-gritty milk.
Pour Mixture to Strain
Slowly pour the blended almond mixture from the blender pitcher into the nut milk bag-lined sieve. Let the liquid drain naturally through the bag and sieve into the bowl below for 1-2 minutes, until most of the thin, creamy milk has collected in the bowl and a thick, damp mass of almond pulp remains in the bag. Do not press the pulp at this stage, as this can push fine grit through the bag weave.
Squeeze to Extract Milk
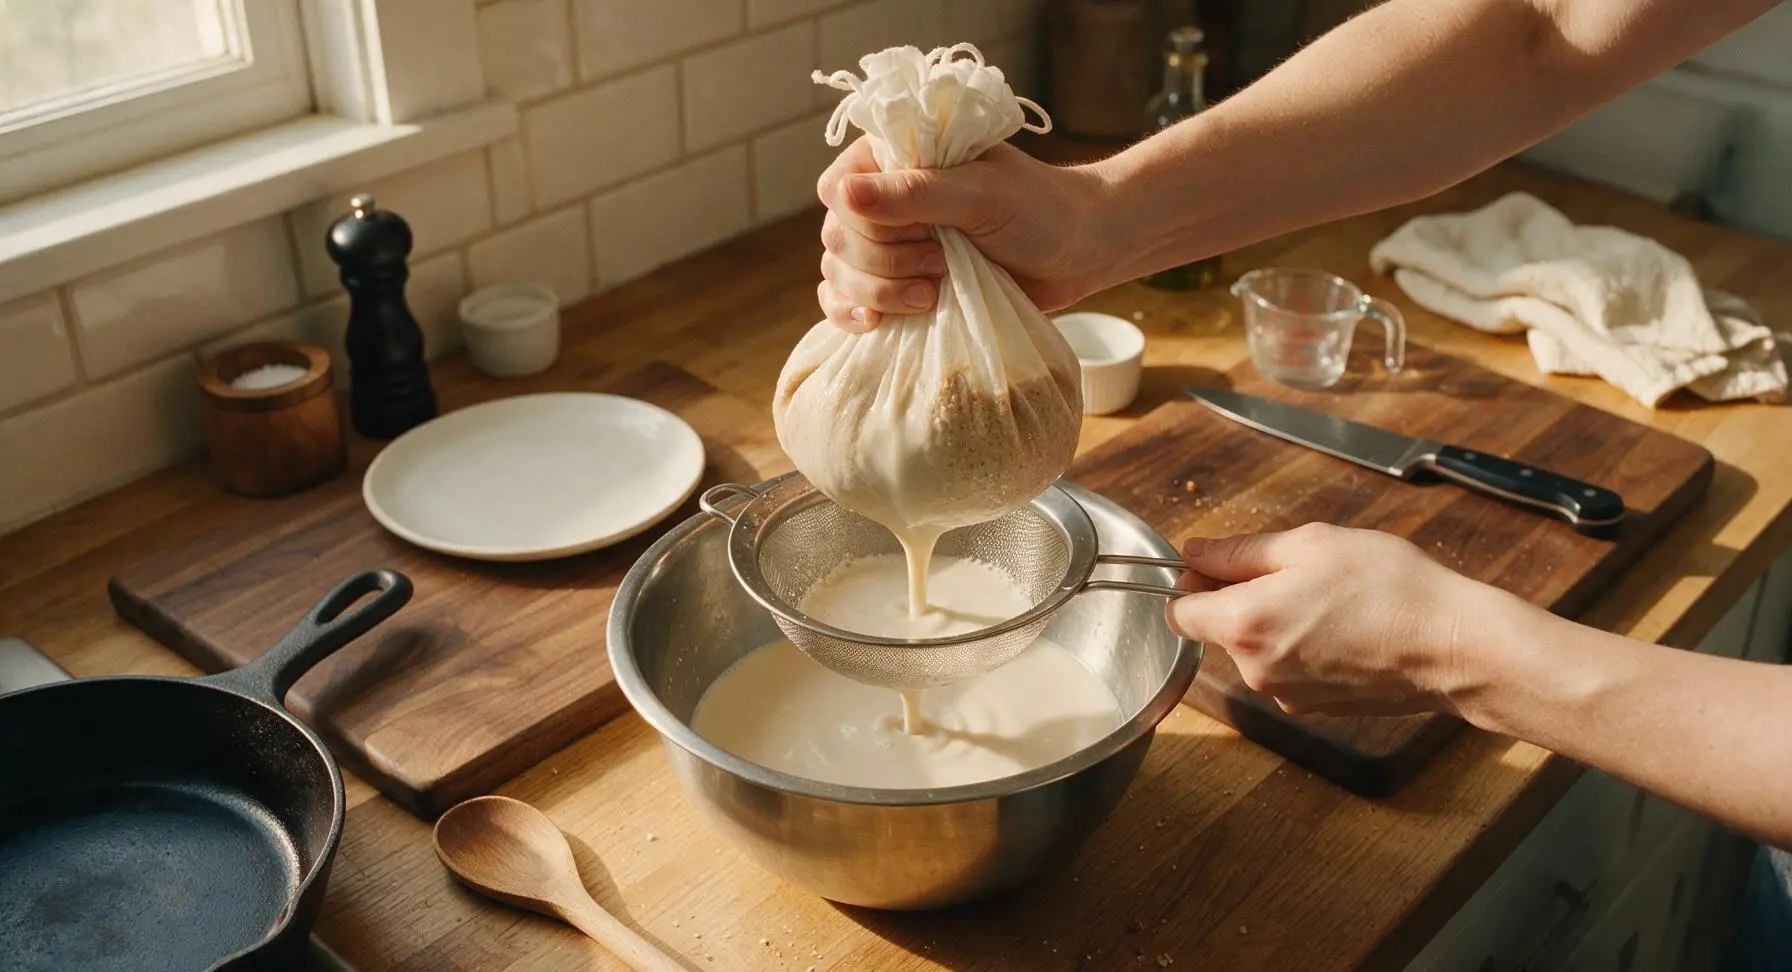
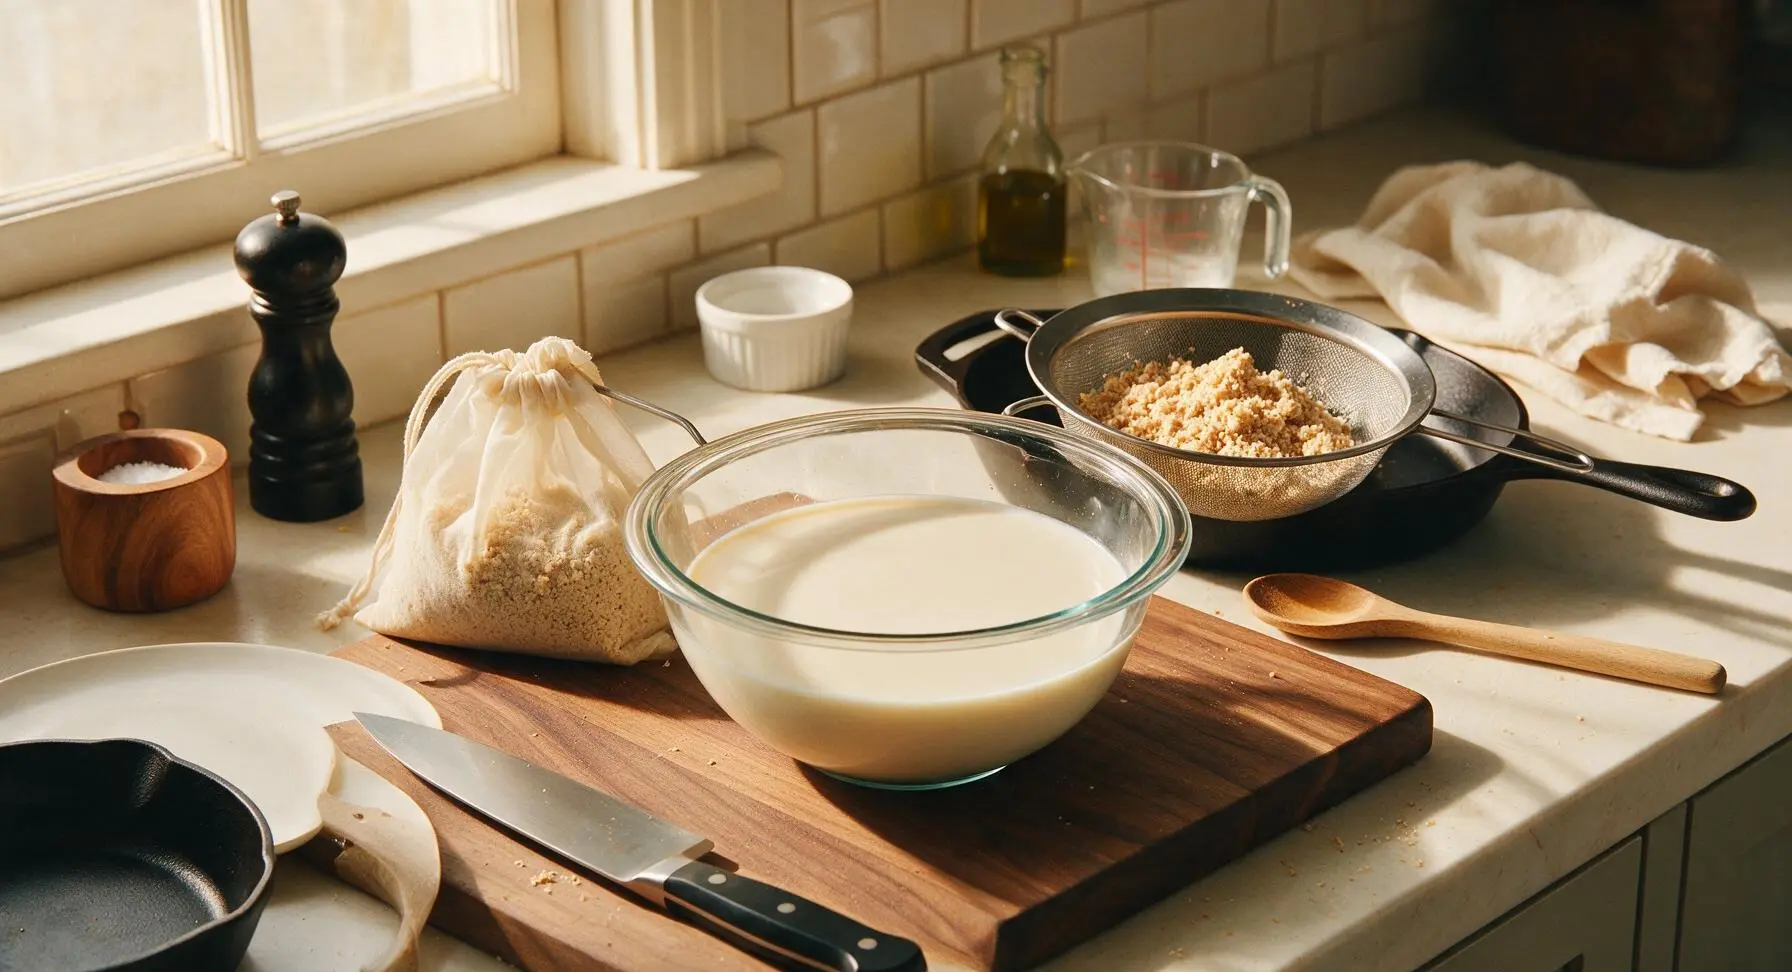
Gather the drawstring top of the nut milk bag to close it tightly around the remaining almond pulp. Gently squeeze and press the bag with clean hands, working from the top down, to extract every last bit of milk from the pulp. Stop squeezing when only dry, crumbly light tan almond pulp remains in the bag; you will have approximately 4 cups of smooth milk in the bowl below. Reserve the drained pulp for baking, smoothies, or homemade almond flour if desired.
Transfer Milk to Jar
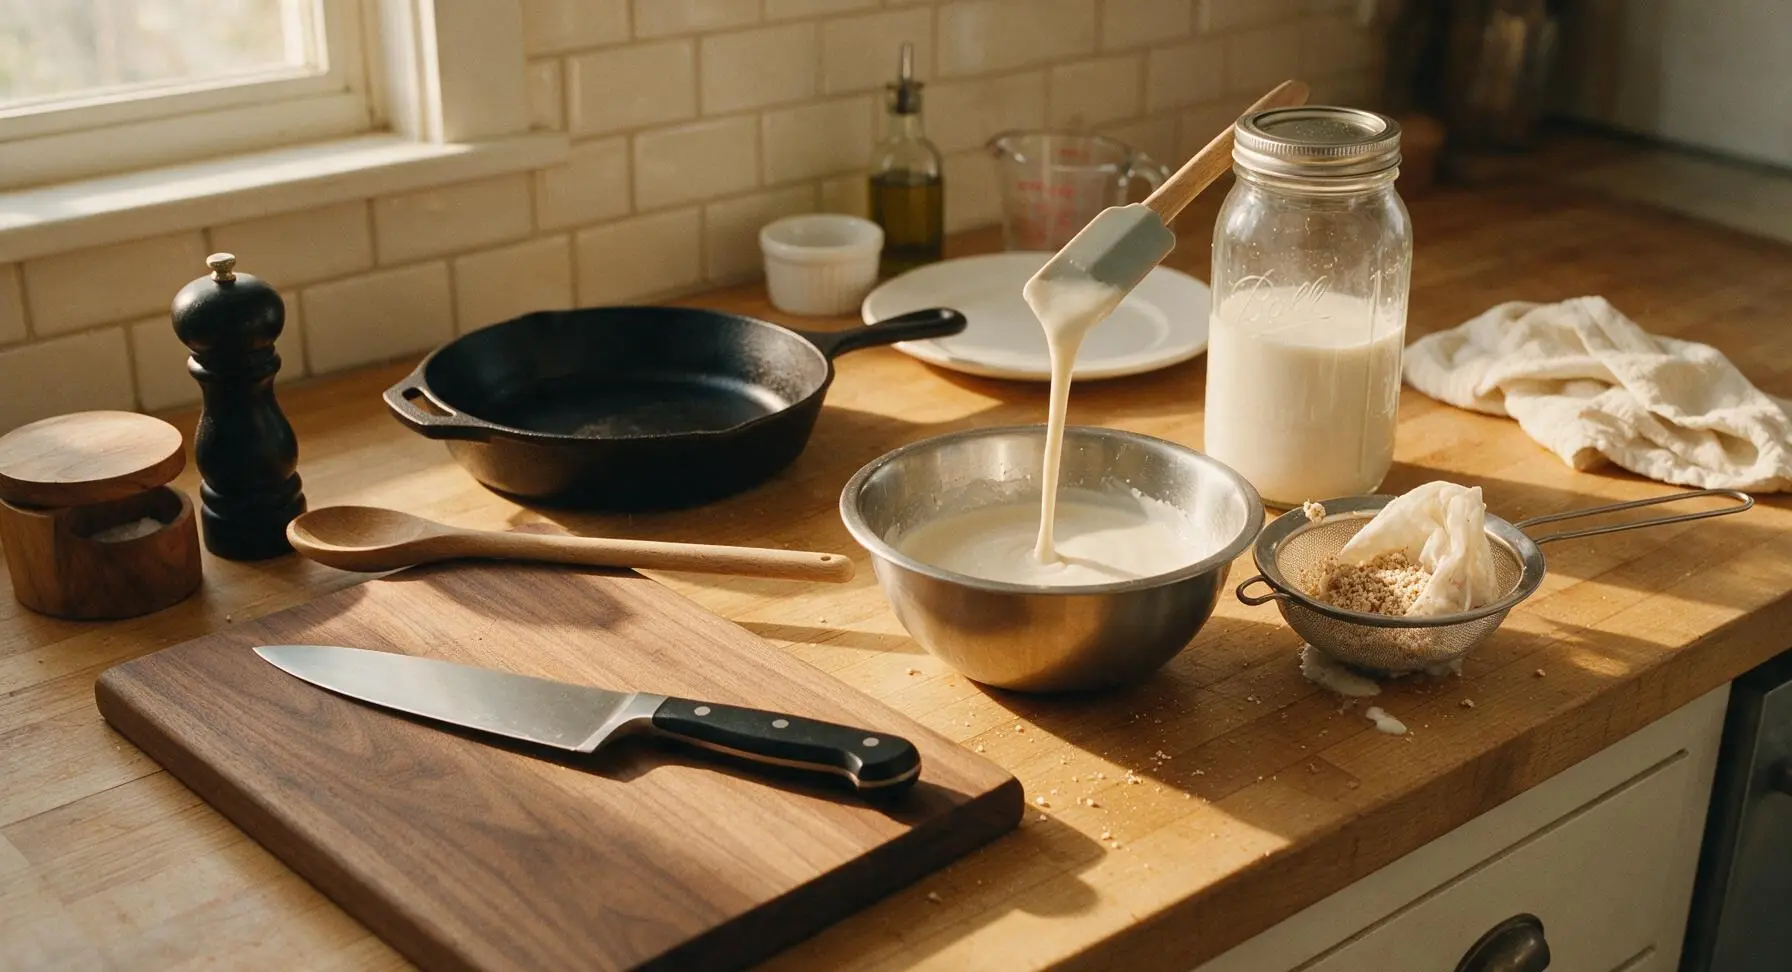
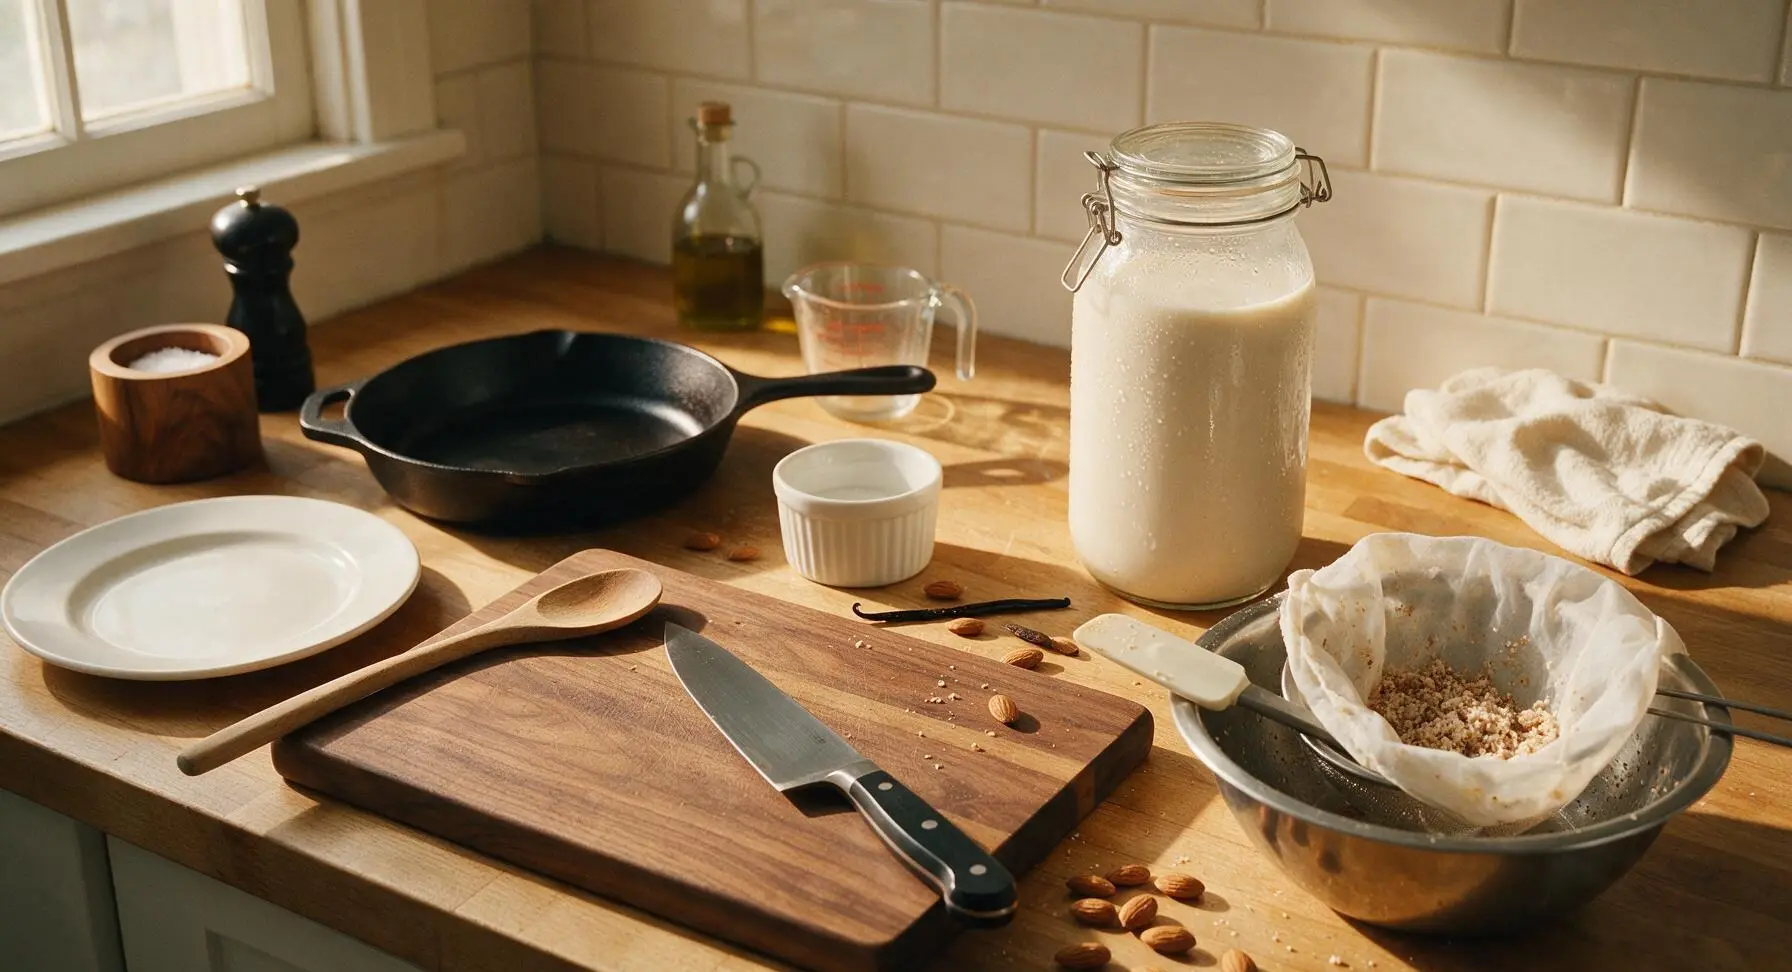
Lift the sieve and nut milk bag from the top of the mixing bowl, setting them temporarily to the right of the bowl. Use the light grey silicone spatula to guide the strained almond milk from the mixing bowl into the 1L clear glass mason jar, scraping down the sides of the bowl to collect every drop. Seal the jar tightly with the silver metal screw-on lid.
Chill Before Serving
Refrigerate the sealed jar of almond milk for at least 1 hour before serving, to let it chill fully and allow the vanilla and nut flavors to meld. Give the jar a gentle shake before pouring, as natural separation is normal for homemade nut milk with no added emulsifiers. The milk will stay fresh stored in the sealed jar for 3-4 days in the refrigerator.
Tips
2.Stick to 60-90 seconds of blending on high speed: over-blending shears nut pulp into micro-particles that slip through even fine-weave nut milk bags, resulting in a gritty, chalky final texture instead of silky smooth milk.
3.Customize the consistency to your use: use 3 cups of blending water for a rich, thick milk that froths well for lattes, or 4.5 cups for a light, refreshing milk perfect for sipping or pouring over cereal.






OMG this homemade vanilla almond milk is a total game changer! I’ve been wasting so much money on store-bought cartons loaded with weird added gums and preservatives, and this version is SO good — way creamier and better tasting than anything I’ve bought at the store. My kids loved it over their morning cereal, even my super picky 7-year-old asked for seconds. It’s so easy too, zero cook time? I was shocked how fast it came together for my weekly meal prep. 10/10 will be making a batch every Sunday from now on.
Made this last night to use in my morning vanilla lattes and wow, way better than the oat milk I’ve been buying for months! It’s got the perfect subtle vanilla sweetness without being cloying or overpowering. I added a tiny pinch of flaky sea salt like I do with all my sweet recipes and it really made the flavors pop. Only silly mishap: I accidentally soaked my almonds for 48 hours instead of 24 because I forgot about them in the back of the fridge, oops. Still turned out amazing though!
Took this to a neighborhood potluck last weekend to go with the vegan chocolate chip cookie platter I brought, and everyone was hounding me for the recipe! Multiple people swore it was the fancy $8/carton premium brand from the grocery store, no one could believe I whipped it up at home in 10 minutes flat (not counting the almond soak time, obviously). Super easy, zero fancy equipment needed as long as you’ve got a basic blender. Will definitely be making this on repeat for my fridge.
This is super tasty, but I wish the recipe included storage notes! How long does this stay good for in the fridge? I wanna make a big batch for my weekly meal prep but I don’t wanna overdo it and have it spoil before I can use it. Also, has anyone tried freezing it for later? That would be a total lifesaver for busy weeks when I don’t have time to blend up a new batch.