
vanilla bean cheesecake
intro
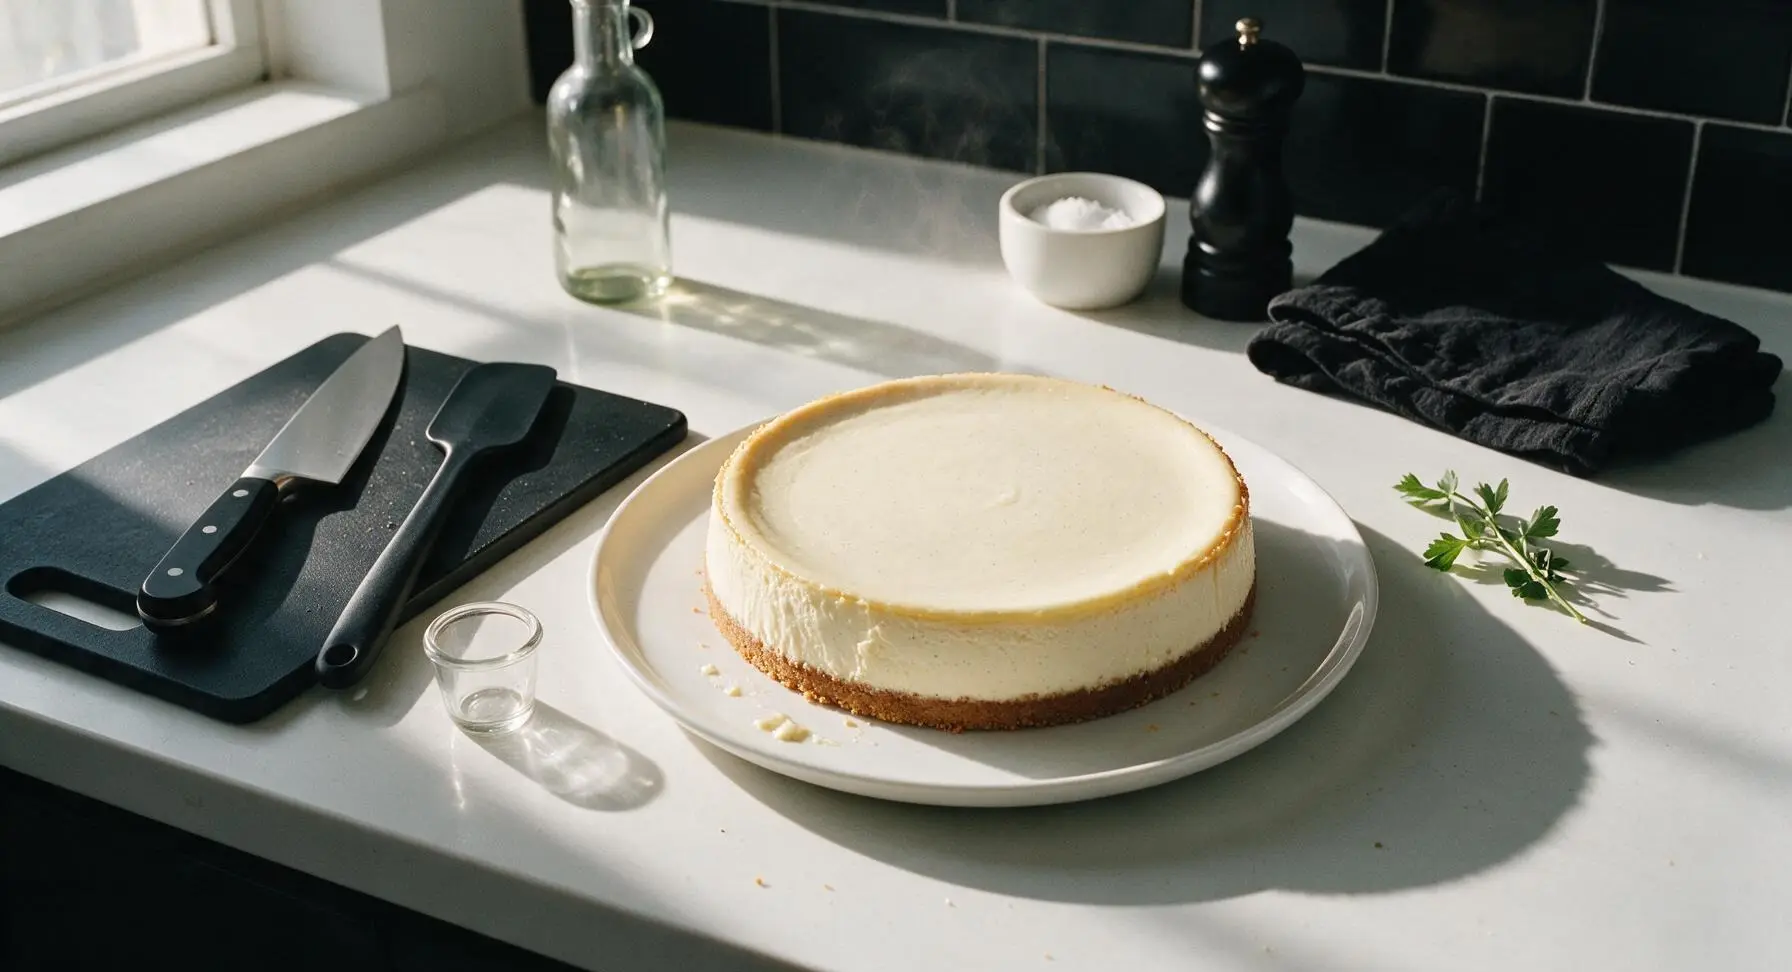
Silky, dense vanilla bean cheesecake with a crisp buttery graham cracker crust, balanced sweetness, and a smooth crack-free top—pure, indulgent baked comfort.
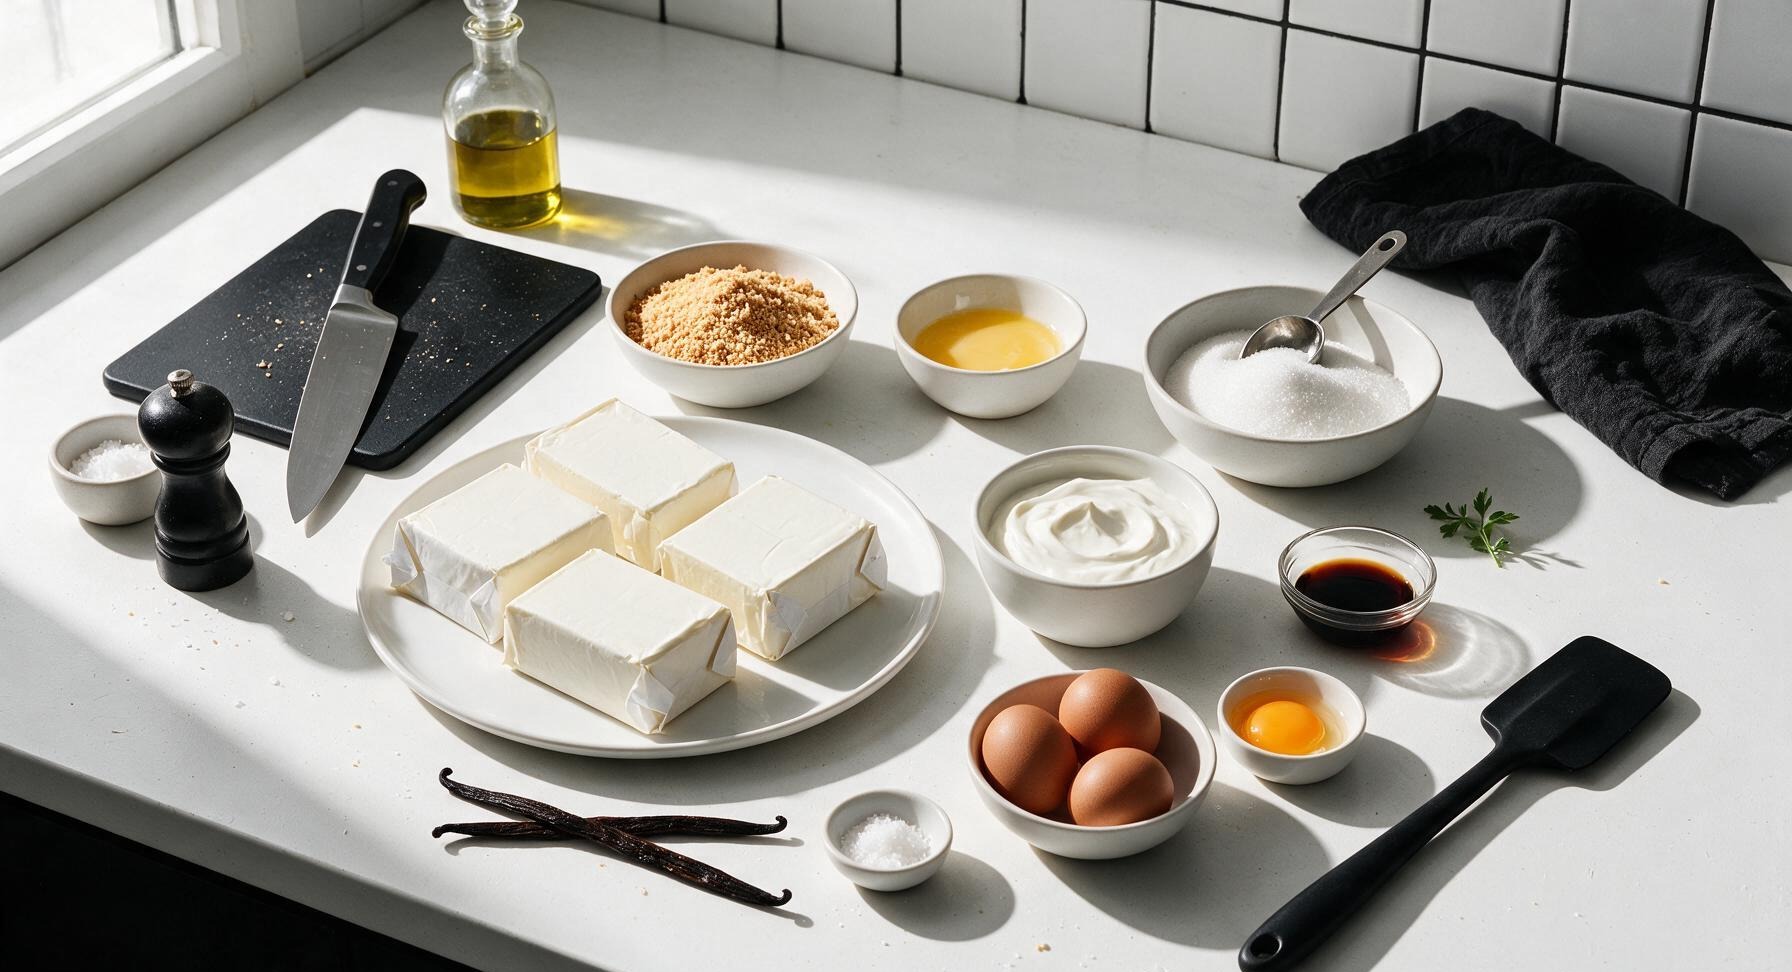
Ingredients
Steps
Prep Pan and Oven
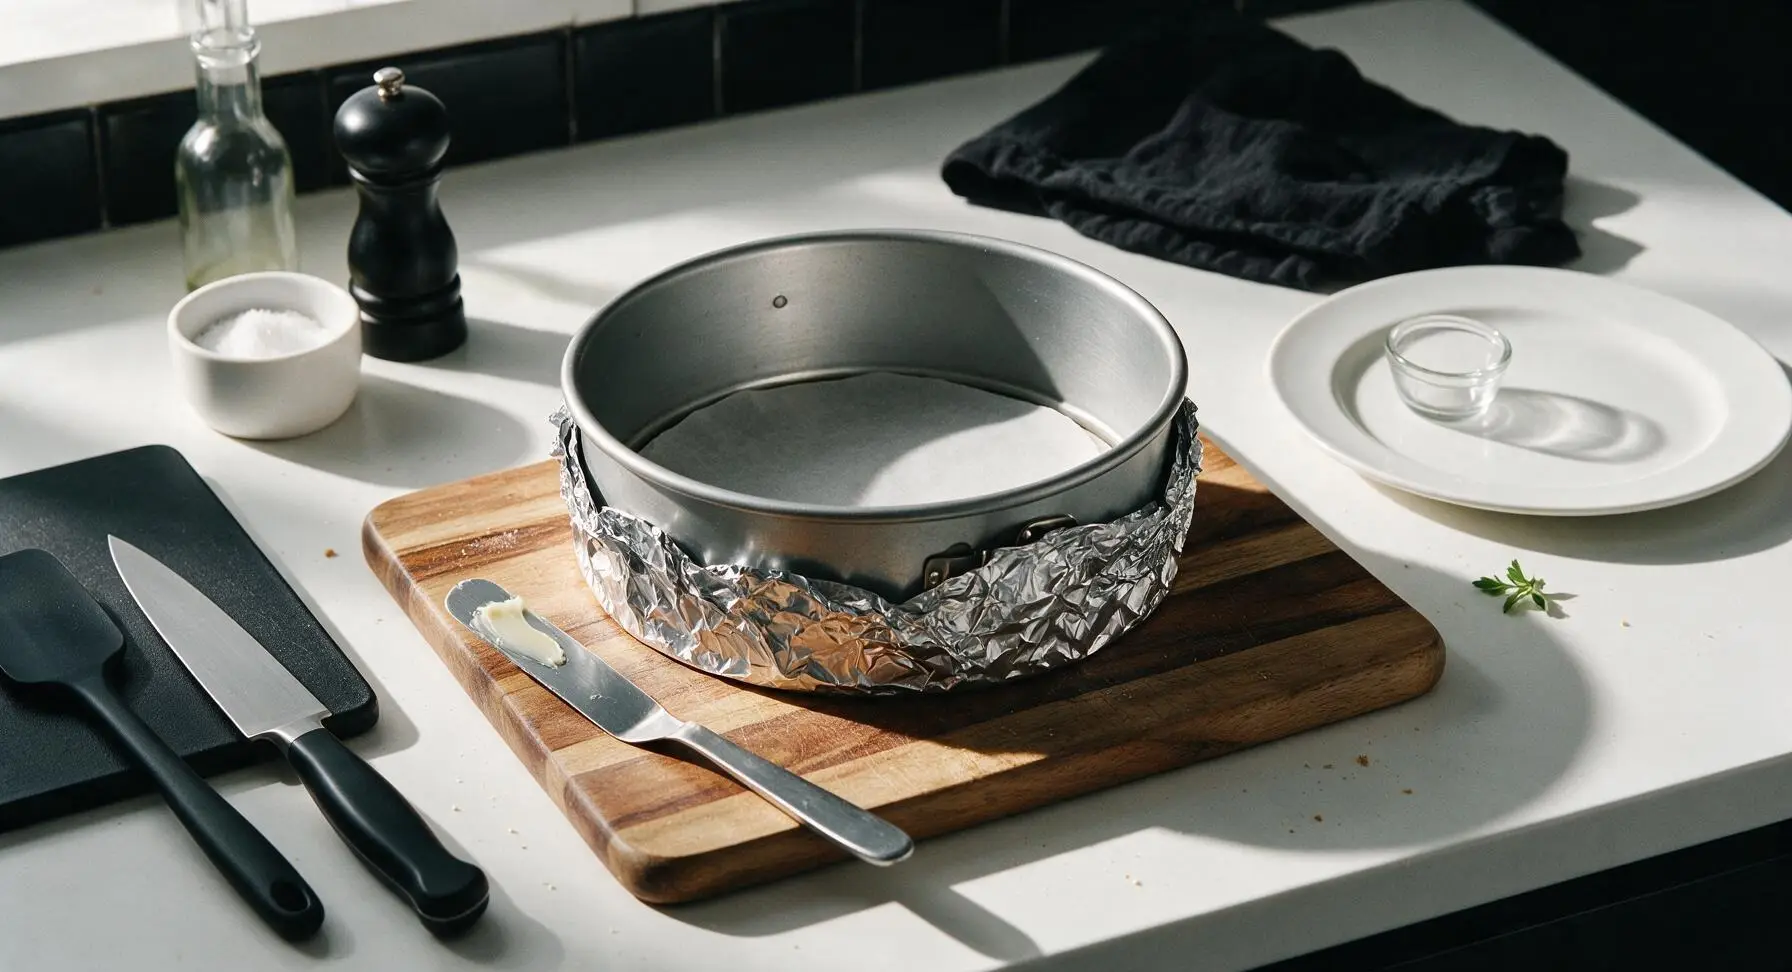
Preheat oven to 325°F (160°C). Wrap the outside of the 9-inch springform pan in two layers of heavy-duty aluminum foil to prevent water leaks during the water bath, and line the bottom with a circle of parchment paper. Lightly grease the inner sides of the pan with a small dab of butter. The pan should be fully sealed so no water can seep through the latch seam.
Mix Graham Cracker Crust
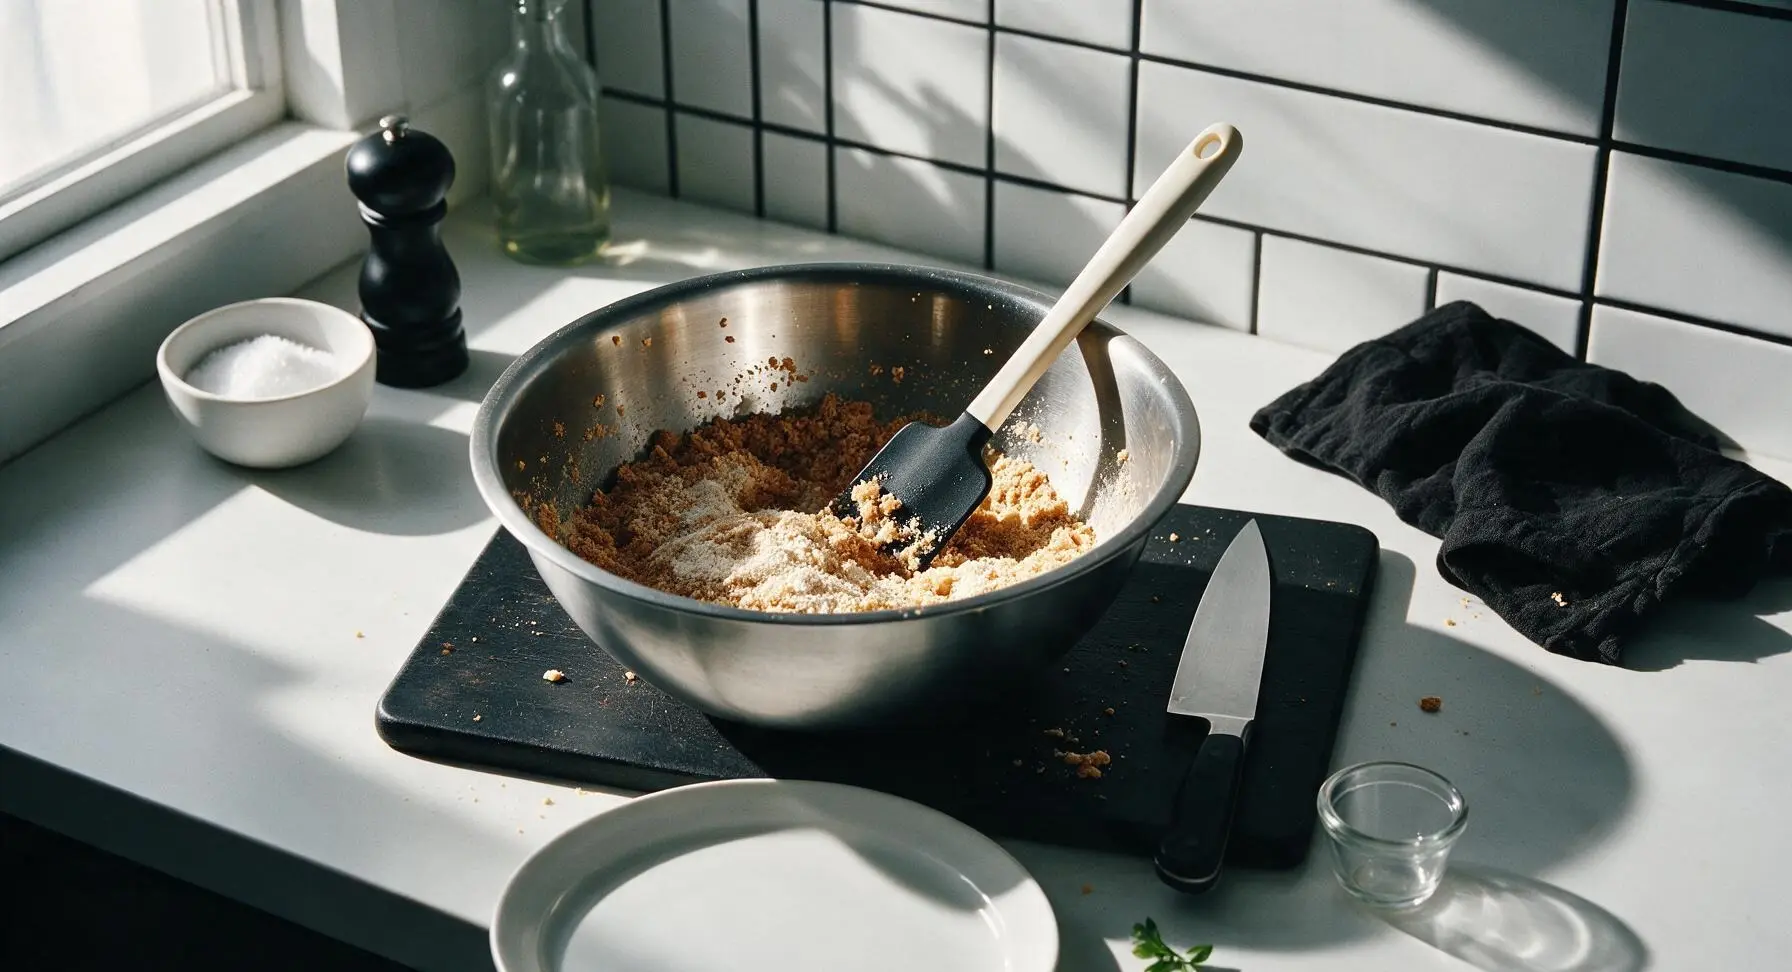
If using whole graham crackers, pulse them to fine, even crumbs in the stainless steel food processor first. Place 150g graham cracker crumbs, 2 tbsp (25g) granulated sugar, and 85g melted unsalted butter in the 2L stainless steel mixing bowl. Stir with the silicone spatula until all crumbs are evenly moistened, with the texture of damp sand. When squeezed in your hand, the crumbs should hold together without crumbling apart.
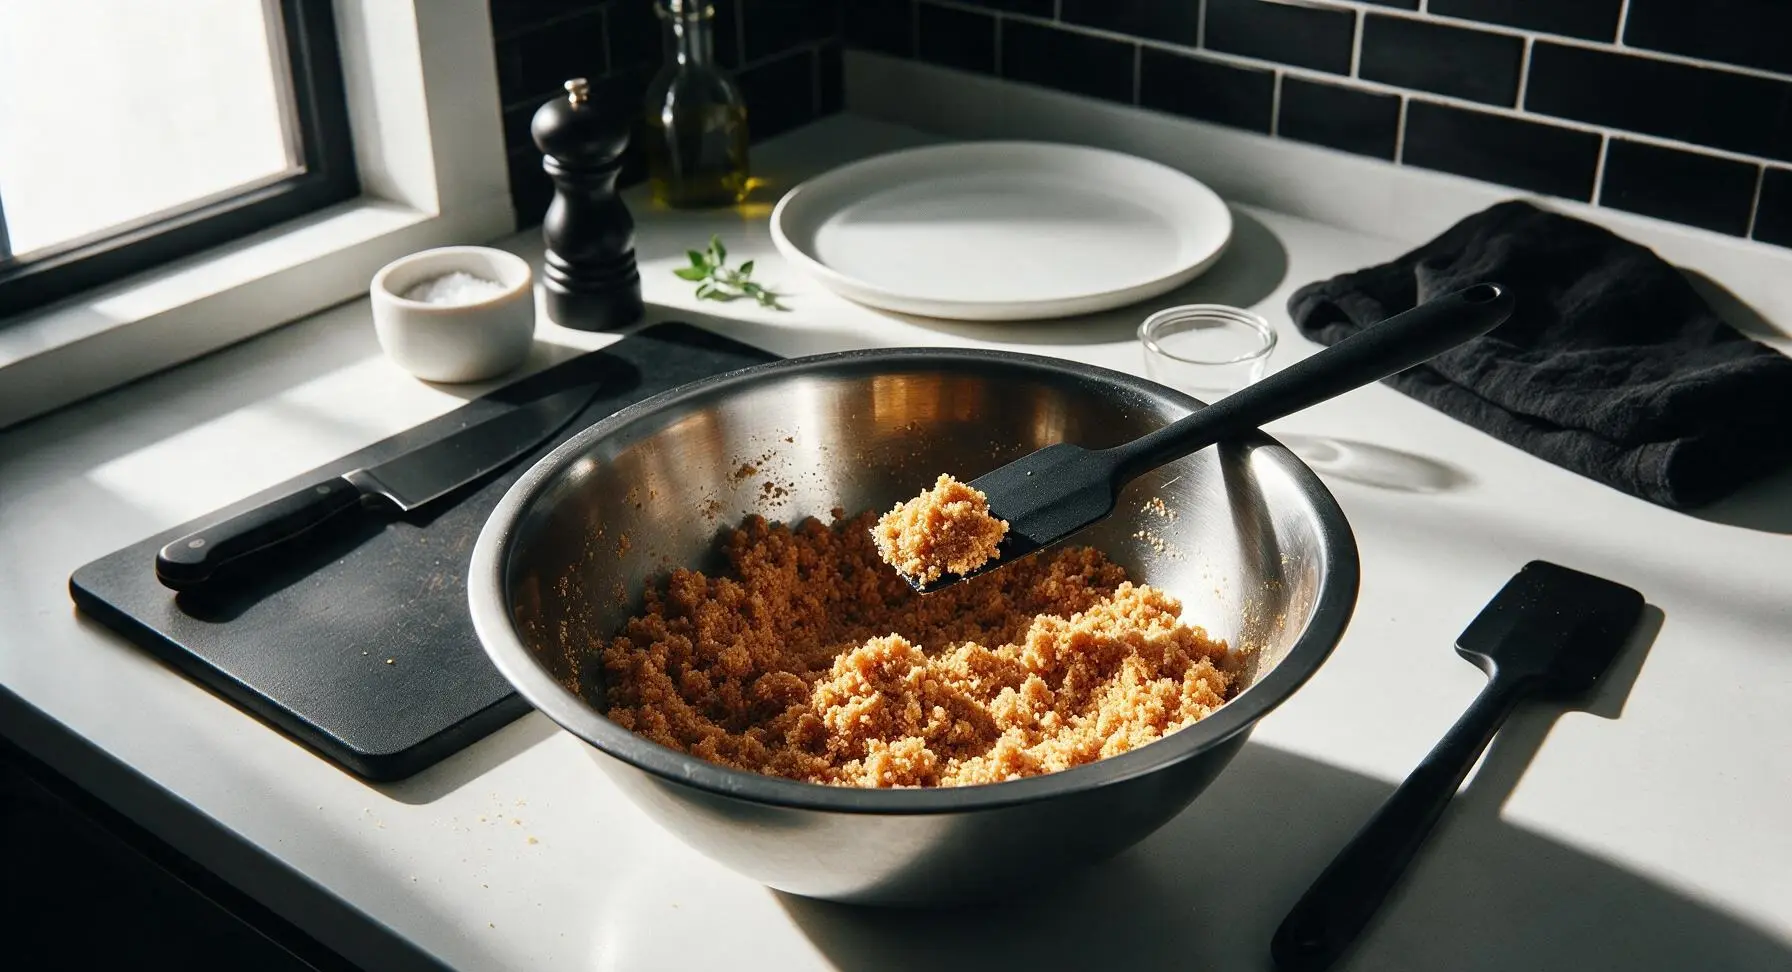
Press Crust Into Pan
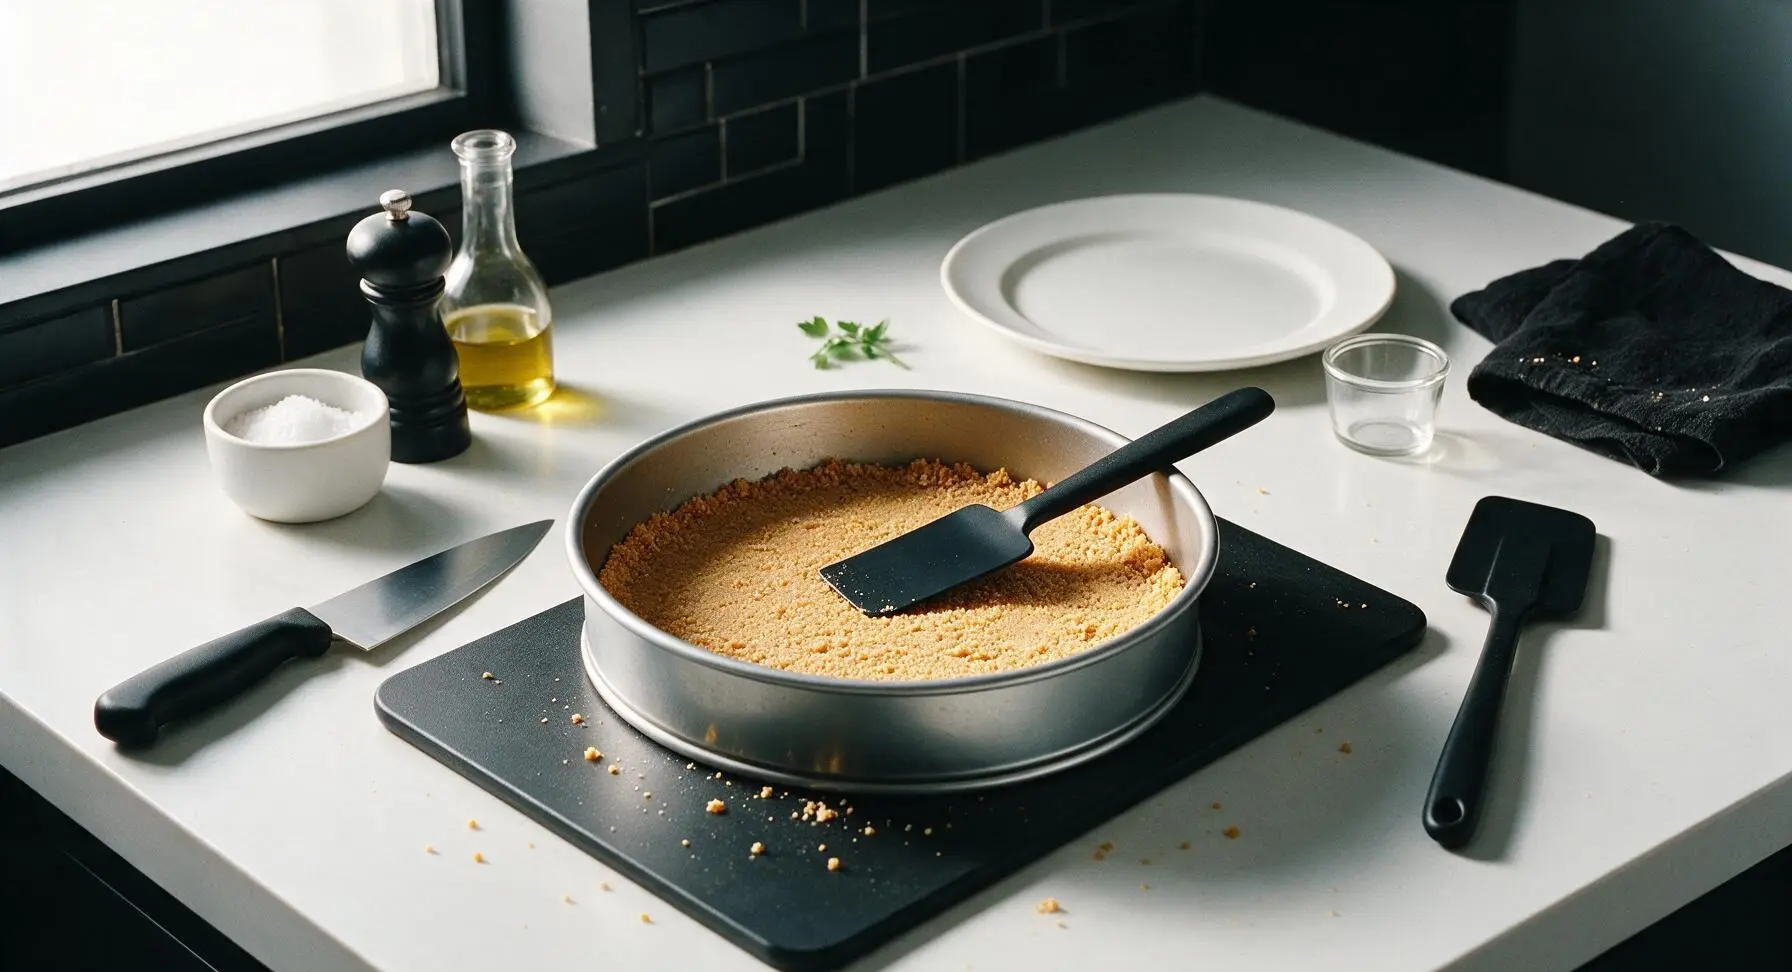
Pour the moistened graham cracker mixture into the prepared springform pan. Use the flat base of the offset spatula and clean fingers to press the crumbs firmly into an even layer across the pan bottom, and 1 inch up the inner sides of the pan. The crust should be compact, with no loose crumbs, and a uniform thickness of about ¼ inch. Bake the crust for 10 minutes at 325°F, then remove and set on the wire cooling rack to cool while you make the filling.
Beat Cream Cheese Smooth
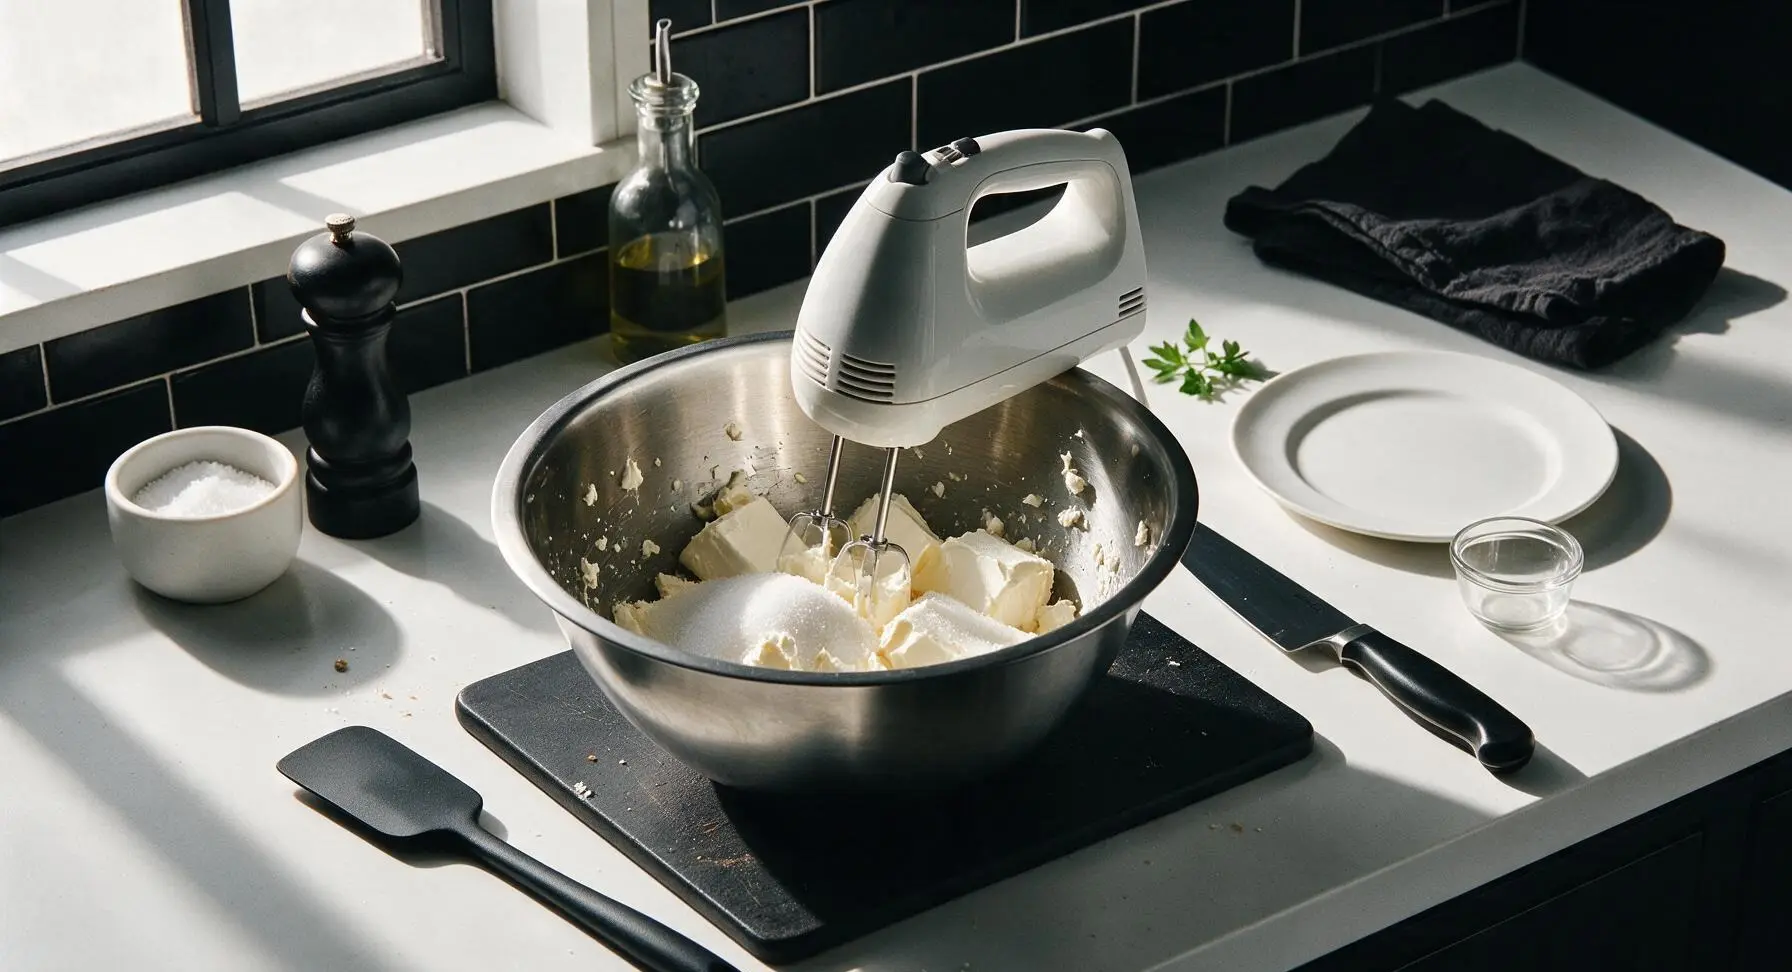
Place the 900g room-temperature full-fat cream cheese and remaining 200g (1 cup) granulated sugar in the 5L stainless steel mixing bowl. Beat on medium-low speed for 3 full minutes, scraping down the sides and bottom of the bowl with the silicone spatula every 60 seconds, until the mixture is completely smooth, with no lumps of cream cheese visible. Do not beat on high speed, as this will incorporate too much air and cause the cheesecake to crack while baking.
Incorporate Filling Ingredients
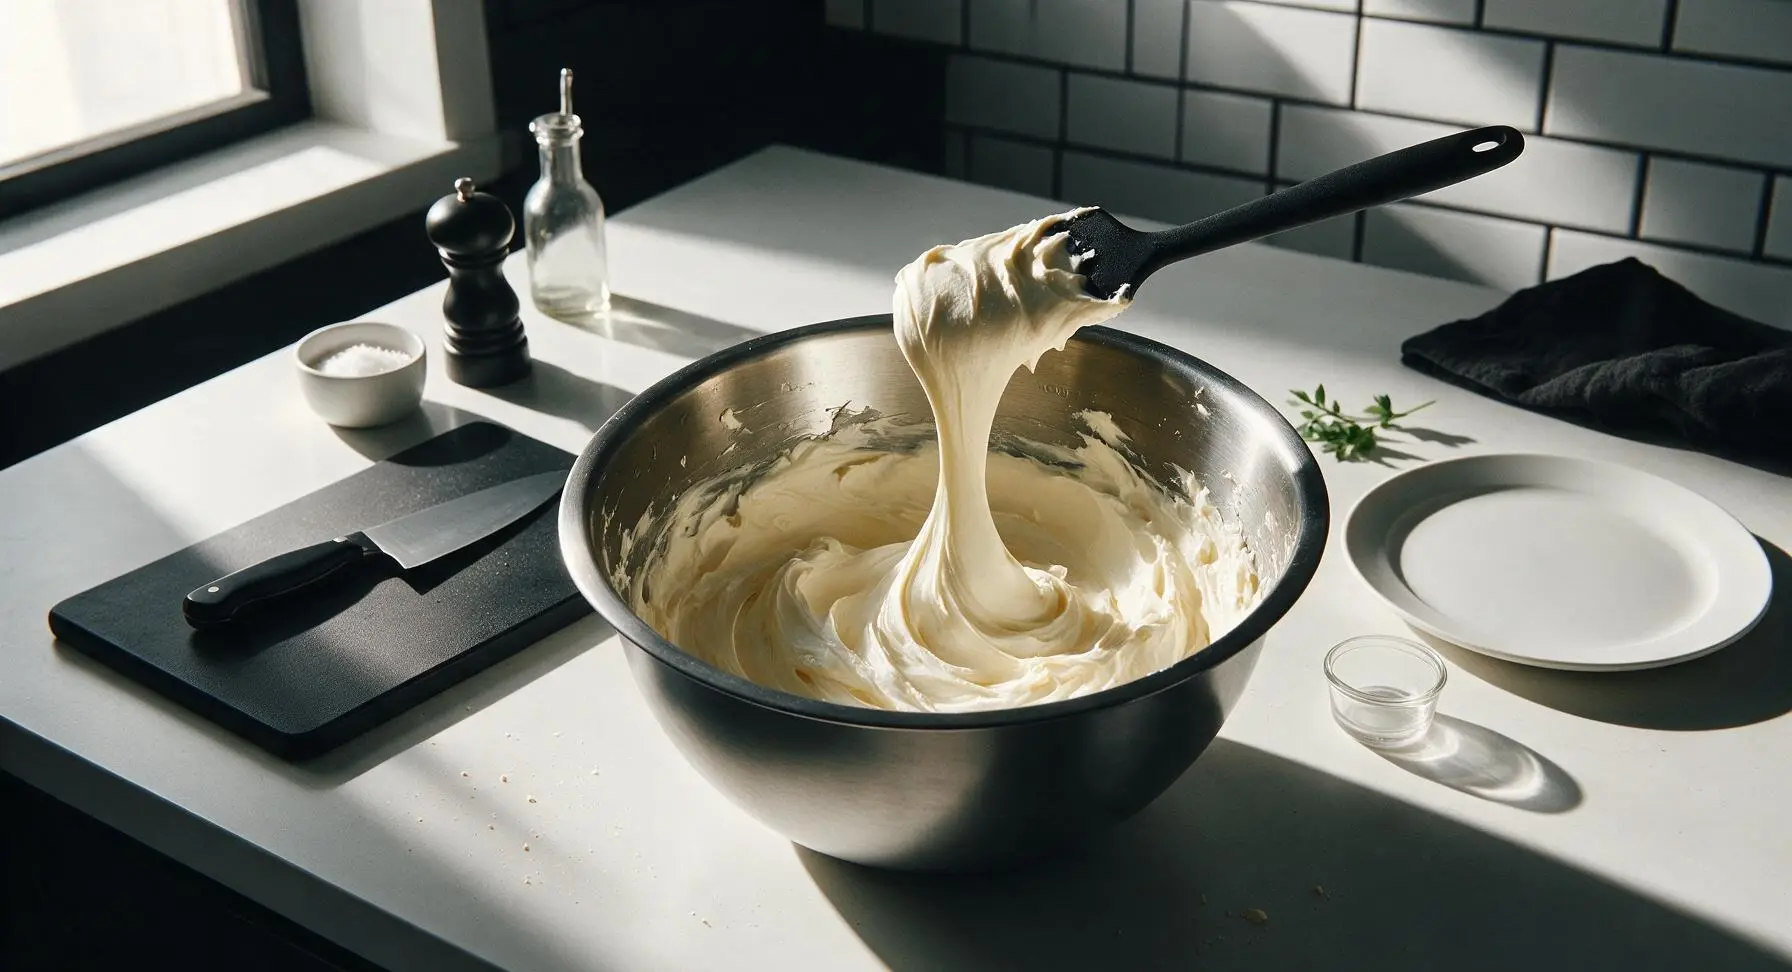
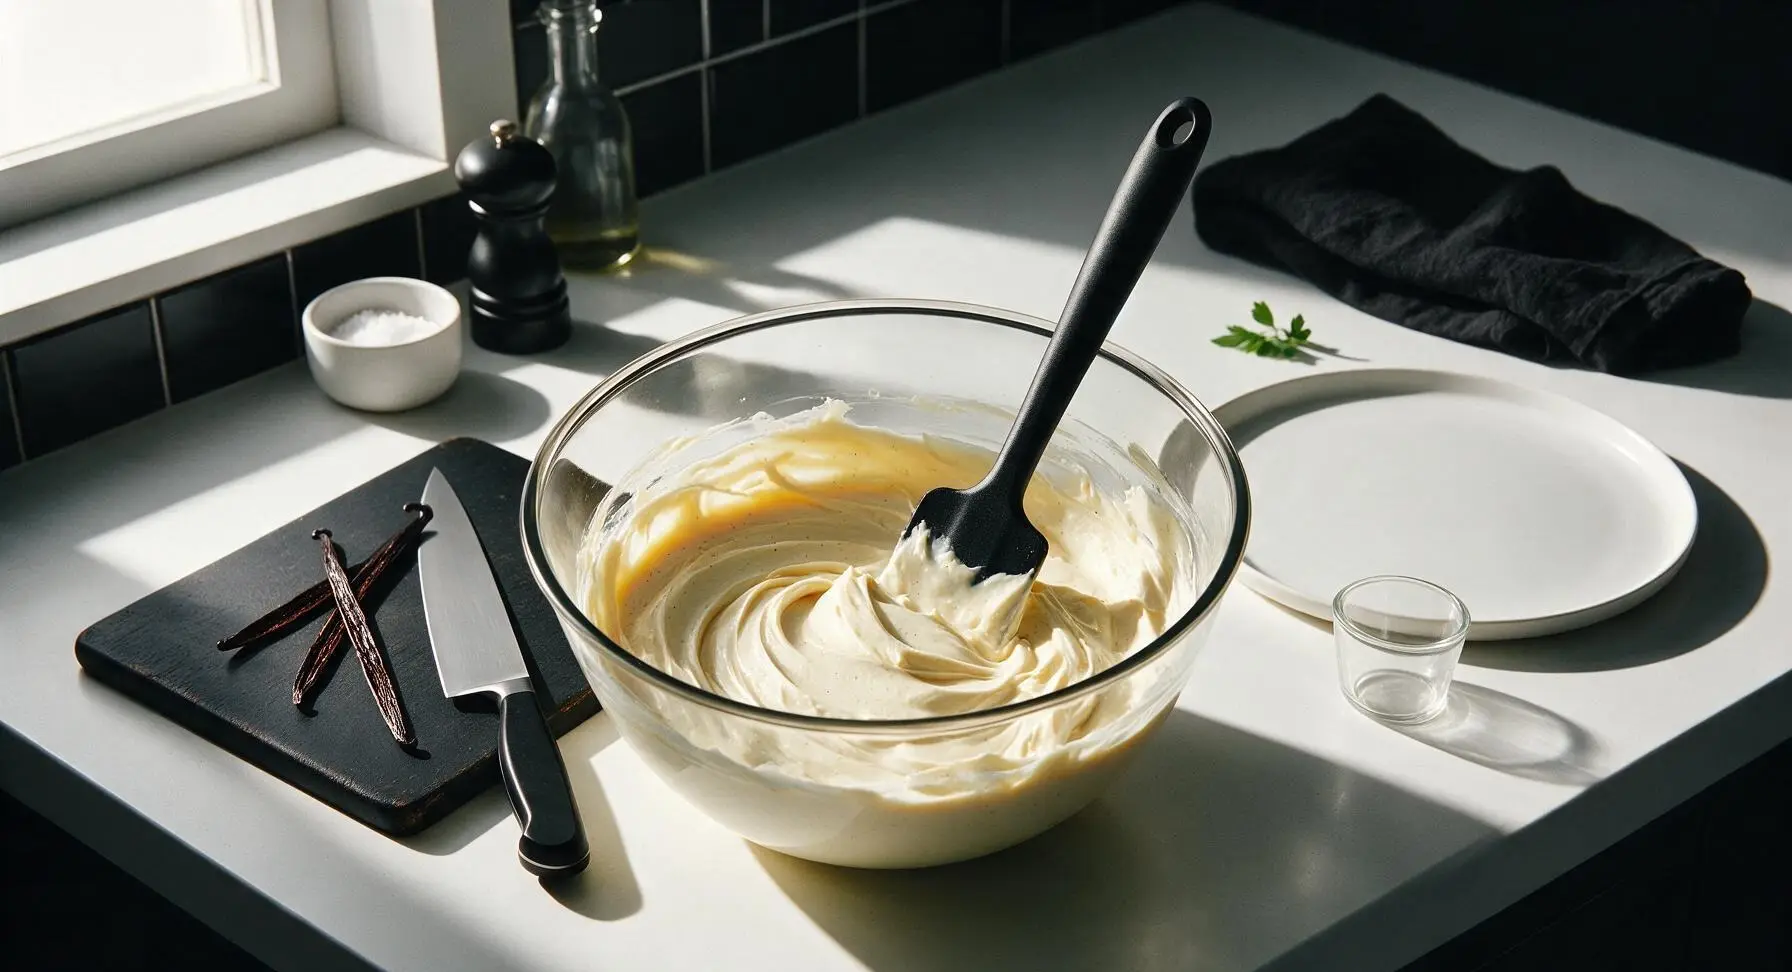
Add the 240g room-temperature full-fat sour cream, 1 tsp vanilla extract, scraped seeds from the 2 split vanilla beans, and ¼ tsp fine sea salt to the smooth cream cheese mixture. Beat on low speed for 1 minute until fully combined, scraping down the bowl once. Add the 3 whole eggs and 1 extra egg yolk one at a time, beating on the lowest speed just until the yolk is incorporated into the batter—stop mixing as soon as no streaks of egg remain, to avoid adding excess air. The final batter will be thick, silky, and dotted with tiny dark vanilla bean specks.
Assemble Water Bath
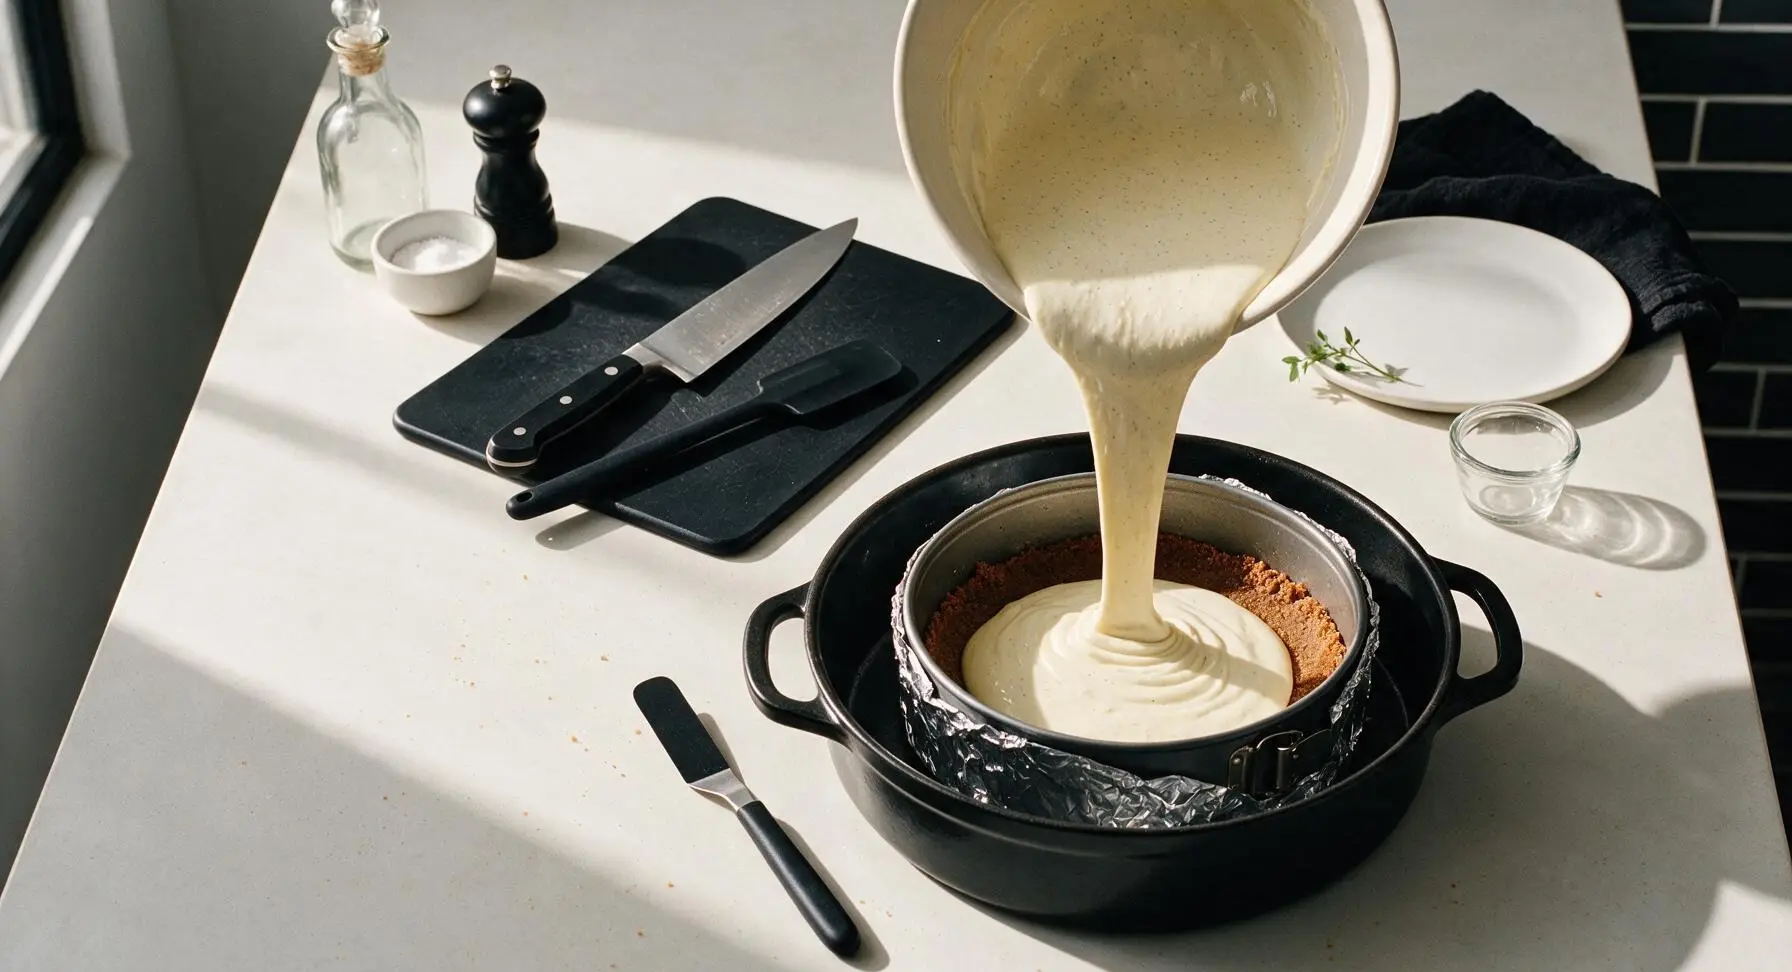
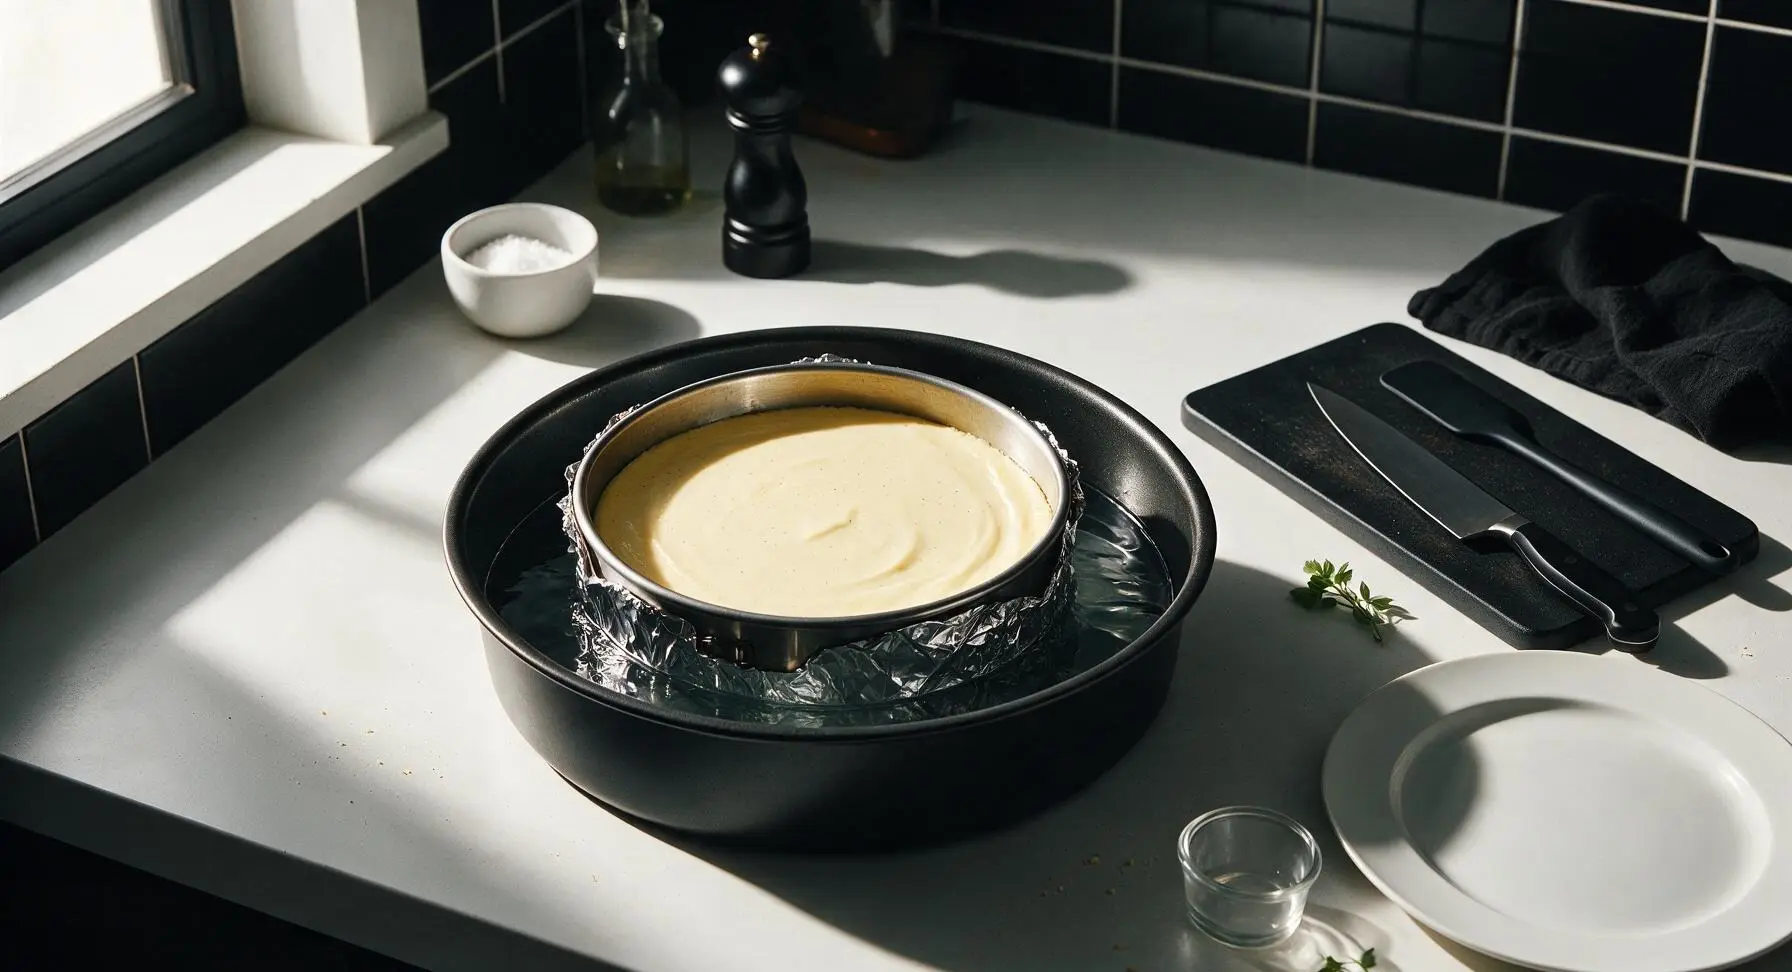
Place the cooled, crust-lined springform pan inside the deep matte black roasting pan. Pour the silky vanilla cheesecake batter slowly over the cooled crust, smoothing the top gently with the offset spatula into an even layer. Tap the pan firmly on the counter 3 times to release any trapped air bubbles in the batter—you will see small bubbles rise to the surface and pop. Carefully pour hot (not boiling) water into the roasting pan until it comes halfway up the sides of the foil-wrapped springform pan.
Bake and Slow Cool
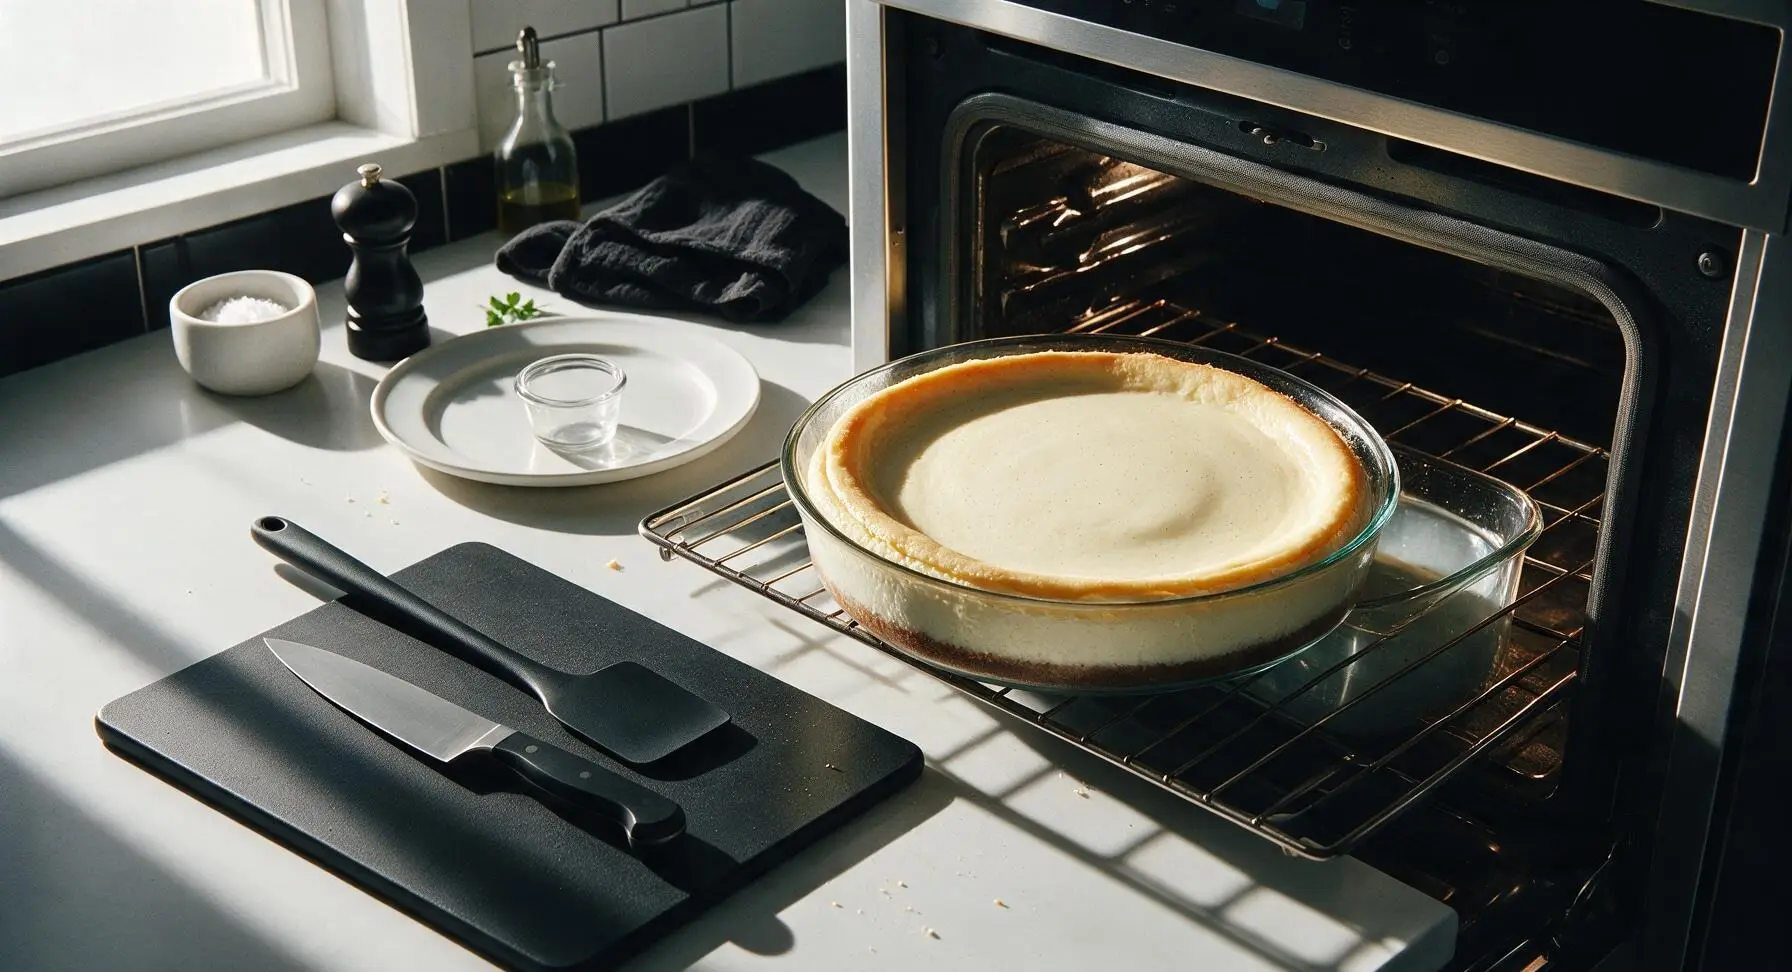
Carefully transfer the roasting pan with the cheesecake to the preheated 325°F (160°C) oven. Bake for 1 hour 10 minutes: the edges of the cheesecake should be set and slightly puffed, but the very center 2 inches will still jiggle like firm Jell-O when you gently nudge the pan. Turn the oven off, crack the oven door open 1 inch, and let the cheesecake cool slowly inside the oven for 1 full hour. This gradual temperature change prevents the top from cracking from sudden cooling.
Chill Before Serving
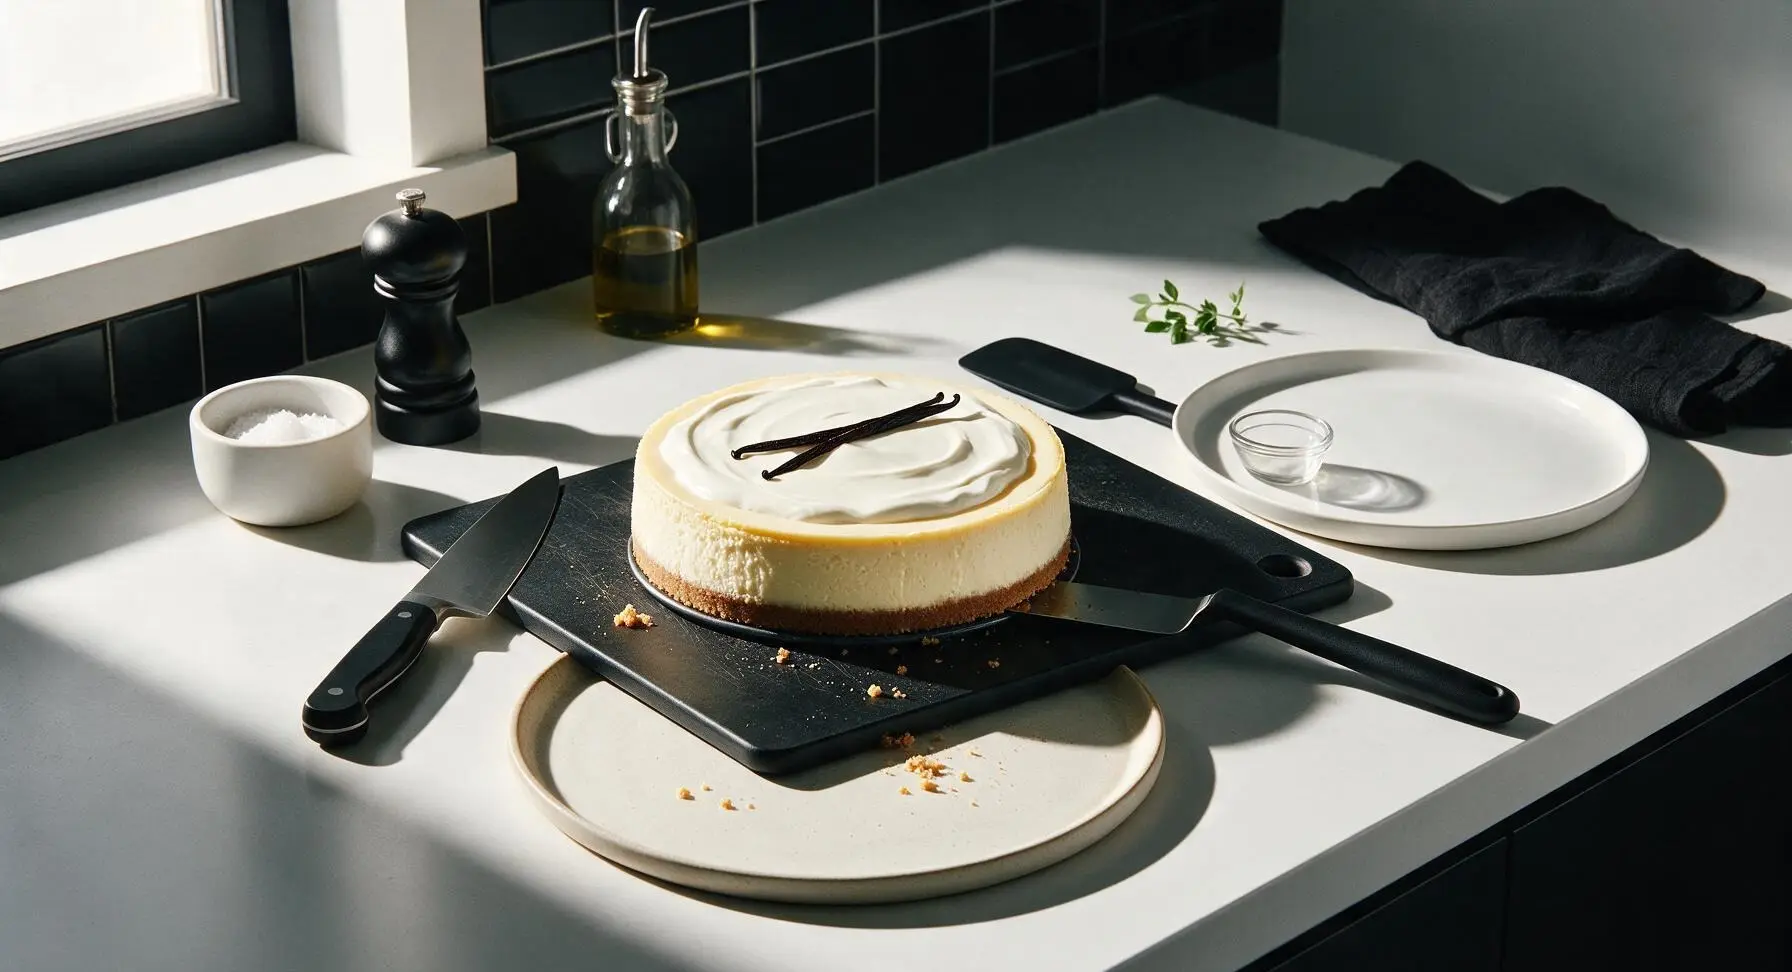
Remove the cheesecake from the water bath, peel off the outer foil layers, and set it on the wire cooling rack to come to room temperature for 1 hour. Cover loosely with plastic wrap and refrigerate for at least 6 hours (preferably overnight) until completely firm and set. When ready to serve, run a warm knife around the inner edge of the springform pan, release the latch, and transfer the cheesecake to the matte cream ceramic serving platter. Garnish with a split vanilla bean before slicing.
Tips
2.Avoid overmixing the batter, especially after adding eggs: overmixing traps excess air that expands in the oven, causing the cheesecake to puff, then sink and crack as it cools. Mix on the lowest speed possible, and stop as soon as no egg streaks remain.
3.For clean, smooth slices, dip a sharp thin-bladed knife in a glass of hot water, wipe it completely dry between every cut, and slice only when the cheesecake is fully chilled. Warm, dry knives glide through the creamy filling without sticking or pulling at the crust.






OMG this vanilla bean cheesecake was the star of our Sunday family dinner! I was nervous about the water bath since I’ve messed those up before, but the instructions were so clear. The vanilla flavor is so rich, not that artificial fake vanilla taste at all. My kids begged for second slices before we even finished the main course! 10/10 will make for our next block potluck too.
Game changer. I’ve made so many cheesecakes that come out dense or lumpy, but this one was perfectly silky, and the vanilla bean specks make it feel so fancy. I topped mine with fresh strawberry compote and it was chef’s kiss. Only note is I had to add 10 extra minutes of bake time because my oven runs cold, so keep that in mind fellow home bakers!
Made this last night for my partner’s birthday and they said it’s better than the cheesecake we got at that fancy steakhouse for our anniversary! The cook time felt a little long on a weeknight but it was 100% worth the wait. Will be saving this recipe for every special occasion going forward.
First time ever making cheesecake and I was so intimidated by the medium difficulty rating, but it came out almost perfect! The only mistake I made was not letting my cream cheese come fully to room temp so I had a few tiny lumps, but nobody even noticed when I brought it to my office potluck. Everyone asked for the recipe!
SO good! I brought this to my daughter’s soccer team end of season potluck and every single slice was gone in 10 minutes. I did get a small crack on the top even with the water bath, but I covered it with whipped cream so no one could tell. Would still make this a million times over.
This is my new go-to cheesecake recipe. I make it every Sunday for meal prep so I have a little sweet treat to look forward to after work all week. The vanilla bean flavor pairs so perfectly with my morning latte, I can’t get enough.
I swapped the graham cracker crust for a gluten free almond flour crust and it worked perfectly! The filling is so creamy and flavorful, you’d never guess it was modified. My whole family (even the non-gluten free folks) raved about it at our last cookout.
Made this for my roommate’s birthday and we all ate way too much of it in one sitting. I used regular vanilla extract instead of vanilla bean paste because that’s all I had at the grocery store, and it was still great, but I can only imagine how much better it is with the actual bean. Gonna grab some beans next time I’m at the store for sure.
Made this for Thanksgiving dinner last year (I know, I’m late leaving a review!) and it was such a hit that my aunt texted me last week asking for the recipe again. I made it a day ahead and let it chill in the fridge overnight which I think made the flavor even better, highly recommend making it ahead if you’re hosting.
Took me a minute to track down vanilla beans at my local grocery store, but it was so worth the hunt. This cheesecake is rich without being too heavy, and the crust is perfectly buttery. I served it with fresh raspberries on top and it was absolute perfection.
Okay I was panicking 20 minutes into baking because I thought I totally messed this up, but it turned out amazing! I overbeat the batter a little so I was convinced it would sink, but it puffed up perfectly and settled into that classic creamy cheesecake texture as it cooled. Don’t overthink it, y’all, this recipe is forgiving even for messy bakers like me.
Brought this to my office potluck today and I kid you not, three people asked if I bought it from a fancy bakery. The medium difficulty rating had me worried I’d mess it up, but the step by step instructions were so easy to follow. Only thing is I wish the recipe made a bigger batch because there were zero leftovers!
Made this for date night with my boyfriend last night and he said it’s the best dessert I’ve ever made for him. We paired it with a bottle of moscato and it was the perfect end to our at-home date. 10/10, will be making this for our anniversary dinner next month too.