
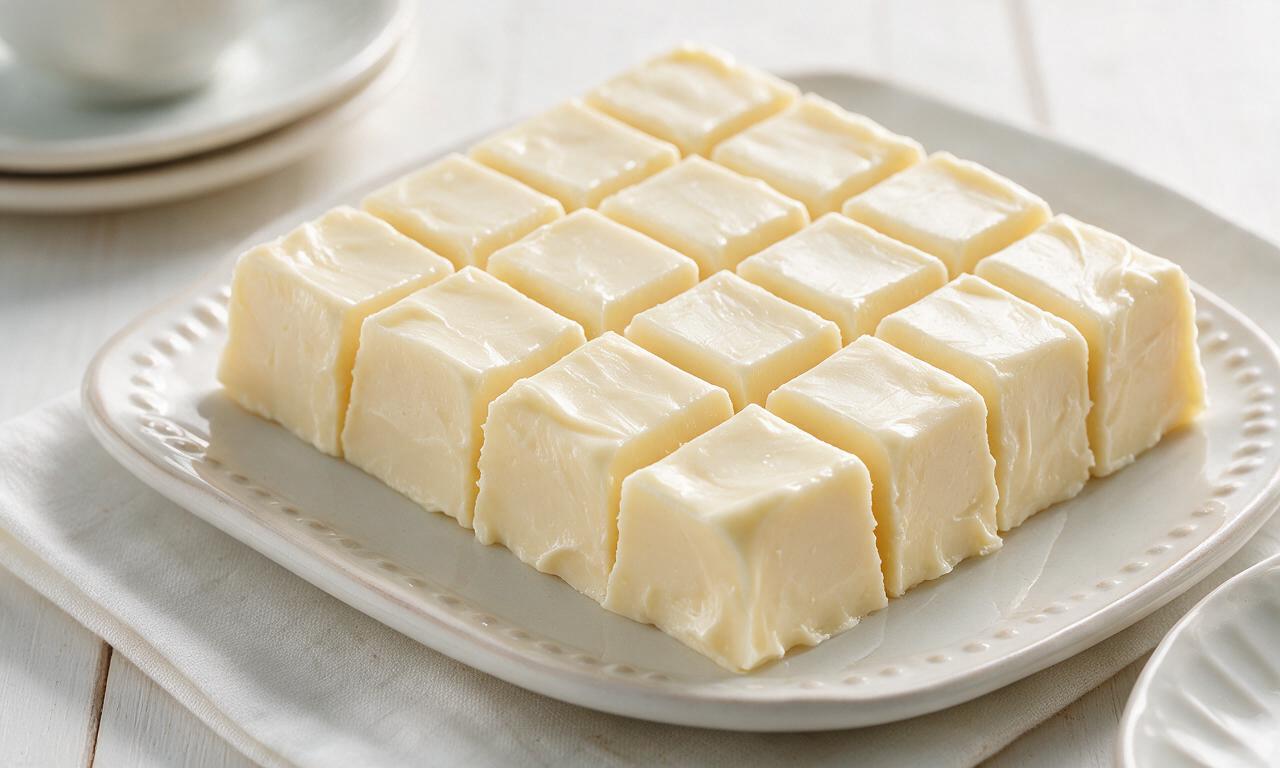
Vanilla Fudge

Vanilla Fudge
⏱️ cook time 2 hours (including 1.5 hours setting time)
🍽️ servings 16
⚡ Difficulty medium

intro

Rich, melt-in-your-mouth creamy vanilla fudge with a smooth buttery texture, ideal for gifting or sweet snacking, made with simple pantry staples.

Ingredients

Granulated sugar 300g (1.5 cups)
Unsalted butter 113g (½ cup / 1 stick)
Sweetened condensed milk 397g (1 standard 14oz can)
Light corn syrup 30ml (2 tablespoons)
Pure vanilla extract 15ml (1 tablespoon)
Fine sea salt 1g (¼ teaspoon)

Steps

1

Prep baking pan

Line a 20cm (8-inch) square baking pan with parchment paper, leaving 5cm (2-inch) overhang on two opposite sides to easily lift set fudge out later. Use 1g of the measured butter to lightly grease the exposed parchment to prevent sticking, then set the pan aside at room temperature.
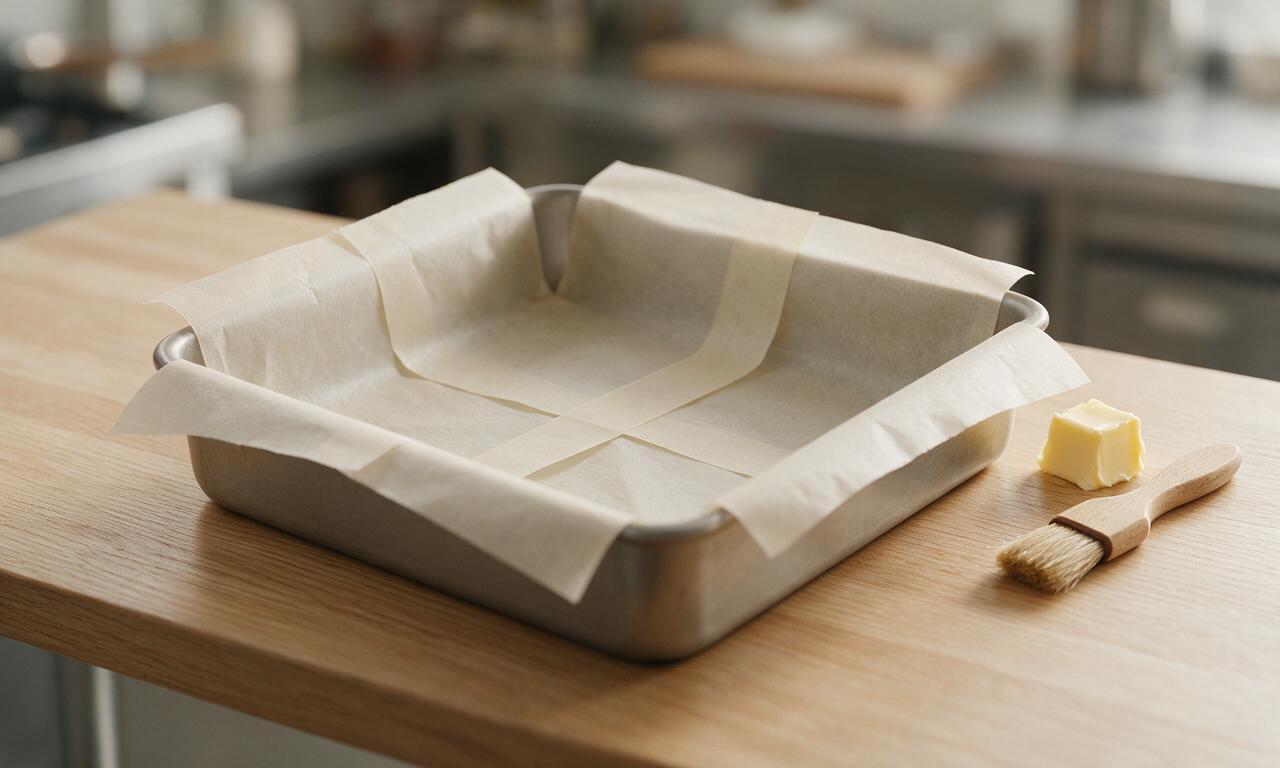
Step 1
step1:Prep baking pan
2

Combine fudge base

Place a heavy-bottomed 3L (3-quart) saucepan over medium-low heat. Add the remaining 112g cubed unsalted butter, 300g granulated sugar, 397g sweetened condensed milk, and 30ml light corn syrup to the pan. Stir constantly with a heatproof silicone spatula for 3-4 minutes until the butter fully melts and sugar dissolves completely, with no gritty texture felt when scraping the pan bottom.
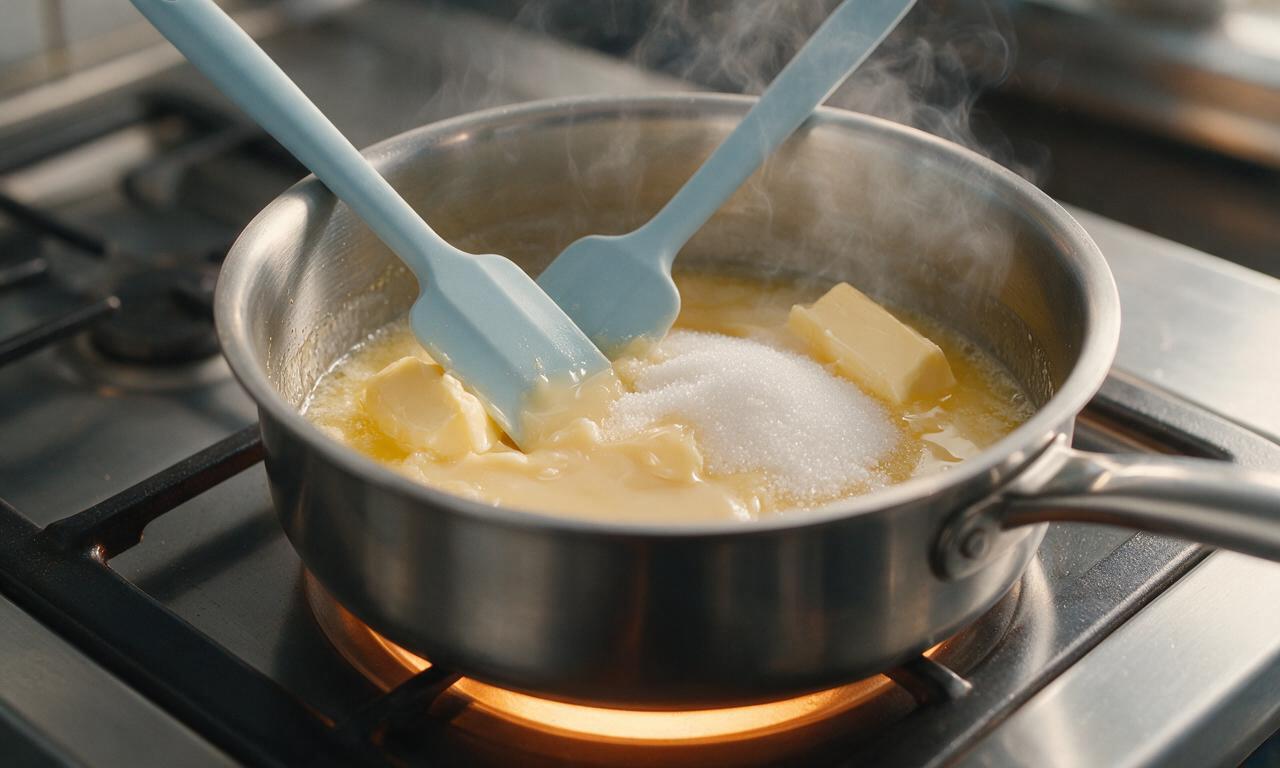
Step 2
step2:Combine fudge base
3

Cook to soft-ball stage

Increase stovetop heat to medium, and bring the mixture to a steady, rolling boil (do not use heat higher than medium, as this will burn the fudge). Stir continuously to prevent scorching, and cook until the mixture reaches 116°C (240°F) on a clipped candy thermometer, roughly 8-10 minutes. If no thermometer is available, drop a pea-sized bit of mixture into a bowl of ice water: it should form a soft, malleable ball that flattens gently when pressed between fingers.
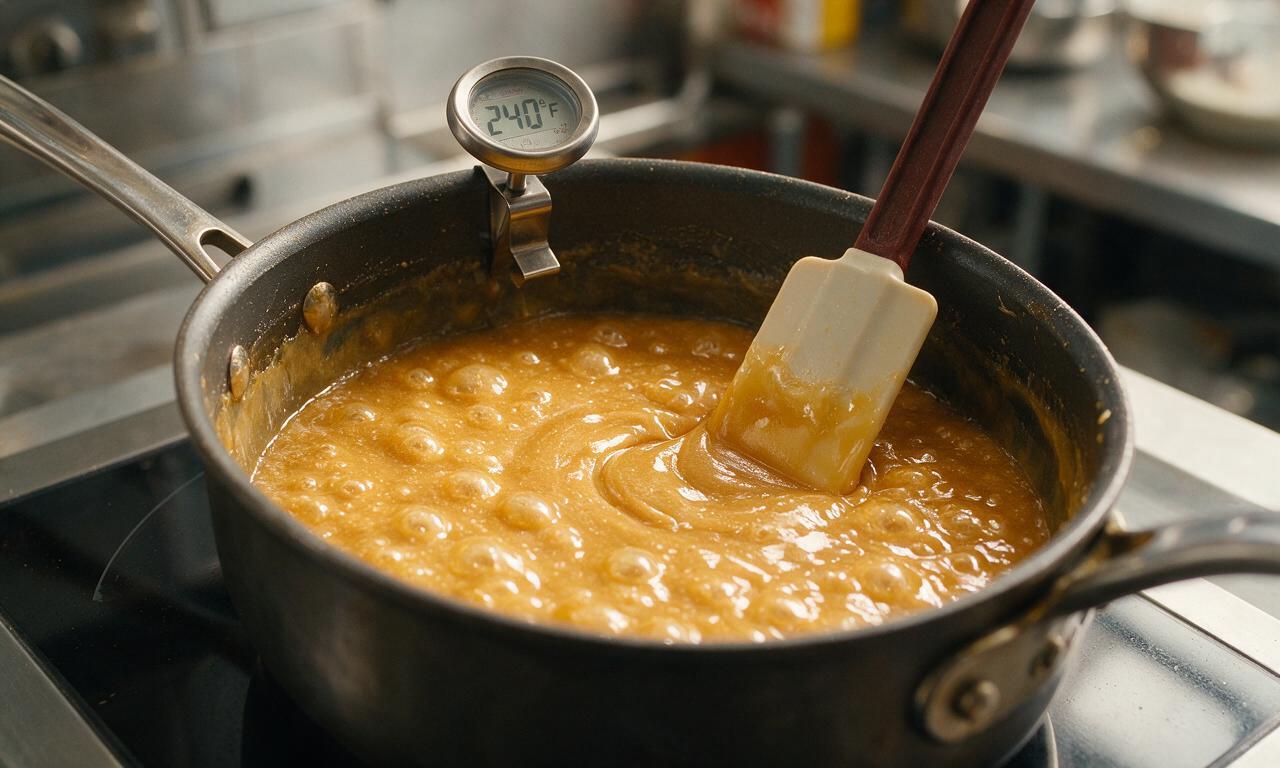
Step 3
step3:Cook to soft-ball stage
4

Add vanilla and cool

Immediately remove the saucepan from heat once it reaches the correct temperature. Stir in 15ml pure vanilla extract and 1g (¼ tsp) fine sea salt until fully incorporated. Let the fudge rest undisturbed in the pan for 5 minutes, until the surface cools to roughly 82°C (180°F) and no thick steam rises from the mixture.
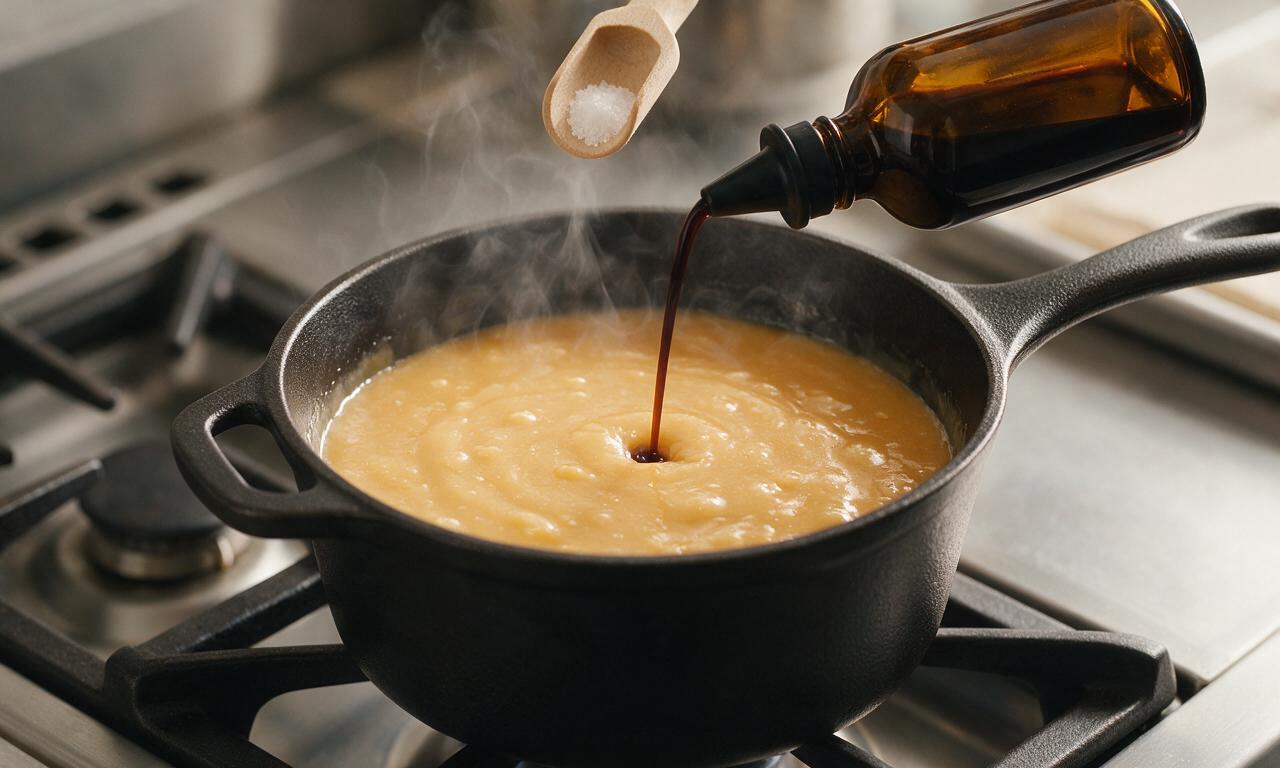
Step 4
step4:Add vanilla and cool
5

Beat fudge until thick

Use a sturdy wooden spoon or electric hand mixer on low speed to beat the fudge vigorously for 2-3 minutes. Stop beating once the fudge loses its high-gloss shine, turns a paler creamy vanilla color, and thickens enough to leave a slow, thick trail when you lift the spoon out of the mixture. Do not over-beat, as this causes grainy, crumbly set fudge.
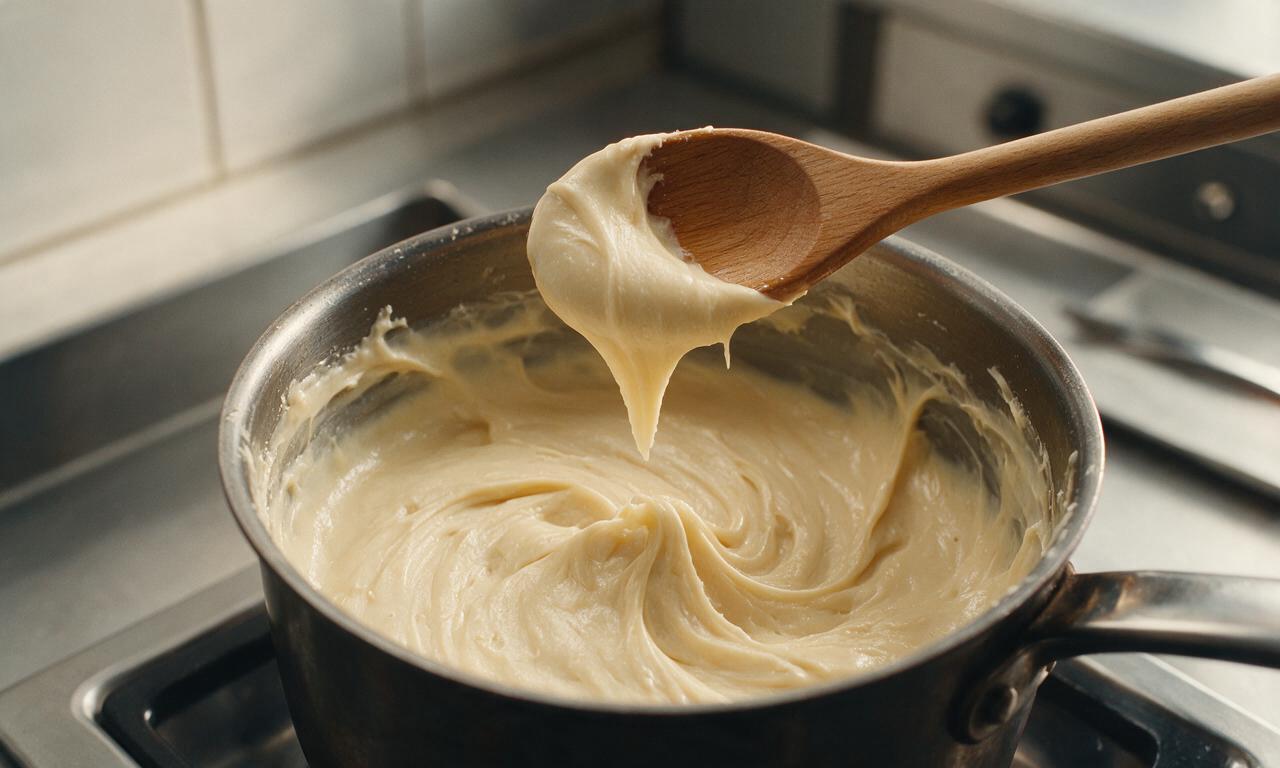
Step 5
step5:Beat fudge until thick
6

Pour and set fudge

Immediately pour the thickened fudge into your prepared parchment-lined pan, and use an offset spatula to spread it into a smooth, even layer. Do not scrape crusty, dried bits from the saucepan bottom or sides into the pan, as these create hard lumps in the finished fudge. Let fudge rest at room temperature for 30 minutes, then transfer to the refrigerator to chill for 1 full hour until completely firm to the touch.
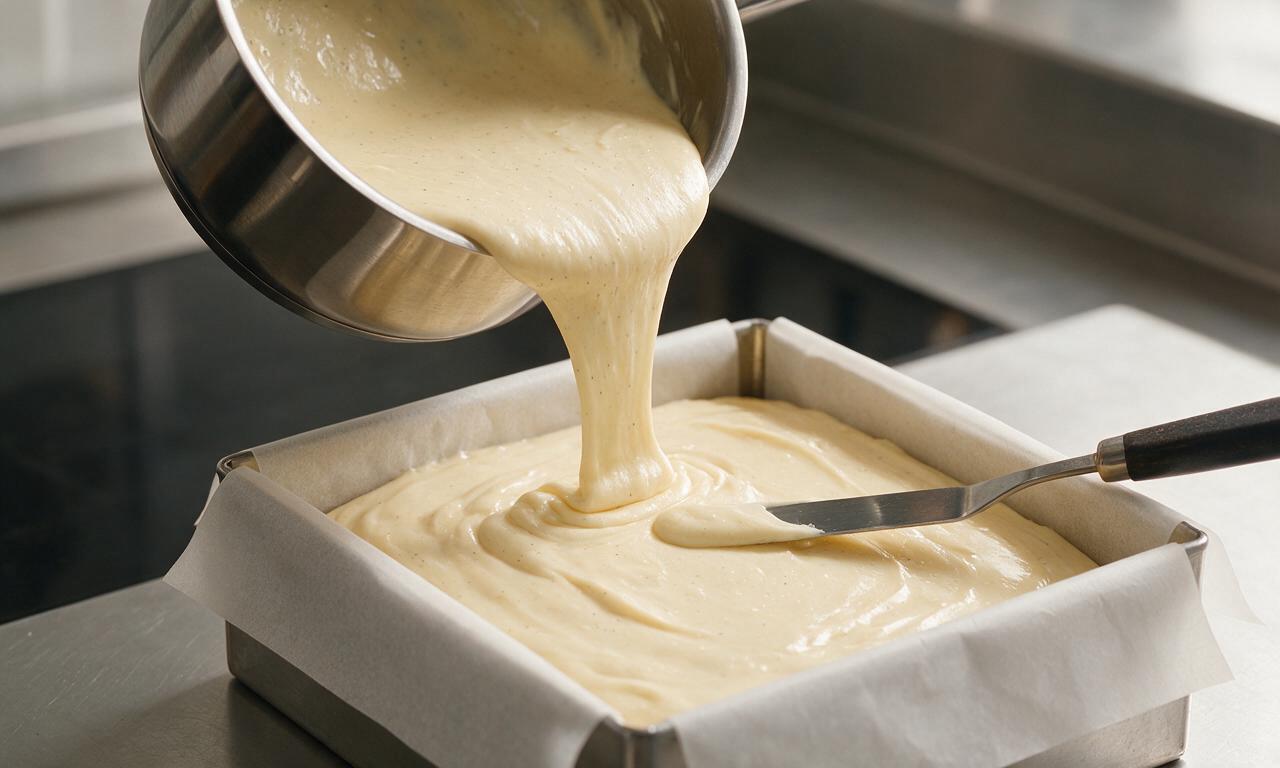
Step 6
step6:Pour and set fudge
7

Cut into bite-sized pieces

Use the parchment paper overhang to lift the fully set fudge block out of the pan and onto a cutting board. Peel away the parchment from the fudge sides, then use a sharp knife warmed under hot water (dried between cuts) to slice the fudge into 2.5cm (1-inch) square pieces, yielding 16 even servings. Wipe the knife blade clean between cuts for smooth, sharp edges.
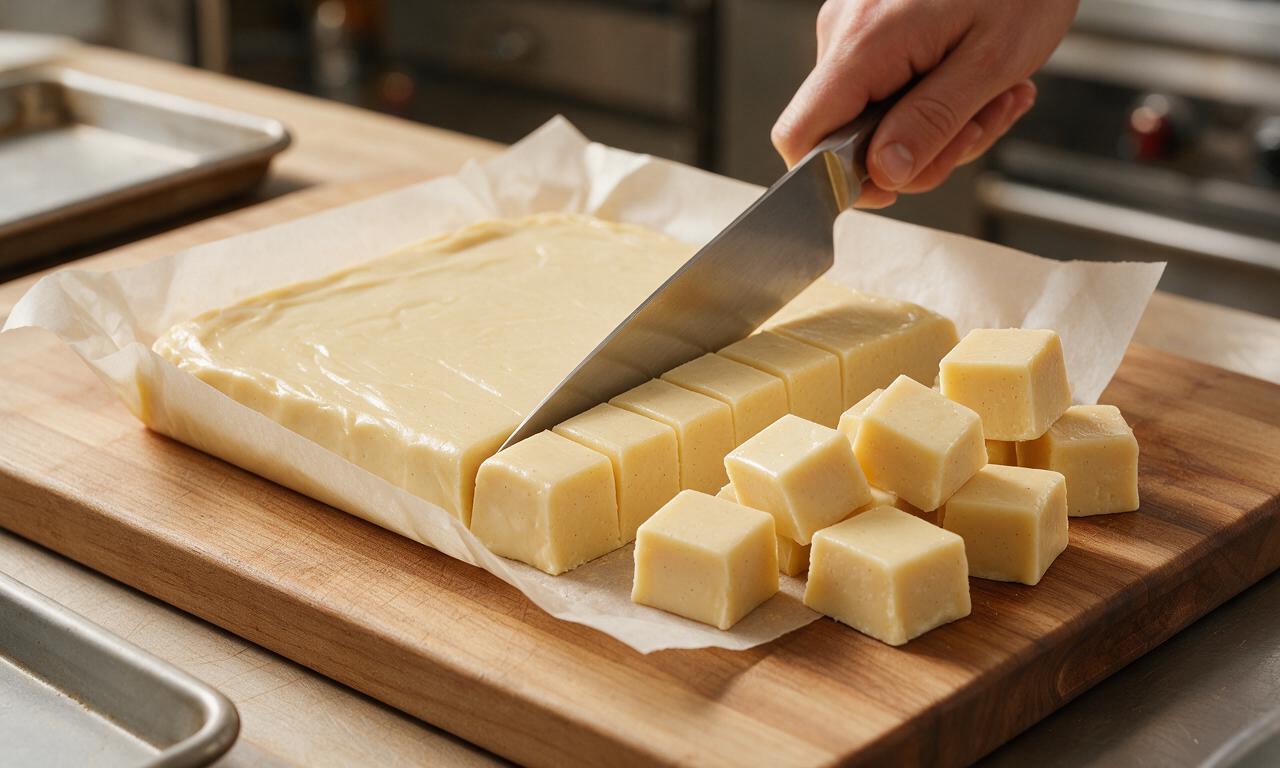
Step 7
step7:Cut into bite-sized pieces

Tips

1.Always use a heavy-bottomed saucepan for fudge, as thin lightweight pans create uneven hot spots that easily scorch the sugar mixture, leading to burnt, bitter fudge.
2.Avoid scraping crystallized sugar bits from the pan sides into the boiling fudge, as these seed crystals will spread through the mixture and create a grainy, crumbly texture instead of smooth, creamy fudge.
3.Store cut fudge in an airtight container layered between sheets of parchment paper in the refrigerator for up to 2 weeks, or freeze for up to 3 months for easy edible gifting.


✨ You May Also Like

Desserts & Baking
🍜 Italy

Creamy, coffee-kissed classic Northern Italian no-bake dessert, with layers of rum-spiked mascarpone cream, soft ladyfingers, and a rich cocoa dusting.

⏱️ 4 hours 3Desserts & Baking ★ 4.8
Desserts & Baking
🍜 France

Flaky, shatteringly crisp, buttery French croissants with golden exteriors and soft, airy layered interiors, perfect for pairing with coffee for a special morning treat.

⏱️ 12 hours Desserts & Baking ★ 4.7
Desserts & Baking
🍜 United States

Warm, spiced baked apples topped with a fluffy golden biscuit crust, this cozy dessert pairs perfectly with vanilla ice cream for cool-weather comfort.

⏱️ 55 minuteDesserts & Baking ★ 4.7
Desserts & Baking
🍜 United States

A star-spangled classic American blueberry pie with buttery flaky crust and bright sweet-tart filling, perfect for summer patriotic gatherings.

⏱️ 1 hour 25Desserts & Baking ★ 4.8
Desserts & Baking
🍜 United States

A beloved no-bake regional Maine candy with a chewy coconut-potato center coated in rich dark chocolate, a New England holiday staple since the 1870s.

⏱️ 2 hours 3Desserts & Baking ★ 4.9
Desserts & Baking
🍜 France

Luxuriously creamy, floral frozen custard made with aromatic Tahitian vanilla beans, boasting a smooth, rich texture that melts slowly on the tongue.

⏱️ 3 hours 3Desserts & Baking ★ 4.6

Vanilla Fudge:Frequently Asked Questions

1.Why did my vanilla fudge turn out grainy instead of smooth?
Grainy fudge almost always stems from undissolved sugar crystals forming on pan sides during boiling, or stirring the mixture too early after it reaches temperature. Prevent this by brushing pan sides with a damp pastry brush as it cooks to wash down stray crystals, and avoid stirring the fudge once removed from heat until it cools to 110°F.
2.Can I skip the light corn syrup in this vanilla fudge recipe?
I don’t recommend skipping it entirely, because light corn syrup acts as an “interfering agent” that stops sugar crystals from binding and creating gritty fudge. If you need a last-minute substitute, use an equal measure of light golden syrup, but note it will add a subtle honey-like, less neutral flavor compared to classic corn syrup.
3.What kind of pan is best for cooking this fudge to avoid burning?
Reach for a heavy-bottomed, 3-quart stainless steel or enameled saucepan for the most even heat distribution. Thin, lightweight pans create hot spots that easily scorch the sugar and condensed milk base, leaving you with bitter, off-flavored fudge. Skip nonstick pans for the cooking step, as they rarely hold consistent high heat well for reliable candy making.
4.Do I need a candy thermometer to make this fudge successfully?
A candy thermometer takes all the guesswork out, and I strongly recommend it for consistent results—you’re aiming for the soft-ball stage, 235–240°F at sea level. If you don’t have one, test doneness by dropping a tiny dollop of hot fudge into cold water; it should form a soft, malleable ball that flattens easily when pressed between your fingers.
5.How long do I need to beat the fudge after it finishes cooking?
Once the fudge cools to 110°F (warm, not scalding, to the touch), beat it steadily with a wooden spoon or low-speed electric mixer for 5 to 7 minutes. You’ll know it’s ready when it loses its high-gloss sheen, thickens noticeably, and starts to hold its shape instead of spreading immediately when you dollop a small amount.
6.Can I add mix-ins like nuts or chocolate chips to this vanilla fudge?
Absolutely! This smooth vanilla base is incredibly versatile for custom add-ins. Fold in up to 1 cup of mix-ins right after you finish beating the fudge, just before you pour it into your prepared pan to set. Great options include chopped toasted walnuts, mini white chocolate chips, crushed salted pretzels, or dried cranberries for a sweet-tart pop.
7.Why is my fudge too soft and sticky, and how do I fix it?
Soft, sticky fudge almost always means you didn’t cook it to a high enough temperature to reach the proper sugar concentration. If it hasn’t set fully after 4 hours at room temperature, scrape it back into your saucepan, add 2 tablespoons of water, reheat slowly to 238°F, then cool and beat it again following the original recipe steps.
8.How should I store homemade vanilla fudge to keep it fresh?
Store fully set, cut fudge in an airtight container layered between sheets of parchment paper to prevent sticking, at cool room temperature (60–70°F) for up to 2 weeks. You can also refrigerate it for up to 1 month, but let pieces sit at room temp for 10 minutes before serving to bring back that signature creamy, melt-in-your-mouth texture.
9.Can I freeze this fudge for later use or gifting?
Definitely! Wrap individual fudge pieces tightly in plastic wrap, tuck them into a labeled freezer bag or airtight container, and freeze for up to 3 months. Thaw wrapped pieces in the fridge overnight, then let them sit at room temperature for 15 minutes before unwrapping to prevent condensation from making the fudge surface sticky.
10.Why does my fudge have a greasy, separated texture?
Greasy, separated fudge usually happens if you cooked the mixture over excessively high heat, used butter straight from the fridge, or added vanilla too early when the base was scalding hot. Fix this by stirring in 1 to 2 tablespoons of warm water, one teaspoon at a time, as you beat the cooling fudge to bring the smooth emulsion back together.
11.What size pan should I use to set this fudge for the best thickness?
An 8x8-inch square baking pan lined with overhanging parchment paper is perfect for this recipe, giving you fudge pieces that are ½ to ¾ of an inch thick, the ideal bite size. If you prefer thinner fudge, you can use a 9x9-inch pan, but skip a 9x13-inch pan—it will make fudge that is too thin and prone to drying out quickly.
12.Can I use vanilla bean paste instead of pure vanilla extract here?
Absolutely! Vanilla bean paste is a fantastic swap that adds pretty, visible vanilla seed specks for a more gourmet look, without losing that rich, warm vanilla flavor. Use an equal measure of vanilla bean paste in place of extract, and add it at the same recipe step: once you take the fudge off the heat to start cooling.
13.How long does this fudge need to set before I can cut it?
Let the poured fudge set undisturbed at cool room temperature for 2 to 3 hours, until it is completely firm to the touch across the entire surface. Don’t rush the process by sticking it in the freezer immediately, as rapid temperature changes can cause the fudge to develop a grainy texture or separate as it sets.
14.Is this fudge recipe a good option for homemade holiday gifts?
It’s one of my all-time go-to gifting recipes! It uses simple pantry staples, holds up beautifully for 2 weeks at room temperature, and has that luxuriously creamy texture that feels special and indulgent. Cut it into neat squares, tuck it into decorative tins with a handwritten note, and it makes a thoughtful, crowd-pleasing gift for neighbors, coworkers, and loved ones.

Comments (6)

3 days ago

OMG this vanilla fudge is SO good! I made it for our neighborhood potluck last weekend and every single piece was gone before I even made it through the appetizer table. My kids begged me to make another batch before the week was up, so I’m whipping up a second one tonight for their after-school snacks. The texture is perfectly creamy, no grainy bits at all if you follow the temp directions exactly! Total game changer for my holiday treat platters.

2 days ago

Wait did you use a candy thermometer? I tried making fudge once without one and it turned into a crumbly mess, wondering if I need to dig mine out for this recipe!

yesterday

So glad your family and neighbors loved it, MamaBear2018! @CookieQueen88 a candy thermometer is definitely your best friend here to hit that perfect soft-ball stage without guessing—you’ll get that silky smooth texture every time if you use one!

1 week ago

Really solid vanilla fudge recipe! Flavor was spot on, rich and buttery without being cloyingly sweet. I knocked a star off only because my first batch seized up a little when I added the vanilla—turns out I took the pan off the heat just a touch too early. Let it set for the full 1.5 hours like the recipe says and it sliced perfectly, even with that little hiccup. Would make again for my office holiday party next month!

5 days ago

Thanks for the honest feedback! Adding the vanilla once the mixture cools just a touch (around 230°F after removing from heat) helps prevent seizing—give that trick a try next batch and it’ll be 5-star worthy for sure!

2 hours ago

Just pulled my set fudge out of the pan and snuck a corner piece—HEAVEN. I added a tiny handful of crushed sea salt on top before letting it set and the sweet-salty combo is unreal. My partner is already hovering over the cutting board waiting for me to slice the rest. 10/10, no notes.

2 days ago

I was intimidated at first because I’ve always thought fudge was super finicky to make, but this recipe was way more straightforward than I expected! Medium difficulty feels fair—you just have to be patient and not rush the heating step. I cut mine into little bite-sized pieces and stored them in the fridge for quick sweet treats all week, they hold up amazing. My roommate said it tastes exactly like the fudge we get at the boardwalk every summer!

yesterday

How long do these stay good in the fridge? I want to make a batch for my sister’s birthday next weekend and don’t want it to go bad before then!

30 minutes ago

Mine lasted almost a full week in an airtight container and still tasted totally fresh! I bet it’ll be perfect if you make it 2-3 days ahead, just keep it sealed tight in the fridge.

5 minutes ago

Flavor was great, but mine came out a little softer than I wanted even after letting it set for 2 hours. Did I maybe not cook it long enough? I followed the cook times exactly but maybe my stove runs hotter than most? Still edible, just more of a spreadable fudge than a firm sliceable one, which my book club still ate happily.

just now

I had the same problem my first try! Turned out my candy thermometer was off by like 10 degrees, so I didn’t hit the soft ball stage. Tested it in a cup of cold water on my second batch and it came out perfect, firm but creamy.

2 weeks ago

I’ve been making fudge for 40 years using my mom’s old recipe, but I tried this one on a whim when my grandkids asked for extra vanilla flavor. Let me tell you, this is the creamiest batch I’ve ever turned out! The ratio of butter to condensed milk is perfect, no grit, no weird aftertaste. My oldest granddaughter asked for the recipe to take to college with her, that’s the highest compliment I can give. Will be replacing my old go-to with this one!



