
Vanilla Ice Cream

title 1
Vanilla Ice Cream
⏱️ cook time 4 hours 50 minutes
🍽️ servings 6
⚡ Difficulty medium

intro

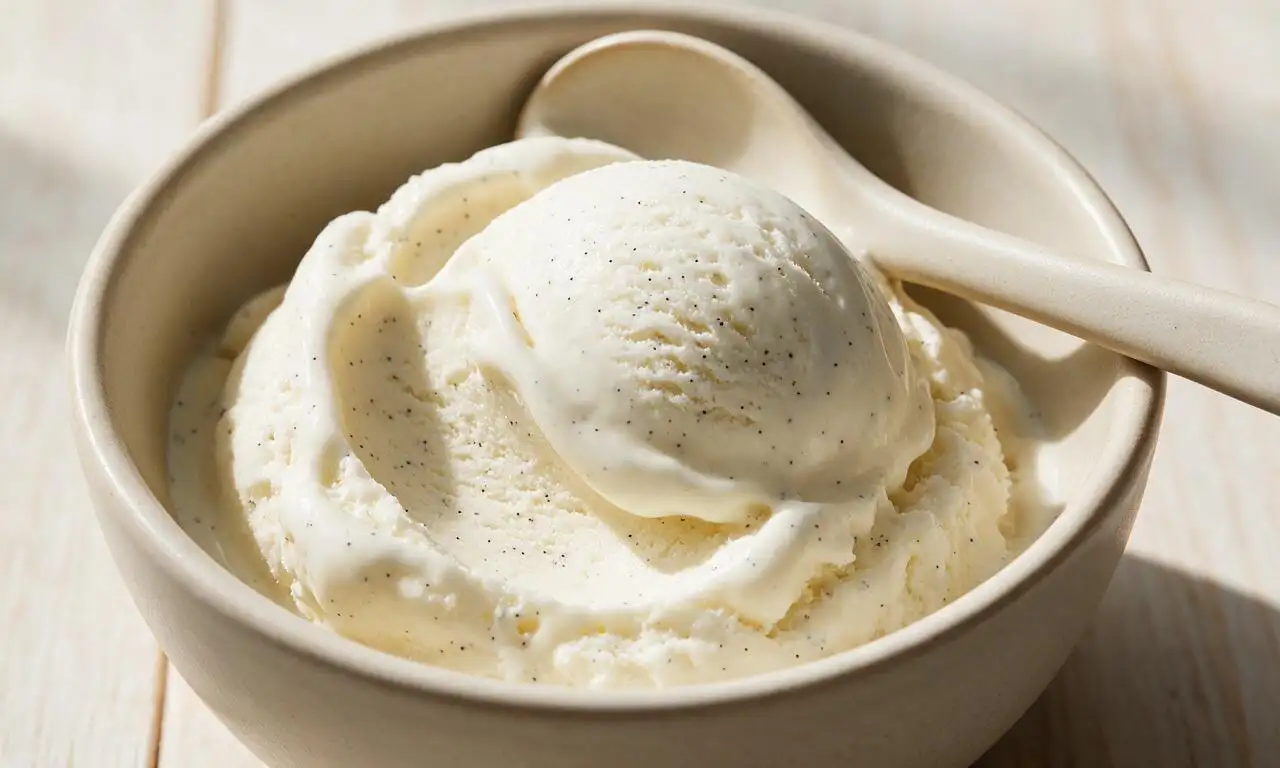
Rich, silky custard-based vanilla ice cream flecked with real vanilla bean, with a smooth, scoopable texture that outshines store-bought versions.

Ingredients

Heavy whipping cream 480ml (2 cups)
Whole milk 240ml (1 cup)
Granulated sugar 150g (3/4 cup)
Large egg yolks 6 pieces (108g)
Whole vanilla bean 1 pod
Pure vanilla extract 1 teaspoon
Fine sea salt 1/4 teaspoon

Steps

1

Heat dairy with vanilla

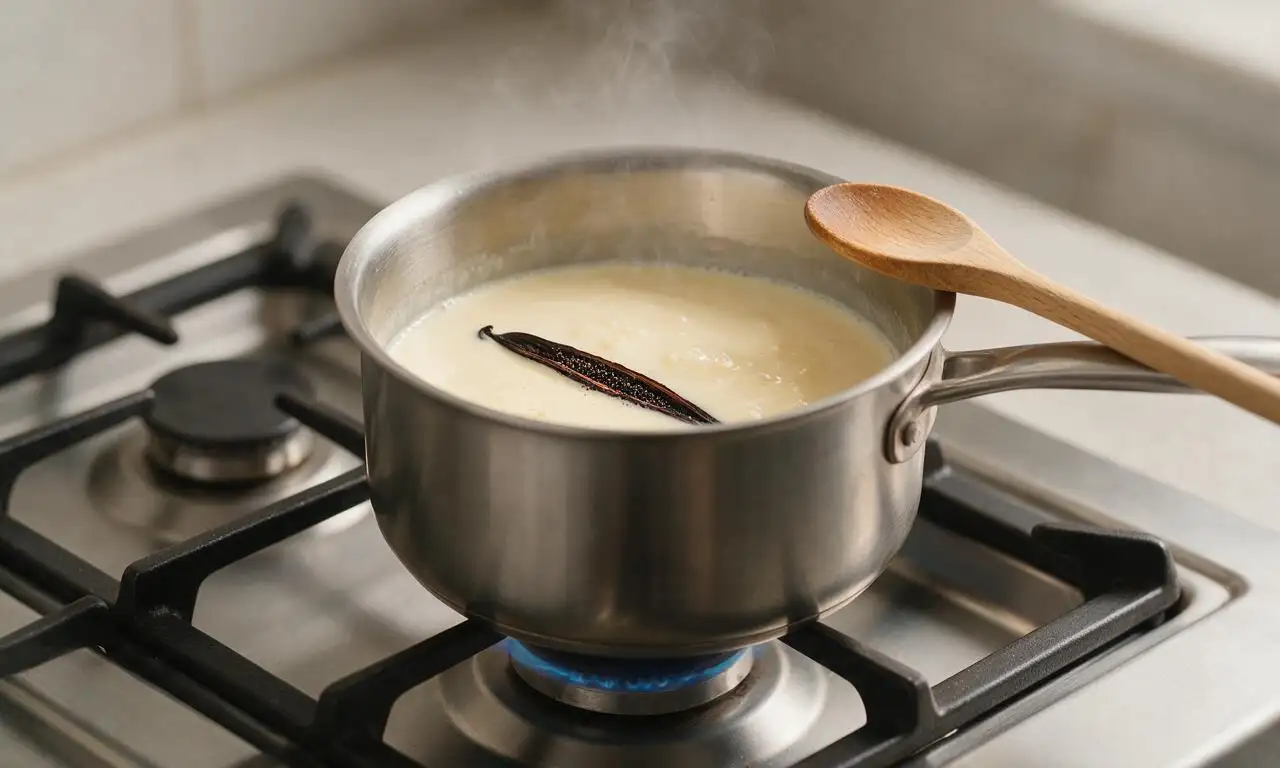
Place a medium saucepan over medium-low heat. Add 240ml (1 cup) whole milk, 240ml (1 cup) of the heavy cream, 75g (1/2 cup) granulated sugar, 1/4 teaspoon fine sea salt, and the scraped seeds plus empty split pod of 1 whole vanilla bean. Stir constantly for 4-5 minutes until the mixture reaches 71°C (160°F), is gently steaming, and has not come to a boil.
Step 1
step1:Heat dairy with vanilla
2

Temper egg yolks

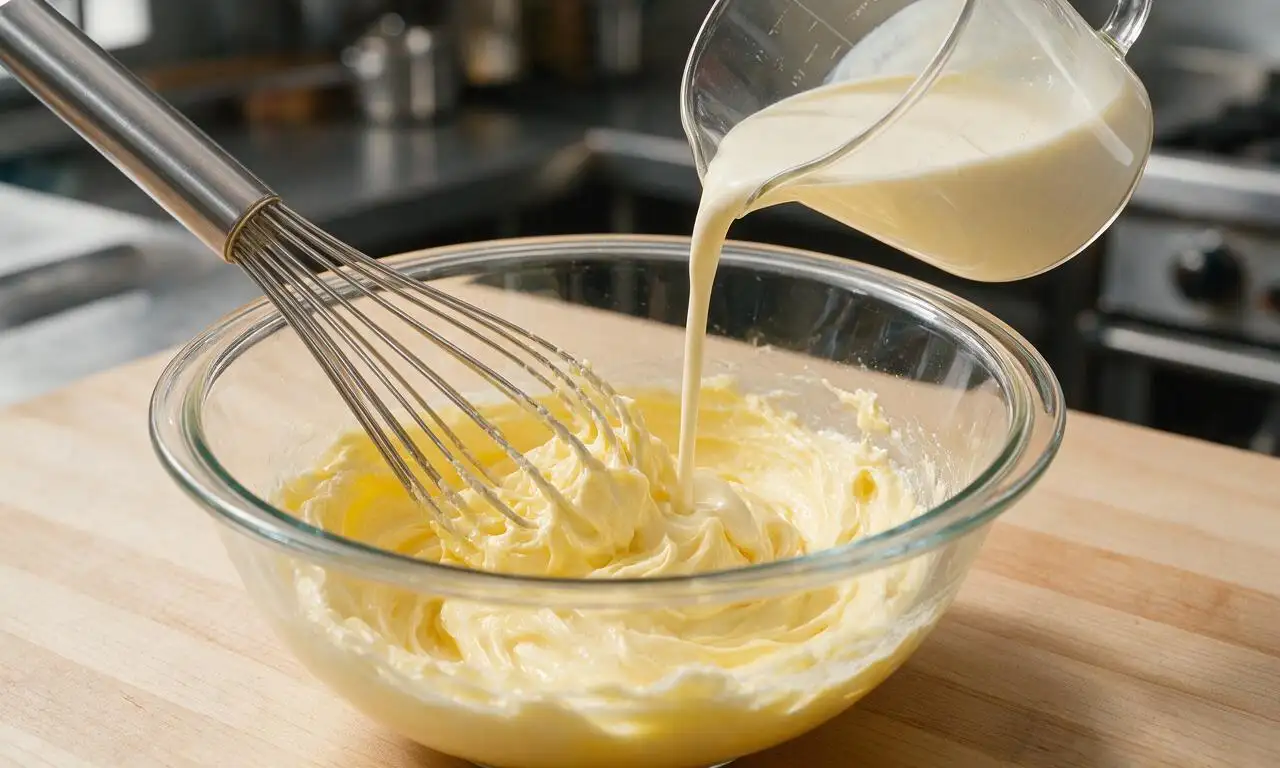
In a medium heatproof glass bowl, whisk 6 large egg yolks and the remaining 75g (1/4 cup) granulated sugar for 2 minutes until the mixture is pale yellow, thick, and leaves a slow, thick ribbon when the whisk is lifted. Slowly pour 120ml (1/2 cup) of the warm dairy mixture into the egg yolks while whisking nonstop to prevent curdling.
Step 2
step2:Temper egg yolks
3

Cook custard base

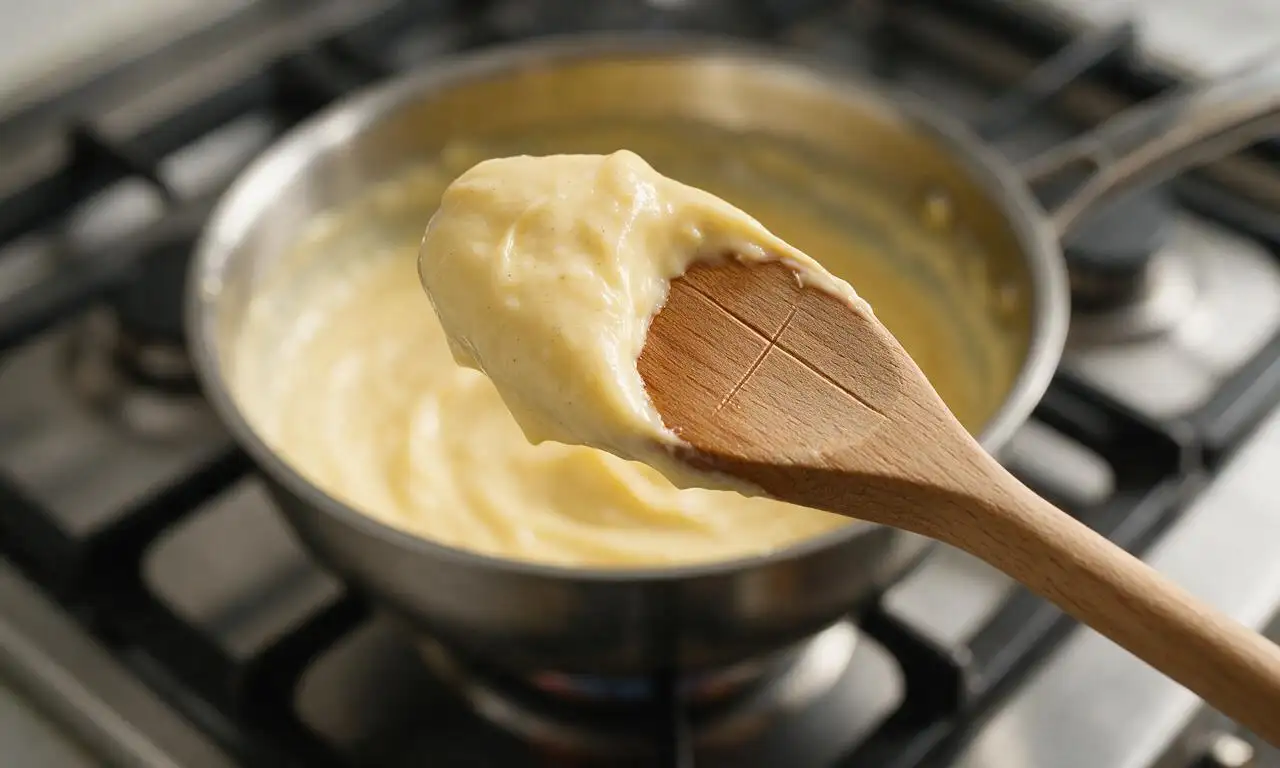
Pour the tempered egg mixture back into the saucepan with the remaining warm dairy, stirring constantly with a wooden spoon over medium-low heat. Cook for 3-4 minutes, keeping the temperature between 77-79°C (170-175°F), until the custard thickens enough to coat the back of the spoon; a line drawn with your finger across the coated spoon will hold its shape cleanly. Do not let the custard boil.
Step 3
step3:Cook custard base
4

Strain and chill base

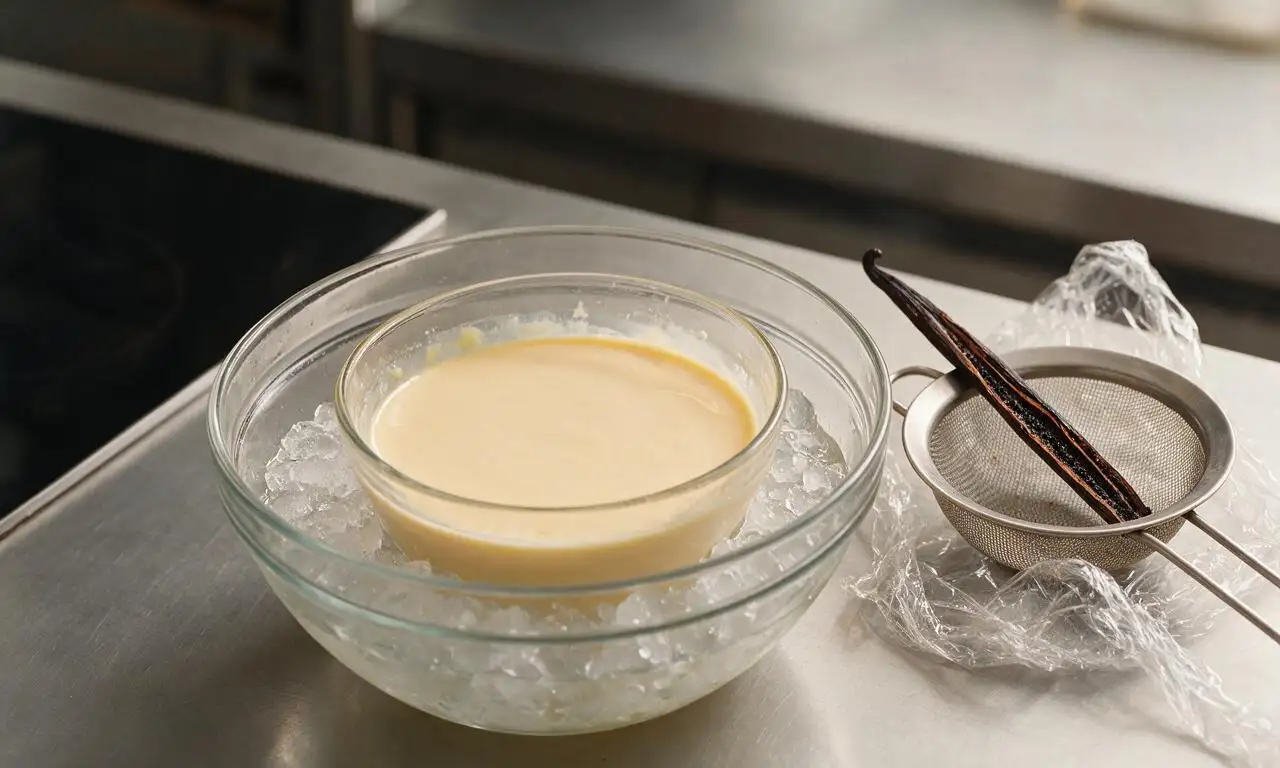
Set a fine-mesh sieve over a clean bowl, and pour the hot custard through the sieve to catch the vanilla pod and any small curdled egg bits. Stir in the remaining 240ml (1 cup) cold heavy cream and 1 teaspoon pure vanilla extract. Nestle the bowl in a larger bowl of ice water for 30 minutes to cool quickly, then press plastic wrap directly onto the custard surface to prevent skin formation. Refrigerate for 1.5 hours until the custard is fully chilled to 4°C (40°F) or colder.
Step 4
step4:Strain and chill base
5

Churn the ice cream

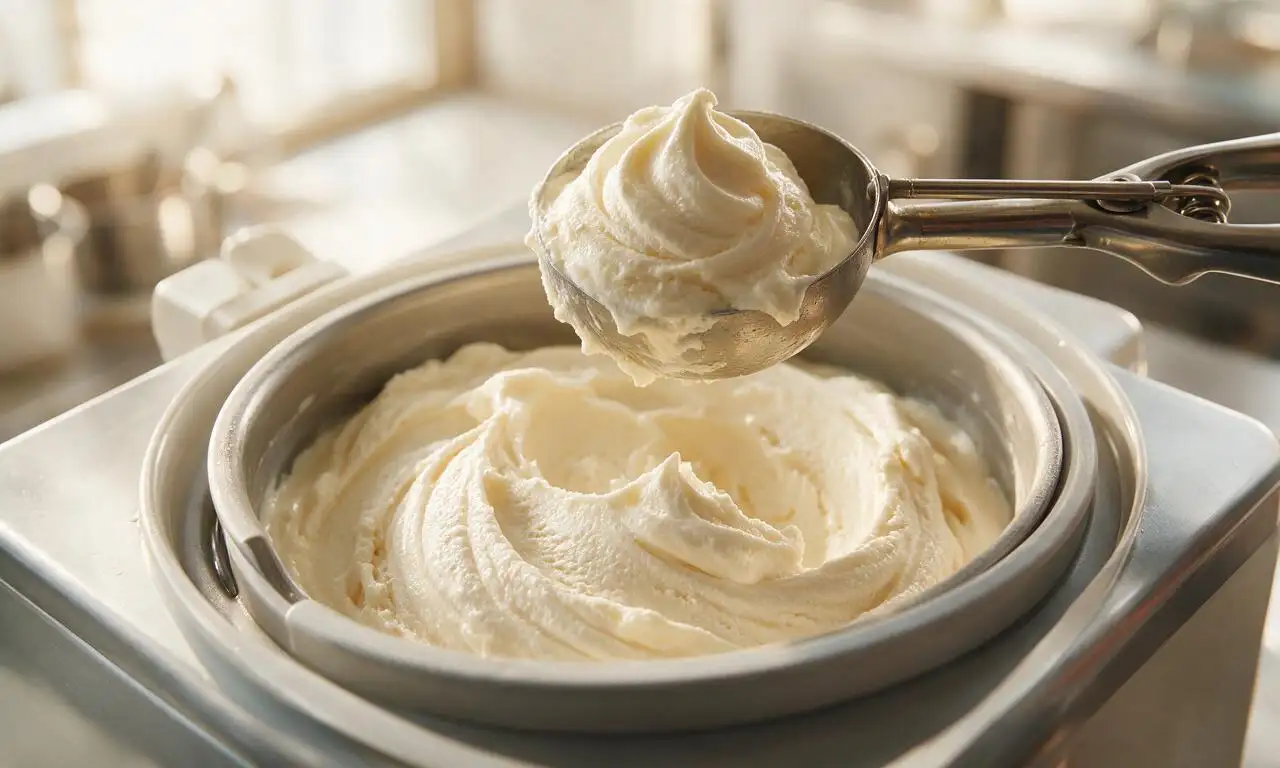
Remove the fully chilled custard from the fridge, peel off the plastic wrap, and pour the mixture into a pre-frozen ice cream maker canister. Churn per the manufacturer’s instructions for 20-25 minutes, until the ice cream reaches a thick soft-serve texture that holds its shape when scooped.
Step 5
step5:Churn the ice cream
6

Harden before serving

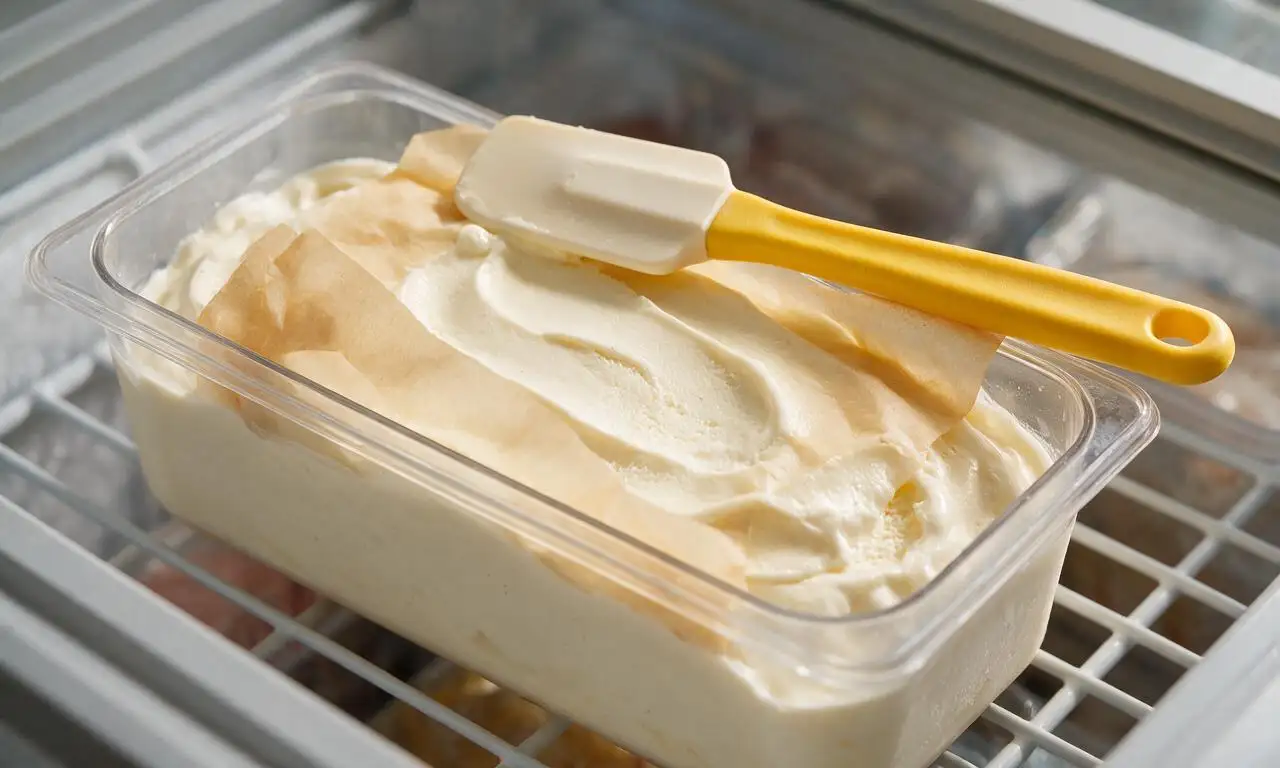
Transfer the soft, freshly churned ice cream to an airtight freezer-safe container, smoothing the top with a rubber spatula. Press a sheet of parchment paper directly onto the ice cream surface to block ice crystal formation, seal the container tightly, and freeze for 2 hours until the ice cream is firm enough to scoop into solid, rounded scoops.
Step 6
step6:Harden before serving

Tips

1.Never let the custard reach a rolling boil during cooking, as high heat will curdle egg yolks and create a lumpy, grainy ice cream texture.
2.For the smoothest final texture, ensure your ice cream maker canister is fully frozen (24 hours in the freezer ahead of time) and the custard is completely cold before churning.
3.Let the hardened ice cream rest at room temperature for 5 minutes before scooping, and dip your metal scoop in warm water between scoops for clean, smooth portions.


✨ You May Also Like

Desserts & Baking
🍜 Italy

Creamy, coffee-kissed classic Northern Italian no-bake dessert, with layers of rum-spiked mascarpone cream, soft ladyfingers, and a rich cocoa dusting.

⏱️ 4 hours 3Desserts & Baking ★ 4.7
Desserts & Baking
🍜 France

Flaky, shatteringly crisp, buttery French croissants with golden exteriors and soft, airy layered interiors, perfect for pairing with coffee for a special morning treat.

⏱️ 12 hours Desserts & Baking ★ 4.5
Desserts & Baking
🍜 United States

Warm, spiced baked apples topped with a fluffy golden biscuit crust, this cozy dessert pairs perfectly with vanilla ice cream for cool-weather comfort.

⏱️ 55 minuteDesserts & Baking ★ 4.6
Desserts & Baking
🍜 United States

A star-spangled classic American blueberry pie with buttery flaky crust and bright sweet-tart filling, perfect for summer patriotic gatherings.

⏱️ 1 hour 25Desserts & Baking ★ 4.7
Desserts & Baking
🍜 United States

A beloved no-bake regional Maine candy with a chewy coconut-potato center coated in rich dark chocolate, a New England holiday staple since the 1870s.

⏱️ 2 hours 3Desserts & Baking ★ 4.8
Desserts & Baking
🍜 France

Luxuriously creamy, floral frozen custard made with aromatic Tahitian vanilla beans, boasting a smooth, rich texture that melts slowly on the tongue.

⏱️ 3 hours 3Desserts & Baking ★ 4.5

Vanilla Ice Cream:Frequently Asked Questions

1.Why is this a custard-based ice cream instead of a quick no-cook version? ▾
The egg yolk custard base creates that signature silky, rich texture that doesn’t turn rock-hard in the freezer, unlike most no-cook vanilla ice creams. The yolks act as an emulsifier to bind fat and water, cutting down on large ice crystal formation so you get that smooth, easy-to-scoop consistency that outshines store-bought versions.
2.Can I use vanilla extract instead of a whole vanilla bean? ▾
Absolutely, though a whole vanilla bean delivers those pretty, aromatic vanilla flecks and a deeper, more complex floral vanilla flavor. If you swap it, use 2 teaspoons of high-quality pure vanilla extract (skip imitation vanilla for best taste), and stir it into the custard right after you take it off the heat, before chilling, to preserve its bright flavor.
3.How do I keep from scrambling the egg yolks when making the custard? ▾
The key is low, slow heat and constant stirring to avoid curdling. Heat the milk, cream, and half the sugar first, then slowly whisk a small ladle of hot liquid into the beaten yolks to temper them before pouring them back into the pot. Never let the custard boil; pull it once it hits 170–175°F and coats the back of a wooden spoon.
4.Why do I need to chill the custard completely before churning it? ▾
Chilling your custard fully (to 40°F or colder, ideally for 4–6 hours or overnight) before churning is non-negotiable for smooth ice cream. A warm base melts cream fat too fast during churning, leading to grainy texture, large ice crystals, and a soft, melty final product that won’t hold its shape when scooped.
5.Can I make this ice cream if I don’t have an ice cream maker? ▾
You can, though the texture won’t be quite as silky as the machine-churned version. Pour the chilled custard into a shallow freezer-safe dish, stir it vigorously every 30 minutes for 3–4 hours to break up ice crystals as it freezes, and make sure the custard is extra cold before you start to cut down on crystal formation.
6.How do I get that perfectly scoopable texture straight from the freezer? ▾
First, make sure your custard base is properly emulsified and fully chilled before churning, and churn it to soft-serve consistency before transferring it to a freezer container. Press a piece of plastic wrap directly on the ice cream surface before sealing the lid to prevent crystals, and store it in the coldest part of your freezer, not the door.
7.Can I cut back on the sugar in this recipe without ruining the texture? ▾
Sugar does more than sweeten ice cream—it lowers the freezing point to keep it scoopable instead of rock hard. You can cut total sugar by up to 2 tablespoons without major texture issues, but cutting more will result in a hard, icy, crumbly final product. Avoid swapping in zero-calorie sweeteners 1:1, as they won’t deliver the same texture benefit.
8.What should I do if my custard develops small curdles while cooking? ▾
Don’t panic if you see tiny curdles form—you can usually save the base. Immediately pour the custard into a blender, add a couple of ice cubes to stop the cooking, and blend on high for 30–60 seconds until smooth. Strain it through a fine-mesh sieve to catch remaining lumps, then chill as normal; you’ll barely notice a difference in the final ice cream.
9.How long will this homemade vanilla ice cream stay fresh in the freezer? ▾
Stored properly in an airtight, freezer-safe container with plastic wrap pressed directly to the surface to prevent freezer burn, this ice cream will stay creamy and delicious for up to 2 weeks. After that, it will start to develop large ice crystals and lose its bright vanilla flavor, even if kept at a consistent 0°F freezer temperature.
10.Can I use lower-fat dairy like half-and-half or skim milk to cut calories? ▾
I don’t recommend it for this recipe. The high fat content from heavy cream and whole milk creates that rich, silky mouthfeel and prevents large ice crystals from forming. Swapping in lower-fat dairy will result in a watery, icy, less flavorful ice cream that freezes rock hard, even if you follow every other step perfectly.
11.Why do tiny ice crystals form on top of my stored ice cream? ▾
Those crystals form when moisture in the ice cream evaporates and refreezes on the surface, usually from temperature fluctuations or excess air exposure. Prevent this by pressing a sheet of parchment or plastic wrap directly against the ice cream surface before sealing the lid, and avoid storing it in the freezer door where temperatures swing regularly.
12.Can I add mix-ins like chocolate chips or cookie dough to this base? ▾
Absolutely! This vanilla base is the perfect blank canvas for all your favorite mix-ins. Wait to add them until the last 2–3 minutes of churning, when the ice cream is already the consistency of soft-serve. Chop solid mix-ins into small, bite-sized pieces, and chill them first so they don’t melt the ice cream or cause extra ice crystals.

Comments (12)

2 days ago

OMG this vanilla ice cream is a total game changer! I made it for my kids’ post-soccer practice snack yesterday and they begged for seconds before they even finished their first scoop. So creamy, no weird icy texture at all—way better than the store bought stuff we usually get. Already planning to make a double batch for our neighborhood block party next weekend!

yesterday

Wait did you add any mix-ins? I’m thinking of tossing in some crushed Oreos next time I make it for our cookout!

yesterday

So glad your family loved it! Mix-ins work great with this base—just fold them in during the last 5 minutes of churning to keep the texture perfectly creamy.

3 days ago

Tasted amazing, but I definitely messed up the custard step the first time—ended up with slightly scrambled eggs, oops. Second try I stirred constantly over super low heat and it turned out perfect! Took way longer than I expected but the end result was so worth it. My roommate said it tastes like the fancy scoop shop ice cream we get downtown.

2 days ago

Great job sticking with it! The low and slow stir for the custard is definitely the trickiest part for new makers—so happy your second batch turned out scoop-shop perfect.

1 week ago

I’ve been making homemade ice cream for 40+ years and this recipe is hands down one of the best vanilla bases I’ve ever tried. Used fresh vanilla beans from my pantry instead of extract and the flavor was out of this world. Served it with warm peach cobbler at our Sunday family dinner and everyone asked for the recipe. Perfect texture, no ice crystals even after 3 days in the freezer.

5 days ago

Meal prepped this for the week to treat my dorm floor and it was gone in 20 minutes flat. People were knocking on my door asking if I had more lmao. Super rich, not too sweet, which I love. Only thing I did different was use a little extra vanilla because I’m a vanilla fiend. 10/10 would make again even if my ice cream maker is a tiny hand-me-down from my cousin.

3 days ago

Wait how did you keep it from getting icy in a dorm mini freezer? I tried making ice cream once at school and it turned into a solid brick!

3 days ago

Great question! If you’re storing it in a colder-than-usual freezer, let it sit on the counter for 5-10 minutes before scooping, and press a piece of plastic wrap directly to the surface of the ice cream before putting the lid on to prevent ice crystals.

yesterday

Brought this to my office potluck yesterday and people were RAVING. One coworker said it was better than the vanilla ice cream her grandma used to make, which is the highest compliment possible imo. I topped the serving bowl with a handful of fresh berries and a little drizzle of salted caramel, chef’s kiss. The cook time is long but most of it is just chilling time, so it’s way less hands-on than I thought it would be.

2 hours ago

The salted caramel drizzle idea is genius! I’m making this for my wife’s birthday dinner this weekend and I’m definitely stealing that tip.

2 weeks ago

Really good flavor and texture! I swapped the heavy cream for half and half to cut a few calories and it still came out super creamy, just a little less rich than I think it’s supposed to be. If you’re watching your fat intake that swap works great, just don’t expect that ultra-indulgent full-fat texture. Will definitely make again for my post-long run treats this summer.

1 week ago

Okay so full transparency, I don’t have an ice cream maker so I tried the no-churn hack I saw online with this recipe and the texture was a little off. Flavor was incredible, don’t get me wrong, but it was way denser than the pictures look. Bummed I didn’t get that fluffy creamy texture everyone is talking about.

5 days ago

So sorry the texture didn’t turn out for you! This recipe is formulated for a standard ice cream maker, but if you’re doing a no-churn version, folding in 1 cup of sweetened condensed milk and 2 cups of whipped heavy cream to the vanilla base will give you a much lighter, fluffier result. Give it a try next time!

2 weeks ago

SO good! We have a small dairy farm so I used fresh raw cream from our cows and oh my gosh, it tasted like pure summer. My husband ate three bowls straight out of the churner before I even got it in the freezer to harden. We’re going to make a batch every Sunday all summer long to go with all the pies and cobblers we bake from our orchard fruit.

1 week ago

Using fresh cream sounds like a dream! I bet that makes the flavor so much richer. I just get my cream from the grocery store but I might hit up the local dairy stand this weekend to try that.

1 week ago

Homemade ice cream with fresh farm cream is next level—so glad you and your husband loved the recipe! It pairs perfectly with fresh fruit, especially warm peach or apple cobbler.

3 days ago

I made this for my little sister’s high school graduation party and it was such a hit! We set up a little sundae bar with hot fudge, sprinkles, crushed pretzels, and maraschino cherries so people could top their own scoops. The vanilla base is so smooth it doesn’t get overpowered by toppings, which is exactly what you want for a sundae night. 10/10, will be my go-to vanilla ice cream recipe from now on.

2 days ago

The sundae bar idea is perfect for my teen’s end-of-school party next week! How many batches did you make to feed a crowd?

5 minutes ago

Made this with my 7 year old daughter over the weekend and we had a blast. She loved helping stir the custard (with lots of supervision, obviously) and adding the vanilla. She kept saying it was the best ice cream she’s ever had, and honestly? I agree. Perfect creamy texture, perfect vanilla flavor, no weird artificial aftertaste. We already have plans to make a mint chocolate chip version using this base next weekend.

1 week ago

Really solid vanilla ice cream recipe! I used gluten free vanilla extract (since I have celiac) and it turned out perfectly, no cross contamination risks as long as you check your ingredients. Only reason I’m not giving 5 stars is that it got a little icy on the top after a week in the freezer, but that’s probably because I forgot to press plastic wrap on the surface like the recipe note says. Oops!

5 days ago

So glad you enjoyed the recipe, and great callout about checking labels for gluten-free folks! The plastic wrap trick makes such a big difference for preventing icy tops—give it a try on your next batch and it should stay perfectly creamy for up to 2 weeks in the freezer.

just now

Took this along on our weekend car camping trip in the mountains and it was the perfect treat after a long day of hiking. We stored it in our cooler packed with dry ice and it stayed perfectly scoopable the whole trip. My hiking buddies kept asking where I bought it, they couldn’t believe I made it from scratch. Way better than the freeze-dried camping desserts we usually bring. Will absolutely be making this for all our summer trips.



