1.Can I use salted butter instead of unsalted butter for these vanilla wafers?
▾
You absolutely can, just cut any added salt in the recipe by 1/4 teaspoon per stick of salted butter used to avoid an overly salty final flavor. Stick to real butter, not margarine or spread, to preserve that rich, buttery, melt-in-your-mouth crumb and signature crisp texture.
2.Why are my homemade vanilla wafers soft instead of light and crisp?
▾
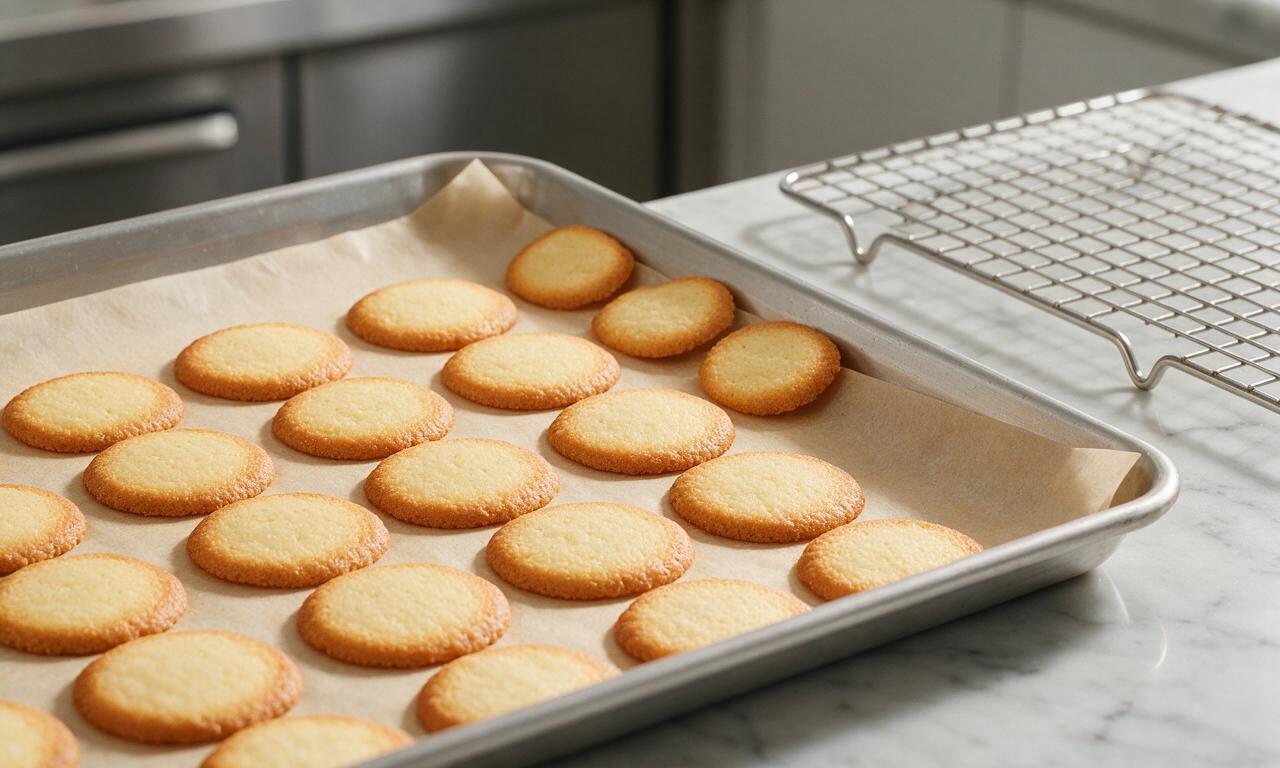
Soft wafers almost always trace back to underbaking, or storing them before they’re fully cooled. Bake until edges are pale golden, then let them rest 5 minutes on the hot baking sheet before moving to a rack—they’ll crisp up as they set, so don’t pull them early just because the centers look pale.
3.Can I use imitation vanilla instead of pure vanilla extract here?
▾
You can, but you’ll notice a flatter, less complex vanilla flavor since these cookies have so few simple ingredients, making vanilla the star. If imitation is all you have, use 1.5 times the measured amount of pure vanilla called for to amp up flavor and balance that slight artificial aftertaste.
4.What size dough scoop do I need for classic thin vanilla wafers?
▾
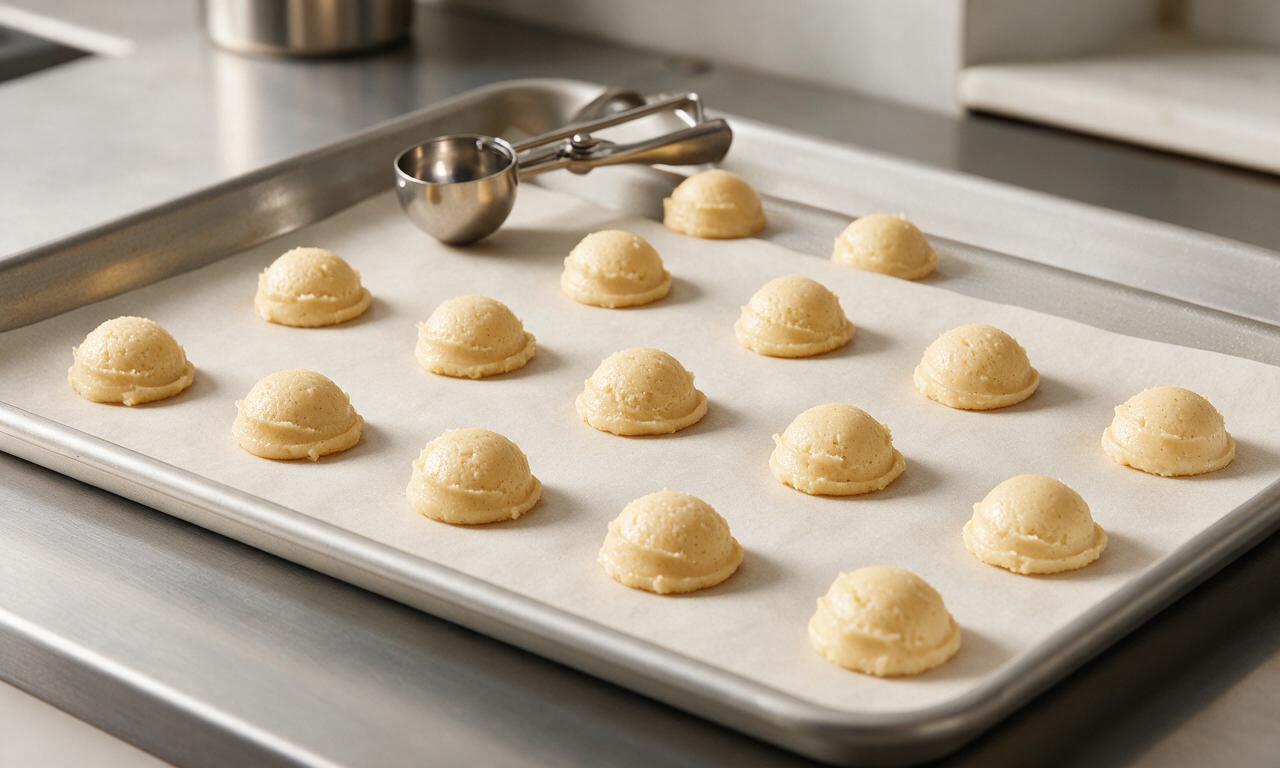
Aim for 1-teaspoon sized dough portions, spaced 2 inches apart on your parchment-lined baking sheet, then gently press each to a 1/4-inch thickness. If you leave dough mounded, you’ll end up with thicker, softer, cake-like cookies instead of the delicate, thin, crisp wafer texture you want.
5.Can I make these vanilla wafers gluten-free?
▾
Yes, simply swap the all-purpose flour for a 1:1 gluten-free all-purpose baking blend that includes xanthan gum for the best texture. Weigh your flour swap to match the weight of the all-purpose flour called for, rather than relying on cup measurements, to avoid dense, tough wafers that don’t spread correctly.
6.How long do homemade vanilla wafers stay fresh after baking?
▾
Stored in an airtight container at room temperature, away from direct heat or humidity, these wafers will stay crisp and flavorful for up to 1 week. If you notice them softening after a few days, pop them on a baking sheet in a 300°F oven for 3 to 4 minutes to re-crisp fully before serving.
7.Are these homemade wafers sturdy enough to use in banana pudding?
▾
Absolutely—these hold up far better than store-bought vanilla wafers in banana pudding, as long as you bake them to a full crisp (not soft and chewy) and cool them completely before layering. They’ll absorb just the right amount of pudding and banana flavor without turning mushy for 2 to 3 days in the fridge.
8.Can I freeze the raw vanilla wafer dough to bake later?
▾
Yes, this dough freezes beautifully for quick, fresh-baked treats. Portion dough into 1-teaspoon scoops, freeze solid on a baking sheet, then transfer to a labeled freezer bag for up to 3 months. Bake straight from frozen, adding 1 to 2 minutes to the total bake time—no thawing required.
9.Why did my vanilla wafers spread too much into thin, lacy disks?
▾
Over-spreading usually happens if your butter was too warm when you creamed it, or if you placed dough scoops on a still-hot baking sheet between batches. Use room temperature (not melted or squishy soft) butter and fully cooled baking sheets to help dough set properly before it spreads too thin.
10.Can I cut back on the sugar to make these wafers less sweet?
▾
You can reduce the total amount of granulated and light brown sugar by up to 25% without major texture changes, but don’t cut more than that. Sugar helps create that crisp, delicate crumb and supports even spreading; cutting too much leads to dense, tough, overly thick wafers that brown unevenly.
11.Can I use dark brown sugar instead of light brown sugar in this recipe?
▾
You can swap light brown sugar for dark brown in a pinch, but know it will add a deeper, more molasses-forward flavor that competes a bit with the bright, clean vanilla note. If you use dark brown, pack it the same way you would light brown to keep the moisture balance right for a tender crumb.
12.Can I add mix-ins like chocolate chips to these vanilla wafers?
▾
You absolutely can, but keep mix-ins very small so they don’t throw off the delicate wafer texture. Mini chocolate chips, finely chopped toasted nuts, or tiny nonpareil sprinkles work best—stick to 1/3 cup total mix-ins per batch, and press them gently into the dough tops before baking.
13.Why do my baked wafers have bumpy, uneven tops instead of smooth surfaces?
▾
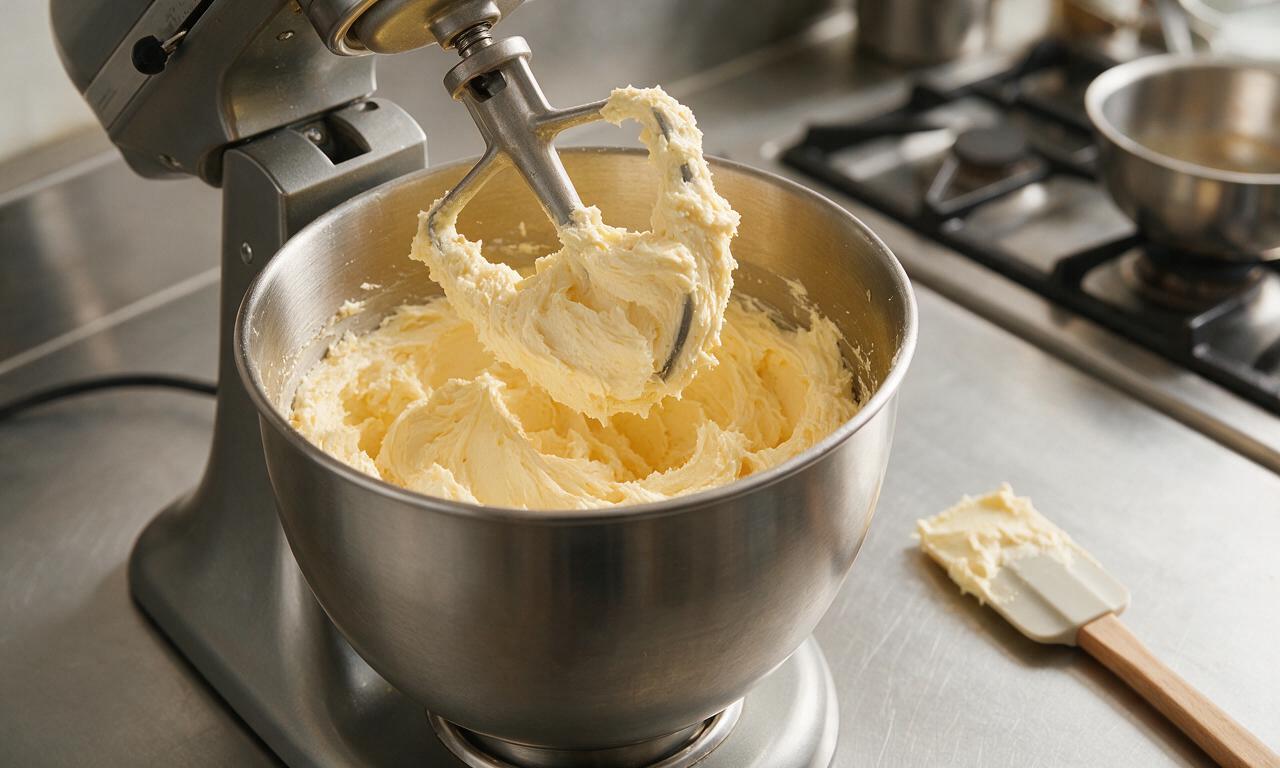
Bumpy, uneven tops usually come from over-creaming the butter and sugar, which incorporates too much air that expands unevenly in the oven, or from not mixing flour in fully. Cream butter and sugar just until light and fluffy, about 2 minutes (not 4+), for smooth, evenly set, attractive wafers.
14.Do I need an electric stand or hand mixer to make these wafers?
▾
You don’t need any special equipment at all! A large mixing bowl and sturdy wooden spoon or silicone spatula work perfectly, as long as your butter is properly softened to room temperature so it creams easily with the sugar by hand. Just mix until smooth, and avoid over-working the dough.
15.How do I keep these wafers crisp when packing them in holiday cookie tins?
▾
First, make sure wafers are 100% cool before packing, then tuck a small piece of plain paper towel in the bottom of the tin to absorb trapped ambient moisture. Don’t pack them alongside soft, chewy cookies, which release moisture that will turn your crisp wafers soft in as little as 24 hours.

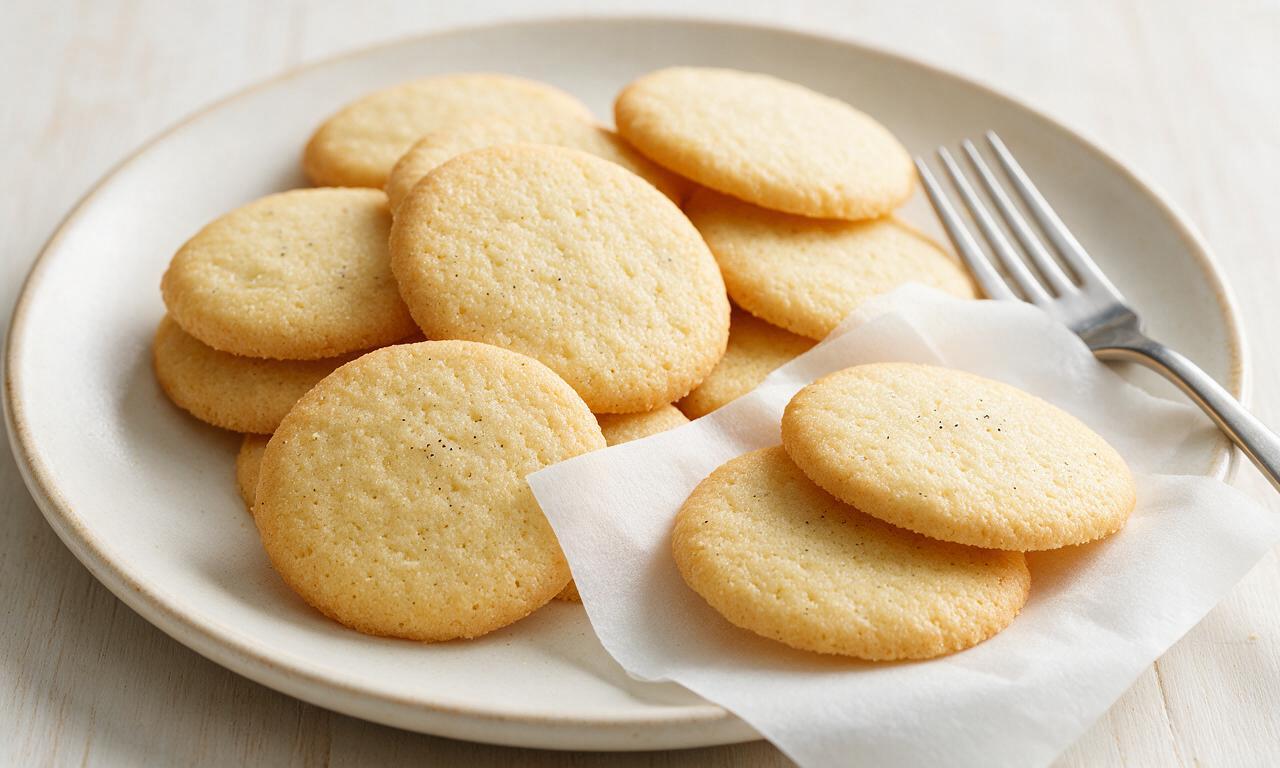






Made these for my neighborhood potluck over the weekend and everyone was asking for the recipe! They’re perfectly crisp, not too sweet, and that vanilla flavor hits just right. I didn’t even have to run to the store for special ingredients, everything was already in my pantry. Total game changer for quick bakes!
These came out great! Quick question though—mine spread a little more than I expected on the baking sheet, did I do something wrong? They still tasted amazing, just were a little flatter than the photos.
Added these to my weekly meal prep snack rotation! They stay crisp for almost a whole week in an airtight container, which is perfect for grabbing on busy mornings. My 4 year old said they taste “better than the cookie cookies” which is the highest praise possible, lmao.
I’m literally terrible at baking and I pulled these off first try?? The instructions were so straightforward, no fancy techniques or weird equipment needed. I used a little extra vanilla because I’m obsessed with that flavor and they turned out chef’s kiss.
Crushed these up to make a crust for my banana cream pie and WOW. That homemade vanilla flavor makes the whole pie taste so much better than using store-bought wafers. Will never go back, this is my new go-to wafer recipe forever.
Wait has anyone tried making these with a 1:1 gluten free flour blend? I tested a batch last week with my usual blend and they came out a little crumbly, was wondering if I messed up the ratios or if it’s the flour. I’m hosting game night next week and want these to turn out perfect for my gluten free friends!
Made these in my tiny dorm kitchen with just a mixing bowl and a cheap baking sheet, no mixer required? Insane. They taste exactly like the fancy vanilla cookies I get at the campus coffee shop for $3 a pop, saved so much money making them at home.
These are SO buttery and vanilla-forward, I could eat the whole batch in one sitting. I rolled my dough into little balls and pressed them down with a fork like peanut butter cookies for that cute criss-cross top, they looked so cute on the cookie platter I brought to my friend’s birthday BBQ last weekend.
Made 3 batches of these for my kid’s school bake sale and they sold out in 15 minutes! Parents kept coming back asking if I had more, multiple people said they were the best thing at the whole sale. So easy to whip up big batches too, will definitely be making these for every future event.