
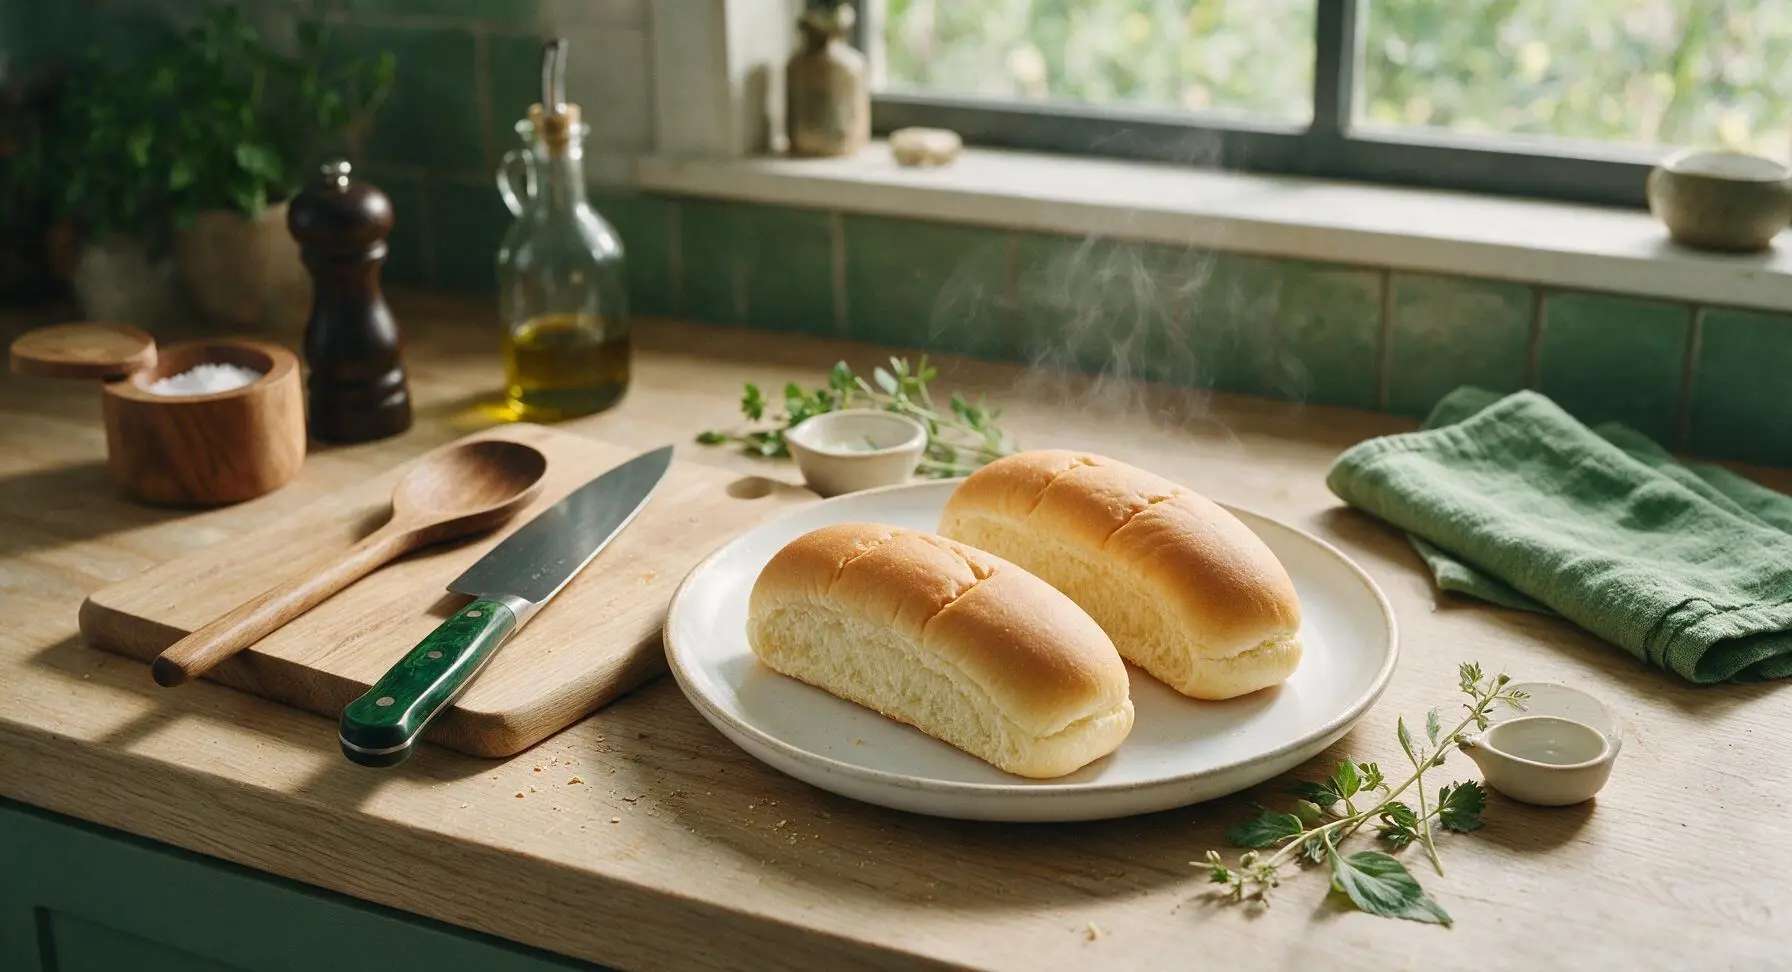
vegan hot dog bun

title 1
vegan hot dog bun
⏱️ cook time 14 minutes
🍽️ servings 8
⚡ Difficulty medium

intro

Soft, pillowy golden vegan hot dog buns, sturdy enough for loaded cookout toppings, with a tender fluffy crumb that holds up perfectly without falling apart mid-bite.

Ingredients
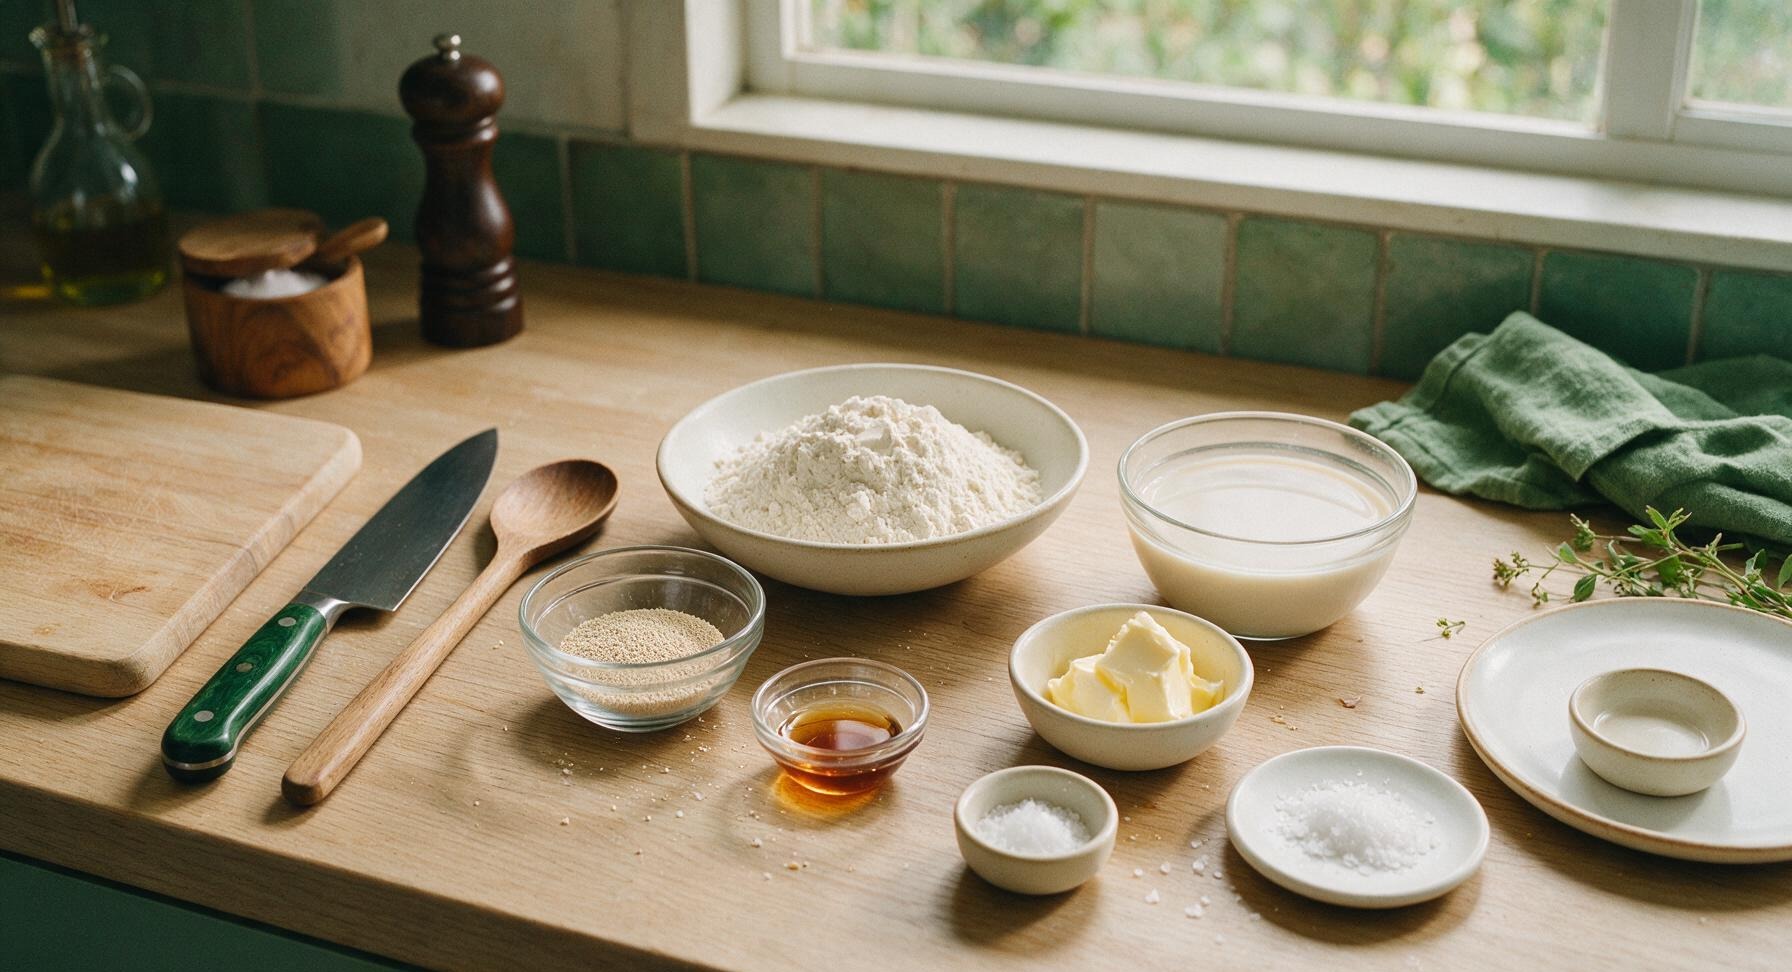
Unbleached bread flour 420g (3 ½ cups)
Unsweetened plain oat milk 240ml (1 cup), warmed to 110°F/43°C
Active dry yeast 7g (2 ¼ tsp, 1 standard packet)
Pure maple syrup 30ml (2 tbsp)
Unsalted vegan butter, softened 42g (3 tbsp), divided
Fine sea salt 5g (1 tsp)
Flaky sea salt (optional, for topping) 1g (¼ tsp)

Steps

1

Activate the Yeast

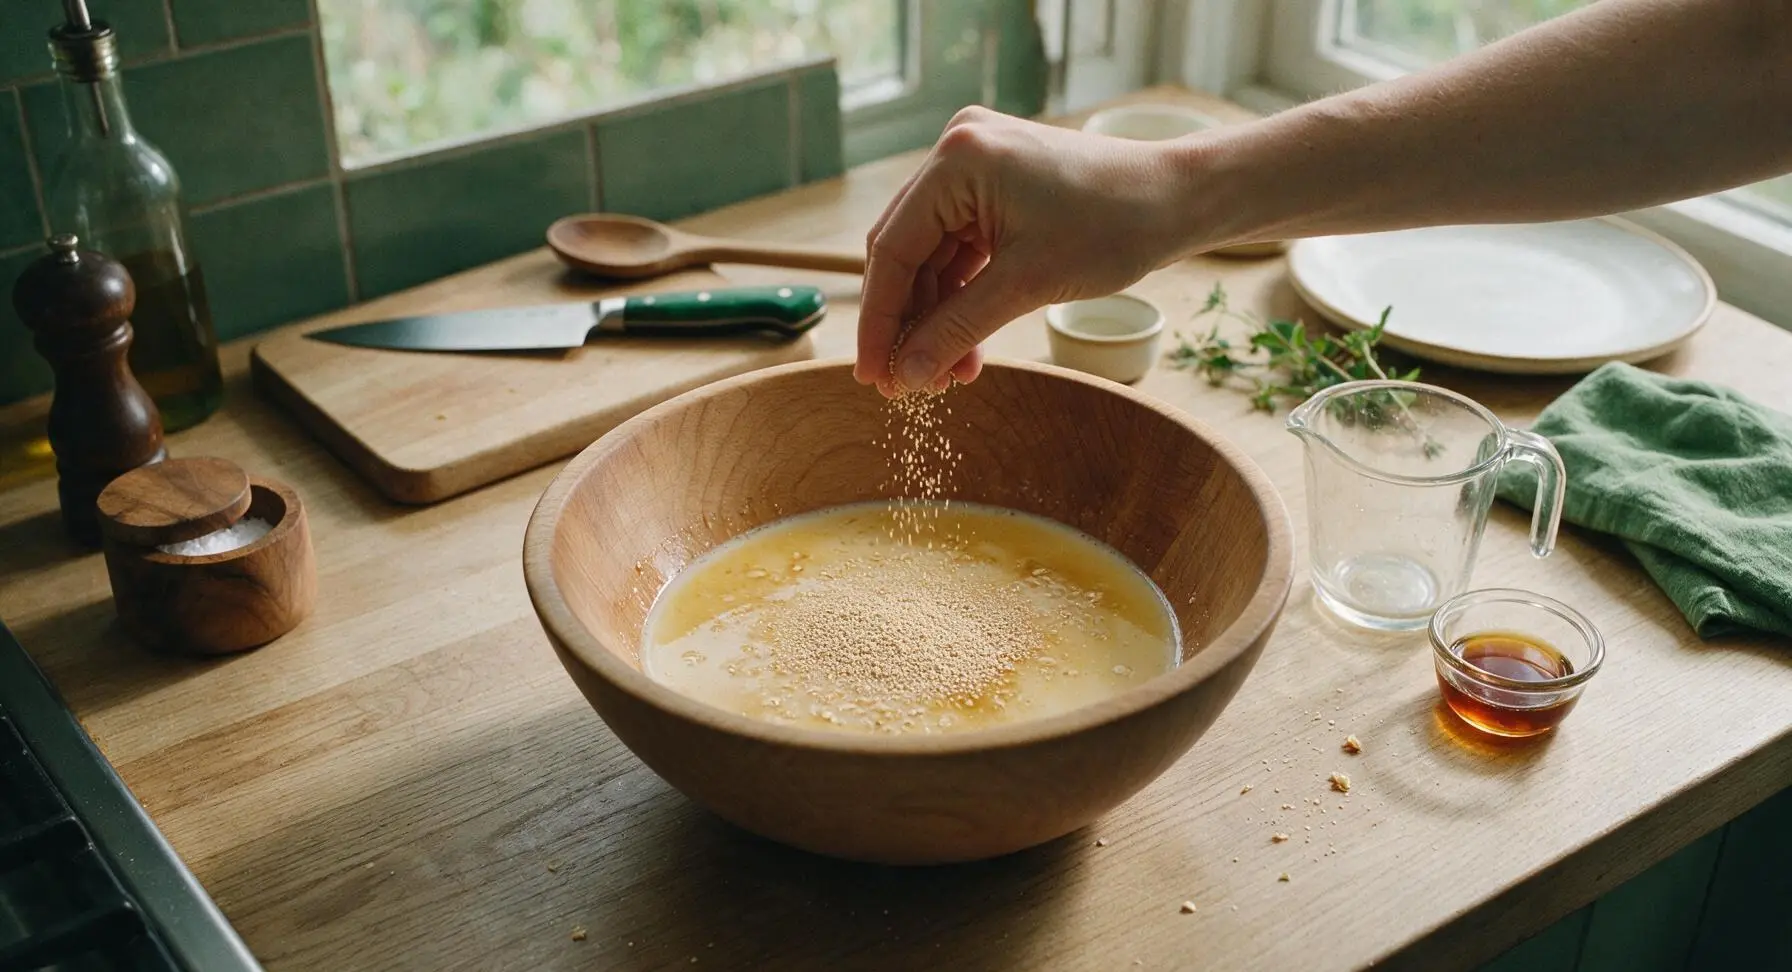
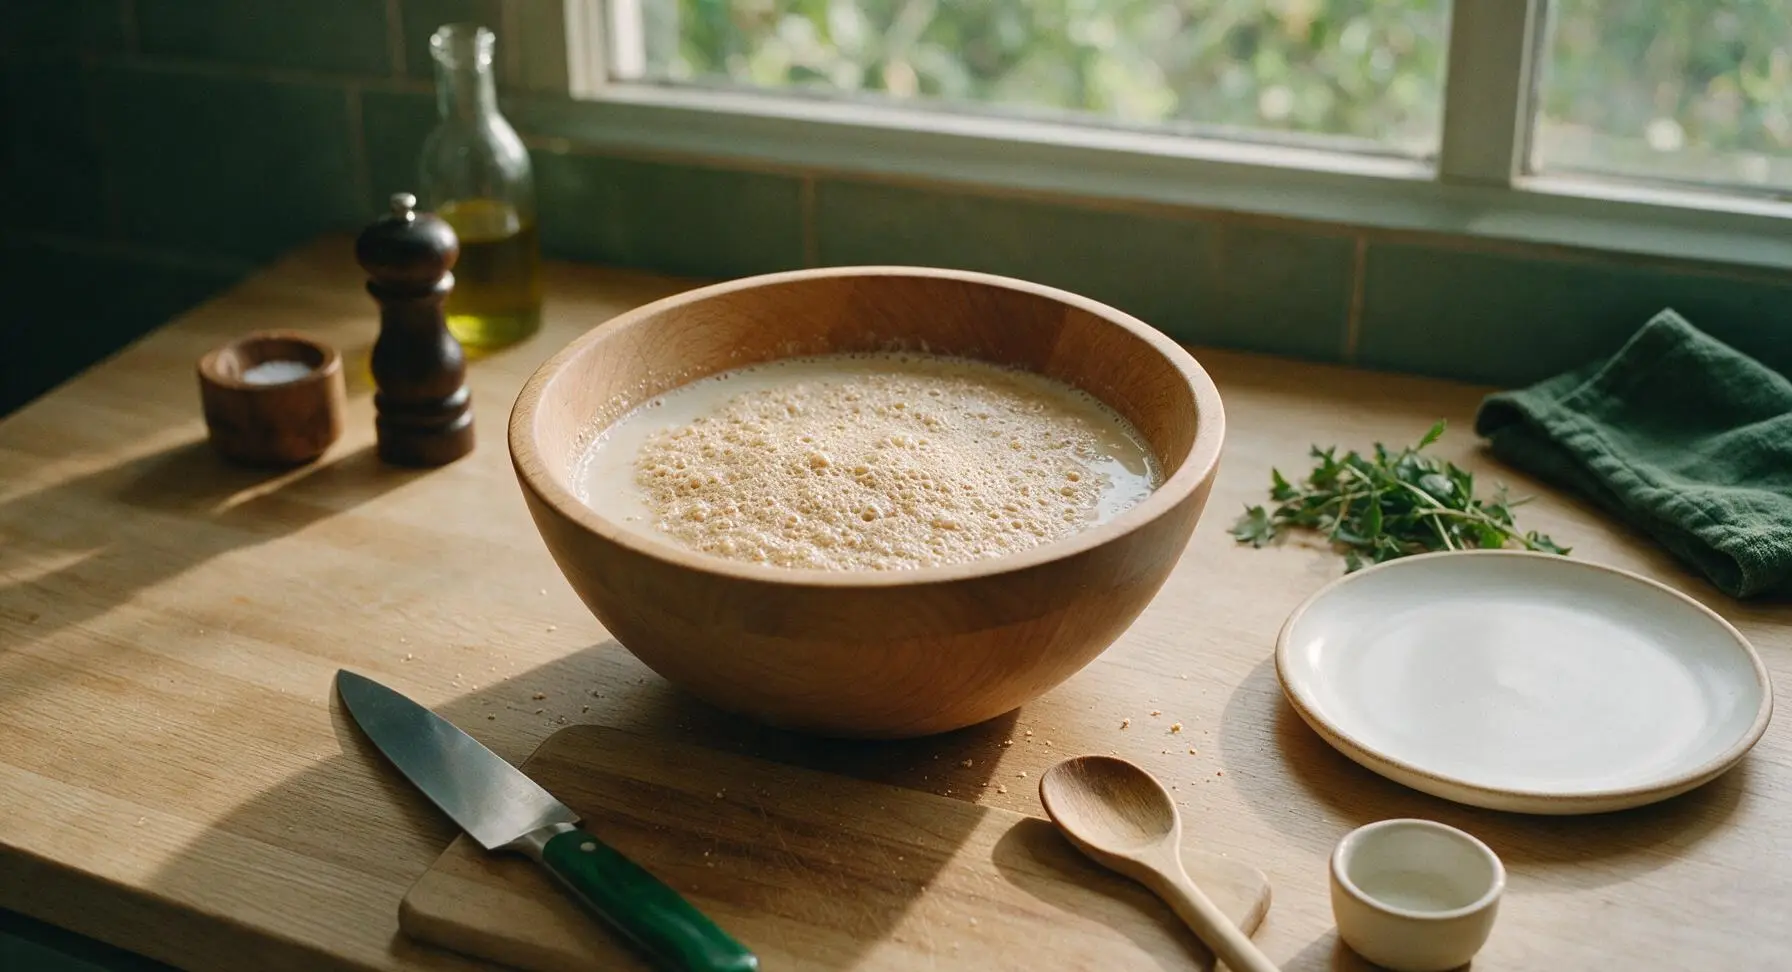
Pour the warmed 110°F oat milk (lukewarm to the touch, not hot enough to burn skin) into the large beech wood mixing bowl. Stir in the pure maple syrup until fully dissolved, then sprinkle the active dry yeast evenly across the milk surface. Let rest for 5-7 minutes, until a thick, frothy, foamy layer forms on top to confirm the yeast is active. If no foam appears after 7 minutes, your yeast is expired and will not leaven the buns.
Step 1
step1:Activate the Yeast
Step 1
step1:Activate the Yeast
2

Mix Dough Base

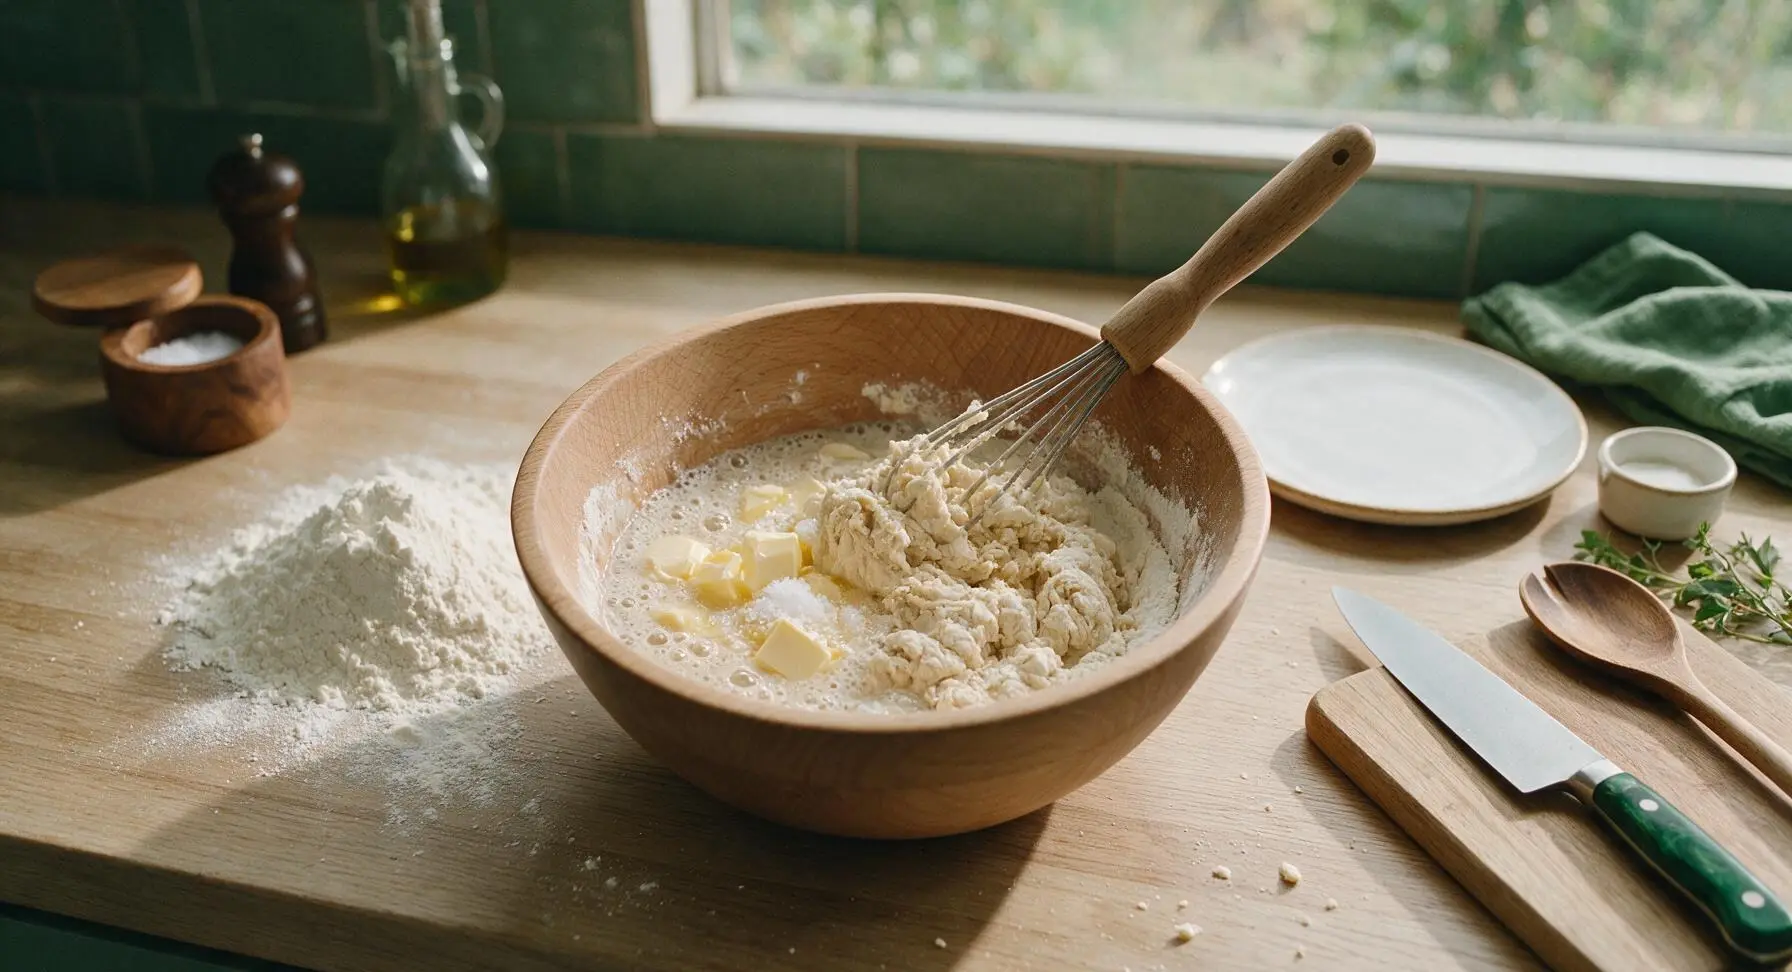
Add 2 tablespoons of softened vegan butter and the fine sea salt to the activated yeast mixture, stirring with the oak-handled dough whisk to combine. Gradually add the bread flour ½ cup at a time, stirring continuously, until a shaggy, sticky dough forms that pulls away from the bowl sides, with no pockets of dry flour remaining.
Step 2
step2:Mix Dough Base
3

Knead Until Smooth

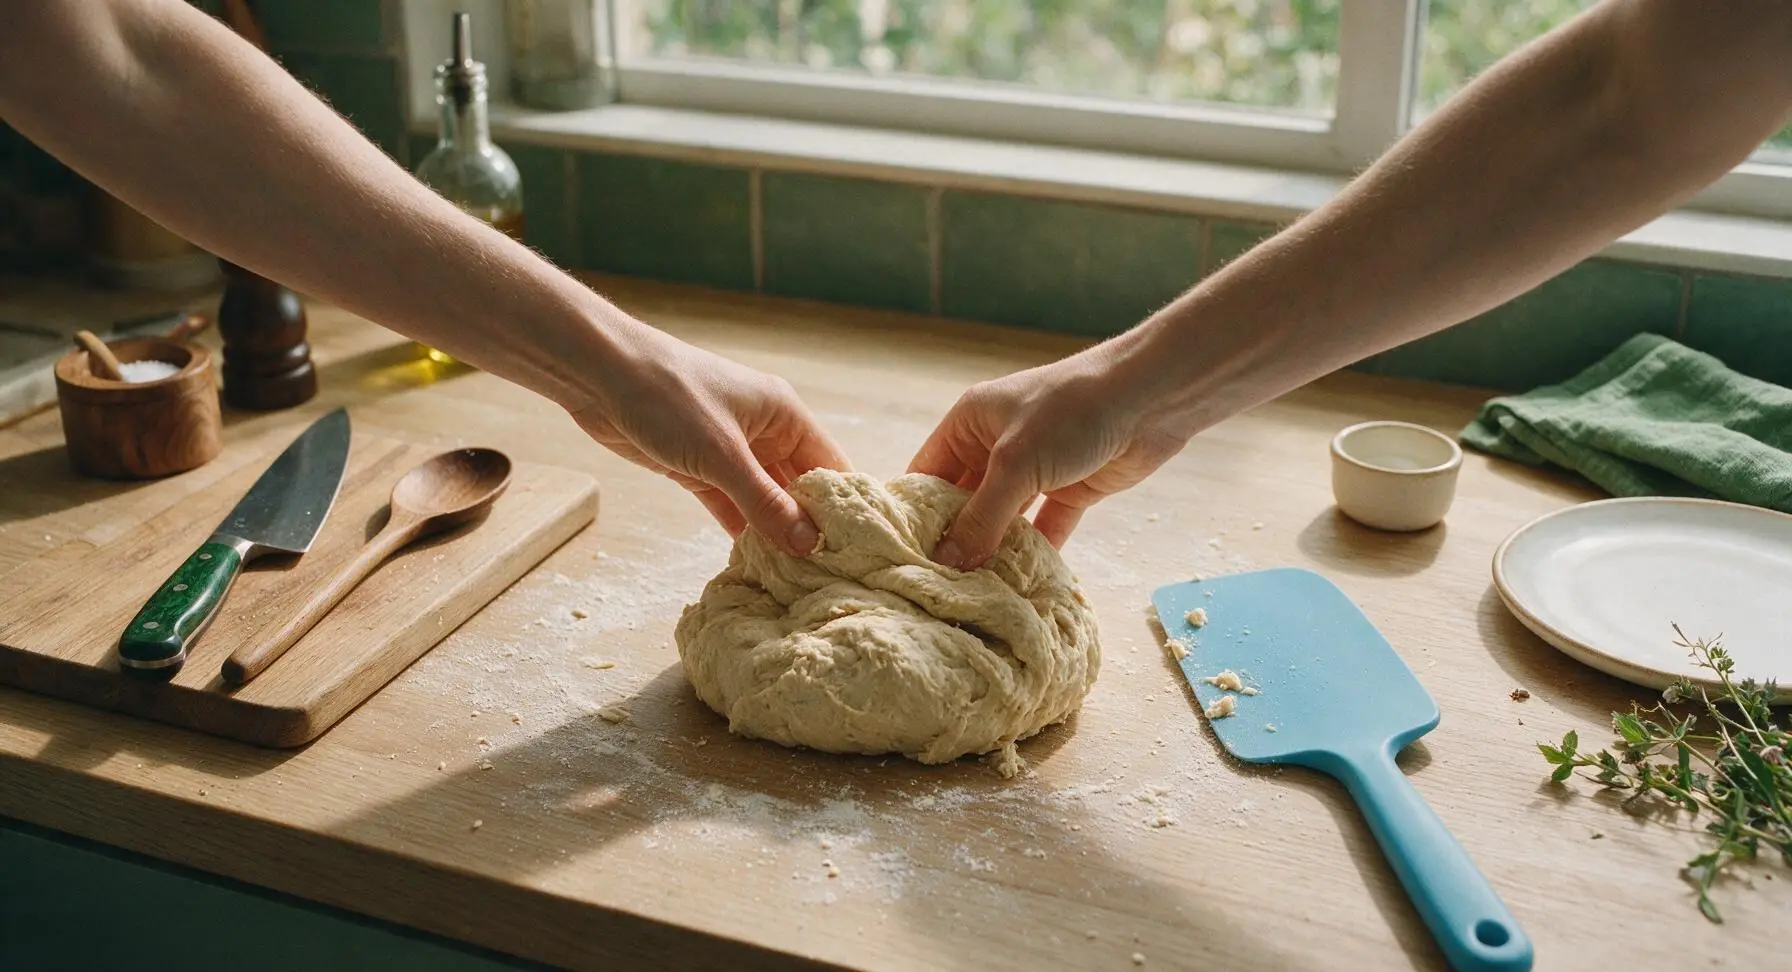
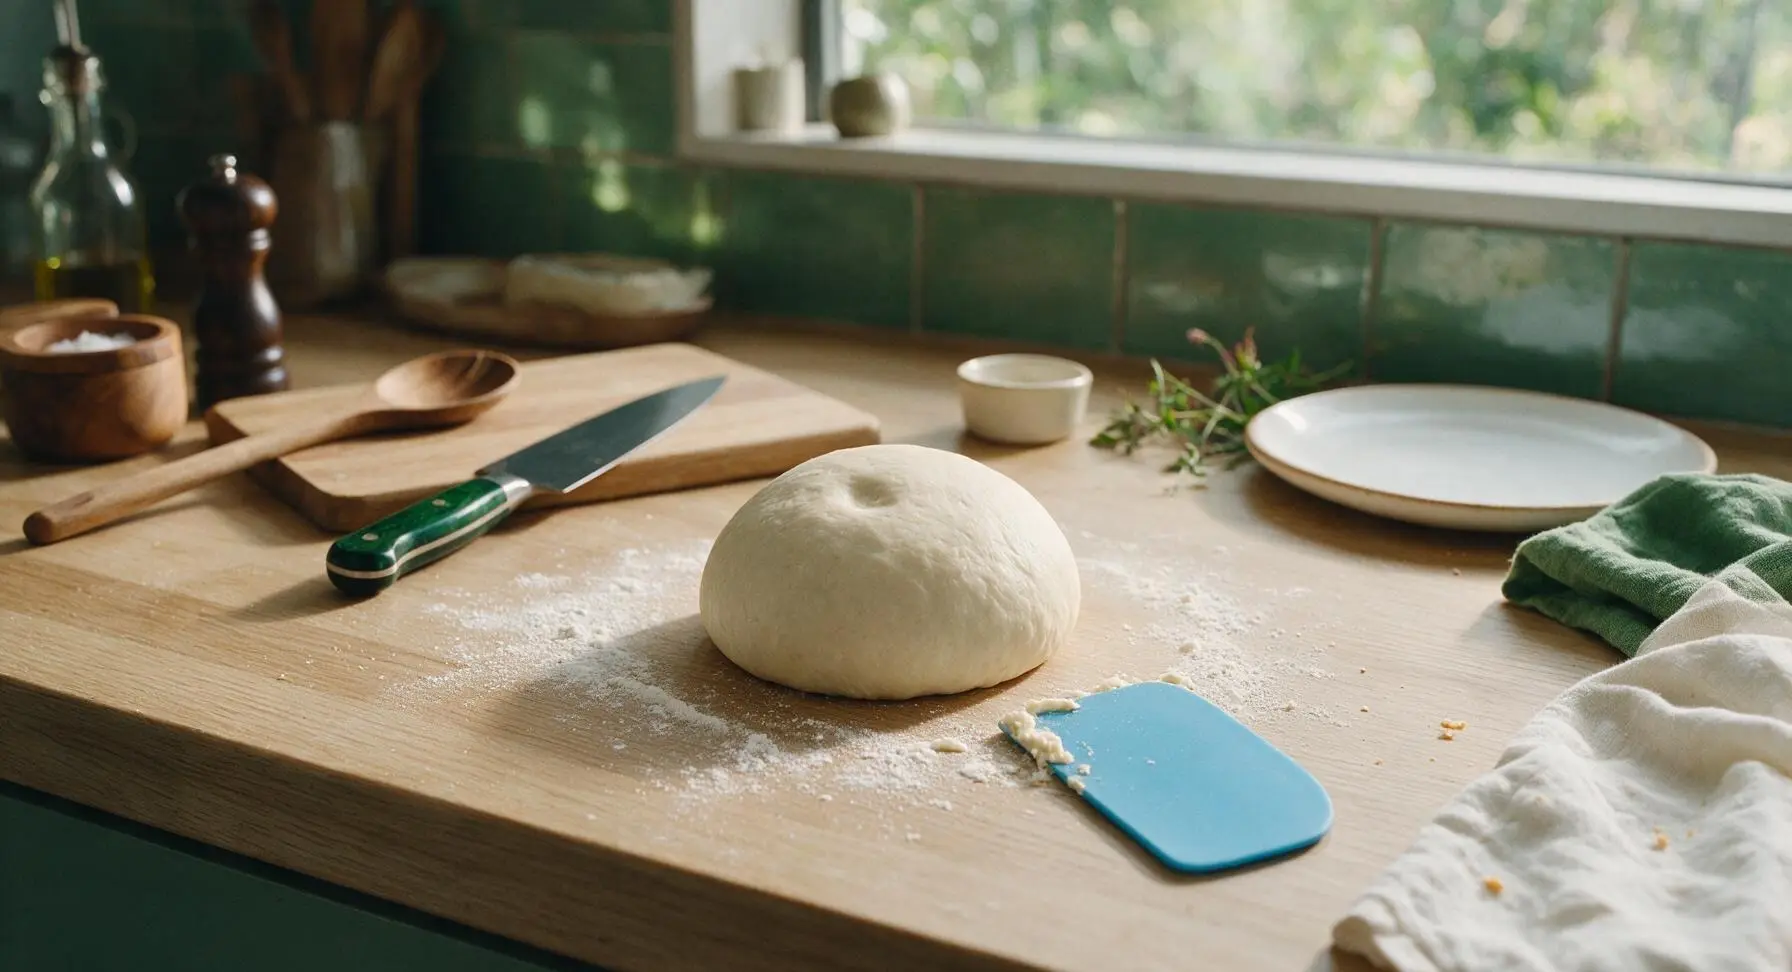
Turn the shaggy dough out onto a clean, lightly floured section of the quartz counter. Knead by hand for 8-10 minutes, folding the dough over itself and pushing forward with the heel of your hand, until the dough is smooth, elastic, and springs back slowly when poked with a finger. Use the matte sky blue silicone scraper to gather any stray dough bits from the counter as you work.
Step 3
step3:Knead Until Smooth
Step 3
step3:Knead Until Smooth
4

First Dough Proof

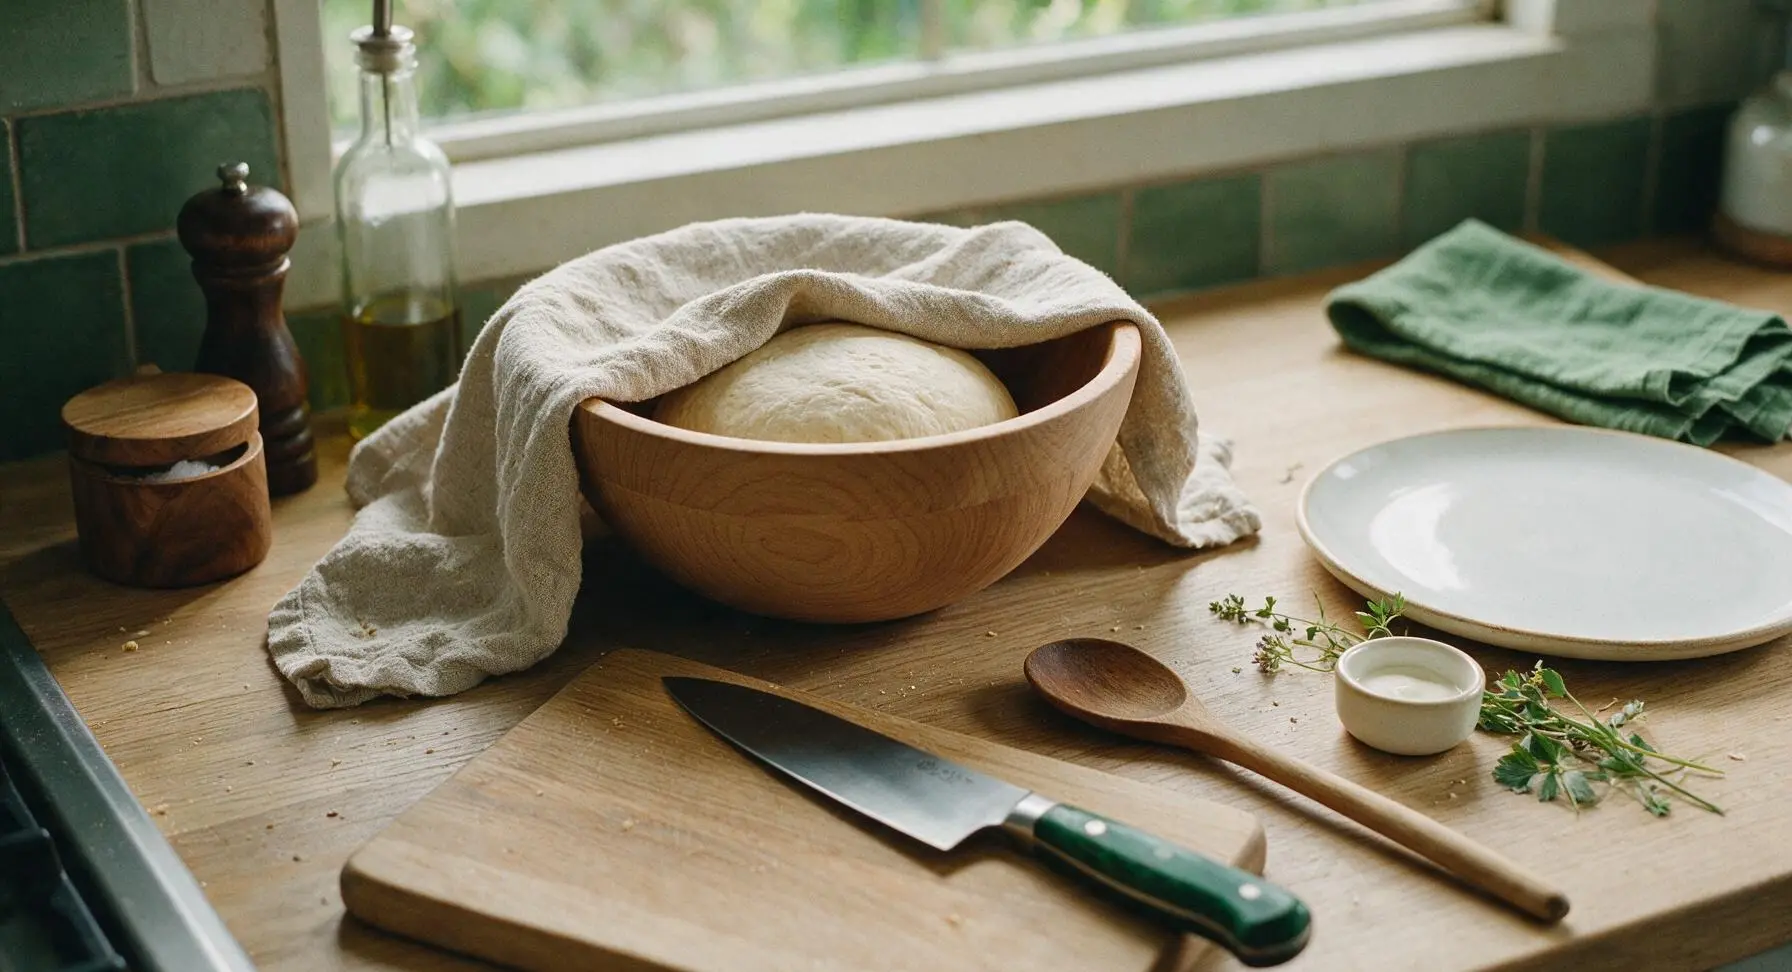
Wipe the beech wood mixing bowl clean, then coat the inside with a thin layer of neutral oil from the fixed glass oil bottle. Place the kneaded dough ball into the bowl, turning once to coat the dough surface lightly in oil. Cover the bowl tightly with a damp corner of the oatmeal linen towel, and let rise in a warm, draft-free spot for 1 hour, until the dough has doubled in size and holds a deep indentation when poked.
Step 4
step4:First Dough Proof
5

Shape Hot Dog Buns

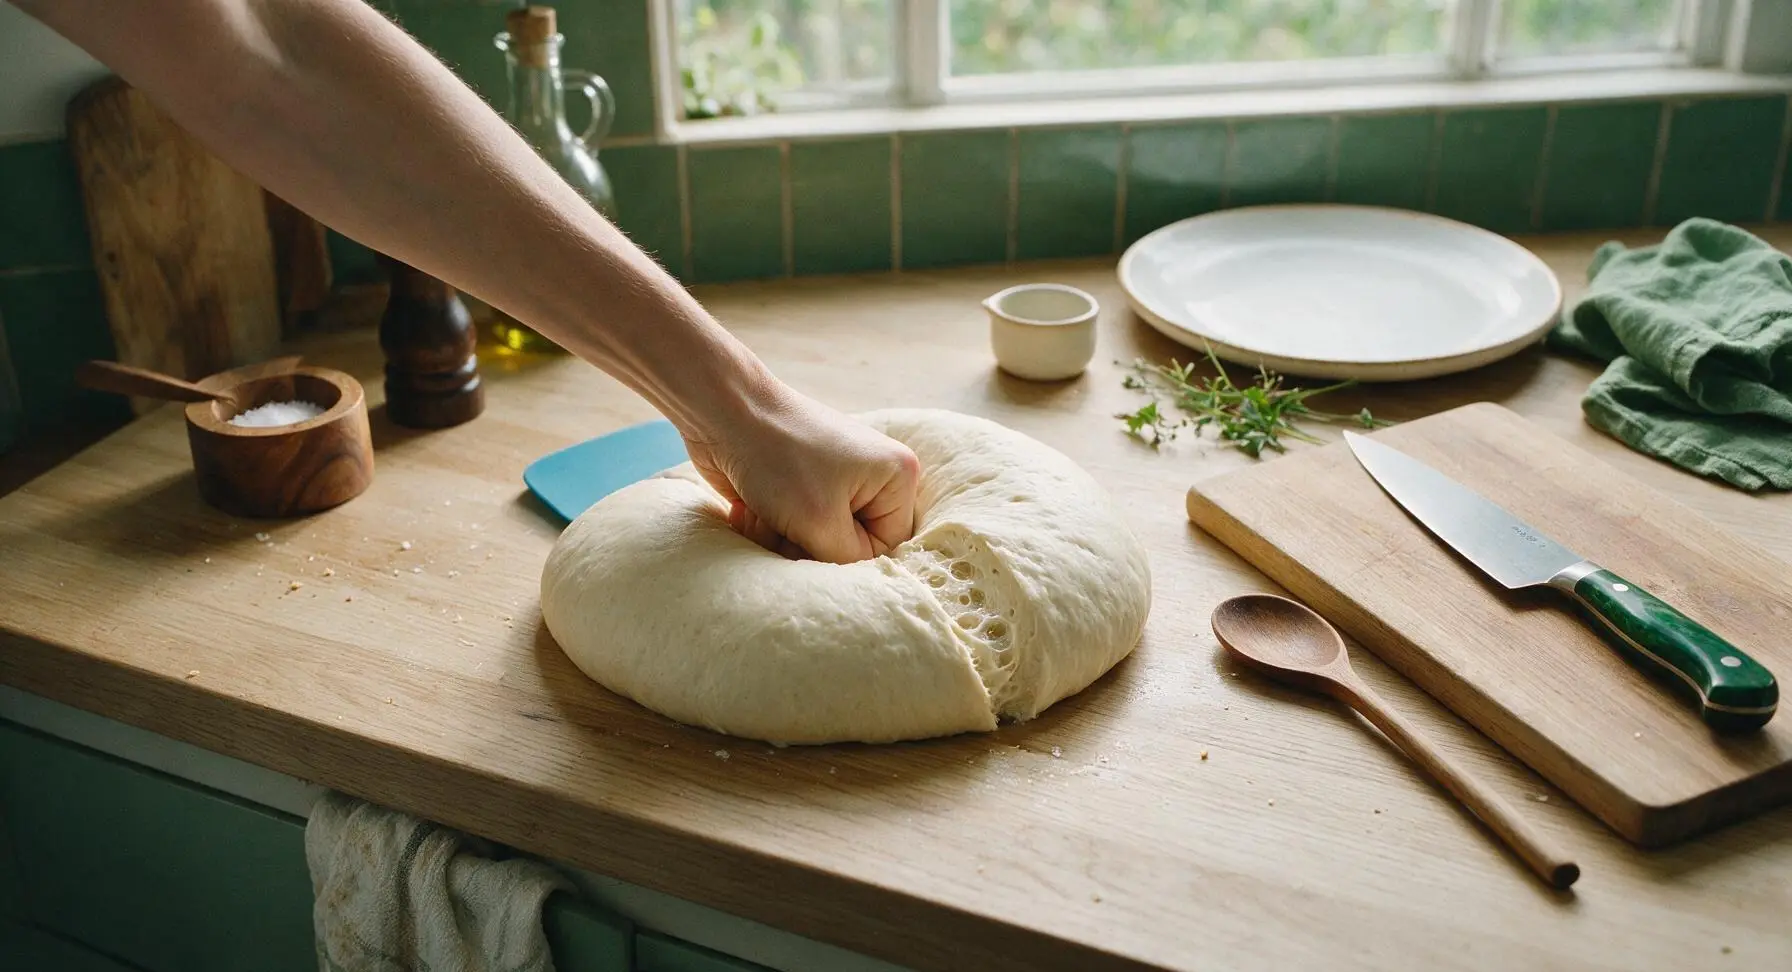
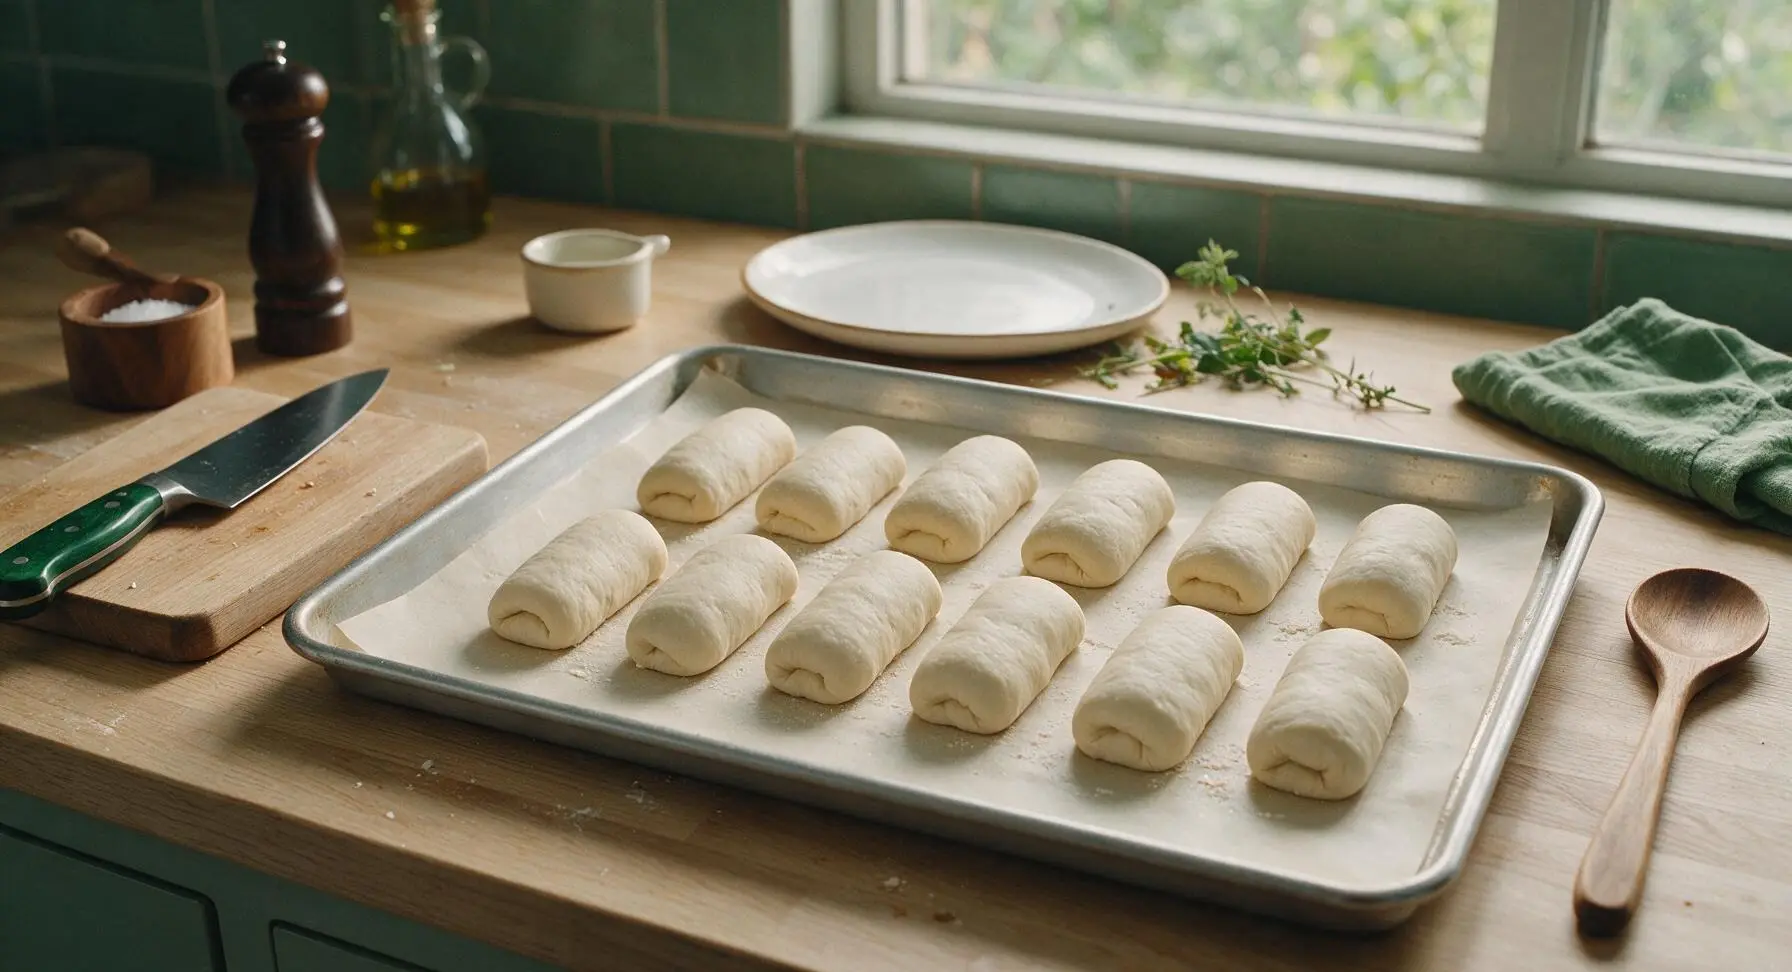
Once the dough has doubled, punch it firmly in the center to release all trapped air. Turn the deflated dough out onto the lightly floured counter, and divide into 8 equal 70g pieces using the sky blue silicone scraper. Roll each piece into a 6-inch long log with slightly tapered ends, tucking the seams underneath to create a smooth, taut top. Arrange the shaped logs 2 inches apart on the parchment-lined aluminized steel baking sheet.
Step 5
step5:Shape Hot Dog Buns
Step 5
step5:Shape Hot Dog Buns
6

Second Proof Buns

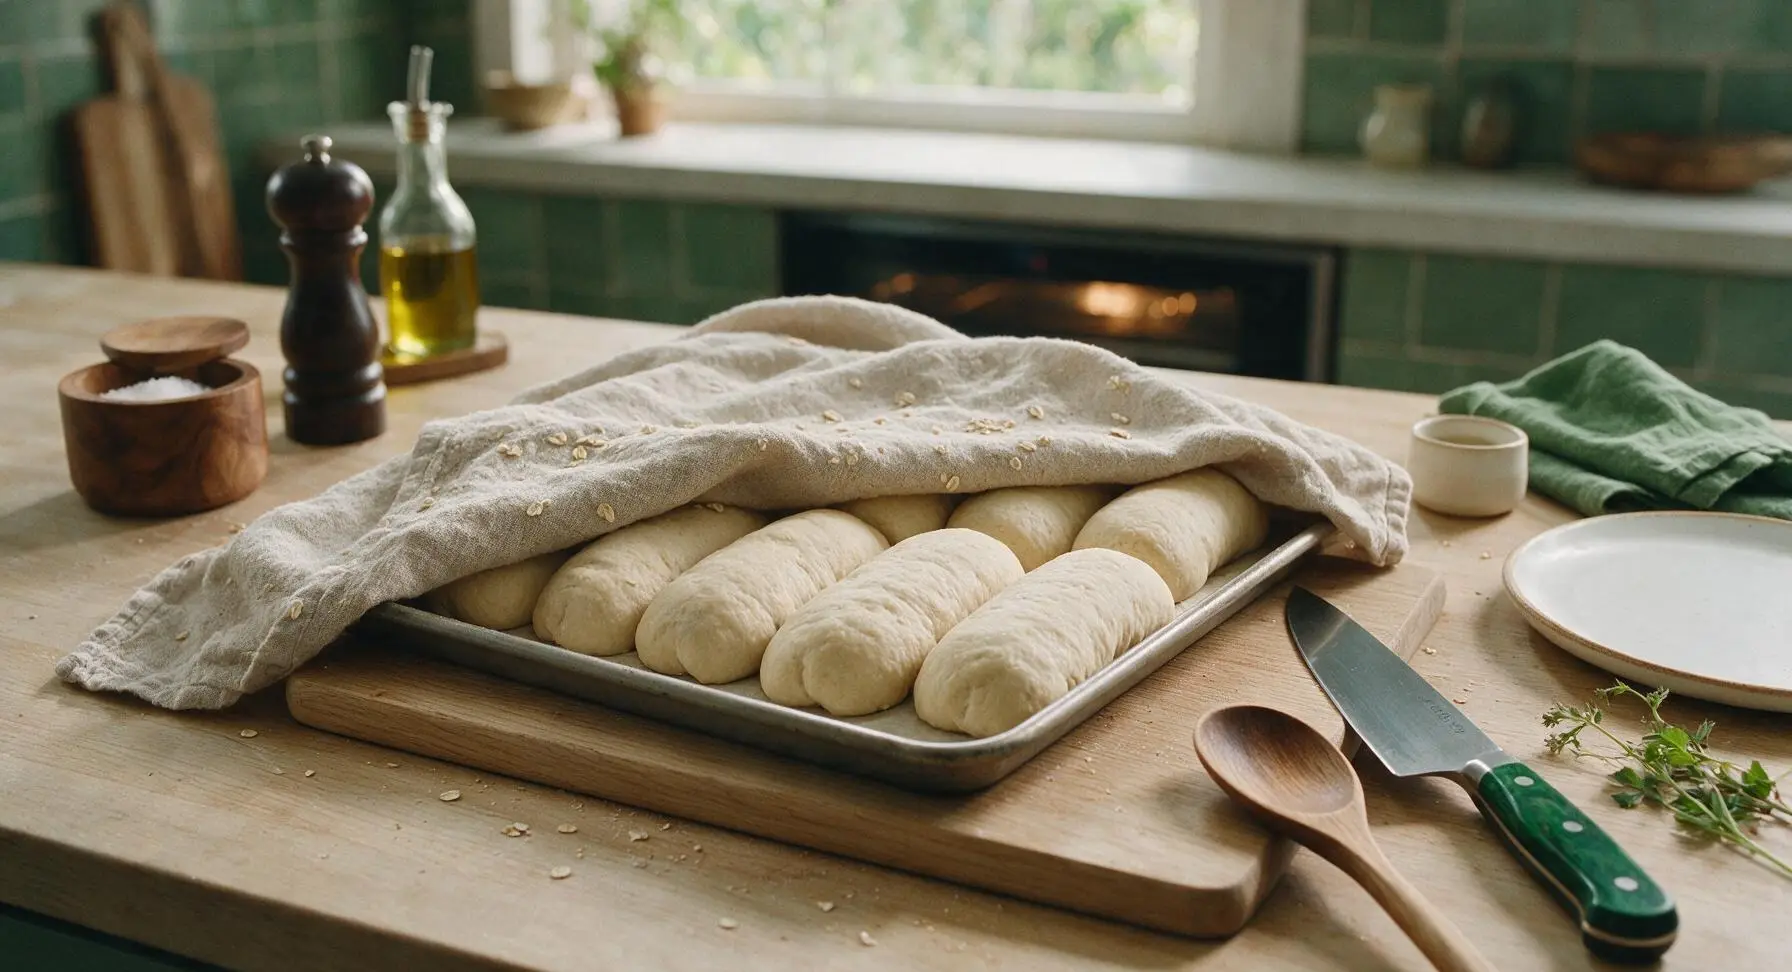
Loosely cover the baking sheet of shaped buns with the damp linen towel, and let rise for 40-50 minutes in a warm spot, until the buns are puffy, nearly doubled in size, and spring back slowly when gently poked. Halfway through the second rise, preheat your oven to 375°F (190°C).
Step 6
step6:Second Proof Buns
7

Bake Golden Buns

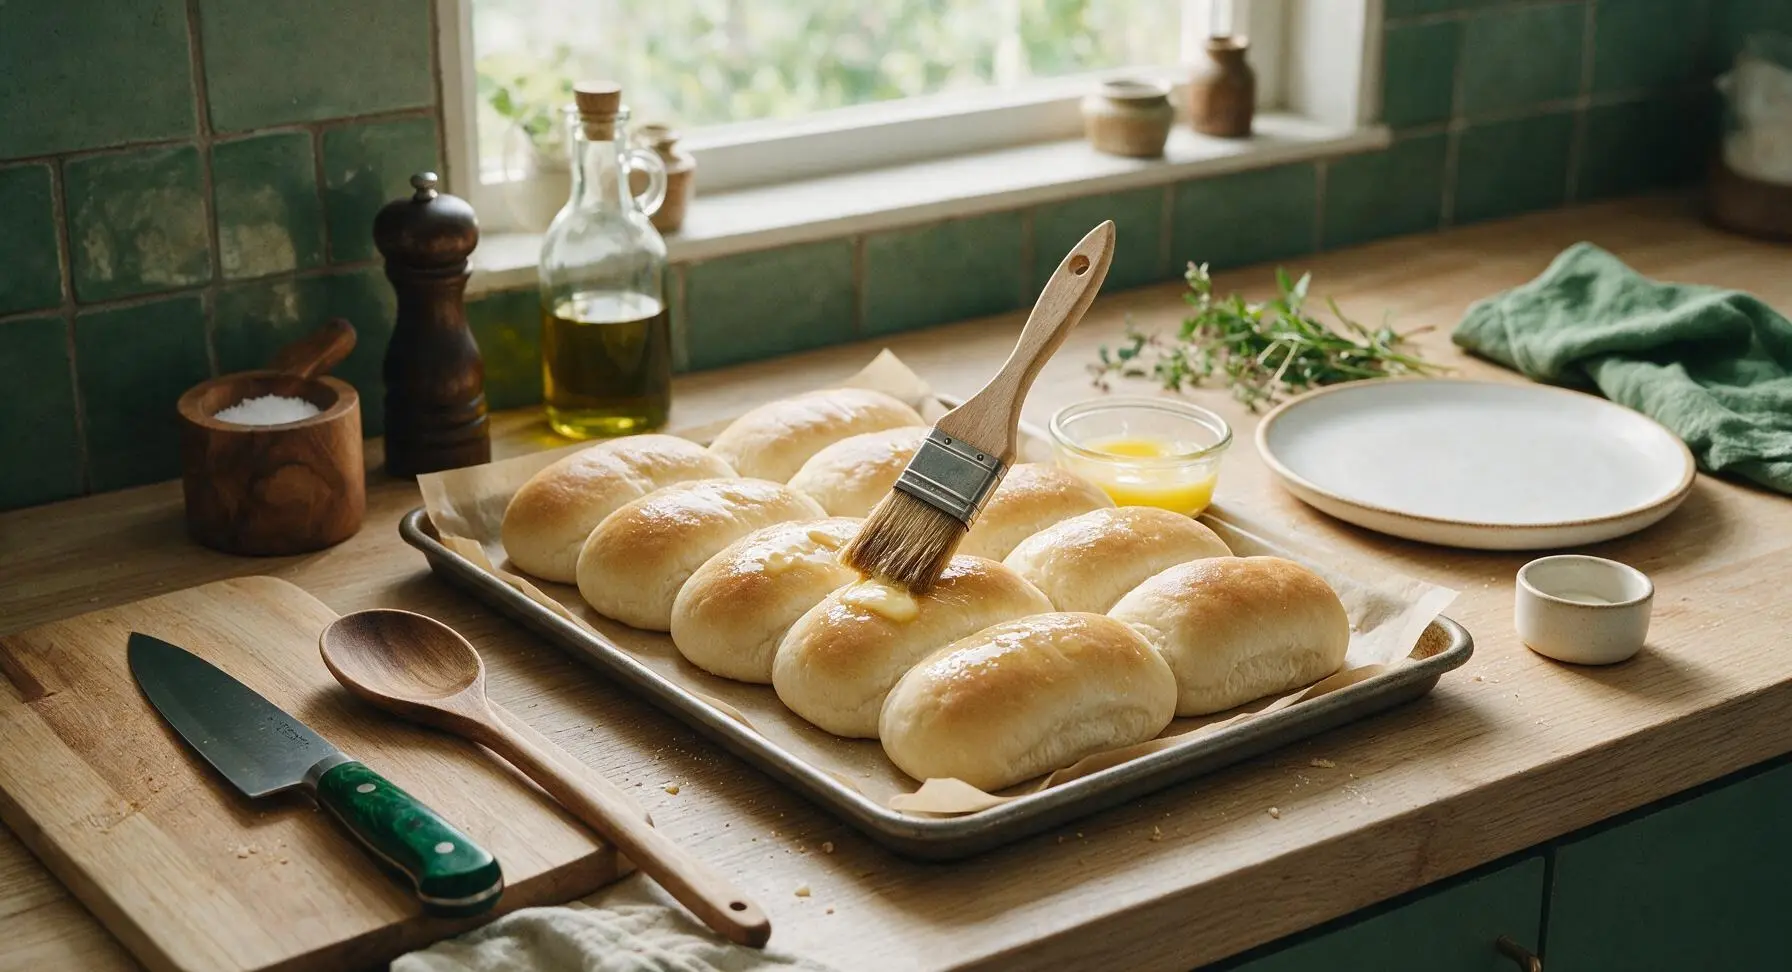
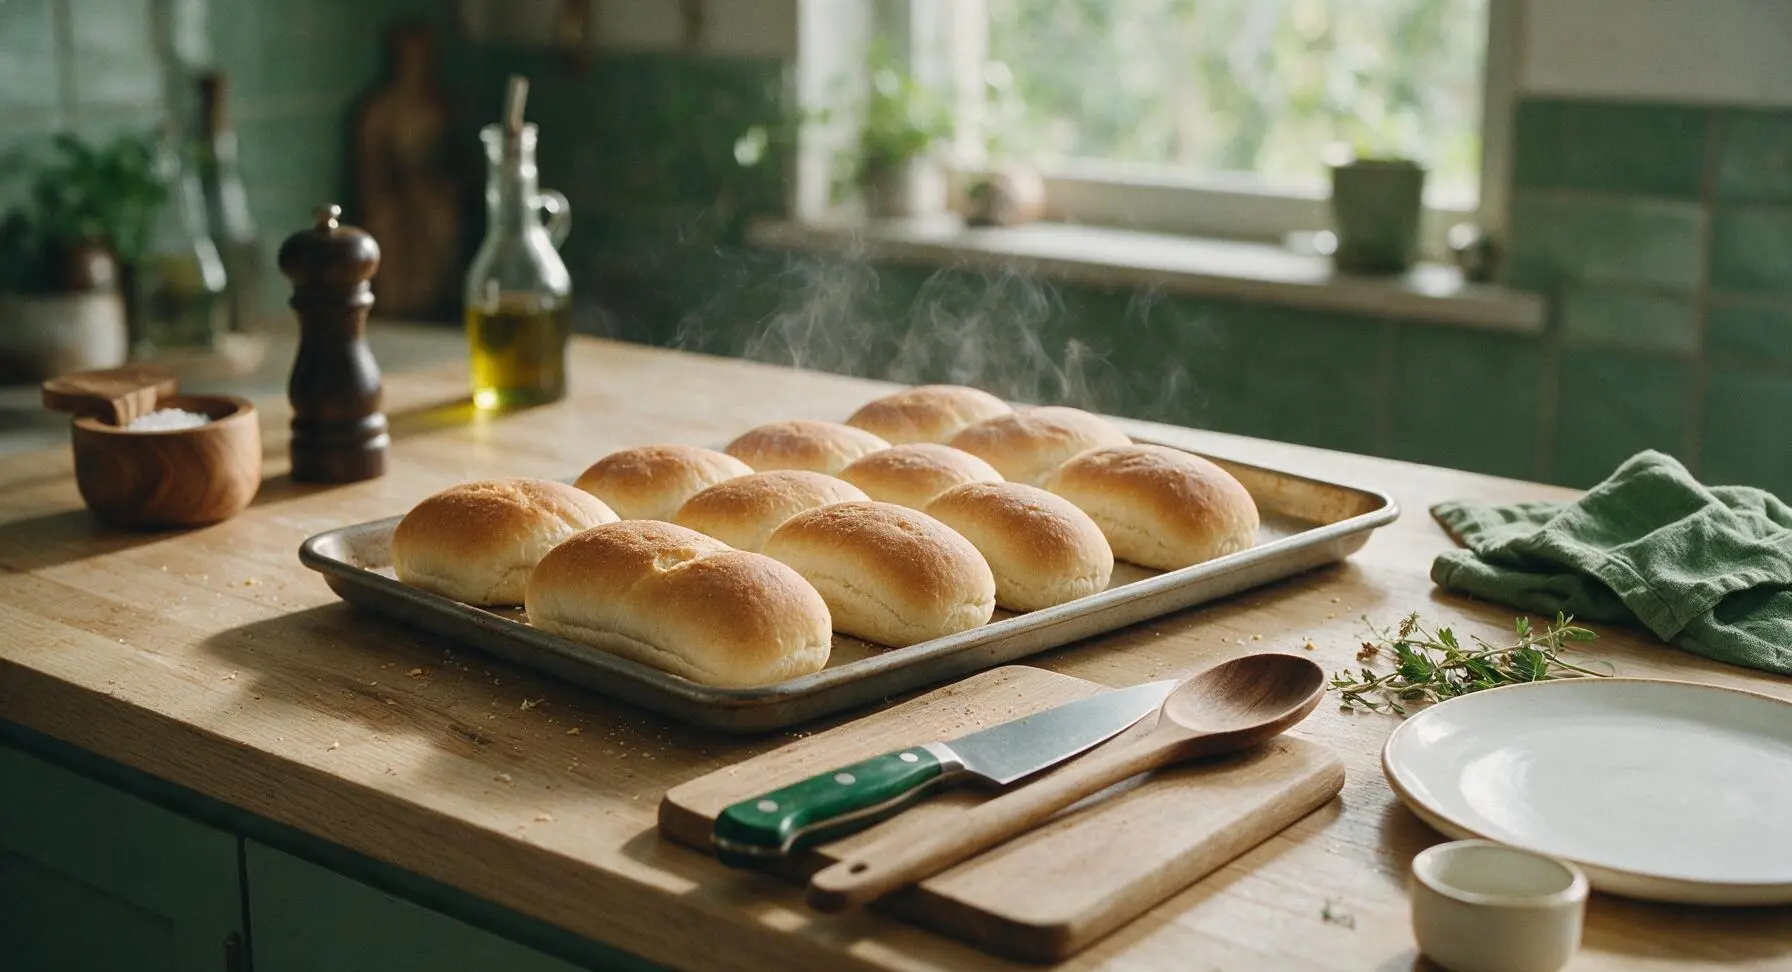
Remove the linen towel from the baking sheet. Melt the remaining 1 tablespoon of vegan butter, and use the boar bristle pastry brush to gently brush the top of each risen bun with melted butter, taking care not to press hard and deflate the soft dough. Bake for 12-14 minutes at 375°F, until the tops are an even light golden brown, and the bun bottoms sound hollow when tapped.
Step 7
step7:Bake Golden Buns
Step 7
step7:Bake Golden Buns
8

Cool Before Serving

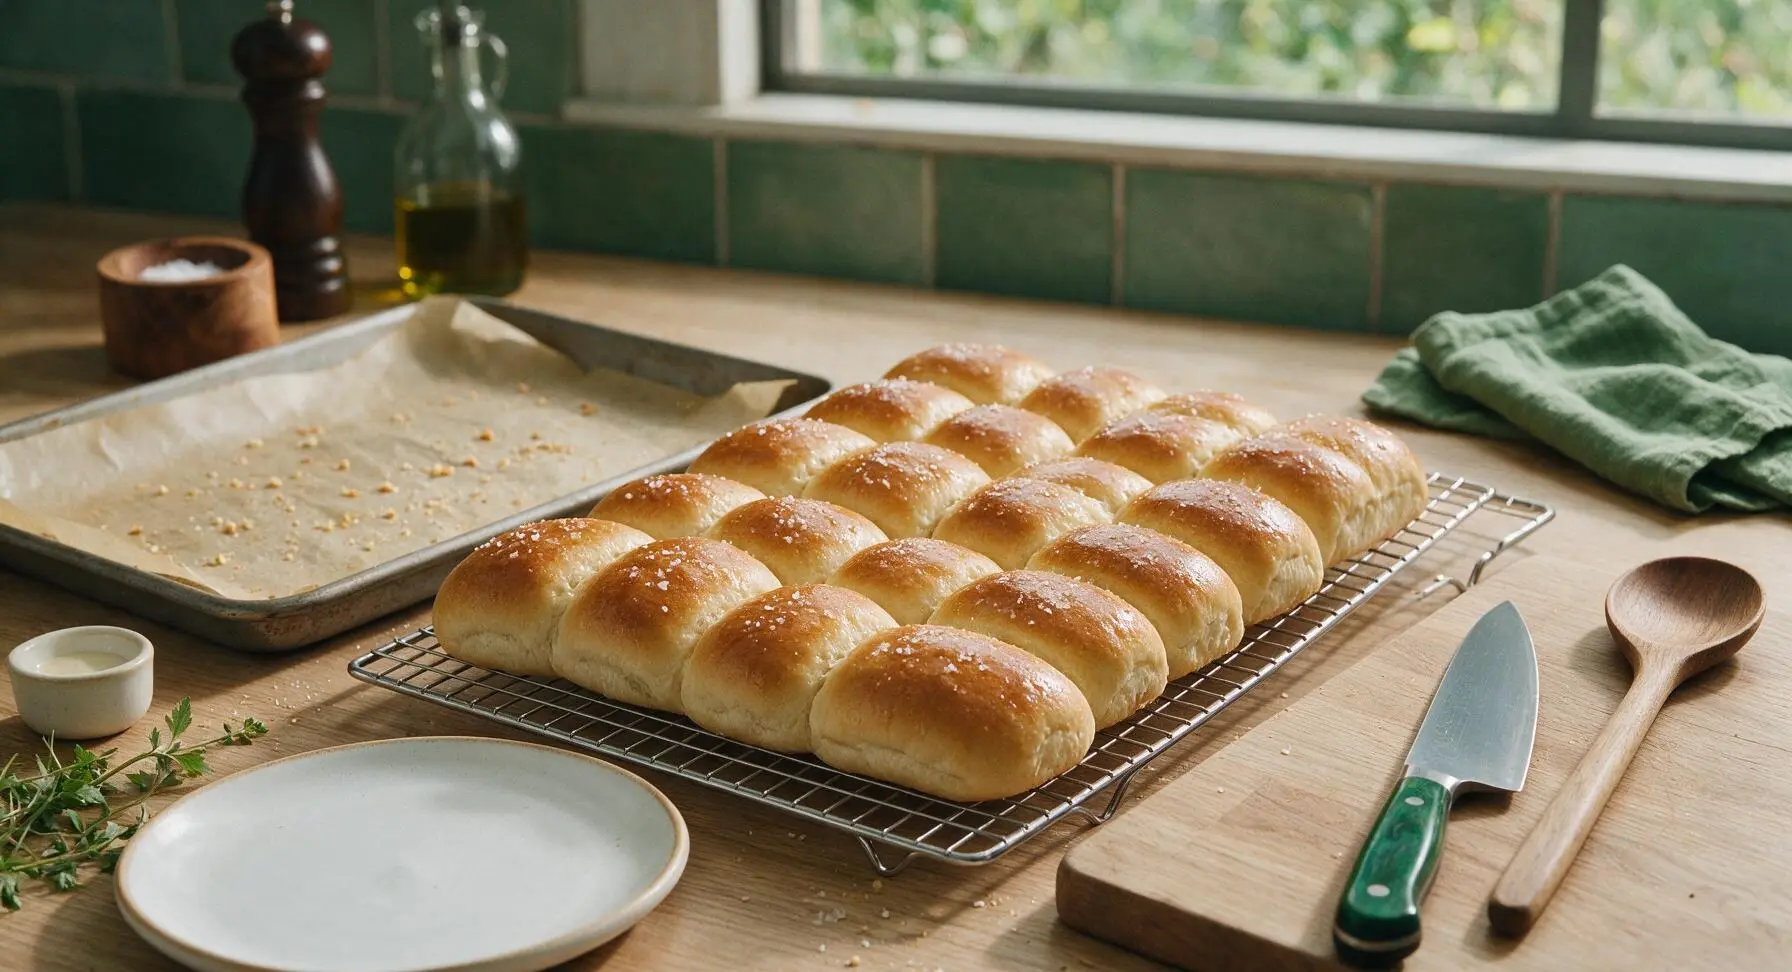
Remove the baking sheet from the oven, and immediately transfer the buns to the chrome wire cooling rack using the silicone scraper. Brush the warm tops with any remaining melted butter, and sprinkle lightly with flaky sea salt if desired. Let cool for 10 minutes before splitting lengthwise to serve, to avoid compressing the soft crumb.
Step 8
step8:Cool Before Serving

Tips

1.Always check your oat milk temperature before adding yeast: liquid hotter than 115°F will kill the live yeast, leading to dense, unrisen buns, while liquid too cold will fail to activate the yeast properly.
2.Leave 2 inches of space between shaped buns on the baking sheet: as they rise and bake, the buns will touch lightly, creating soft, tender side edges instead of hard, crispy crusts that are too firm for hot dog toppings.
3.Resist the urge to cut warm buns immediately after baking: letting them rest 10 minutes allows the crumb to set, so splitting them won’t compress the fluffy interior or cause the bun to fall apart when loaded with toppings.


✨ You May Also Like

BBQ & Grilling
🍜 United States

Tender, melt-in-your-mouth beef brisket with a crisp, spiced bark, slow-smoked to deep smoky perfection, the iconic centerpiece of Texas backyard barbecue.

⏱️ 12 hours BBQ & Grilling ★ 4.4
BBQ & Grilling
🍜 Korea

Tender, sweet-savory marinated beef short ribs, a beloved Korean BBQ staple with caramelized, slightly charred edges and deep umami flavor, perfect for outdoor summer gatherings.

⏱️ 4 hours 2BBQ & Grilling ★ 4.8
BBQ & Grilling
🍜 United States

Juicy grilled beef patties topped with smoky homemade chili, melted cheddar, and tangy pickles on toasted brioche buns for a hearty, flavor-packed handheld meal.

⏱️ 40 minuteBBQ & Grilling ★ 4.7
BBQ & Grilling
🍜 United States

A sweet, smoky, tangy BBQ sauce brightened with peak-season dark cherries, ideal for glazing grilled ribs, chicken, pork, or summer roasted veggies.

⏱️ 35 minuteBBQ & Grilling ★ 4.7
BBQ & Grilling
🍜 United States

Rich, smoky, slightly sweet homemade bourbon BBQ sauce with deep caramel notes, ideal for glazing grilled ribs, chicken, and burgers at cookouts.

⏱️ 25 minuteBBQ & Grilling ★ 4.7
BBQ & Grilling
🍜 United States

Iconic Alabama-style BBQ featuring tender hickory-smoked chicken slathered in tangy creamy white sauce, a beloved regional Southern cookout staple.

⏱️ 3 hoursBBQ & Grilling ★ 5

vegan hot dog bun:Frequently Asked Questions

1.Can I use all-purpose flour instead of bread flour for these vegan hot dog buns? ▾
You can, but note that unbleached bread flour’s higher protein content creates that chewy, sturdy crumb built to hold loaded toppings. If you swap for all-purpose flour, add 1 tablespoon of vital wheat gluten per cup of flour to mimic that structure; otherwise, your buns may be too tender and fall apart with heavy, wet toppings.
2.Why do you use unsweetened plain oat milk instead of other plant milks? ▾
Unsweetened plain oat milk has a neutral, creamy flavor and protein content that closely mimics dairy milk for yeasted dough, without the odd nutty or beany aftertastes you get from almond or soy milk. It also creates a softer, more golden crust than thinner plant milks like rice milk, with no added unwanted sweetness.
3.Do I have to use active dry yeast, or can I swap in instant yeast? ▾
You can absolutely use instant yeast as a 1:1 swap, no measurement adjustments needed! The only difference is you won’t need to proof it in warm oat milk first—mix it directly in with your dry ingredients. Keep an eye on rise time, as instant yeast often cuts total first and second rise time by 10 to 15 minutes.
4.The only sweetener here is maple syrup—will these buns taste noticeably sweet? ▾
No, they won’t taste noticeably sweet! The small amount of pure maple syrup is primarily there to feed the active dry yeast to help it activate properly, and it adds just a subtle, warm depth of flavor that balances the dough’s salt, rather than making the buns taste like a sweet breakfast bread.
5.Can I use salted vegan butter instead of unsalted for this recipe? ▾
You can, just cut the added salt in the dough by ¼ teaspoon per stick of salted vegan butter you use to avoid over-salting your buns. Make sure your butter is fully softened to room temperature, not melted, so it incorporates evenly without creating greasy spots that ruin the fluffy, even crumb.
6.How do I get that signature super soft, pillowy crumb instead of dense, tough buns? ▾
The biggest keys are not over-kneading the dough, letting it rise in a warm, draft-free spot until fully doubled before shaping, and avoiding extra flour during kneading to keep the dough soft. After baking, brush tops with melted vegan butter right out of the oven and wrap in a clean kitchen towel as they cool to lock in moisture.
7.Will these buns really hold up to loaded cookout toppings like chili and sauerkraut without falling apart? ▾
Absolutely—that’s one of the core design points of this recipe! The bread flour base and properly developed gluten create a sturdy outer crust and tight, tender crumb that won’t turn soggy or split mid-bite, even when piled high with chili, vegan cheese sauce, sauerkraut, grilled onions, or other favorite cookout toppings.
8.How long do these freshly baked buns stay soft and fresh? ▾
Stored in an airtight container or sealed zip-top bag at room temperature, they’ll stay soft and fresh for 3 to 4 days. For longer storage, wrap individual buns tightly in plastic wrap and freeze for up to 3 months—thaw at room temperature, or warm for 10 seconds in the microwave before serving to bring back that pillowy texture.
9.Can I prep this dough ahead of time for a cookout the next day? ▾
Yes! After the first rise, punch the dough down, cover it tightly, and store it in the fridge for up to 24 hours. When you’re ready to bake, take it out, shape the buns, let them come to room temperature and complete their second rise (45 minutes to an hour), then bake as directed for fresh, warm buns right when guests arrive.
10.What went wrong if my dough didn’t puff up during the first proof? ▾
The most common culprit is expired yeast that’s no longer active—always test it by mixing with warm oat milk and a pinch of maple syrup for 5 minutes; it should get foamy. Other causes are liquid that was too hot (over 110°F kills yeast) or a cold, drafty proofing spot that slows yeast activity too much.
11.Do I need any special pans or equipment to shape these hot dog buns evenly? ▾
No special equipment is required! Once your dough is divided into equal portions, roll each piece into a 6-inch log on a clean, lightly floured counter, pinch the seam along the bottom closed, and set them seam-side down on a parchment-lined baking sheet a couple inches apart to rise. No special bun pan is needed.
12.Can I adapt this recipe to be gluten-free for guests with wheat allergies? ▾
You can, but avoid a straight 1:1 gluten-free flour swap for the bread flour. Use a high-quality gluten-free bread flour blend that includes xanthan gum, and add an extra ½ teaspoon of yeast to boost lift, since gluten-free doughs lack the wheat protein structure that traps gas for a light, fluffy crumb.
13.Why do my homemade buns sometimes come out with a hard, crisp crust instead of a soft one? ▾
A hard crust usually comes from baking at too low a temperature for too long, or not covering the buns as they cool. Make sure your oven is fully preheated to 375°F so buns bake quickly, then brush tops with melted vegan butter immediately after baking and wrap in a clean kitchen towel while cooling to trap softening steam.
14.Can I use these soft vegan buns for other meals besides hot dogs? ▾
Definitely! Their soft, sturdy texture makes them perfect for all kinds of handheld meals. They work great for vegan lobster rolls, grilled sausage sandwiches, pulled jackfruit sliders, or even split and toasted for breakfast sandwiches. Just adjust shaping to be slightly shorter or wider if you use them for non-hot dog fillings.

Comments (10)

just now

OMG these came out SO fluffy! I was nervous vegan buns would turn out dense or crumbly but these were perfect for our weekend cookout. Even my meat-eating brother asked where I bought them, he had no idea they were homemade and vegan! Total game changer for summer BBQs.

yesterday

Took these to our neighborhood potluck last night and they were gone in 10 minutes! My kids loved them, they kept asking for second hot dogs just to eat more of the bun lmao. Only note is I had to add a tiny splash more plant milk than the recipe said because my dough was super dry, might be the flour brand I used?

12 hours ago

So glad your crew (and the neighbors!) loved these! You’re totally right that flour absorbency varies a ton by brand, so adding that extra splash of plant milk a teaspoon at a time until the dough is soft and tacky is exactly the right call. Great tip for other bakers!

3 days ago

Wait, has anyone tried making these with gluten free all purpose flour? I’m vegan AND gluten free and I’ve been hunting for a soft hot dog bun recipe that doesn’t turn into a rock after an hour. These look so good I’m tempted to test it but wanted to check first!

2 days ago

I did! I used my go-to 1:1 gluten free baking flour blend (the one with xanthan gum already in it) and added an extra tablespoon of aquafaba, they turned out amazing! Just make sure you don’t skimp on the rise time, that’s key for soft GF buns.

2 days ago

Great question! As Mia mentioned, a good 1:1 GF flour blend with xanthan gum works really well here — just note you might need a touch extra moisture to get the right dough consistency, and give the buns an extra 15-20 minutes of rise time before baking for that soft, pillowy texture.

1 week ago

Meal prepped a batch of these on Sunday and they held up perfectly all week for quick lunches! I stored them in an airtight container on the counter and they were still soft on day 5, no staleness at all. Toasted them up a little for my carrot dogs and chef’s kiss. 10/10 will make again.

2 days ago

Full transparency, I’ve never baked bread in my life and I was terrified this would be too hard since it’s marked medium difficulty. But the instructions were so straightforward! My buns came out a little lumpy looking but they taste incredible, way better than the store bought vegan buns that are $6 a pack.

1 day ago

Same here! I’m a total bread baking newbie too and my first batch was lumpy as heck but nobody cared once they ate them, they’re so soft. Don’t stress the shape, taste is all that matters haha!

5 days ago

Wait, mine came out way harder than I expected? I followed the recipe exactly, let them rise for the full time, baked for 14 minutes like it said, but they were crusty on the outside and dense on the inside. Did I overknead? My yeast was fresh, I checked.

4 days ago

Oh no, I had that happen once when my kitchen was super cold when I was letting them rise! They didn’t puff up enough before going in the oven so they didn’t get that soft, light crumb. Next time try letting them rise in the oven with the light on if your house is chilly!

4 days ago

So sorry your first batch didn’t turn out! The cold rise environment is a super common culprit — dough needs to be somewhere around 75-80°F to rise properly, and if it’s too cold the yeast won’t activate enough to create that soft, airy texture. Also make sure you’re not packing your flour into the measuring cup, that can lead to dry, dense dough too! Hope you give it another shot.

2 weeks ago

Made these for my son’s birthday party where half the kids have dairy allergies and they were such a hit! I brushed the tops with a little melted vegan butter and sprinkled sesame seeds on before baking, and they looked just like the fancy bakery buns you get at the grocery store. No one could tell they were dairy free, let alone fully vegan. This is my permanent go-to hot dog bun recipe from now on, no more buying overpriced store ones!

30 minutes ago

Can I make the dough the night before and let it do the first rise in the fridge? I want to have fresh buns for our early tailgate next Saturday but I don’t want to wake up at 6am to knead dough lmao.

10 minutes ago

Great question! You absolutely can do the first slow rise in the fridge overnight — just take the dough out about an hour before you want to shape the buns to let it come up to room temp, then shape, do the second rise, and bake as normal. It actually develops a really nice, subtle depth of flavor that way! Perfect for early tailgates.

2 hours ago

Wait, I don’t have any aquafaba on hand right now — can I swap it for something else? I have all the other ingredients, just ran out of chickpeas and I really don’t want to run to the store in the pouring rain for a single ingredient.

1 hour ago

I used unsweetened applesauce in the same amount when I forgot aquafaba once and it worked great! Buns were just as soft, no weird apple aftertaste or anything, I promise.

45 minutes ago

Applesauce is a perfect swap! You can also use 1 tbsp of ground flaxseed mixed with 3 tbsp of warm water (let it sit 5 minutes to gel up) if you have that on hand too. Both work beautifully as an aquafaba replacement, you won’t notice a difference in texture.

5 minutes ago

These are SO good! I made them last night to go with our vegan chili dog dinner for the family and even my super picky 7 year old ate two whole hot dogs just for the buns, no complaints at all. The texture is so pillowy and soft, not tough and chewy like every other vegan bun recipe I’ve wasted ingredients on. 100% worth every minute of prep time!

just now

Right?! I’ve ruined so many batches of vegan hot dog buns trying to find a reliable recipe, this one is the only one that actually stays soft for days. My picky 6 year old is the exact same way, he’d eat these buns plain with a little butter if I let him!



