
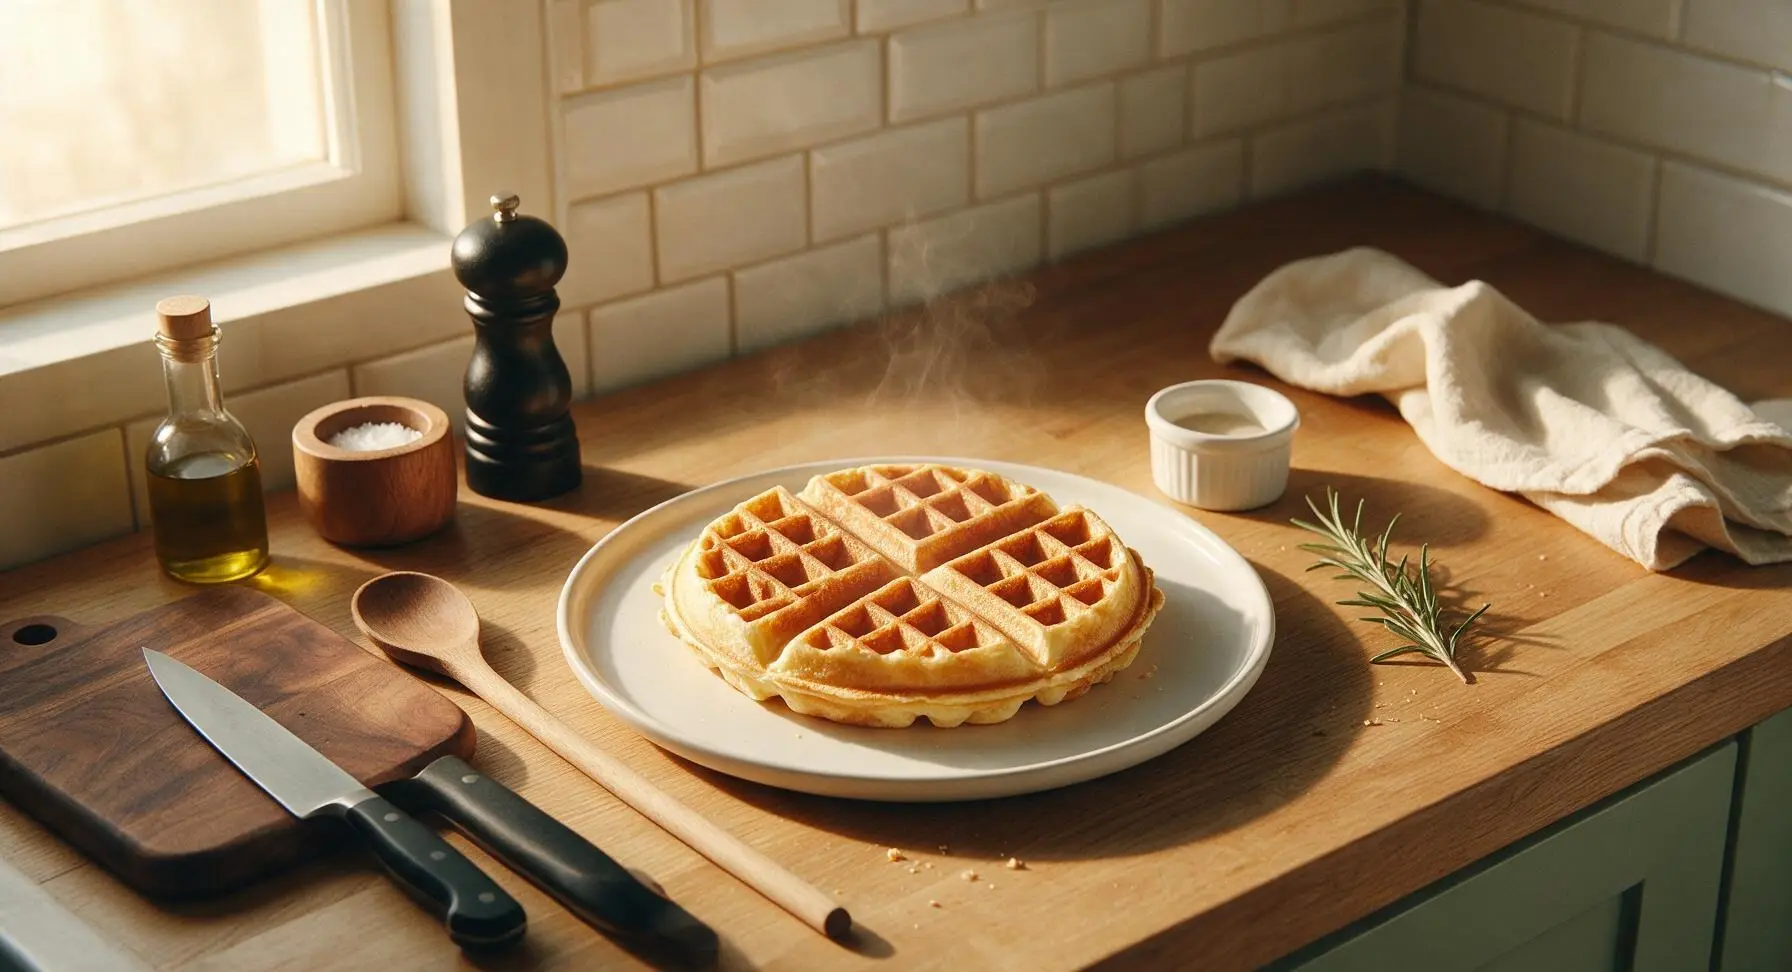
vegan waffle batter

title 1
vegan waffle batter
⏱️ cook time 0 minutes (batter is ready to use; 3-4 minutes per waffle when cooked in a preheated waffle iron)
🍽️ servings 4
⚡ Difficulty easy

intro

Light, crisp-outside, fluffy-inside vegan waffle batter that mixes in 10 minutes with no fancy equipment, for golden, restaurant-worthy waffles every time.

Ingredients

All-purpose flour 2 cups (240g)
Unsweetened oat milk 1 3/4 cups (420ml)
Baking powder 1 1/2 tsp
Baking soda 1/2 tsp
Fine sea salt 1/8 tsp
Ground cinnamon 1/2 tsp
Granulated sugar 2 tbsp (25g)
Neutral avocado oil 3 tbsp (45ml)
Apple cider vinegar 1 tbsp (15ml)
Pure vanilla extract 1 tsp (5ml)

Steps

1

Mix Vegan Buttermilk

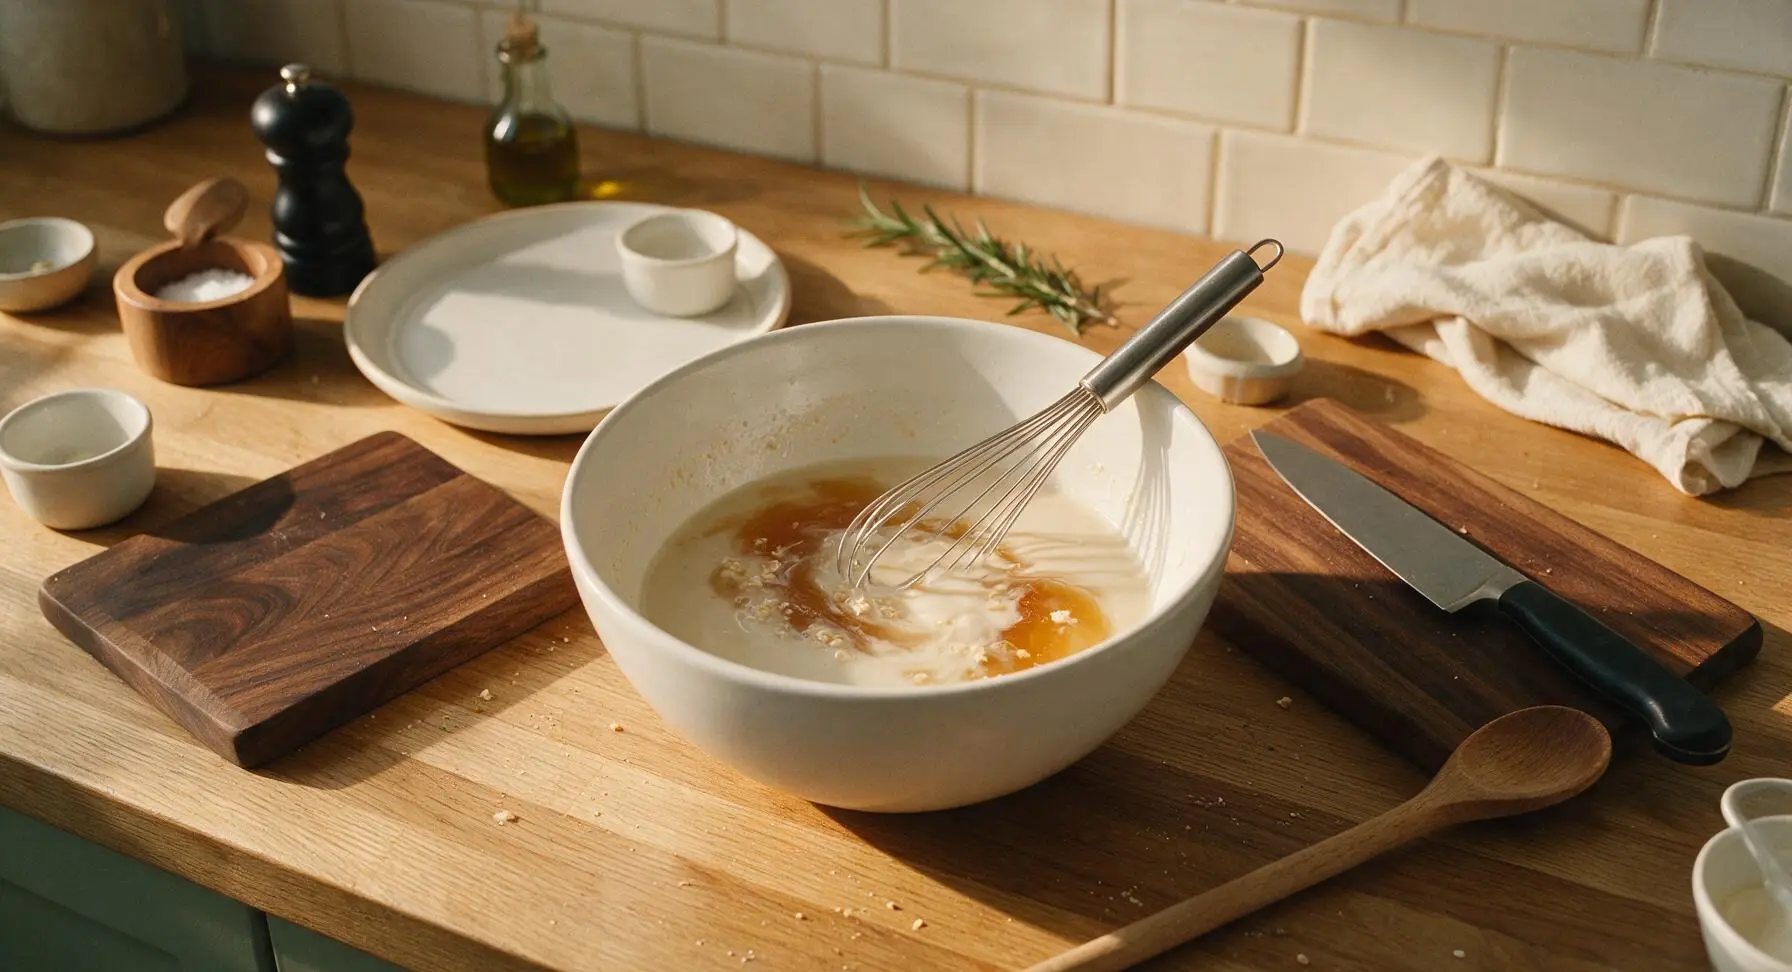
Pour 1 3/4 cups (420ml) unsweetened oat milk and 1 tbsp apple cider vinegar into the large matte white ceramic mixing bowl. Stir once gently with the stainless steel whisk, then let rest for 5 minutes at room temperature. The mixture will thicken slightly and develop tiny curdled bits on the surface, mimicking dairy buttermilk to activate leavening for fluffy waffles.
Step 1
step1:Mix Vegan Buttermilk
2

Measure Dry Ingredients

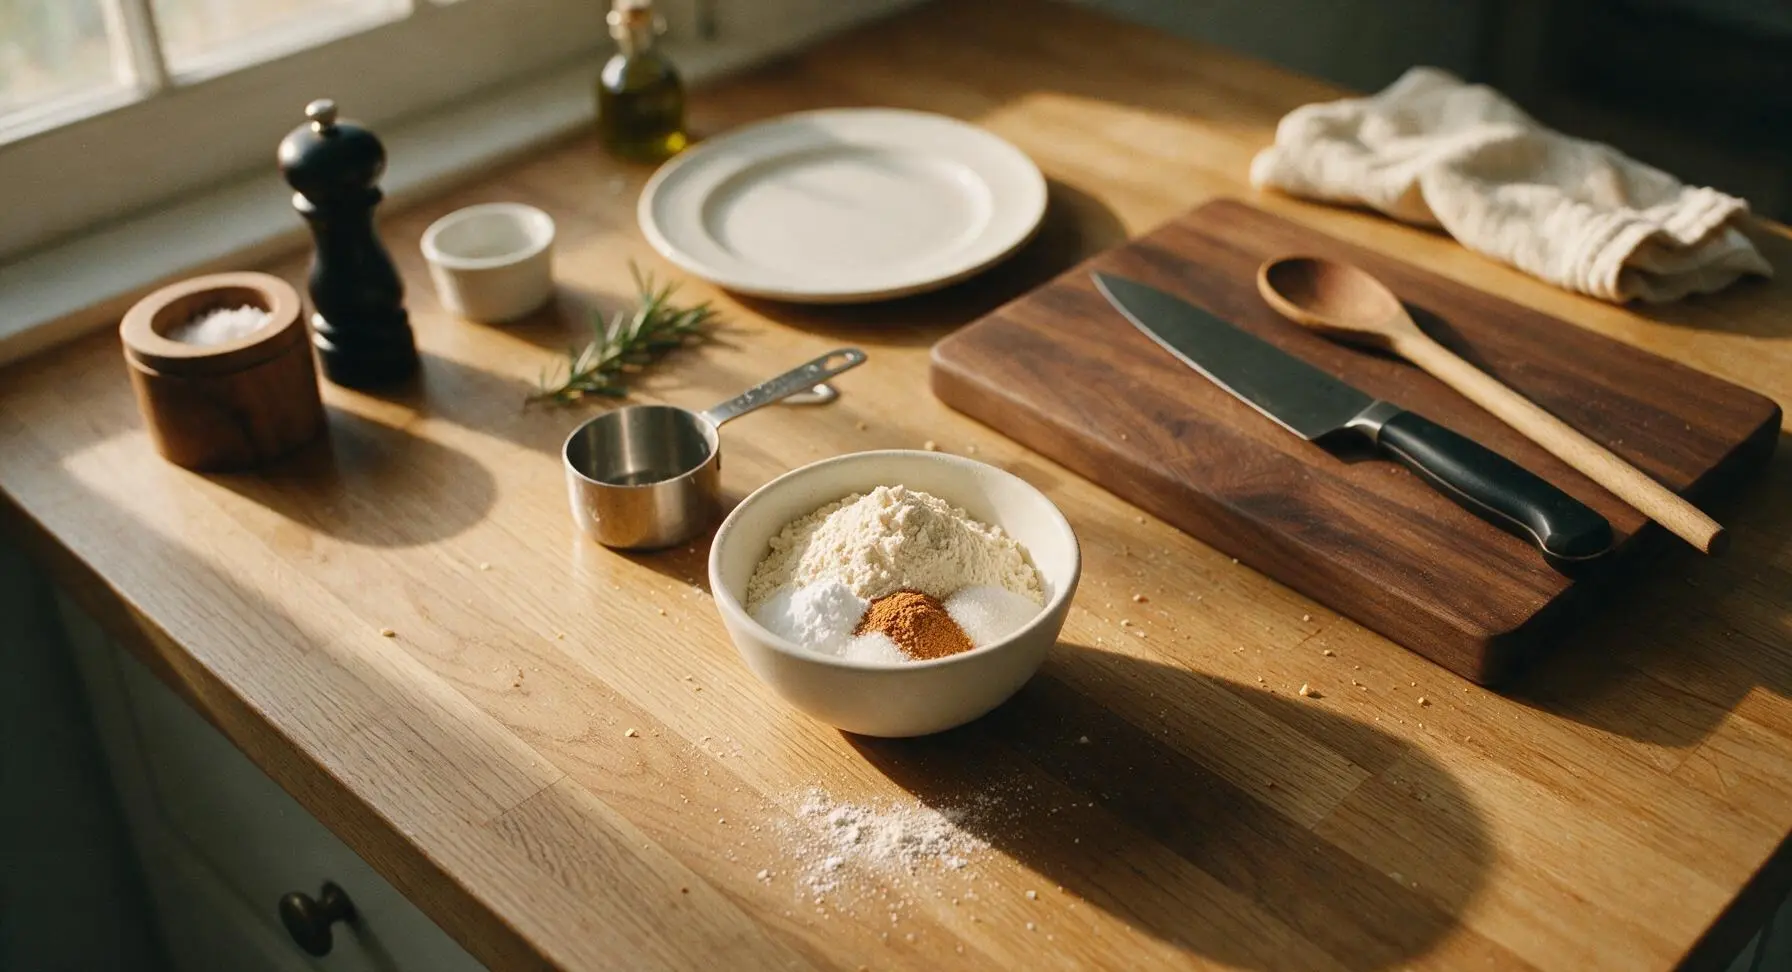
While the buttermilk rests, add 2 cups (240g) all-purpose flour, 1 1/2 tsp baking powder, 1/2 tsp baking soda, 1/8 tsp fine sea salt, 1/2 tsp ground cinnamon, and 2 tbsp granulated sugar to the small matte white prep bowl. Level each measurement with the back of the silicone spatula to avoid overpacking flour, which creates dense, heavy batter.
Step 2
step2:Measure Dry Ingredients
3

Whisk Dry Blend

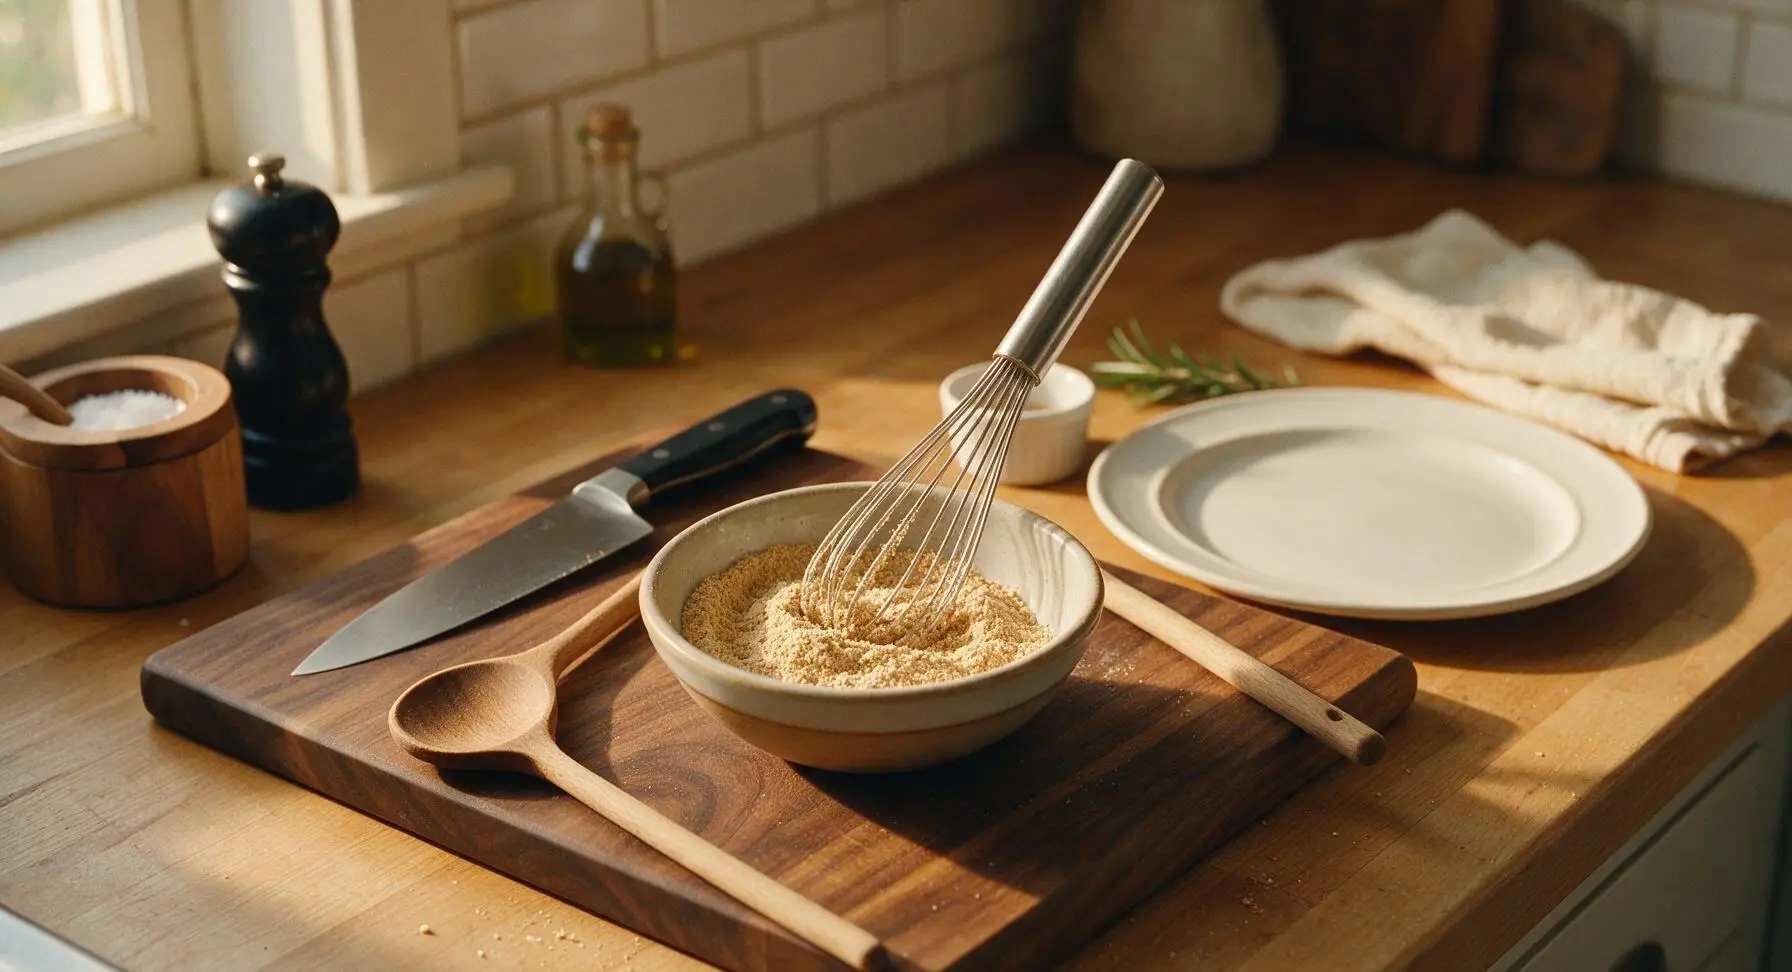
Use the stainless steel whisk to stir the dry ingredients in the small prep bowl until fully combined, with no visible clumps of cinnamon or baking powder. The finished dry blend should be a uniform pale tan color, evenly mixed to prevent streaks or lumps in the final batter.
Step 3
step3:Whisk Dry Blend
4

Add Oil and Vanilla

After the 5-minute buttermilk rest, pour 3 tbsp (45ml) neutral avocado oil and 1 tsp pure vanilla extract into the curdled oat milk mixture in the large mixing bowl. Whisk briefly for 10 seconds to combine, until the oil is fully emulsified and no visible oil slicks remain on the liquid surface.

Step 4
step4:Add Oil and Vanilla
5

Combine Wet and Dry

Pour the fully whisked dry ingredient blend into the large mixing bowl with the wet ingredients. Use the whisk to stir the batter in slow, wide circles, mixing just until no large dry flour clumps remain. Stop stirring as soon as the batter comes together—small pea-sized lumps are normal and desirable, as overmixing develops gluten and leads to tough, dense waffles.
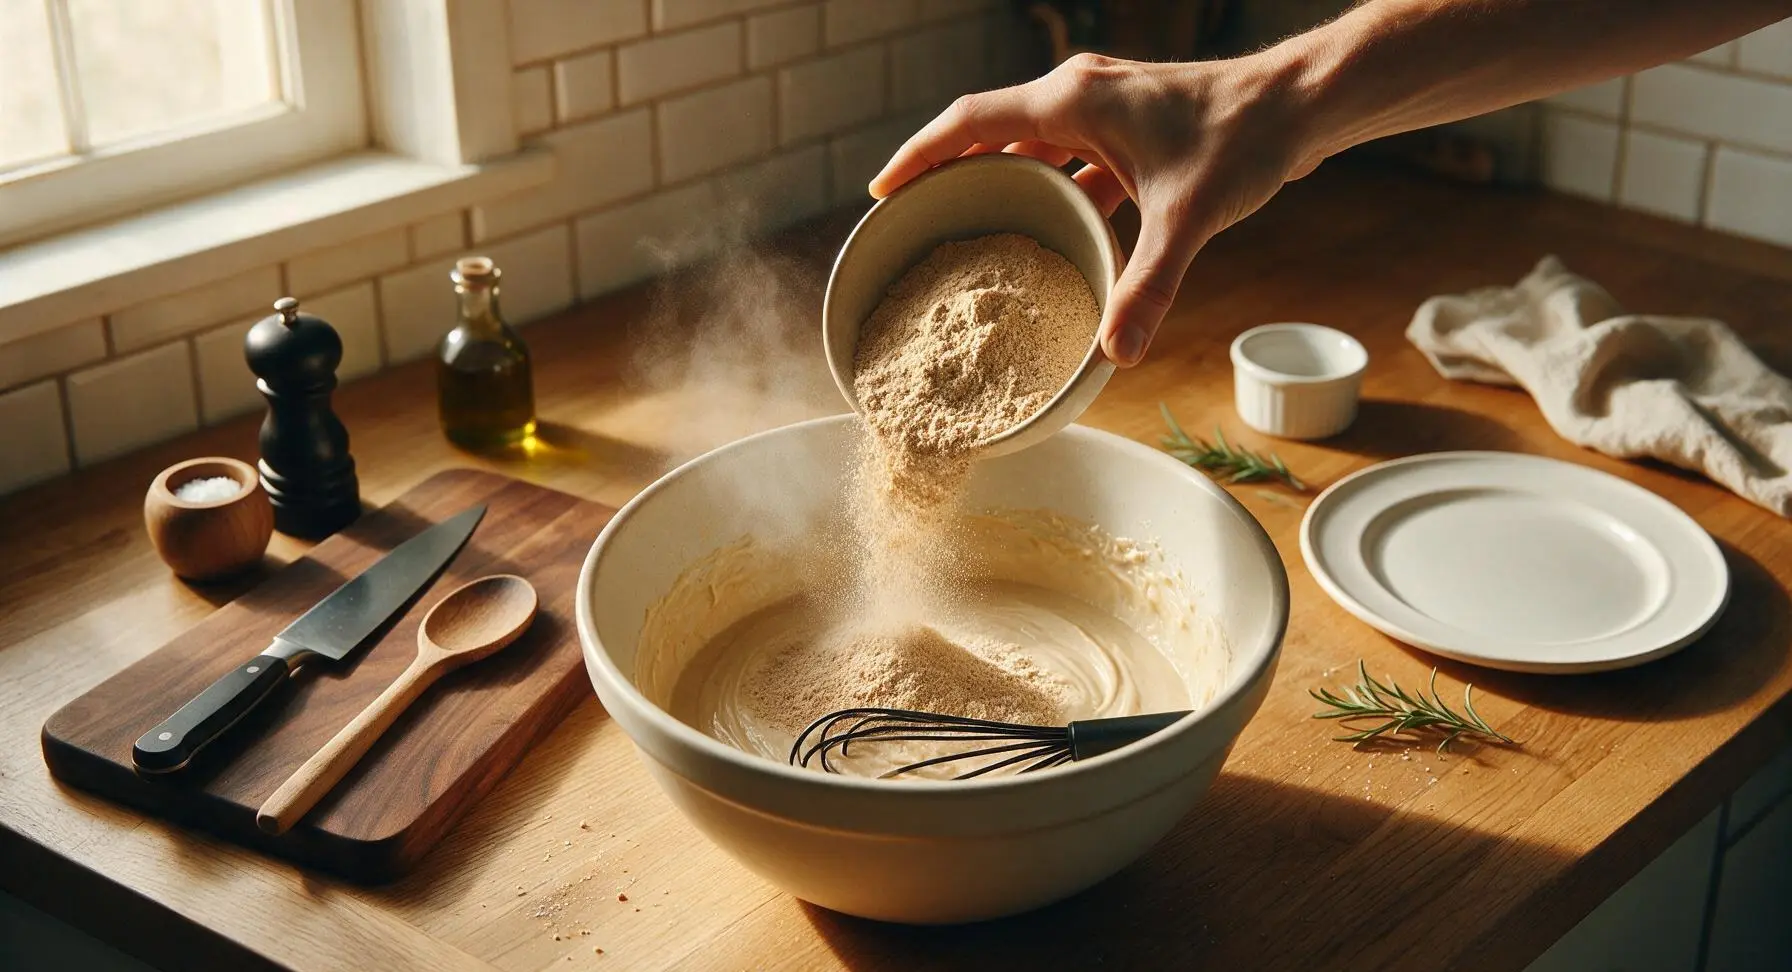
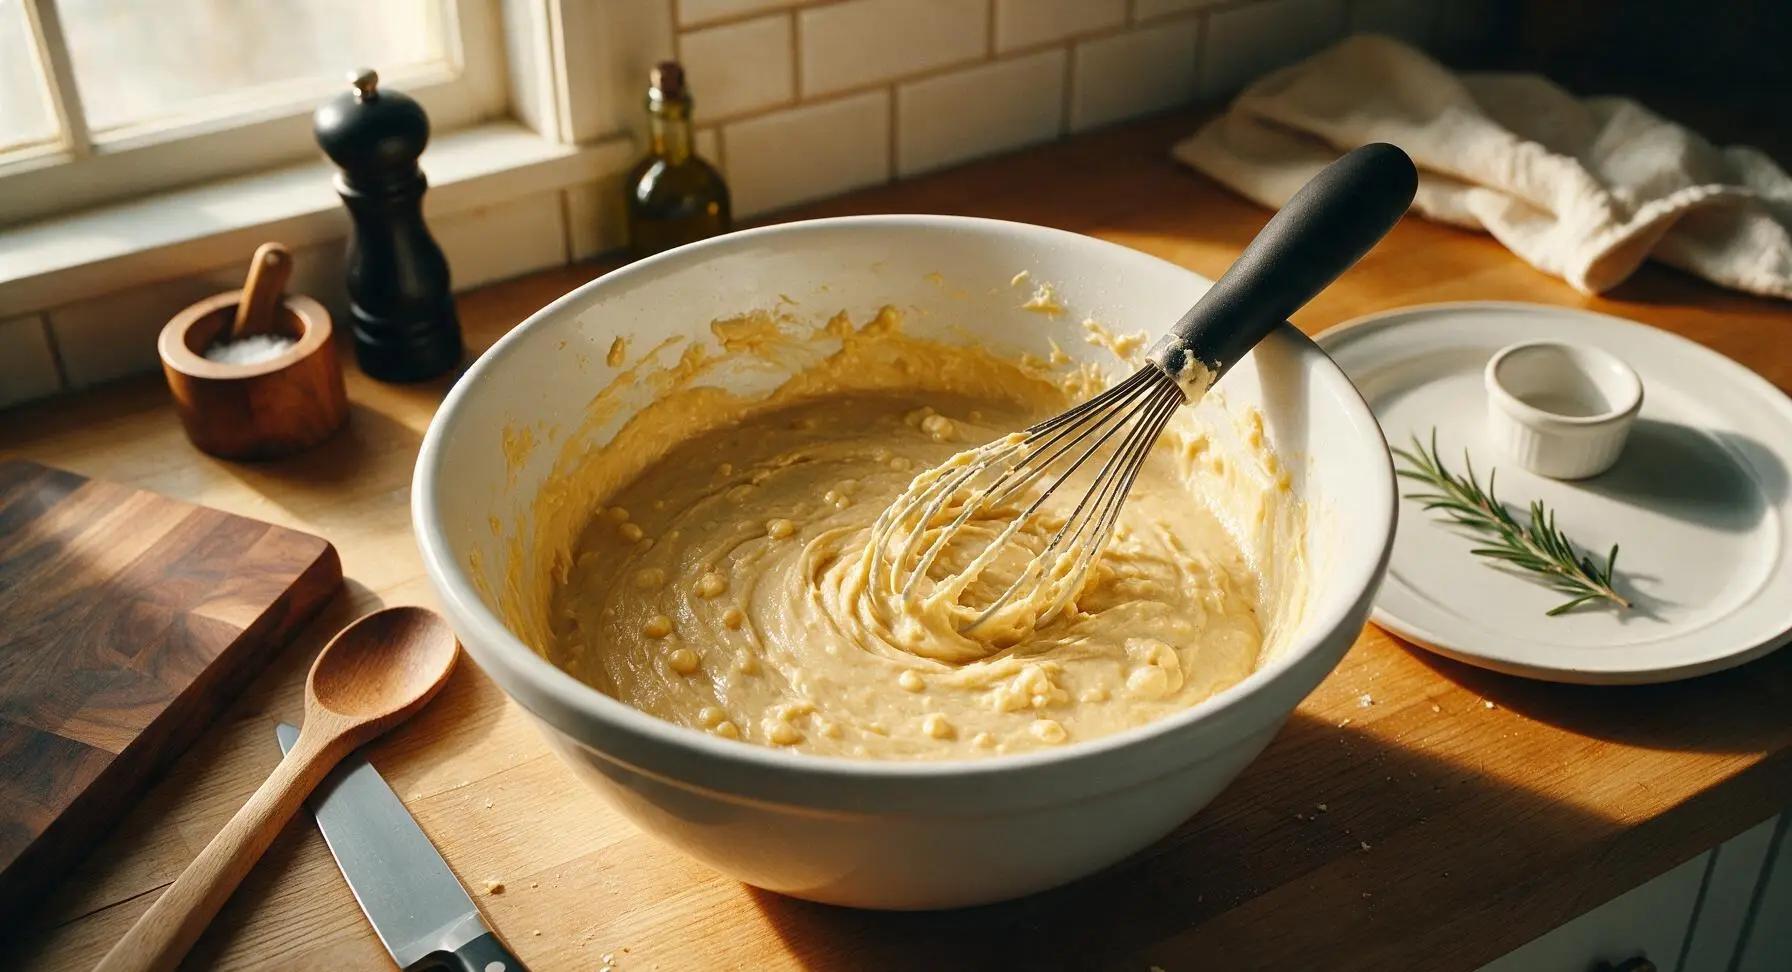
Step 5
step5:Combine Wet and Dry
Step 5
step5:Combine Wet and Dry
6

Rest Batter Briefly

Let the mixed batter rest for 3 minutes at room temperature, undisturbed. During this time, the leavening will activate, creating tiny pinprick bubbles across the batter surface that signal the batter is light enough to produce crisp, fluffy waffles. Do not stir the batter again after this rest, as stirring will pop the critical air bubbles.
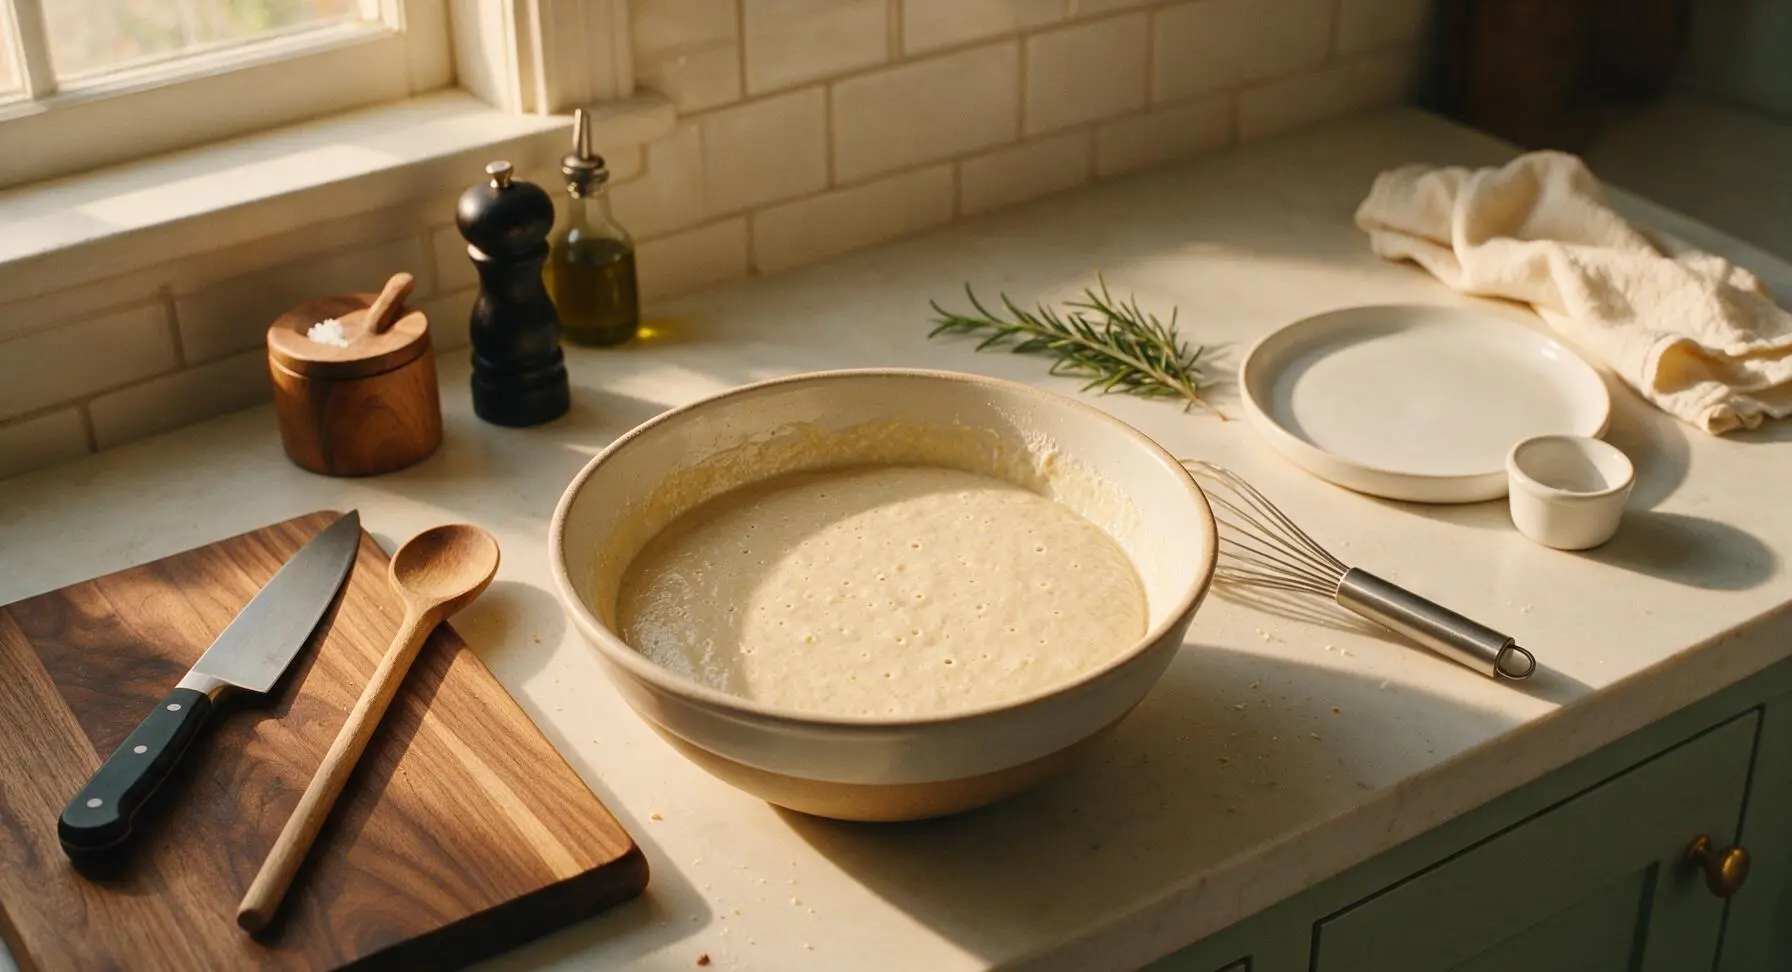
Step 6
step6:Rest Batter Briefly
7

Transfer Batter to Pitcher

Hold the flexible silicone spatula against the rim of the large mixing bowl, and pour the rested batter slowly into the creamy white ceramic batter pitcher. Use the spatula to scrape down the sides of the bowl to capture every bit of batter, leaving no wasted mix behind. The batter is now ready to pour directly into a preheated waffle iron, or store in an airtight container in the fridge for up to 3 days.
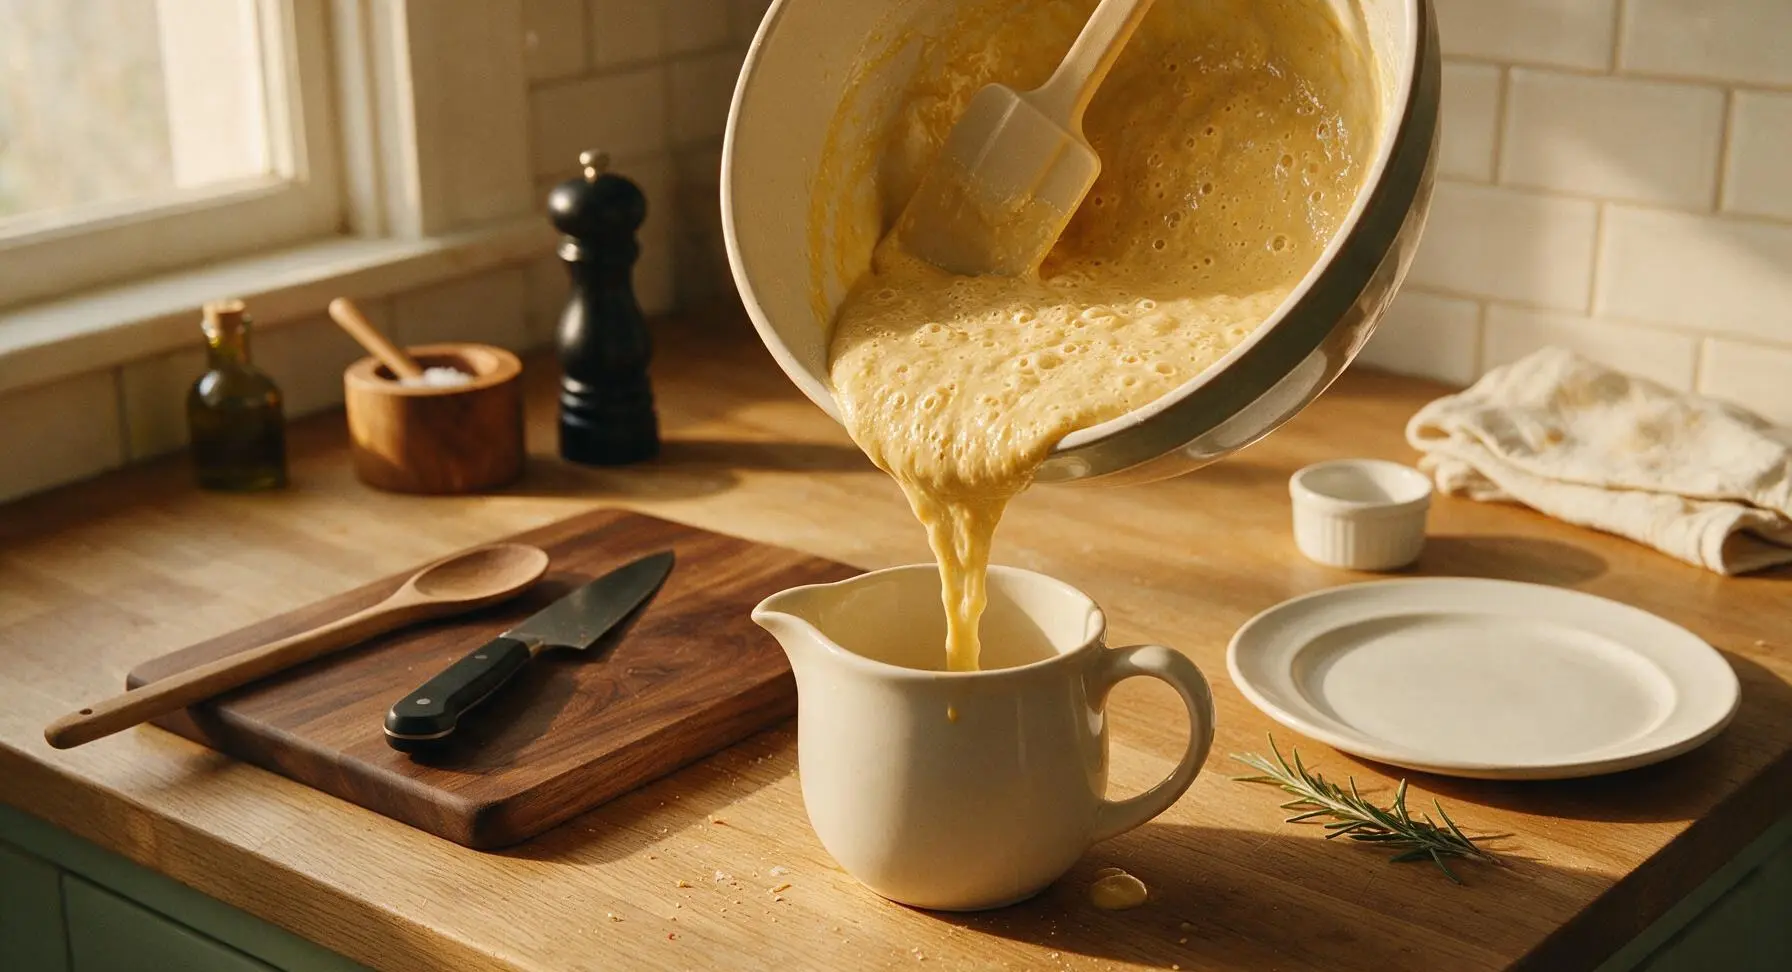
Step 7
step7:Transfer Batter to Pitcher

Tips

1.Avoid overmixing the batter: Over-stirring develops gluten in the all-purpose flour, which results in tough, chewy waffles instead of light, crisp ones. Small pea-sized lumps are completely normal and will disappear as the batter cooks in the waffle iron.
2.Stick to unsweetened oat milk for best results: Oat milk has a neutral, creamy consistency that matches dairy milk more closely than thin almond milk or strongly flavored soy milk, and it curdles reliably with apple cider vinegar to create the acidic base needed for maximum leavening lift.
3.Don’t skip the short batter rest: The 3-minute rest gives the baking powder and baking soda time to react with the acidic vegan buttermilk, creating air bubbles that produce tall, fluffy waffles with a crisp outer crust, rather than dense, flat ones. Do not stir the batter again after resting, as this will pop the critical air bubbles.


✨ You May Also Like

Breakfast
🍜 United States

Crisp-edged, fluffy lard griddle cakes are a nostalgic homestyle staple, with rich savoriness from rendered lard, perfect topped with maple syrup or savory gravy.

⏱️ 25 minuteBreakfast ★ 4.8
Breakfast
🍜 United States

Flaky, buttery homemade buttermilk biscuits smothered in creamy, peppery pork sausage gravy: a beloved, hearty Southern American comfort food classic.

⏱️ 35 minuteBreakfast ★ 4.8
Breakfast
🍜 United States

Golden, custardy brioche stuffed with sweet cream cheese and fresh berries, pan-fried to crisp perfection. An indulgent, cozy breakfast perfect for slow weekend mornings.

⏱️ 30 minuteBreakfast ★ 4.7
Breakfast
🍜 United States

Flaky, buttery Southern-style biscuits stuffed with savory salty country ham, a portable, satisfying classic perfect for casual on-the-go meals.

⏱️ 25 minuteBreakfast ★ 4.8
Breakfast
🍜 United States

Iconic puffy baked pancake popularized in Seattle, with crisp golden edges and soft custardy center, served warm with classic sweet toppings.

⏱️ 35 minuteBreakfast ★ 4.6
Breakfast
🍜 United States

Fluffy, golden pancakes studded with juicy peak-summer mixed berries, drizzled with maple syrup for a bright, comforting, crowd-pleasing family breakfast.

⏱️ 25 minuteBreakfast ★ 4.7

vegan waffle batter:Frequently Asked Questions

1.Why don’t these vegan waffles need eggs to turn out light and fluffy? ▾
The combination of baking powder, baking soda, and mildly acidic unsweetened oat milk creates immediate carbon dioxide bubbles that lift the batter as it cooks—no eggs required! Just avoid overmixing to keep those air pockets intact for that signature tall, fluffy crumb and crisp outer edge.
2.Can I use a different plant milk instead of unsweetened oat milk? ▾
You can, but unsweetened plain oat milk has the creamy consistency and mild natural acidity that reacts best with the leaveners for reliable rise. If using almond or soy milk, add 1 tsp apple cider vinegar per cup, let it sit 2 minutes to curdle slightly, and skip sweetened versions to avoid soggy waffles.
3.Why do my waffles turn out dense instead of light and fluffy? ▾
Dense waffles almost always stem from overmixed batter or expired leavening. First, confirm your baking powder and baking soda are less than 6 months old, then stir the batter just until no dry flour streaks remain—lumps are totally fine! Let the batter rest 3 minutes before pouring to let leaveners activate fully.
4.Do I need any special equipment to mix this waffle batter? ▾
Nope, no fancy mixers or specialty tools are required! All you need is a large mixing bowl, a regular wire whisk or wooden spoon, and basic measuring cups. You won’t need a stand mixer, immersion blender, or fancy gear—the whole batter comes together in 10 minutes flat, just as promised.
5.Why does this recipe use both baking powder and baking soda? ▾
Baking powder delivers consistent, long-lasting rise as the waffles cook, while baking soda reacts immediately with the mild acidity in unsweetened oat milk to create extra initial lift for a taller crumb. The pair ensures a crisp outer edge and soft, airy interior without the bitter aftertaste from too much of either leavener.
6.Can I make this batter ahead of time for busy weekday mornings? ▾
This batter works best mixed right before cooking, because the leavening reaction starts as soon as wet and dry ingredients combine. For an easy head start, mix all dry ingredients (flour, baking powder, baking soda, salt) in an airtight container up to 3 months ahead, then stir in oat milk 10 minutes before cooking.
7.What adjustments do I need if I use self-rising flour instead of all-purpose flour? ▾
If you swap in self-rising flour, adjust the leaveners and salt to avoid over-rising or overly salty waffles. For every cup of self-rising flour used, cut added baking powder by 1 ½ tsp, cut fine sea salt by ¼ tsp, and keep the baking soda measurement the same to retain the right reaction with oat milk.
8.How do I get that perfectly crisp, golden restaurant-style waffle crust? ▾
First, make sure your waffle iron is fully preheated—it should sizzle when a drop of batter hits the surface—before pouring batter in. Don’t open the iron too early; wait until steam stops escaping from the edges, about 3-4 minutes, and avoid over-greasing the iron, which leads to soggy, greasy crusts.
9.Can I add mix-ins like chocolate chips or blueberries to this batter? ▾
Absolutely! Fold in up to ½ cup of mix-ins per batch right after combining wet and dry ingredients, so you don’t overmix the batter. Toss berries or chocolate chips in a tiny pinch of flour first to keep them from sinking to the bottom of the waffle pockets as they cook.
10.Why does the recipe call for fine sea salt instead of regular table salt? ▾
Fine sea salt dissolves evenly throughout the batter, balancing the toasty flavor of the flour and cutting any subtle metallic aftertaste from the leaveners. If you only have table salt, cut the measurement in half—table salt is much denser and saltier per volume, so a full measure will make waffles overly salty.
11.My batter is really lumpy—did I mix it wrong? ▾
Lumpy batter is exactly what you want for fluffy waffles! Over-stirring to smooth out every last lump develops gluten in the all-purpose flour, which leads to tough, chewy, dense waffles instead of light, tender ones. As long as there are no large dry flour pockets, those small lumps will disappear as waffles cook.
12.Can I use this waffle batter to make pancakes instead? ▾
You can, with one small adjustment! Waffle batter is slightly thicker to create that signature crisp crust, so add 2-3 extra tablespoons of unsweetened oat milk to thin it out for pancakes. Cook on a preheated, greased griddle over medium heat until bubbles form across the surface, then flip and cook 1-2 minutes until golden.
13.How long should I cook waffles from this batter for the best texture? ▾
For most standard home waffle irons, cook 3 ½ to 4 minutes per waffle, until it is deep golden all over and no more steam seeps out from the iron edges. Resist the urge to peek earlier—opening the iron before the waffle sets can cause it to deflate, leaving you with a flat, dense final result.
14.Can I make this batter gluten-free by swapping the all-purpose flour? ▾
You can easily make a gluten-free version, but don’t swap regular all-purpose flour 1:1 for a random gluten-free blend. Use a 1:1 gluten-free all-purpose baking blend that contains xanthan gum, and add an extra ¼ tsp of baking powder to compensate for heavier flour texture, so waffles stay light and fluffy.
15.Why is unsweetened oat milk recommended over sweetened vanilla oat milk? ▾
Sweetened, flavored oat milks add extra sugar and added flavor that throws off batter balance, leading to overly fast browning (often burning before the inside cooks through) and soggy waffle crusts. Unsweetened plain oat milk has a neutral flavor and consistent acidity for reliable rise and even, golden browning every time.
16.How do I keep cooked waffles warm and crisp while I make a full batch? ▾
Don’t stack cooked waffles on a plate—that traps steam and makes them soggy fast. Instead, set cooked waffles directly on a wire rack set over a baking sheet in a 200°F oven while you cook the rest. This lets air circulate around each waffle, keeping them crisp outside and fluffy inside until you’re ready to serve.

Comments (9)

2 days ago

OMG this batter is a total game changer!!! I’ve tried so many vegan waffle recipes that come out dense or gummy, but these were so fluffy my kids asked for seconds before they even finished their first plate. I mixed in a handful of blueberries for our Saturday family breakfast and everyone went crazy. Already prepped a double batch of the dry mix to keep in the pantry for busy school mornings!

yesterday

Wait you prepped the dry mix? Did you just store it in an airtight container? I’ve been wanting to do meal prep for weekday breakfasts too!

yesterday

So glad your family loved them! Storing the pre-mixed dry ingredients in an airtight container in the pantry works perfectly for up to 3 months — just give it a good shake before mixing in the wet ingredients when you’re ready to make waffles.

1 week ago

SO good! I was worried vegan waffles wouldn’t crisp up right, but these had that perfect crispy edge and soft, fluffy center just like the non-vegan ones I grew up eating. The recipe was so easy too — I didn’t even need to pull out my stand mixer, just a whisk and one bowl. 10/10 will be making these for our next potluck brunch!

5 days ago

That crispy edge is the best part, right? So happy these lived up to your childhood waffle memories — they’re always a hit at potlucks, I’ve gotten so many messages from people bringing them to brunch events!

30 minutes ago

Wait, hold on, I made these last night with oat milk instead of soy milk because that’s what I had on hand, and they still turned out incredible! Super fluffy, no weird aftertaste, my roommate who’s not even vegan ate three of them. Topped with peanut butter and banana slices, chef’s kiss.

yesterday

Tried these for the first time this morning for my daughter’s birthday breakfast, and they were a total hit! I will say I accidentally overmixed the batter at first and the first waffle came out a little flat, but the rest were perfect once I stopped stirring as soon as the lumps were gone.

2 hours ago

Oh I made that same mistake my first time too! The lumps are totally your friend here, right? I started leaving a few extra little clumps and they got even fluffier.

5 days ago

Wait a second, zero cook time for the batter? That’s insane — I feel like every other vegan waffle recipe I’ve tried requires resting the batter for 10+ minutes or whipping aquafaba for ages. These came together in literally 5 minutes flat and cooked up perfect in my waffle iron. Game. Changer.

3 days ago

Right??? I hate recipes that make you wait around for batter to rest when I’m already hangry on a weekend morning. I’ve made these three times in two weeks now.

3 days ago

That’s my favorite part too! No resting time, no fancy steps, just mix and pour straight into your preheated waffle iron. Remember each waffle only takes 3-4 minutes to cook once the iron is preheated, so you’ll have a whole stack ready in no time. So glad they’ve been on repeat for you!

2 weeks ago

I portioned out the cooked waffles into freezer bags for quick weekday breakfasts, and they reheat perfectly in the toaster! Way better than the frozen store-bought vegan waffles that taste like cardboard. Saved myself so much money this month making these instead.

2 hours ago

Help! I made these and they stuck really bad to my waffle iron, did I do something wrong? I followed the recipe exactly but half the waffle tore off when I opened the lid 😭

5 minutes ago

Oh no, sorry to hear they stuck! The most common culprit is a waffle iron that isn’t fully preheated — the recipe notes it needs to be fully hot before you pour the batter in, and I recommend giving it a full 5 minutes to heat up even if the indicator light says it’s ready. A light spritz of non-stick spray never hurts even on non-stick models! Give it another try, I promise it works once the iron is nice and hot, and each waffle will cook up fluffy in 3-4 minutes.

3 days ago

Added a teaspoon of cinnamon and a splash of vanilla extract to the batter this morning, and it tasted like a warm churro waffle when I topped it with a little powdered sugar and maple syrup. 10/10, will be making this variation every weekend from now on.

2 days ago

Oh that sounds amazing!!! I’m definitely adding cinnamon and vanilla next time I make these, I bet that smells incredible while it’s cooking too.

just now

Brought these to my neighborhood block party potluck last weekend and not a single person guessed they were vegan! So many people asked for the recipe, I lost count. The batter held up great even when I had to transport it to the park before cooking on my portable waffle iron.



