
vegetarian panini
intro
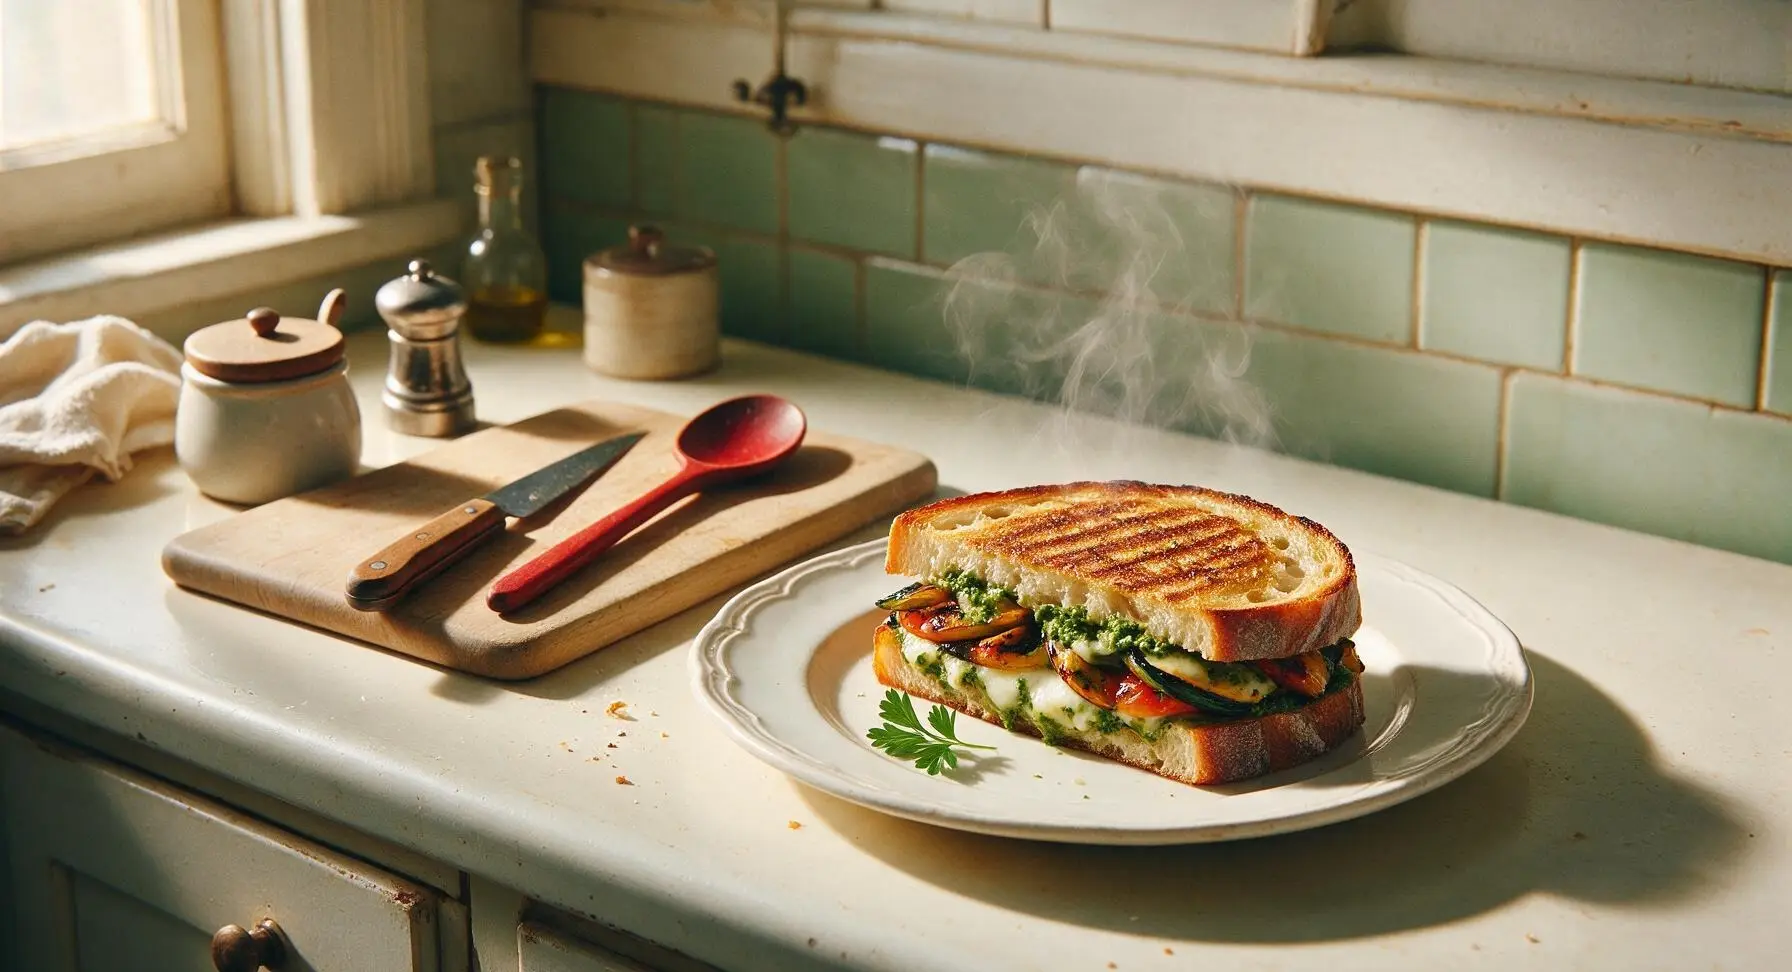
Crispy golden pressed sourdough loaded with marinated grilled veggies, melted mozzarella, and bright basil pesto—this hearty vegetarian panini is fast, flavorful, and perfectly satisfying.
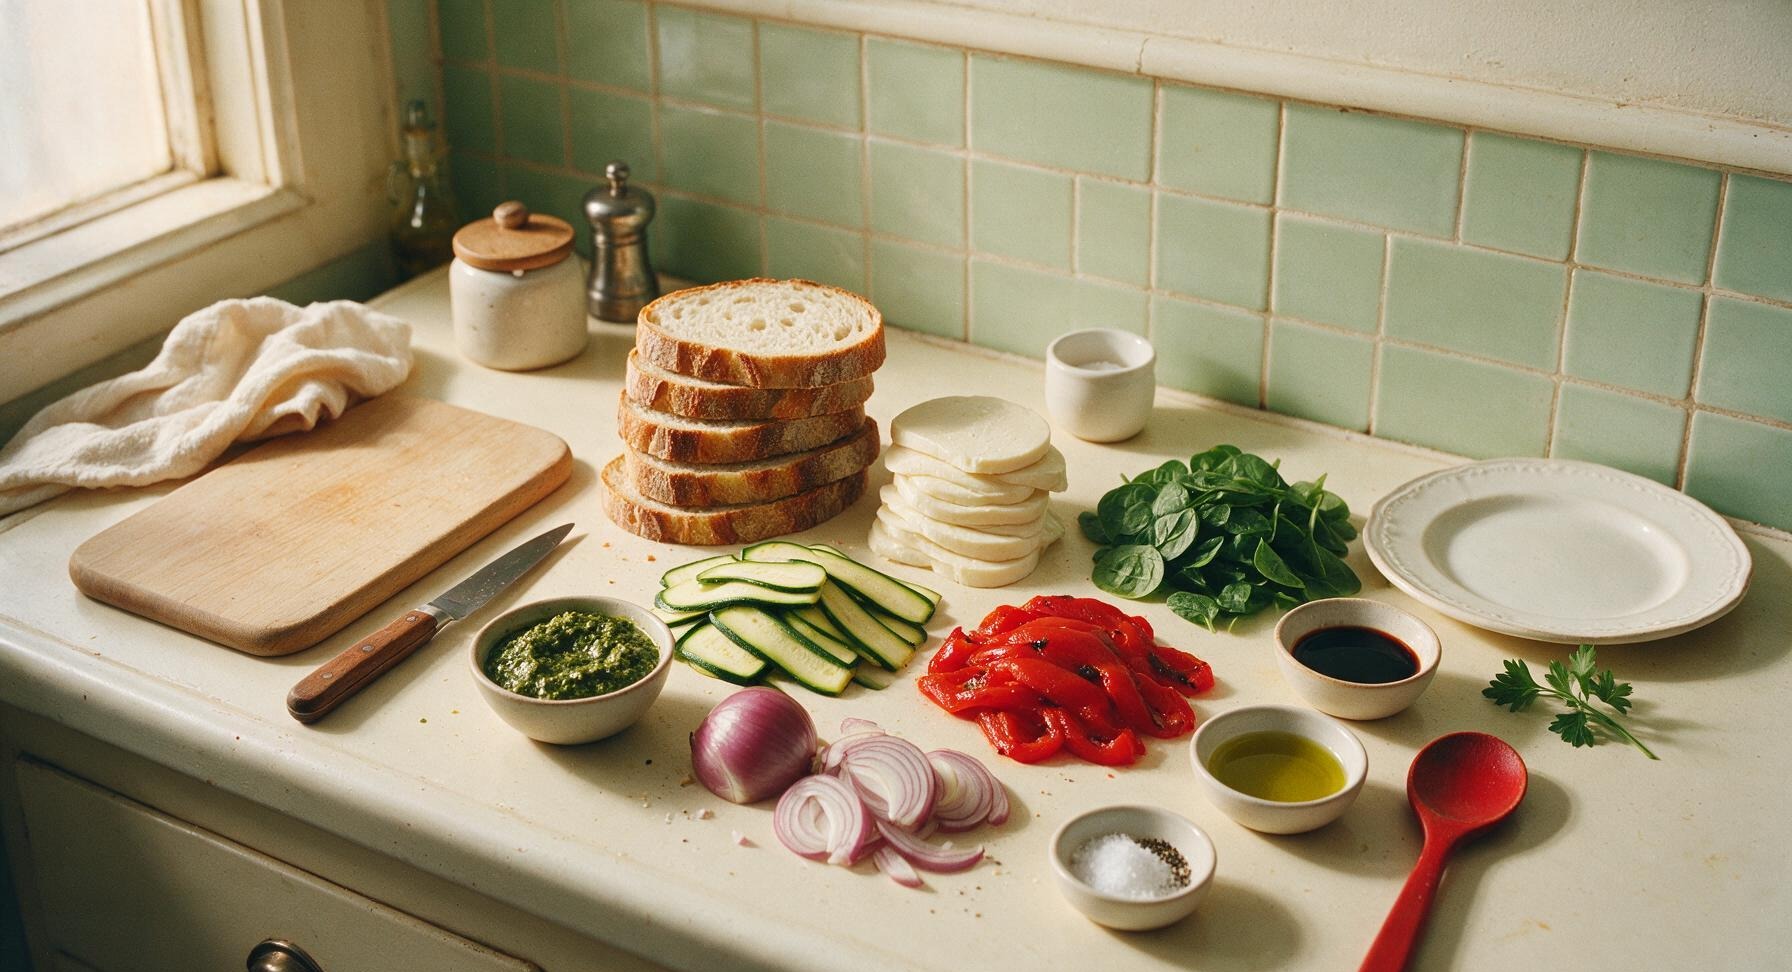
Ingredients
Steps
Prep vegetable fillings
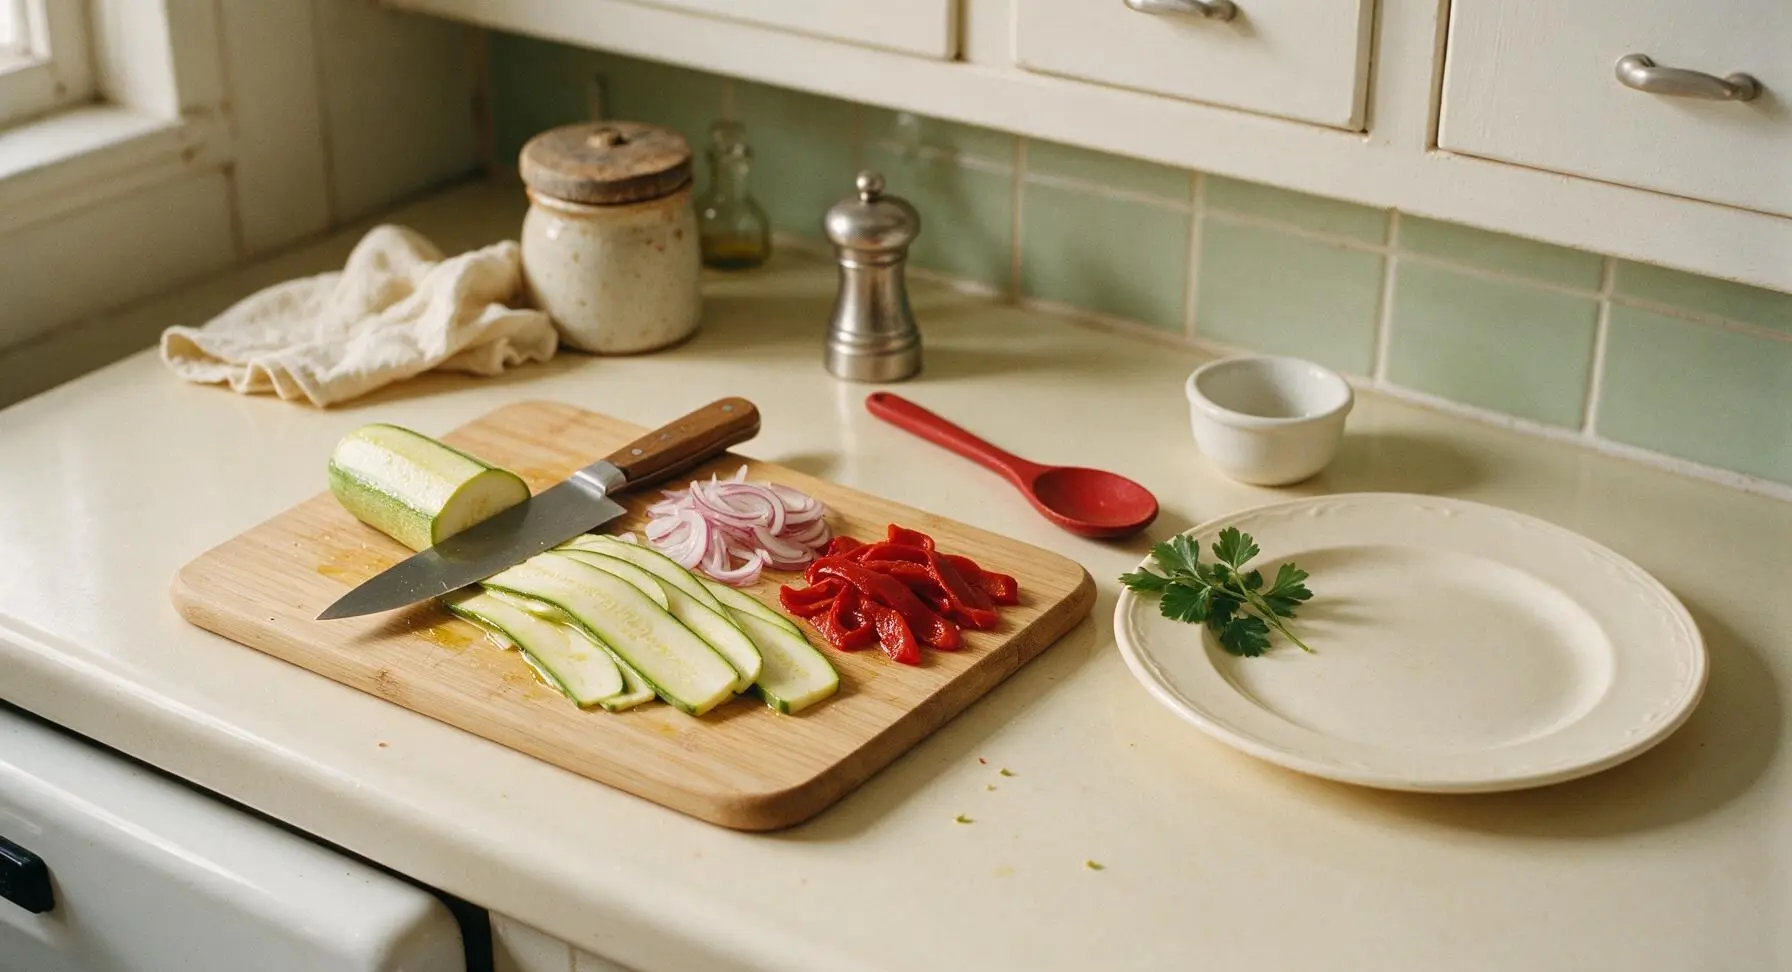
Place the honey-toned bamboo cutting board at center-left on the counter. Using the 8-inch chef’s knife, slice the zucchini into 3mm-thick lengthwise slices, cut the 1/2 red onion into thin half-moons, and pat the jarred roasted red peppers completely dry with a corner of the forest green linen towel. Toss zucchini and onion slices with 1 teaspoon of olive oil, 1/4 teaspoon kosher salt, and 1/8 teaspoon black pepper until evenly coated. Visual cue: Veggie slices have a light, even sheen of oil, with no excess liquid pooling on the cutting board.
Sear tender veggies
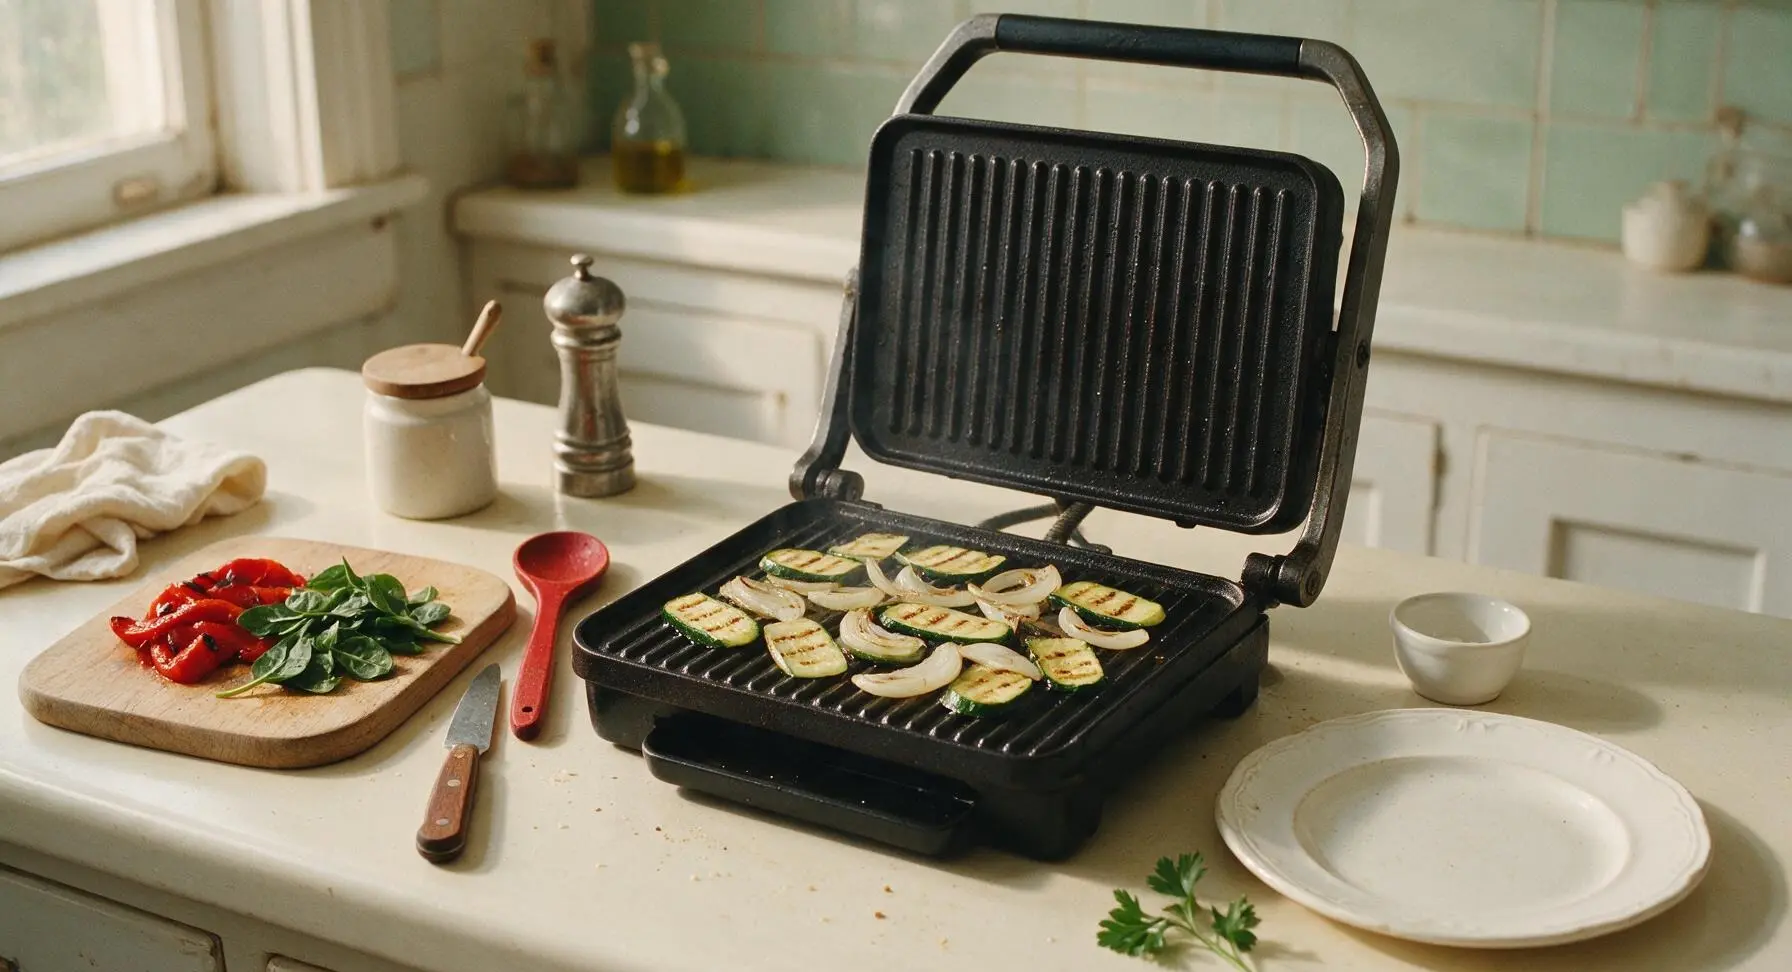
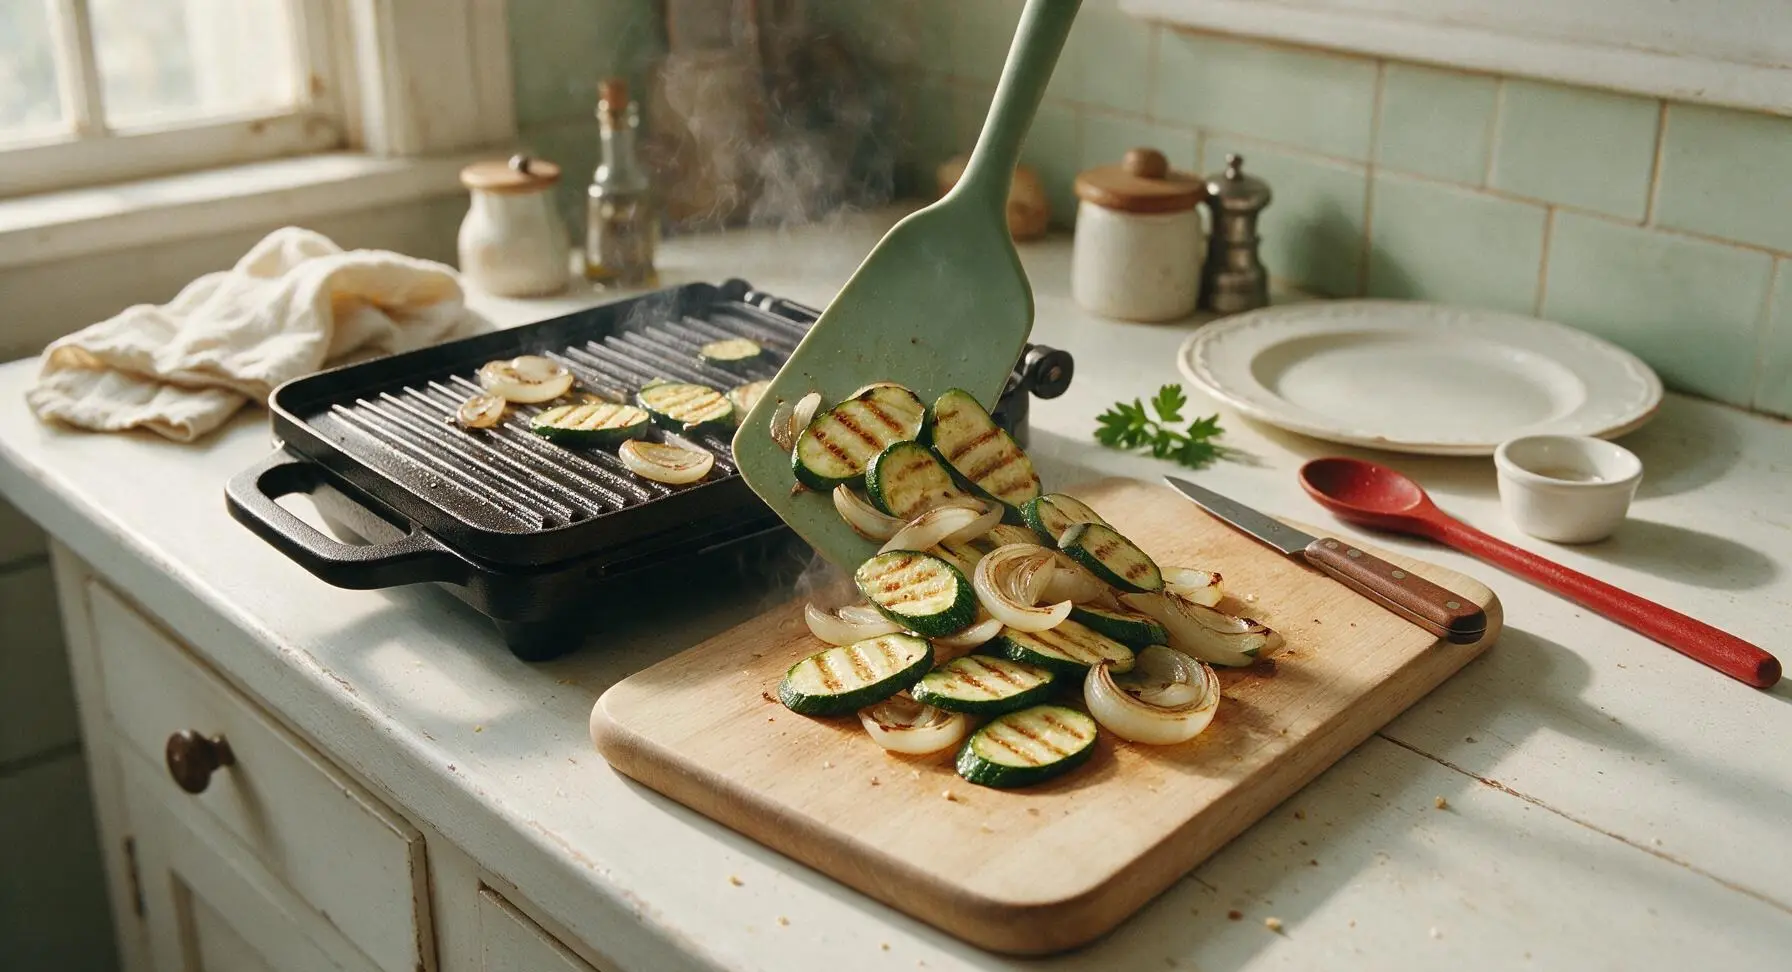
Bring the matte black cast iron panini press to the center of the counter, open flat, and preheat to medium (180C/350F). Lay the oiled zucchini and onion slices in a single layer on the ridged cooking surface. Cook for 2 minutes per side, until soft with faint golden grill marks. Transfer cooked veggies back to the cutting board to cool slightly, then wipe the press surface clean with a paper towel to prepare for sandwich cooking. Visual cue: Veggies are tender but not mushy, with light brown ridged marks from the press.
Build panini layers
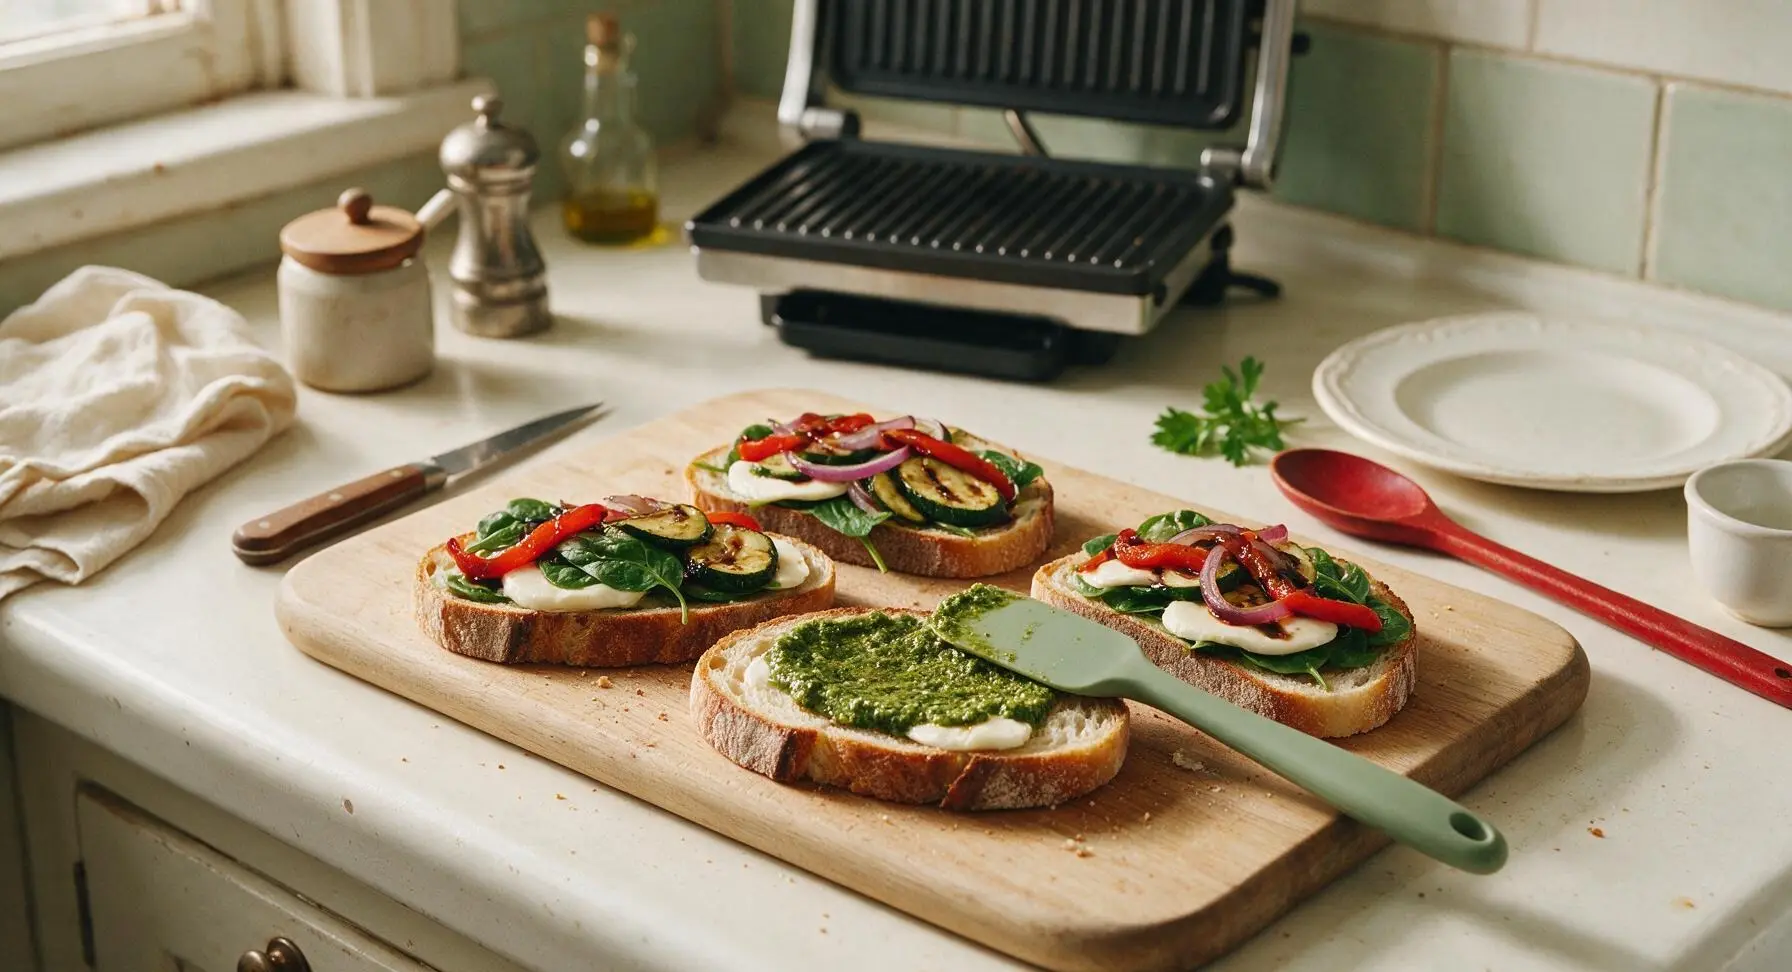
Lay 4 slices of sourdough on the bamboo cutting board. Use the sage green silicone spatula to spread 1 tablespoon of basil pesto evenly across the surface of each base slice. Layer evenly on each pesto-covered slice: 1 thin slice of mozzarella, a few baby spinach leaves, 2-3 pieces of grilled zucchini, a few slices of red onion, 1 strip of roasted red pepper, a light drizzle of balsamic glaze, and a second thin slice of mozzarella. Spread the remaining 1 tablespoon of pesto on the underside of the remaining 4 sourdough slices, then place them pesto-side down to cap each sandwich. Press the top slice down firmly to adhere. Do not overstuff, or filling will ooze out during pressing. Visual cue: Each sandwich is evenly layered, with filling piled no higher than 1cm above the bread.
Oil bread exteriors
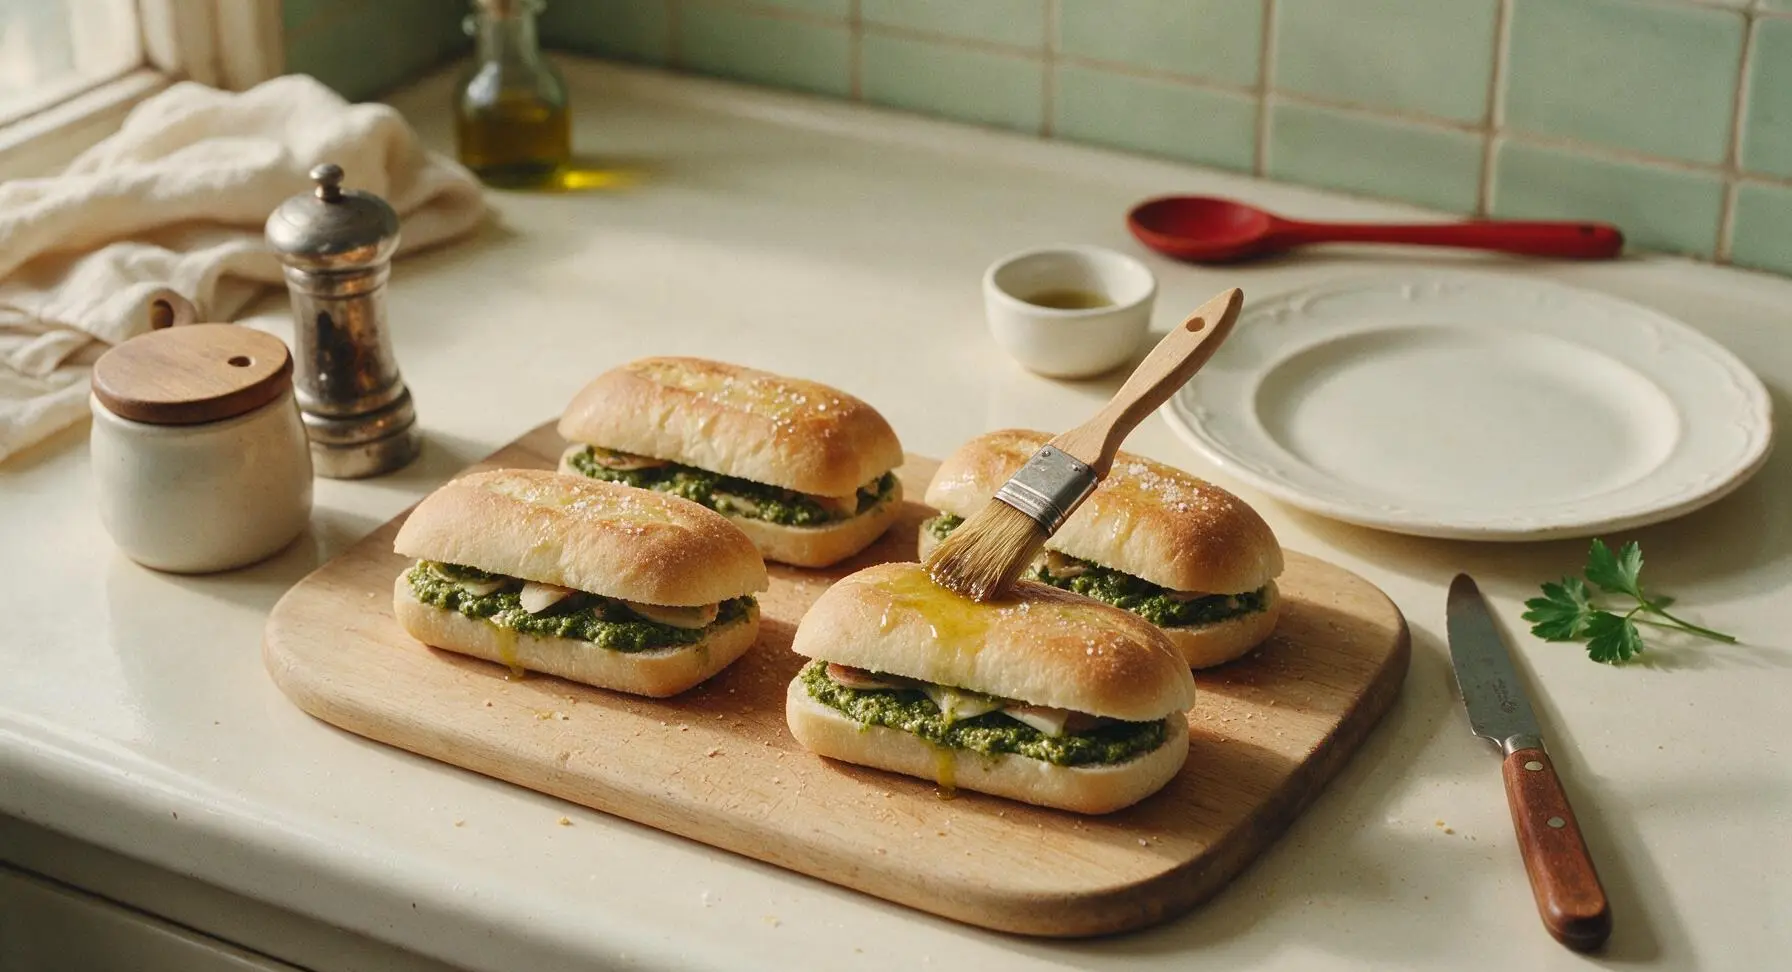
Use the boar bristle pastry brush to coat the outer top and bottom surfaces of each assembled sandwich with the remaining olive oil (about 1/2 teaspoon per side). Lightly season the oiled surfaces with the remaining 1/4 teaspoon salt and 1/8 teaspoon black pepper. This thin oil layer ensures a crispy, golden, evenly browned crust instead of a dry, pale bread surface. Visual cue: Oil is spread in a thin, even layer, with no drips running down the sides of the sandwiches.
Press panini until crisp
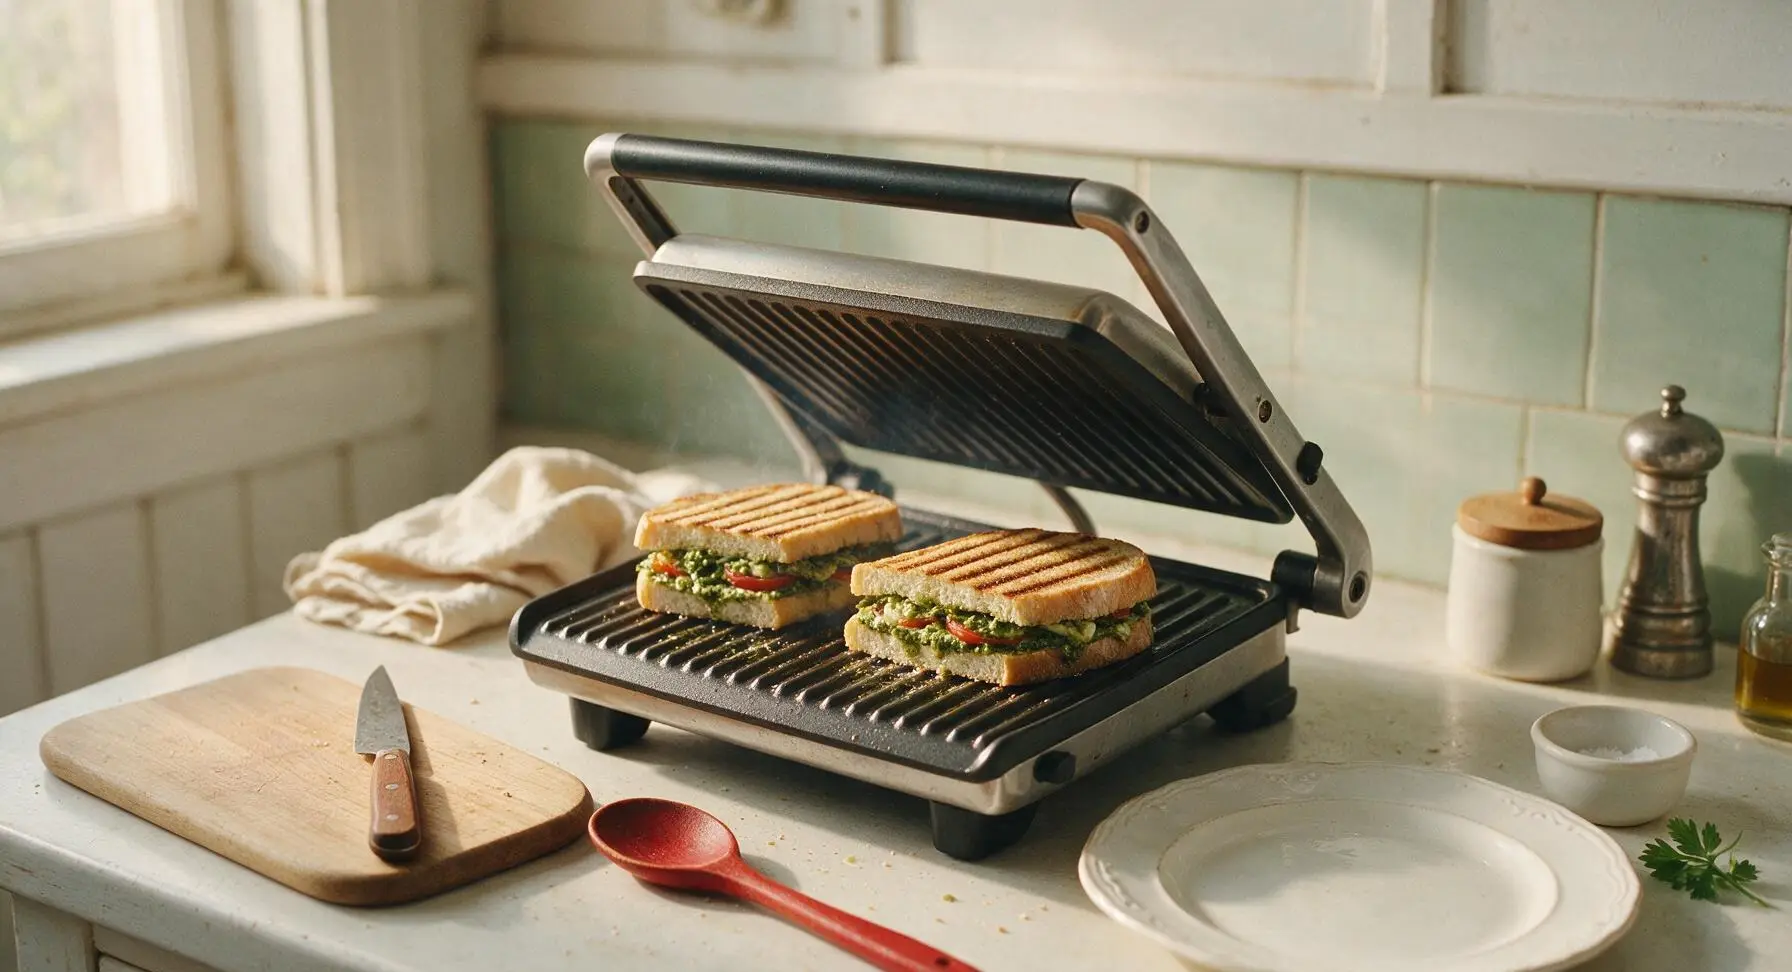
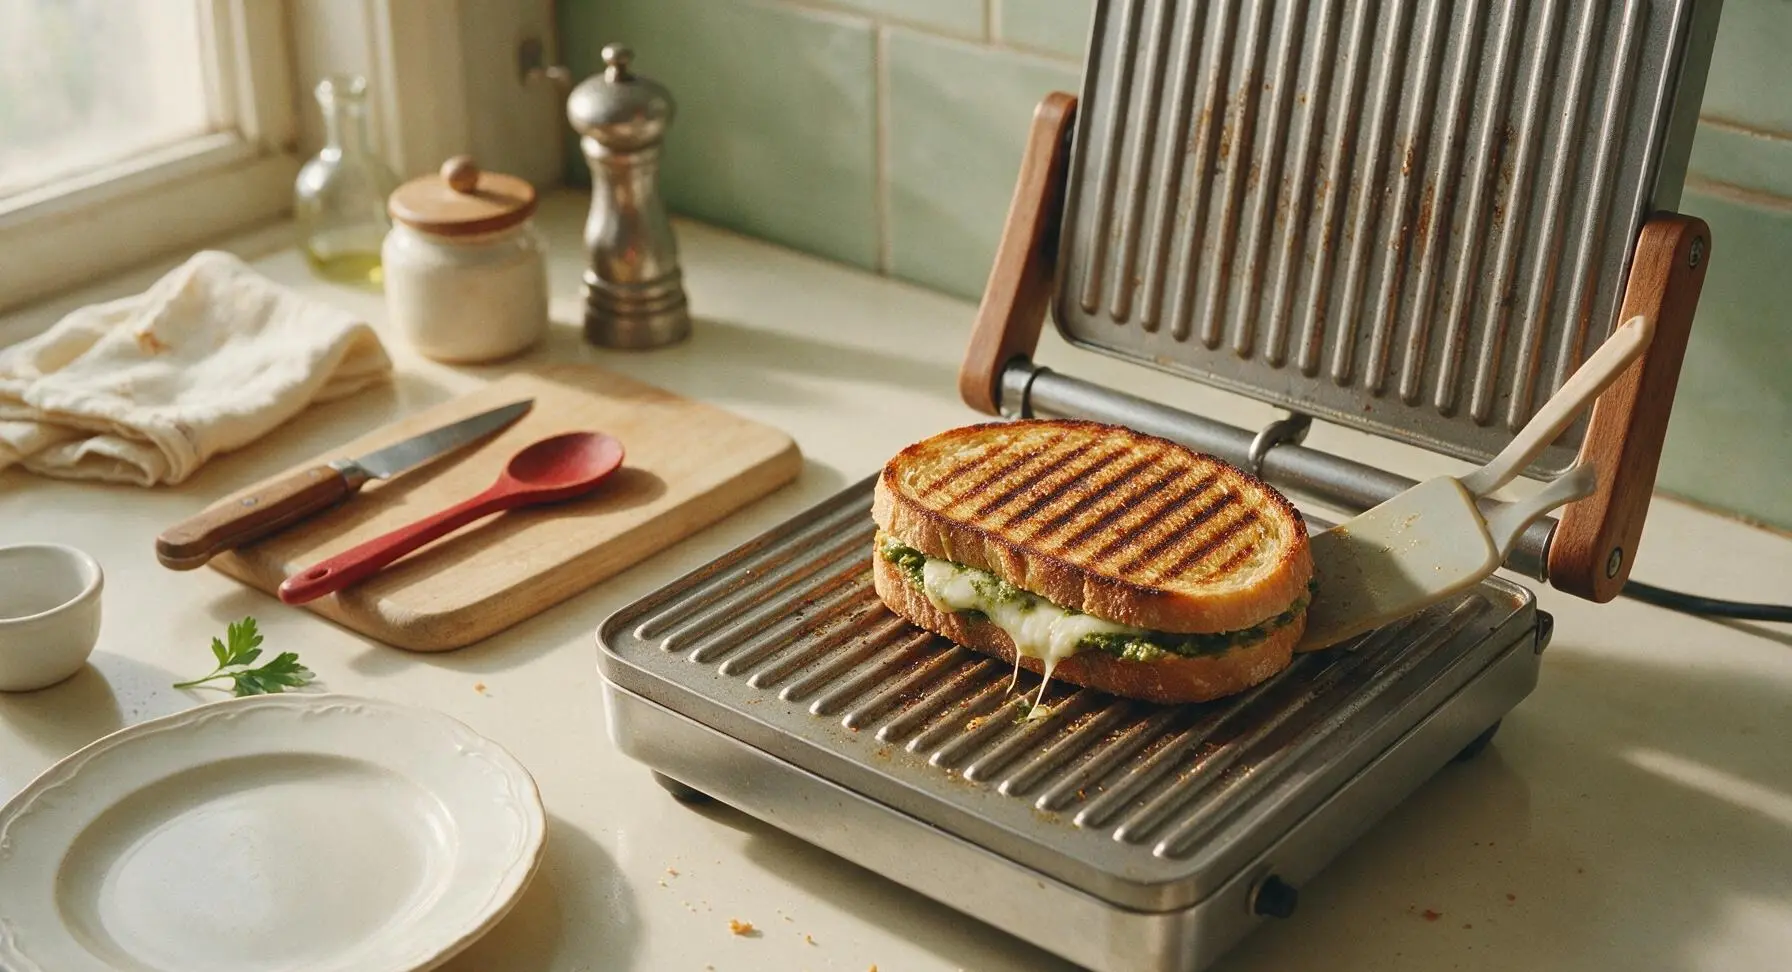
Adjust the panini press heat to medium-low (160C/320F). Place 2 oiled sandwiches on the ridged cooking surface, then close the press lid fully to apply even, firm pressure. Cook for 4-5 minutes, until the bread is deep golden with dark distinct grill marks and the mozzarella is fully melted and stringy. Repeat with the remaining 2 sandwiches. Visual cue: Bread is crisp to the touch, cheese bubbles slightly out of the sandwich edges, with no raw pale bread spots remaining.
Rest and slice sandwiches
Transfer all cooked panini back to the bamboo cutting board, and let rest for 2 minutes to allow the cheese to set (this prevents filling from sliding out when cut). Use the chef’s knife to cut each panini diagonally across the middle. Visual cue: Cut surfaces show even layers of melted cheese and veggies, with no excessive oozing after the rest period.
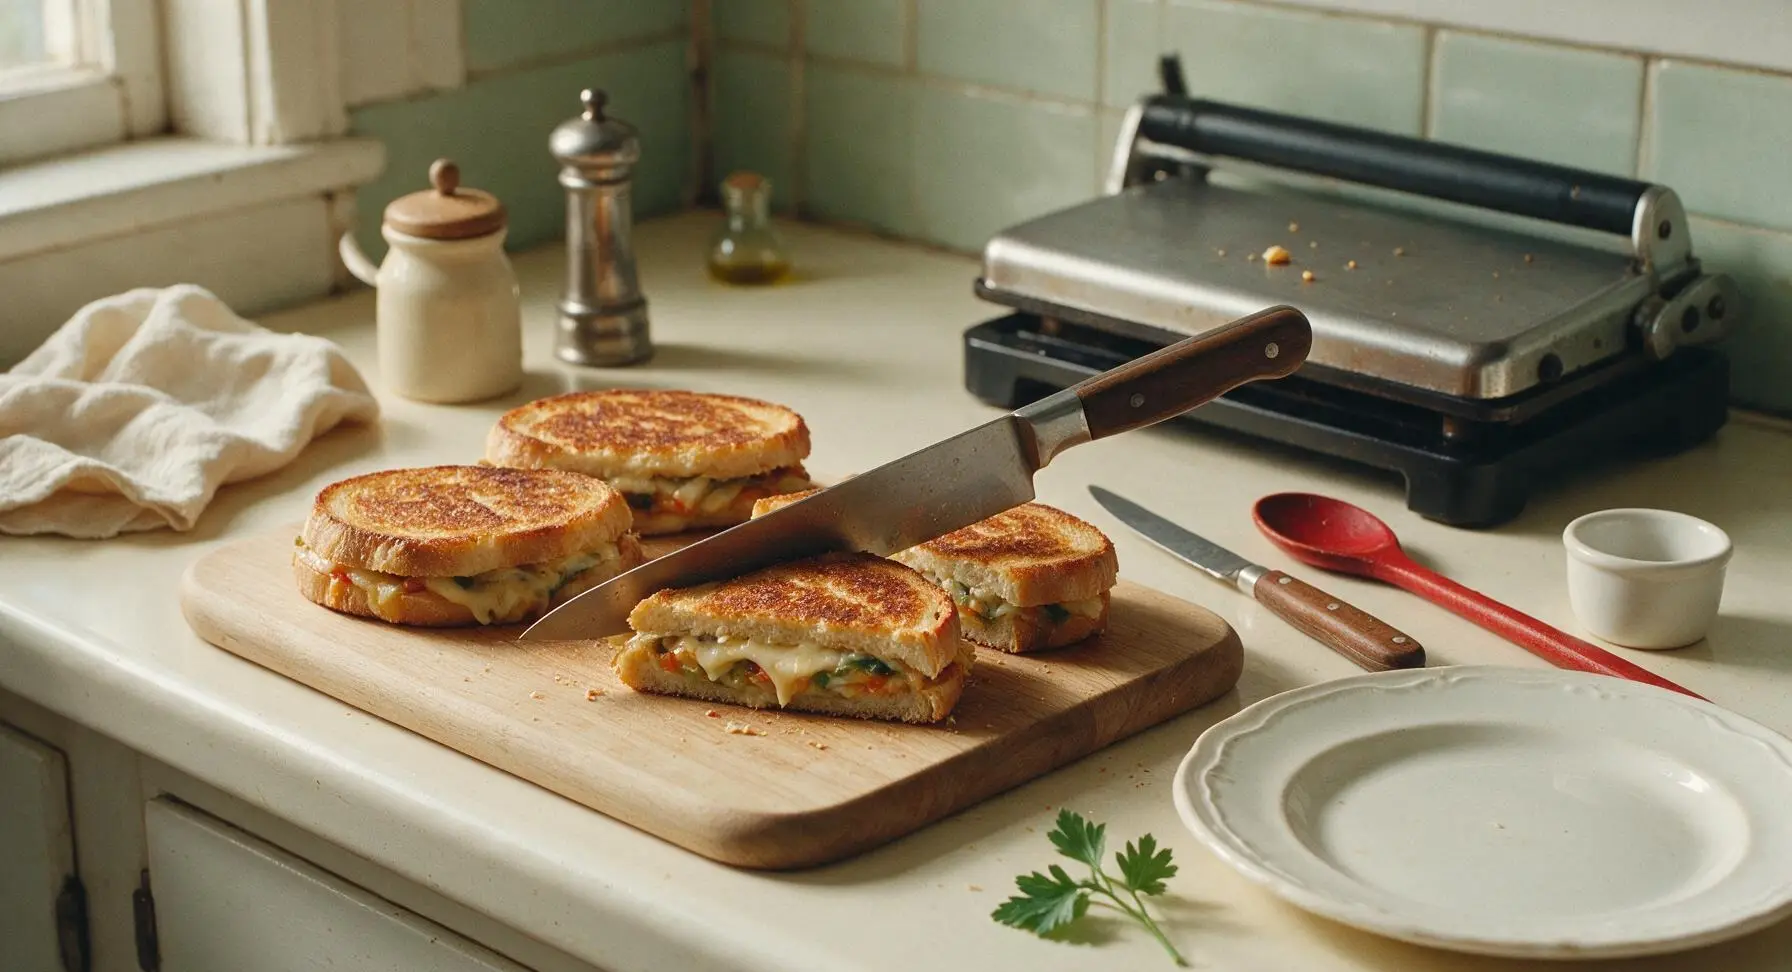
Plate and garnish
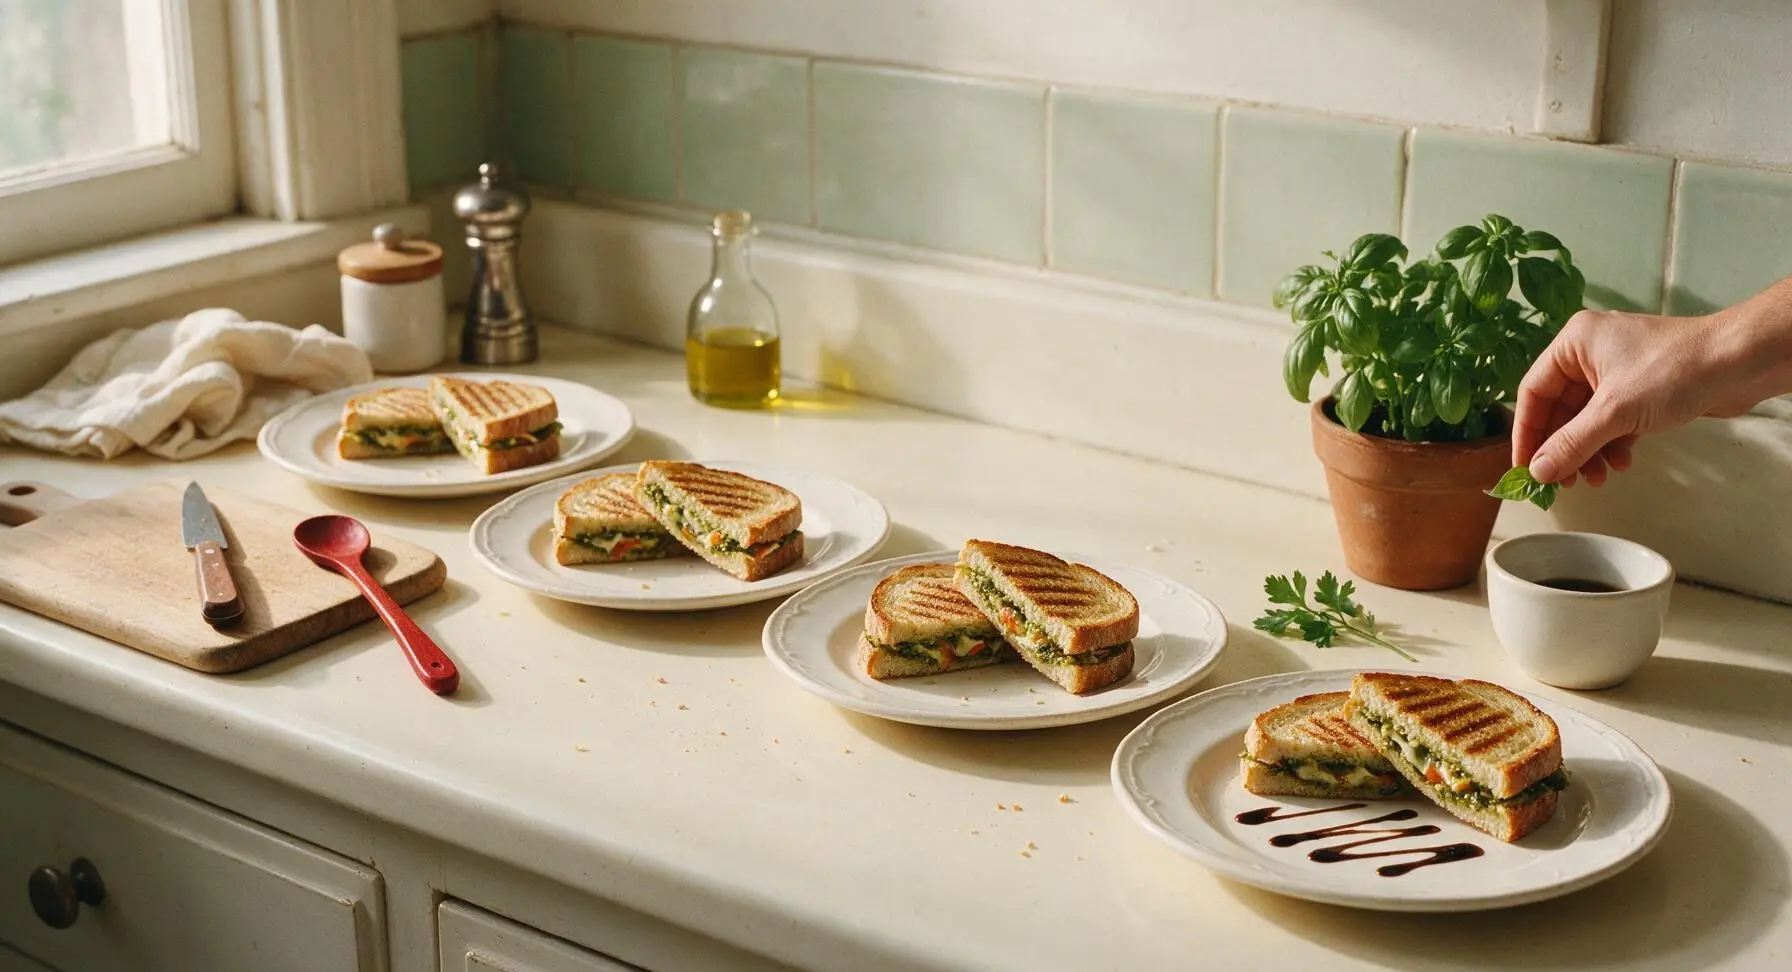
Arrange 2 diagonal panini halves per serving on the set of 4 matte cream ceramic dinner plates. Drizzle a light zig-zag of remaining balsamic glaze across each plate, then garnish each serving with a single fresh basil leaf plucked from the terracotta potted basil plant. Serve immediately while warm and crisp.
Tips
2.Stick to low-moisture mozzarella instead of fresh mozzarella: fresh mozzarella has a very high water content that leaks out during cooking, leaving the bread soggy and the cheese layer thin, while low-moisture mozzarella melts into a stretchy, creamy layer without excess water.
3.Let cooked panini rest for 2 full minutes before slicing: this short rest allows the melted cheese to set slightly, so it does not slide out of the cut sides when you take a bite, and gives the crust time to firm up for the perfect crisp bite.






OMG this panini is SO good! I threw this together last night for a quick weeknight family dinner when I forgot to meal prep, and my whole crew devoured it. I used store-bought basil pesto because I was short on time, tossed in some roasted red peppers I had leftover in the fridge, and the crust crunch was perfect. That 12 minute cook time is no joke either, total game changer for busy school nights!
My kids loved it!! I was so worried they’d turn their noses up at a vegetarian sandwich, but they kept asking for seconds before they even finished their first half. I added a little sprinkle of low-moisture mozzarella under the pesto before grilling to get that perfect cheesy pull, and it came out perfectly crispy without getting soggy. Already added this to our weekly dinner rotation!
Super easy recipe, even for someone who burns toast half the time lmao. I made a big batch on my little countertop panini press for a work potluck last week, and multiple people tracked me down to ask for the recipe. Only quick note: don’t slather too thick of a layer of pesto or it gets a little drippy when you bite into it, learned that the hard way on my first test run.
Finally a vegetarian panini recipe that doesn’t feel like a sad afterthought! The crispy crunch on the bread is unreal – I used whole grain sourdough and homemade arugula pesto I had frozen from last month’s farmers market haul. Tasted way better than the $14 panini I grab at the lunch spot near my office, for a fraction of the cost.
Made these for my weekly meal prep Sunday, ate one for lunch three days in a row and didn’t get bored at all! I let the bread toast a little extra to get that shatteringly crispy crust, and packed a little ramekin of pesto on the side the first two days so it wouldn’t make the bread soggy in the fridge. 10/10, way cheaper than buying takeout lunch every day.
Quick question – I don’t have a panini press! Will this recipe work in a regular cast iron skillet if I use a heavy pan on top to press the sandwich down? I’ve been craving a good crispy panini but don’t want to buy another single-use kitchen gadget that’ll just collect dust in my cabinet.
SO good. Threw this together for a quick lunch after my morning hike today, added some sliced heirloom tomato and a sprinkle of parmesan, and it totally hit the spot. The 12 minute cook time is super accurate too – I was sitting down to eat in 15 minutes flat including prep. Will absolutely be making this on repeat for busy weekends.
Perfect easy recipe for dorm cooking! I don’t have any fancy equipment, just used my tiny hand-me-down George Foreman grill to press it, grabbed jarred pesto and pre-shredded mozz from the campus grocery store, and it came out crispy and delicious. Way better than the sad dining hall sandwiches, and cheaper too. 10/10 for fellow broke college students.
I made a big platter of these for my neighbor’s backyard potluck last weekend and they were gone in 10 minutes! I cut them into little slider-sized quarters so they were easy to grab as finger food, and everyone was raving about how crispy and flavorful they were. Even the self-proclaimed ‘carnivores only’ guys in the group went back for seconds. Total win!