
wafer cone ingredients

title 1
wafer cone ingredients

⏱️ cook time 20 minutes
🍽️ servings 8
⚡ Difficulty medium

intro

Crisp, buttery homemade vanilla wafer cones with a delicate crunchy texture, far fresher than store-bought, perfect for pairing with your favorite summer ice cream.

Ingredients
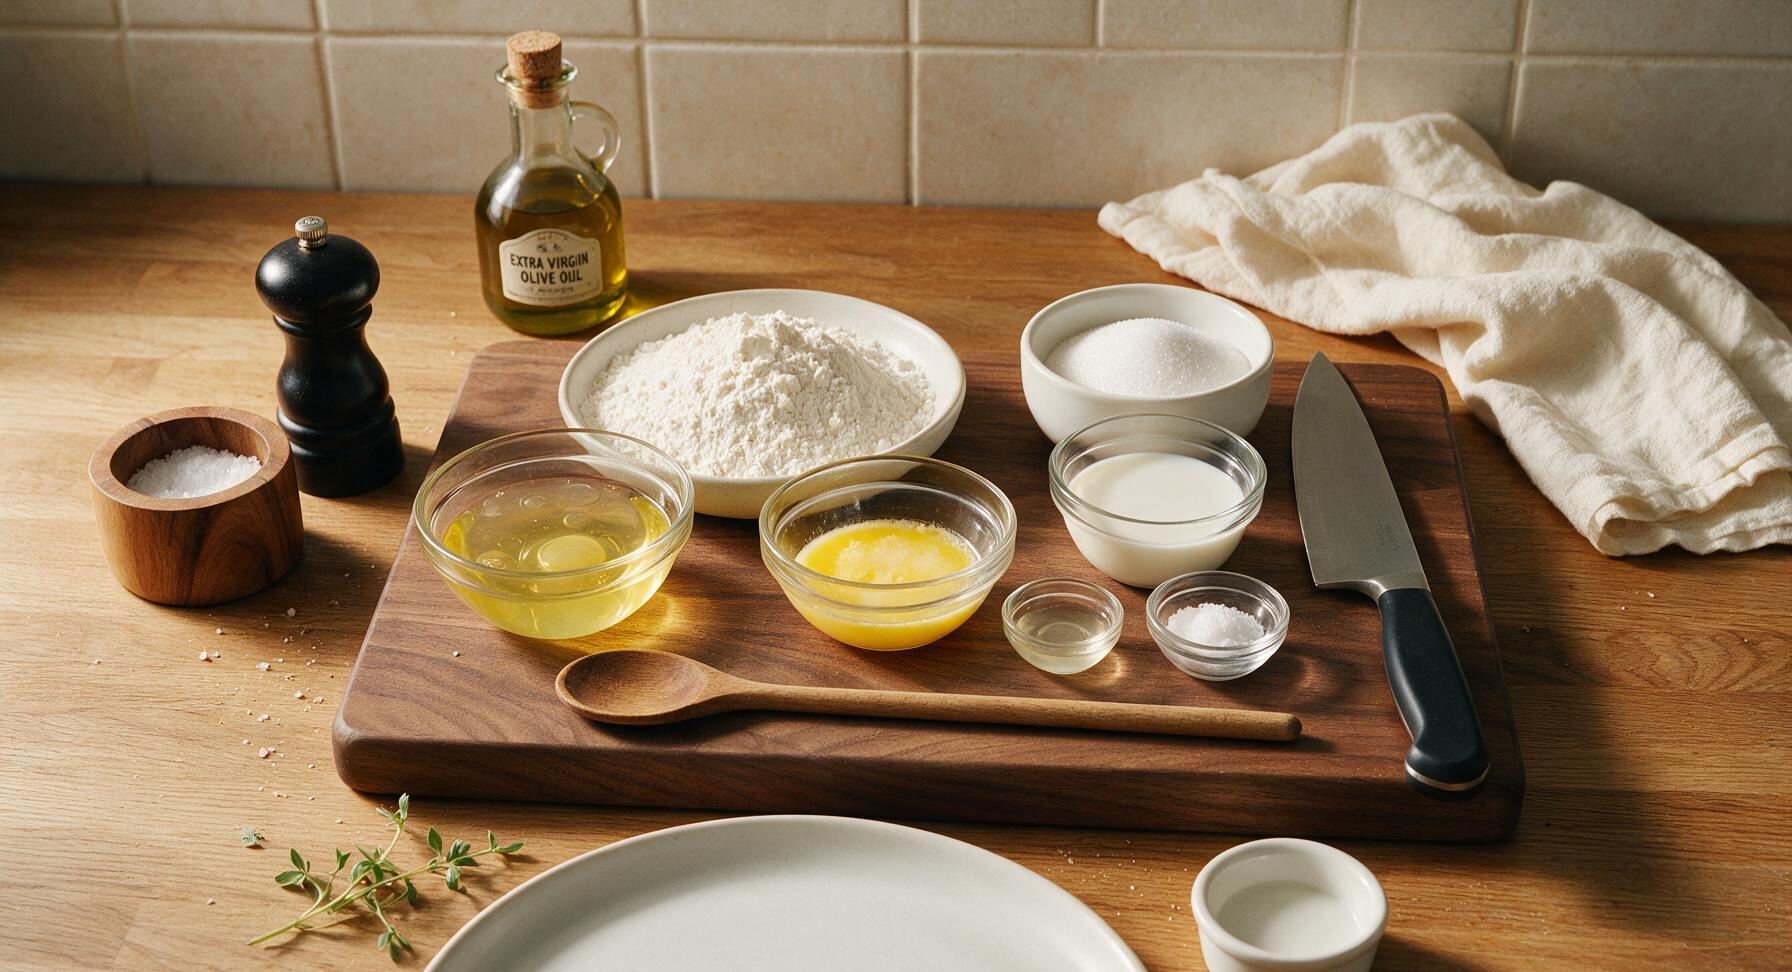
All-purpose flour ½ cup (60g)
Granulated white sugar ⅓ cup (67g)
Large egg whites 2 (60g total)
Unsalted butter, melted and cooled 3 tbsp (42g)
Whole milk 2 tbsp (30ml)
Pure vanilla extract 1 tsp (5ml)
Fine sea salt ⅛ tsp

Steps

1

Whisk Dry Base

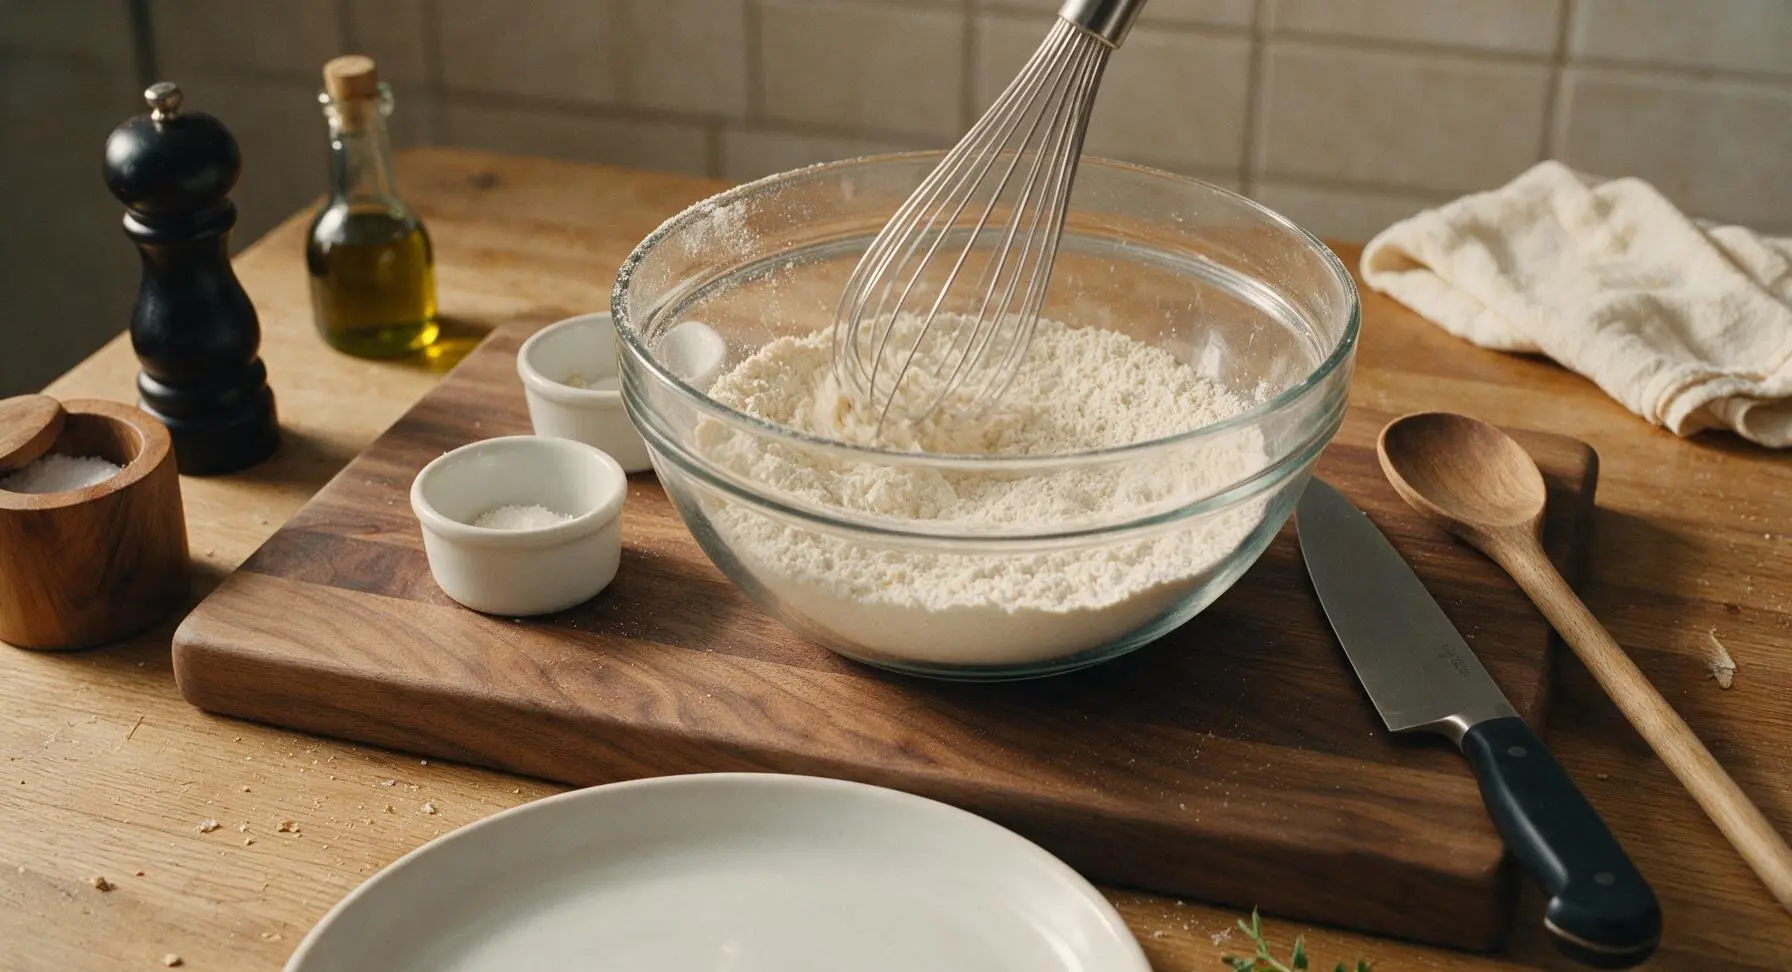
Add ½ cup all-purpose flour, ⅓ cup granulated sugar, and ⅛ tsp fine sea salt to the clear glass mixing bowl. Use the stainless steel wire whisk to stir the dry ingredients together for 30 seconds until fully combined, with no lumps of flour or clumps of sugar visible.
Step 1
step1:Whisk Dry Base
2

Combine Wet Ingredients

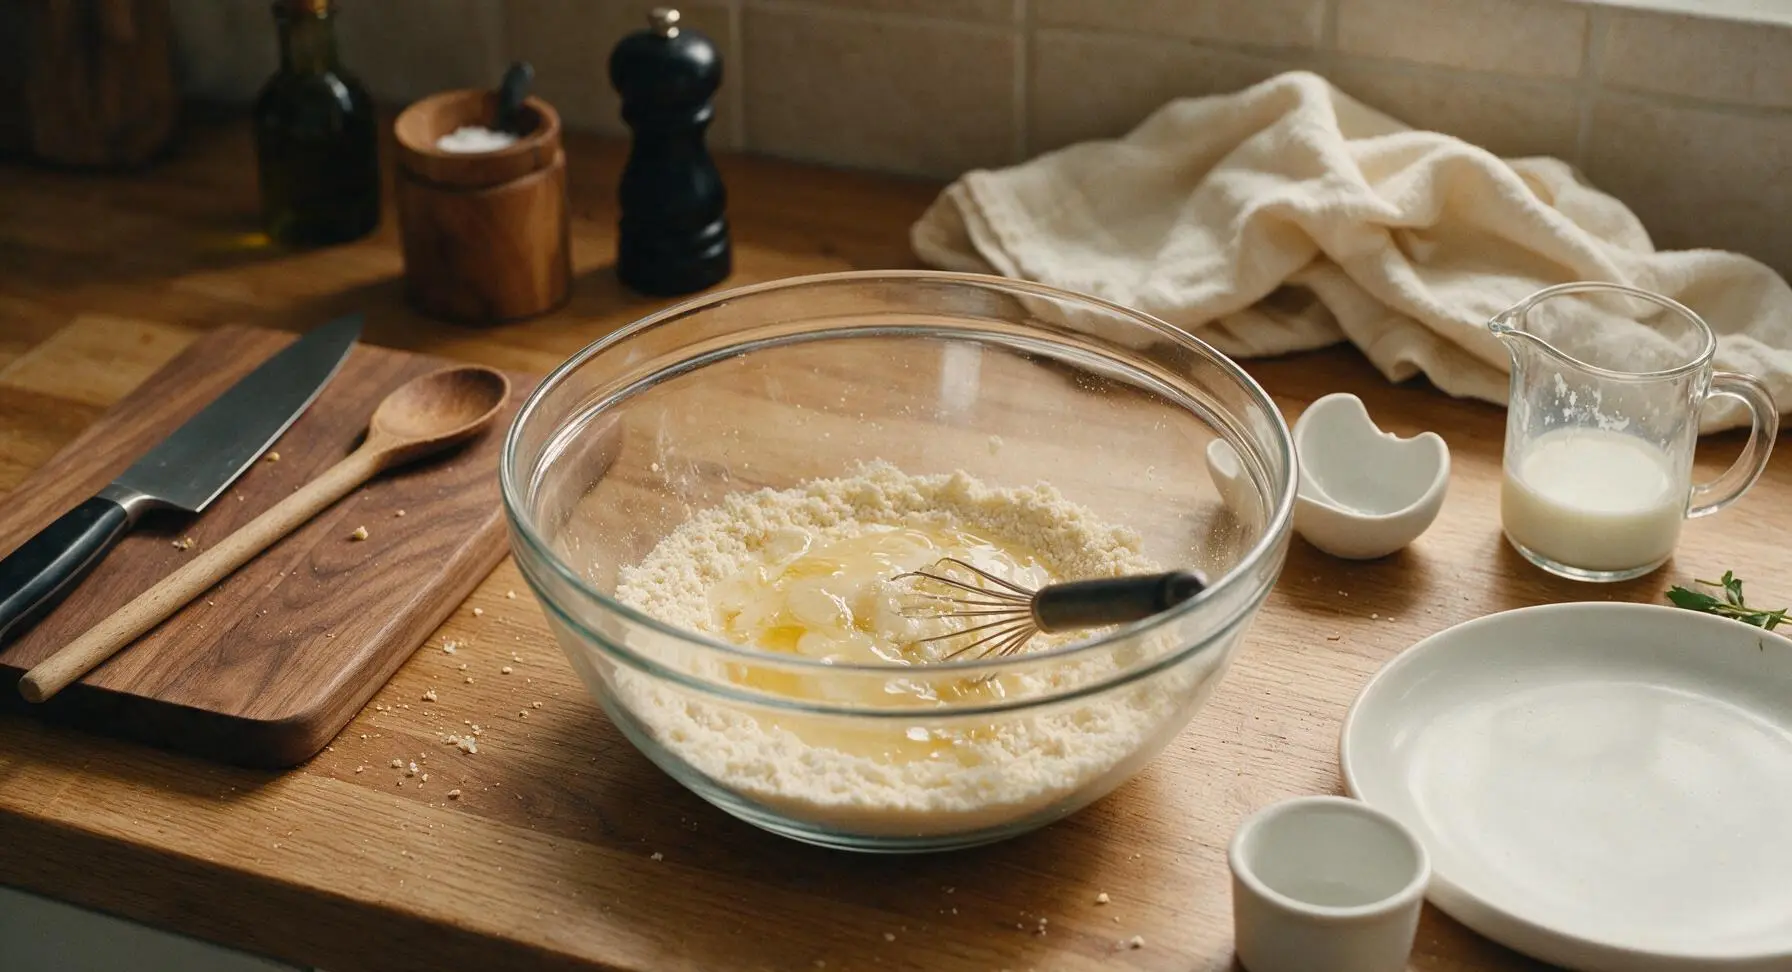
Pour the 2 large egg whites, 2 tablespoons whole milk, and 1 teaspoon pure vanilla extract into the bowl with the dry ingredients. Whisk gently in small circles to combine, until no dry flour pockets remain at the bottom of the bowl.
Step 2
step2:Combine Wet Ingredients
3

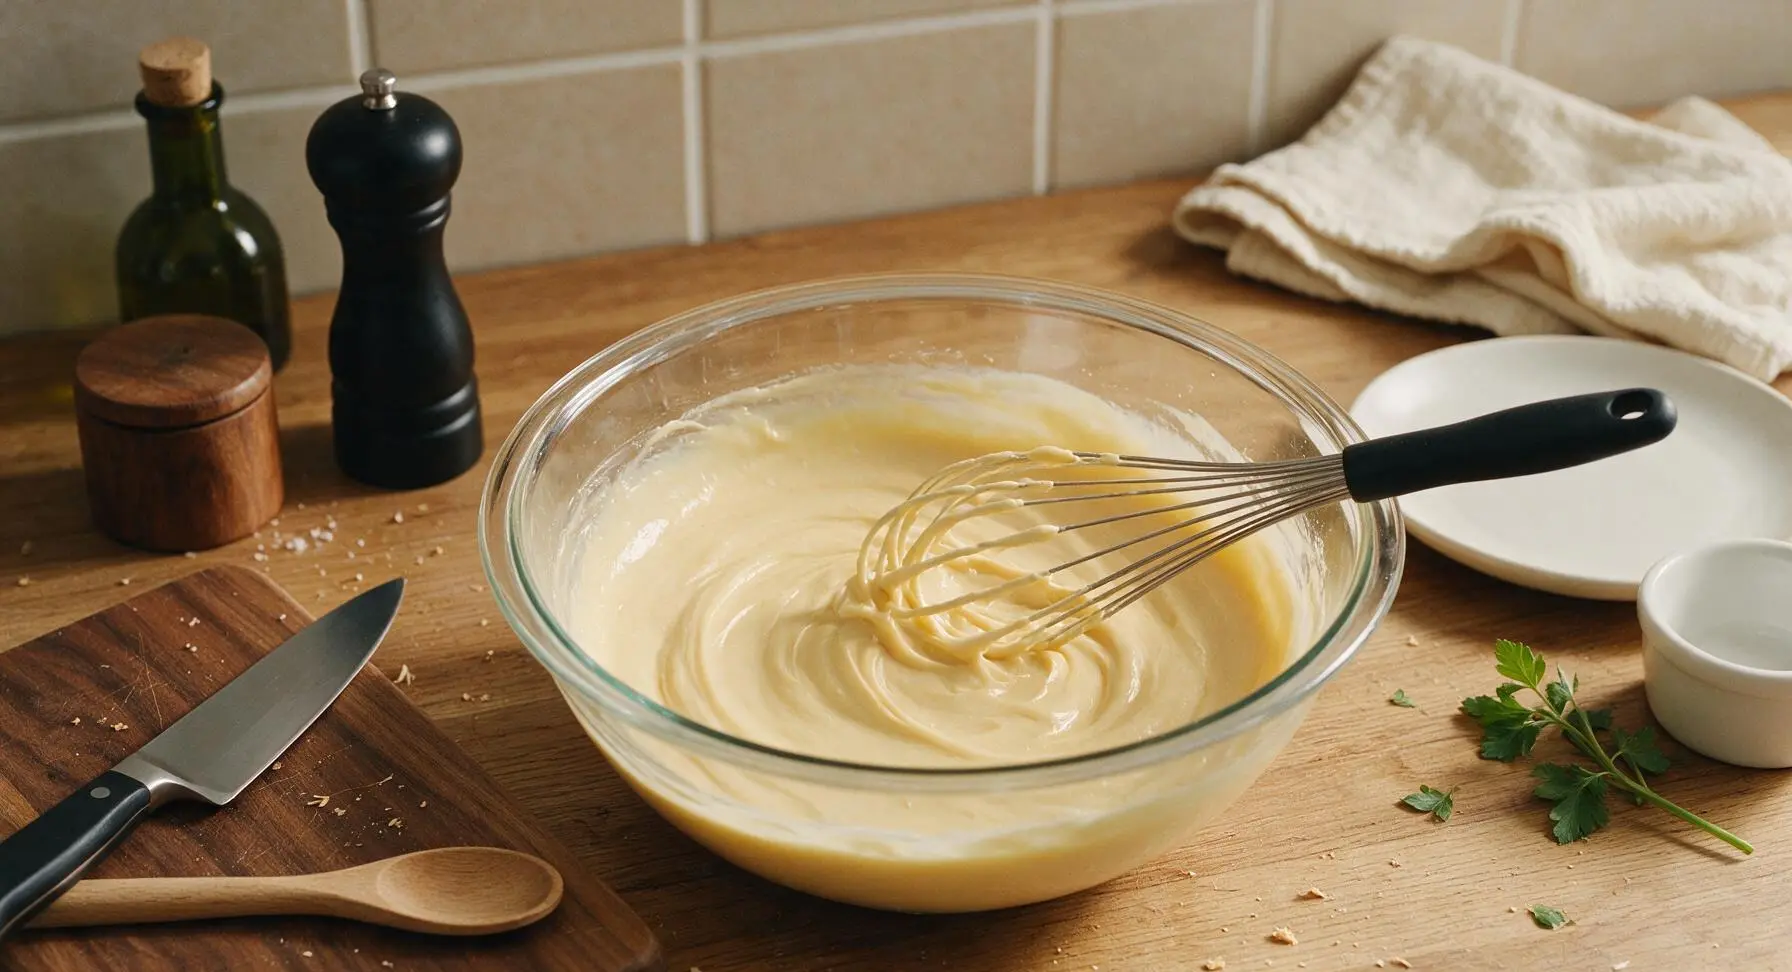
Stir in Melted Butter

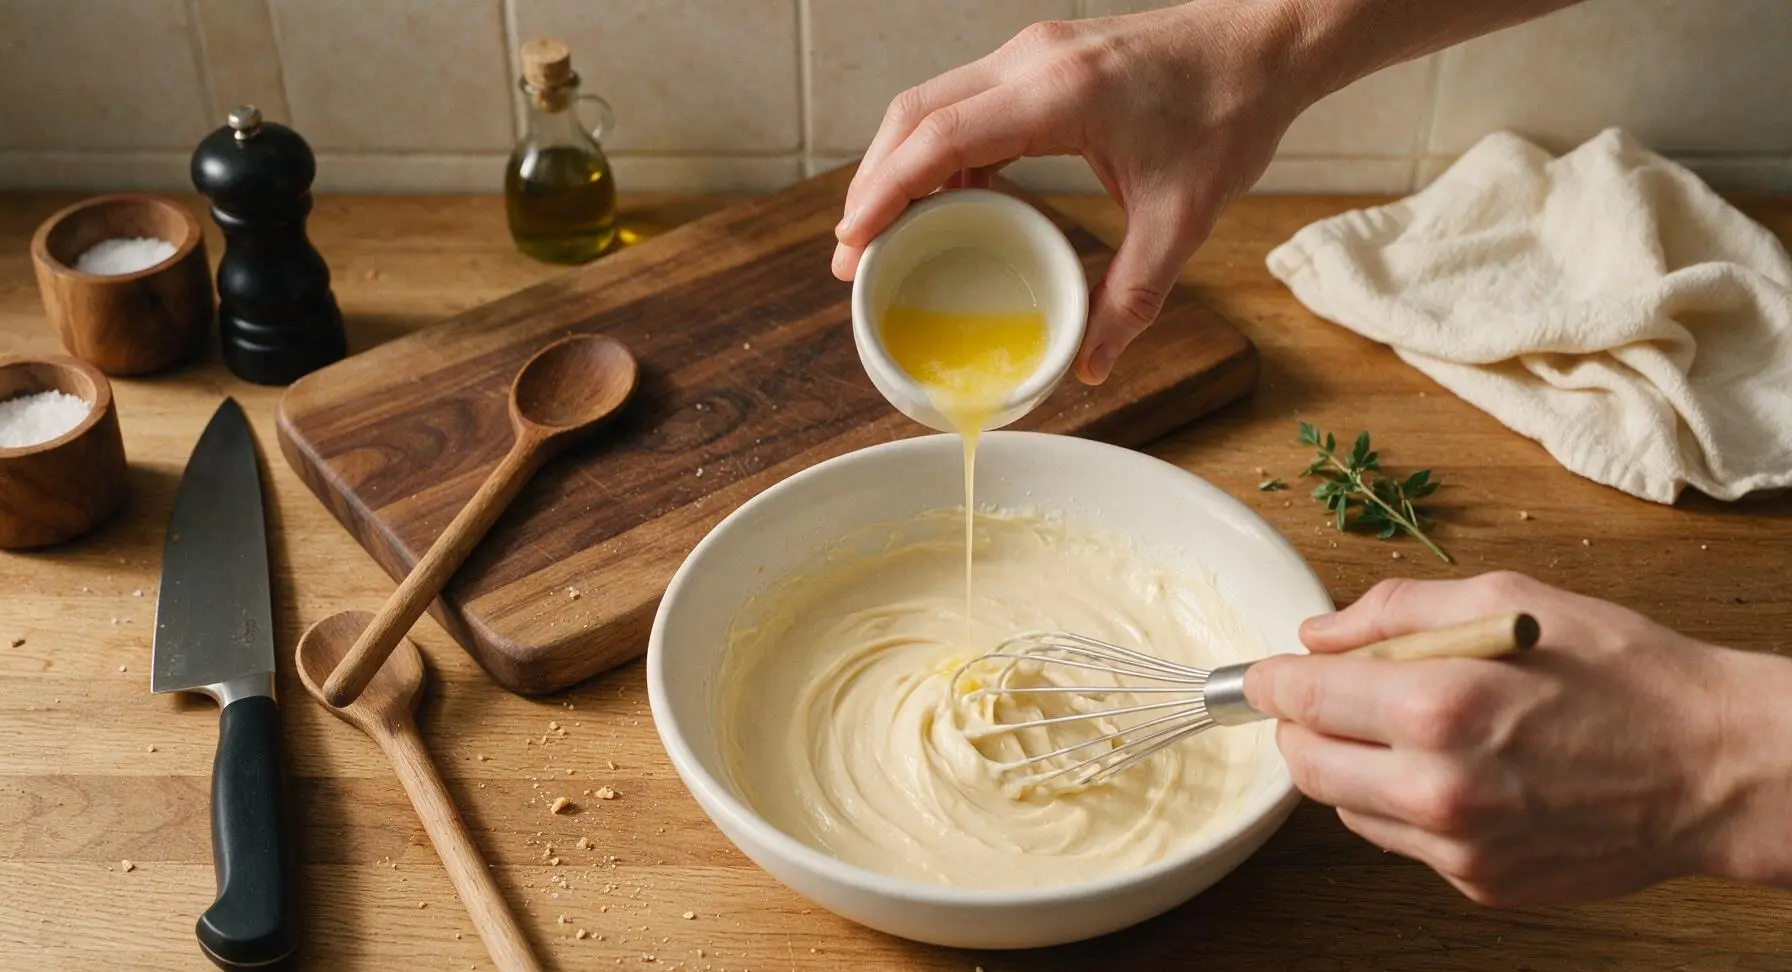
Slowly pour the 3 tablespoons of cooled, melted unsalted butter into the batter while whisking constantly. Continue whisking for 1 full minute until the batter is completely smooth, with the consistency of heavy cream, no lumps remaining. Note: Ensure butter is not hot, or it will cook the egg whites and create lumps.
Step 3
step3:Stir in Melted Butter
Step 3
step3:Stir in Melted Butter
4

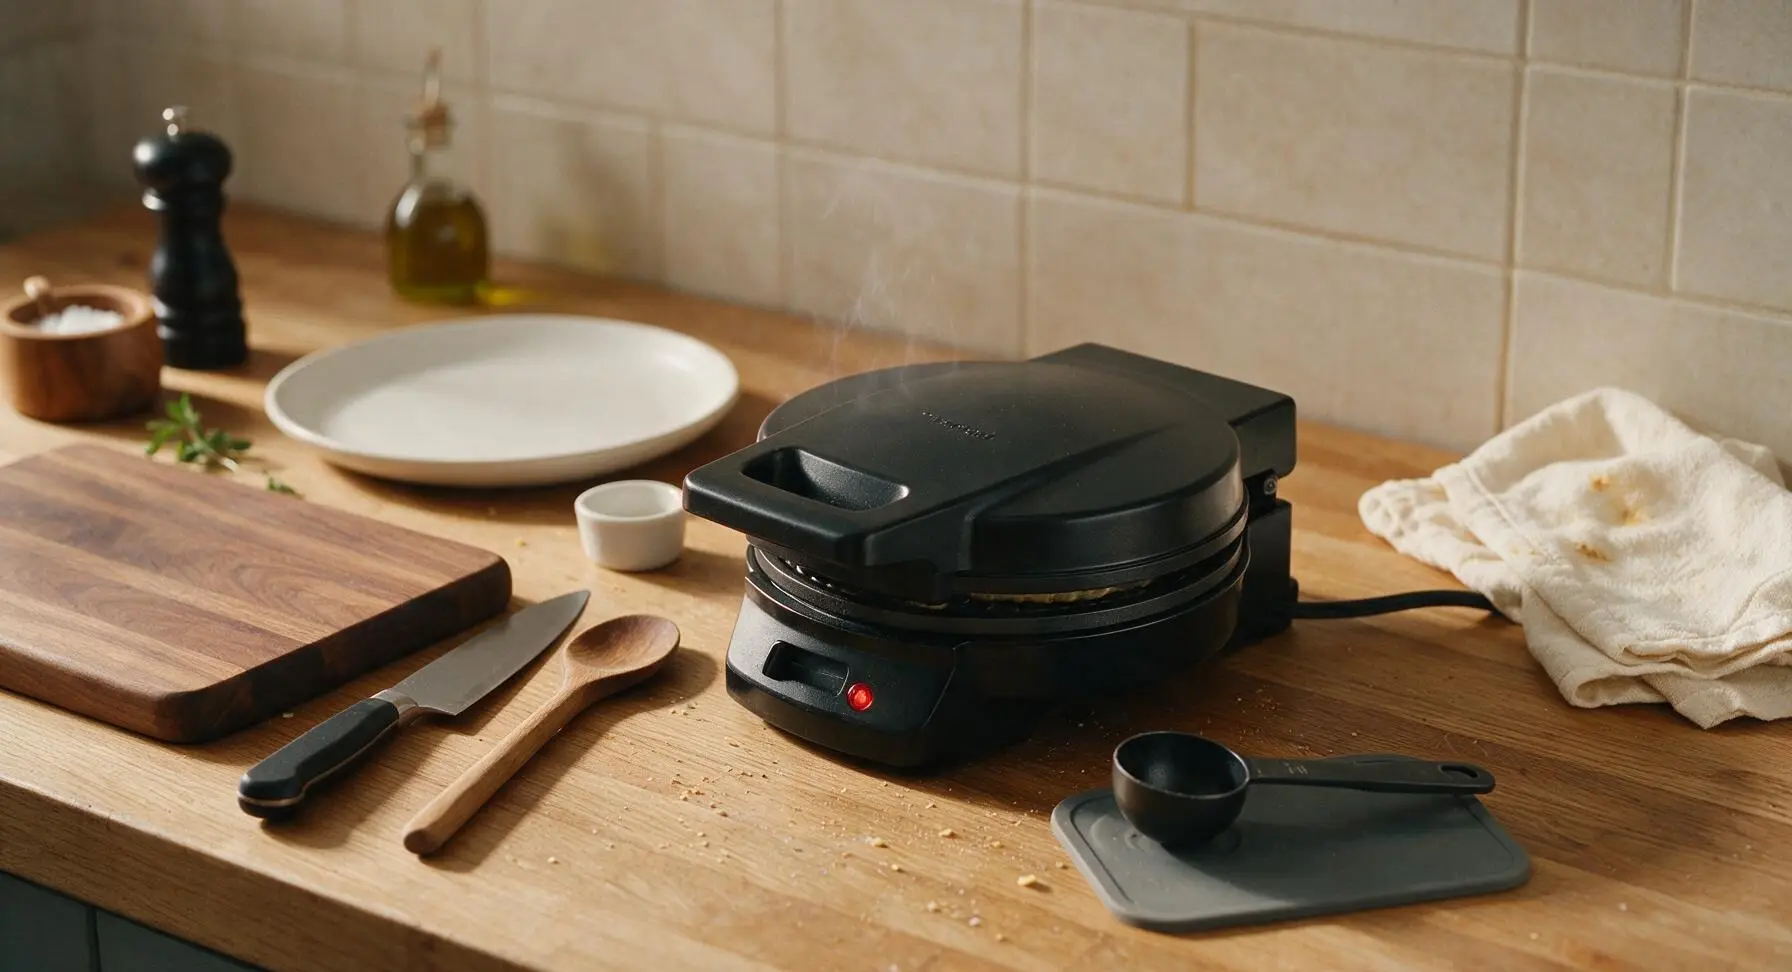
Preheat Waffle Maker

Plug in the matte black waffle cone maker and close the lid, allowing it to preheat for 3-4 minutes until the indicator light shows it has reached 375°F (190°C). Do not grease the plates, as the butter in the batter will prevent sticking.
Step 4
step4:Preheat Waffle Maker
5

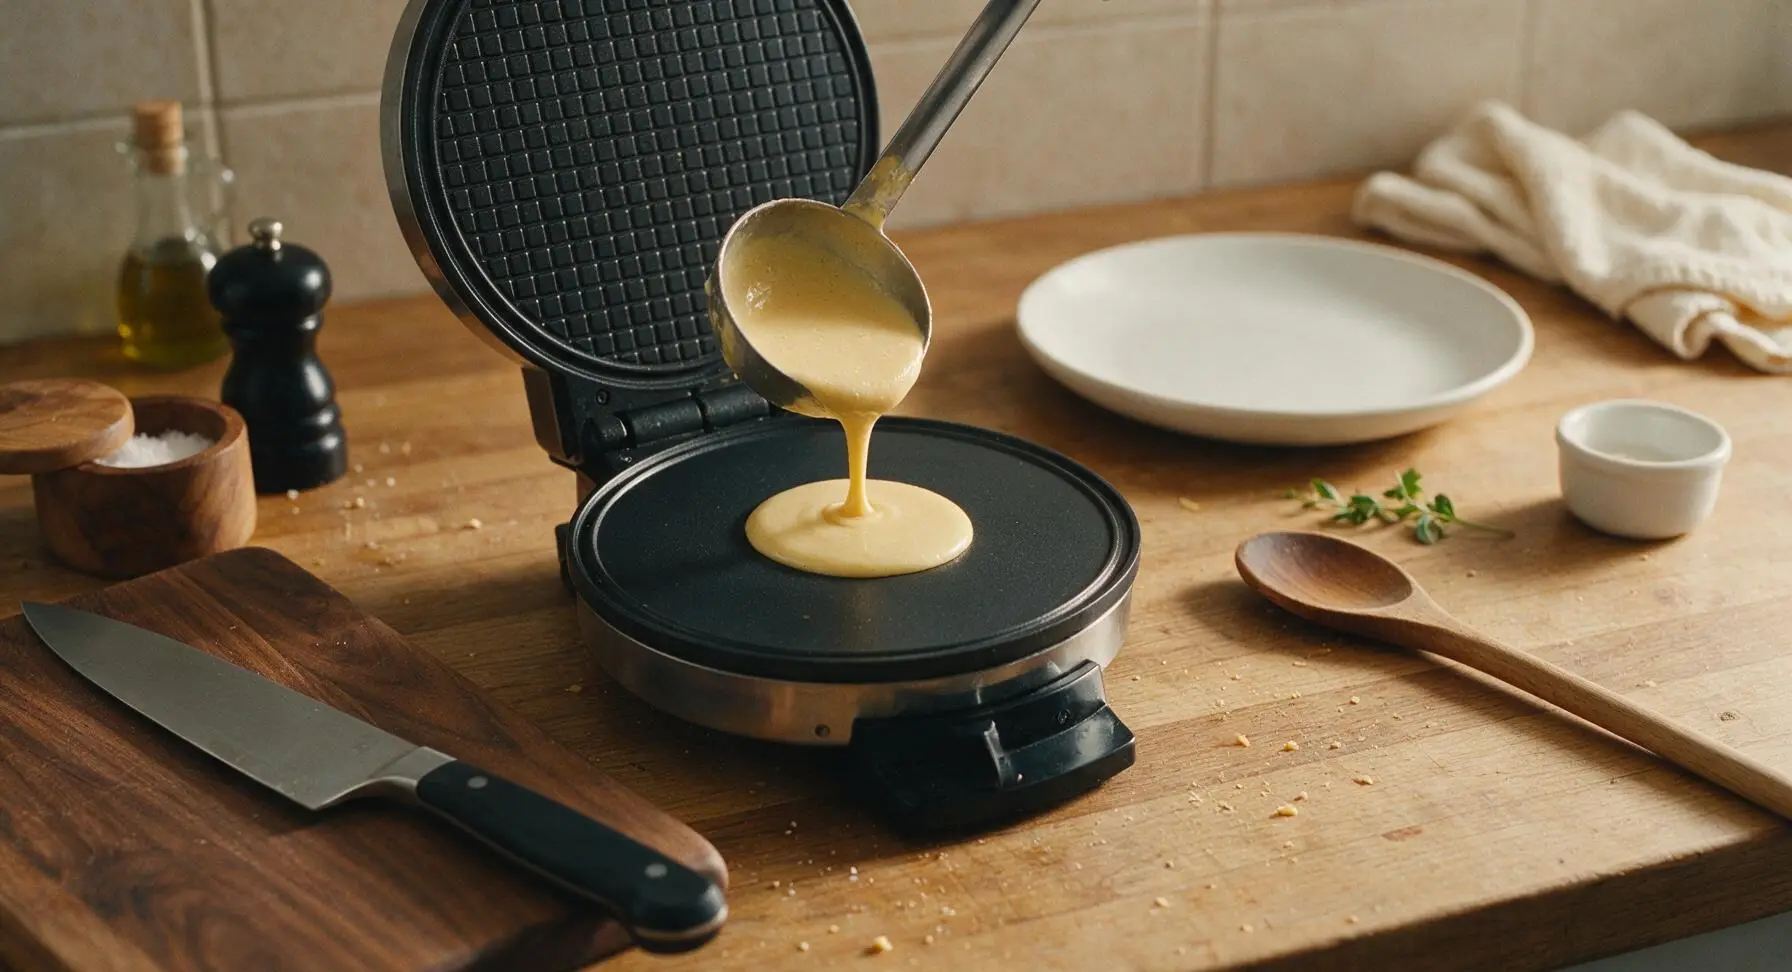
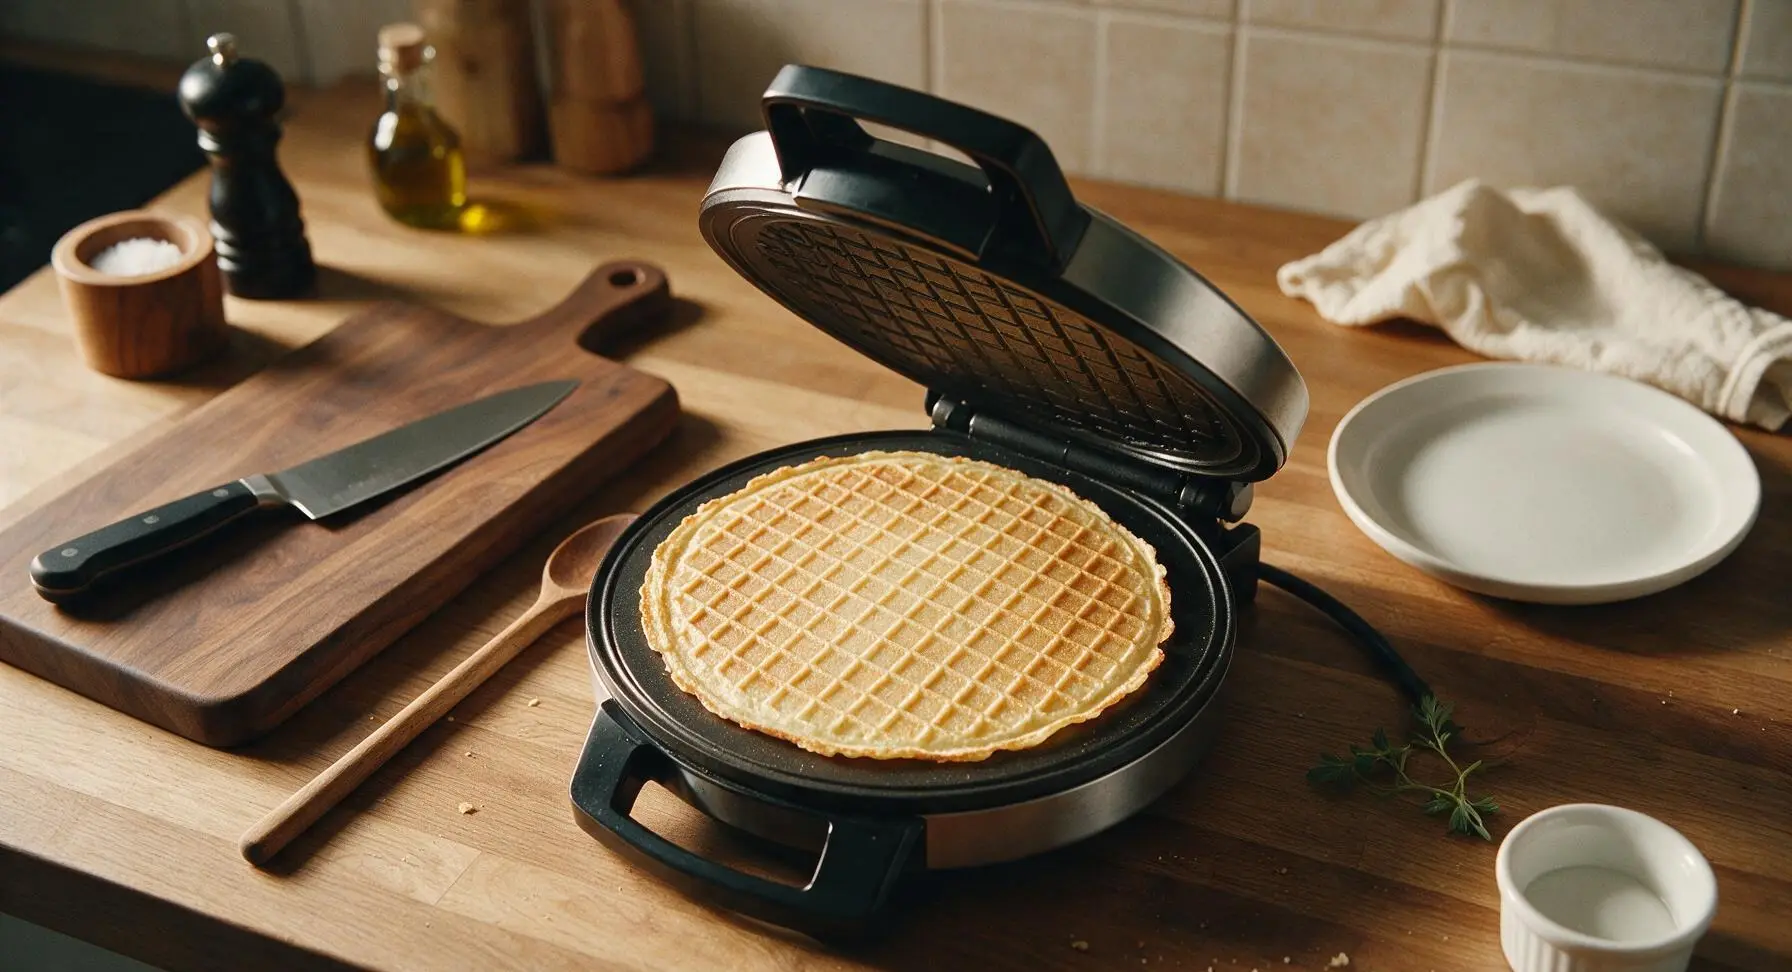
Cook Wafer Discs

Open the preheated waffle cone maker and use the 1/4 cup ladle to pour exactly 3 tablespoons of batter directly into the center of the lower cooking plate. Close the lid gently and cook for 1 minute 15 seconds to 1 minute 30 seconds, until the wafer is evenly golden brown across its surface, with slightly darker toasty grid lines. Do not overcook, as the wafer will become too brittle to shape.
Step 5
step5:Cook Wafer Discs
Step 5
step5:Cook Wafer Discs
6

Shape Warm Wafer

Working quickly (within 10 seconds of removing the wafer from the heat, as it will harden as it cools), lift the hot wafer from the maker with clean fingertips (exercise caution, as the plate and wafer are very hot) and drape it over the pointed end of the oak cone rolling form. Roll the wafer tightly around the form, pressing the overlapping edge firmly to seal, and pinch the bottom pointed end closed to prevent ice cream from leaking out. Hold the shape for 10 seconds until it sets.
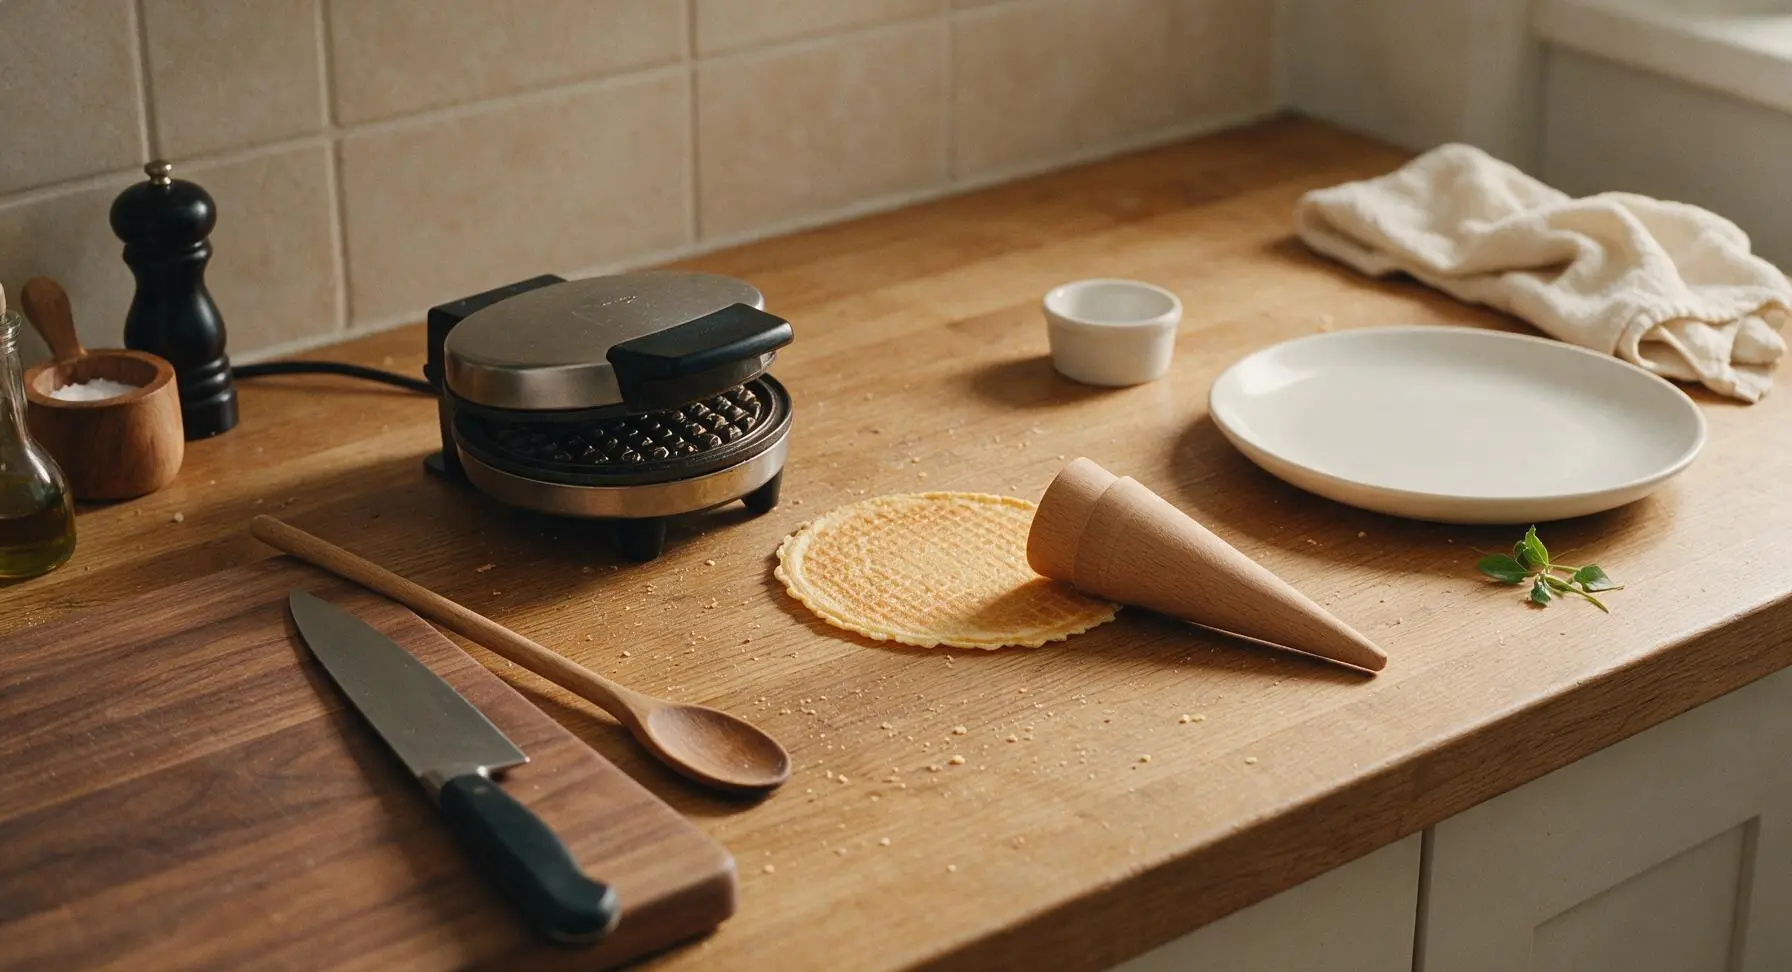
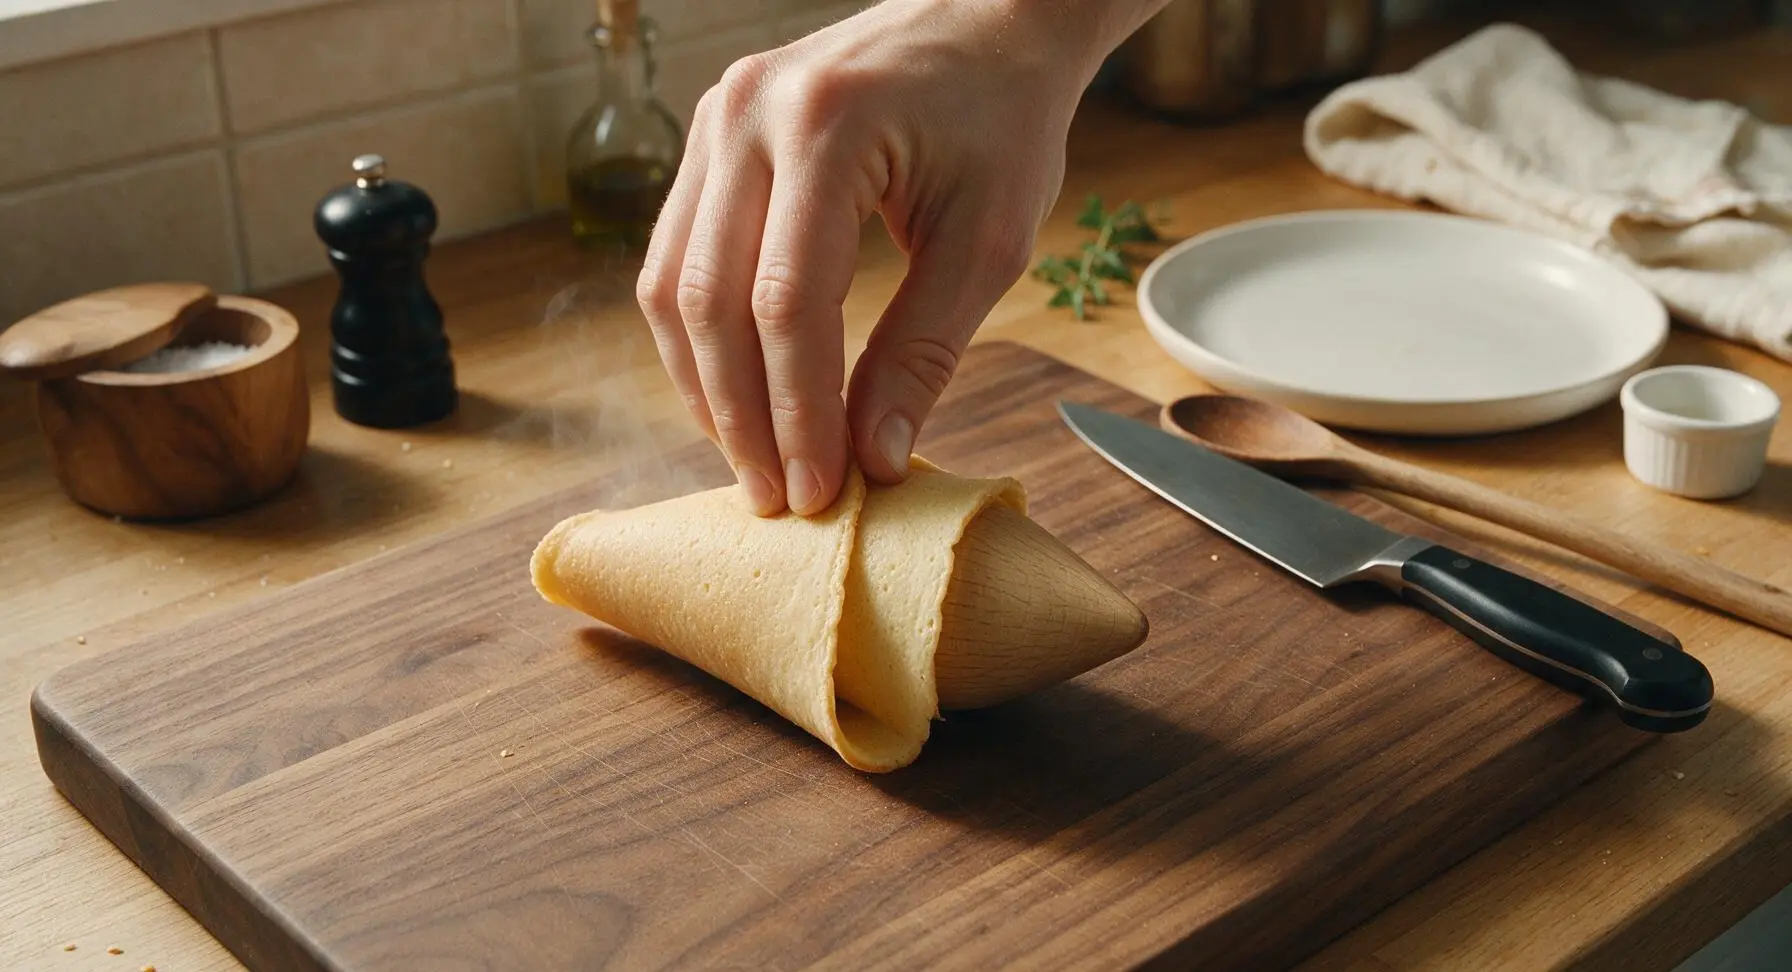
Step 6
step6:Shape Warm Wafer
Step 6
step6:Shape Warm Wafer
7

Cool Cones on Rack

Slide the shaped cone off the oak form and place it seam-side down on the parchment-lined chrome wire cooling rack. Repeat the cooking and shaping process with the remaining batter, spacing cones 1cm apart on the rack as you work. Allow cones to cool completely for 10 minutes before filling, as they will crisp further as they cool.
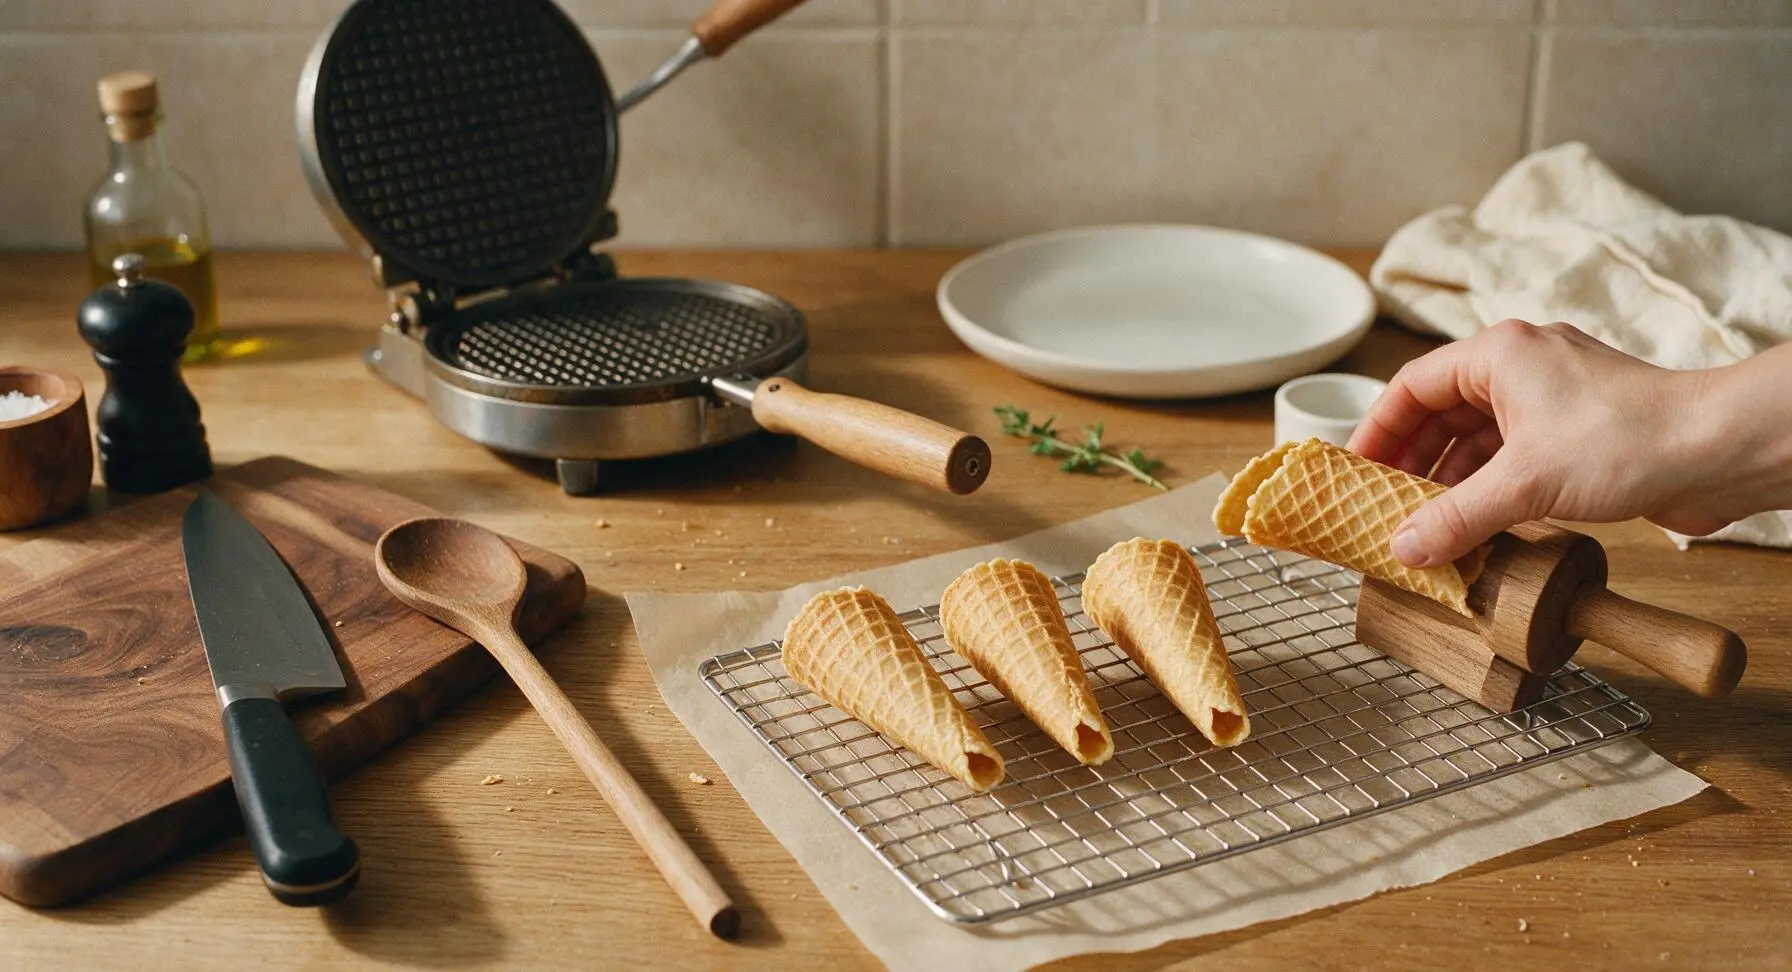
Step 7
step7:Cool Cones on Rack
8

Plate and Serve

Arrange the fully cooled, crisp cones on the matte cream white ceramic serving platter. Fill one cone with a rounded scoop of vanilla bean ice cream for serving, leaning the remaining empty cones against it for display. Serve immediately for the crispest texture, or store leftover cones in an airtight container at room temperature for up to 3 days.
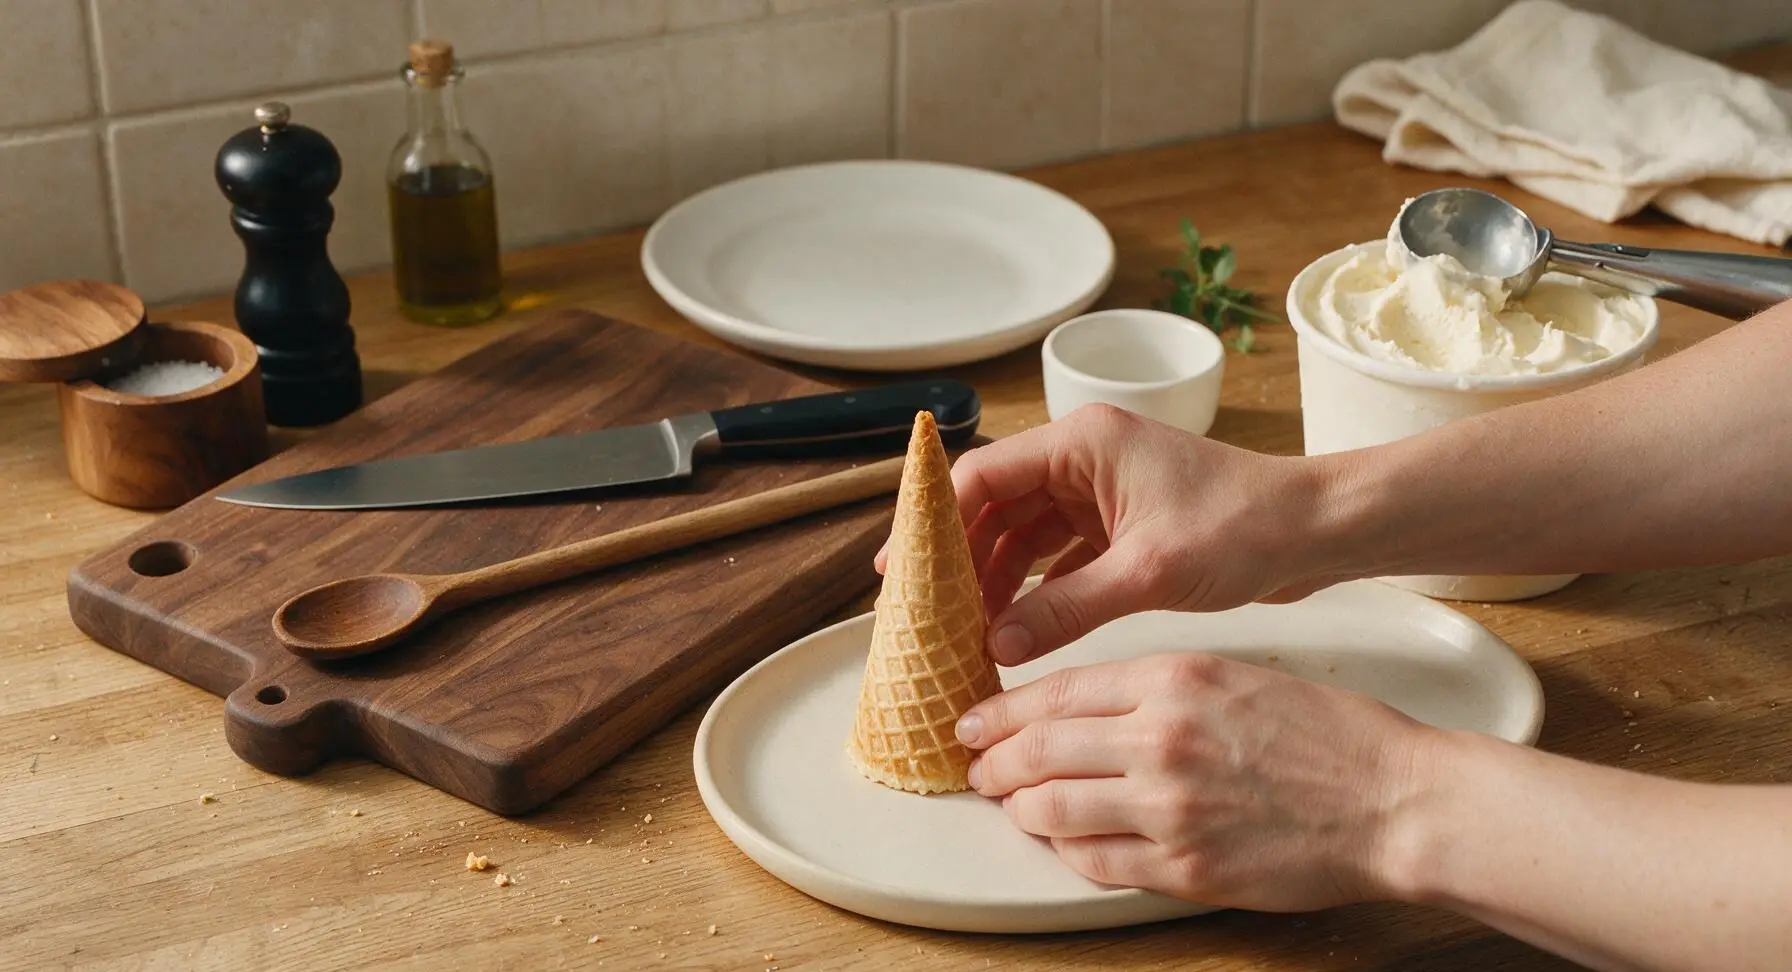
Step 8
step8:Plate and Serve

Tips

1.Work within 10 seconds of removing a cooked wafer from the waffle maker to shape it: the thin wafer cools and hardens extremely fast, and will crack if you wait too long. If a wafer stiffens before shaping, set it back on the hot waffle plate for 5 seconds to soften it again.
2.Use exactly 3 tablespoons of batter per cone: overfilling the waffle maker will cause batter to squeeze out the edges when you close the lid, creating thick, misshapen wafers that are too bulky to roll into tight, leak-proof cones.
3.Cool your melted butter to lukewarm (around 85°F / 29°C) before mixing it into the batter. Hot butter will cook the delicate egg whites, creating tiny lumps in the batter that lead to uneven cones with soft, non-crisp spots.


✨ You May Also Like

Desserts & Baking
🍜 Italy

Creamy, coffee-kissed classic Northern Italian no-bake dessert, with layers of rum-spiked mascarpone cream, soft ladyfingers, and a rich cocoa dusting.

⏱️ 4 hours 3Desserts & Baking ★ 4.7
Desserts & Baking
🍜 France

Flaky, shatteringly crisp, buttery French croissants with golden exteriors and soft, airy layered interiors, perfect for pairing with coffee for a special morning treat.

⏱️ 12 hours Desserts & Baking ★ 4.5
Desserts & Baking
🍜 United States

Warm, spiced baked apples topped with a fluffy golden biscuit crust, this cozy dessert pairs perfectly with vanilla ice cream for cool-weather comfort.

⏱️ 55 minuteDesserts & Baking ★ 4.6
Desserts & Baking
🍜 United States

A star-spangled classic American blueberry pie with buttery flaky crust and bright sweet-tart filling, perfect for summer patriotic gatherings.

⏱️ 1 hour 25Desserts & Baking ★ 4.7
Desserts & Baking
🍜 United States

A beloved no-bake regional Maine candy with a chewy coconut-potato center coated in rich dark chocolate, a New England holiday staple since the 1870s.

⏱️ 2 hours 3Desserts & Baking ★ 4.8
Desserts & Baking
🍜 France

Luxuriously creamy, floral frozen custard made with aromatic Tahitian vanilla beans, boasting a smooth, rich texture that melts slowly on the tongue.

⏱️ 3 hours 3Desserts & Baking ★ 4.5

wafer cone ingredients:Frequently Asked Questions

1.Why are my homemade wafer cones coming out soft instead of crisp? ▾
Soft cones almost always stem from underbaking (cook until the wafer is a light, even golden all over, not just pale at the edges) or waiting too long to shape them after cooking—they turn rigid in 10 to 15 seconds off heat. Always let them cool fully on an open wire rack before storing to avoid trapped moisture that sogs them out.
2.Can I make these vanilla wafer cones without a special waffle cone iron? ▾
Absolutely! Spread 2-tablespoon portions of batter paper-thin into 6-inch circles on a parchment-lined baking sheet, bake at 350°F for 7 to 9 minutes until edges are deep golden, then quickly shape around a form before they harden. You can use a clean metal funnel or foil-covered sturdy cardboard cone as a DIY form if you don’t have an official shaping tool.
3.How do I stop my cones from unrolling as they cool? ▾
As soon as you lift the warm, flexible wafer off your cooking surface, wrap it tightly around your cone form, then hold the seam side pressed firmly against your wire rack for 10 to 15 seconds while it starts to set. Tuck the pointed bottom tight as you roll to prevent gaps, and leave the cone on the form for a full minute before sliding it off to finish cooling.
4.How far in advance can I make these cones, and what’s the best way to store them? ▾
You can make these cones up to 3 days ahead for parties or gatherings, as long as you store them correctly. Once completely cool, place them in an airtight container at room temperature, tucked away from humid spots near stoves or dishwashers. Add a small silica gel packet (or cheesecloth-wrapped uncooked rice) to absorb stray moisture, and skip the fridge or freezer—condensation will turn them soggy fast.
5.My mixed batter has small lumps—will that make my cones turn out badly? ▾
Tiny lumps from the all-purpose flour won’t ruin your cones at all, so resist the urge to overmix the batter to smooth them out. Overmixing develops gluten in the flour, which will make your cones tough and chewy instead of delicate, melt-in-your-mouth crisp. Any small remaining lumps will smooth out completely as the batter cooks on the hot surface.

Comments (9)

2 hours ago

OMG these came out SO good! I made them for my kid’s end-of-summer pool party and everyone was asking where I bought the fancy cones. The vanilla flavor is perfectly balanced, not too sweet, and they stay crisp even when loaded with scoops of rocky road. Total game changer for homemade ice cream nights!

yesterday

Wait, I don’t have a waffle cone maker — can I press these in a regular cast iron skillet if I flip them fast enough? I really don’t want to buy another single-use gadget if I don’t have to, lol.

yesterday

Great question! A cast iron skillet can work in a pinch — just roll the cooked wafer super quickly right after taking it off the heat, since it hardens in seconds. You won’t get the classic waffle texture, but the crisp vanilla flavor will still turn out perfect! If you make them often though, a budget cone press is totally worth the counter space.

3 days ago

Tried these last night for my roommates and they were chef’s kiss — except half of mine cracked when I tried to roll them around the cone form. Any tips to stop that from happening? I felt so bad wasting half the batch 😅

2 days ago

I had the same issue my first batch! I started letting the cooked wafer sit for like 10 seconds after taking it off the press before rolling, and it stopped cracking completely. If it’s too hot and floppy it tears way easier!

2 days ago

That’s such a great tip! Also make sure you’re not cooking the wafers too long — if they get too dark around the edges they’ll be brittle before you even start rolling. Aim for a pale golden color all over for the most flexible, rollable wafers.

5 days ago

Brought these to our neighborhood block party potluck this weekend and they were the first thing gone! People couldn’t believe they weren’t store-bought. I even dipped the tops in melted dark chocolate and sprinkled crushed peanuts on them for a little extra flair. 10/10 will be making these every other week all summer.

1 week ago

Has anyone tested this with a 1:1 gluten free flour blend? I’m dying to make these for my celiac best friend for her birthday ice cream social but don’t want to waste ingredients if the texture is off.

5 days ago

I used my go-to Bob’s Red Mill 1:1 GF blend last week and they turned out perfectly crisp! I added a tiny extra splash of vanilla to cut the slight rice flour aftertaste, but no one could tell they were GF.

5 days ago

So happy to hear the GF swap worked! We’ve tested this with a few 1:1 blends and had great results too — just make sure your batter is nice and smooth so there are no lumps that cause weak spots when rolling.

2 days ago

Cook time says 20 minutes but it took me closer to 40 from start to finish, fyi! Worth every minute though, my kids went absolutely feral for these cones when we had sundaes last night. They kept asking for seconds even after they were stuffed.

yesterday

Same! I think the 20 minutes is just active cook time once the batter is mixed and the press is hot — prep and rolling definitely adds extra time, but no complaints here, way better than grocery store cones!

30 minutes ago

Help! My first three cones came out super soggy after they cooled, even though I cooked them the full time the recipe said. What did I do wrong? I was so excited for these 😭

5 minutes ago

Oh no, sorry to hear that! Soggy cones usually mean either the batter was too thin (try adding an extra tablespoon of flour next time) or the press wasn’t fully hot when you added the batter. Make sure it’s preheated for a full 5 minutes before pouring your first scoop, and cook until there’s no more steam coming off the wafer — that means all the excess moisture is gone!

2 weeks ago

I’ve been making ice cream cones for 40 years and this recipe is the closest I’ve found to the old-fashioned bakery cones I grew up eating. The hint of salt in the batter makes the vanilla pop so much more than generic store-bought versions. Bookmarked this to make for my grandkids when they visit next month.

5 minutes ago

Can you make these ahead of time and store them for meal prep? I want to have them ready for quick weeknight sundaes after soccer practice but don’t want them to go soft in the pantry.

just now

I stored mine in an airtight Tupperware with a paper towel at the bottom to absorb moisture and they stayed perfectly crisp for 5 days! Just don’t put them in the fridge, the humidity there makes them go soft instantly.

just now

That’s exactly our storage tip! Airtight container at room temp is the way to go, they’ll stay crisp for up to a week. If they do get a little soft, you can pop them in a 300°F oven for 2 minutes to crisp them right back up.



