
waffle bowl recipe ideas

title 1
waffle bowl recipe ideas
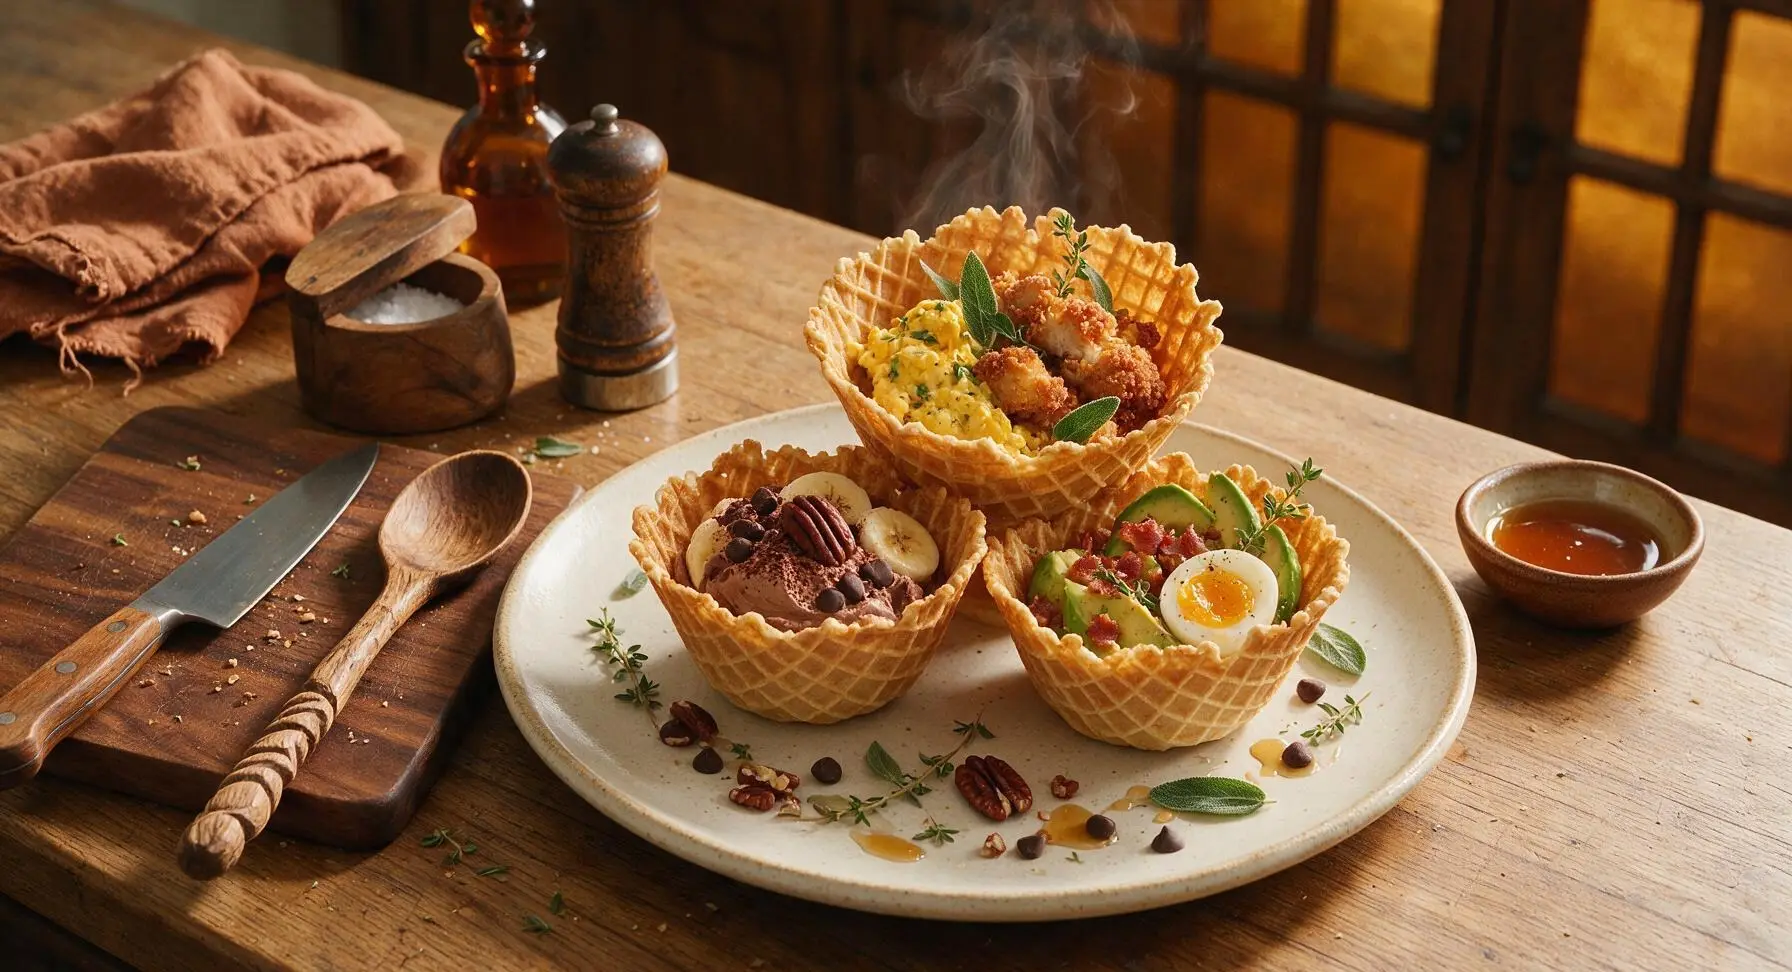
⏱️ cook time 15 minutes
🍽️ servings 4
⚡ Difficulty easy

intro

Light, shatteringly crisp homemade waffle bowls, customizable with sweet and savory fillings, perfect for a build-your-own party spread guests of all ages will love.

Ingredients
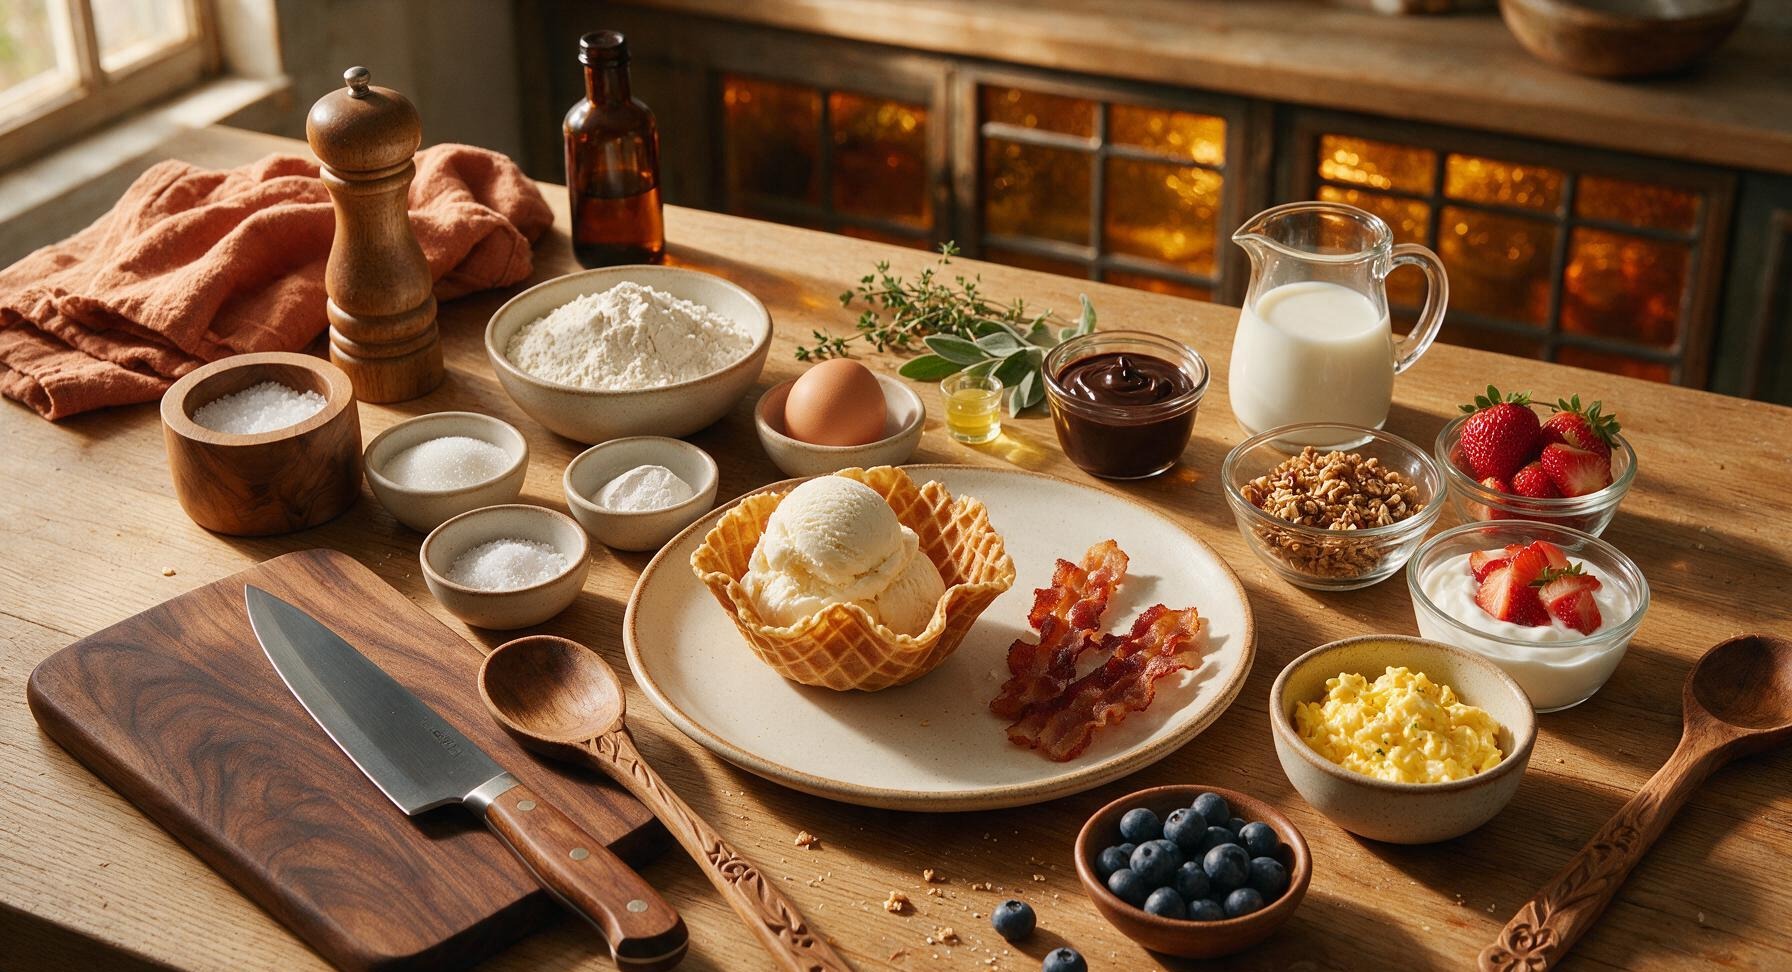
All-purpose flour 1 cup (120g)
Granulated sugar 1 tbsp (12g)
Baking powder 1 tsp (4g)
Fine sea salt 1/4 tsp (1g)
Large egg 1 unit (50g)
Whole milk 1 cup (240ml)
Unsalted butter, melted and cooled 2 tbsp (28g)
Vanilla extract 1 tsp (5ml)
Assorted fillings (vanilla ice cream, hot fudge, Greek yogurt, granola, strawberries, scrambled eggs, bacon, lemon curd, blueberries) 6 cups total

Steps

1

Preheat Waffle Bowl Maker

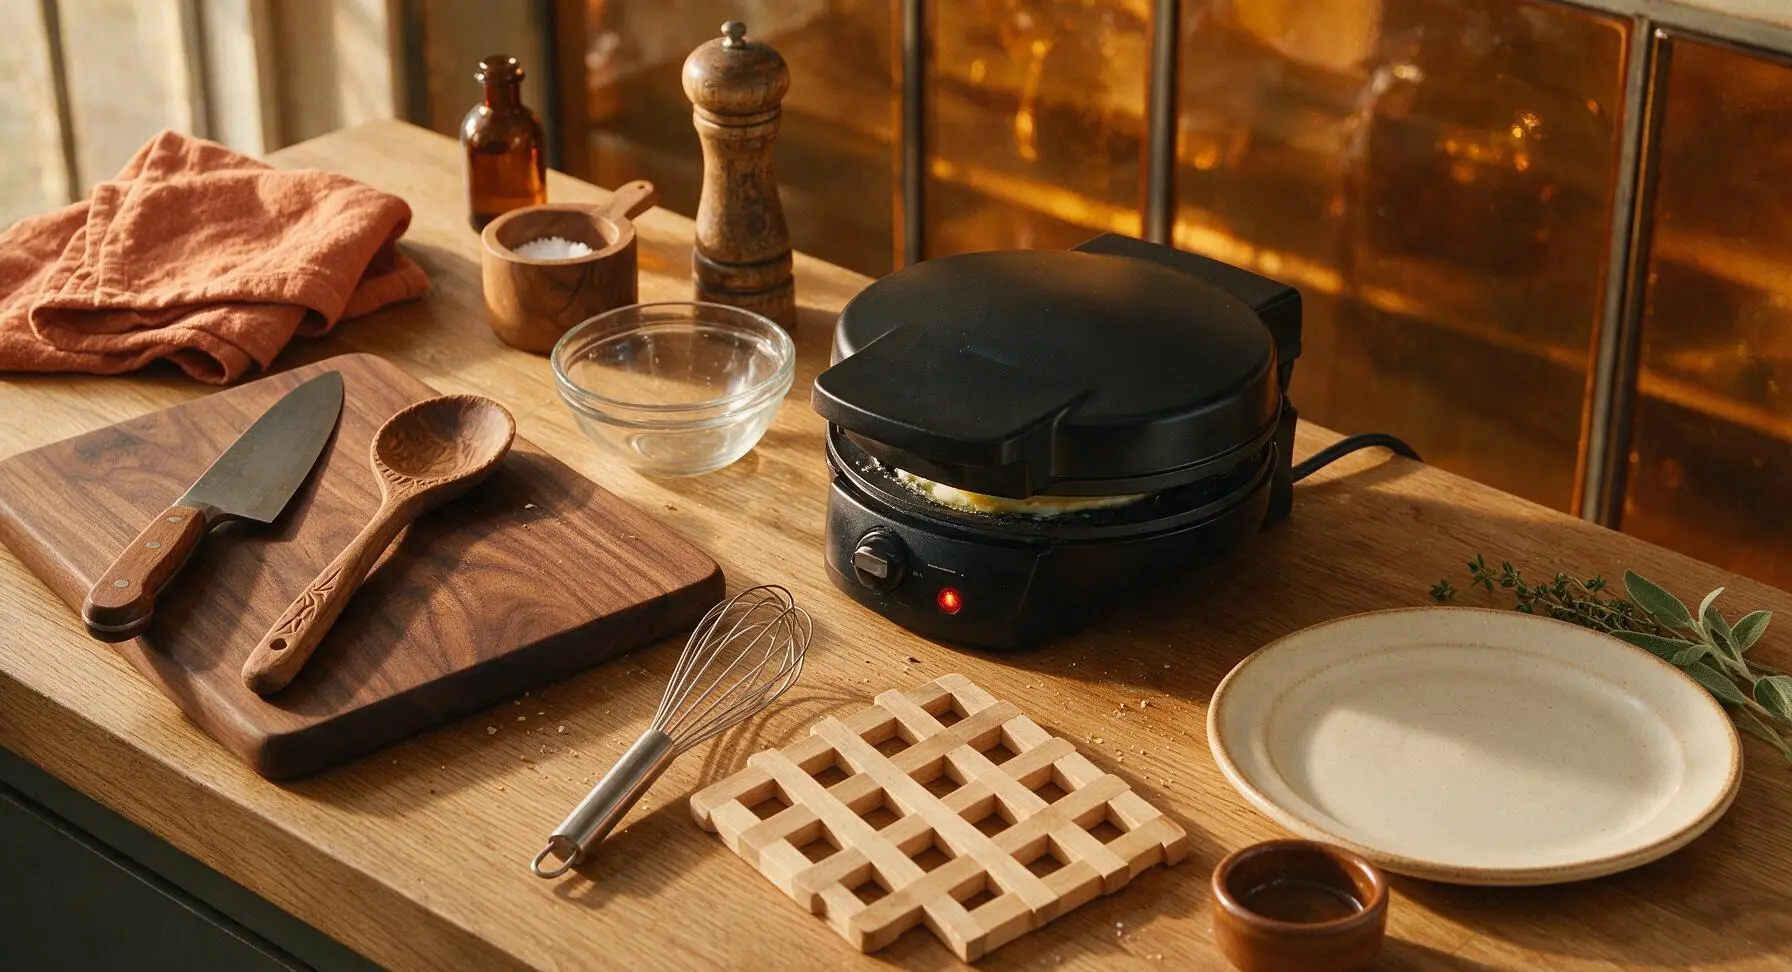
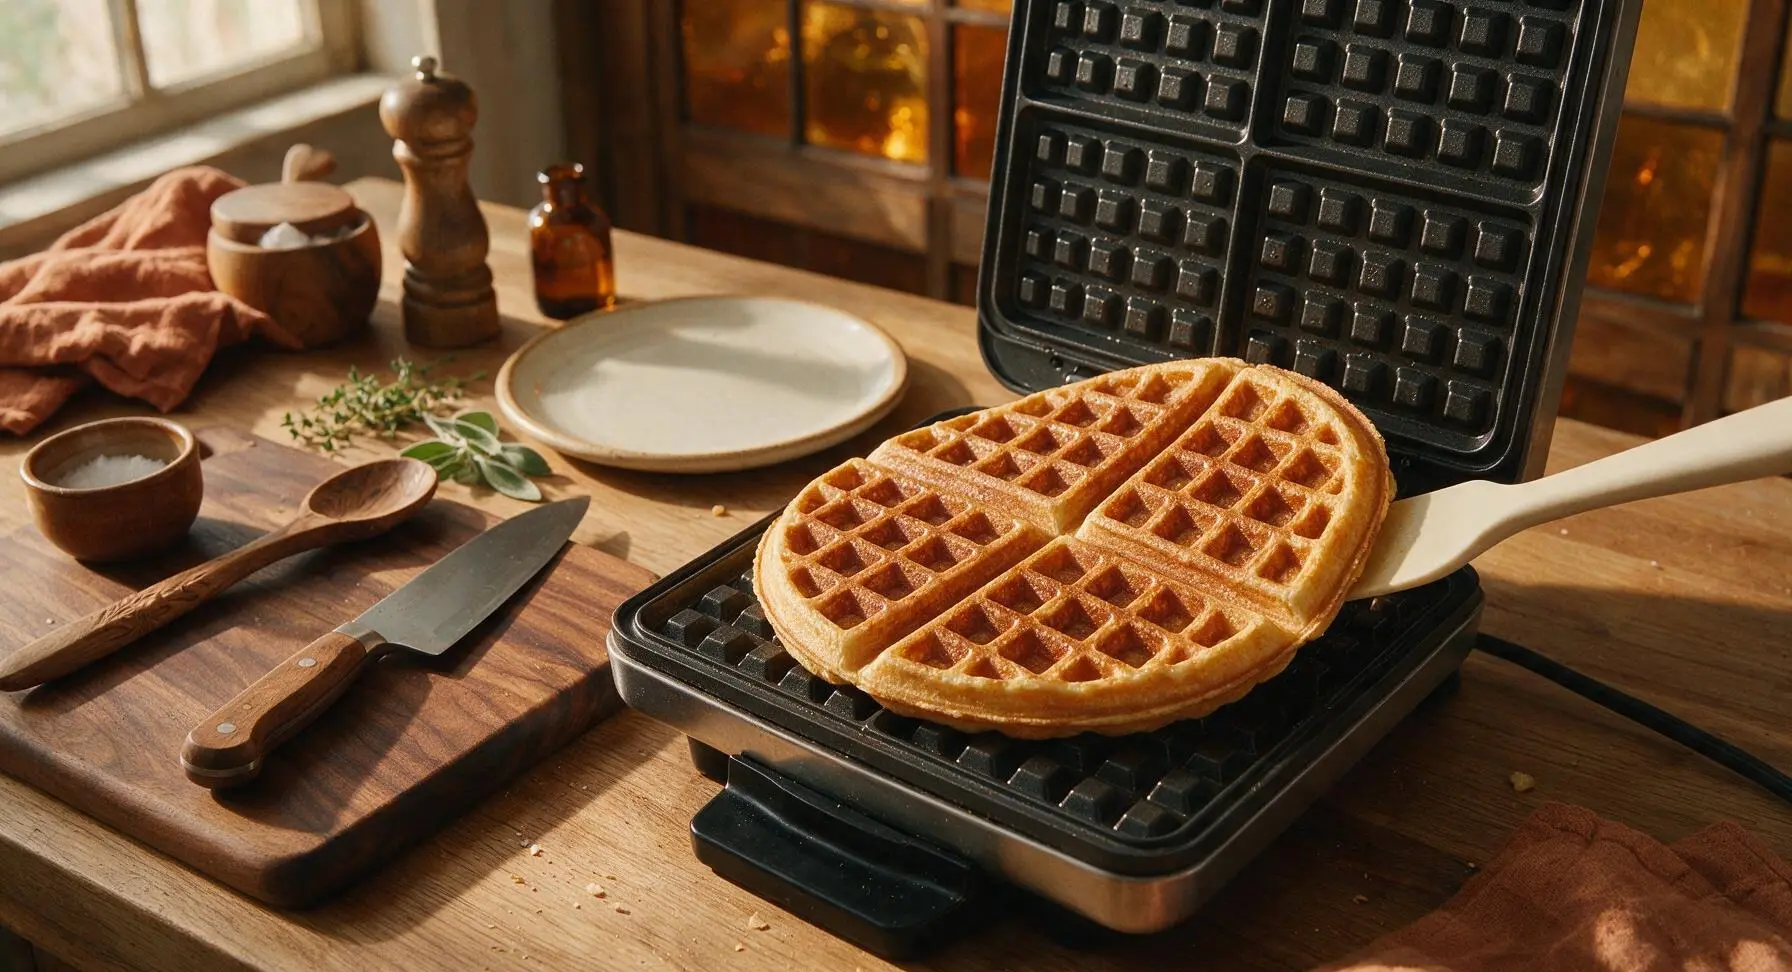
Plug in the matte black electric waffle bowl maker and preheat to medium-high heat (375°F / 190°C). Lightly coat the upper and lower cooking surfaces with a thin swipe of melted butter using a crumpled paper towel to prevent sticking, taking care not to leave excess butter that will burn and leave dark spots on waffles. Wait until the built-in red indicator light shows the maker is fully heated, about 3 minutes.
Step 1
step1:Preheat Waffle Bowl Maker
2

Combine Dry Ingredients

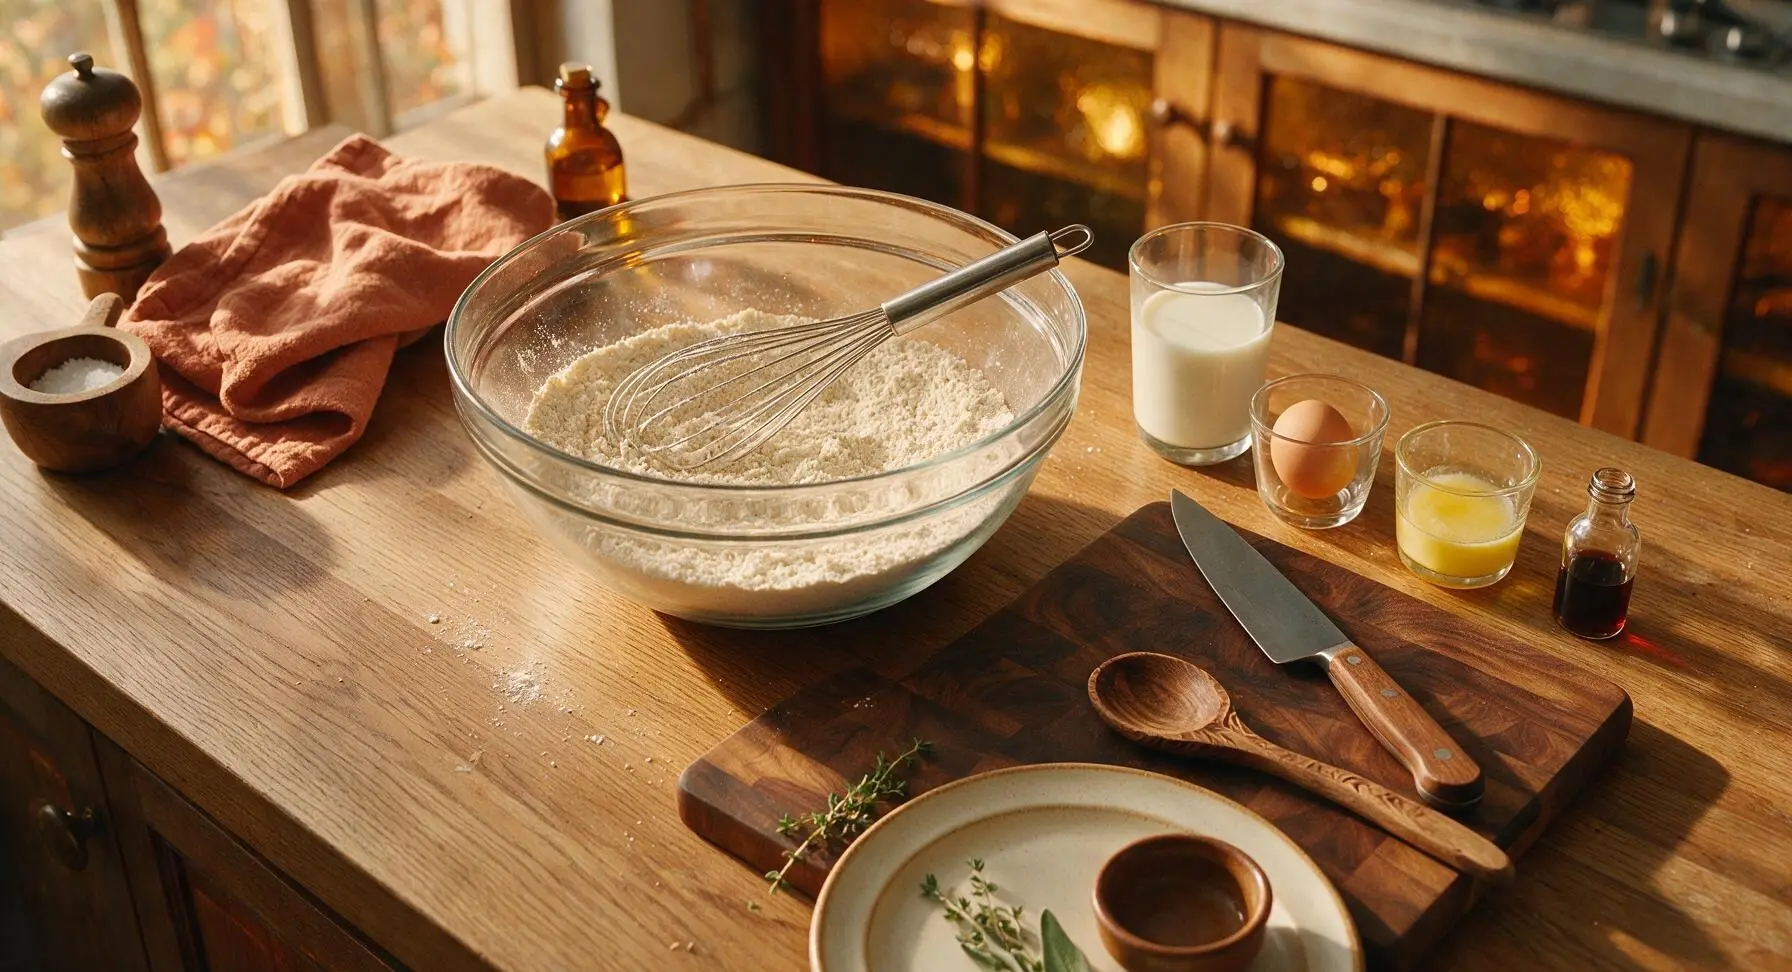
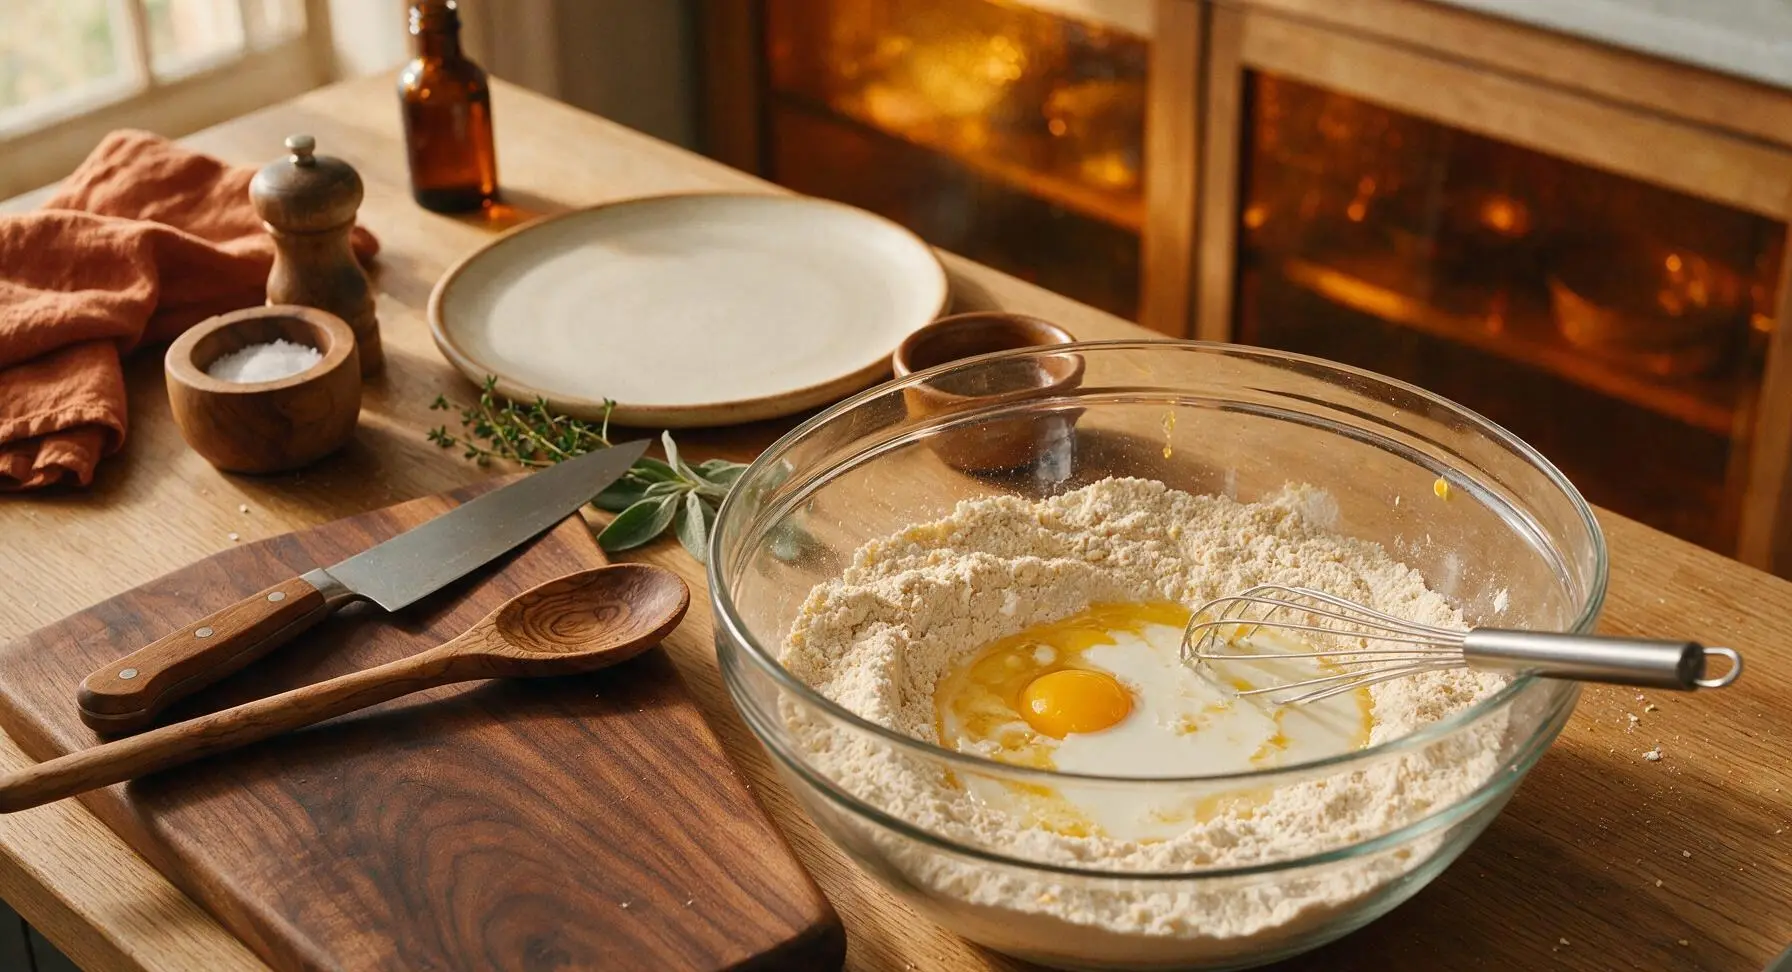
Add the measured all-purpose flour, granulated sugar, baking powder, and fine sea salt to the 2L clear glass mixing bowl. Use the stainless steel wire whisk to stir the dry ingredients for 30 seconds until fully combined, with no visible clumps of baking powder. Evenly mixing leavening at this stage ensures waffle bowls rise consistently without dense, flat spots.
Step 2
step2:Combine Dry Ingredients
3

Whisk Smooth Batter

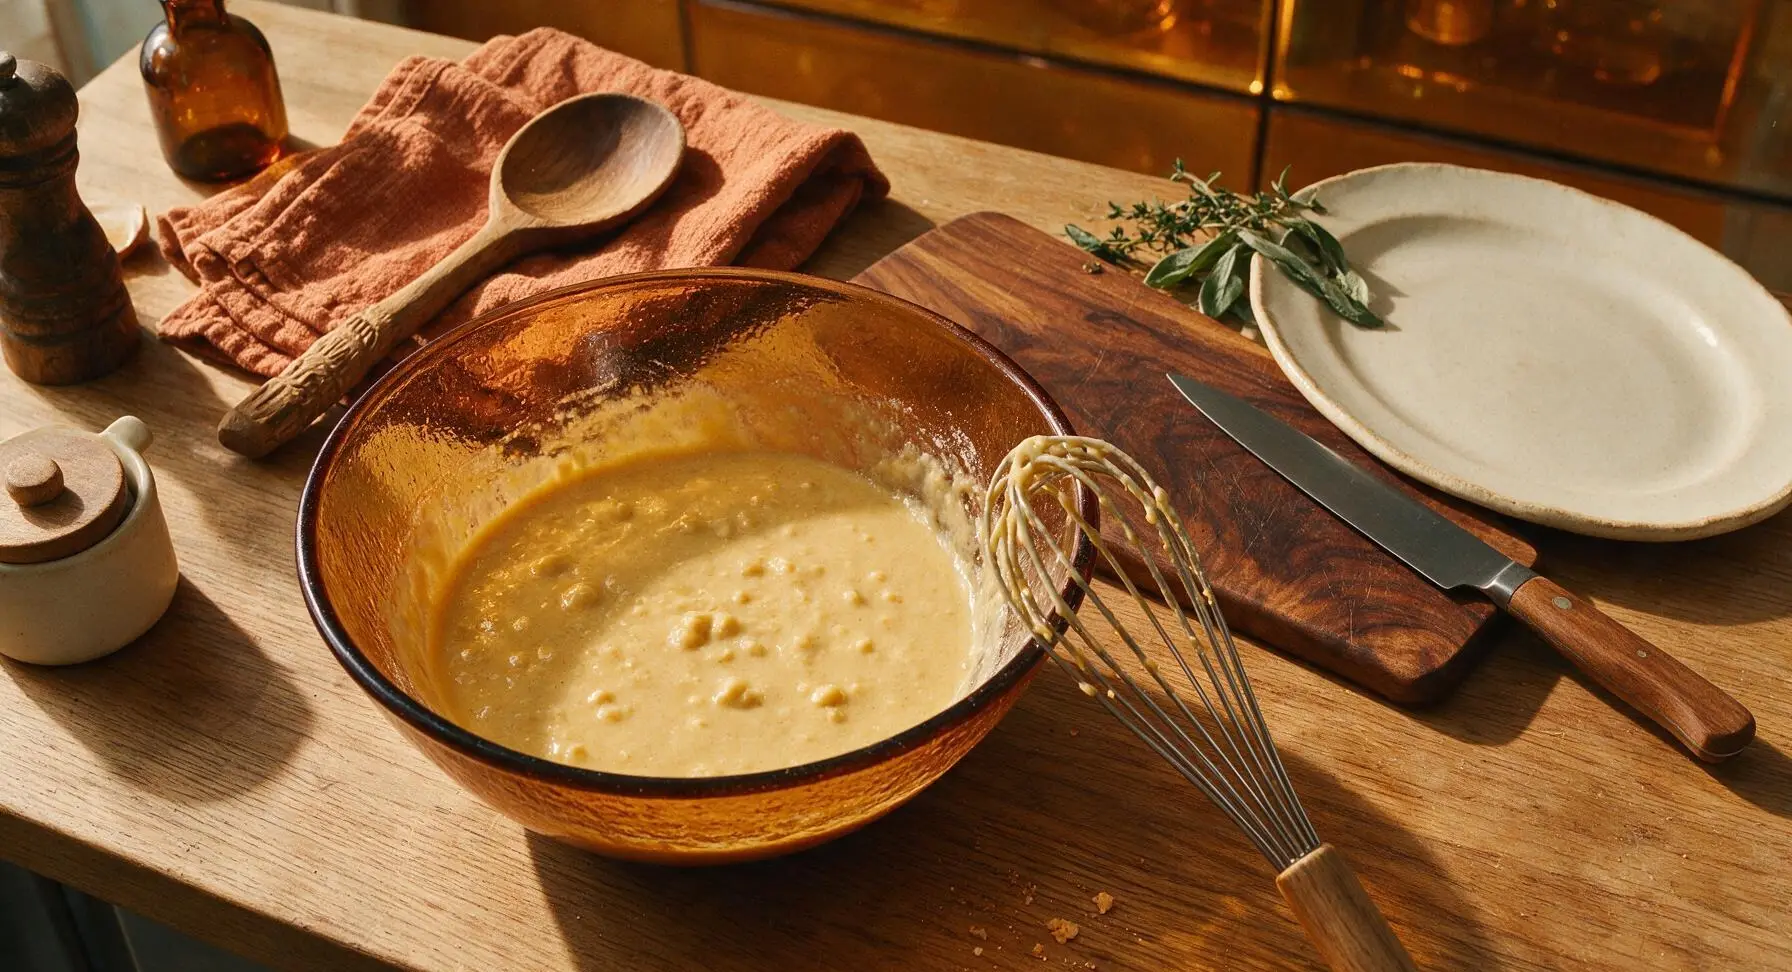
Create a small well in the center of the dry ingredient mixture. Add the cracked egg, whole milk, cooled melted butter, and vanilla extract into the well. Whisk slowly at first to pull dry ingredients in from the edges of the well, then increase speed slightly to mix until just combined. Stop mixing as soon as no dry flour streaks remain — small lumps in the batter are normal and desirable; overmixing will develop gluten and create tough, chewy waffles.
Step 3
step3:Whisk Smooth Batter
Step 3
step3:Whisk Smooth Batter
4

Portion Batter Carefully

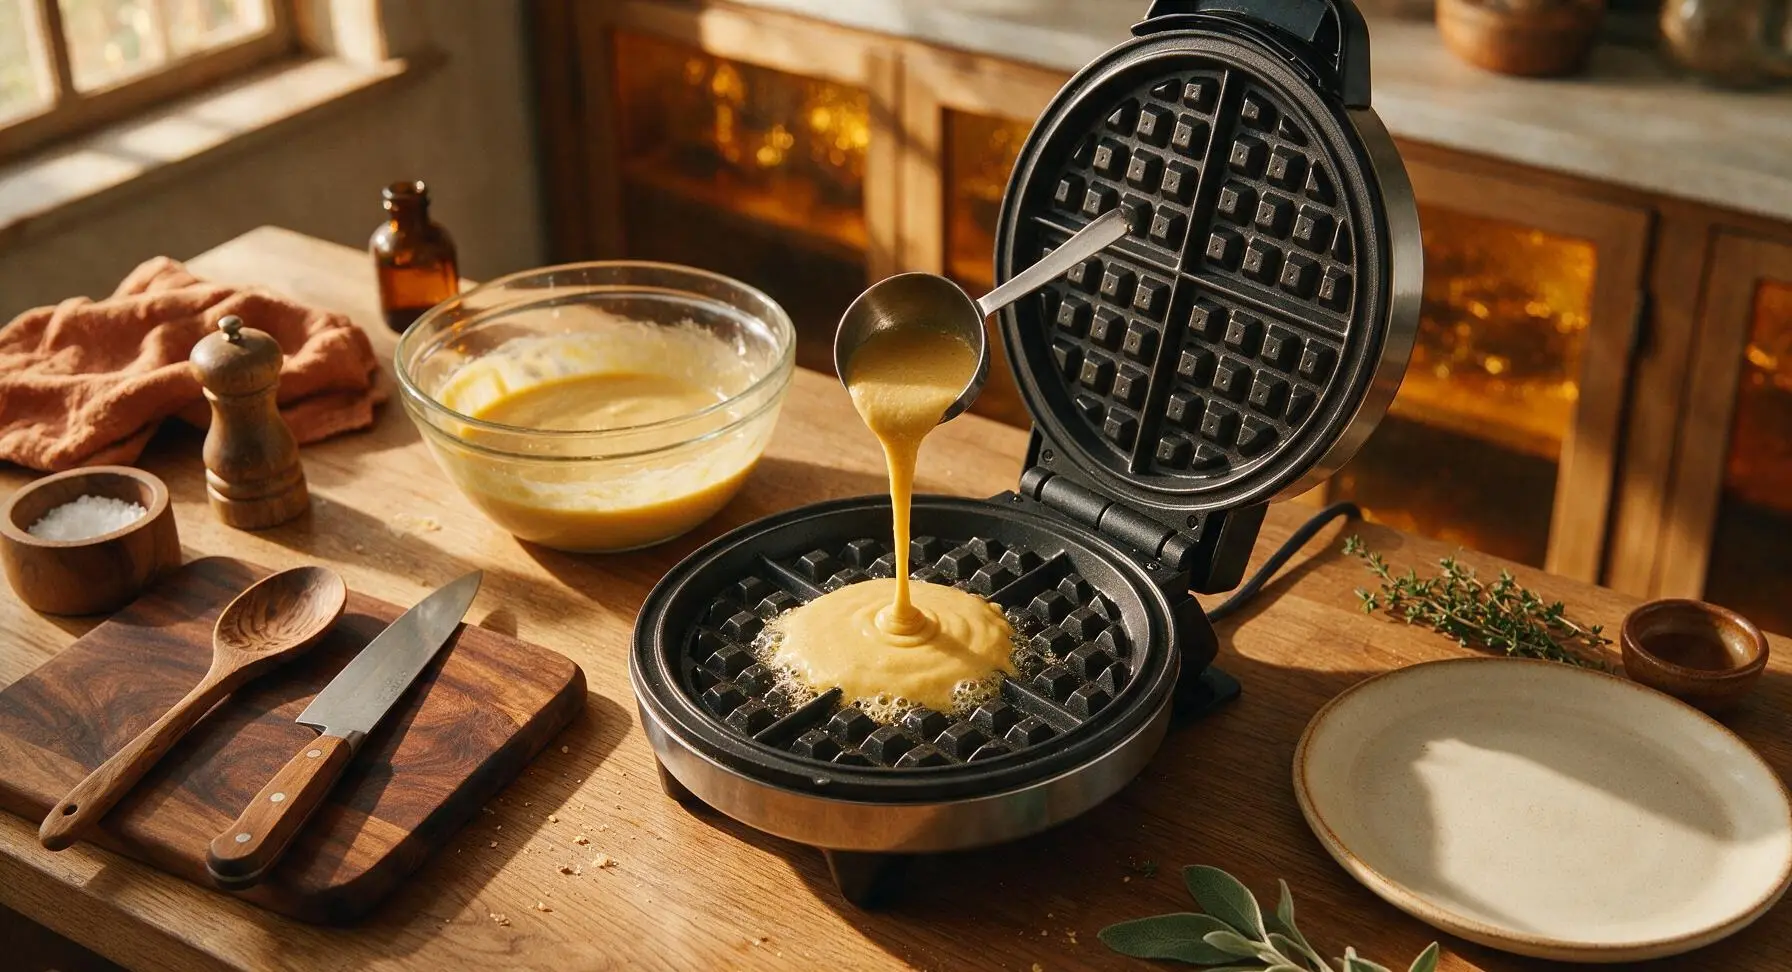
Use the 30ml stainless steel measuring scoop to pour exactly 1/3 cup (80ml) of batter directly into the center of the preheated, greased lower waffle maker plate. Do not overfill the plate — excess batter will leak out the sides as it rises, creating messy, uneven edges and burnt batter drips. Close the lid firmly and latch it if your waffle maker includes a safety latch.
Step 4
step4:Portion Batter Carefully
5

Cook Until Deep Golden

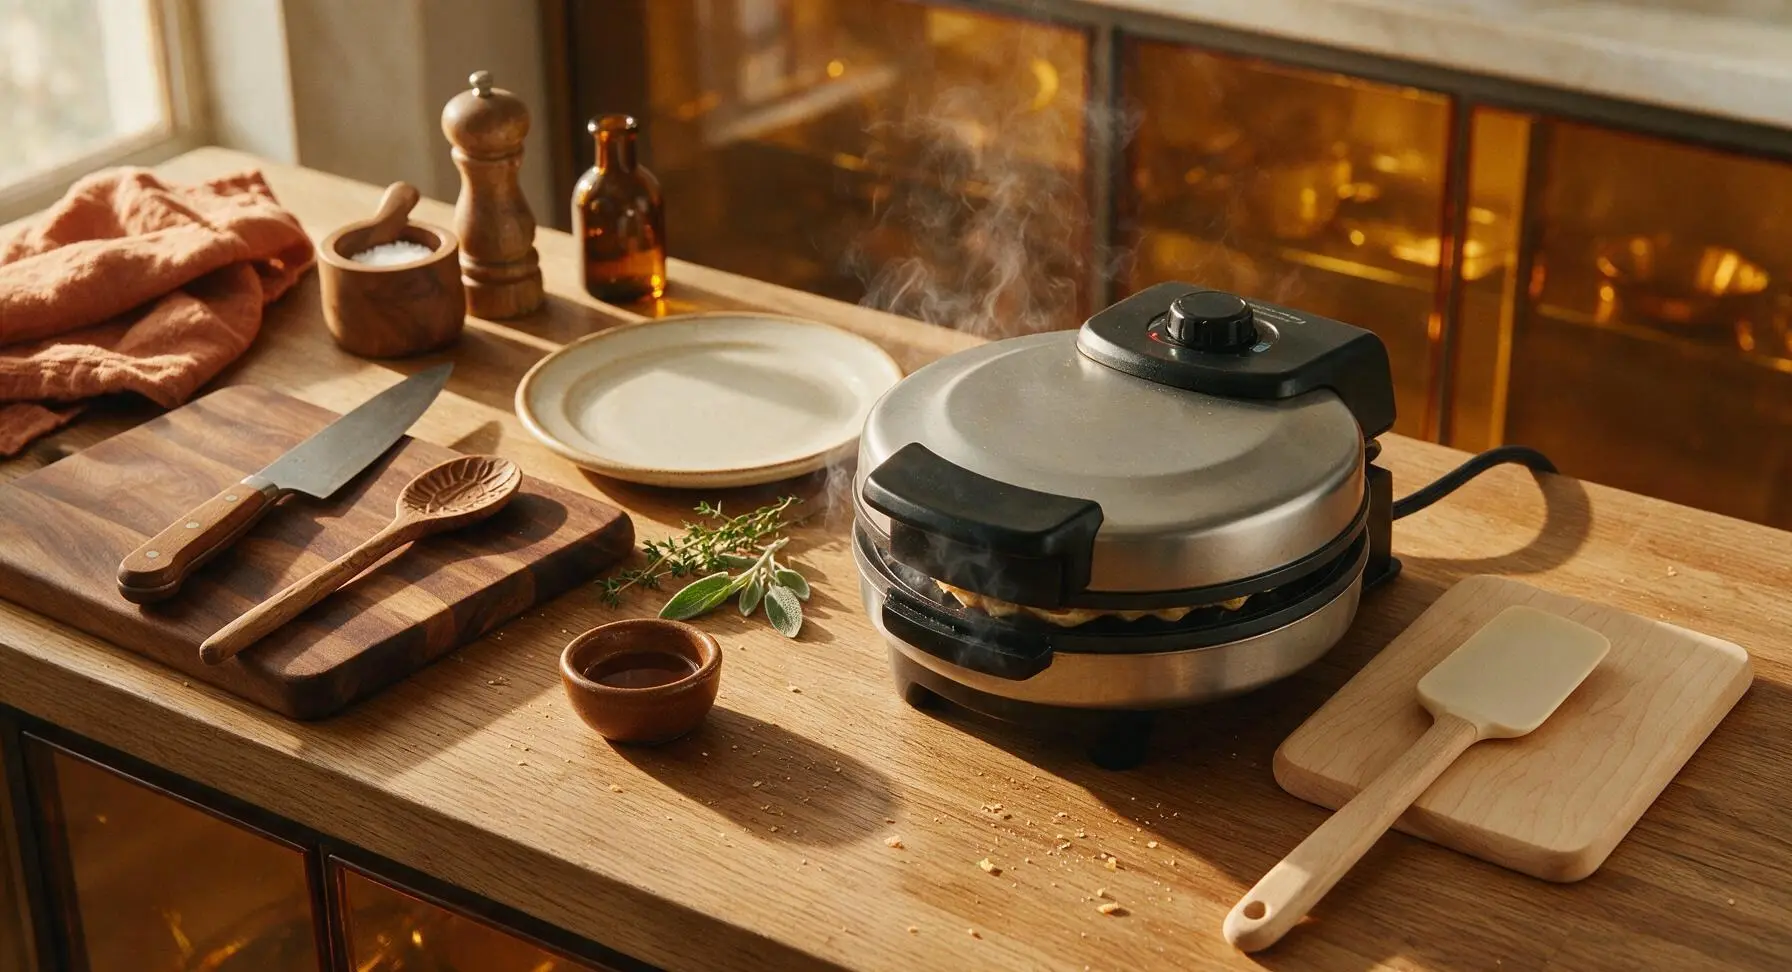
Cook each waffle bowl for 2.5 to 3 minutes, until thin wispy steam stops escaping from the edges of the closed waffle maker and the waffle is a deep, even golden brown. Resist the urge to open the lid early — opening before the 2-minute mark will cause the partially set waffle to tear and stick to the plates. Once cooked, use the off-white silicone spatula to gently lift the waffle out of the maker immediately, while it is still hot and flexible.
Step 5
step5:Cook Until Deep Golden
Step 5
step5:Cook Until Deep Golden
6

Shape And Cool Bowls

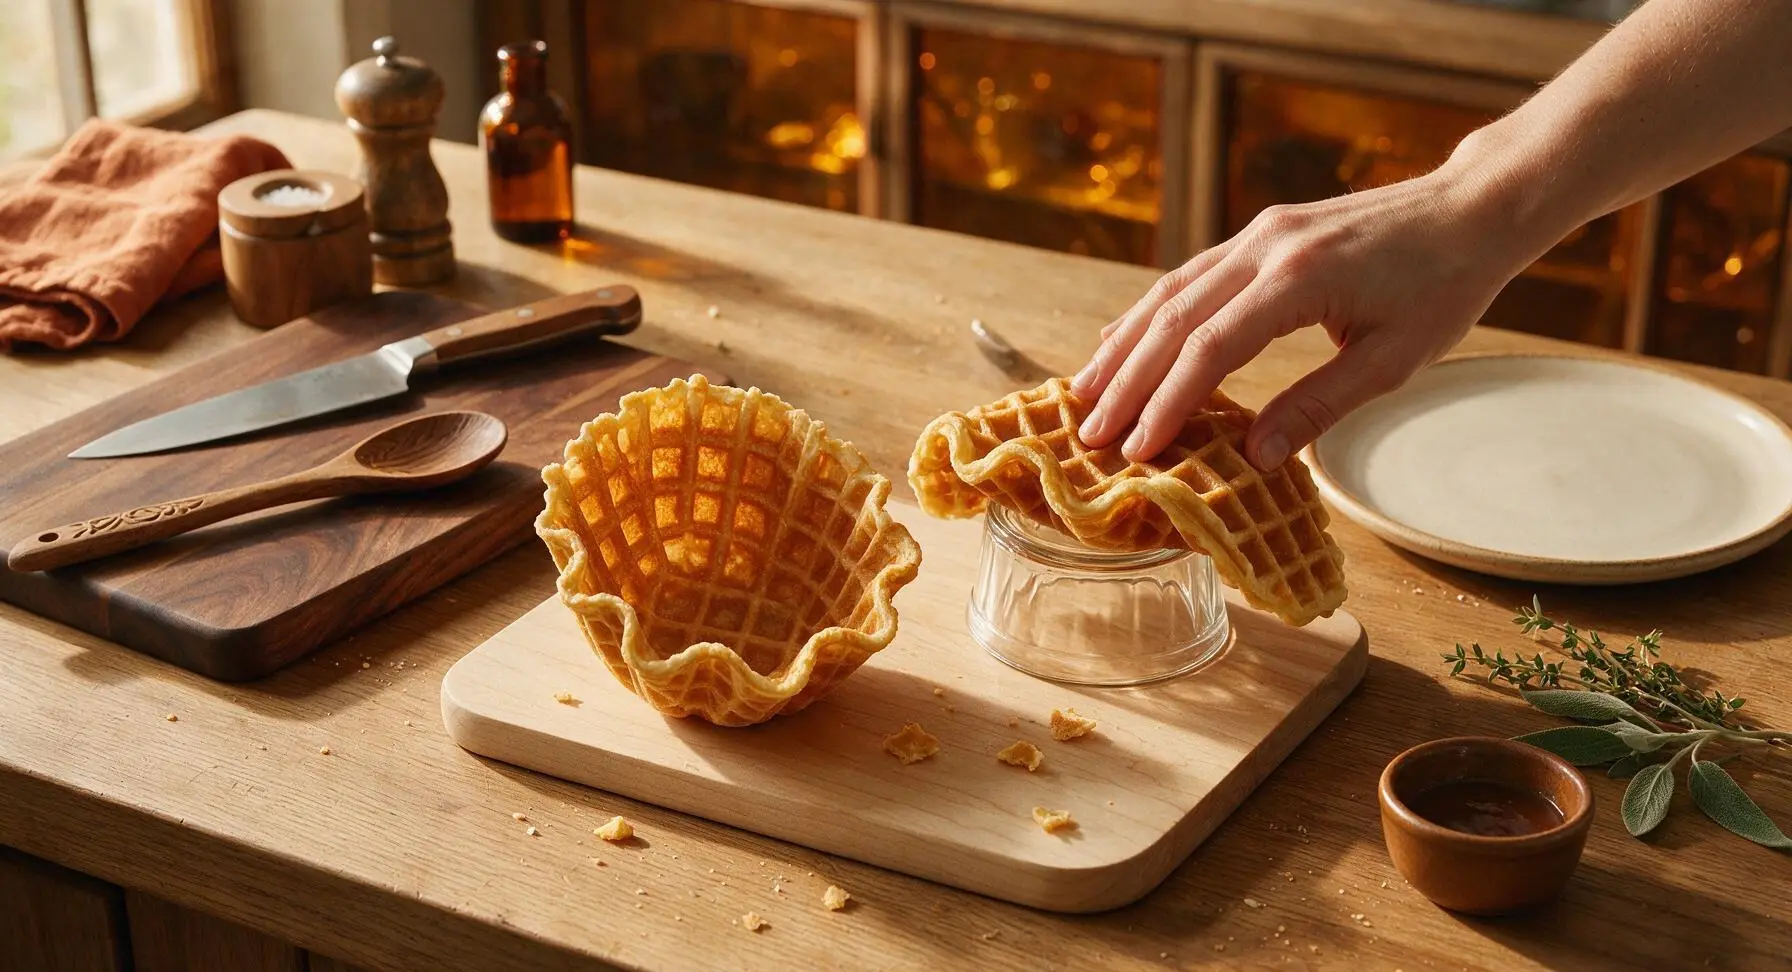
Immediately after removing the hot waffle from the maker, drape it over the upturned 10cm clear glass ramekin, pressing the edges gently down to form a deep, fluted bowl shape. Let the shaped waffle cool completely on the light birch wood trivet for 2 minutes — it will harden into a rigid, crisp bowl as it cools. Repeat the portioning, cooking, and shaping process with all remaining batter to make 4 total waffle bowls.
Step 6
step6:Shape And Cool Bowls
7

Arrange Fillings For Service

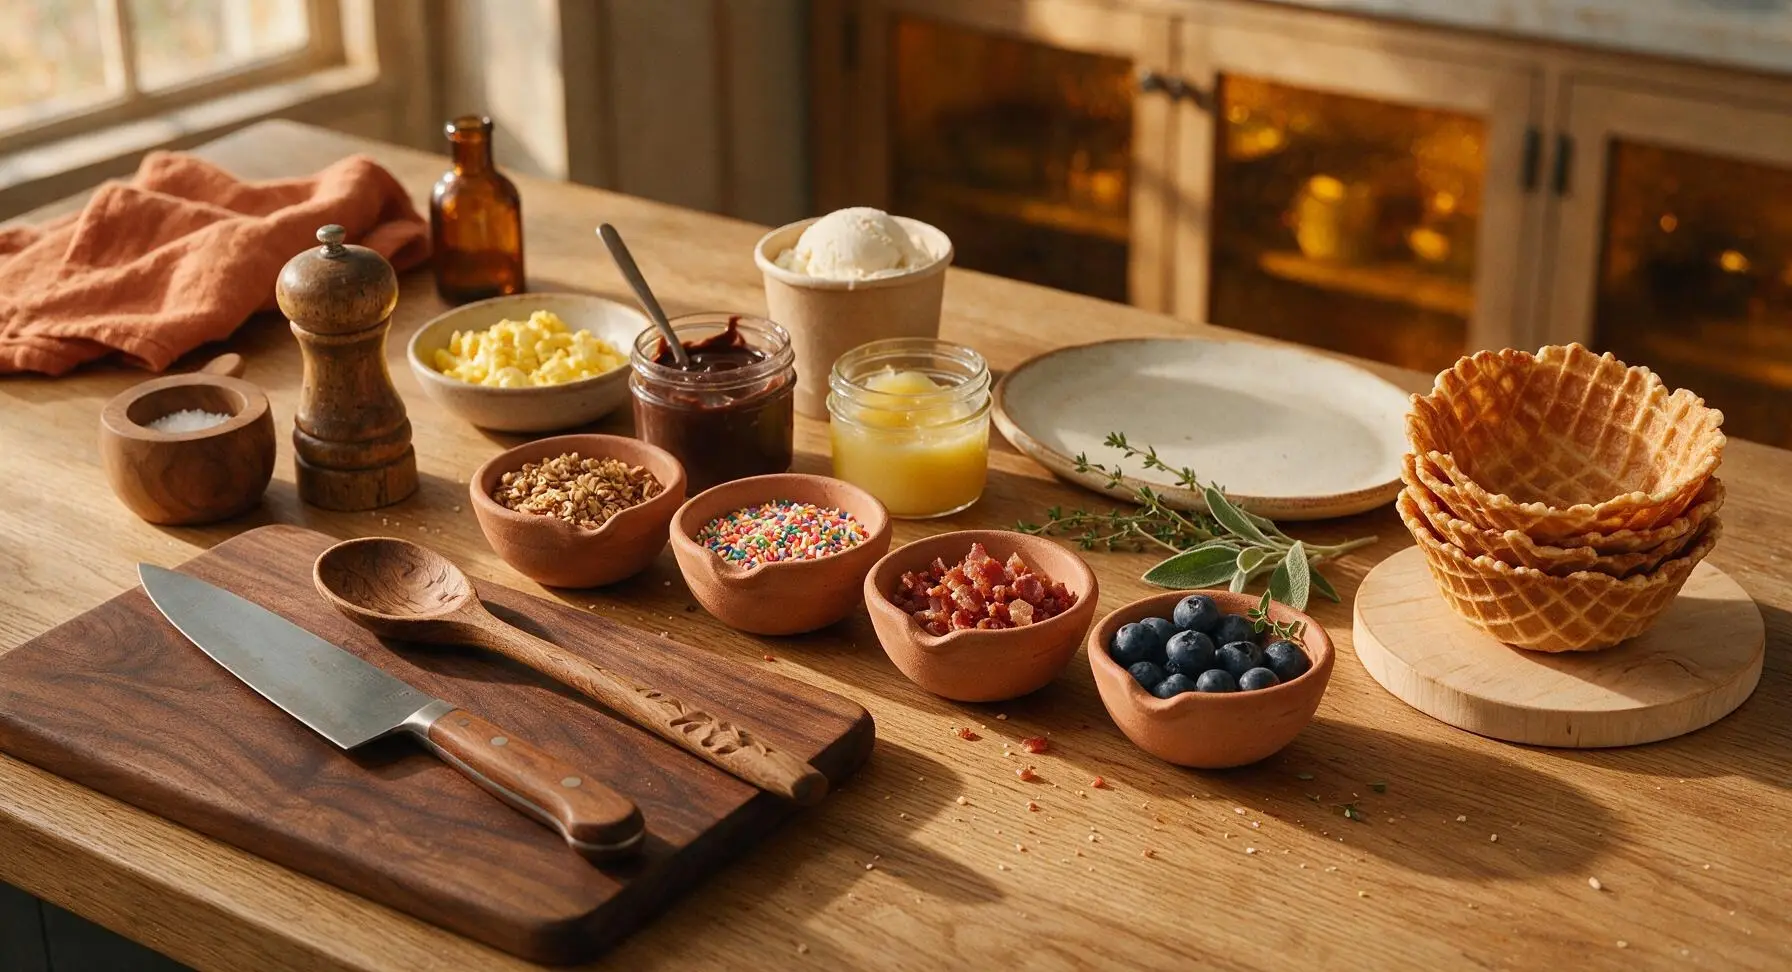
Portion all fillings into small serving dishes for easy, interactive assembly: scoop vanilla ice cream into a chilled bowl, portion Greek yogurt and lemon curd into separate dishes, crumble the cooked crispy bacon, slice fresh strawberries, and set out granola, hot fudge, rainbow sprinkles, and chopped chives within easy reach. This build-your-own setup makes waffle bowls perfect for party service.
Step 7
step7:Arrange Fillings For Service
8

Assemble And Serve

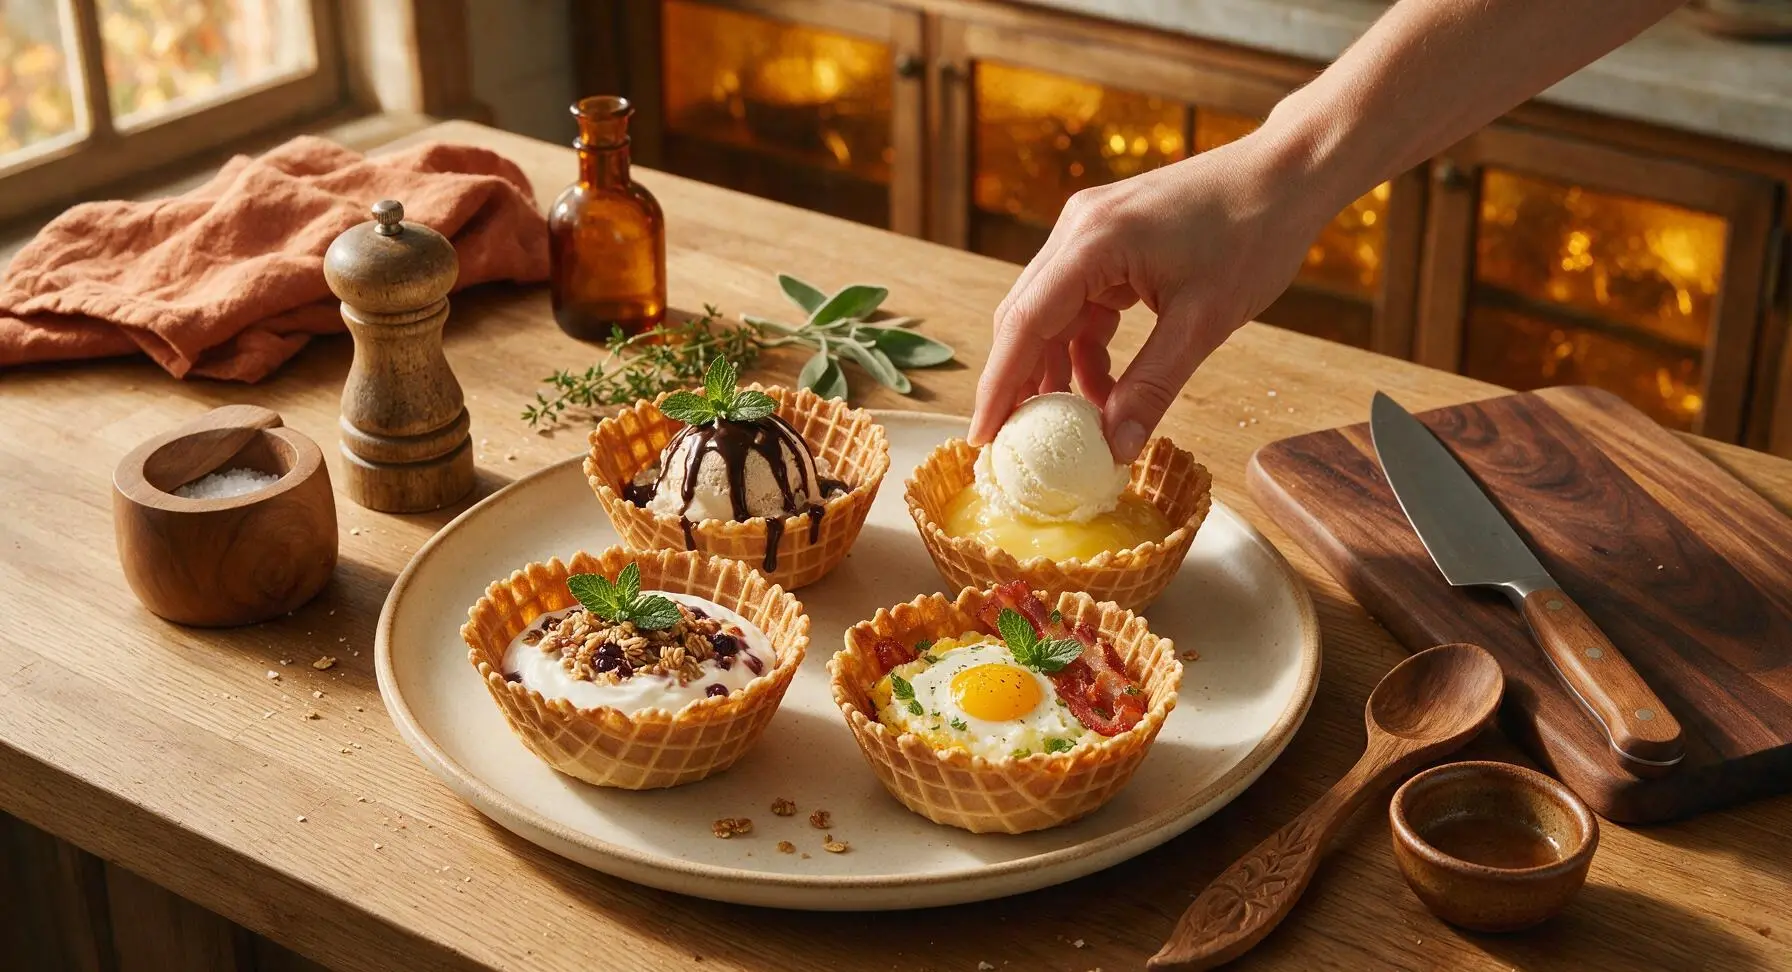
Transfer the cooled, crisp waffle bowls to the matte cream ceramic serving platter. Fill each bowl with a different filling combination to showcase versatile serving ideas: classic ice cream sundae, breakfast yogurt parfait, savory egg and bacon brunch bowl, and bright lemon curd dessert bowl. Garnish with fresh mint sprigs, and serve immediately — waffle bowls will stay crisp for 20 minutes after filling before beginning to soften from moist fillings.
Step 8
step8:Assemble And Serve

Tips

1.Avoid overmixing the batter — stop stirring as soon as dry flour streaks disappear. Overmixing develops gluten in the flour, which leads to tough, chewy waffle bowls instead of the light, shatteringly crisp texture that makes waffle bowls fun to eat.
2.Shape waffles within 30 seconds of removing them from the hot waffle maker. Waffles start to set and crisp rapidly as they cool; waiting too long to shape them will cause them to crack and break when you try to form the bowl curve.
3.For extra sogginess resistance when serving ice cream or other very wet fillings, brush the inside of each cooled waffle bowl with a thin layer of melted dark or white chocolate, and let it set for 5 minutes before adding fillings. The hardened chocolate creates a waterproof barrier that keeps waffles crisp for up to an hour.


✨ You May Also Like

Desserts & Baking
🍜 Italy

Creamy, coffee-kissed classic Northern Italian no-bake dessert, with layers of rum-spiked mascarpone cream, soft ladyfingers, and a rich cocoa dusting.

⏱️ 4 hours 3Desserts & Baking ★ 4.7
Desserts & Baking
🍜 France

Flaky, shatteringly crisp, buttery French croissants with golden exteriors and soft, airy layered interiors, perfect for pairing with coffee for a special morning treat.

⏱️ 12 hours Desserts & Baking ★ 4.5
Desserts & Baking
🍜 United States

Warm, spiced baked apples topped with a fluffy golden biscuit crust, this cozy dessert pairs perfectly with vanilla ice cream for cool-weather comfort.

⏱️ 55 minuteDesserts & Baking ★ 4.6
Desserts & Baking
🍜 United States

A star-spangled classic American blueberry pie with buttery flaky crust and bright sweet-tart filling, perfect for summer patriotic gatherings.

⏱️ 1 hour 25Desserts & Baking ★ 4.7
Desserts & Baking
🍜 United States

A beloved no-bake regional Maine candy with a chewy coconut-potato center coated in rich dark chocolate, a New England holiday staple since the 1870s.

⏱️ 2 hours 3Desserts & Baking ★ 4.8
Desserts & Baking
🍜 France

Luxuriously creamy, floral frozen custard made with aromatic Tahitian vanilla beans, boasting a smooth, rich texture that melts slowly on the tongue.

⏱️ 3 hours 3Desserts & Baking ★ 4.5

waffle bowl recipe ideas:Frequently Asked Questions

1.Do I need a special waffle bowl maker to make these? ▾
You don’t need a fancy dedicated waffle bowl maker, though those work great! A standard 4-inch round regular or Belgian waffle iron works perfectly. Cook waffles until deep golden, then drape them immediately over the bottom of an overturned small heatproof bowl or ramekin, press gently to shape, and let cool fully to set the crisp bowl form.
2.How do I get that signature shatteringly crisp texture instead of soggy bowls? ▾
The biggest secret is avoiding undercooking your waffles! Cook them 30 to 60 seconds longer than you would for soft, breakfast-style waffles, until they’re a deep golden brown all over. Shape them right after removing from the iron, and cool fully on a wire rack instead of a solid plate so trapped steam doesn’t turn them soft.
3.Can I make the waffle bowl batter ahead of time? ▾
You can pre-mix the dry ingredients up to 3 months ahead, stored in an airtight pantry container, but for the best crisp texture, mix in the egg and other wet ingredients right before cooking. If you pre-mix full batter, store it covered in the fridge for up to 12 hours, stir gently before use, and add a tiny splash of milk if it thickens too much.
4.What are the three versatile filling ideas included with the recipe? ▾
The recipe shares three crowd-pleasing, flexible fillings for every occasion: a classic loaded ice cream sundae spread with hot fudge and sprinkles, a savory breakfast bowl with scrambled eggs, crispy bacon, and melted cheese, and a light fresh fruit and Greek yogurt parfait with granola and a drizzle of honey. All are easy to customize for dietary needs.
5.Why do my waffle bowls get soggy right after I add fillings? ▾
This almost always happens when you add very wet fillings too far in advance! For the best texture, set out cooled waffle bowls and fillings separately for a build-your-own spread, so guests add fillings right before eating. For extra protection, brush cooled bowl insides with a thin layer of melted chocolate (sweet) or butter (savory) to make a moisture barrier.
6.Can I make these waffle bowls gluten-free? ▾
Absolutely! Swap the all-purpose flour for a 1:1 gluten-free all-purpose baking blend that contains xanthan gum for the closest texture match to the original recipe. Keep all other ingredient measurements exactly the same, and cook waffles about 45 seconds longer to make sure they set up crisp enough to hold their bowl shape without crumbling.
7.How long do baked, unfilled waffle bowls stay fresh? ▾
Cooled, unfilled waffle bowls stay perfectly crisp for up to 3 days when stored in an airtight container at room temperature, with a small paper towel tucked inside to absorb excess ambient moisture. Don’t store them in the fridge, as its humid air will make them go soft and lose that signature shattery crunch faster than room temp storage.
8.Can I freeze baked waffle bowls to use later? ▾
You can, though you’ll need to re-crisp them before serving. Let baked bowls cool fully, stack them between sheets of parchment paper to prevent sticking, and store in a freezer-safe airtight bag for up to 1 month. When ready to use, warm them in a 300°F oven for 3 to 4 minutes, reshape gently if needed, and cool fully on a rack before filling.
9.What can I use if I don’t have granulated sugar for the batter? ▾
For sweet waffle bowls, swap granulated sugar for an equal measure of light brown sugar for a warmer, caramelized flavor, or use a 1:1 granulated baking sugar substitute. If you’re making strictly savory waffle bowls, you can cut the sugar down to 1 teaspoon just to balance flavor, with no replacement needed.
10.How much batter should I pour to make a sturdy, well-shaped bowl? ▾
Pour about ¼ to ⅓ cup of batter right in the center of your preheated waffle iron, enough that it spreads to within ½ inch of the edges when you close the lid. Don’t overpour, or excess batter will seep out and make thin, floppy edges; too little batter will leave gaps that cause fillings to leak out when serving.
11.My waffles crack when I try to shape them into bowls—what am I doing wrong? ▾
That happens when you wait too long to shape them after pulling them off the waffle iron! Waffles start to set and crisp within 30 seconds of coming off the heat, so have your overturned ramekin or bowl form ready next to the iron. Drape the hot waffle over the form, press gently with a clean towel, and hold 10 seconds to set.
12.Are these waffle bowls sturdy enough for hot fillings like chili or mac and cheese? ▾
They absolutely are, as long as you cook them to that deep golden crisp stage and add a quick moisture barrier. Brush the inside of the cooled bowl with a thin layer of melted, cooled butter, and let it set for 5 minutes before adding hot fillings. They’ll hold up for 10 to 15 minutes of eating time, perfect for party servings.
13.Can I adapt this recipe to make vegan waffle bowls? ▾
Yes, with a couple simple swaps! Replace the large egg with ¼ cup unsweetened applesauce or a flax egg (1 tablespoon ground flax mixed with 3 tablespoons water, left to thicken 5 minutes), and use your preferred plant-based milk to thin batter to the right consistency. Cook waffles a full minute longer for extra crispness, since egg-free batter can be softer.
14.What size bowl or ramekin works best for shaping the waffle bowls? ▾
A standard 6-ounce ramekin or small cereal bowl that measures about 4 inches across the base is the perfect size for individual, easy-to-hold servings. Make sure whatever form you use is heatproof—glass, ceramic, or metal works great, but avoid thin plastic, which can warp from the heat of the freshly cooked waffle as you shape it.
15.Do I need to grease my waffle iron when making these bowls? ▾
If your waffle iron has a reliable non-stick coating, you likely won’t need extra grease, since the small amount of sugar and egg in the batter releases easily once fully cooked. For older irons with worn non-stick, give the plates a light spritz of non-stick cooking spray or brush with a tiny bit of melted butter before pouring each batch to prevent sticking.
16.What fun mix-ins can I add to the batter for extra flavor? ▾
For sweet waffle bowls, stir in ½ teaspoon ground cinnamon, 1 teaspoon vanilla extract, or 2 tablespoons mini chocolate chips to the batter. For savory versions, try adding 2 tablespoons shredded sharp cheddar, 1 teaspoon dried Italian herbs, or a pinch of smoked paprika to the dry mix for extra depth that pairs perfectly with hearty fillings.

Comments (4)

3 days ago

OMG these waffle bowls are an absolute game changer for our weekly ice cream nights! I was so worried they’d be soggy or fall apart but they stayed crispy for *hours* even loaded up with mint chocolate chip and hot fudge. My kids went absolutely nuts for them, even my picky 7 year old asked for seconds. Already planning to make a big batch for our neighborhood block party next weekend! Quick question—has anyone tried making these gluten free with a 1:1 baking flour blend?

2 days ago

I tried it last week with Bob’s Red Mill 1:1 GF blend and it worked perfectly! I added a tiny extra pinch of xanthan gum just to be safe, and they were just as crispy as the regular flour version. My celiac teen was over the moon to have a homemade waffle bowl that didn’t taste like cardboard 😂

yesterday

So glad your family loves them! Jen’s GF tip is spot on—if you’re using a 1:1 blend without added xanthan gum, that extra 1/8 tsp per cup of flour makes all the difference. Pro tip for your block party: make the bowls a day ahead and store them in an airtight container at room temp, they stay perfectly crispy!

1 week ago

SO good, y’all. I grabbed a cheap waffle cone maker off Facebook Marketplace last month and had no clue I could make bowls with it until I saw this recipe. Cook time was exactly 15 minutes like it says, super easy even for a guy who burns toast half the time. I used the salted caramel pretzel filling idea for my fantasy football watch party last Sunday and every single guy asked for the recipe. Total win.

5 days ago

Love that you repurposed that waffle maker for these! The salted caramel pretzel filling is one of our go-tos for game day too—so glad it was a hit with your crew. Next time try tossing a handful of chopped peanuts in the waffle batter for extra crunch, it pairs so well with that caramel filling!

yesterday

These turned out really great! The only tiny issue I had was getting the shape right when I pulled them off the waffle iron—my first two looked a little lopsided before I got the hang of molding them over the back of a muffin tin. The lemon berry cheesecake filling idea is *chef’s kiss* though, I brought a batch to my book club potluck and everyone raved. Would 100% make again.

2 hours ago

Oh the muffin tin trick is genius! I was trying to shape mine freehand last time and they kept cracking, I’m definitely stealing that hack for my next batch. So excited to try the lemon berry filling, that sounds perfect for summer!

5 minutes ago

Just pulled my first batch out and oh my gosh my apartment smells like a state fair waffle stand! I was planning to save these for brunch tomorrow but I just ate one plain standing over the counter oops. The recipe is so straightforward even a total beginner like me didn’t mess it up—can’t wait to try the chocolate peanut butter filling idea later this week. 10/10, no notes.



