
waffle cone filling ideas

title 1
waffle cone filling ideas

⏱️ cook time 5 minutes
🍽️ servings 8
⚡ Difficulty easy

intro

Crisp, buttery waffle cones filled with 4 easy, creamy no-bake fillings, perfect for summer celebrations, with customizable toppings to please every guest.

Ingredients
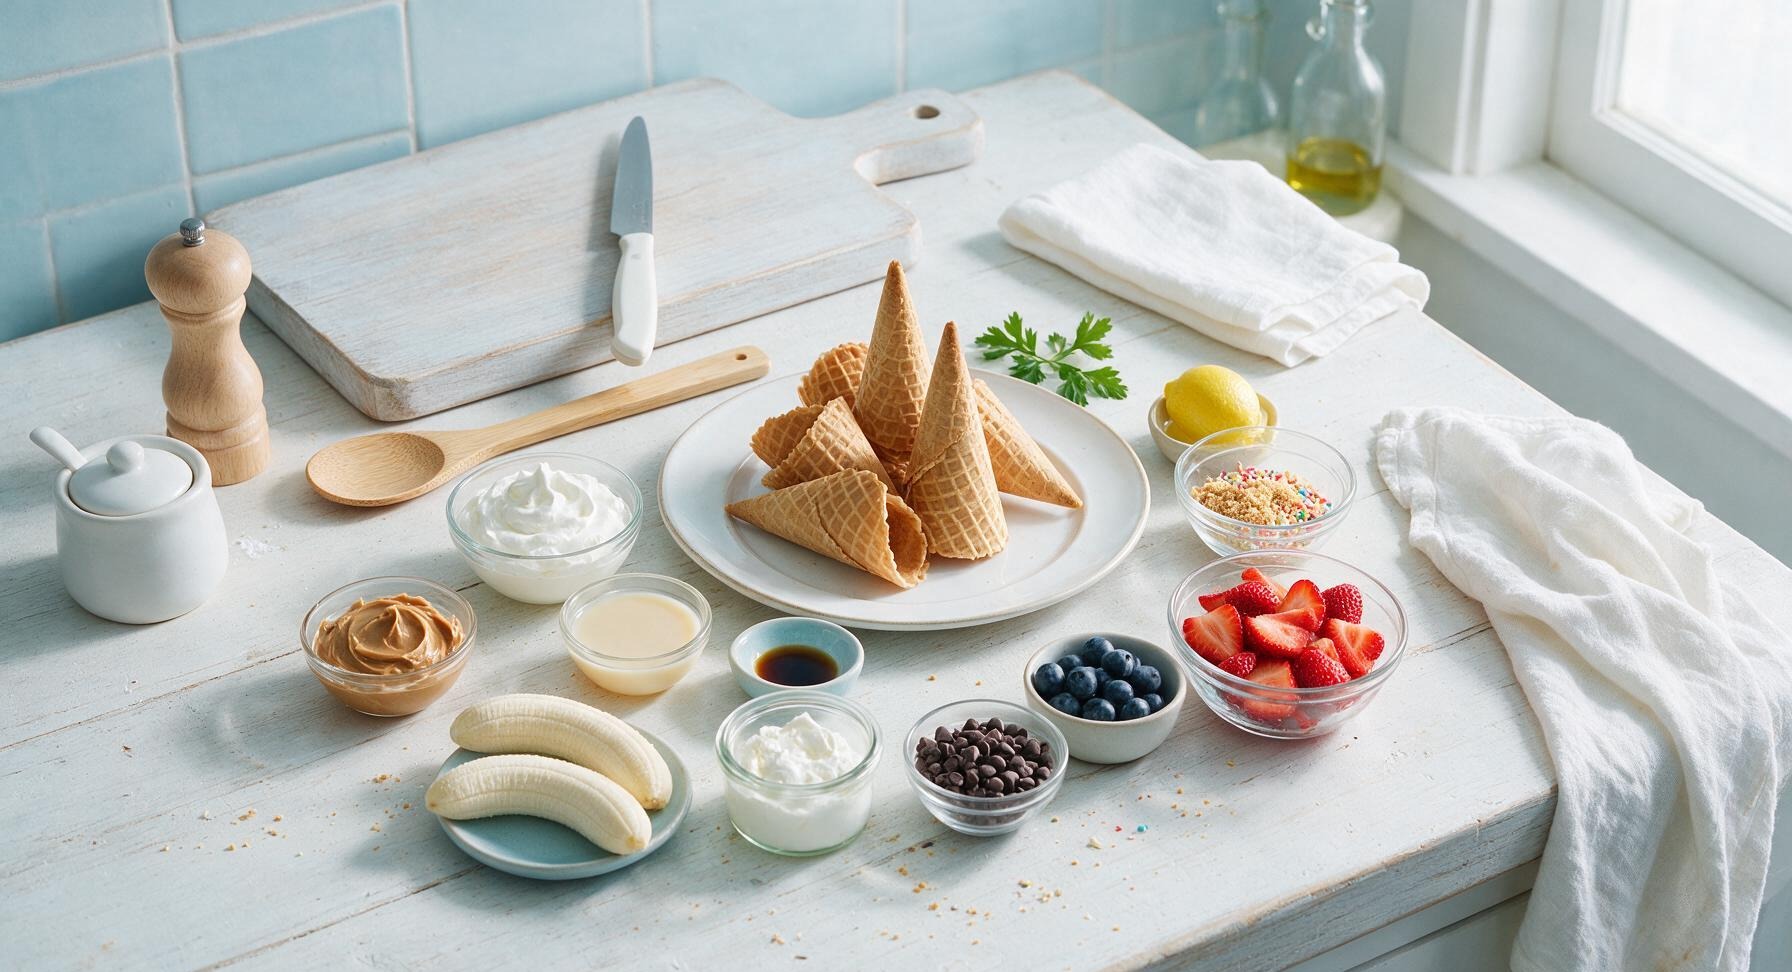
Crisp waffle cones 8 count
Heavy whipping cream 1 cup (240ml)
Sweetened condensed milk ½ cup (120ml)
Pure vanilla extract 1 tsp
Creamy peanut butter ½ cup (130g)
Ripe bananas 2 medium (200g, peeled)
Whole milk ricotta cheese ½ cup (120g)
Fresh lemon 1 medium (zest + 1 tsp juice)
Marshmallow fluff ½ cup (130g)
Dark chocolate chips ¼ cup (45g)
Graham cracker crumbs ¼ cup (30g)
Rainbow jimmie sprinkles ¼ cup (40g)
Fresh blueberries ½ cup (75g)
Fresh strawberries 1 cup (150g, hulled and sliced)

Steps

1

Chill Whipping Tools

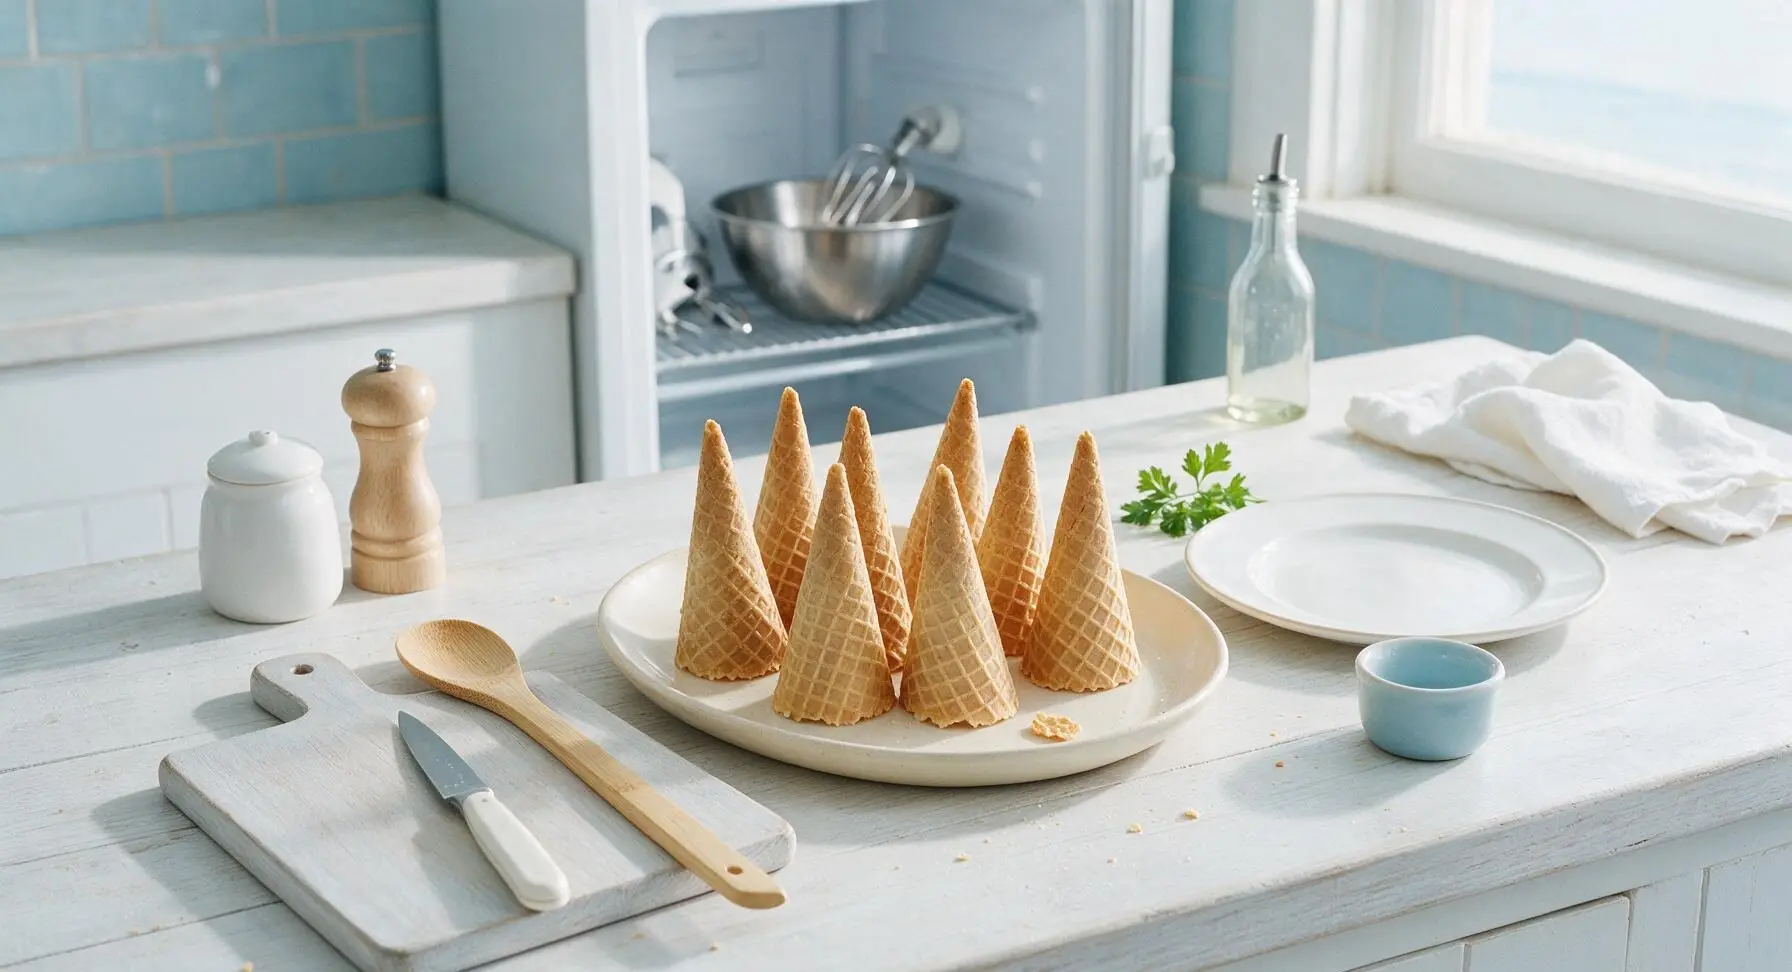
Place the 2-quart stainless steel mixing bowl and electric mixer beaters in the freezer for 10 minutes to chill, which helps heavy cream whip faster and hold stiffer peaks without separating. While tools chill, arrange 8 waffle cones upright in the matte cream ceramic platter, leaning them gently against each other so they do not tip during filling.
Step 1
step1:Chill Whipping Tools
2

Whip Cream Base

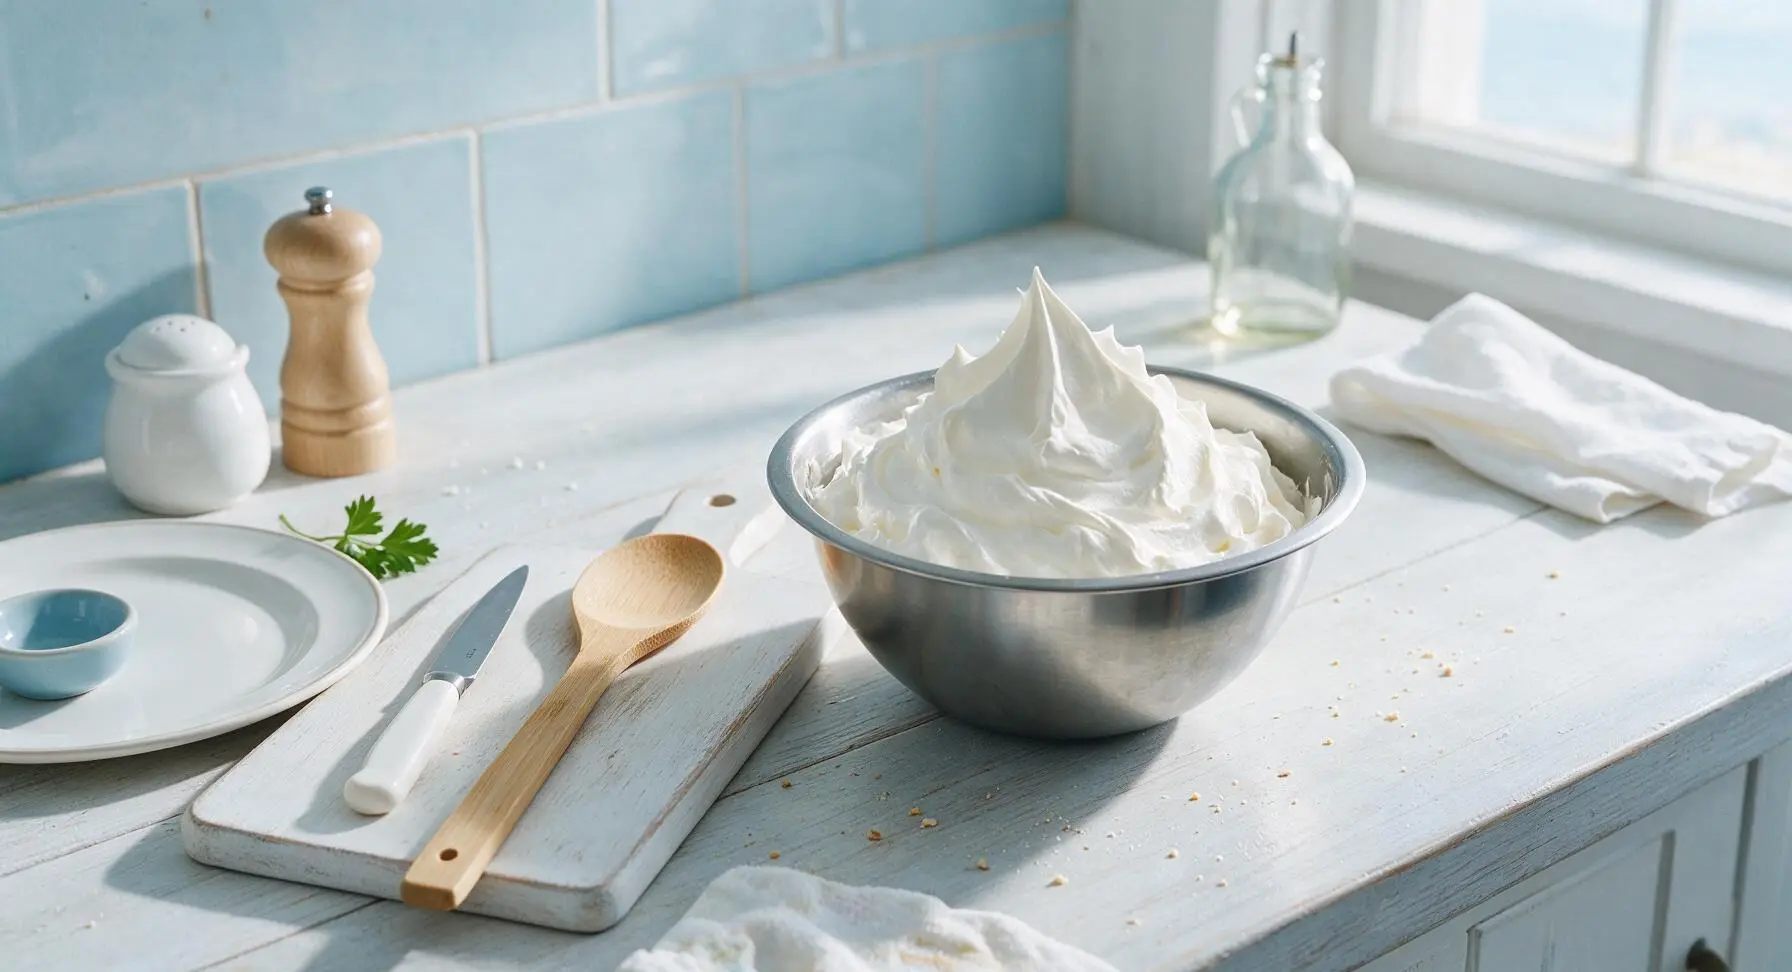
Remove the chilled bowl and beaters from the freezer. Pour 1 cup cold heavy whipping cream and 1 tsp vanilla extract into the bowl. Whip on medium speed for 2-3 minutes, until stiff, billowy peaks form that hold their shape when the beater is lifted. Do not overwhip, as this will cause the cream to curdle into butter.

Step 2
step2:Whip Cream Base
Step 2
step2:Whip Cream Base
3

Divide Cream Base

Scoop exactly ⅓ of the whipped cream into each of the three clear glass prep bowls using the stainless steel ice cream scoop, leaving the remaining ⅓ of whipped cream in the original mixing bowl. This creates four equal portions for the four distinct waffle cone fillings.

Step 3
step3:Divide Cream Base
4

Mix Vanilla Filling

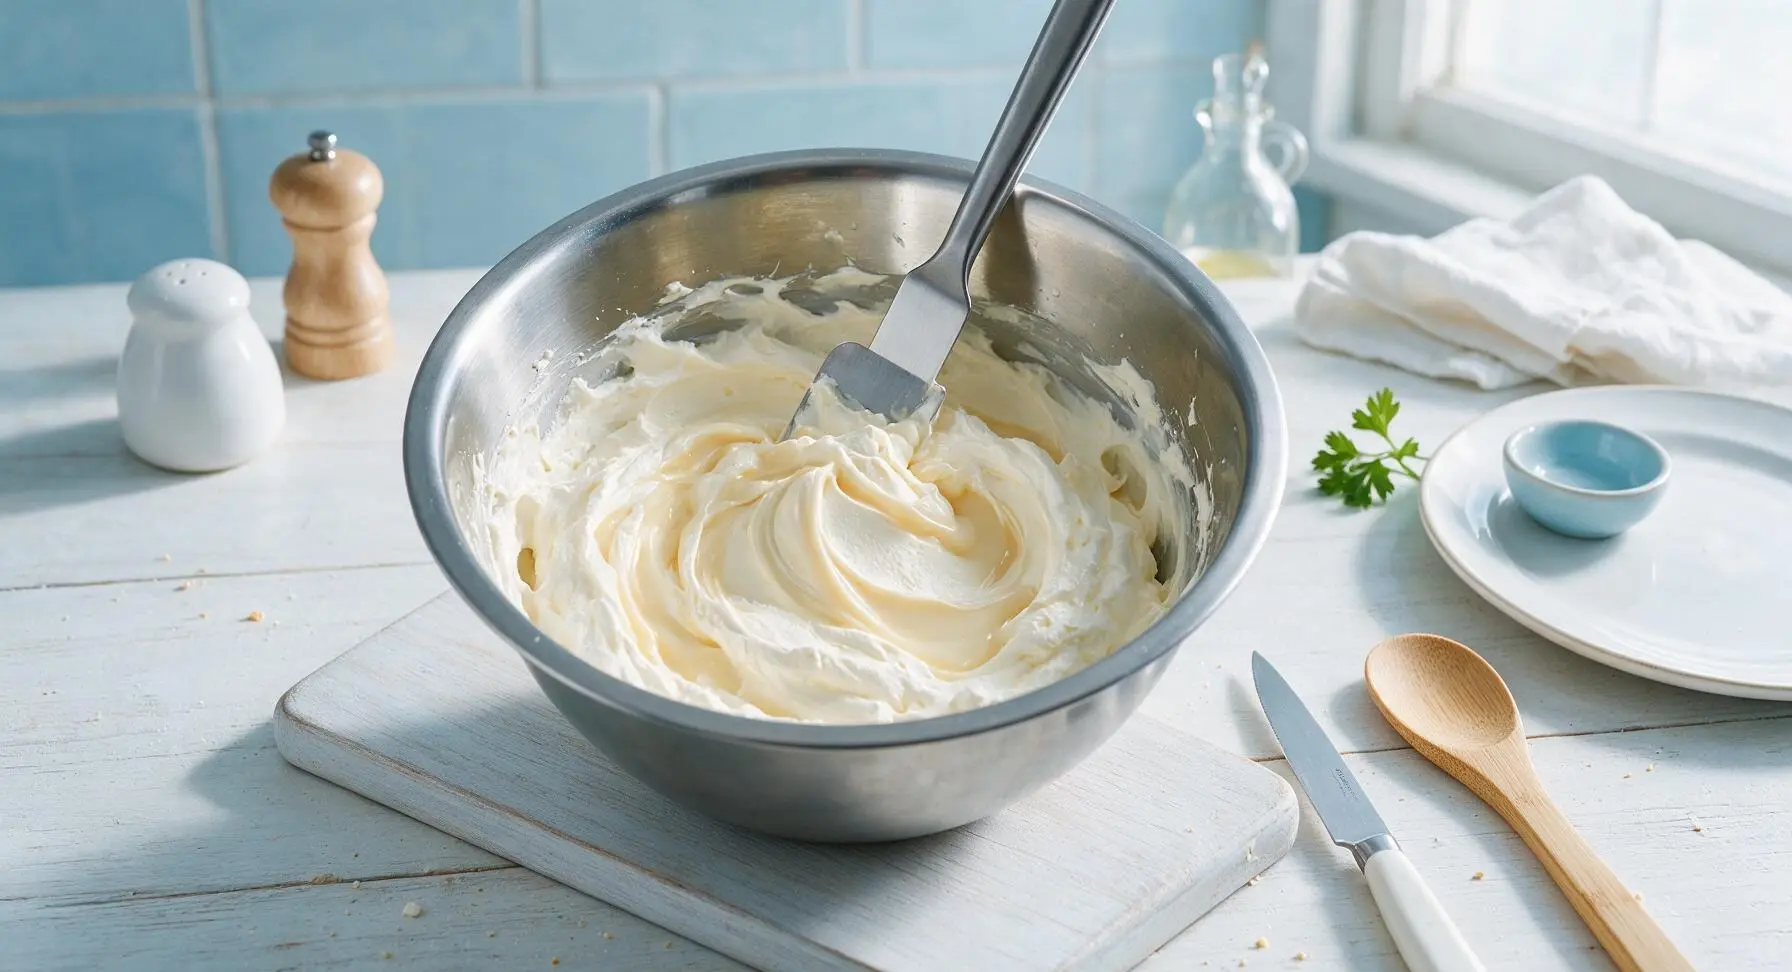
Fold ¼ cup sweetened condensed milk into the reserved whipped cream in the stainless steel mixing bowl using the offset spatula, turning gently to keep the cream light and airy. Do not stir vigorously, as this will deflate the cream. Once fully combined, set the bowl in the refrigerator to keep cold until ready to fill cones.
Step 4
step4:Mix Vanilla Filling
5

Make S'mores Filling

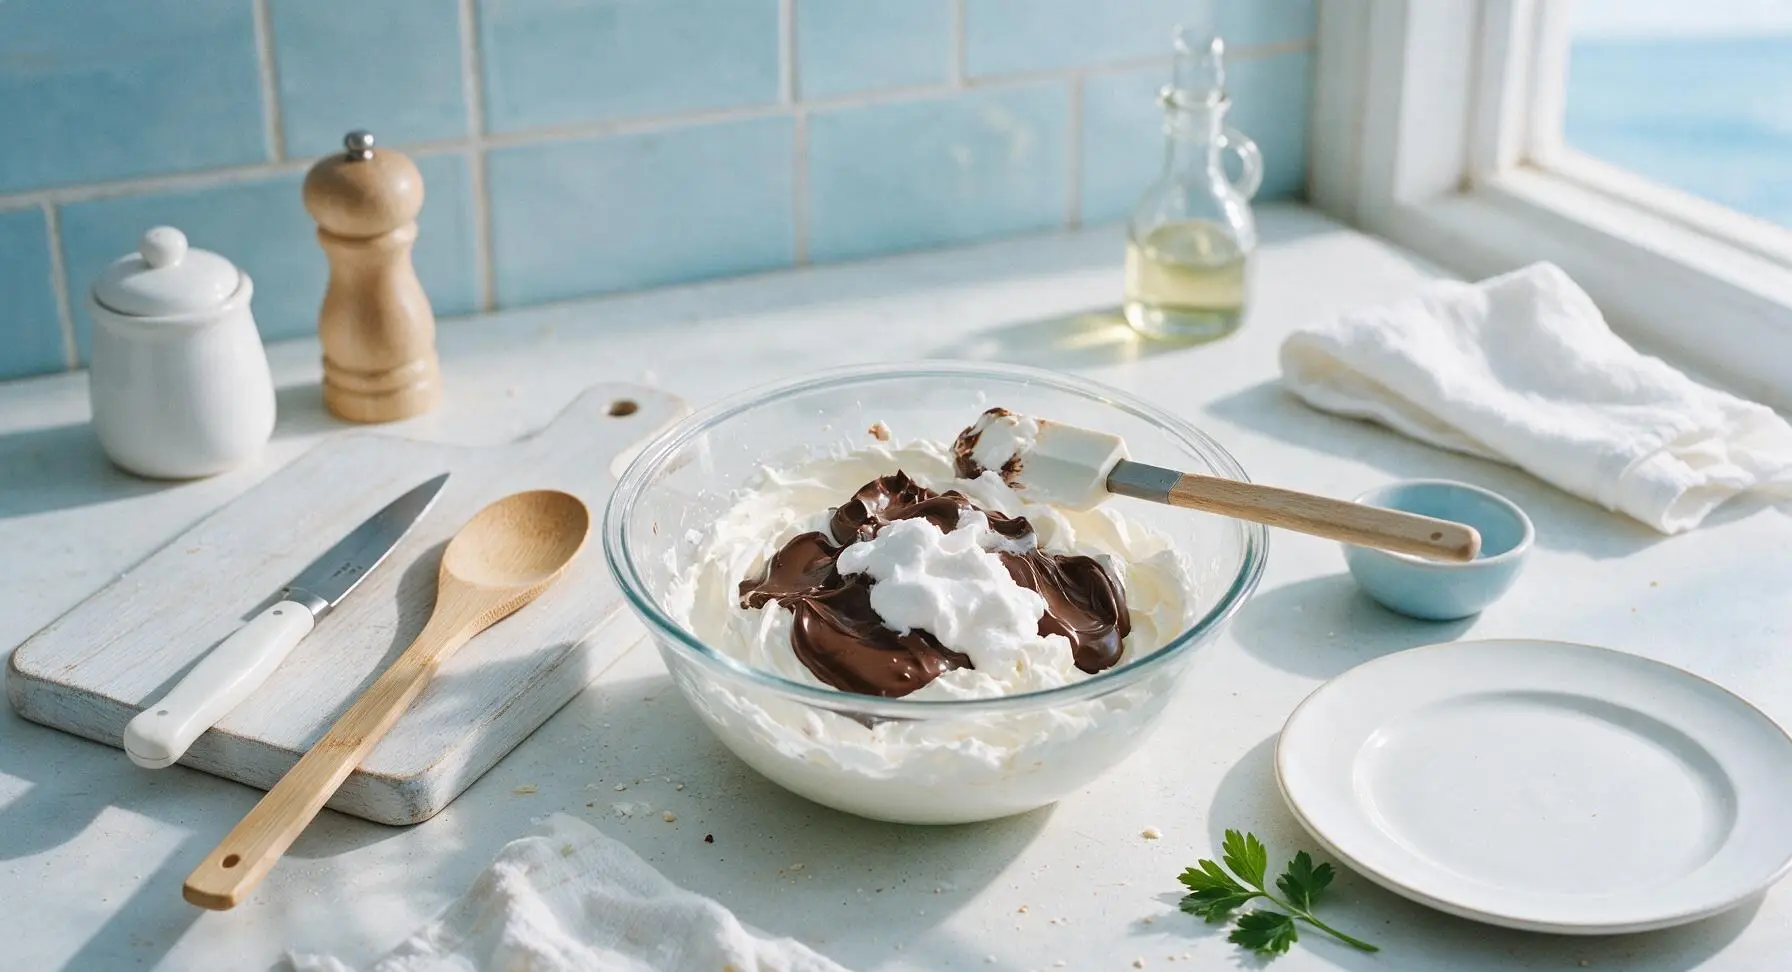
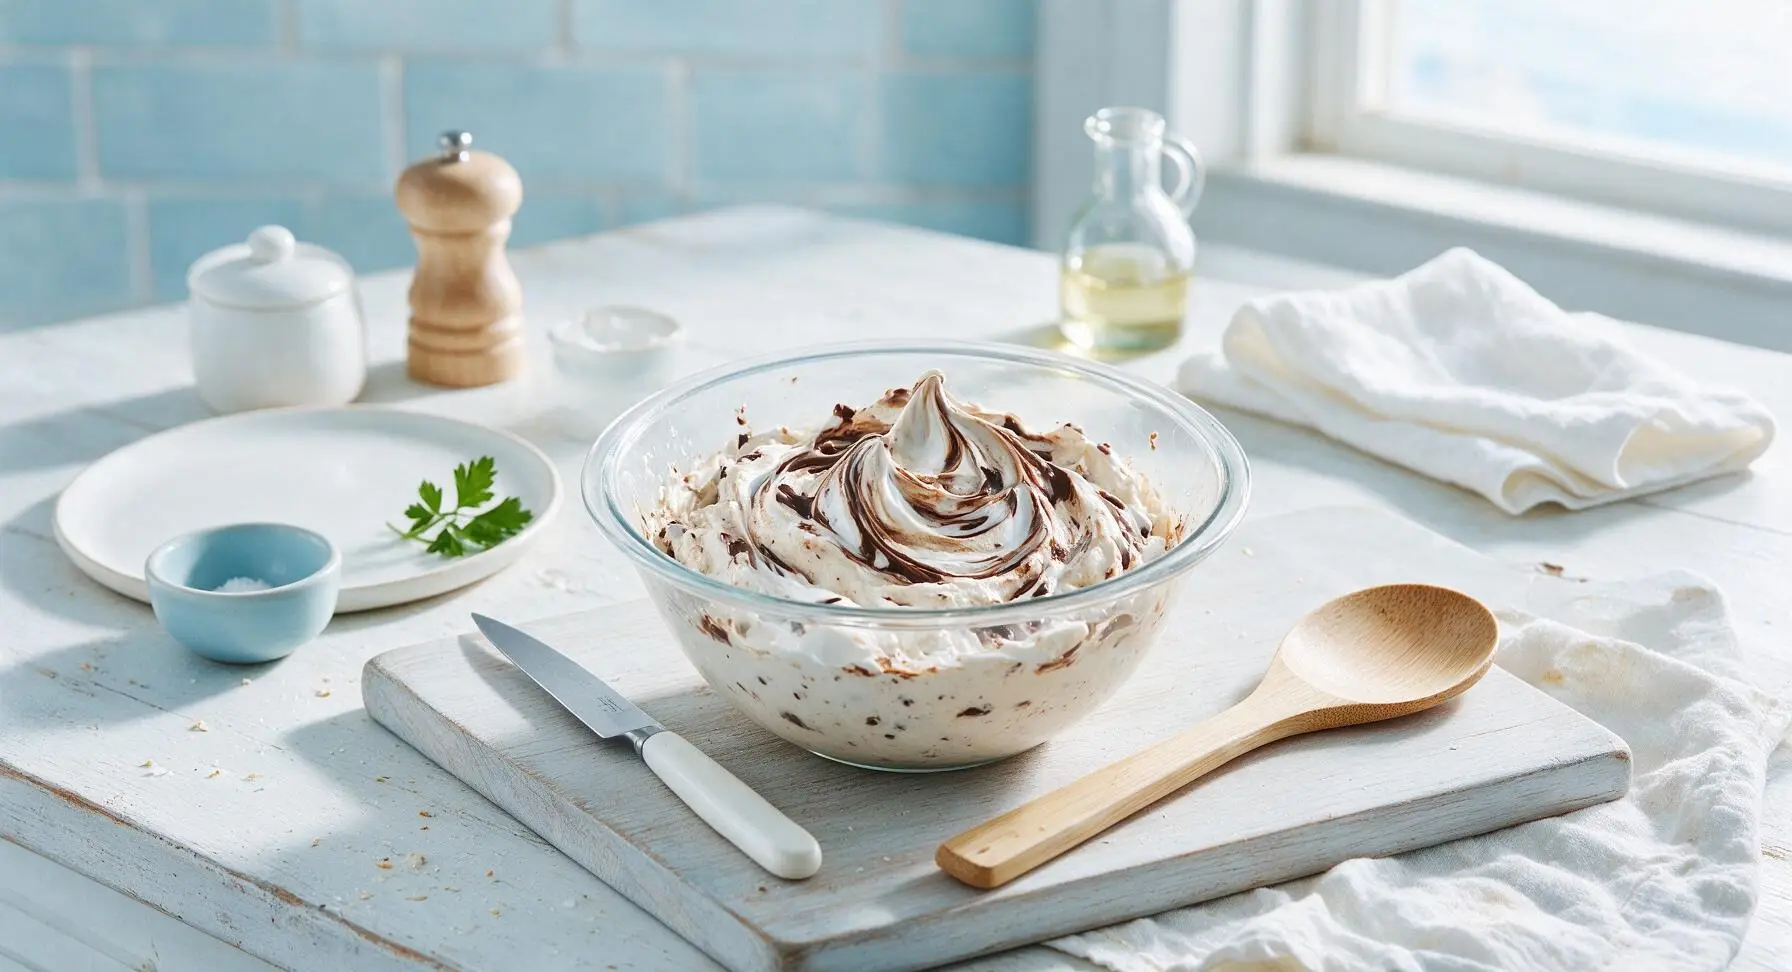
Microwave ¼ cup dark chocolate chips in 15-second bursts, stirring between each, until fully melted and smooth (about 45 seconds total). Let cool 2 minutes, then fold into the first prep bowl of whipped cream along with ¼ cup marshmallow fluff, leaving subtle streaks of fluff and chocolate for a marbled effect. Set aside.
Step 5
step5:Make S'mores Filling
Step 5
step5:Make S'mores Filling
6

Mix Lemon Ricotta Filling

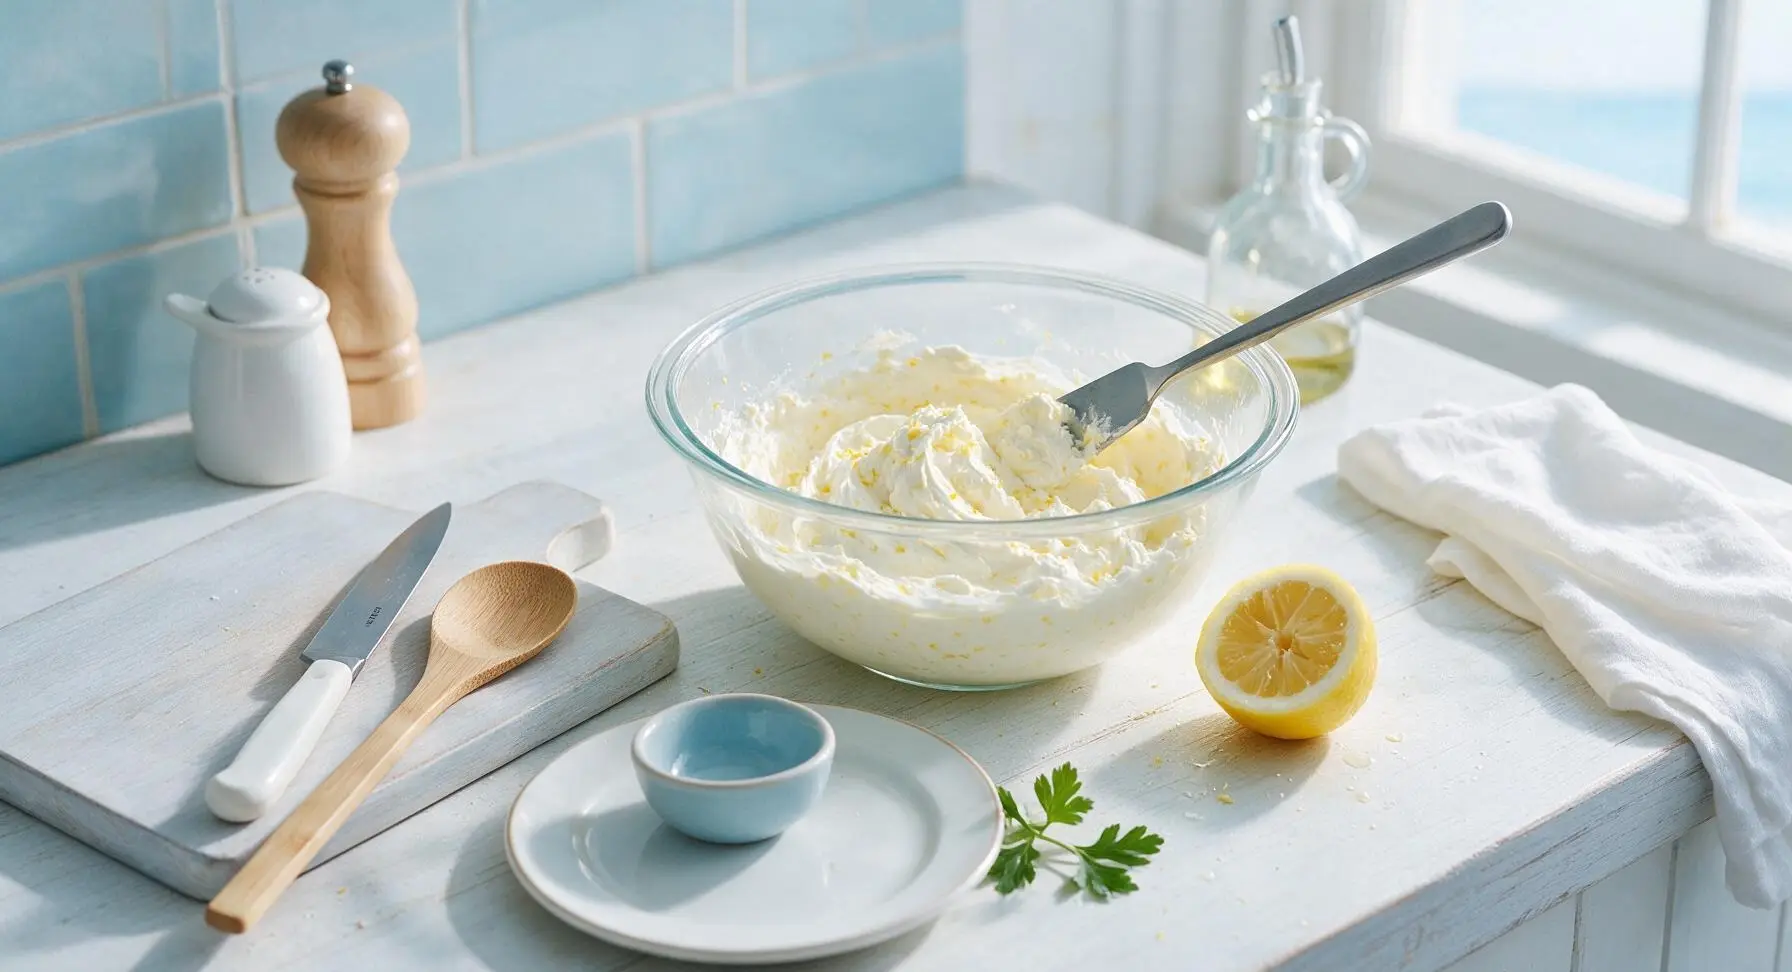
Stir ½ cup whole milk ricotta, 1 tbsp fresh lemon zest, and 1 tsp fresh lemon juice into the second prep bowl of whipped cream, folding gently with the offset spatula until just combined. The filling should be light, pale yellow, with a bright citrus scent. Avoid overmixing to keep the texture fluffy.
Step 6
step6:Mix Lemon Ricotta Filling
7

Make Peanut Butter Banana Filling

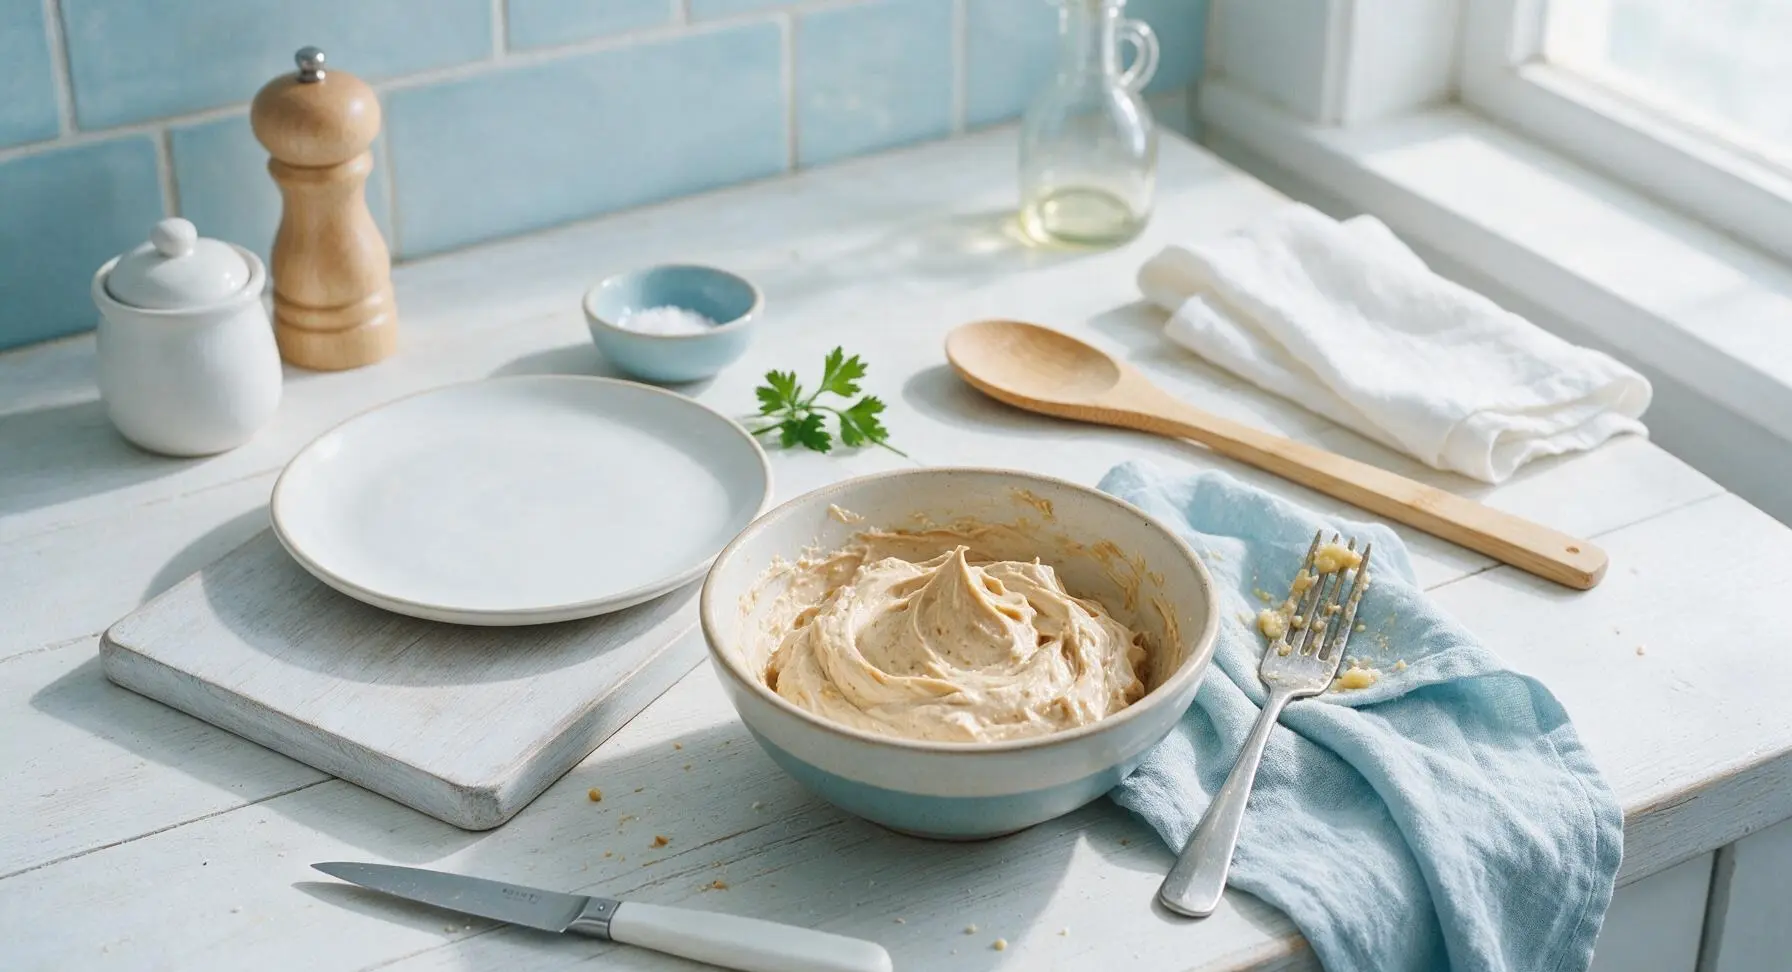
Mash 2 ripe bananas with a fork until smooth, then stir in ½ cup creamy peanut butter until fully combined. Fold the peanut butter banana mixture into the third prep bowl of whipped cream, mixing gently to create a light tan, fluffy mousse. Discard any tough banana strings for a smooth texture.
Step 7
step7:Make Peanut Butter Banana Filling
8

Fill and Top Cones

Using the ice cream scoop, fill each waffle cone ¾ full with one of the four fillings, 2 cones per flavor. Top vanilla cones by rolling the exposed cream edge in rainbow sprinkles, s'mores cones with a light sprinkle of graham cracker crumbs, lemon ricotta cones with fresh blueberries, and peanut butter banana cones with sliced strawberries and a thin drizzle of leftover melted chocolate. Let chill 5 minutes before serving to set slightly.
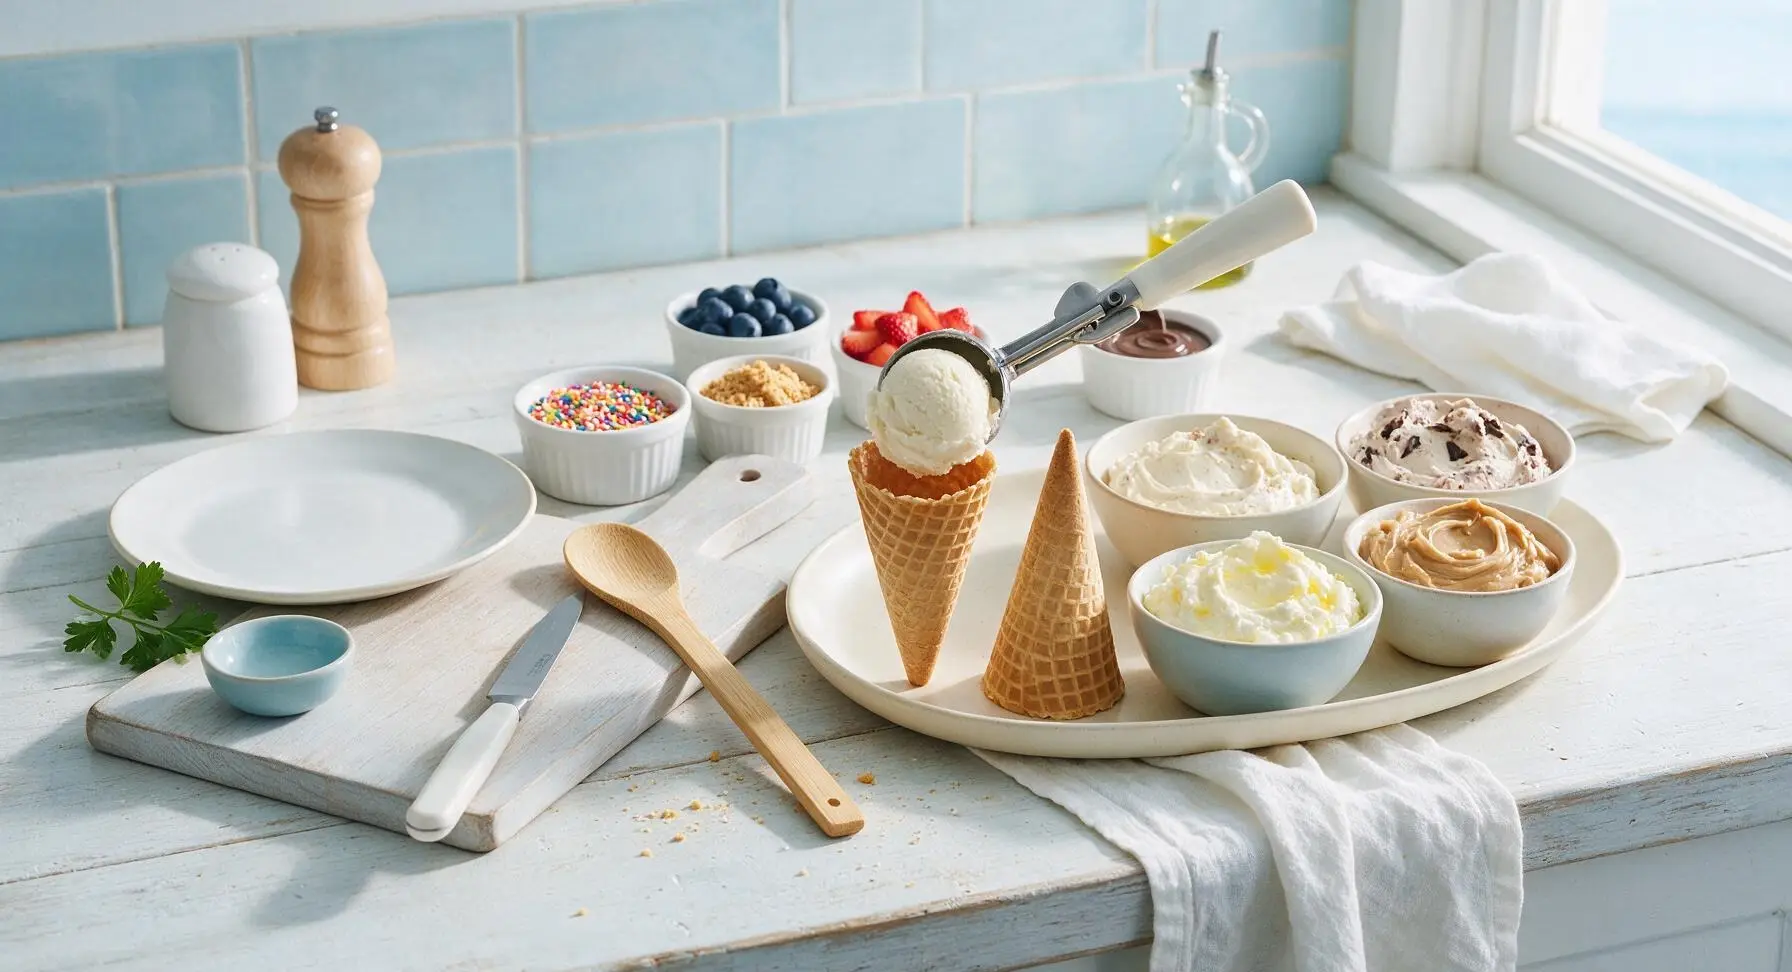

Step 8
step8:Fill and Top Cones
Step 8
step8:Fill and Top Cones

Tips

1.Seal the inside tip of each waffle cone with a ¼-teaspoon dollop of melted chocolate before adding filling to prevent slow leaks as creamy fillings soften, a critical step for outdoor summer events where warm temperatures speed up melting.
2.For extra nutty flavor and sturdier cones, toast empty waffle cones on a baking sheet in a 350°F (175°C) oven for 3 minutes before filling; the dry heat crisps the cone surface and creates a moisture barrier to prevent sogginess from creamy fillings.
3.Prep fillings up to 24 hours in advance and store in sealed airtight containers in the refrigerator, but wait to fill cones until 30 minutes before serving; extended contact between moist fillings and crisp waffles will turn cones soft and soggy.


✨ You May Also Like

Desserts & Baking
🍜 Italy

Creamy, coffee-kissed classic Northern Italian no-bake dessert, with layers of rum-spiked mascarpone cream, soft ladyfingers, and a rich cocoa dusting.

⏱️ 4 hours 3Desserts & Baking ★ 4.7
Desserts & Baking
🍜 France

Flaky, shatteringly crisp, buttery French croissants with golden exteriors and soft, airy layered interiors, perfect for pairing with coffee for a special morning treat.

⏱️ 12 hours Desserts & Baking ★ 4.5
Desserts & Baking
🍜 United States

Warm, spiced baked apples topped with a fluffy golden biscuit crust, this cozy dessert pairs perfectly with vanilla ice cream for cool-weather comfort.

⏱️ 55 minuteDesserts & Baking ★ 4.6
Desserts & Baking
🍜 United States

A star-spangled classic American blueberry pie with buttery flaky crust and bright sweet-tart filling, perfect for summer patriotic gatherings.

⏱️ 1 hour 25Desserts & Baking ★ 4.7
Desserts & Baking
🍜 United States

A beloved no-bake regional Maine candy with a chewy coconut-potato center coated in rich dark chocolate, a New England holiday staple since the 1870s.

⏱️ 2 hours 3Desserts & Baking ★ 4.8
Desserts & Baking
🍜 France

Luxuriously creamy, floral frozen custard made with aromatic Tahitian vanilla beans, boasting a smooth, rich texture that melts slowly on the tongue.

⏱️ 3 hours 3Desserts & Baking ★ 4.5

waffle cone filling ideas:Frequently Asked Questions

1.Do I need any special equipment to make these no-bake waffle cone fillings? ▾
Nope, no fancy gear required! All you’ll need is a large mixing bowl, electric hand mixer (or a sturdy whisk and some arm strength), measuring cups, and a rubber spatula to fold ingredients together. You won’t need an oven, ice cream maker, or specialty pastry tools—even a simple spoon works to scoop fillings into cones for casual serving.
2.How far in advance can I fill waffle cones before they get soggy? ▾
For the crispiest results, fill your waffle cones no more than 30 to 45 minutes before serving if you’re setting them out for a party. If you want to prep ahead, store the fillings separately in airtight containers in the fridge for up to 3 days, and scoop into cones right before guests arrive to keep that signature buttery crunch.
3.Can I make these fillings dairy-free for guests with allergies? ▾
Absolutely! Swap the heavy whipping cream for full-fat canned coconut cream (chilled overnight, skimmed of watery liquid) and use dairy-free sweetened condensed coconut milk in place of the regular version. For the peanut butter filling, make sure your peanut butter is made without added dairy, and use certified gluten-free waffle cones if needed for other dietary restrictions.
4.What are the four fillings included in this easy recipe? ▾
The four simple, no-bake fillings are built from one shared creamy base to cut down on prep work: a classic fluffy vanilla cream, a rich creamy peanut butter swirl, a sweet cookies-and-cream twist made with crushed chocolate sandwich cookies, and a cozy chocolate chip-studded cookie dough-inspired filling that feels like an indulgent summer treat.
5.Can I use store-bought waffle cones instead of making them from scratch? ▾
100% you can! This recipe is designed for low-effort summer hosting, so high-quality store-bought crisp, buttery waffle cones work perfectly. Just look for cones that are intact with no cracks down the sides to prevent fillings from leaking out, and give them a quick 2-minute toast in a 300°F oven for extra crunch if they feel a little stale.
6.How do I keep filled cones from tipping over when I set them out for a party? ▾
It’s easier than you think! Grab a deep baking dish or disposable aluminum catering tray, and fill the bottom with a 2-inch layer of dry, uncooked rice, dried beans, or even colorful sprinkles. Nestle the pointed end of each cone into the layer to hold them upright, and you’ll have a cute, stable serving display that takes 2 minutes to put together.
7.Is the peanut butter filling safe for people with nut allergies? ▾
The classic peanut butter filling contains peanut ingredients, so it is not safe for guests with peanut or tree nut allergies. The good news is you can easily swap the peanut butter for sunflower seed butter, soy nut butter, or even spiced cookie butter to make a nut-free version that tastes just as rich and creamy without the allergen risk.
8.Do these fillings stay firm enough at outdoor summer parties? ▾
Since the fillings are made with stabilized whipped cream (mixed with sweetened condensed milk, which helps it hold shape), they’ll stay firm for 1 to 2 hours at outdoor temperatures up to 80°F. If you’re hosting in extra-hot weather over 90°F, set the serving tray on a bed of crushed ice to keep fillings creamy without messy drips.
9.What kind of toppings work best with these waffle cone fillings? ▾
The options are totally customizable to please every guest! Great go-to toppings include mini chocolate chips, crushed pretzels, rainbow or chocolate sprinkles, chopped fresh strawberries, toasted coconut flakes, a drizzle of hot fudge or caramel, chopped roasted peanuts, and even tiny waffle cone pieces for extra crunch. Set up a toppings bar for guests to build their own!
10.Can I add mix-ins directly to the fillings instead of just using them as toppings? ▾
Definitely! Fold ¼ to ½ cup of your favorite mix-ins right into the prepared cream base before filling cones. Try crushed candies, mini marshmallows, mini chocolate chips, chopped roasted nuts, or freeze-dried fruit for extra flavor—just avoid adding very juicy fresh fruit directly to the filling, as it can make the mixture runny and sog out cones.
11.Why is my whipped cream filling coming out runny instead of light and fluffy? ▾
Runny filling almost always traces back to warm cream or equipment. For the fluffiest results, chill your heavy whipping cream, mixing bowl, and beaters in the freezer for 10 to 15 minutes before whipping, and don’t overwhip once you reach stiff, billowy peaks. If your mixture turns runny, pop it in the fridge for 20 minutes then give it a gentle re-whip.
12.Can I make a lower-sugar version of these waffle cone fillings? ▾
You can easily cut back on added sugar without losing that signature creamy texture. Use reduced-sugar sweetened condensed milk, or swap ⅓ of the sweetened condensed milk for plain Greek yogurt to add a subtle tang and cut total sugar. For the peanut butter filling, use no-added-sugar creamy peanut butter, and top with fresh fruit instead of candy.
13.How long will leftover pre-made fillings stay fresh in the refrigerator? ▾
Stored in a tightly sealed, airtight container with a piece of plastic wrap pressed directly to the surface of the filling to prevent a thick skin from forming, each of the four fillings will stay fresh and creamy for 3 to 4 days in the refrigerator. Give the filling a quick, gentle stir with a spoon before scooping to restore its fluffy texture if it separates slightly.
14.Can I use these creamy fillings for other treats besides waffle cones? ▾
Absolutely! These versatile no-bake fillings work great as a quick pie filling in a graham cracker crust, as a sweet dip for fresh fruit and pretzels, as a filling for whoopie pies, or even layered in small dessert cups with crumbled cookies for individual parfaits. The vanilla base is extremely adaptable for all kinds of easy summer treats.
15.Do I have to use pure vanilla extract, or is imitation vanilla okay to use? ▾
Pure vanilla extract gives the fillings a richer, more complex, warm vanilla flavor that tastes much better than artificial imitation vanilla, but imitation vanilla will work just fine if that’s what you have on hand. Use 1.5 times the amount of imitation vanilla if you swap it, since artificial vanilla has a milder, less concentrated flavor.
16.How do I prevent fillings from leaking out the pointed bottom of the waffle cones? ▾
It’s a quick, simple fix! Before you add your filling, drop a single mini marshmallow, a small square of chocolate, or a tiny scoop of peanut butter into the very bottom of each waffle cone to plug the pointed tip. This creates a seal that stops creamy filling from dripping out as guests eat, and it adds a fun little surprise bite at the end.
17.Can I freeze these filled cones for an easy make-ahead frozen treat? ▾
You sure can! Stand the filled cones upright in a freezer-safe container, cover loosely with plastic wrap, and freeze for up to 2 weeks for a hand-held frozen treat that tastes just like soft-serve in a cone. Let them sit at room temperature for 3 to 5 minutes before serving to let the filling soften just enough for that perfect creamy bite.

Comments (13)

2 days ago

OMG these filling ideas are a total game changer for our summer after-dinner treats! My kids went crazy for the peanut butter banana crunch one, they kept begging for seconds even after I said no more sugar before bed. So easy to throw together too, took literally no time at all.

1 week ago

Brought these to our neighborhood block party potluck last weekend and they were gone in 10 minutes flat! I did the s'mores filling with mini marshmallows and crushed graham crackers, people kept asking where I got the recipe. Zero complaints, will absolutely make again.

30 minutes ago

Perfect for my tiny dorm kitchen! No fancy equipment needed, 5 minute prep is chef's kiss when I'm cramming for midterms and need a quick sweet pick-me-up. I swapped the nuts for sprinkles since I have a nut allergy and it still slapped.

3 days ago

These are so cute for my grandkids' visit next week! I prepped all the fillings ahead of time so they can stuff their own cones when they get here, it's going to be such a fun little activity. Way easier than baking a whole cake, that's for sure.

5 minutes ago

Wait, has anyone tried the cookies and cream filling with added hot fudge? I feel like that would take it over the top but I don't want to make it too messy to hold.

just now

Great question! A tiny drizzle of hot fudge works perfectly — just let it cool for a minute before adding it to the cone so it doesn't make the waffle soggy, and wrap the bottom in a napkin to catch any drips!

yesterday

I made the lemon berry filling for my book club meetup and everyone raved! It was light, not too sweet, perfect for a warm afternoon. Only thing is I wish there was a dairy-free option mentioned?

2 hours ago

I used coconut whipped cream instead of regular whipped cream for the lemon berry one and it was SO good! No one even noticed it was dairy free, total win.

2 weeks ago

These are perfect for trail snacks! I stuffed the cones with nut butter, granola, and dried cranberries then wrapped them in foil, they held up great in my pack for a 3 mile hike. No messy melting like ice cream on hot days!

5 days ago

Love that hack! Wrapping them in foil for on-the-go snacks is such a smart call, we'll have to add that tip to the recipe notes — thanks for sharing!

5 days ago

Tried the salted caramel pretzel filling last night and my husband literally ate three cones in one sitting. I'm gonna have to make a double batch for our next game night with friends.

3 days ago

The salted caramel pretzel one is my favorite too! I added a little extra sea salt on top and it was chef's kiss, 10/10 would recommend.

2 hours ago

Quick question — do these fillings work okay with gluten-free waffle cones? I have celiac so I can't do regular cones but I don't want the fillings to be too heavy and make the GF cones break.

30 minutes ago

Absolutely! All these fillings work perfectly with gluten-free waffle cones — just don't overstuff them (stick to about 2-3 tablespoons of filling per cone) and they'll hold up great without breaking.

1 week ago

I'm planning these for my 7 year old's ice cream themed birthday party next weekend! How far in advance can I prep the filled cones without them getting soggy? I don't want to be rushing around making everything day of.

5 days ago

I prepped mine 2 hours before my grandkids arrived and stored them upright in a cupcake tin in the fridge, they were perfectly crisp! I wouldn't go longer than that though, the moisture from the fillings starts to seep in after a while.

3 days ago

Great tip from BakingNana! If you want to prep even further ahead, you can make all the fillings 2-3 days in advance and store them in airtight containers in the fridge, then just stuff the cones right before guests arrive — super fast and no sogginess!

3 days ago

Wait, am I the only one who added crushed potato chips to the chocolate hazelnut filling? Salty sweet combo is unmatched, I'm telling y'all. It sounds weird but trust me.

2 days ago

OH MY GOD that sounds insane I'm trying that tonight. I love salty sweet snacks so much, why didn't I think of that??

yesterday

Tried this last night after seeing your comment, added a little bacon bit too (don't judge) and it was life changing. 10/10, will be making that version from now on.

2 weeks ago

Are these freezable? I love making sweet snacks ahead of time for my work week lunches and it would be amazing to pull one out of the freezer whenever I get a sugar craving.

1 week ago

I froze the nut butter granola ones for a backpacking trip and they held up great! Thawed out in like 10 minutes in my pack, no sogginess at all.

5 days ago

Great question! The nut butter and s'mores fillings freeze really well for up to 2 weeks — just wrap them tightly in plastic wrap before freezing. The fruit and cream based fillings don't hold up as well in the freezer though, they get a little watery when they thaw!

yesterday

My kid is such a picky eater, will these fillings work with random mix-ins he likes? He only eats rainbow sprinkles and mini marshmallows right now, I'm tired of buying expensive pre-filled treats from the grocery store.

2 hours ago

Absolutely! These ideas are just a starting point — you can totally customize them with whatever mix-ins your kid loves. The base fillings are super neutral so they pair perfectly with sprinkles, marshmallows, candy pieces, whatever he likes!

30 minutes ago

I did this with my middle kid who only eats sprinkles too! I used the vanilla cream base and dumped a ton of rainbow sprinkles in, he thought it was the best thing ever. Way cheaper than the store bought ones too, saved me like $5 last week.



