
waffle cone recipe easy

title 1
waffle cone recipe easy

⏱️ cook time 15 minutes
🍽️ servings 8
⚡ Difficulty easy

intro

Crisp, buttery, golden homemade waffle cones sturdy enough to hold heaping scoops of your favorite ice cream, made with simple pantry ingredients in under 30 minutes.

Ingredients
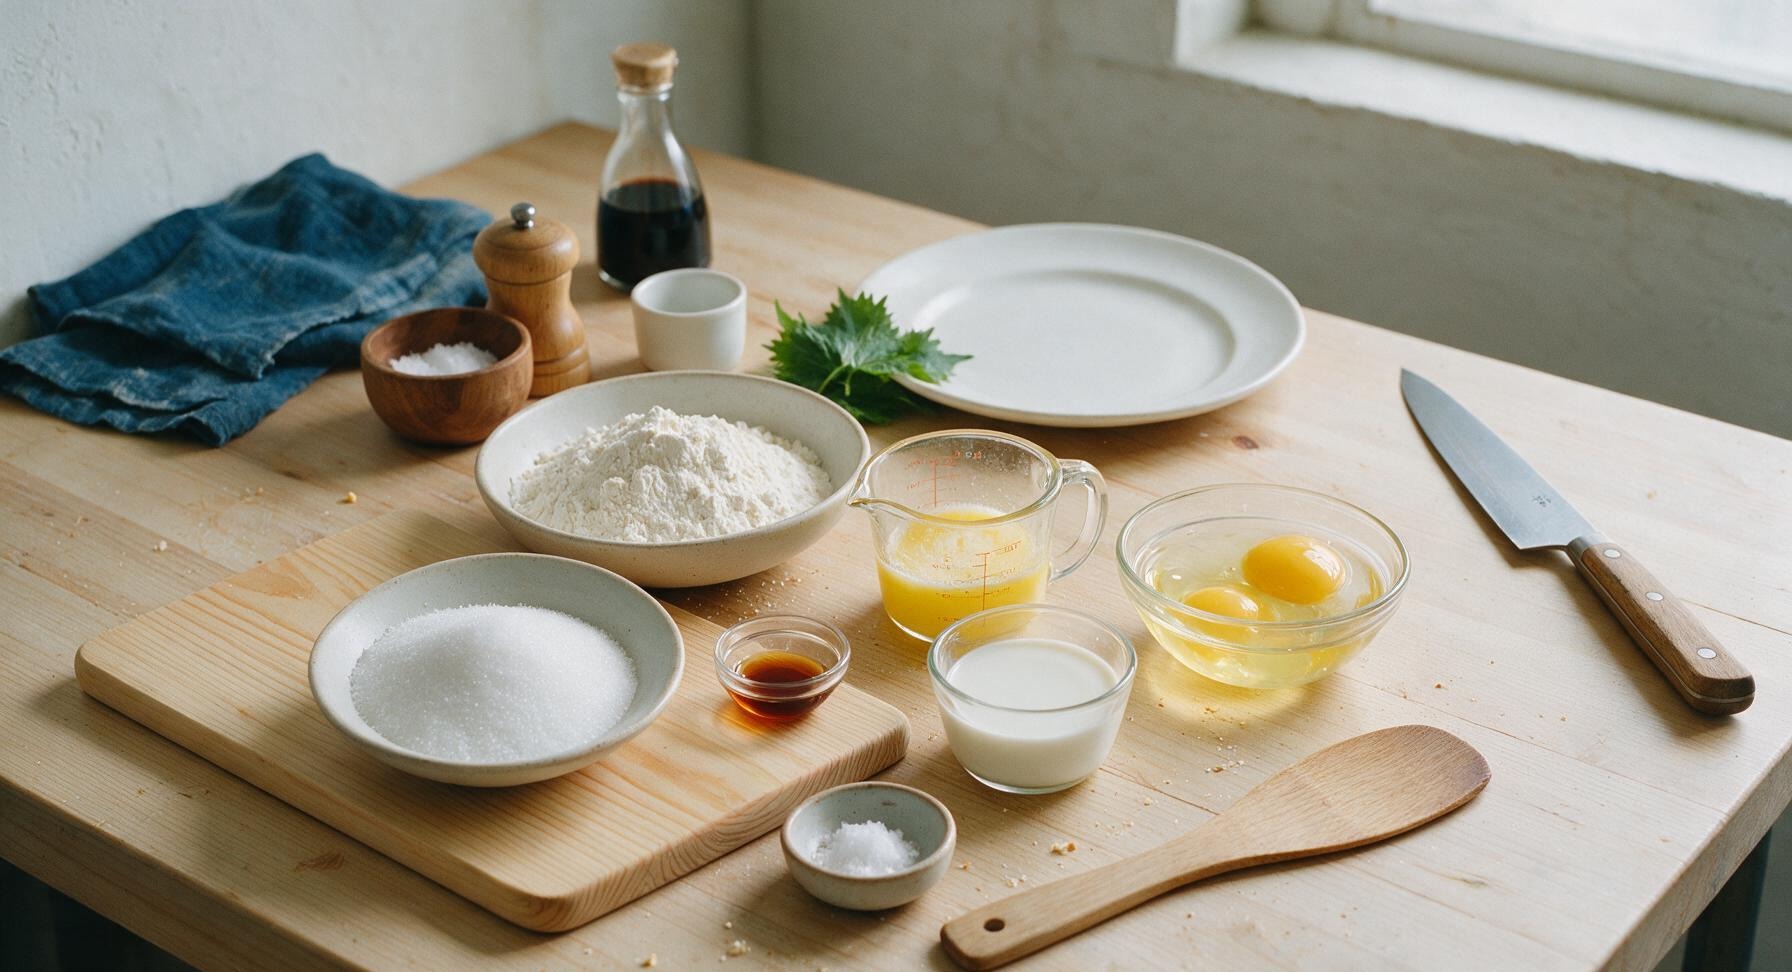
All-purpose flour 1 cup (120g)
Granulated sugar 2/3 cup (135g)
Unsalted butter, melted and cooled 4 tbsp (57g)
Large egg whites 2 (60g total)
Whole milk 1/4 cup (60ml)
Pure vanilla extract 1 tsp
Fine sea salt 1/4 tsp

Steps

1

Whisk egg sugar base

Set the clear tempered glass mixing bowl on the left third of the central work zone. Add the 2 large egg whites, 2/3 cup granulated sugar, and 1/4 tsp fine sea salt to the bowl. Use the matte pale yellow silicone whisk to stir the mixture for 30 seconds until it is smooth, pale, and frothy, with no visible clumps of undissolved sugar at the bottom of the bowl. Do not whip air into the mixture to form peaks—this will create puffy, not crisp, cones.

Step 1
step1:Whisk egg sugar base
2

Add butter and vanilla

Pour the cooled melted unsalted butter and 1 tsp pure vanilla extract into the egg white mixture. Whisk continuously for 20 seconds until the butter is fully incorporated, with no greasy streaks remaining on the surface of the batter. The mixture will be a pale, creamy yellow at this stage.
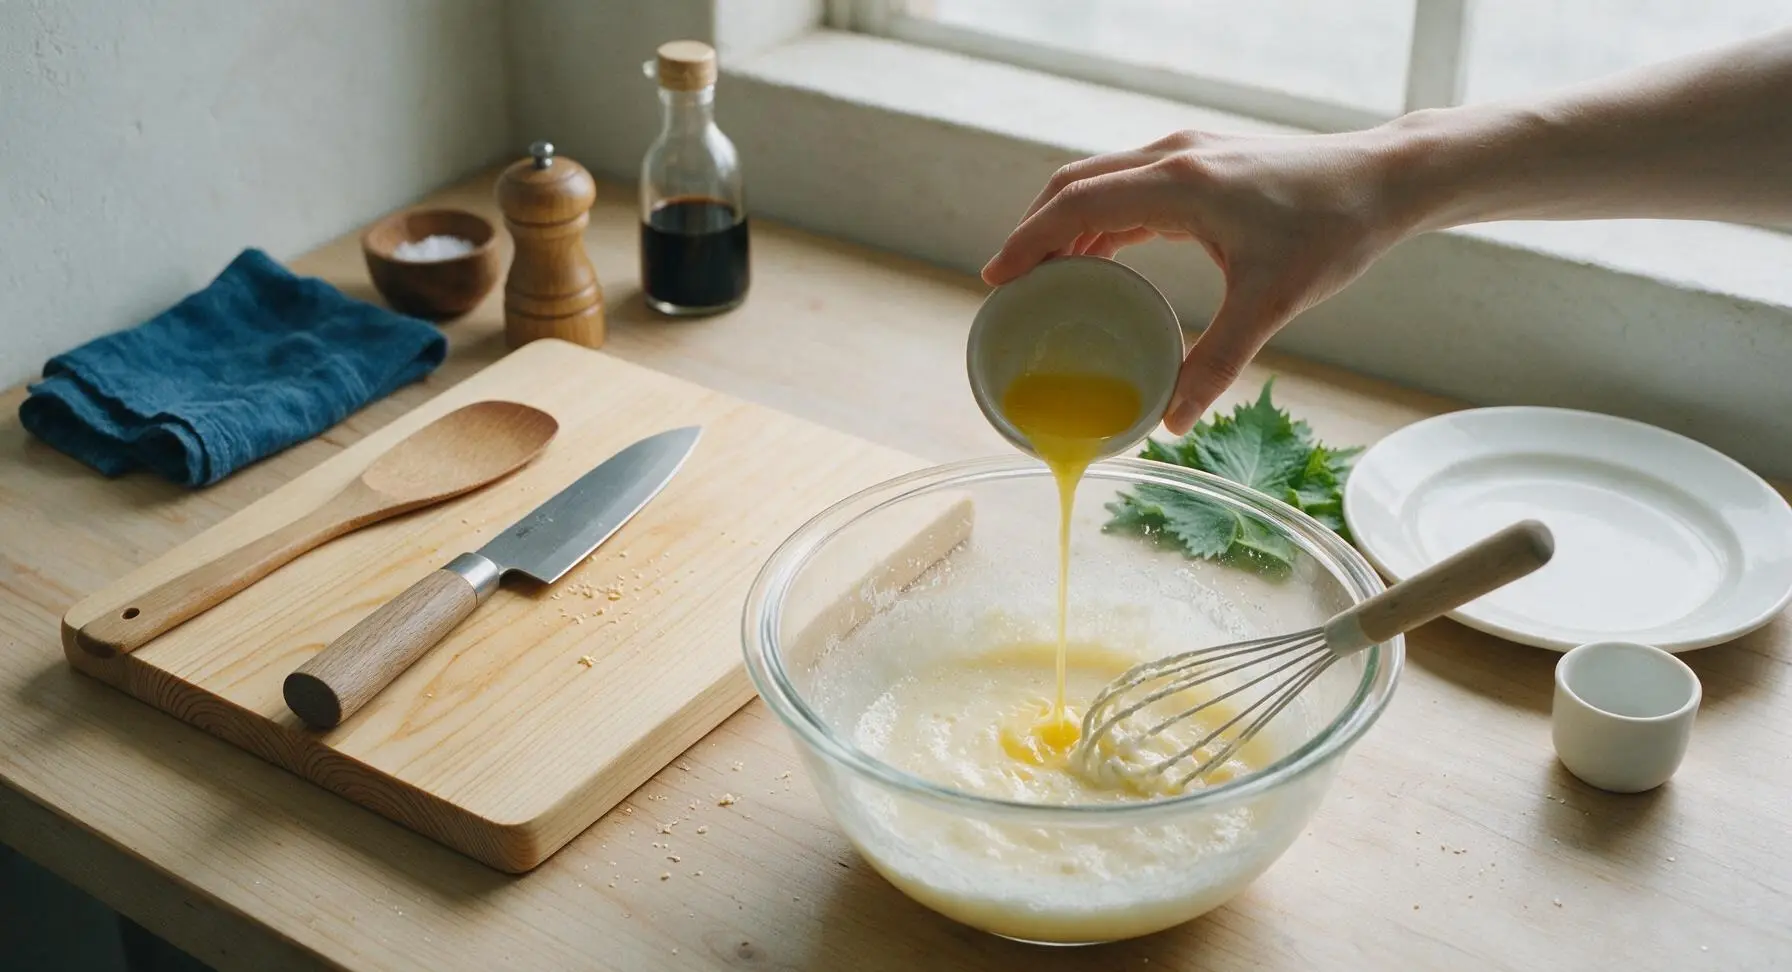
Step 2
step2:Add butter and vanilla
3

Combine flour and milk

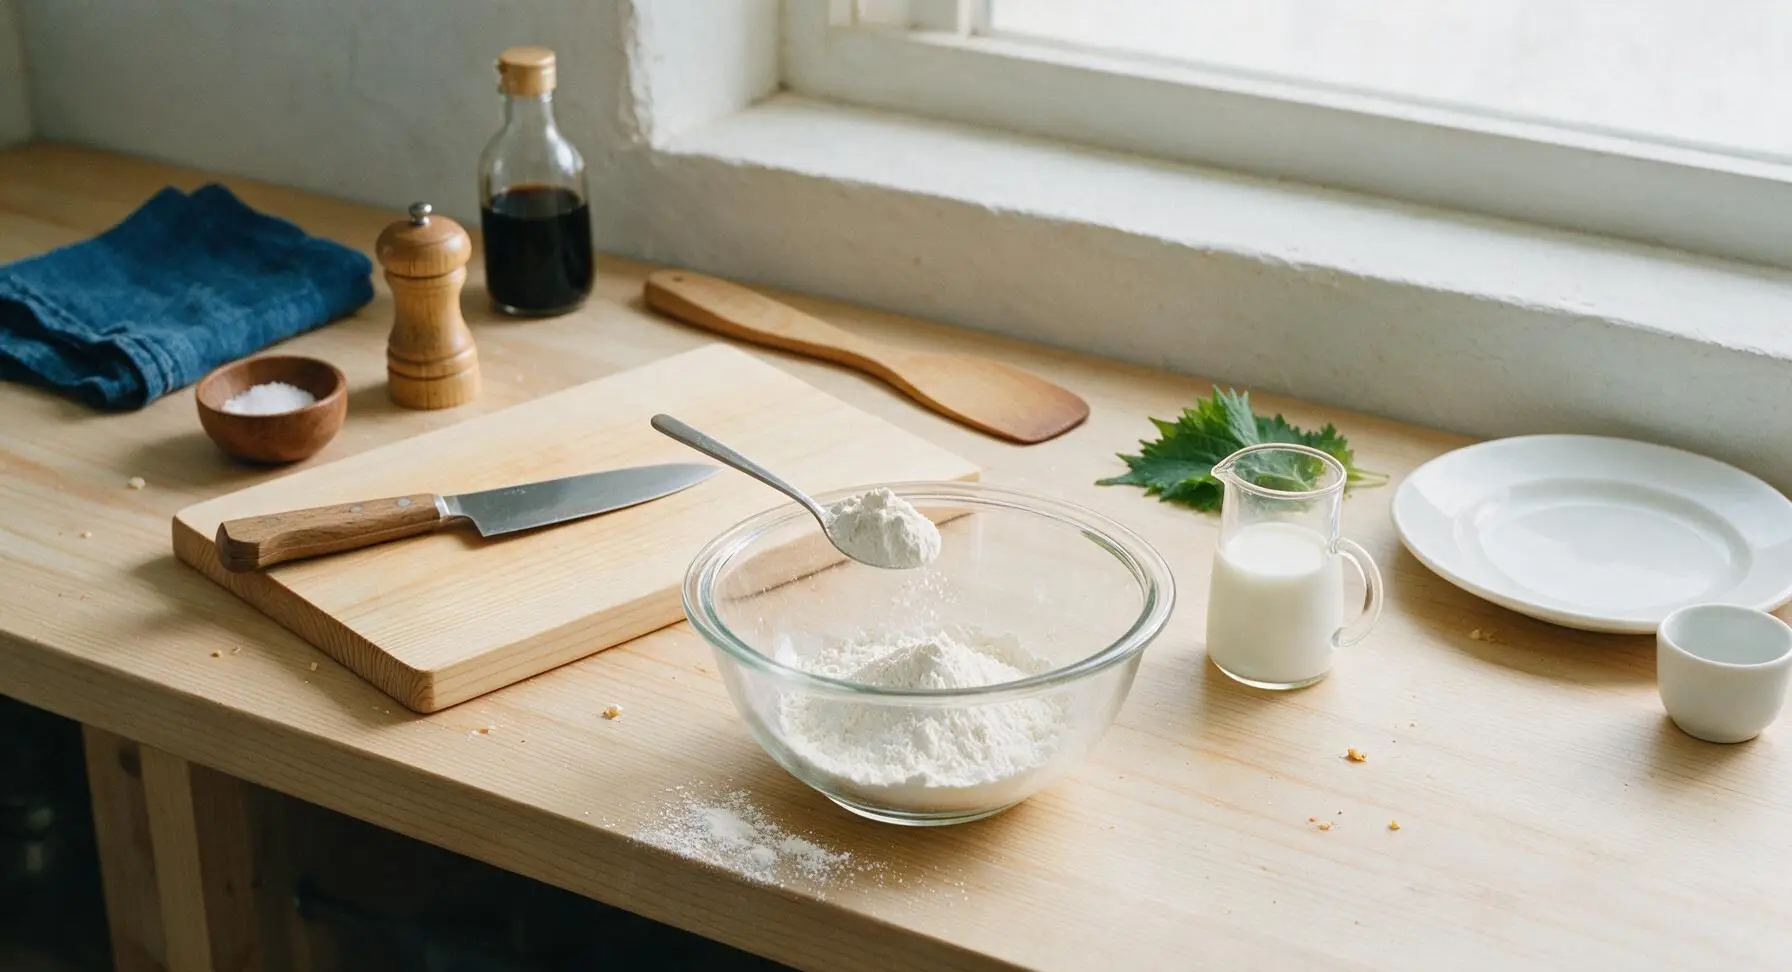
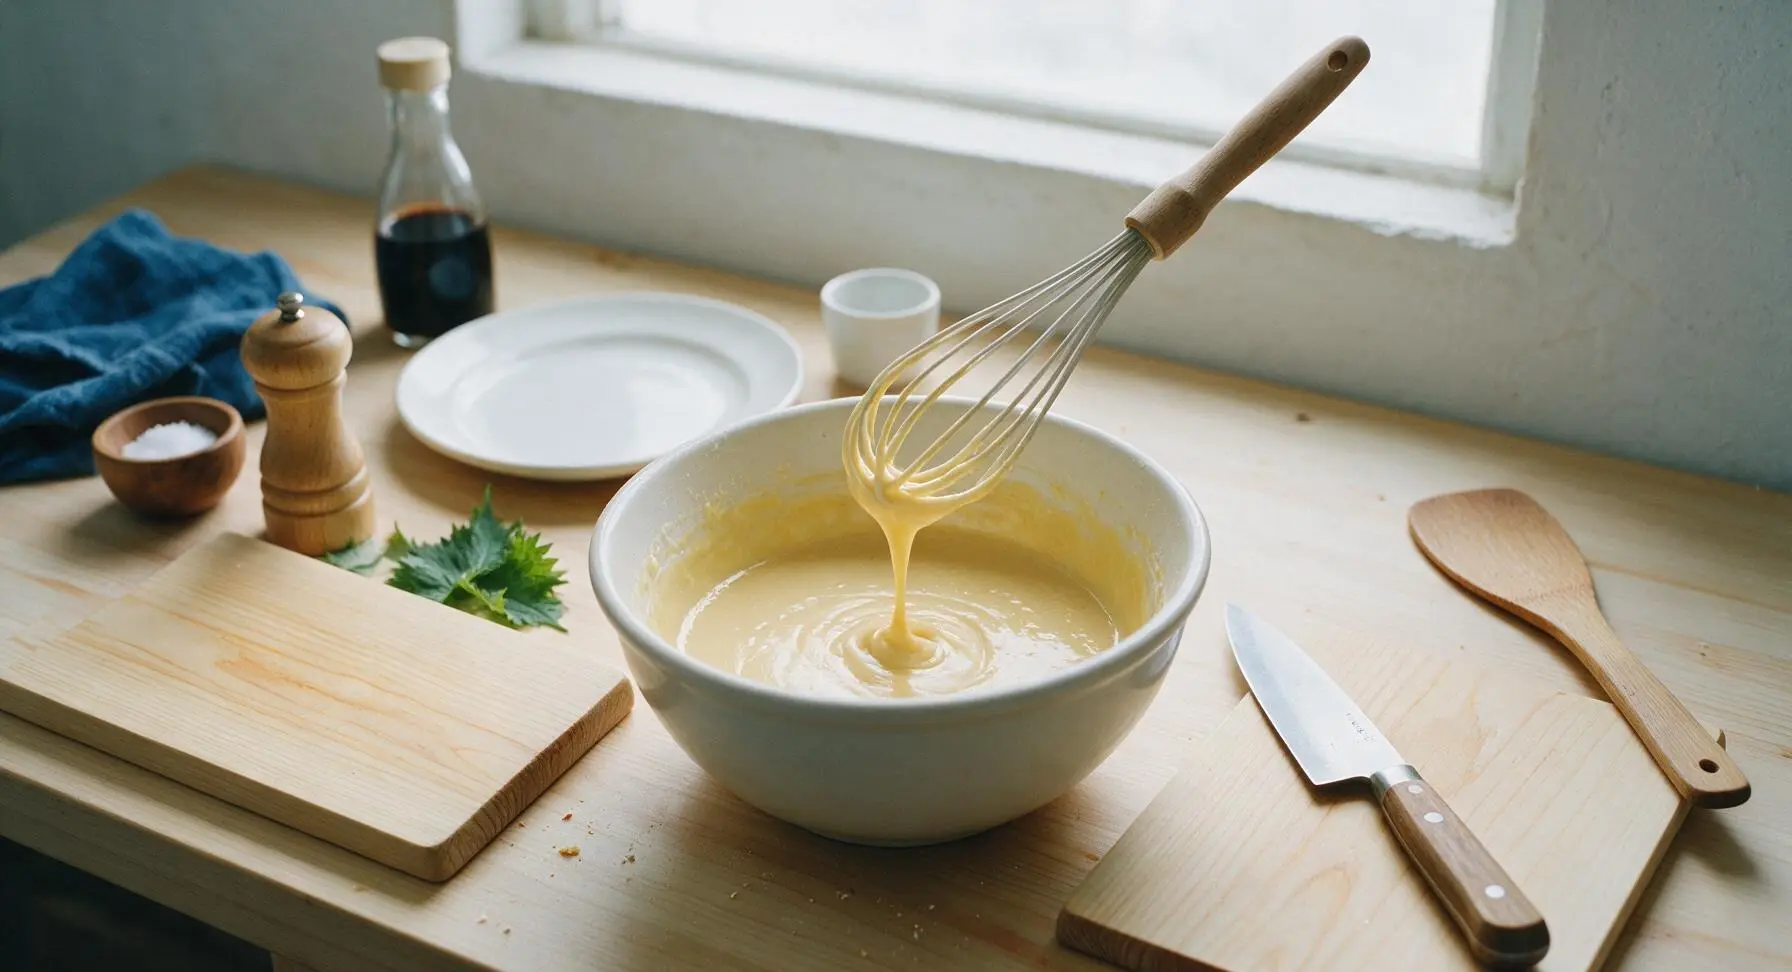
Alternate adding the 1 cup all-purpose flour and 1/4 cup whole milk to the bowl, stirring gently with the whisk after each addition. Mix just until no dry flour lumps remain—do not overmix, as this will make tough cones. The final batter will be smooth, thin, and pourable, with the consistency of heavy cream, about the thickness of pancake batter but slightly runnier. Let the batter rest for 2 minutes while you preheat the waffle cone maker.
Step 3
step3:Combine flour and milk
Step 3
step3:Combine flour and milk
4

Preheat waffle cone maker

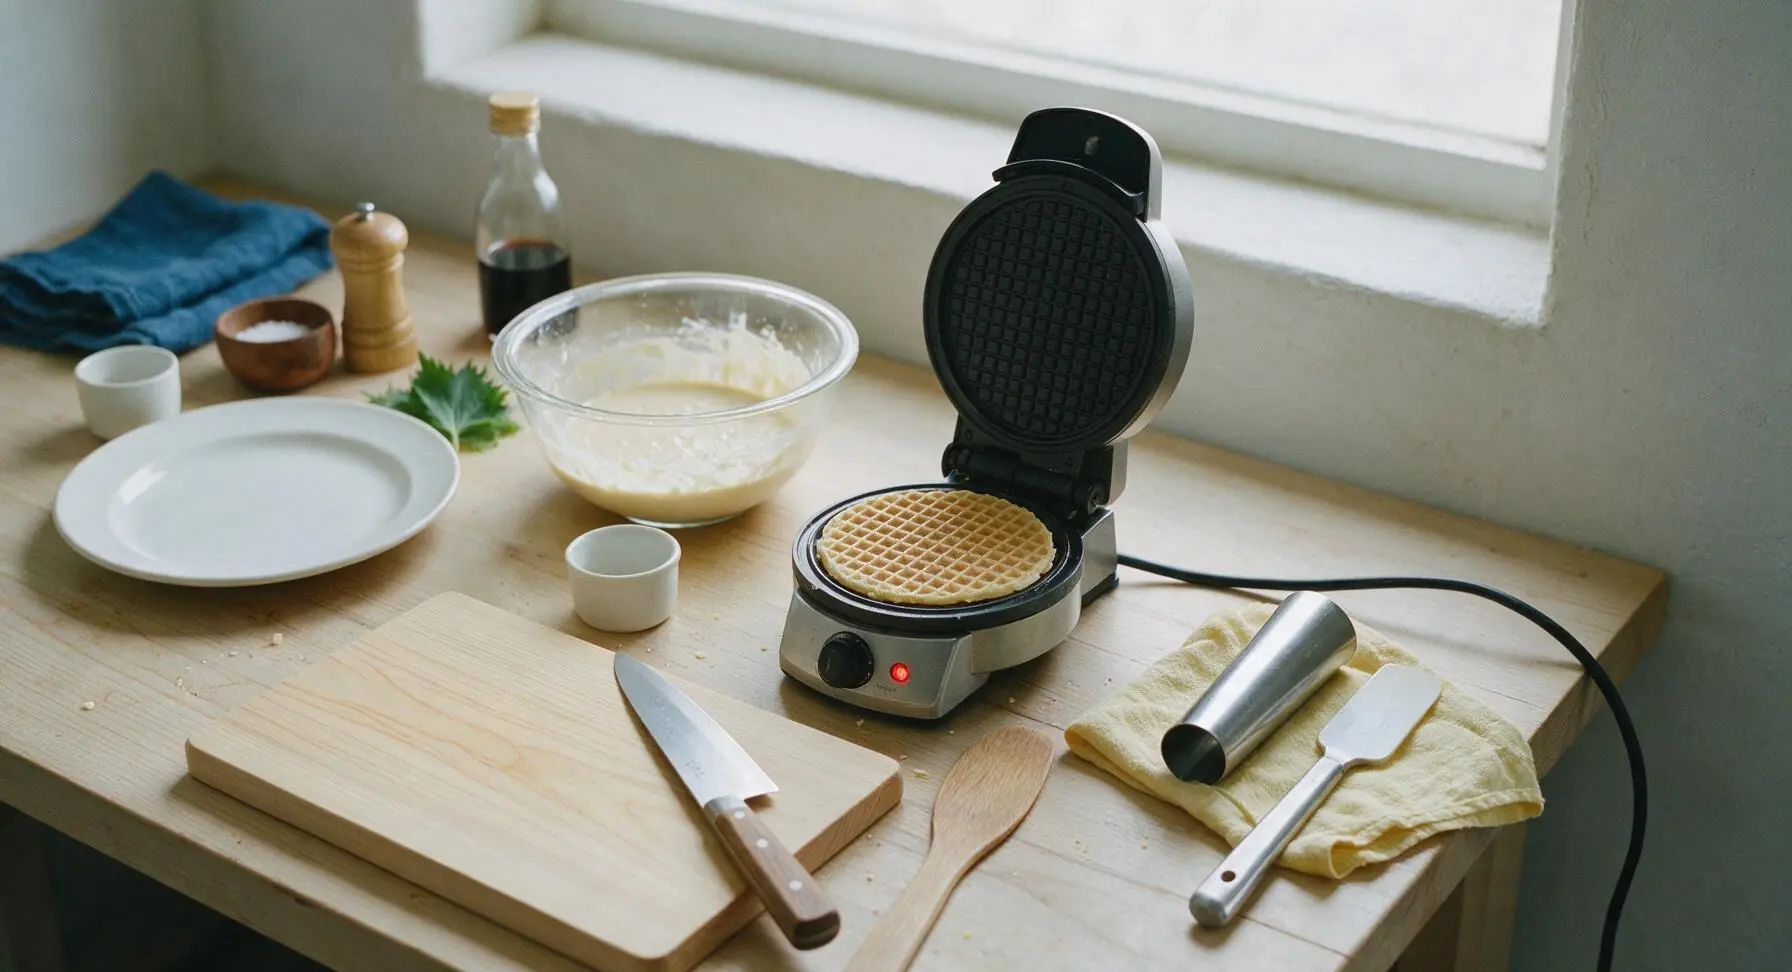
Place the electric waffle cone maker dead center in the work zone. Plug it in and preheat to medium-high heat (375°F / 190°C) for 3 minutes, until the indicator light shows it is fully heated. Do not grease the non-stick plates—the butter in the batter will prevent sticking.
Step 4
step4:Preheat waffle cone maker
5

Cook thin waffle discs

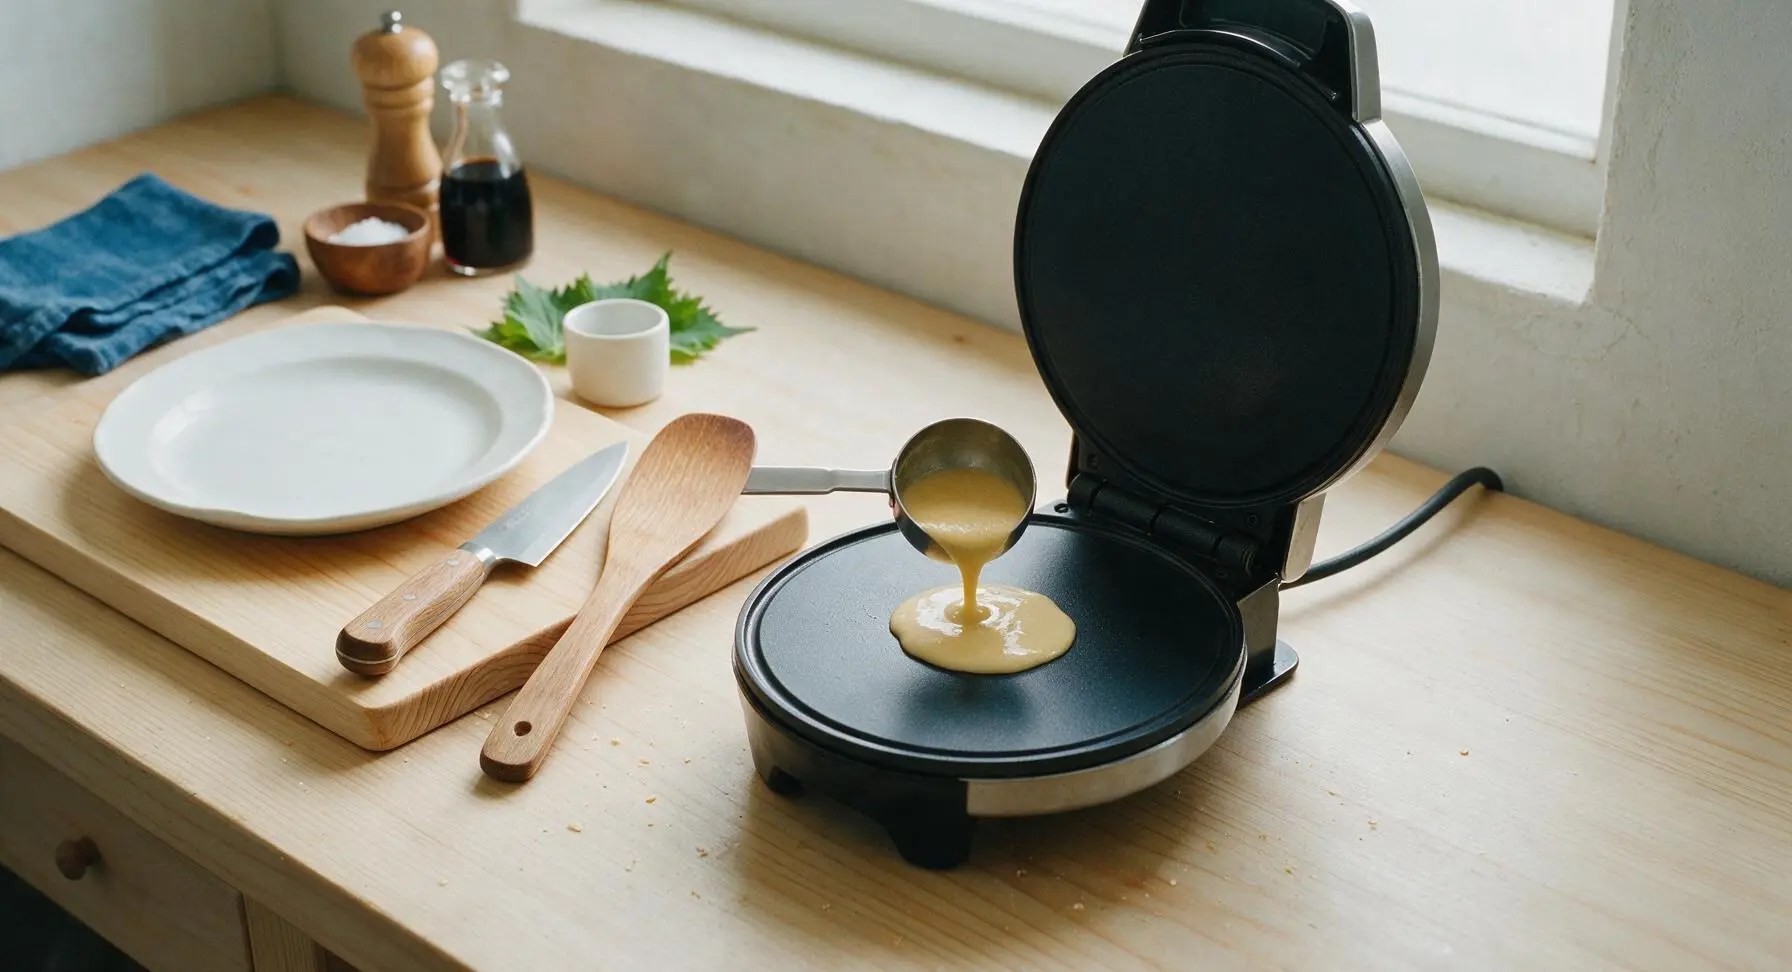
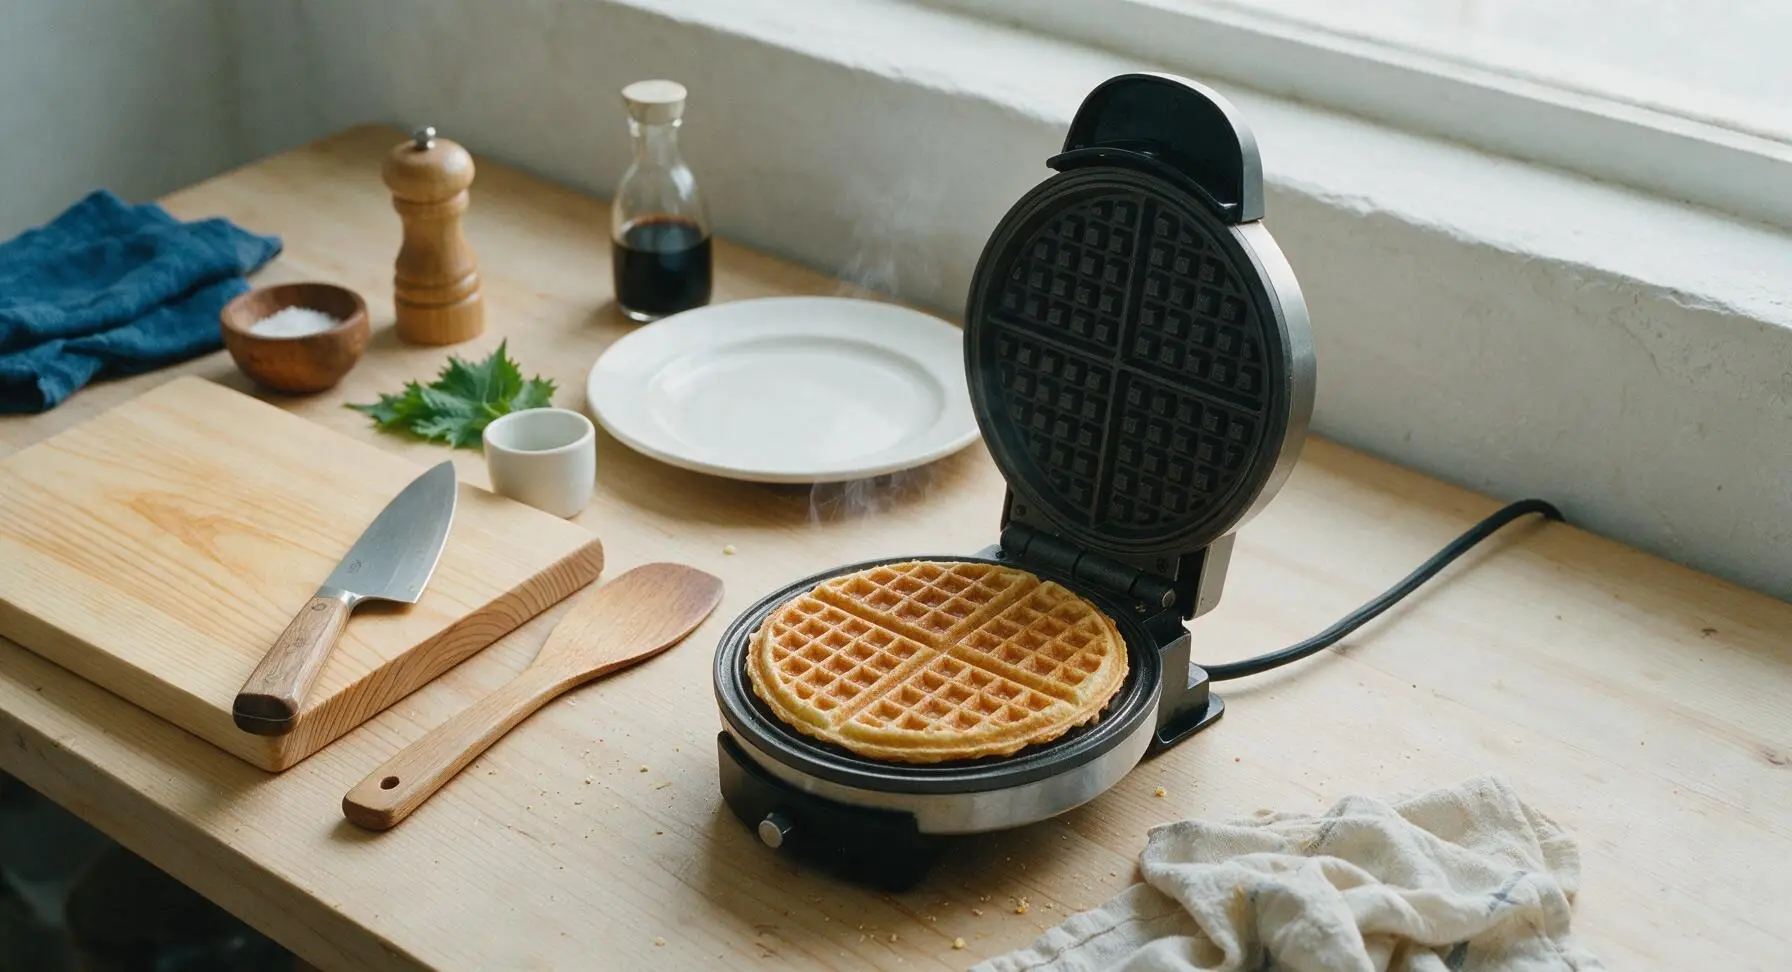
Use the 1/4 cup stainless steel batter scoop to pour 2 tablespoons of batter directly onto the center of the preheated lower waffle plate. Close the lid gently, and cook for 45 to 60 seconds, until the waffle is evenly golden brown with slightly darker caramelized edges. Do not overcook—waffles that are too dark will be brittle and crack when shaped. Open the lid and check for even golden color before removing.
Step 5
step5:Cook thin waffle discs
Step 5
step5:Cook thin waffle discs
6

Shape hot waffle cones

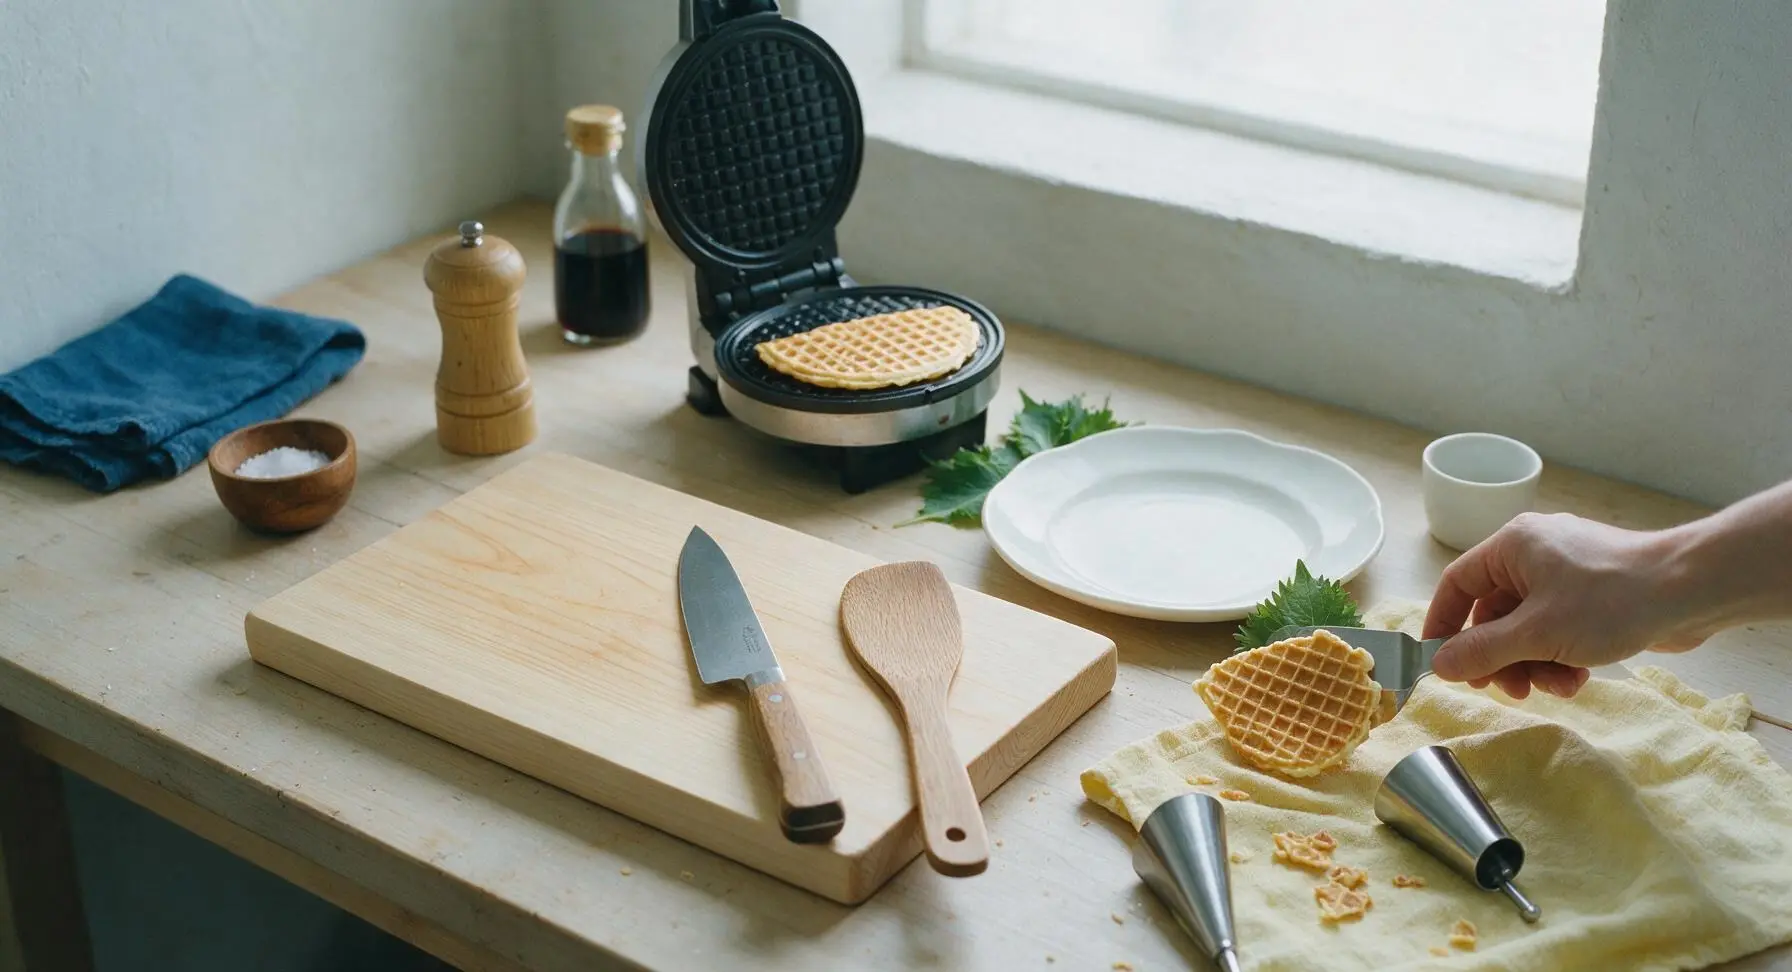
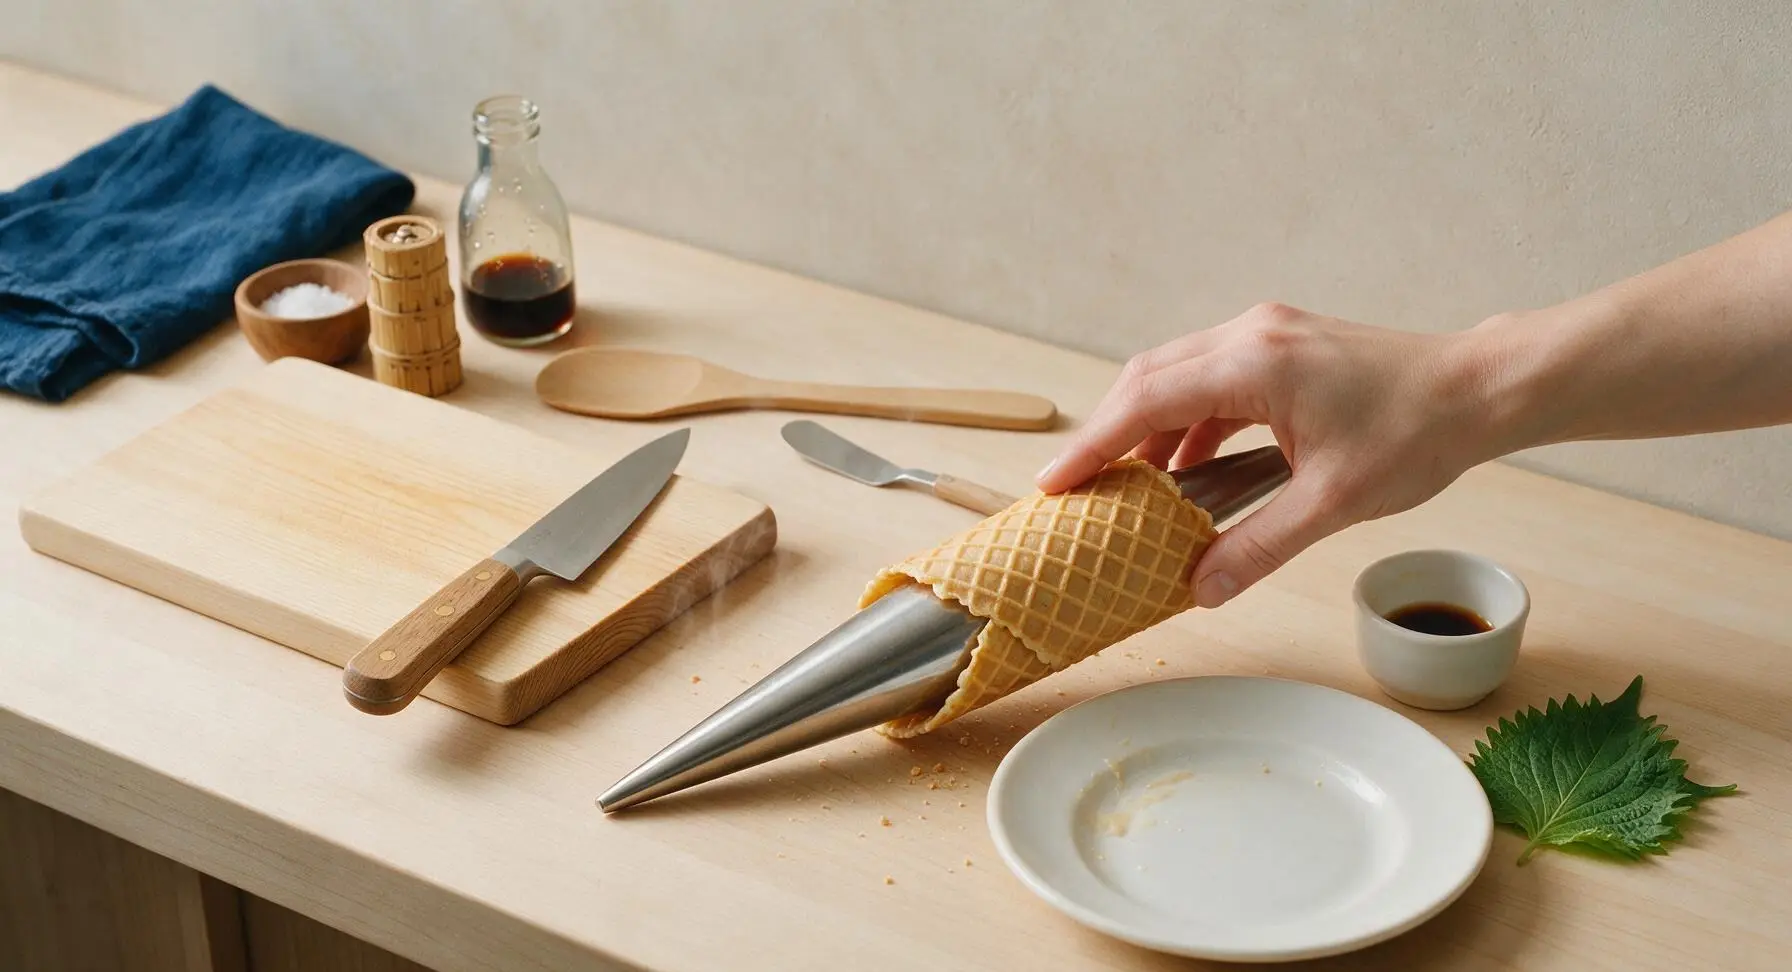
Working quickly (the waffle will harden within 10 seconds of coming off the heat), use the small stainless steel offset spatula to lift the hot waffle disc off the plate and lay it flat on the linen towel. Place the pointed end of the stainless steel waffle cone roller at one edge of the disc, then roll the waffle tightly around the roller, pressing the overlapping edge firmly to seal. Pinch the bottom pointed end of the cone closed to prevent ice cream from leaking out. Hold the cone around the roller for 10 seconds until it sets, then slide it off the roller.
Step 6
step6:Shape hot waffle cones
Step 6
step6:Shape hot waffle cones
7

Cool cones until crisp

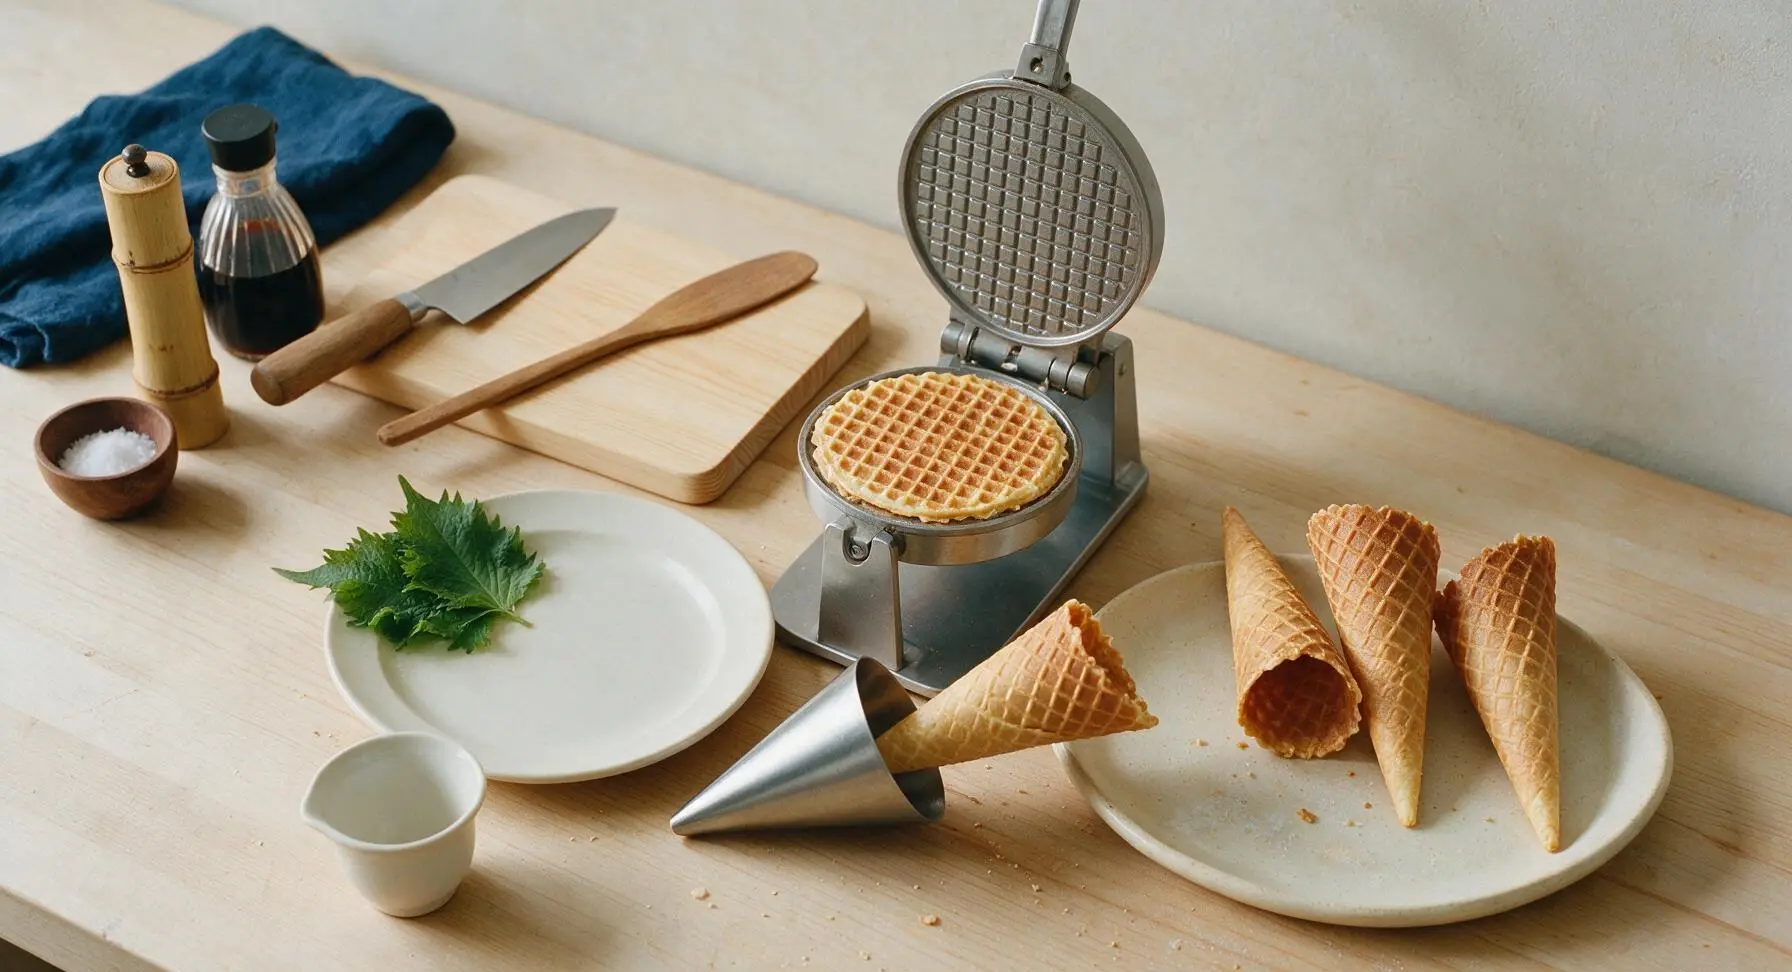
Place the shaped cone upright in the cream ceramic serving platter (positioned on the right side of the work zone) to cool completely for 5 minutes. As the cones cool, they will harden into a crisp, sturdy shell. Repeat the cooking and shaping process with the remaining batter, placing finished cooled cones on the platter as you go. You will get 8 total cones from this recipe.
Step 7
step7:Cool cones until crisp

Tips

1.Work as quickly as possible when shaping hot waffles: the thin discs harden into a crisp texture in just 10 seconds after being removed from the heat. If a disc hardens before you can roll it, set it back on the hot waffle plate for 3-5 seconds to soften it again, though repeated reheating will reduce crispness.
2.Use only 2 tablespoons of batter per cone: too much batter will squeeze out the sides of the waffle maker when you close the lid, creating thick, tough edges that crack when rolled and make overly bulky cones that don’t hold ice cream neatly.
3.Store fully cooled cones in an airtight container at room temperature for up to 3 days. Never store cones in the fridge or a humid space, as moisture will turn crisp cones soft and chewy within hours; re-crisp softened cones in a 300°F (150°C) oven for 2 minutes before serving if needed.


✨ You May Also Like

Desserts & Baking
🍜 Italy

Creamy, coffee-kissed classic Northern Italian no-bake dessert, with layers of rum-spiked mascarpone cream, soft ladyfingers, and a rich cocoa dusting.

⏱️ 4 hours 3Desserts & Baking ★ 4.7
Desserts & Baking
🍜 France

Flaky, shatteringly crisp, buttery French croissants with golden exteriors and soft, airy layered interiors, perfect for pairing with coffee for a special morning treat.

⏱️ 12 hours Desserts & Baking ★ 4.5
Desserts & Baking
🍜 United States

Warm, spiced baked apples topped with a fluffy golden biscuit crust, this cozy dessert pairs perfectly with vanilla ice cream for cool-weather comfort.

⏱️ 55 minuteDesserts & Baking ★ 4.6
Desserts & Baking
🍜 United States

A star-spangled classic American blueberry pie with buttery flaky crust and bright sweet-tart filling, perfect for summer patriotic gatherings.

⏱️ 1 hour 25Desserts & Baking ★ 4.7
Desserts & Baking
🍜 United States

A beloved no-bake regional Maine candy with a chewy coconut-potato center coated in rich dark chocolate, a New England holiday staple since the 1870s.

⏱️ 2 hours 3Desserts & Baking ★ 4.8
Desserts & Baking
🍜 France

Luxuriously creamy, floral frozen custard made with aromatic Tahitian vanilla beans, boasting a smooth, rich texture that melts slowly on the tongue.

⏱️ 3 hours 3Desserts & Baking ★ 4.5

waffle cone recipe easy:Frequently Asked Questions

1.Do I need a dedicated waffle cone maker to pull off this recipe? ▾
A dedicated waffle cone maker (which makes thin, evenly golden, pliable rounds) will give you the crispest, sturdiest results, but you can use a pizzelle iron in a pinch. A standard thick-grid Belgian waffle iron won’t work well here, as it creates too-deep pockets that crack easily when you try to roll the cone shape.
2.How long do I have to roll the cones after they come off the heat before they harden? ▾
You only have a 10 to 15 second window once the cooked waffle round comes off the iron before it starts to crisp and set. I recommend keeping a cone rolling form handy, working one waffle at a time, and shaping immediately—leave remaining batter cooking while you shape each hot round to avoid waste.
3.Why do my waffle cones turn out soft instead of crisp like store-bought ones? ▾
Soft cones almost always trace back to one of three issues: you undercooked the waffle round so excess moisture remains, you used too much butter relative to the flour and sugar ratio, or you didn’t let rolled cones cool fully before filling. Cook until rounds are deep golden, not pale yellow, for that signature snappy texture.
4.Can I make these cones ahead of time for a party or ice cream night? ▾
Absolutely! Once rolled cones are fully cooled and crisp, store them in an airtight container at room temperature for up to 5 days. Don’t refrigerate or freeze them, as trapped moisture will make them go soggy. For extra crunch, pop them in a 300°F oven for 2 minutes right before serving to refresh them.
5.My cones keep cracking when I try to roll them—what am I doing wrong? ▾
Cracking usually happens if the waffle round is too cool by the time you start shaping, or if you cooked it a little too long so it set before rolling. Try pulling rounds off the iron a split second earlier, rolling from the tip outward tight against your form, and applying gentle, even pressure to avoid splits along grid lines.
6.Can I mix fun add-ins into the batter for extra flavor? ▾
Definitely! Stir in ½ teaspoon of ground cinnamon, a dash of pure vanilla extract, a tablespoon of finely minced toasted pecans, or a pinch of flaky sea salt to the base batter for extra depth. Just avoid large, chunky mix-ins like chocolate chips, as they will tear the thin waffle as you roll it into shape.
7.How do I make sure my cones are sturdy enough to hold multiple scoops of ice cream without leaking? ▾
After rolling each cone, pinch the narrow bottom tip tightly closed while the waffle is still warm to seal gaps, then let cones cool completely upright in a tall glass or cone rack so seams set firmly. For extra leak protection, dip cooled tips in a thin layer of melted chocolate and let it harden before adding ice cream.
8.I don’t have whole milk on hand—can I use a different milk for this recipe? ▾
Yes, you can swap the whole milk for 2% or skim milk in equal measure, though the cones will be slightly less rich and tender. You can also use unsweetened oat or almond milk for a dairy-free swap, just pair it with melted plant-based butter to keep the signature buttery, crisp texture intact.
9.Is there a way to make these without egg whites, or do I need to follow the ingredient list exactly? ▾
The egg whites in this recipe help create that light, crisp structure without making cones dense, but if you need an egg-free swap, use 3 tablespoons of aquafaba (the liquid from a can of chickpeas) whipped to soft peaks in place of the large egg whites. You won’t notice a flavor difference, and cones will still hold their shape beautifully.
10.How much batter should I pour onto the iron for each cone to get the right size? ▾
For most standard waffle cone makers, 2 to 3 tablespoons of batter is perfect—pour it right in the center of the preheated grid, then close the lid gently. If you pour too much, batter will ooze out the sides; too little, and you’ll end up with a lumpy, too-small cone that won’t hold much ice cream.
11.What’s the best way to clean up stuck-on batter from my waffle cone maker after cooking? ▾
Wait until the iron is fully cooled (never submerge a hot electric appliance in water!) then wipe grids down with a dry paper towel to brush off crumbs first. For stuck-on sugary spots, dab a paper towel in lightly soapy warm water, wring it out completely, wipe grids gently, then follow with a dry towel before storing.

Comments (19)

2 hours ago

OMG these were SO good! I’ve been wasting money on store-bought waffle cones for years and this recipe is a total game changer. Only took me 12 minutes total to whip up a batch, and they crisped up perfectly. 10/10 will make every weekend this summer!

30 minutes ago

So glad you loved them, Sarah! Pro tip: if you want extra crunch, let them cool fully on a wire rack instead of a plate — no sogginess guaranteed!

yesterday

Made these for my kids’ end-of-school pool party yesterday and they went crazy for them! I did add a tiny dash of cinnamon to the batter and it paired so well with vanilla ice cream. Only problem is I couldn’t roll the first two fast enough before they hardened — oops, burnt my fingertips a little too!

yesterday

Oh I had that same issue my first time! I started keeping a folded kitchen towel handy to help me shape them right when they come off the iron, way less burnt fingers too!

2 hours ago

Great tip from Pam! The batter sets really fast once it’s off the heat, so having your cone form or towel ready before you pull the cooked waffle makes all the difference. Love the cinnamon addition, sounds delicious!

1 week ago

My kids begged for ice cream sundaes after dinner last night so I pulled this recipe up on a whim. I didn’t have a waffle cone maker, so I used my regular waffle iron and just shaped them while they were warm — worked like a charm! They kept saying these were better than the ones from the ice cream shop down the street.

5 days ago

Wait you used a regular waffle iron?? I thought I needed special equipment to make these, that’s such a good hack I’m trying this tonight!

3 days ago

Game. Changer. I’ve tried so many homemade waffle cone recipes that came out chewy or bland, but this one is perfectly buttery and crisp. I dipped the tops in dark chocolate and sprinkles for my roommate’s birthday and everyone asked for the recipe.

5 days ago

Super easy recipe, no fancy ingredients needed which was perfect for me since I’m a terrible cook lmao. Mine were a little lumpy looking but tasted amazing, who cares what they look like when they’re holding mint chocolate chip am I right?

3 days ago

Taste always beats presentation, Jake! If you want smoother cones next time, just give the batter a quick whisk for 30 extra seconds to get rid of any lumps — no pressure though, lumpy cones hold just as much ice cream!

2 weeks ago

Made these for my dorm potluck! I don’t have a ton of kitchen gear so I cooked the batter in a nonstick pan like a thin crepe, then rolled it around a clean water bottle to make the cone shape. Turned out so good people thought I bought them from the campus creamery!

1 week ago

The water bottle trick is genius!!! I’ve been trying to find ways to make treats without buying extra gadgets, this is going on my must-make list for next semester

5 days ago

Love that DIY hack, Katie! A water bottle makes the perfect free cone form, I’ve even used a clean soda can in a pinch. So stoked these were a hit at your potluck!

2 weeks ago

I’ve been making waffle cones since my kids were little, and this recipe is even easier than the one I’ve used for 40 years! The texture is spot on, and it doesn’t leave that weird greasy aftertaste some recipes have. My grandkids ate three cones each last Sunday.

1 week ago

Brought these to our neighborhood block party over the weekend and set up a little cone sundae bar with different toppings. It was the most popular dish there! Even the people who said they don’t like sweets came back for a second cone. So easy to make a big batch too!

5 days ago

Wait I was at that party!!! Those cones were insane, I’ve been searching for the recipe ever since — can’t believe it’s this simple!

3 days ago

Took these on our weekend camping trip! I pre-made the batter at home, cooked them up over the camp stove on a cast iron griddle, and rolled them around sticks to make cone s’mores. Absolute chef’s kiss, way better than regular graham crackers.

2 days ago

Cone s’mores??? That is the most genius camping upgrade I’ve ever heard of. My kids are going to lose their minds when I make these on our trip next month

yesterday

Cone s’mores are next level, Mike! What an awesome way to adapt the recipe for camping — I’m definitely stealing that idea for my next trip out to the mountains.

5 days ago

I swapped the all-purpose flour for a 1:1 gluten free flour blend and these worked perfectly! I was worried they’d fall apart or be gritty, but they crisped up just like regular waffle cones. Finally, a GF treat that doesn’t taste like cardboard lmao

3 days ago

So glad the gluten free swap worked out, Gigi! I’ve had a few readers test 1:1 GF blends with great results too, it’s such an easy swap for anyone with dietary restrictions.

2 days ago

Decent recipe, but I had issues with the cones getting soft after 10 minutes even after letting them cool all the way. Did I do something wrong? Flavor was great, just not crispy enough to hold up to loaded ice cream scoops.

yesterday

I had that happen once! I found out I was cooking them 10 seconds too short — if you cook them until they’re a deep golden brown instead of light gold, they get way crispier and stay that way longer

2 hours ago

Great call from BakingNerd101! Under-cooking is the most common reason for soft cones. Also make sure you’re not stacking them while they cool, that traps moisture and makes them soggy fast. Give it another try and let us know how it goes!

1 week ago

Meal prepped a dozen of these on Sunday and they stayed crisp in an airtight container all week! Grabbed one on the way to practice with a scoop of protein ice cream for a quick post-workout snack for me and the kids. Total win for busy weeknights.

5 days ago

Wait they stay good for a whole week?? I thought you had to eat them the same day, that’s a total game changer for my after-school snack rotation!

30 minutes ago

Wildly easy to make, I was shocked. I added a pinch of flaky sea salt on top of each cone right after rolling them and the sweet-salty combo is unreal. Pair with salted caramel ice cream and thank me later.

2 days ago

Made these vegan by swapping the butter for melted coconut oil and using oat milk instead of dairy, and they turned out AMAZING. I thought I’d never get to have a crispy waffle cone again after going vegan, this recipe is such a win.

yesterday

Love those vegan swaps! Thanks for sharing what worked for you — I know a ton of readers are always looking for easy dairy-free modifications, so this is super helpful.

2 hours ago

Tried these last night after seeing the recipe pop up on my feed. The flavor is perfect, not too sweet, which lets the ice cream shine. I pressed a few chopped pecans into the warm cones right after shaping for extra crunch and it was chef’s kiss.

yesterday

Quick question! Can I make the batter the night before and keep it in the fridge, or does it need to be used right away? I want to make these for my daughter’s birthday party tomorrow and don’t want to be rushed in the morning.

yesterday

I’ve made the batter 24 hours ahead before! Just give it a good stir before you pour it on the iron, it works exactly the same as fresh batter. No weird texture issues at all!

2 hours ago

MakeAheadMama is spot on! The batter stays great in the fridge for up to 2 days, just whisk it well before using to get rid of any separation. Hope the birthday party is a blast, Sara!

5 days ago

Made these after a long hot hike this weekend as a treat for the family. We ate them on the porch with scoops of mango sorbet and it was the perfect cool down. 15 minute cook time is no joke, I was done before the kids even finished setting up the patio table.

30 minutes ago

Added a teaspoon of instant espresso powder to the batter and these taste like the fancy coffee shop waffle cones that cost $5 each! Paired with coffee ice cream and a drizzle of fudge, it’s the perfect late night snack.

5 minutes ago

Espresso powder?! Why have I never thought of that? I’m adding that to my batch this weekend, that sounds so decadent

just now

Made these for our Ohio State game day watch party and served them with homemade buckeye ice cream. Total hit, even my buddies who roast every single homemade dish I make went back for seconds. Super easy, no fancy skills required, even for a guy who usually burns toast.



