
waffle cups for ice cream
intro
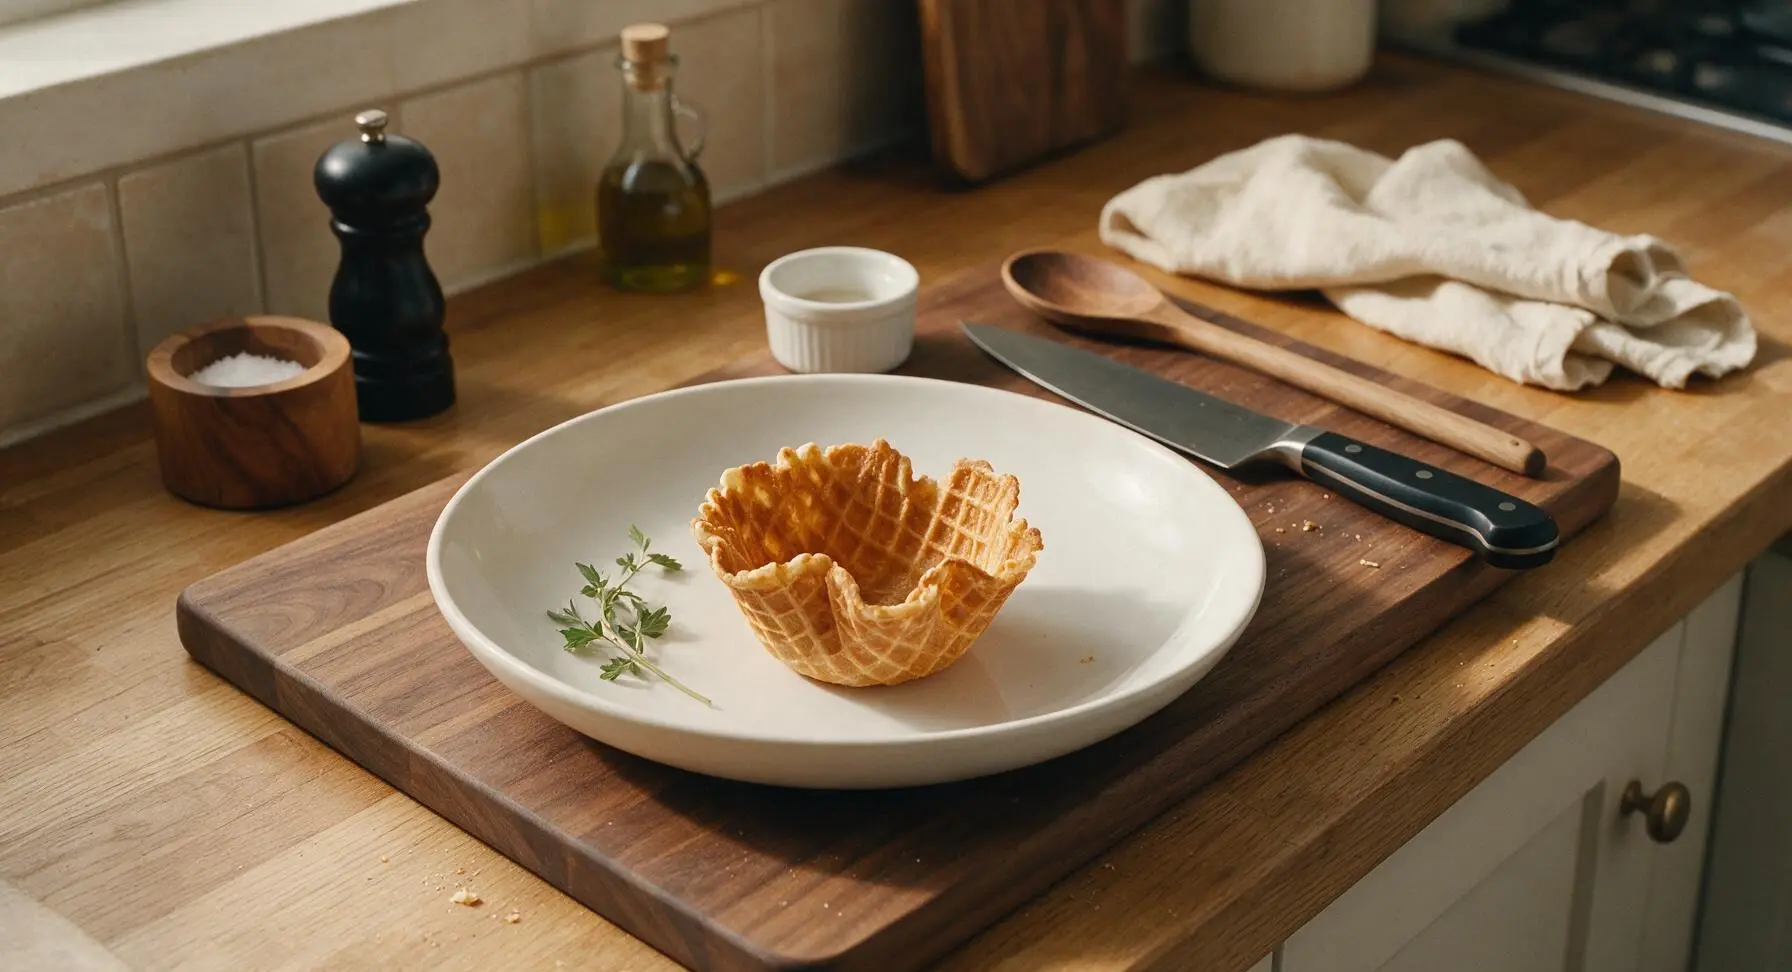
Crisp, buttery homemade waffle cups sturdy enough to hold scoops of your favorite ice cream without sogginess, with a warm vanilla aroma that outshines any store-bought version.
Ingredients
Steps
Preheat and Prep Tools
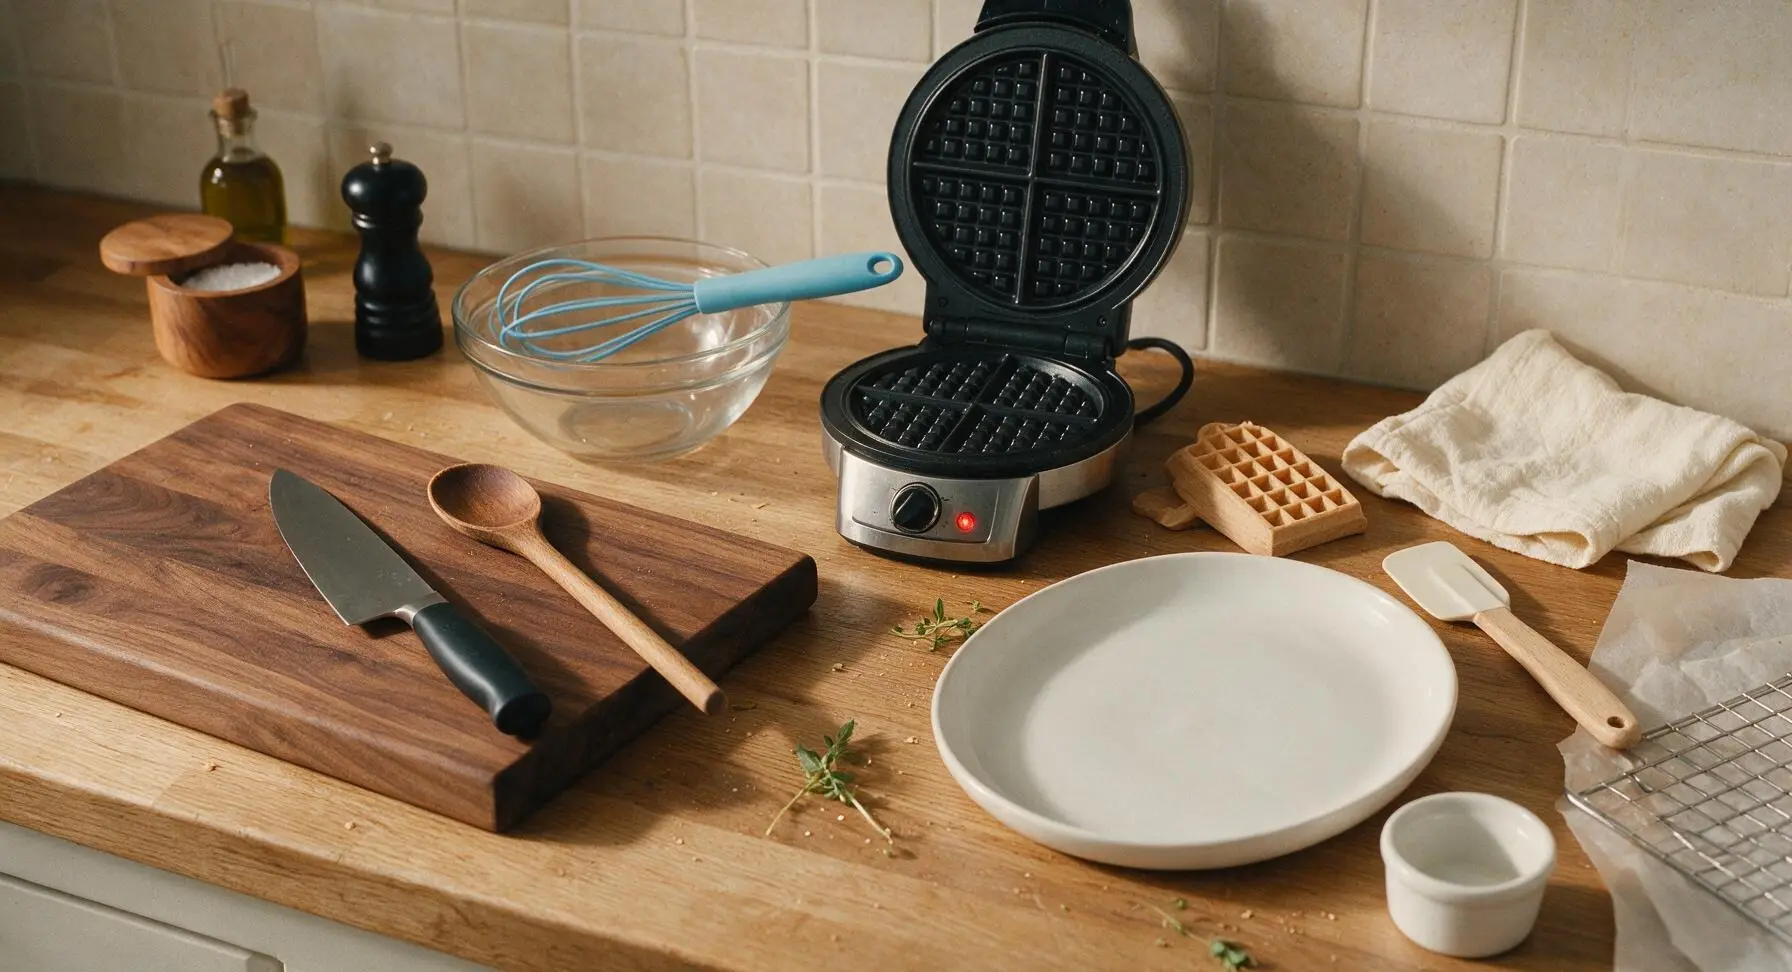
Plug in the waffle cone maker and preheat to medium-high heat (375°F/190°C). Set the wooden waffle form, offset spatula, and parchment-lined cooling rack within easy reach, so you can shape cups immediately after cooking before the waffle hardens. Lightly coat the waffle maker plates with a tiny swipe of butter if they are not fully non-stick.
Mix Dry Ingredients
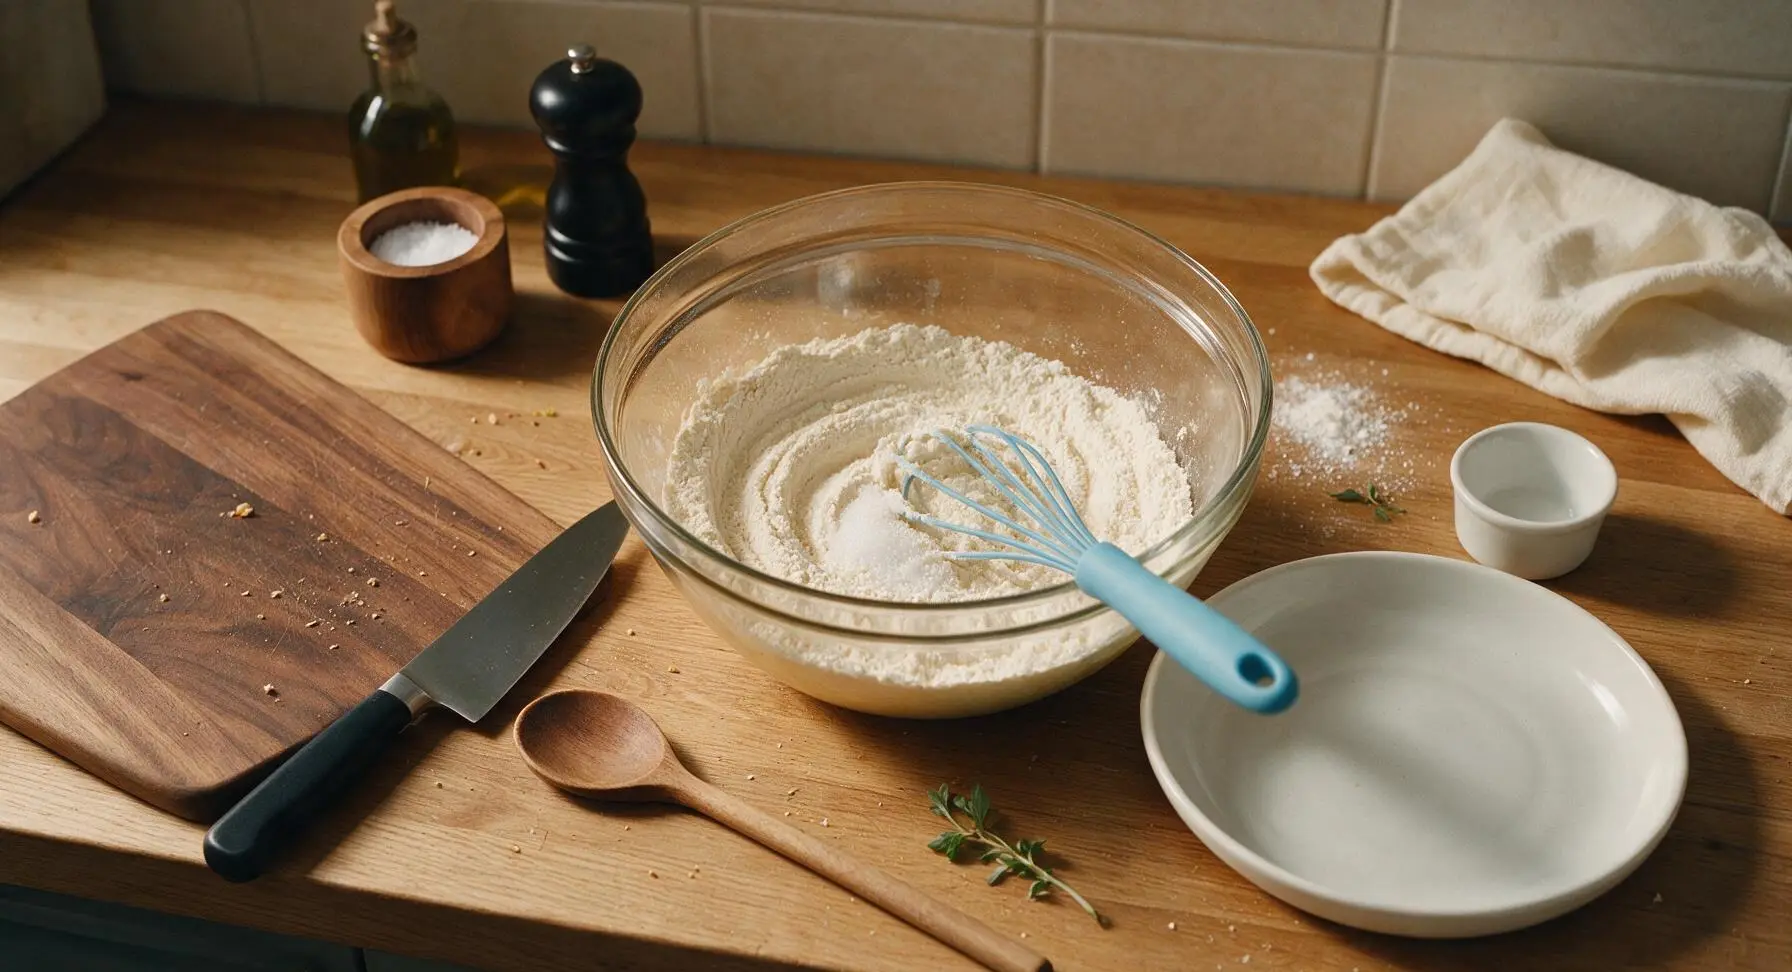
Add 1 cup all-purpose flour, 1/2 cup granulated sugar, and 1/4 tsp fine sea salt to the glass mixing bowl. Use the silicone whisk to stir the dry ingredients for 30 seconds until fully combined, with no clumps of sugar or flour visible at the bottom of the bowl.
Combine Wet Ingredients
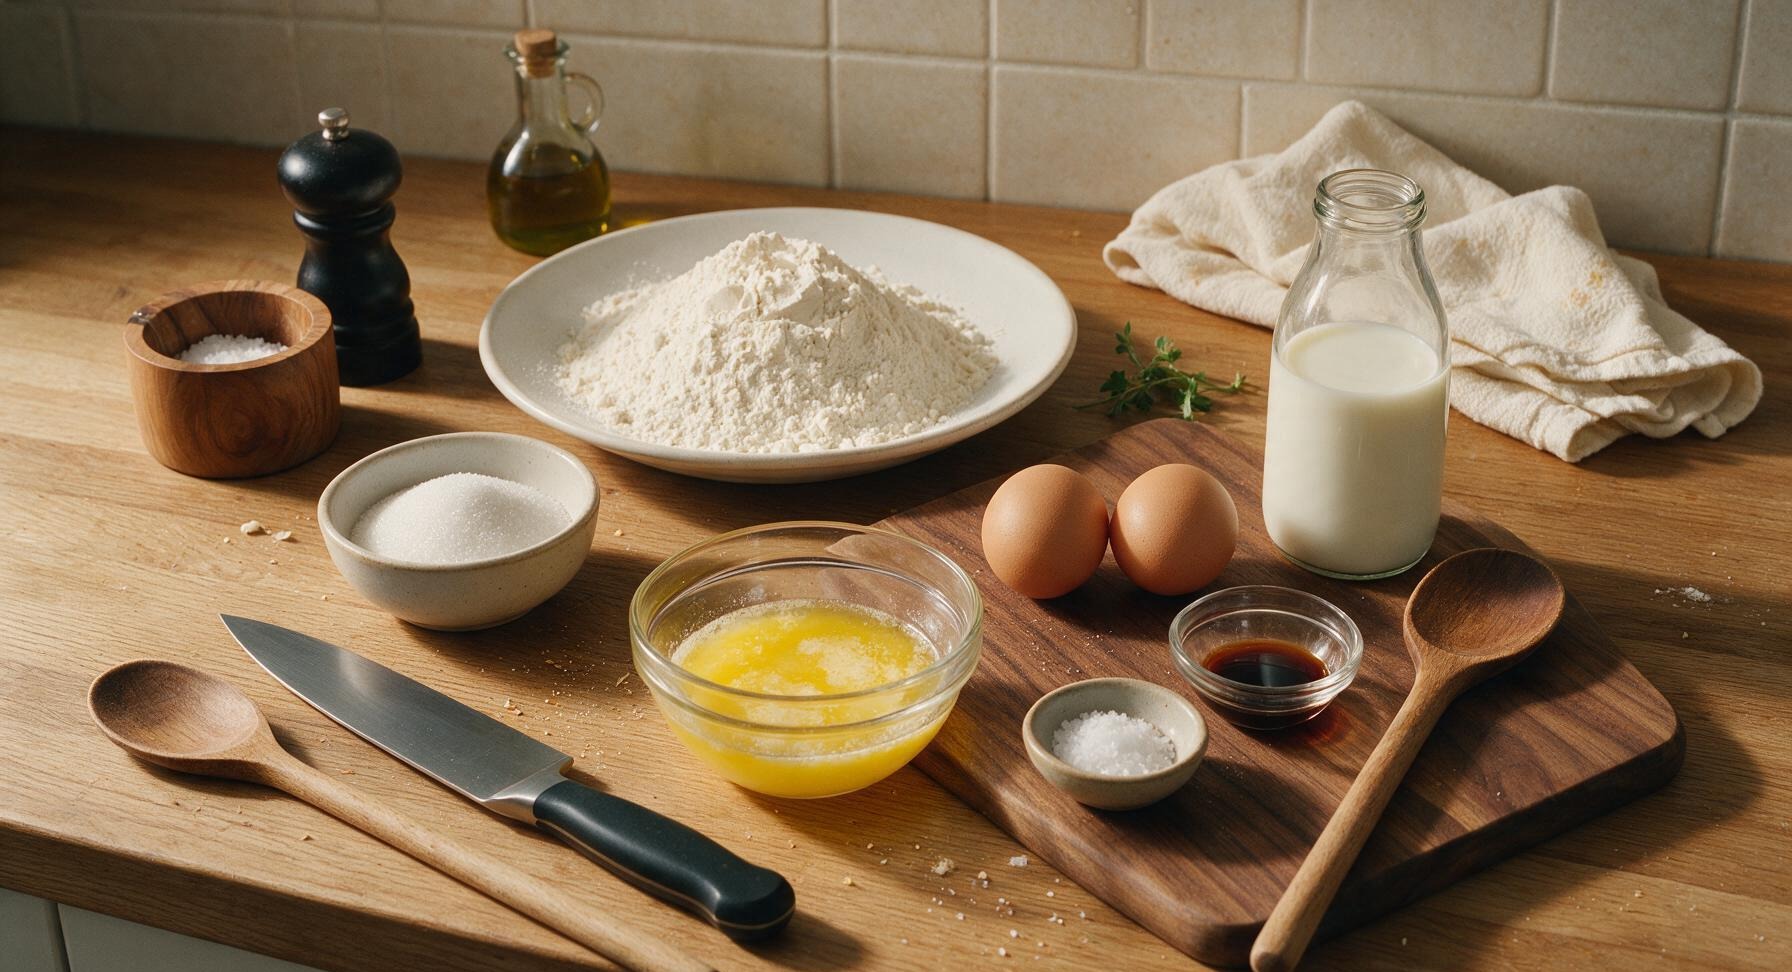
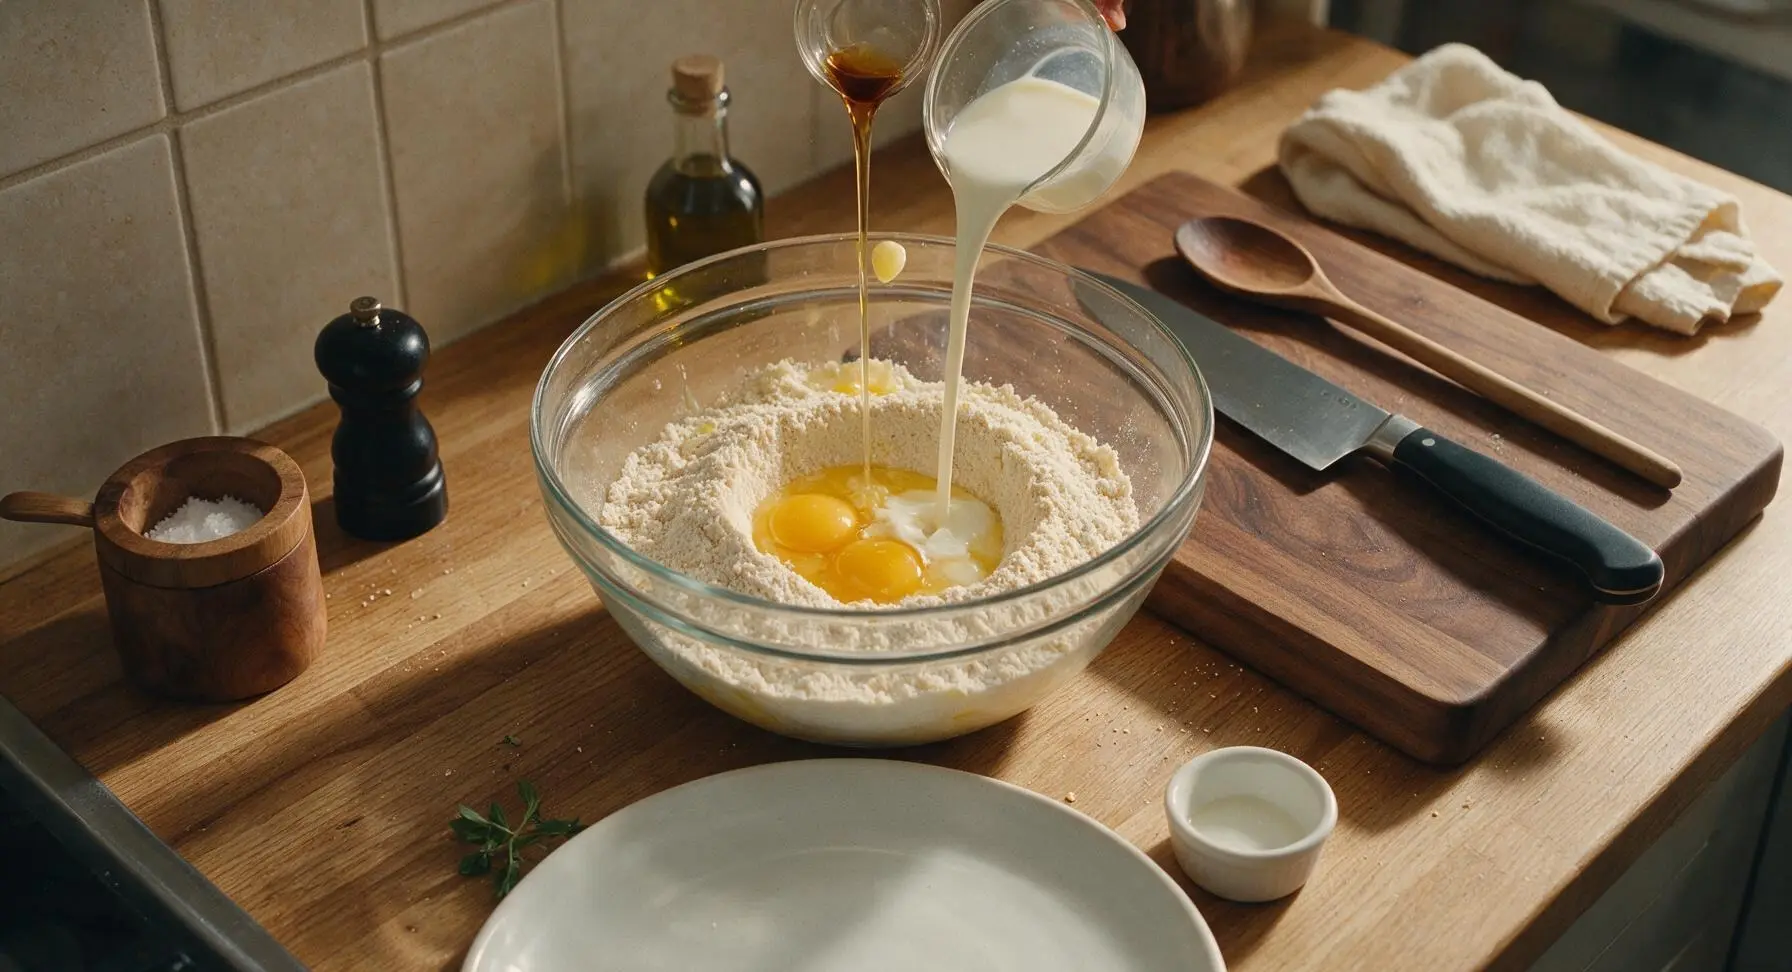
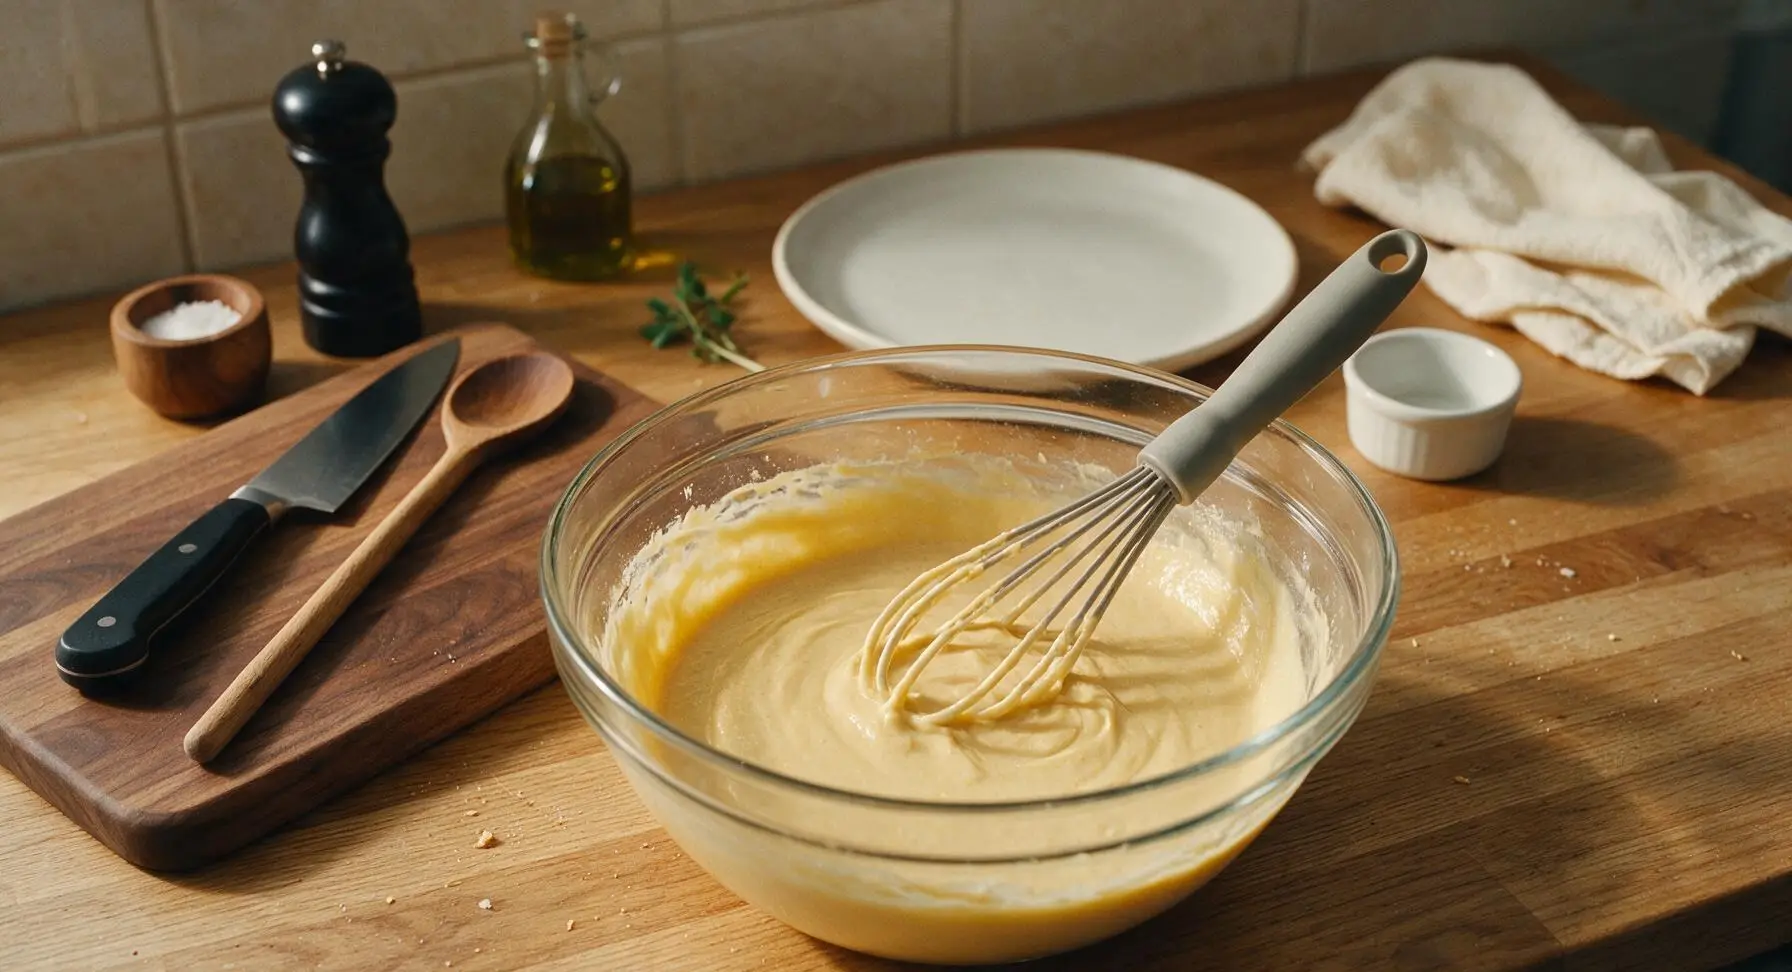
Make a small well in the center of the dry ingredient mixture. Add the 2 room-temperature large eggs, 1/4 cup whole milk, 4 tbsp melted cooled butter, and 1 tsp vanilla extract to the well. Whisk slowly at first to avoid splashing, then increase speed to mix until the batter is completely smooth, with the consistency of heavy cream—no lumps should remain. Let the batter rest for 5 minutes at room temperature to allow flour to hydrate.
Cook Waffle Rounds
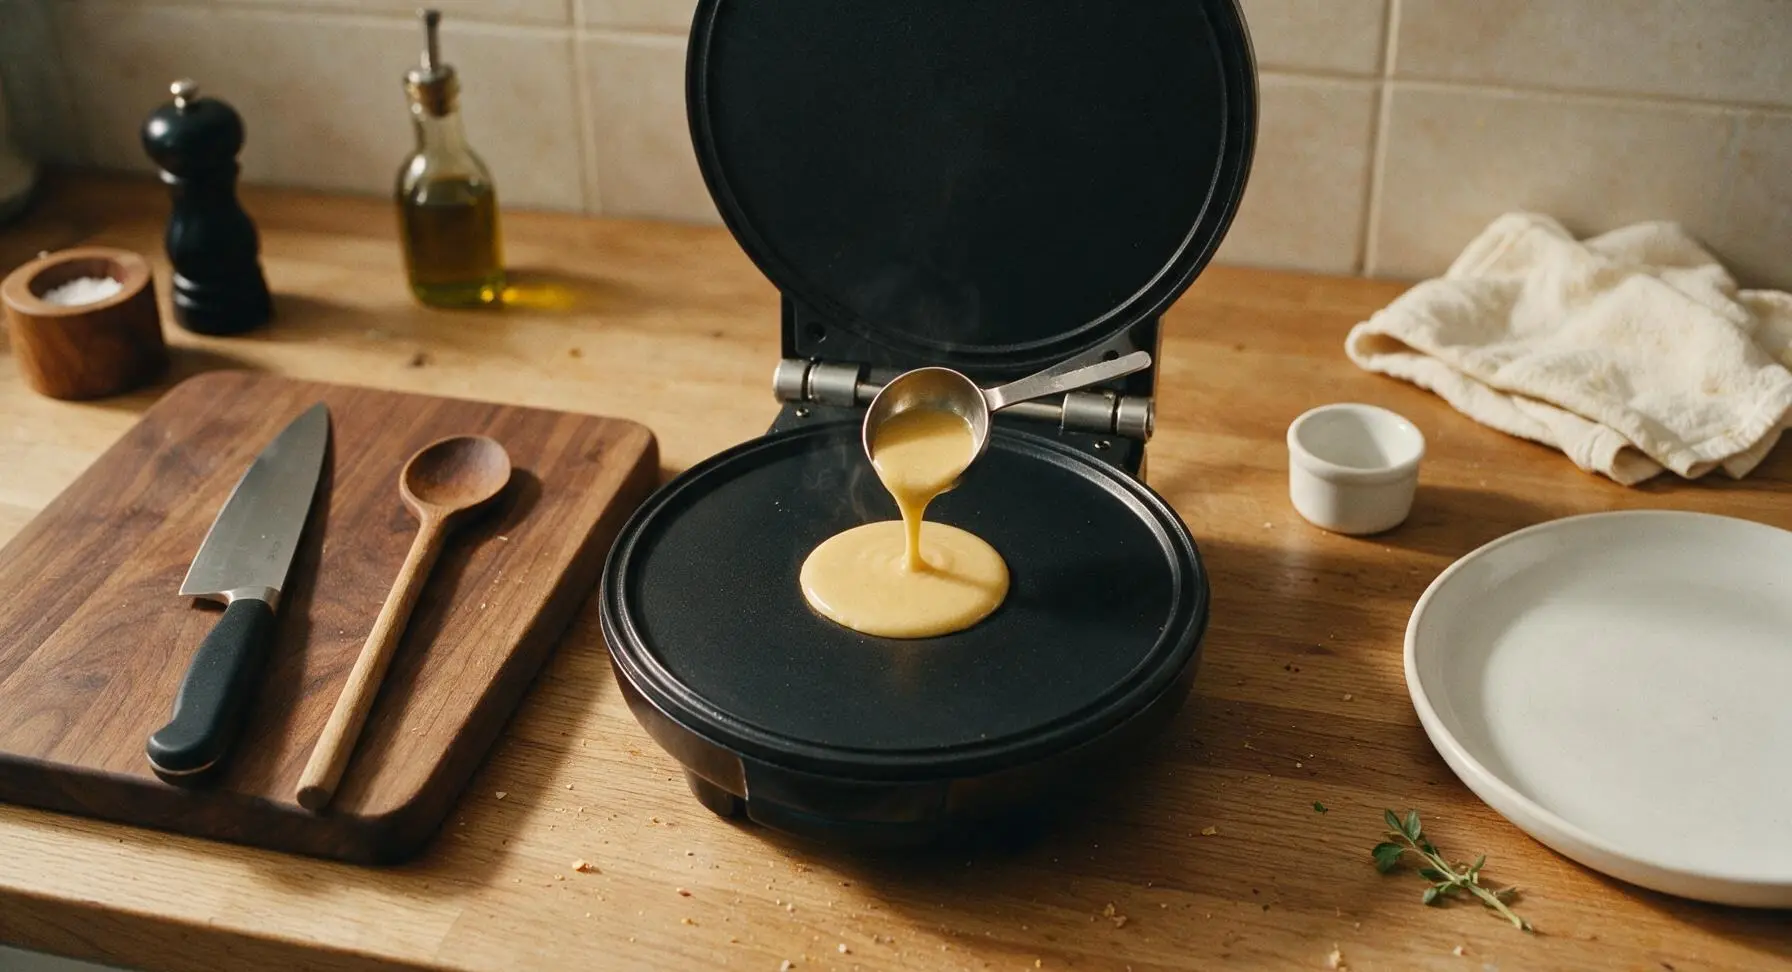
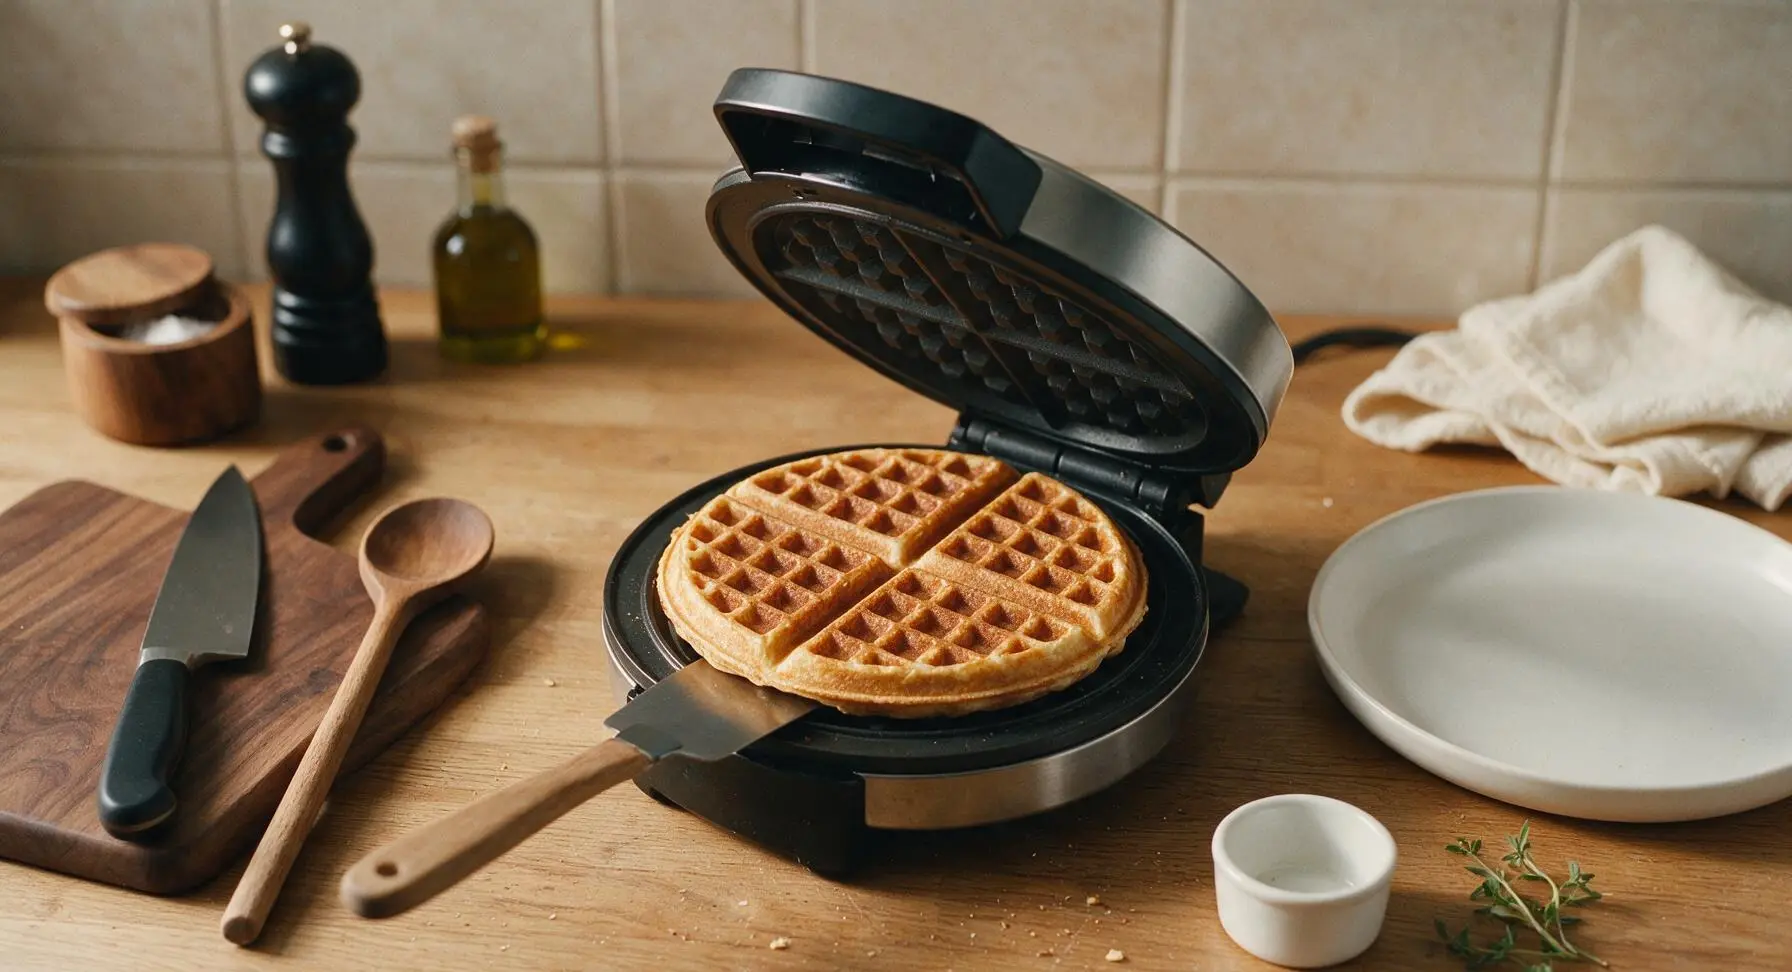
Once the waffle maker is fully preheated, pour 3 tbsp of batter directly into the center of the lower cooking plate. Close the lid and cook for 1 minute 15 seconds to 1 minute 30 seconds, until the waffle is evenly golden brown across its entire surface—pale waffles will be soft and not hold their shape, while overcooked waffles will be bitter. Do not overpour batter, as it will squeeze out the edges of the waffle maker.
Shape Waffle Cups
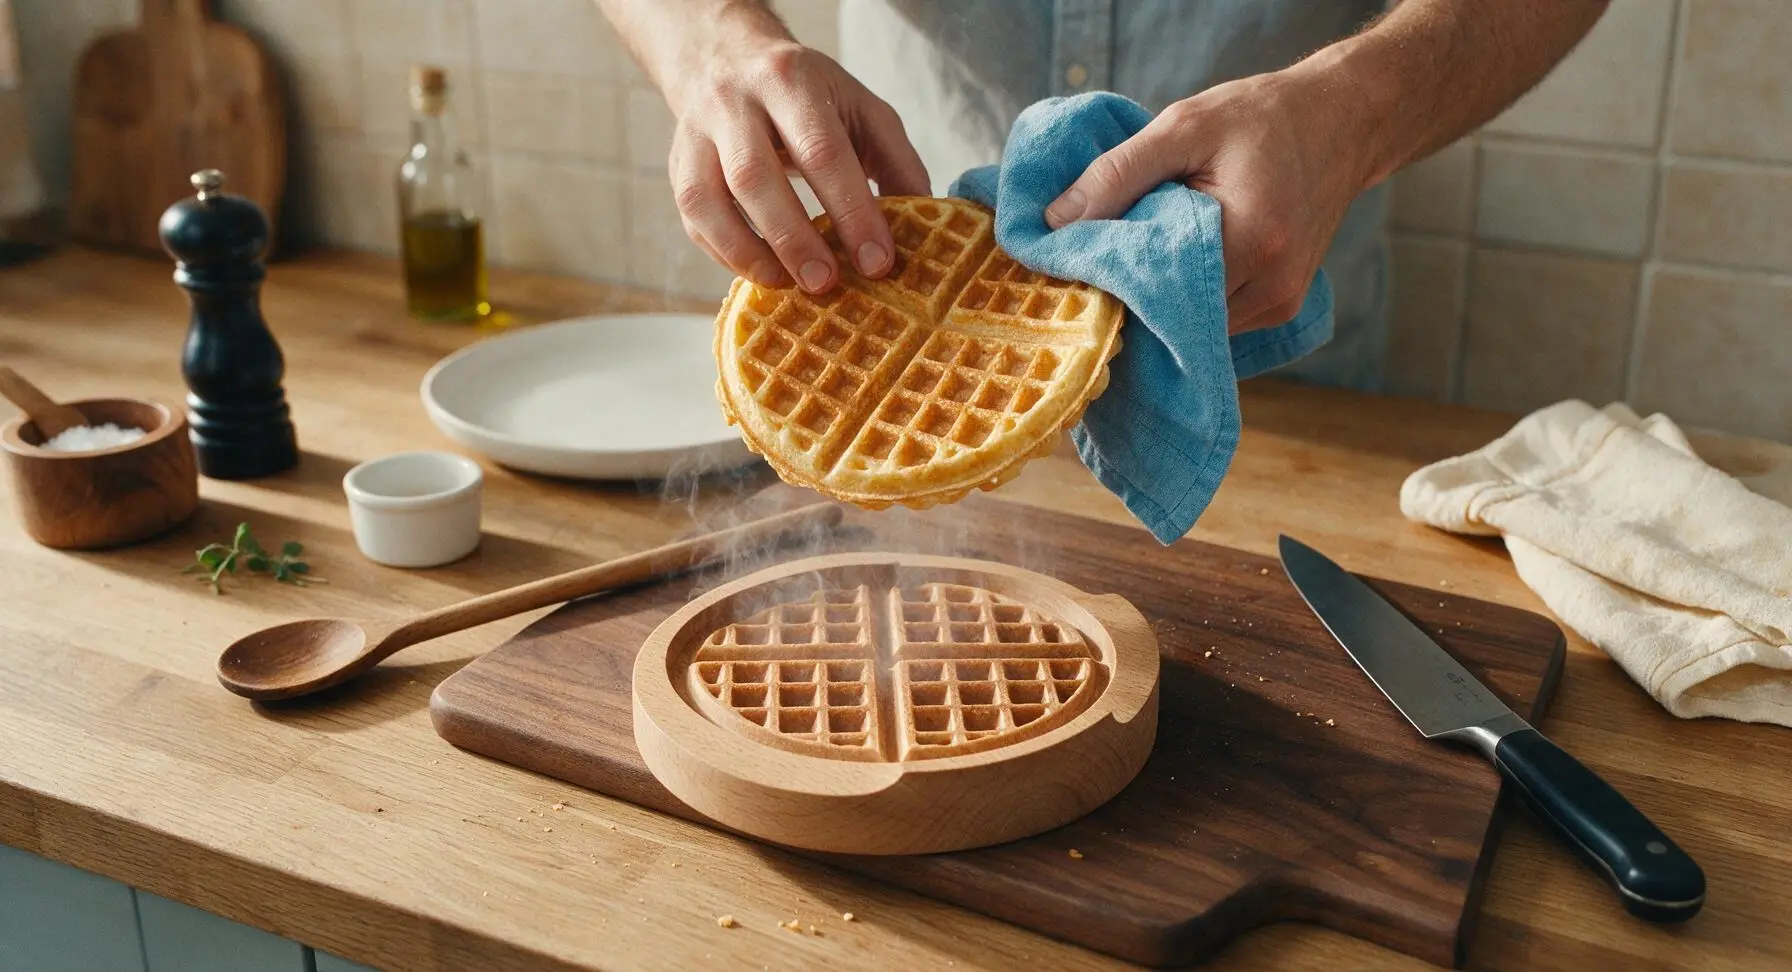
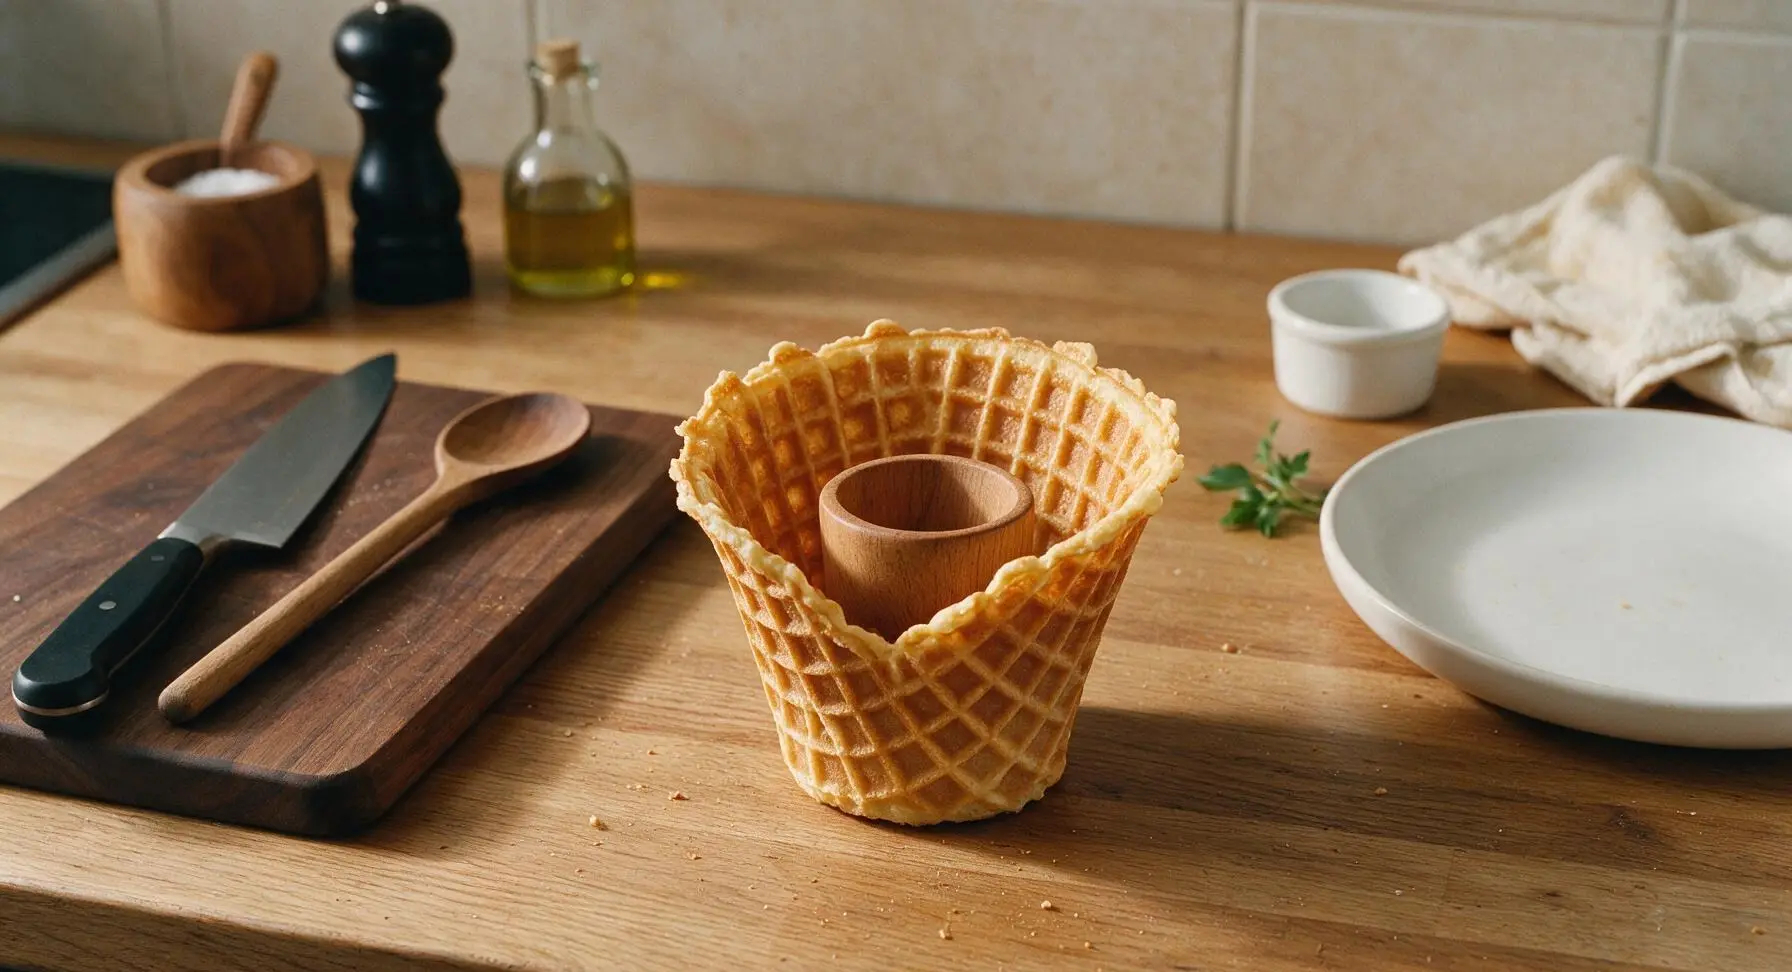
Working extremely quickly (the waffle will harden in 10-15 seconds once removed from heat), use the offset spatula to lift the hot waffle round off the maker and drape it centered over the top of the wooden waffle cup form. Gently press the waffle down around the form to create a cup shape with a flat base and flared sides, pressing the edges gently to avoid sharp points. Use a clean folded edge of the linen towel to press the hot waffle if it is too warm to touch with bare fingers to avoid burns. Hold the shape for 10 seconds until the waffle sets, then carefully lift it off the form.
Cool Cups Fully
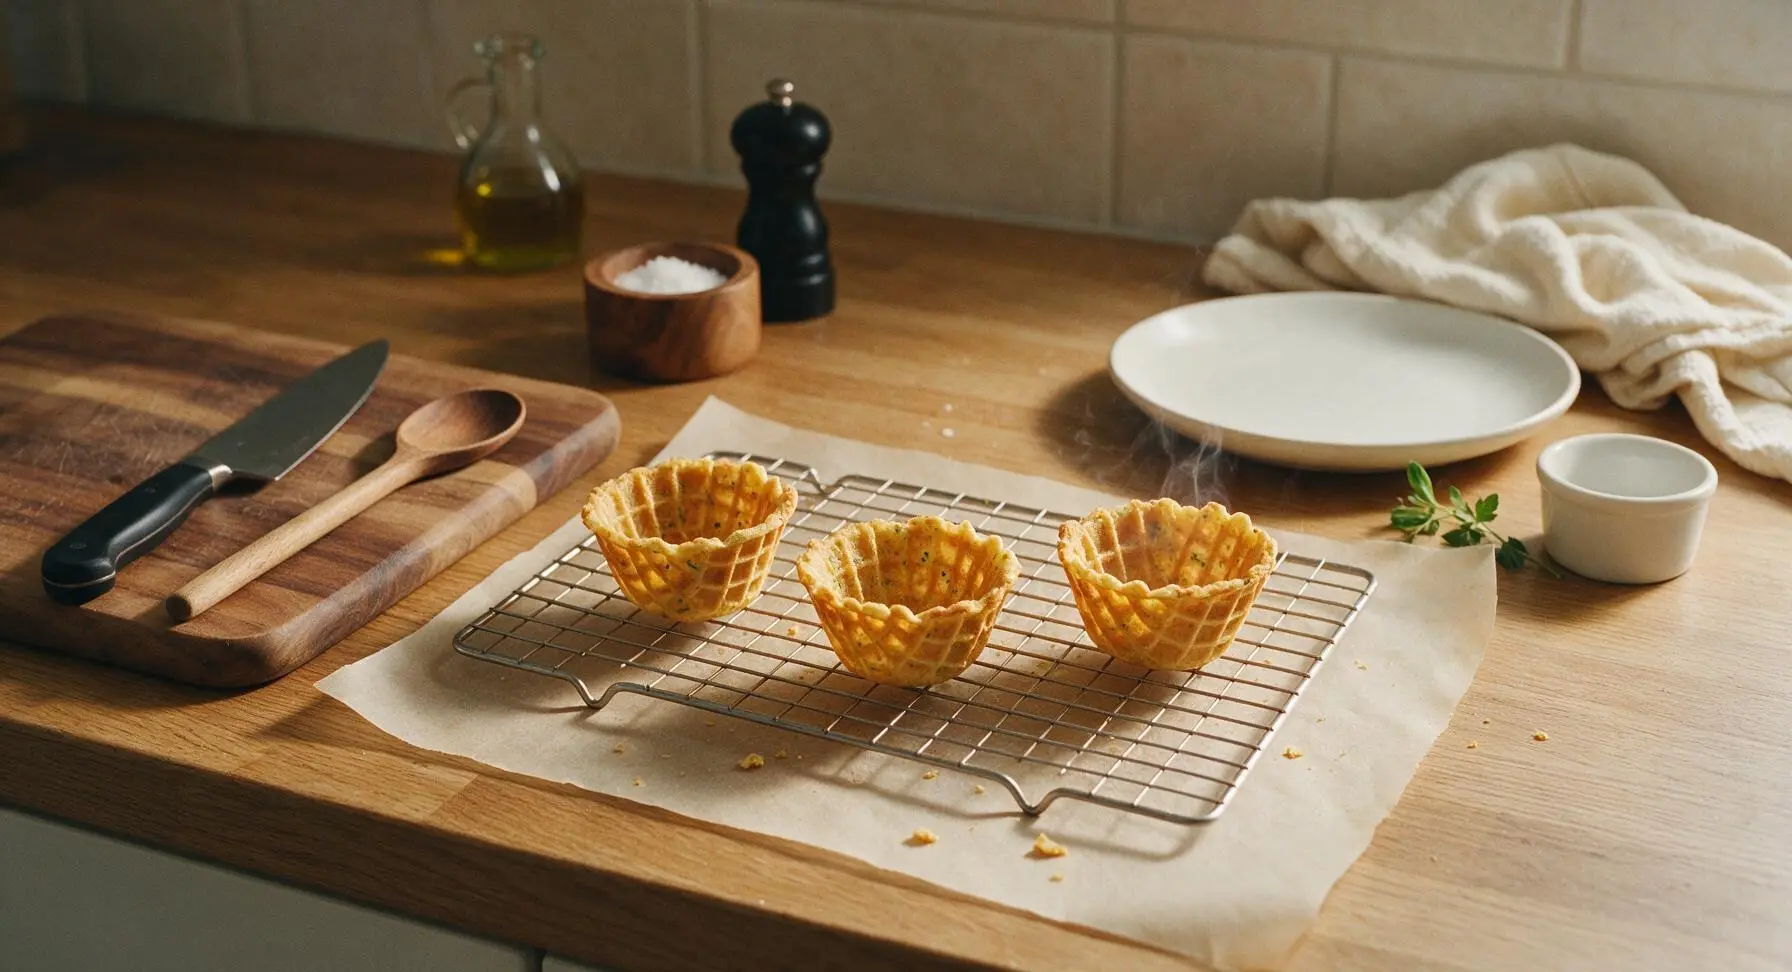
Transfer the shaped waffle cup to the parchment-lined wire cooling rack, placing it open-side up to maintain its shape as it cools. Repeat the cooking and shaping process with the remaining batter, stacking cooled cups loosely once they are completely crisp and room temperature (about 5 minutes of cooling per cup). Do not stack warm cups, as they will bend and lose their shape.
Fill and Serve
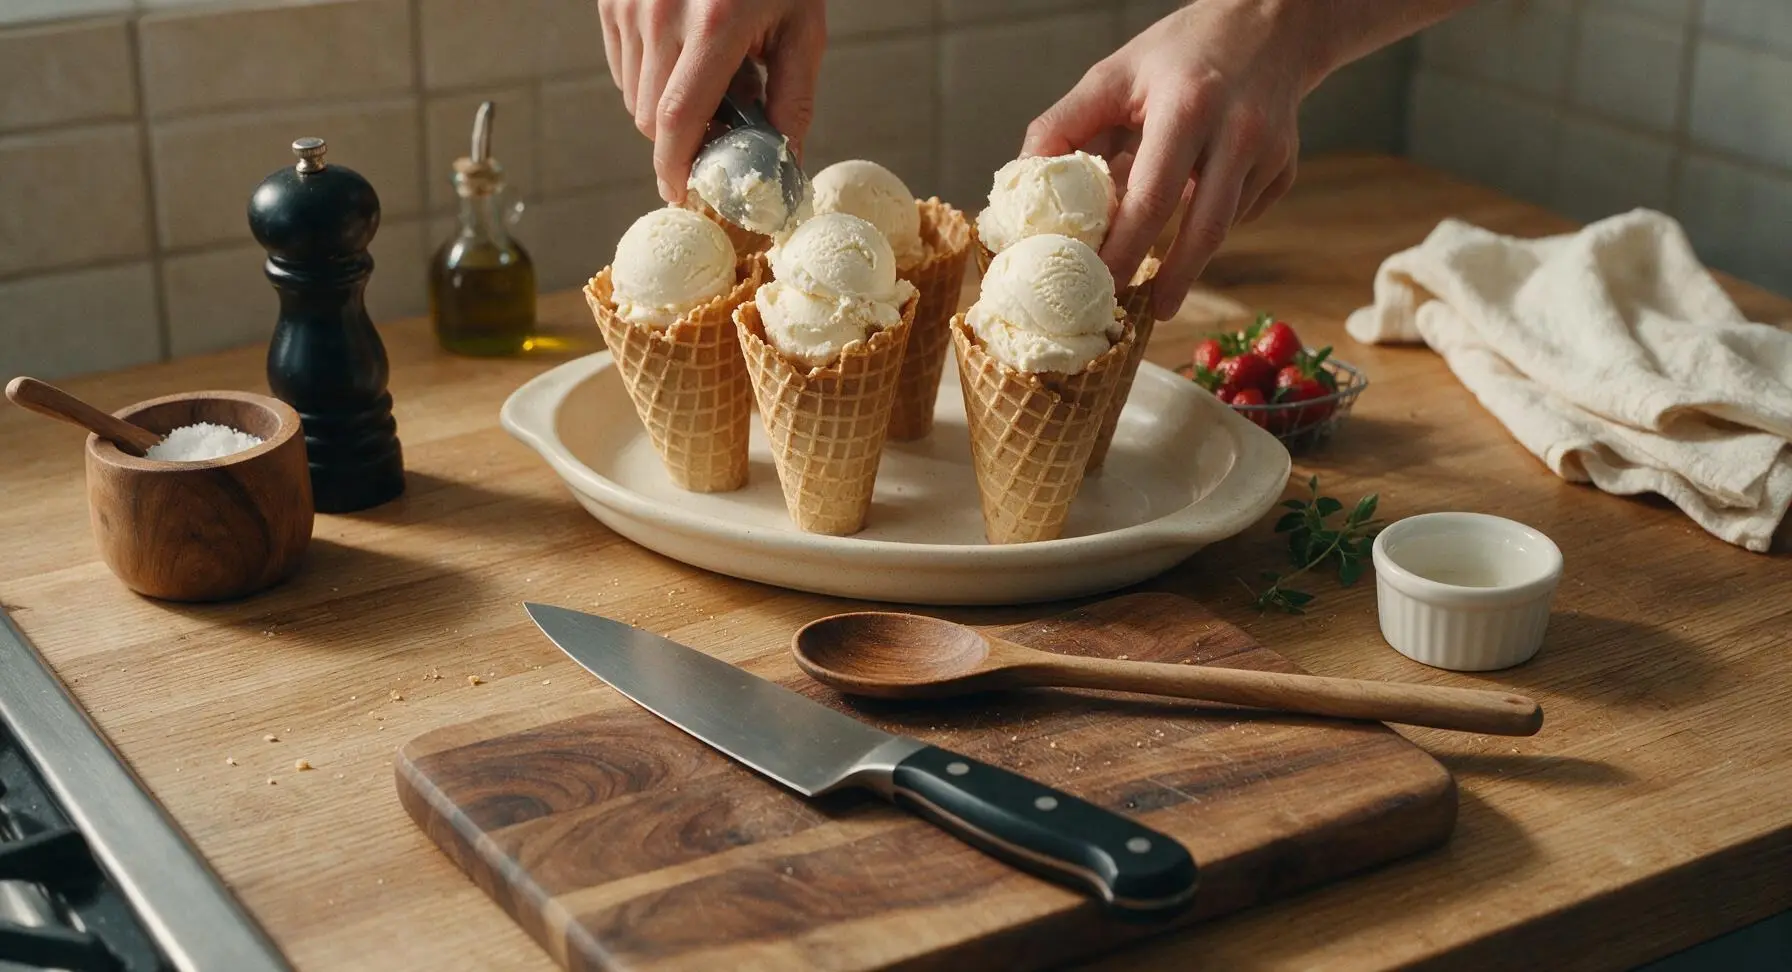
Once waffle cups are completely cooled to room temperature and rigid to the touch, set them upright on the serving platter. Fill each cup with 2 small scoops of ice cream, and add desired toppings (sprinkles, fresh fruit, chocolate drizzle, nuts) right before serving to prevent the waffle from absorbing moisture and turning soggy.
Tips
2.Arrange your shaping tools (offset spatula, wood form, cooling rack) within 1 foot of the waffle maker before you start cooking: cooked waffles harden and become brittle in as little as 10 seconds once removed from heat, so fumbling for tools will lead to cracked, misshapen cups.
3.Wait to fill waffle cups with ice cream until immediately before serving: even fully crisp, cooled waffles will absorb moisture from melting ice cream after 10-15 minutes, turning soft and soggy if filled too far in advance.






OMG these homemade waffle cups are such a game changer! I made them for my son’s end-of-summer pool party this weekend and every single kid (and parent!) was raving about them. I stuffed them with vanilla bean ice cream, rainbow sprinkles, and a little drizzle of hot fudge and they were gone in 10 minutes flat. The only issue I had was getting the first couple to hold their cup shape while cooling—any pro tips for that? Cook time was totally accurate too, right around 20 minutes start to finish once my waffle iron was preheated!
SO good. I was honestly intimidated at first because the medium difficulty rating made me think I’d totally mess these up, but they were way easier than I expected. I stirred a little extra cinnamon into the batter and paired the cups with salted caramel ice cream for date night with my girlfriend, and she said they were better than the overpriced ones at the fancy dessert shop downtown. 10/10 will be making these every weekend from now on.
Wait these are absolute perfection! I’ve been wasting so much money on the store-bought waffle bowls that get all soggy before you even finish scooping ice cream into them. These stay crispy for ages, even when I make them a day ahead for our weekly family dinner. I did find the batter a little runny my first go-round, so I added an extra tablespoon of all-purpose flour and it was the perfect consistency. My kids loved decorating their own cups with sprinkles before adding ice cream, it turned into such a fun little after-dinner activity!