1.What makes these buttermilk waffles crispy on the outside instead of soggy?
▾
That signature crisp comes from a few key tricks: first, baking soda reacts with tangy buttermilk to create a light, airy structure that crisps up beautifully on hot iron grids. Always preheat your waffle iron fully (it’s ready when a drop of water sizzles and evaporates in 2 seconds), avoid overmixing the batter, and brush grids lightly with melted butter before pouring each batch.
2.Can I substitute low-fat or non-fat buttermilk for full-fat in this recipe?
▾
You absolutely can, though full-fat buttermilk will give you a richer, more tender crumb and slightly deeper tang. If you only have low-fat, add 1 tablespoon of melted, cooled unsalted butter per cup of low-fat buttermilk to make up for missing fat, so you don’t end up with dry, bland waffles that lack that classic buttermilk zing.
3.Do I really need to rest the waffle batter before cooking?
▾
Yes, that 5 to 10 minute rest is non-negotiable for perfect texture! Resting lets the flour fully hydrate, gives leaveners time to create small, even air bubbles, and lets relaxed gluten keep waffles tender instead of chewy. You’ll notice the batter thickens slightly as it rests—don’t stir it again right before pouring, or you’ll knock out those precious air bubbles.
4.How do I make the salted maple butter topping?
▾
It’s incredibly simple! Let 1 stick (½ cup) of unsalted butter come to room temperature until it’s soft enough to stir, then mix in 3 tablespoons of pure maple syrup and ¼ teaspoon of flaky kosher salt. Whip lightly with a fork until smooth, then chill for 10 minutes if you prefer a firmer spread, or serve it soft to melt over hot waffles right out of the iron.
5.What spring berries work best for topping these waffles?
▾
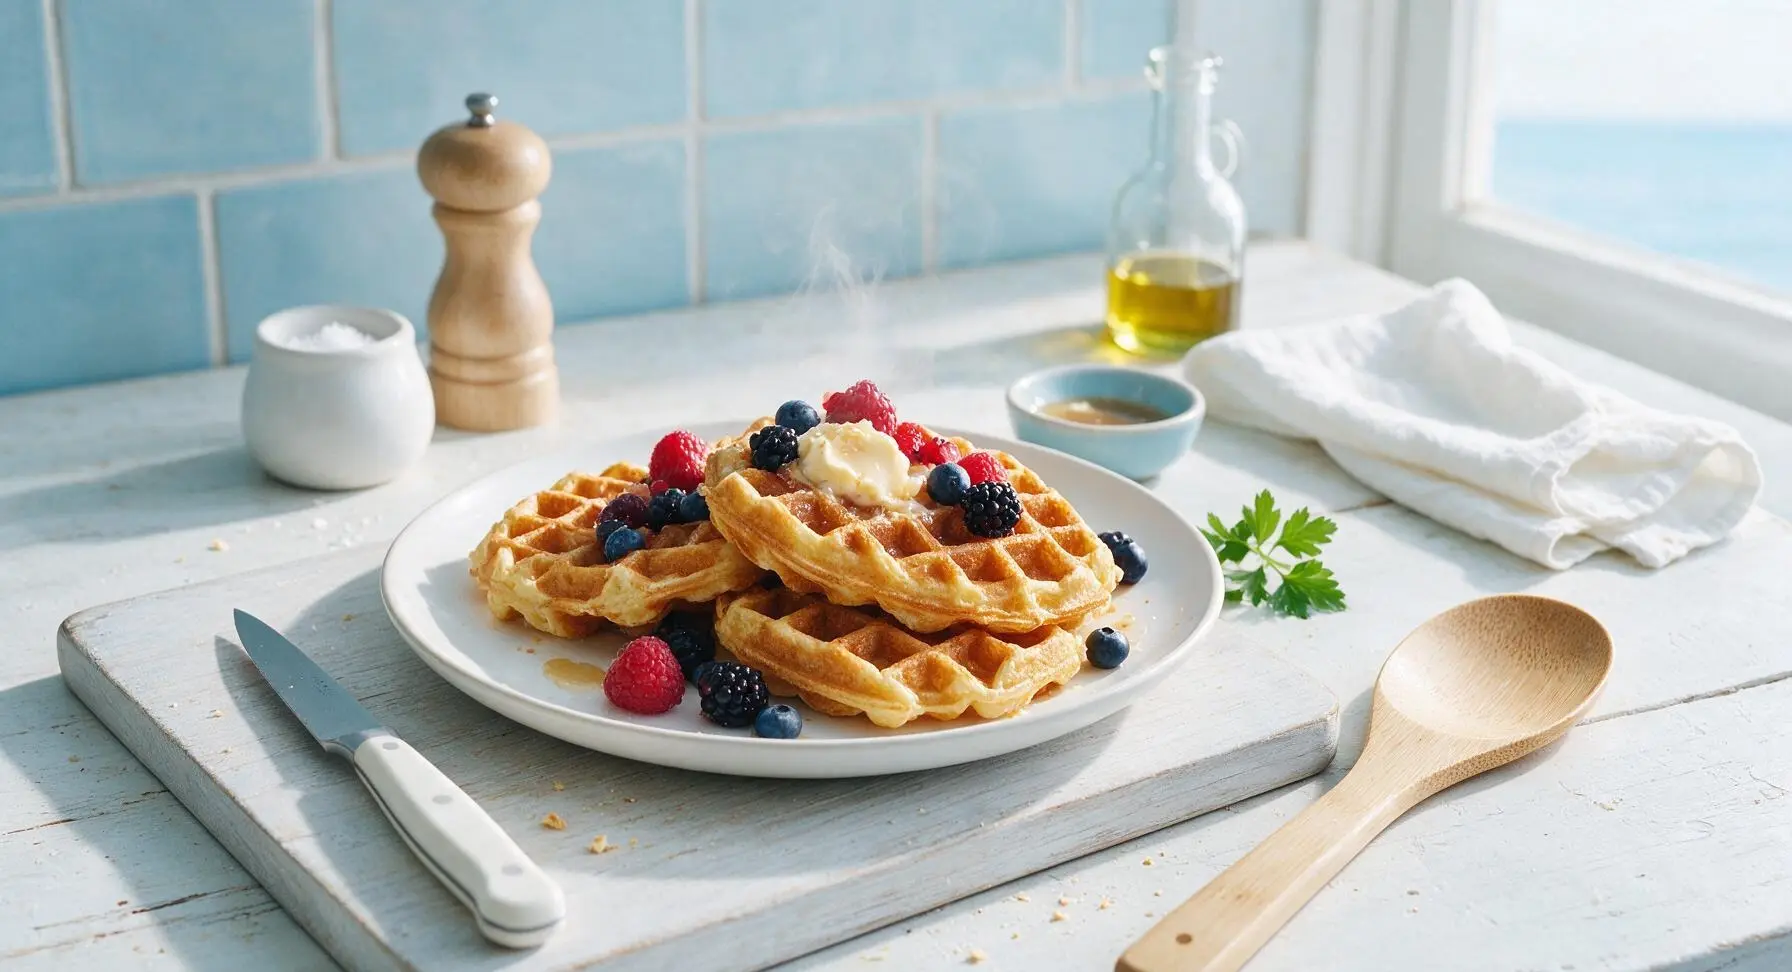
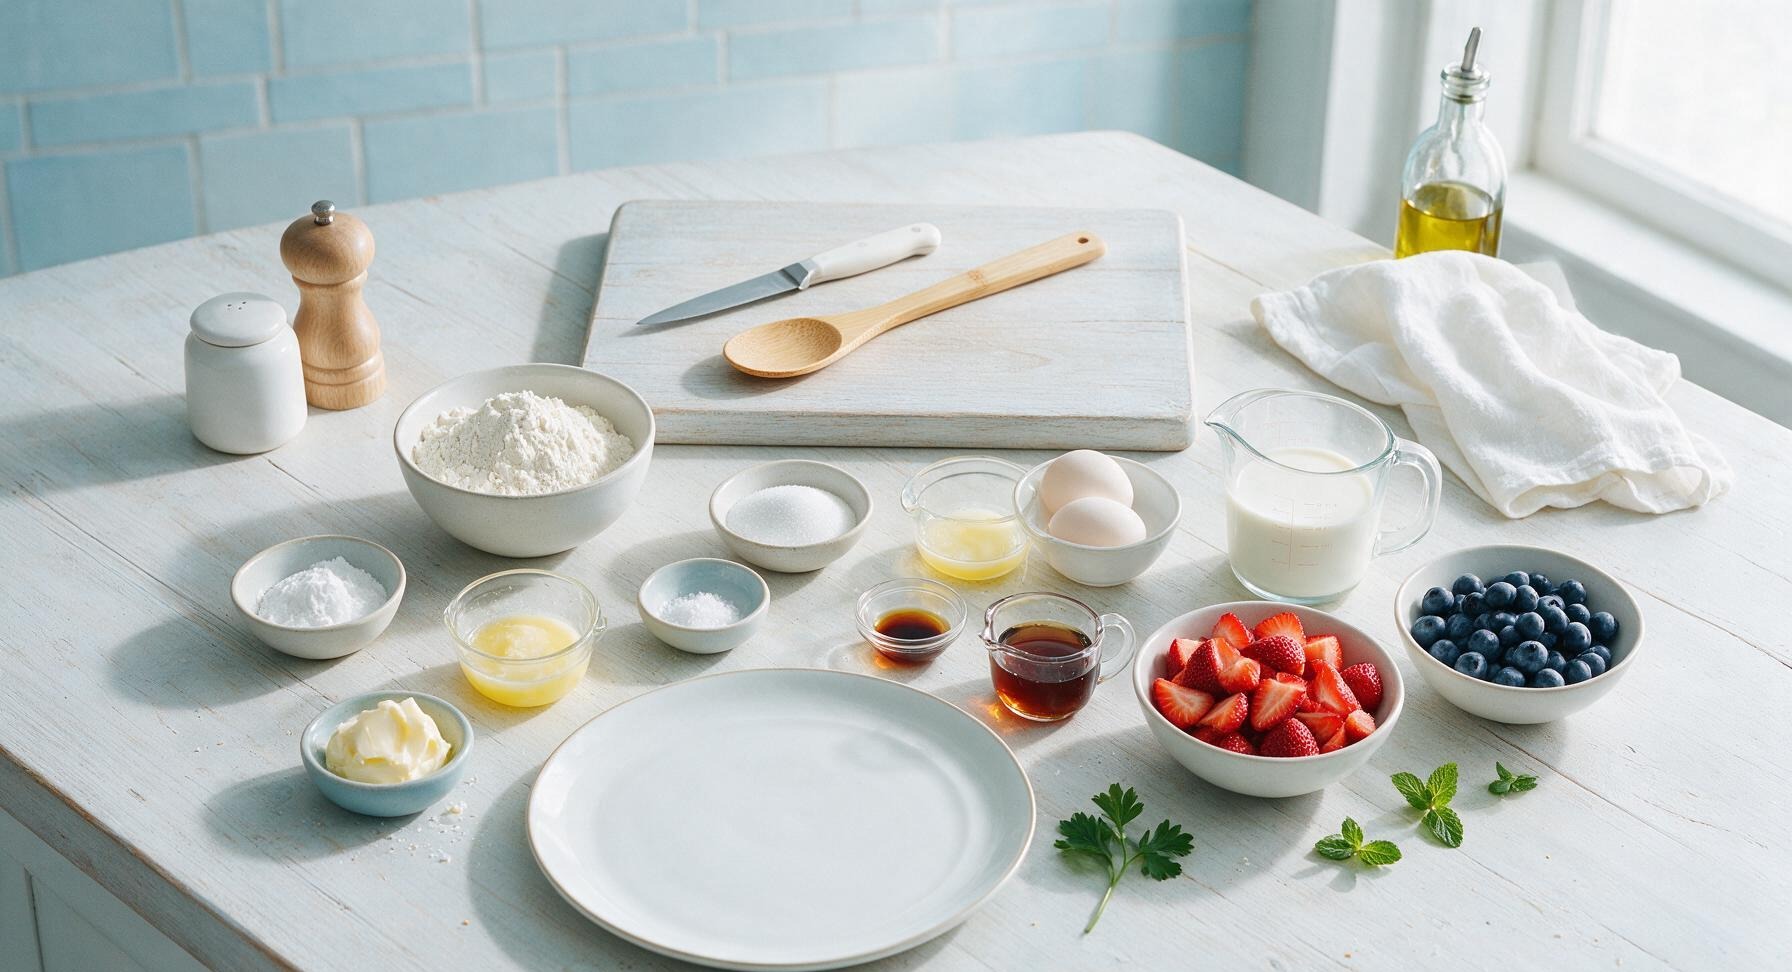
You can’t go wrong with in-season spring picks: hulled and sliced bright strawberries, plump fresh blueberries, tart red raspberries, and delicate golden raspberries are all perfect. Skip frozen berries here, since they release excess juice as they thaw that will make crispy waffle tops soggy. Toss slightly underripe berries with a tiny pinch of sugar 10 minutes before serving to bring out their natural juices.
6.Can I make the waffle batter ahead of time for brunch?
▾
You can prep the dry ingredients (flour, baking powder, baking soda, salt, sugar) in an airtight container up to 3 days ahead, but don’t mix in wet ingredients (buttermilk, eggs, melted butter) until right before you plan to cook. If you mix wet and dry too far ahead, leaveners will lose their power, leading to flat, dense waffles instead of light, crispy ones.
7.My waffles are coming out dense and heavy—what did I do wrong?
▾
Dense waffles almost always come from one of three common missteps: overmixing the batter (which develops tough gluten and knocks out air bubbles), not preheating your waffle iron fully, or using expired leaveners. Remember: lumpy batter is good! Stir just until no dry flour streaks remain, and test leaveners for freshness by dropping a pinch into hot vinegar—it should fizz immediately.
8.What waffle iron setting should I use for the crispiest results?
▾
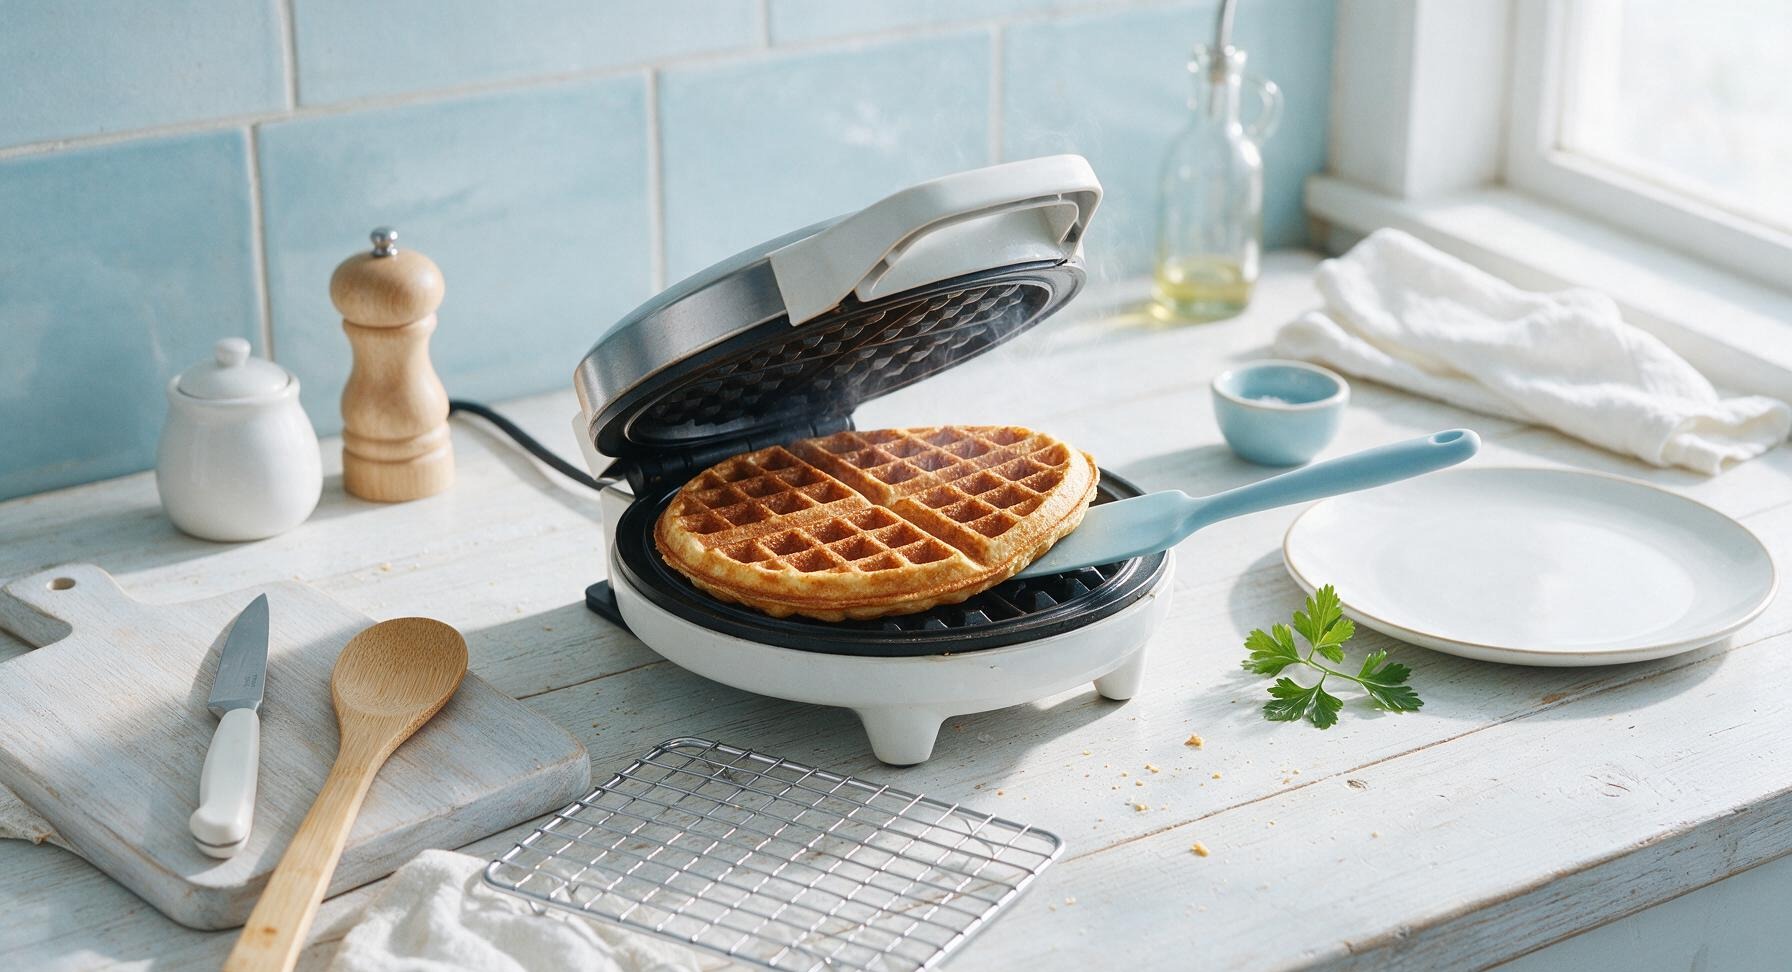
Aim for a medium-high heat setting, which cooks the exterior to a deep golden crisp without burning it before the interior cooks through. If your iron has a “crisp” preset, that works great, but don’t rely solely on the built-in “done” light. Wait until steam stops billowing out from the iron edges before checking—waffles are perfect when they lift easily off the grids without sticking.
9.How do I keep cooked waffles crispy while I make batches for a crowd?
▾
Skip stacking waffles on a plate, which traps steam and makes them soggy fast! Instead, arrange cooked waffles in a single layer on a wire rack set over a baking sheet, and hold them in a 200°F oven while you cook the rest. This lets air circulate around every waffle, keeping exteriors crisp and interiors fluffy until you’re ready to serve.
10.Can I freeze leftover waffles for quick weekday breakfasts?
▾
Absolutely—these waffles freeze beautifully! Let cooked waffles cool completely to room temperature on a wire rack, then stack them between sheets of parchment paper to prevent sticking, and store in a sealed freezer bag for up to 3 months. Reheat straight from frozen in a toaster or toaster oven for 2 to 3 minutes to bring back that perfect crisp; skip the microwave, which turns them soggy.
11.I don’t have buttermilk on hand—what’s a good substitute?
▾
If you don’t have store-bought buttermilk, make a quick DIY version: for every 1 cup of buttermilk the recipe calls for, add 1 tablespoon of white vinegar or fresh lemon juice to a liquid measuring cup, then top with whole milk to reach the 1 cup line. Let it sit 5 minutes until it curdles slightly, then use it exactly as you would regular buttermilk for the same tang and leavening reaction.
12.Do I need to separate eggs and beat the whites for extra fluffy waffles?
▾
You don’t need to for this recipe! The combination of baking powder, baking soda, and acidic buttermilk creates enough lift for a fluffy interior without the extra step of whipping egg whites. That said, if you want an extra-cloudy crumb, you can separate eggs, fold stiffly beaten whites into the finished batter, and cook immediately for even taller, airier waffles.
13.What’s the best way to serve these so toppings don’t make waffles soggy?
▾
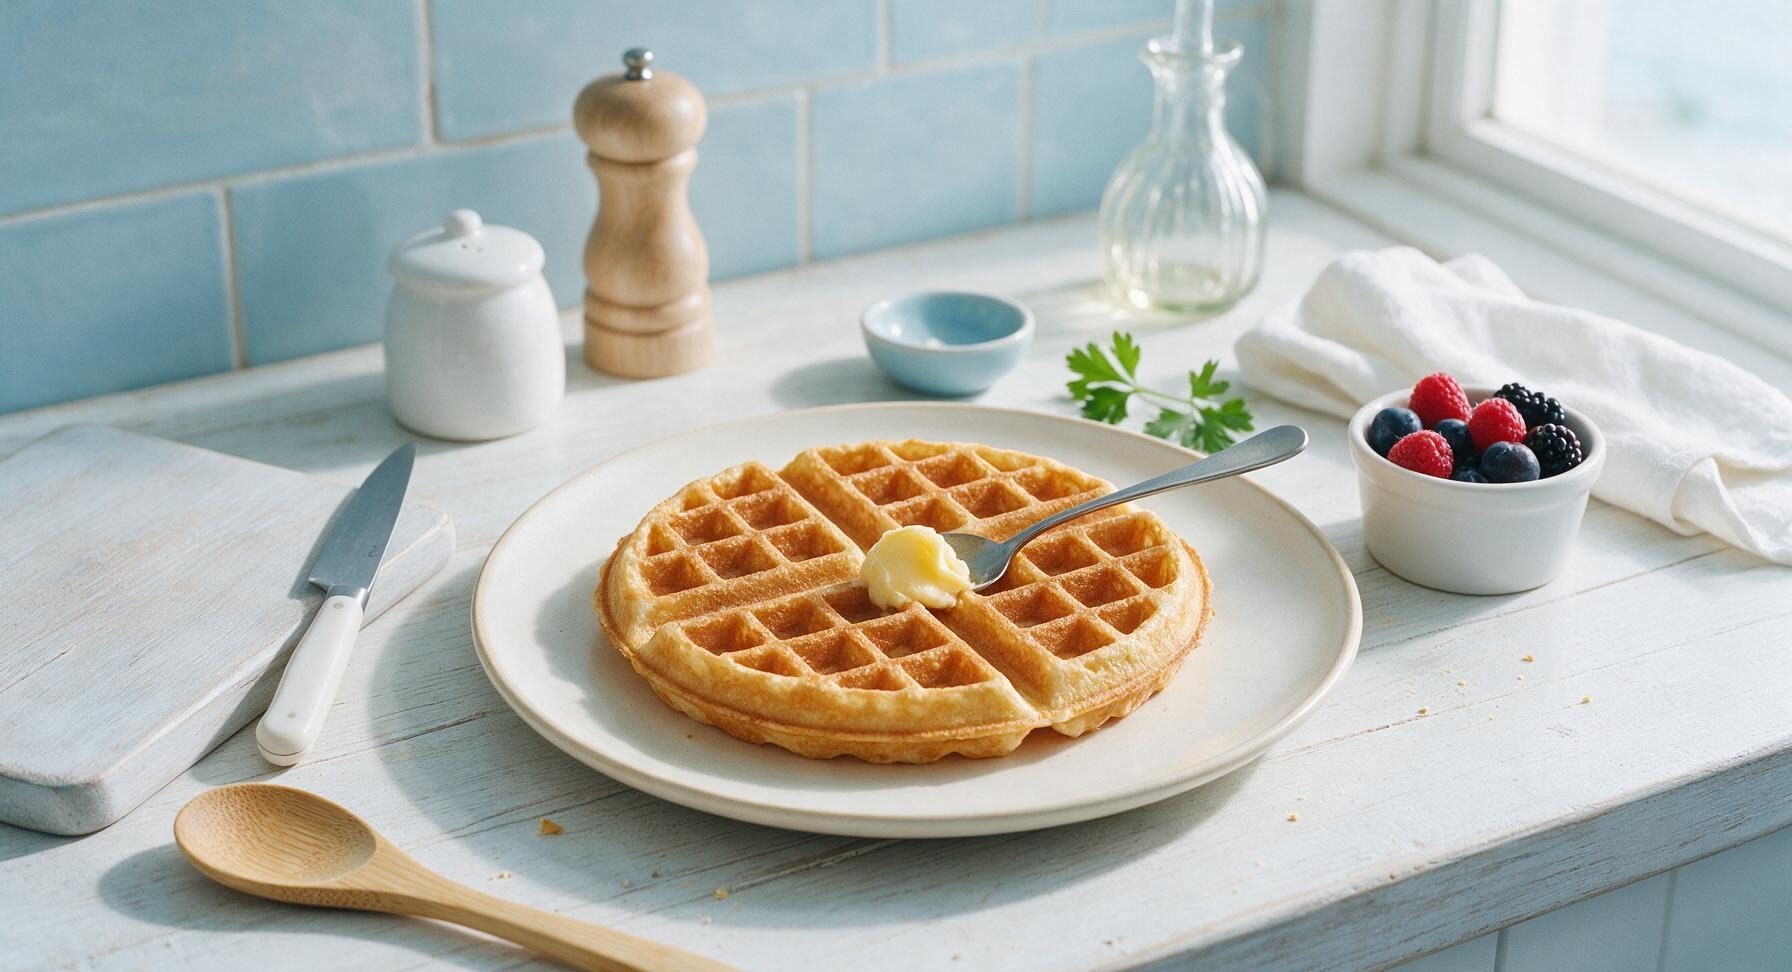
Serve toppings on the side for build-your-own waffles if you’re feeding a crowd, so guests can add maple butter and berries right before they eat. If plating individual servings, add a thin pat of maple butter to the hot waffle first so it melts into the grids, then top with berries right before serving—don’t douse waffles in syrup ahead of time, as that softens the crisp crust fast.
14.Can I make these waffles gluten-free?
▾
You can easily adapt this recipe for gluten-free eaters! Swap the all-purpose flour for a 1:1 gluten-free all-purpose baking blend that contains xanthan gum, and add an extra ¼ teaspoon of baking powder to boost lift. Let the batter rest 10 full minutes to let the gluten-free flour hydrate fully, which prevents gritty, crumbly waffles that fall apart on your plate.
15.How much batter should I pour per waffle to avoid messy overflow?
▾
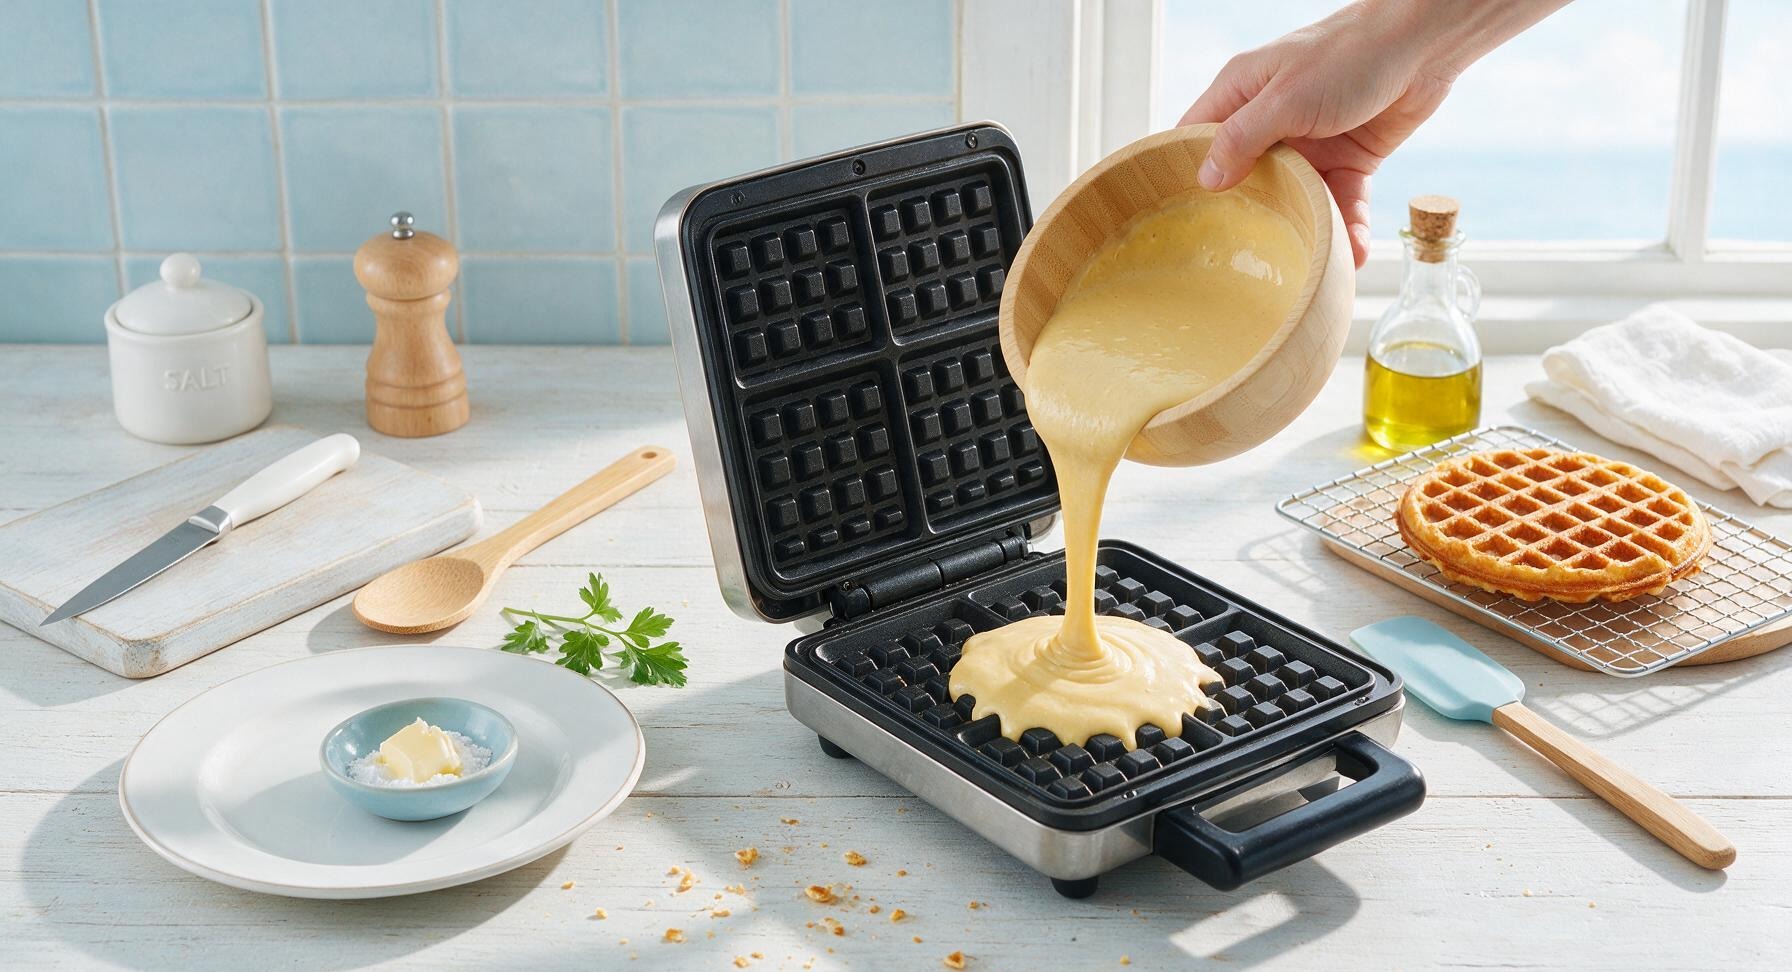
It depends on your waffle iron size, but a good rule of thumb is to pour ⅓ to ½ cup of batter per 4-inch waffle grid, pouring right in the center so it spreads evenly to the edges as the lid closes. Resist the urge to overpour—batter puffs up as it cooks, and too much will leak out the sides and leave a burnt, sticky mess on your iron that’s a pain to clean.
16.Is there a way to make the maple butter dairy-free?
▾
Definitely! Swap the regular unsalted butter for a high-quality, firm dairy-free butter stick (look for one with a neutral, creamy flavor, not a strong coconut aftertaste) and mix it with pure maple syrup and a pinch of flaky salt just like the original recipe. Let it chill for 15 minutes after mixing to firm up, so it has the same rich, spreadable consistency as dairy-based maple butter.
17.Why do my waffles stick to the waffle iron even when I grease it?
▾
Sticking usually happens for one of three reasons: your iron isn’t fully preheated, you tried to lift the waffle too early before the crust set, or you used cooking spray that leaves a sticky residue over time. For the first batch, brush grids with melted butter instead of spray, wait until steam stops escaping before opening the lid, and make sure your iron is hot enough before pouring batter.
18.Can I add mix-ins directly to the waffle batter?
▾
You can, but add them strategically to avoid soggy, uneven waffles! Toss small mix-ins like mini chocolate chips, lemon zest, or finely chopped toasted pecans with a pinch of flour first to keep them from sinking to the bottom of the batter, then fold them in very gently right before cooking. Avoid adding juicy berries directly to the batter, as they’ll burst and leave soggy, discolored spots.
19.How do I clean my waffle iron easily after making these waffles?
▾
Wait until your waffle iron cools completely first—never submerge the electric base in water! Once cool, brush loose crumbs out of the grids with a dry pastry brush, then wipe away stuck-on butter or batter with a damp paper towel wrapped around the end of a chopstick to reach tight grid crevices. For stubborn sticky spots, dab a tiny bit of baking soda on the damp towel to lift residue without scratching nonstick surfaces.







OMG these waffles are a total game changer for our Sunday brunch! I’ve tried so many buttermilk waffle recipes that turn soggy 2 minutes off the iron, but these stayed crispy the whole time we ate. The maple butter is insane, I could slather that on everything. My kids begged for seconds before they even finished their first plate!
Made these for our neighborhood potluck last weekend and people were hovering around the waffle station the whole time! I topped them with strawberries and blueberries like the recipe says, plus a little dollop of whipped cream for extra flair. Only complaint is I didn’t make a double batch, they were gone in 10 minutes flat!
Took a chance on these for my partner’s birthday breakfast in bed and I fully scored partner of the year points. I was worried they’d be too much work for a lazy Saturday morning, but 20 minutes cook time is no joke! Super easy even for someone who burns toast half the time. The tang from the buttermilk pairs so perfectly with the sweet maple butter.
I’ve been making waffles for my grandkids for 40+ years and I have to say, this recipe is now my go-to. The crisp is better than my old recipe (don’t tell my late husband I said that!) and the fresh berries make it feel so bright for spring. I added a tiny pinch of cinnamon to the batter and it was chef’s kiss.
Meal prepped these for the week and they reheat so well in the toaster! I was skeptical waffles could stay crispy after being frozen, but I just popped them in the toaster oven for 2 minutes and they tasted like they were fresh off the iron. Saved me so much time on busy school mornings with my two teens.
SO good! I didn’t have buttermilk on hand so I did the milk + vinegar trick and it still turned out amazing. The maple butter is so rich I didn’t even need extra syrup, which saved me from a huge sticky mess at the table.
Took these camping last weekend and cooked them on our cast iron waffle maker over the fire. They got extra crispy and smoky, 10/10 would make again for camp trips. The fresh berries were a nice touch to cut through all the heavy camp food we’d been eating all weekend.
Made these for Easter brunch and they were a hit with my picky toddler! She usually turns her nose up at anything that isn’t chicken nuggets, but she ate a whole waffle covered in raspberries and kept signing ‘more’. 10/10 will be in our regular rotation.
Great base recipe! I swapped half the all purpose flour for whole wheat to make them a little heartier and they still came out super crispy, no dense weird texture at all. Topped them with blackberries and a little lemon zest, so bright for spring.
I’ve been chasing that perfect diner-style crispy waffle for years and this recipe finally nails it. No weird soggy center, perfectly golden edges, that slight buttermilk tang? I’m never buying frozen waffles again.
Made these for my roommate’s graduation brunch and everyone thought I ordered them from that fancy brunch spot downtown. Little do they know it took me 20 minutes and I barely know how to turn my oven on. The maple butter tastes like something you’d pay $5 extra for at a restaurant.
Super easy recipe, but my first batch came out a little softer than I wanted. Turns out my waffle iron was turned to the wrong setting! Cranked it up a notch for the second batch and they were perfectly crispy. Don’t be like me and forget to check your iron temp!
These were so good I ate three for dinner last night. No regrets. The maple butter should be illegal it’s so tasty.
Solid easy waffle recipe. I used a mix of strawberries and peaches instead of just berries because that’s what I had in the fridge, worked great. Will make again.
Made these for my book club meeting and everyone asked for the recipe! We paired them with mimosas and it was the perfect spring spread. So quick to throw together even when you’re running behind on hosting prep.
Taste great, but I wish the recipe noted how much batter to pour per waffle! I overfilled my iron on the first pour and made a huge mess all over my counter. Once I got the amount right they turned out perfect though.
Obsessed! I added a handful of white chocolate chips to half the batter for my sweet tooth and it was chef’s kiss. The crispy edges with the melty chocolate? Unbeatable weekend breakfast.