
waffle maker batter
intro
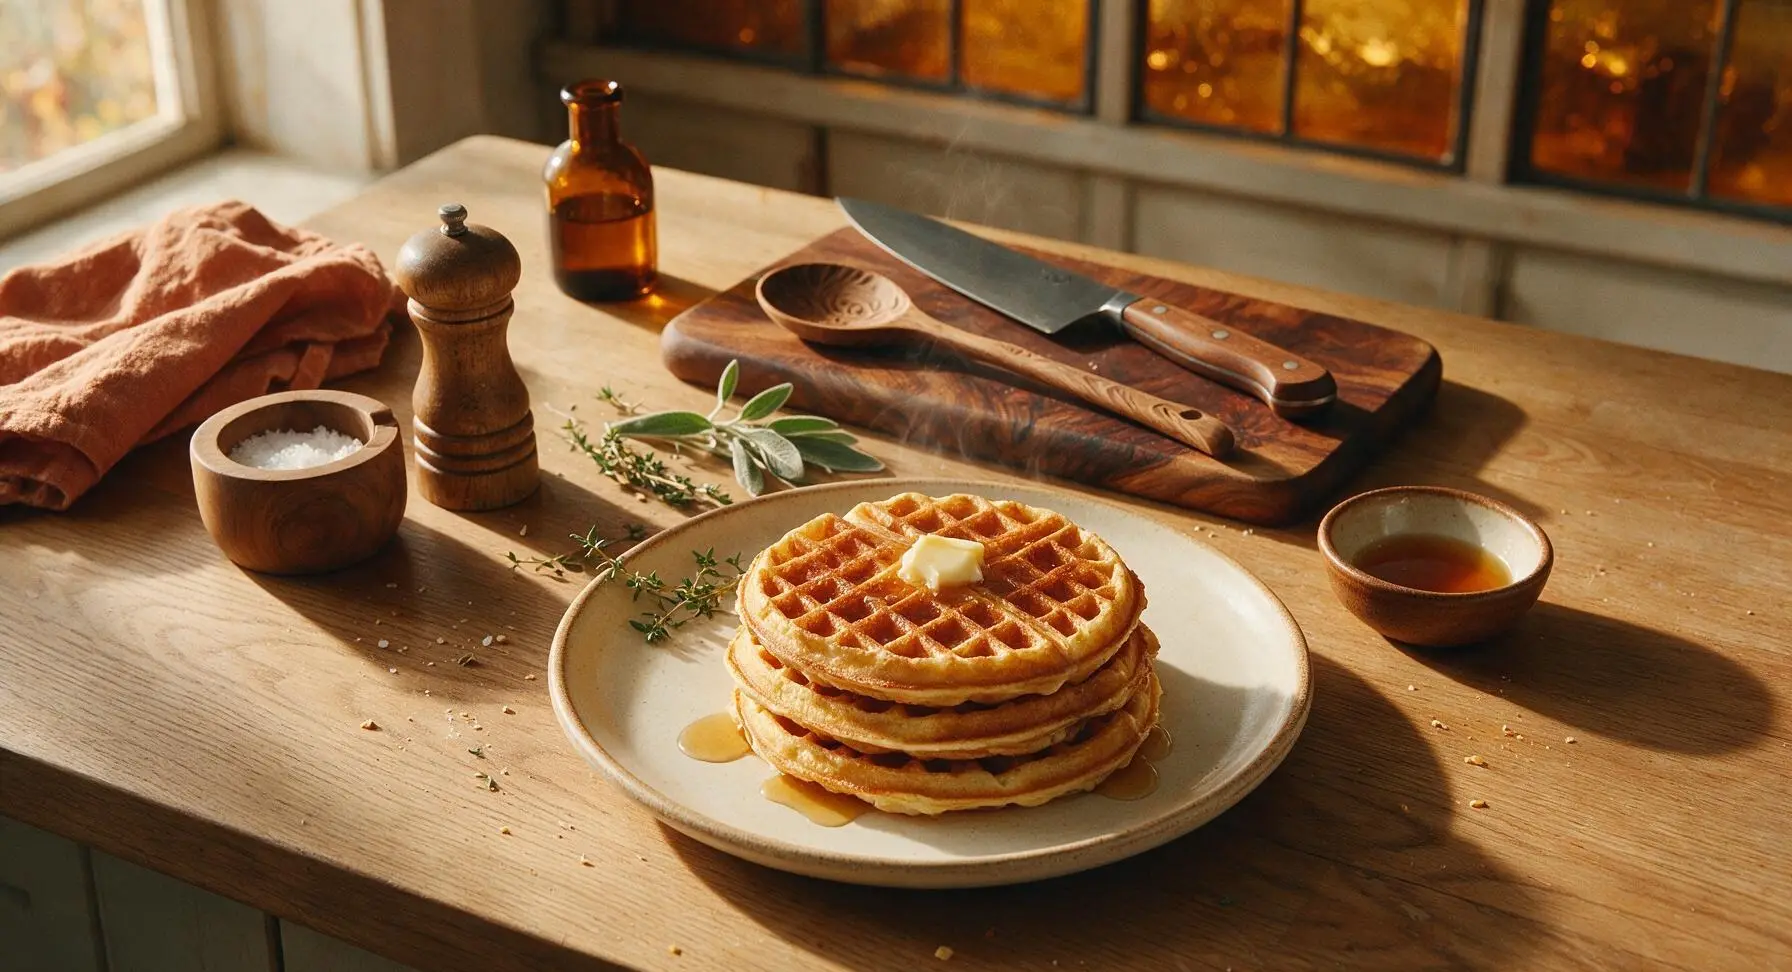
This reliable, no-fuss waffle maker batter turns out golden, crisp-edged, fluffy waffles every time, with simple pantry ingredients and zero fancy equipment required.
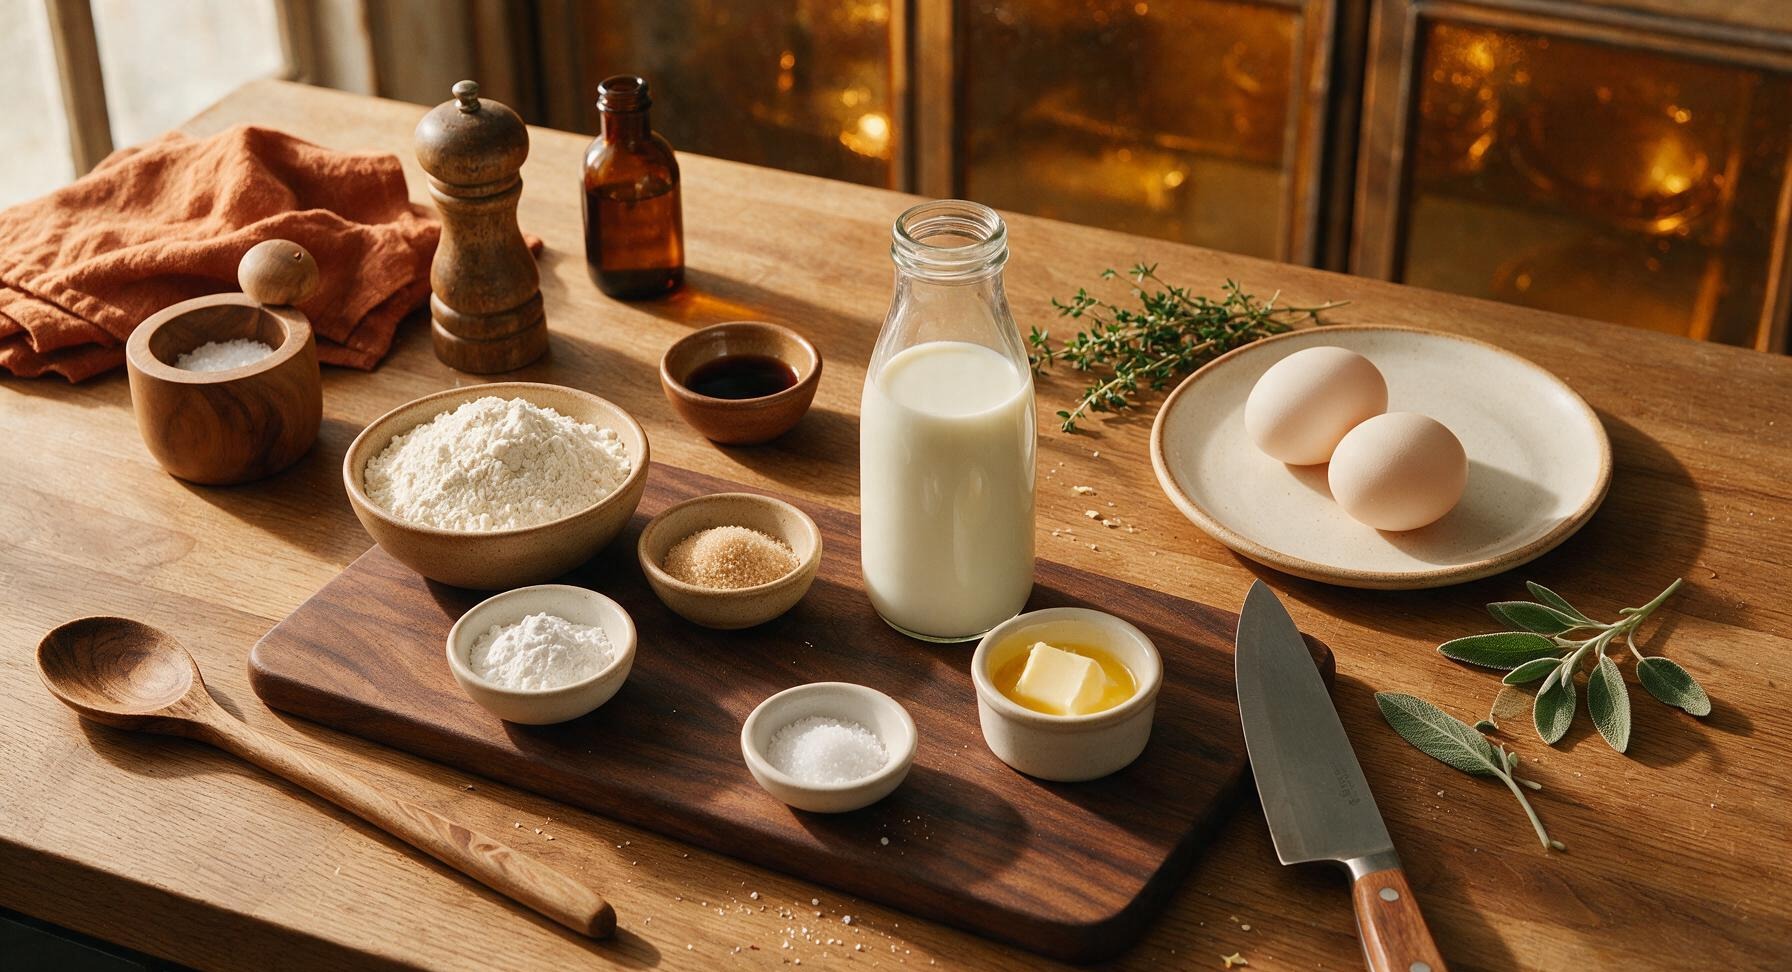
Ingredients
Steps
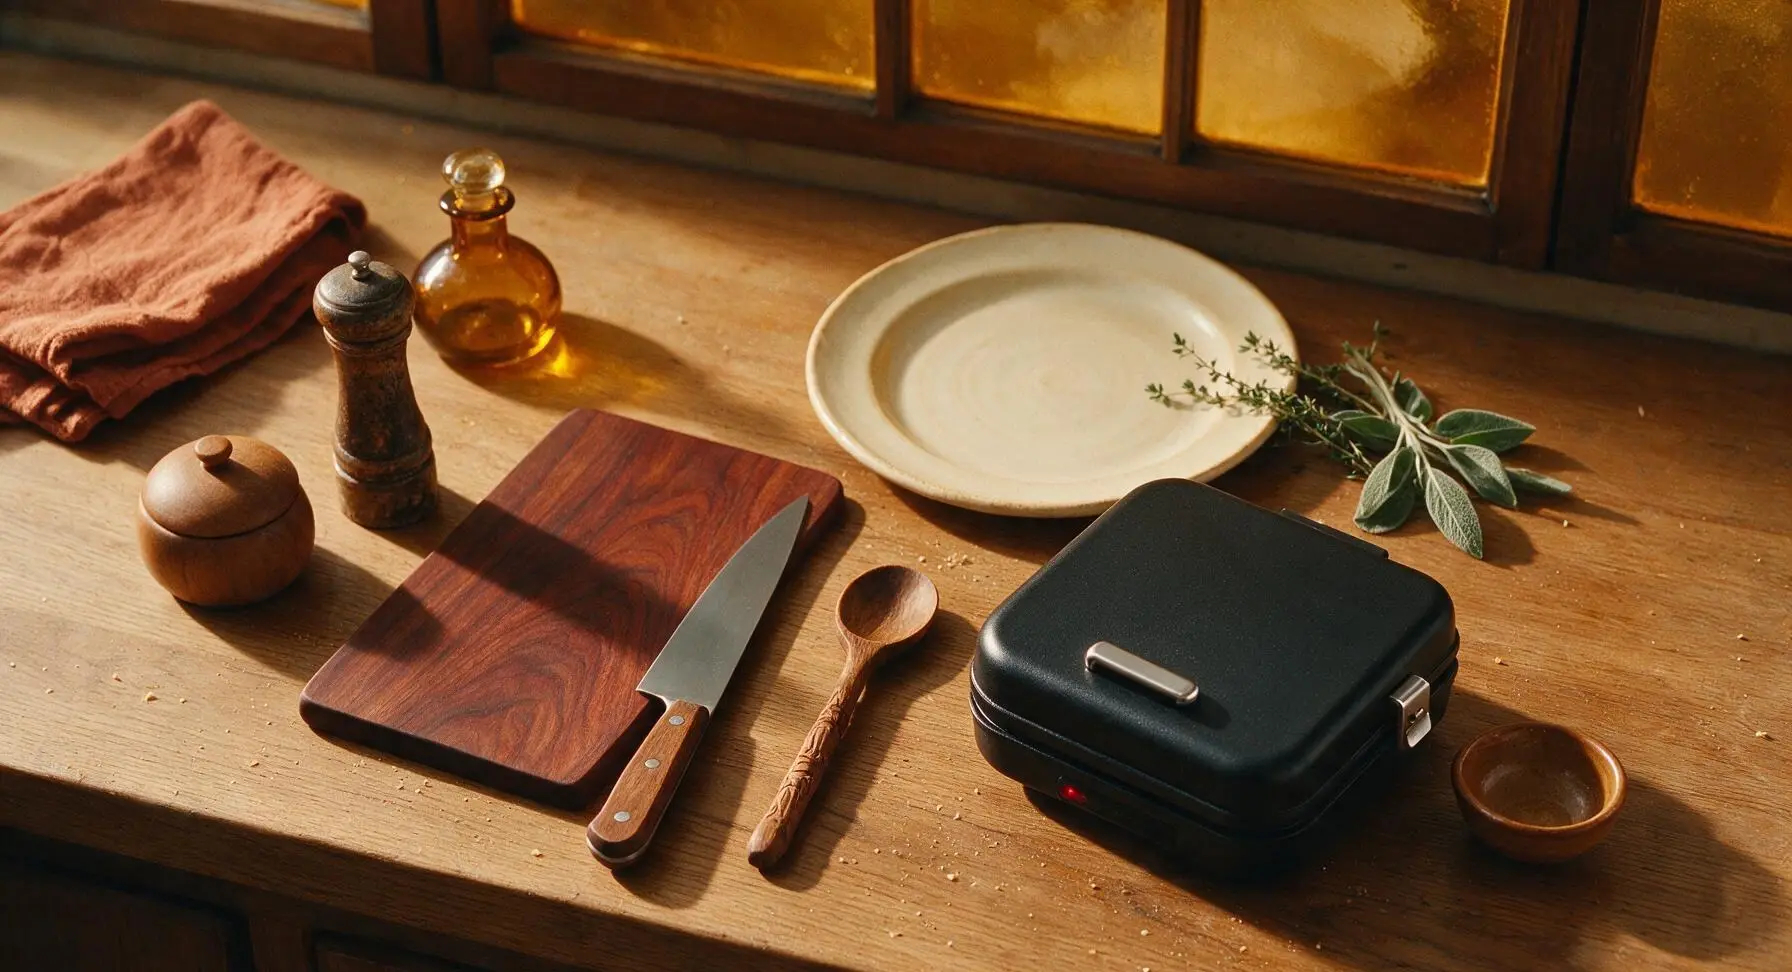
Preheat the Waffle Maker
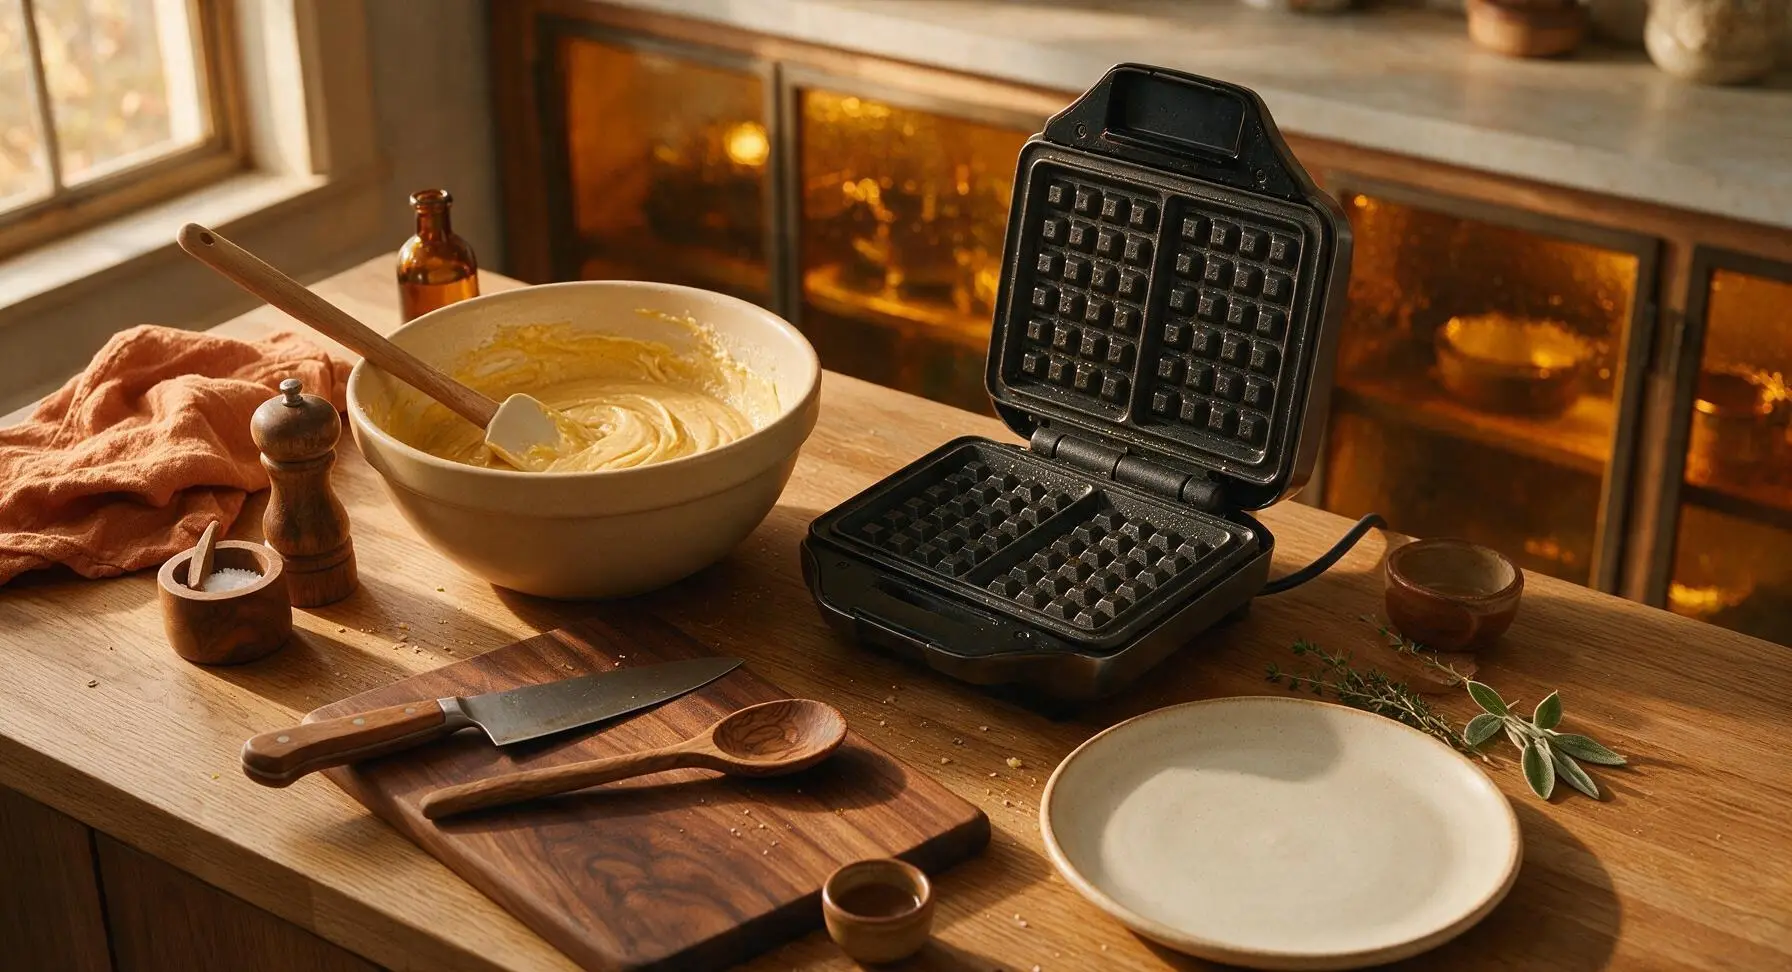
Plug in the fixed matte black 7-inch waffle maker and set it to medium-high heat (375°F / 190°C). Close the lid and allow it to preheat for 5 full minutes while you prepare the batter; the unit’s built-in indicator light will turn off once it reaches the correct cooking temperature. Hold off on applying non-stick spray until the batter is almost ready, to avoid oil burning on the plates.
Whisk Dry Ingredients
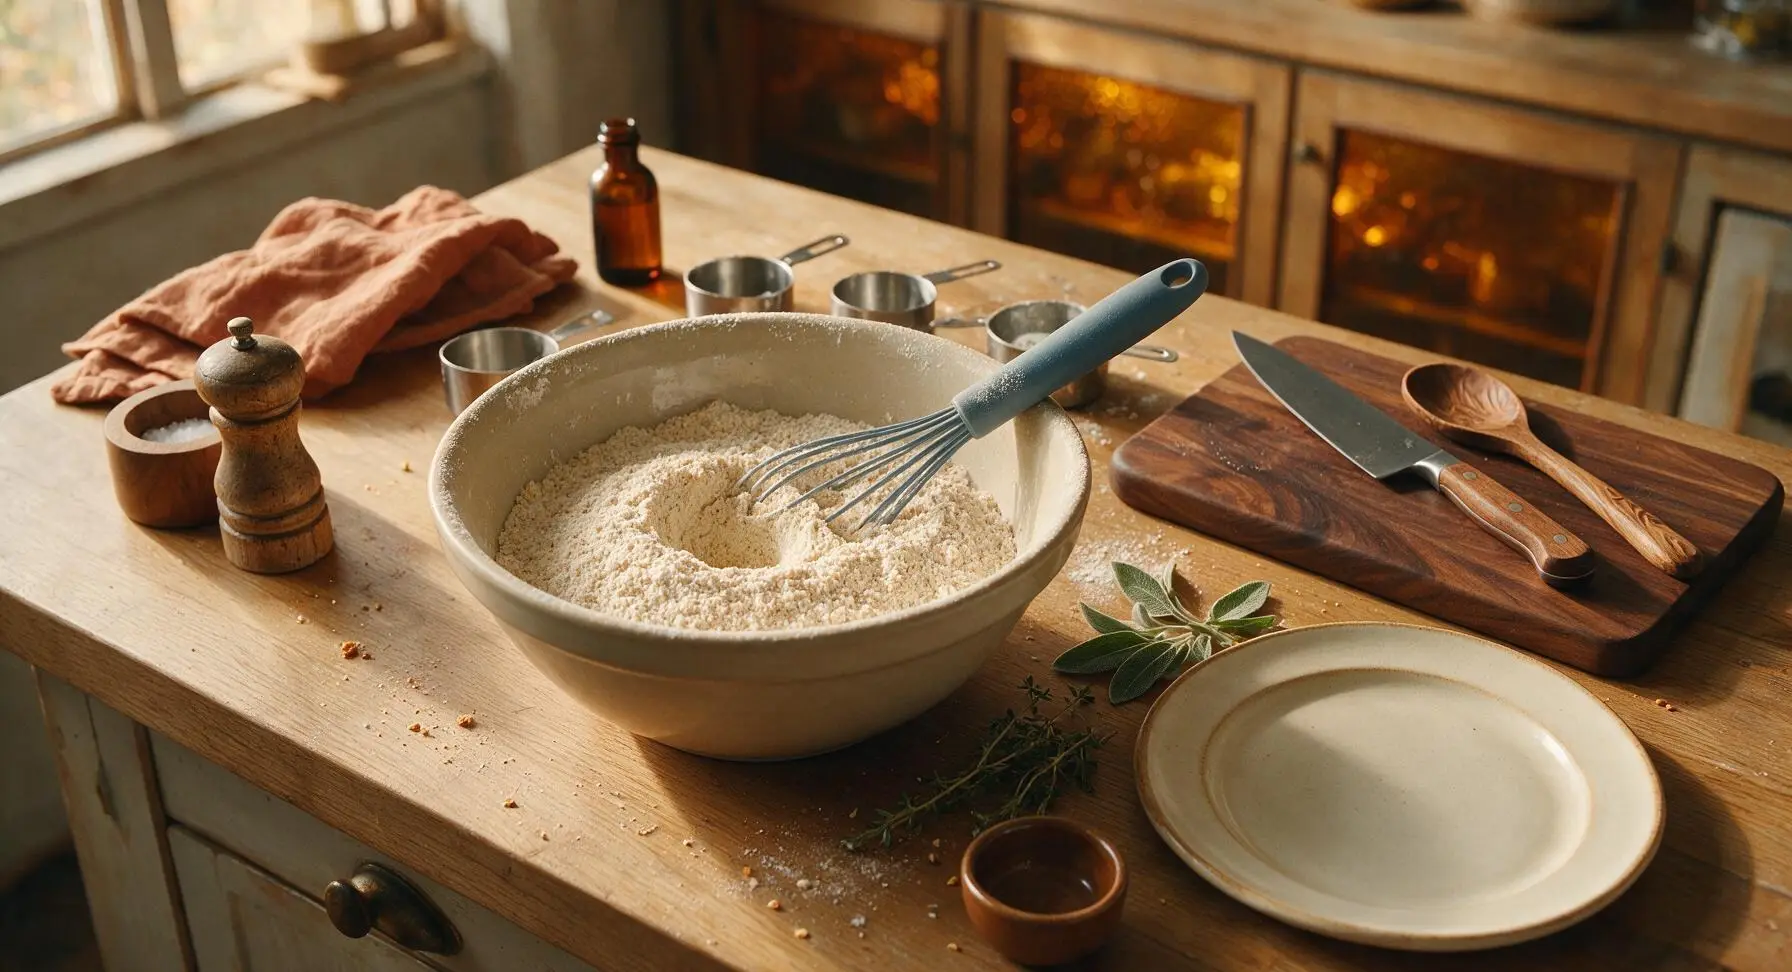
Add 240g (2 cups, spooned and leveled) all-purpose flour, 25g (2 tablespoons) granulated sugar, 8g (2 teaspoons) baking powder, and 3g (1/2 teaspoon) fine sea salt to the large light beige ceramic mixing bowl. Use the dusty blue silicone whisk to stir the dry ingredients together for 30 seconds, until they are fully uniform in color with no visible clumps of baking powder. Press a small 5cm wide well into the center of the dry mix to hold the wet ingredients later.
Mix Wet Ingredients
Crack 2 large room-temperature eggs into the small matte stainless steel mixing bowl. Whisk lightly with the silicone whisk for 20 seconds until yolks and whites are fully combined with no streaks of clear white remaining. Add 360ml (1.5 cups) whole milk, 43g (3 tbsp, cooled to room temperature) melted unsalted butter, and 5ml (1 teaspoon) pure vanilla extract to the eggs. Whisk for another 20 seconds until the mixture is a uniform pale yellow, with a light froth across the surface.

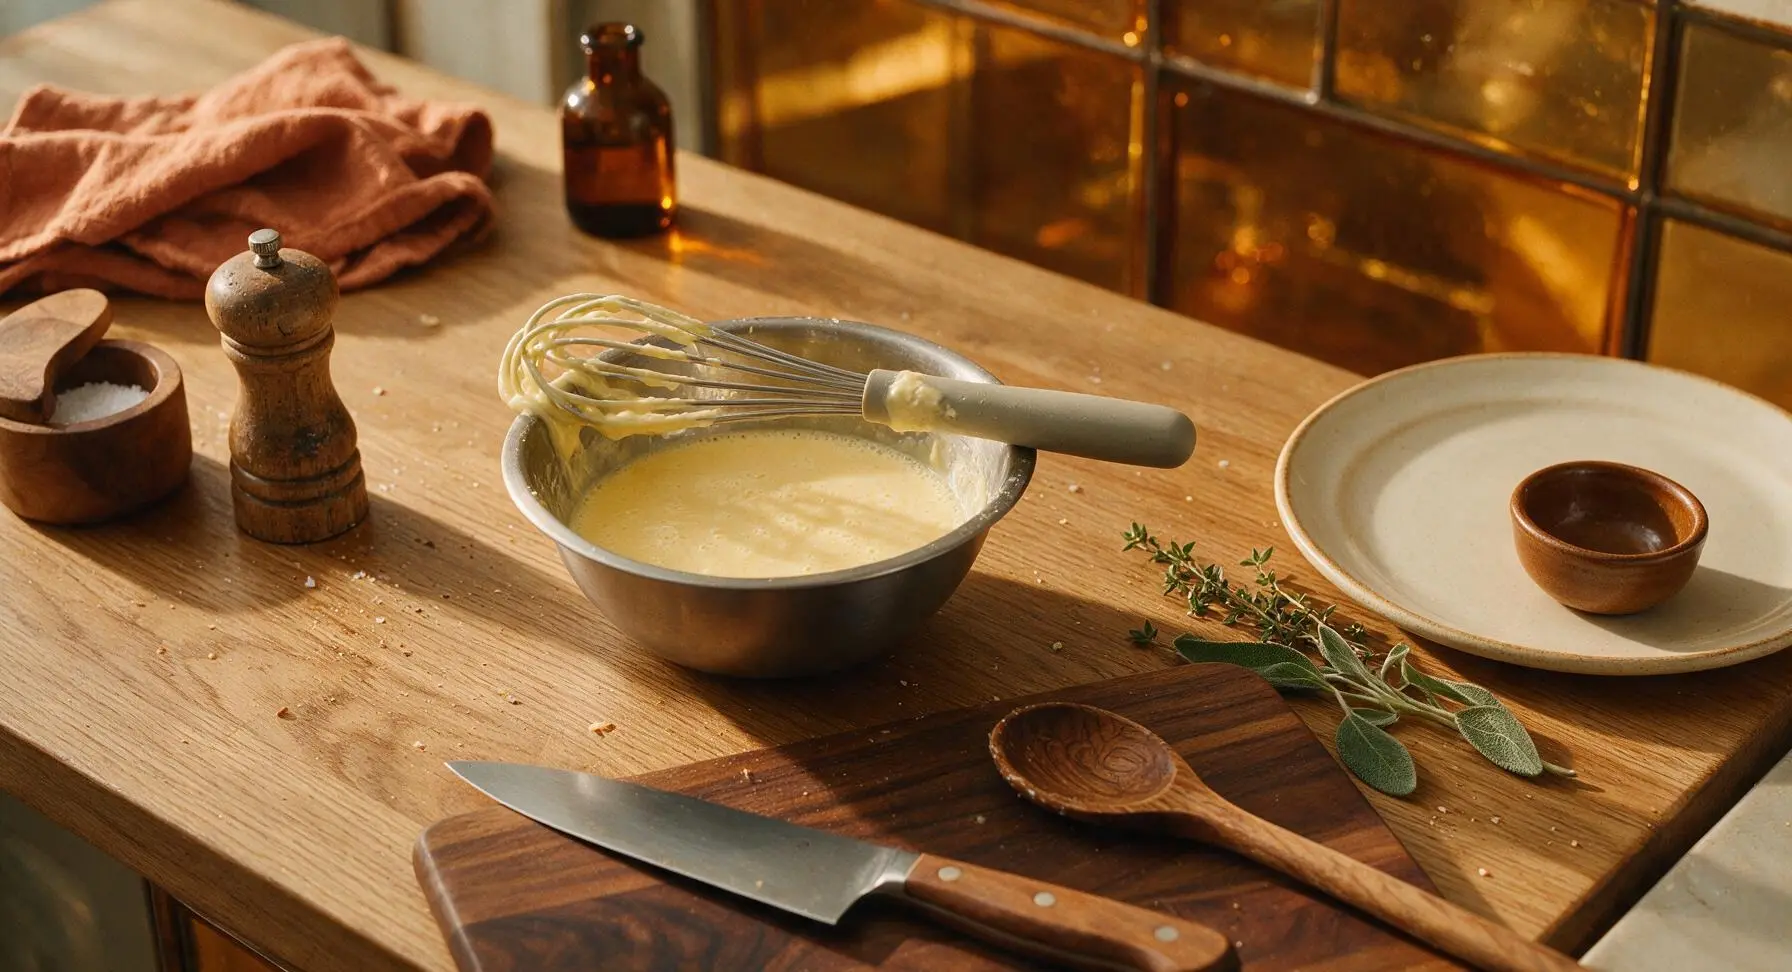
Combine Wet and Dry
Pour the entire batch of wet ingredient mixture into the well in the center of the dry ingredients in the large ceramic bowl. Use the silicone whisk to stir the batter in slow, broad circular motions, mixing just until no large streaks of loose dry flour remain. Stop stirring immediately once the batter comes together; small pea-sized lumps are completely normal and desirable, as overmixing develops gluten and leads to tough, chewy waffles.
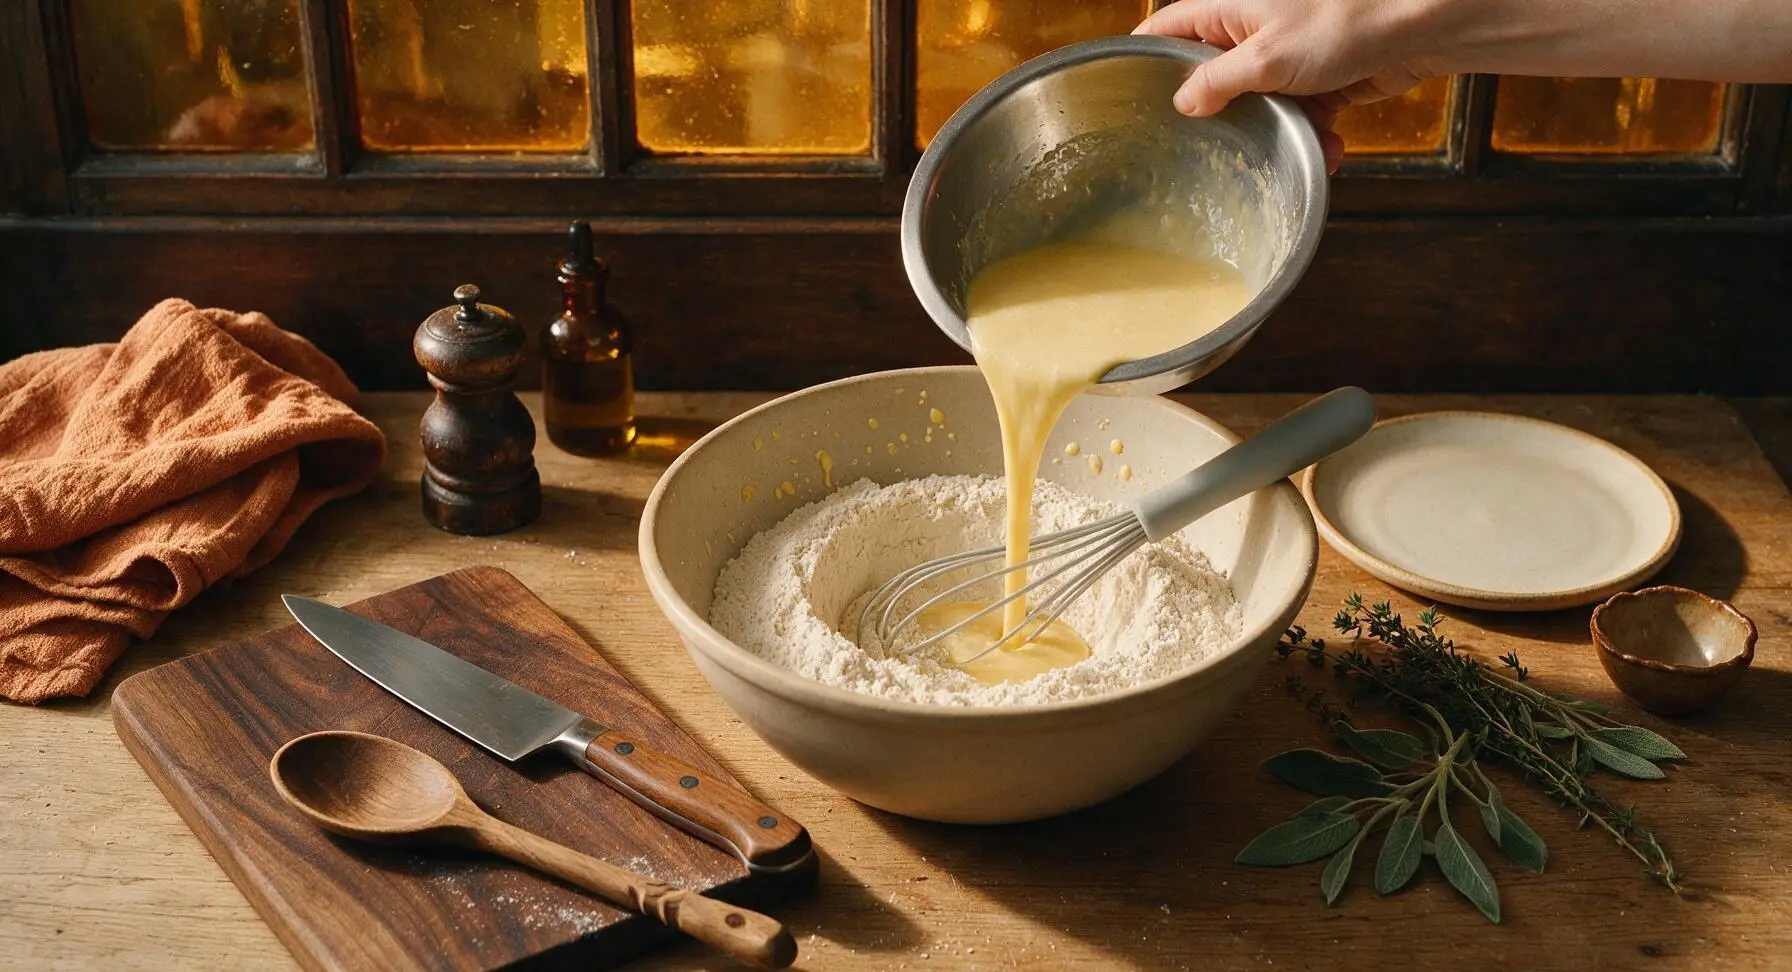
Let Batter Rest
Set the whisk back across the large bowl rim, and let the batter rest uncovered at room temperature for 5 minutes. During this time, small pinprick air bubbles will start to form and pop across the batter surface as the baking powder activates, creating the light, airy pocket structure that makes perfect waffles. While the batter rests, lightly spray the preheated waffle maker plates with non-stick cooking spray from the matte black can behind the unit if your model does not have a permanent non-stick coating.
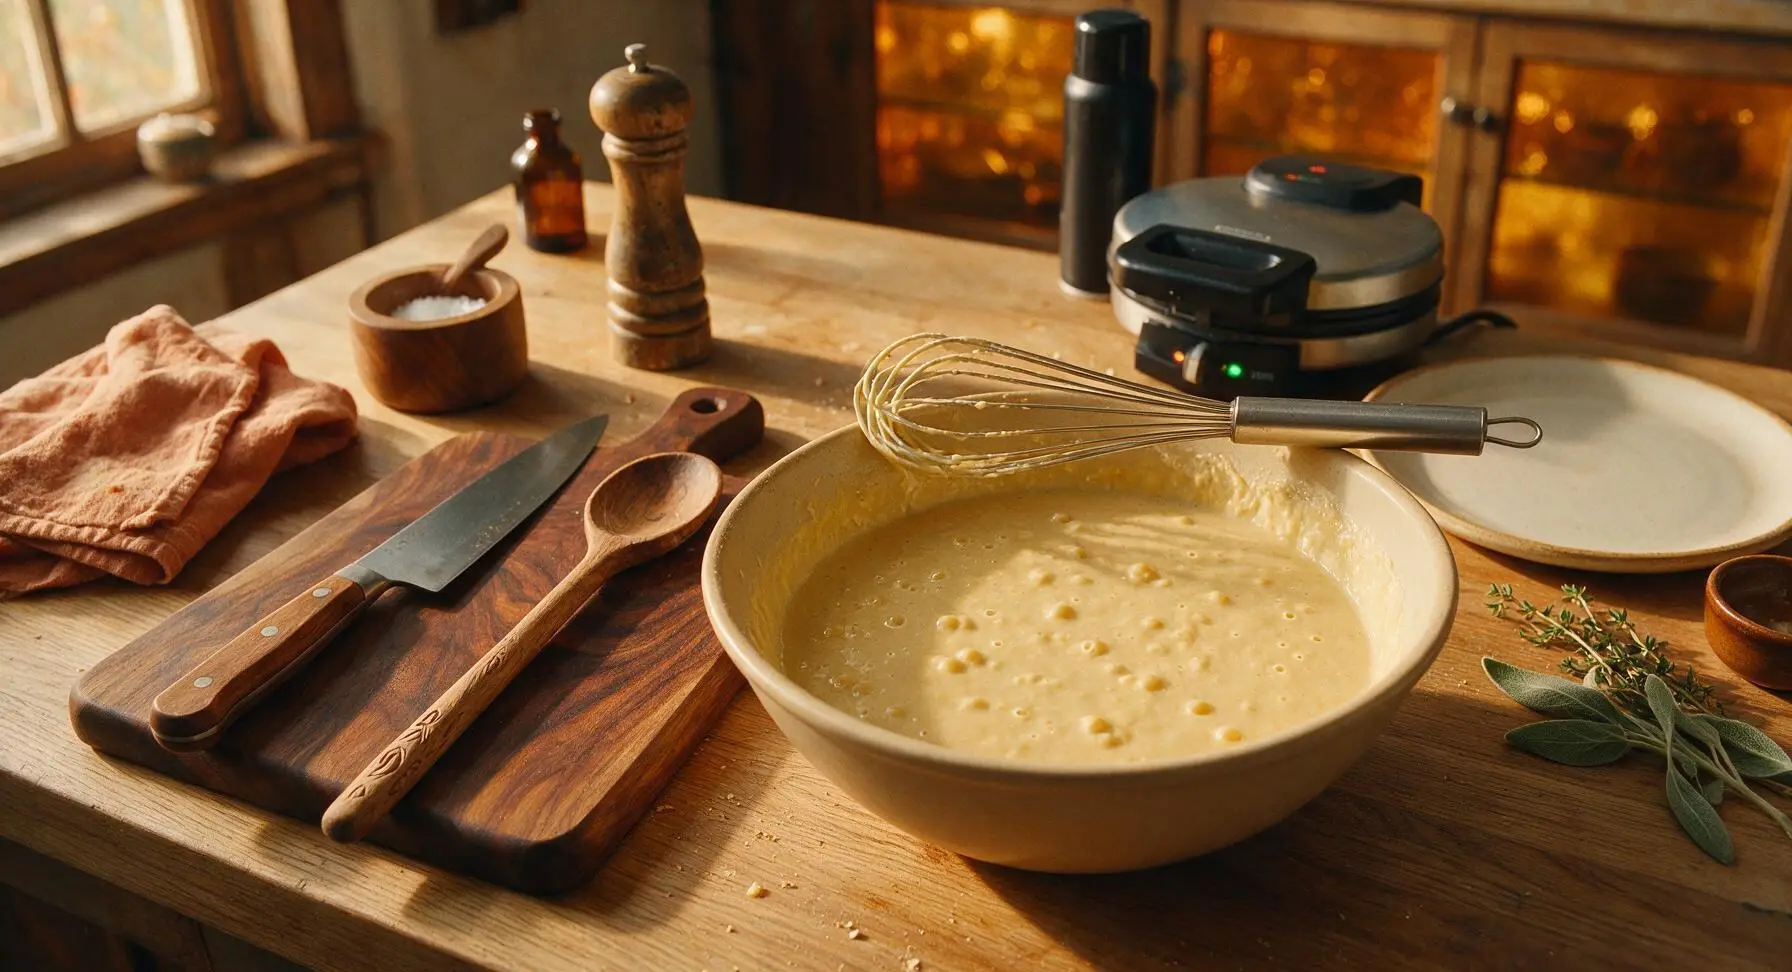
Check Batter Consistency
After the 5-minute rest, give the batter one slow, gentle stir with the dusty blue silicone spatula to pop any overly large air bubbles. Test the consistency by lifting the spatula 5cm above the bowl: the batter should fall off in a thick, slow ribbon that holds its shape for 2 seconds before melting smoothly back into the rest of the batter. If the batter is too thick to pour, stir in 1-2 tablespoons of extra milk; if it runs off the spatula in a thin stream, stir in 1 extra tablespoon of all-purpose flour.
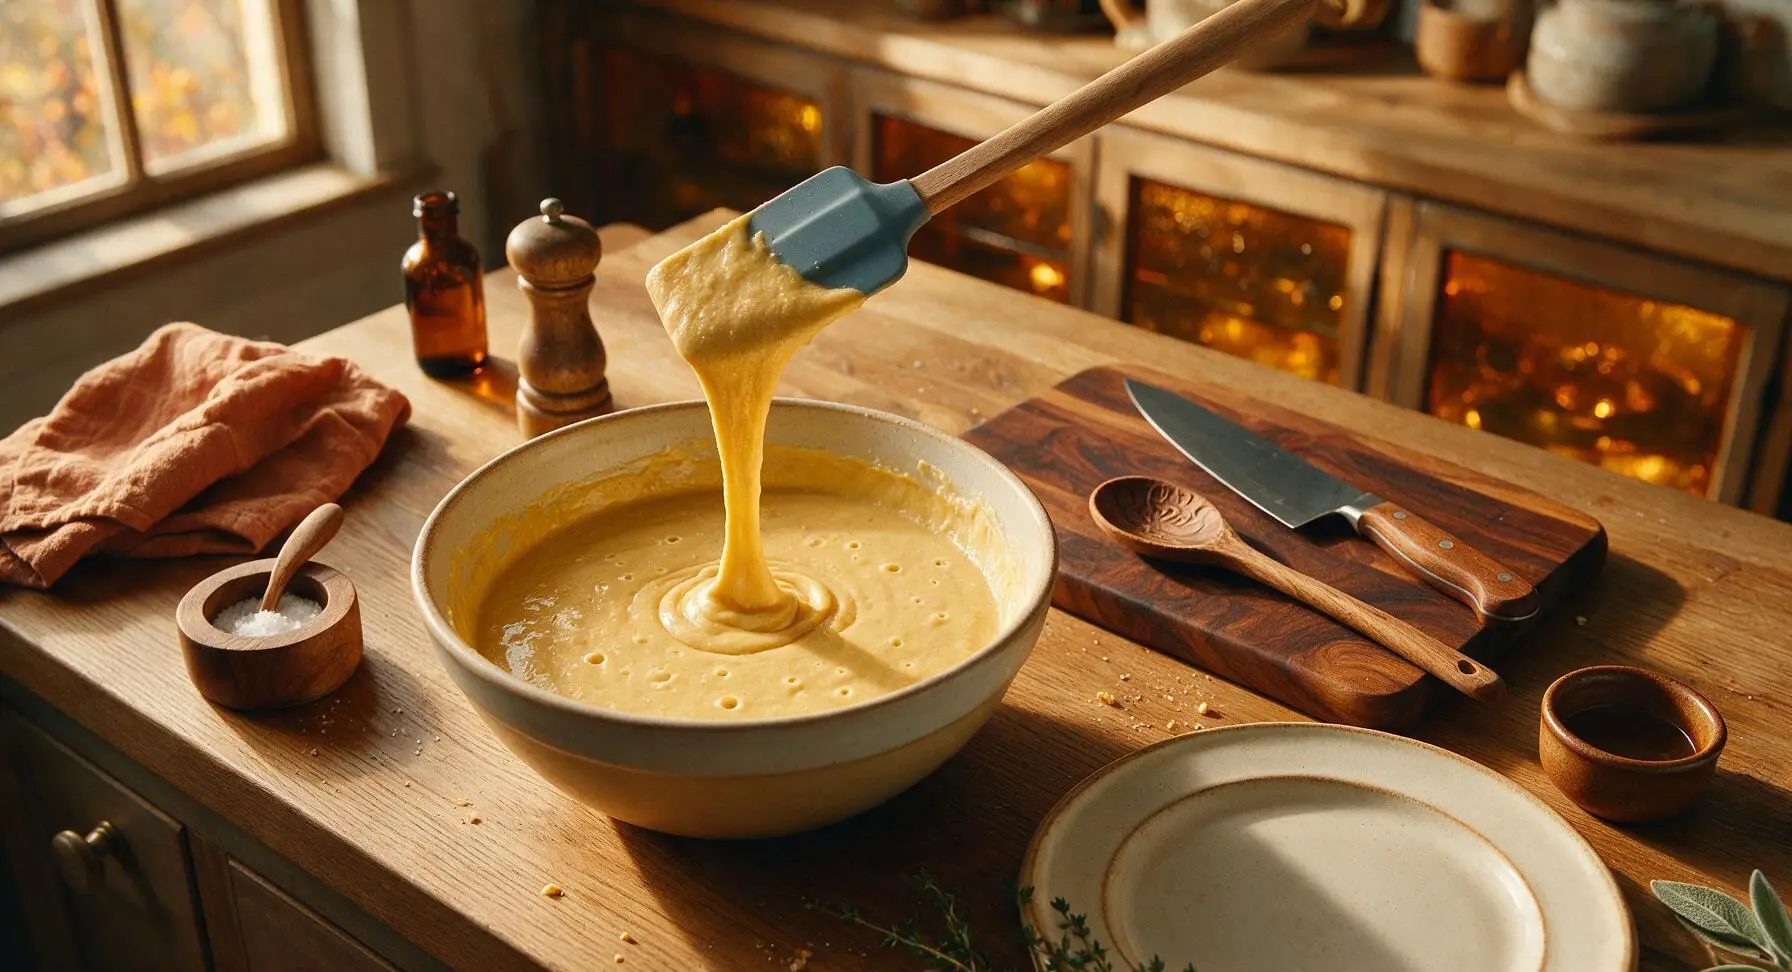
Use or Store Batter
The batter is now fully ready to use: pour 1/2 to 3/4 cup of batter onto the center of the preheated waffle maker plates, close the lid, and cook for 3-4 minutes until waffles are deep golden brown and crisp at the edges. If not using immediately, transfer the batter to an airtight glass container and refrigerate for up to 3 days, or freeze for up to 3 months. Let refrigerated batter come to room temperature for 10 minutes, and stir gently, before using.
Tips
2.Never overmix the batter: overstirring develops gluten in the flour, which results in tough, chewy waffles instead of tender, light ones. Small pea-sized lumps are not a flaw—they are a sign you have mixed the batter correctly.
3.Let the batter rest for the full 5 minutes before using: this short rest gives flour time to absorb liquid and baking powder time to create tiny air bubbles, which eliminates raw flour taste and creates the signature lacy, crisp waffle texture. Skipping this step leads to uneven, flat waffles.






OMG this batter is a total game changer! I’ve been messing up waffles for years—they always come out either soggy or rock hard, but these were perfectly crispy on the outside and fluffy inside. My kids devoured a whole batch before I even got to sit down for brunch yesterday! I added a dash of cinnamon and a handful of mini chocolate chips to half the batch for the little ones, chef’s kiss.
Super easy recipe, perfect for my weekly meal prep! I make a double batch every Sunday, portion the batter into mason jars, and grab one on my way out to work to make waffles when I get to the office kitchen. Way cheaper than buying the frozen waffles that taste like cardboard. Only note: I used oat milk instead of regular dairy milk last week and it still turned out great!
Brought these waffles to my neighborhood potluck last weekend and people were asking me for the recipe before I even set the platter down! SO good. I topped them with fresh strawberries, whipped cream, and a little drizzle of maple syrup, and they were gone in 10 minutes flat. Only tiny complaint: I wish the recipe noted how much batter to pour per waffle, I overfilled my iron the first two times and made a huge mess lol.
Made these for my daughter’s birthday breakfast this morning and she said they’re better than the diner waffles we get every Saturday. Win in my book! Super straightforward, no fancy ingredients needed, which is perfect because I hate running to the grocery store for random specialty items at 7am on a Saturday.
Has anyone tried making this with a 1:1 gluten free all purpose flour? My husband has celiac so I’m always on the hunt for easy waffle recipes that don’t require 10 different weird GF flours, and this base looks so good I’m dying to try it this weekend.
Quick question! The 12 minute cook time listed— is that total for the whole batch or per waffle? I live in a dorm with a tiny countertop waffle maker and I’m trying to time this right for my roommate’s late night study session snack.
These are so versatile! I added a little paprika and garlic powder to a small batch of the batter last night to make savory waffles to go with fried chicken for our family dinner, and my whole family went back for seconds. My kids loved it so much they asked me to make it again this weekend! Who knew a basic all-purpose batter could work for sweet and savory? Total keeper recipe.
Just whipped these up for a quick weekday breakfast and they’re SO good. I didn’t even have to pull out my stand mixer, just a whisk and a bowl, barely any cleanup. Topped mine with a little peanut butter and banana slices, 10/10 will be making this every week from now on. So easy even I can’t mess it up, and I burn toast half the time lol.
Made a batch of this batter before our weekend camping trip and cooked the waffles over the camp stove in our cast iron waffle iron. They held up perfectly! We topped them with foraged blackberries and a little maple syrup, and it was the coziest camping breakfast ever. Way better than the sad instant oatmeal we usually pack for trips.