
waffle recipe dash
intro
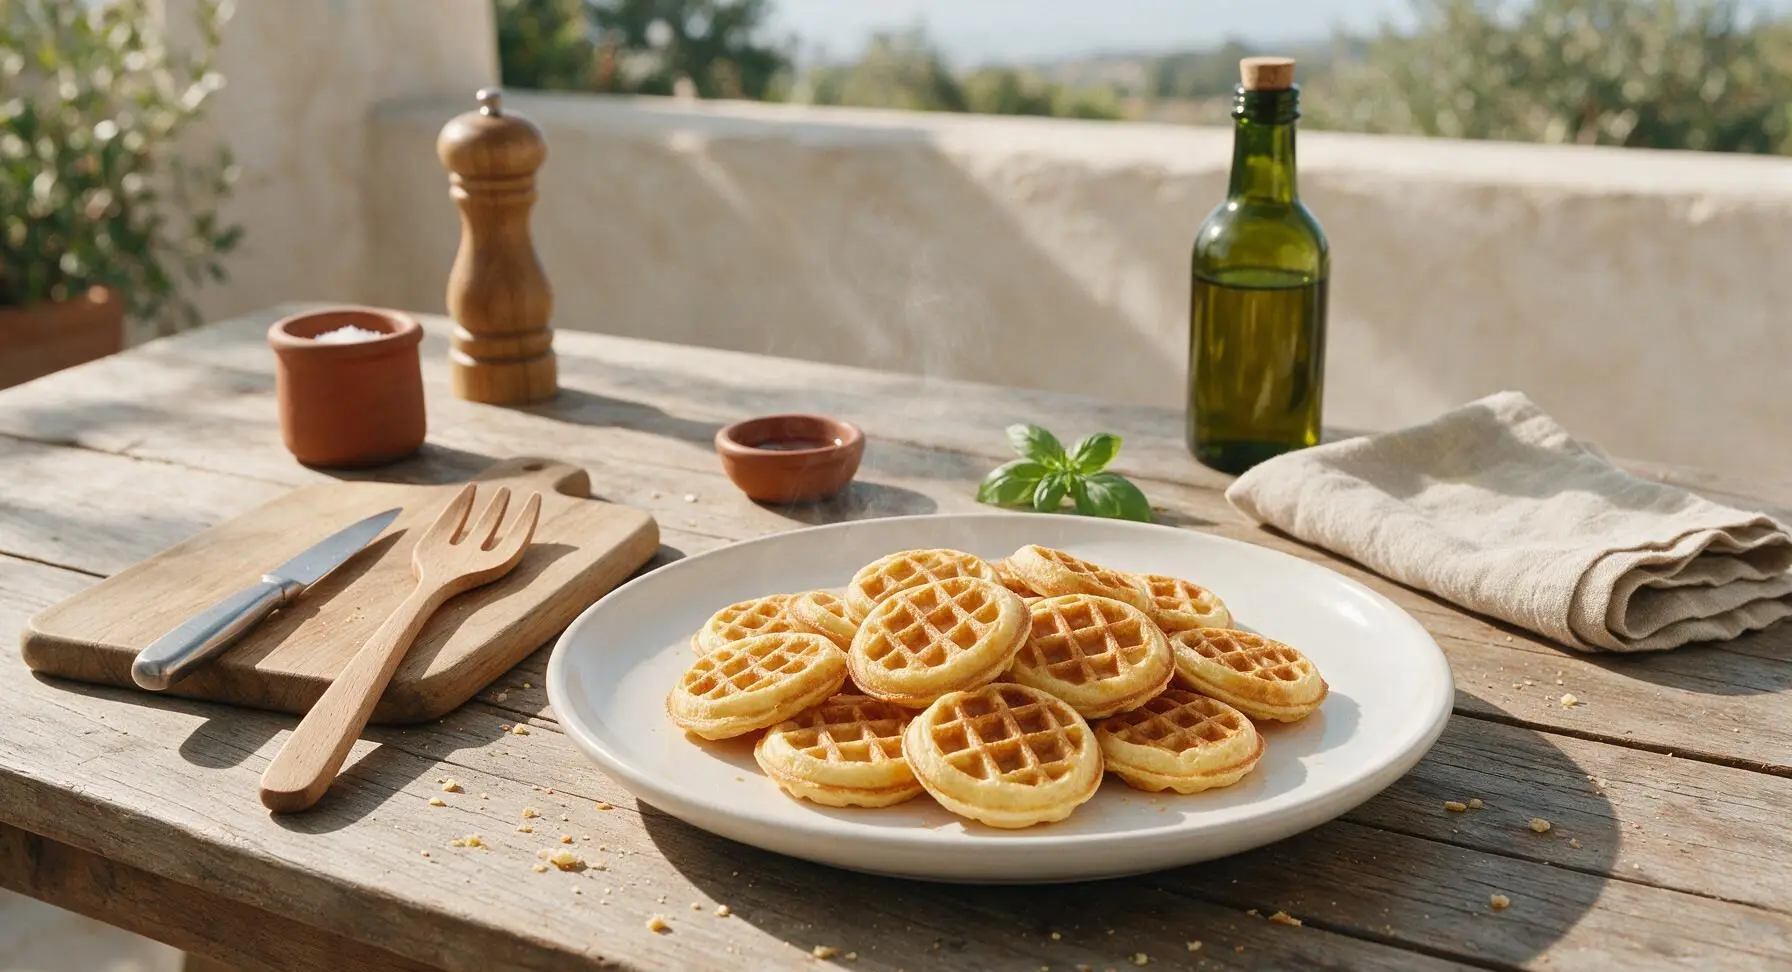
Crisp-edged, fluffy-centered mini waffles tailored for the Dash waffle maker, ready in minutes with pantry staples for cozy, no-fuss meals.
Ingredients
Steps
Preheat Waffle Maker
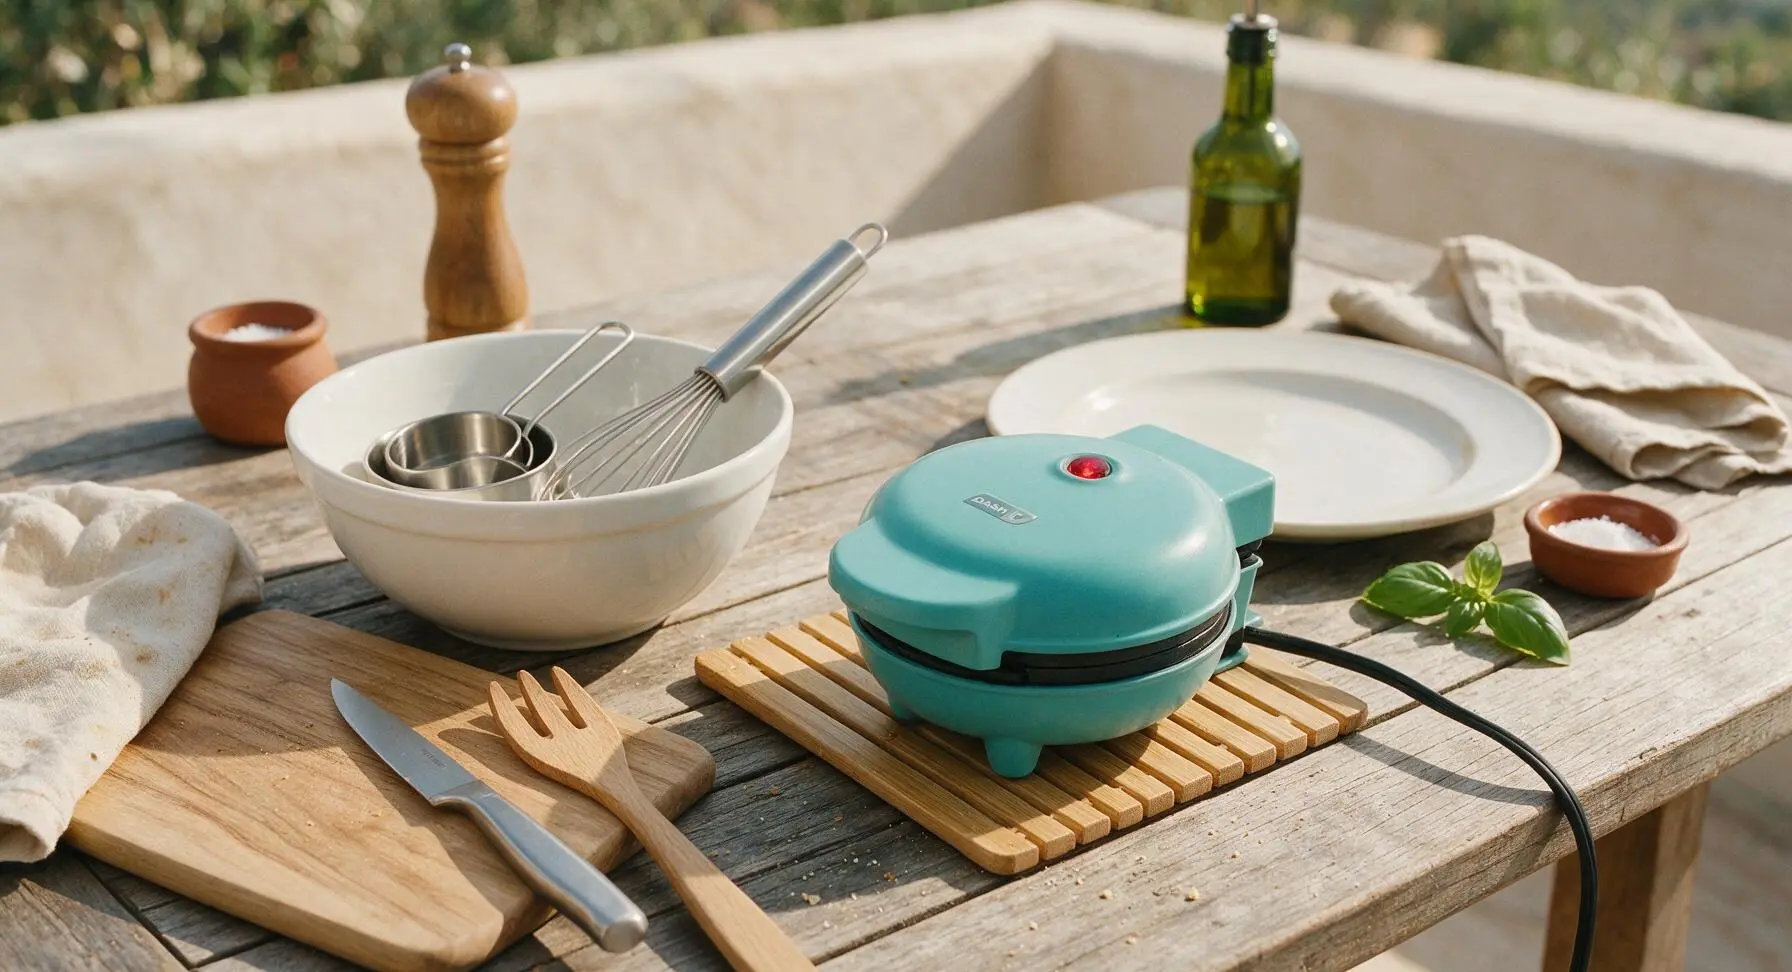
Plug in the Dash mini waffle maker and close the lid to preheat for 3-4 minutes, until the indicator light turns off signaling it has reached 375°F (190°C), the ideal cooking temperature for crisp, evenly cooked waffles. Do not open the lid during preheating, as this will drop the cooking temperature and lead to undercooked, soggy waffles.
Whisk Dry Ingredients
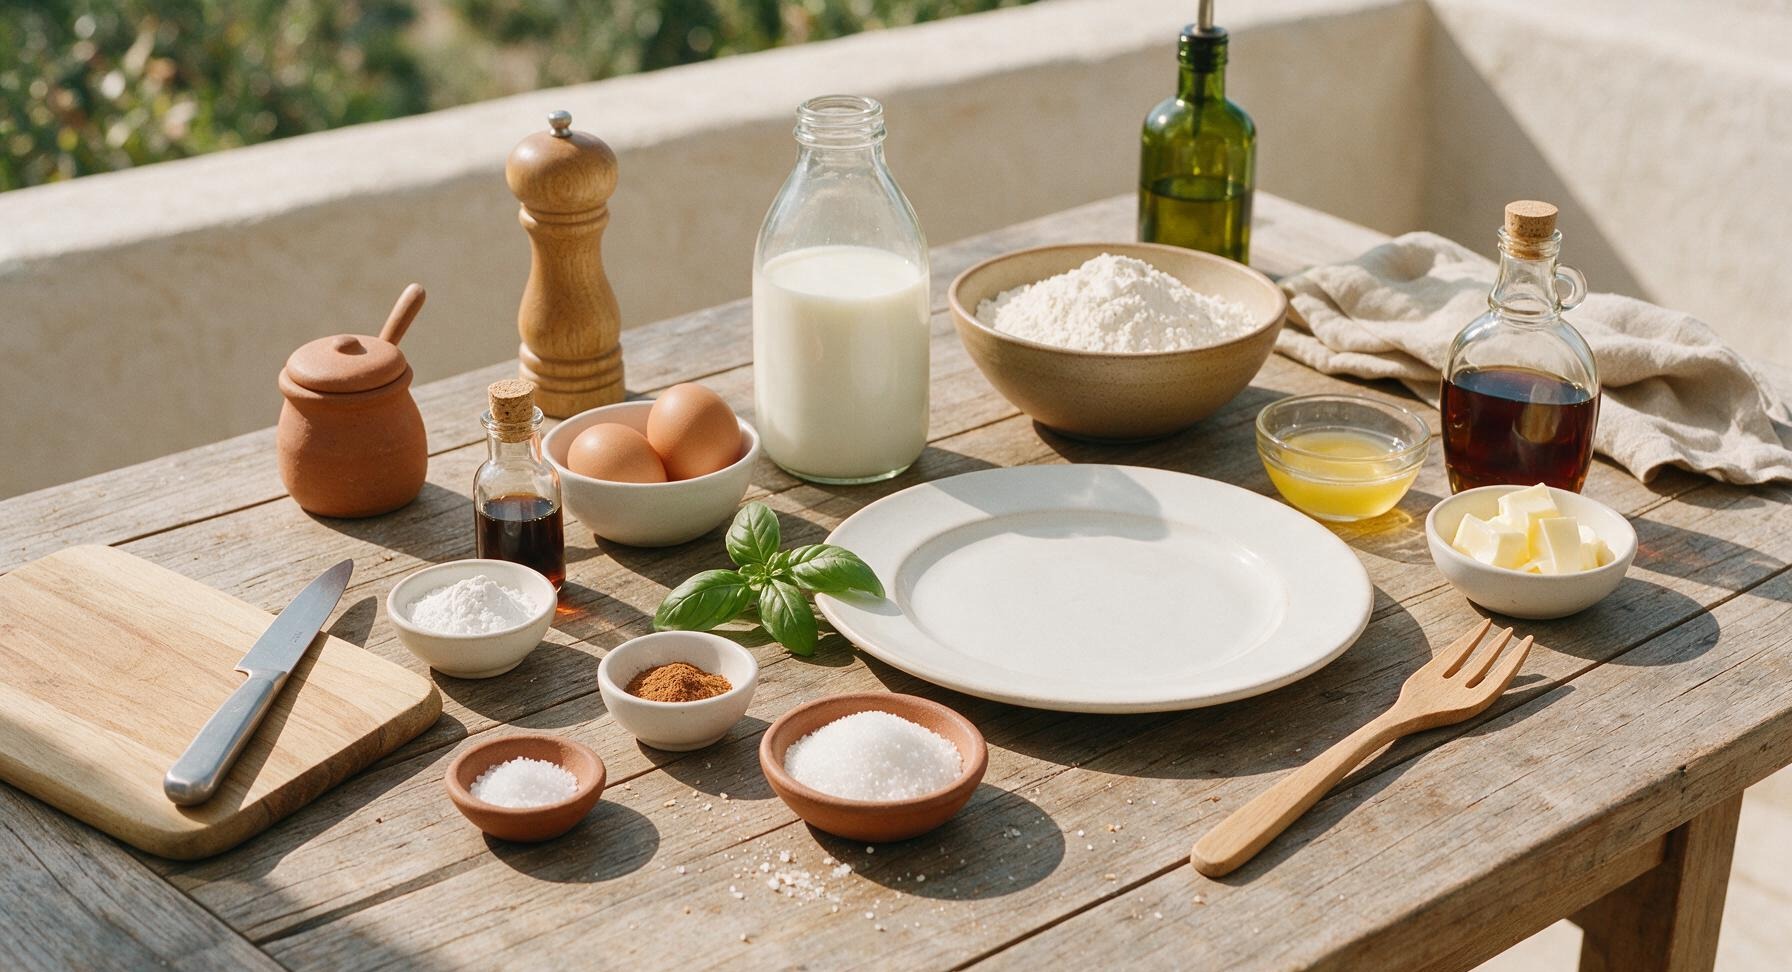
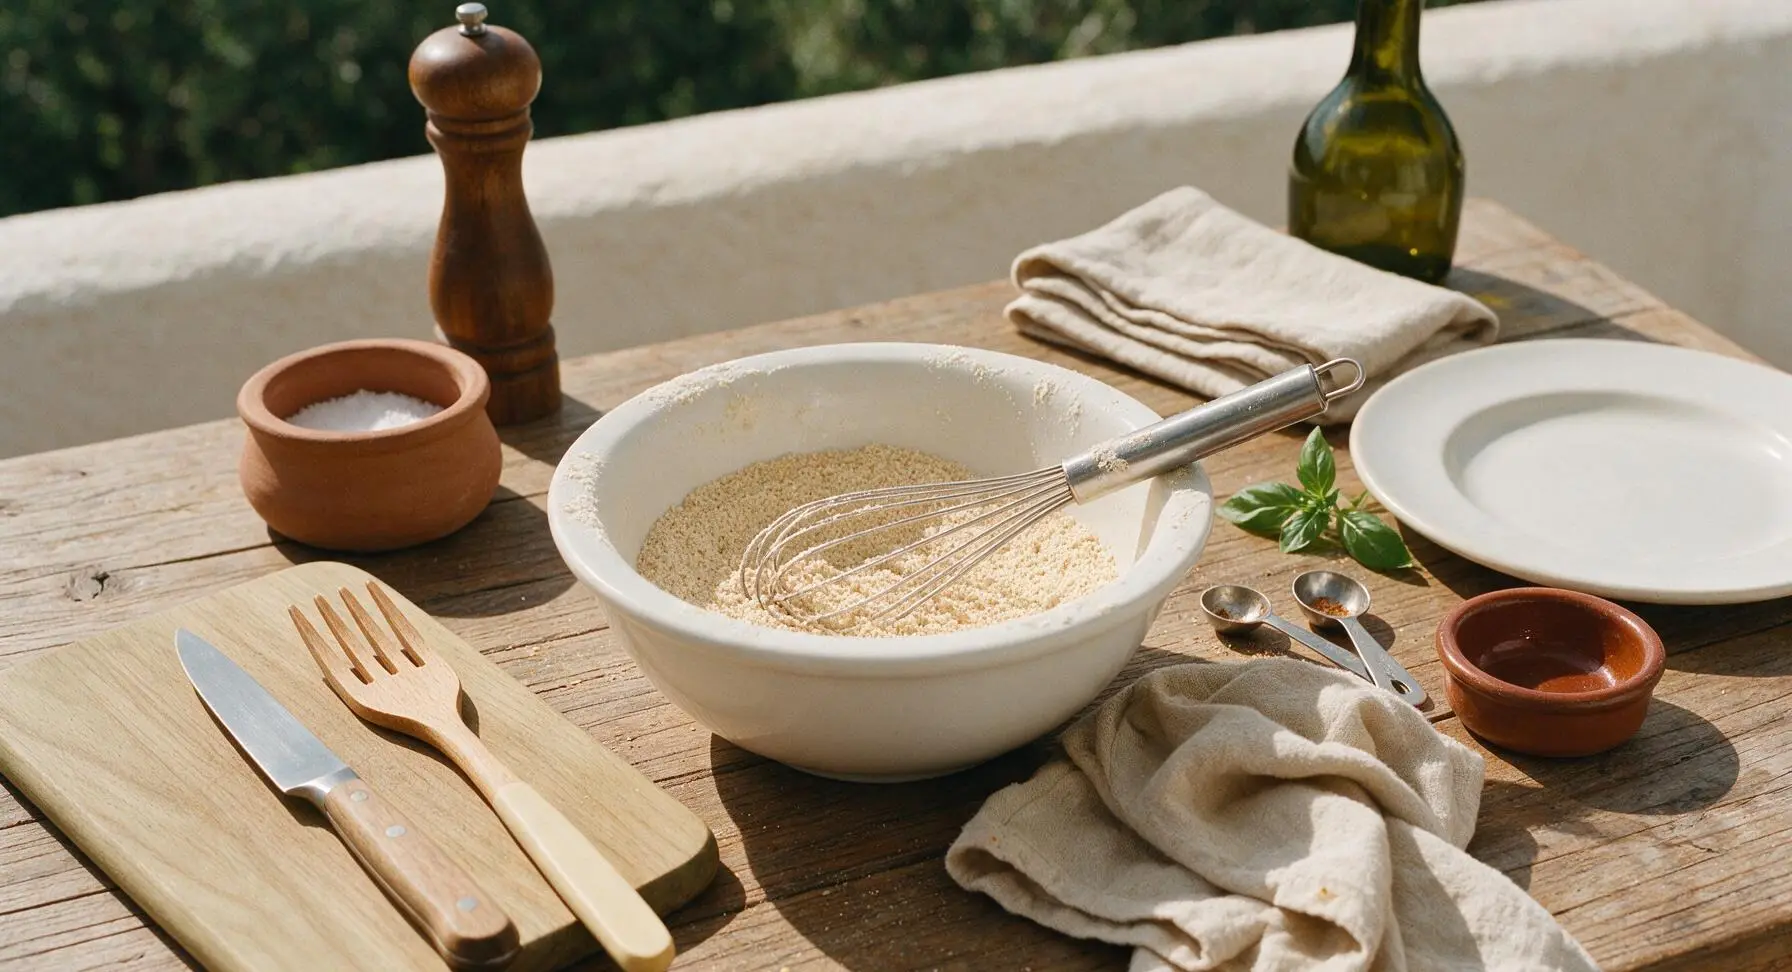
In the medium matte white ceramic mixing bowl, combine 2 cups all-purpose flour, 2 tbsp granulated sugar, 1 tbsp baking powder, 1/2 tsp fine sea salt, and 1/4 tsp ground cinnamon. Use the stainless steel wire whisk to stir the dry mixture for 30 seconds until fully combined, with no visible clumps of baking powder or cinnamon remaining.
Mix Wet Ingredients
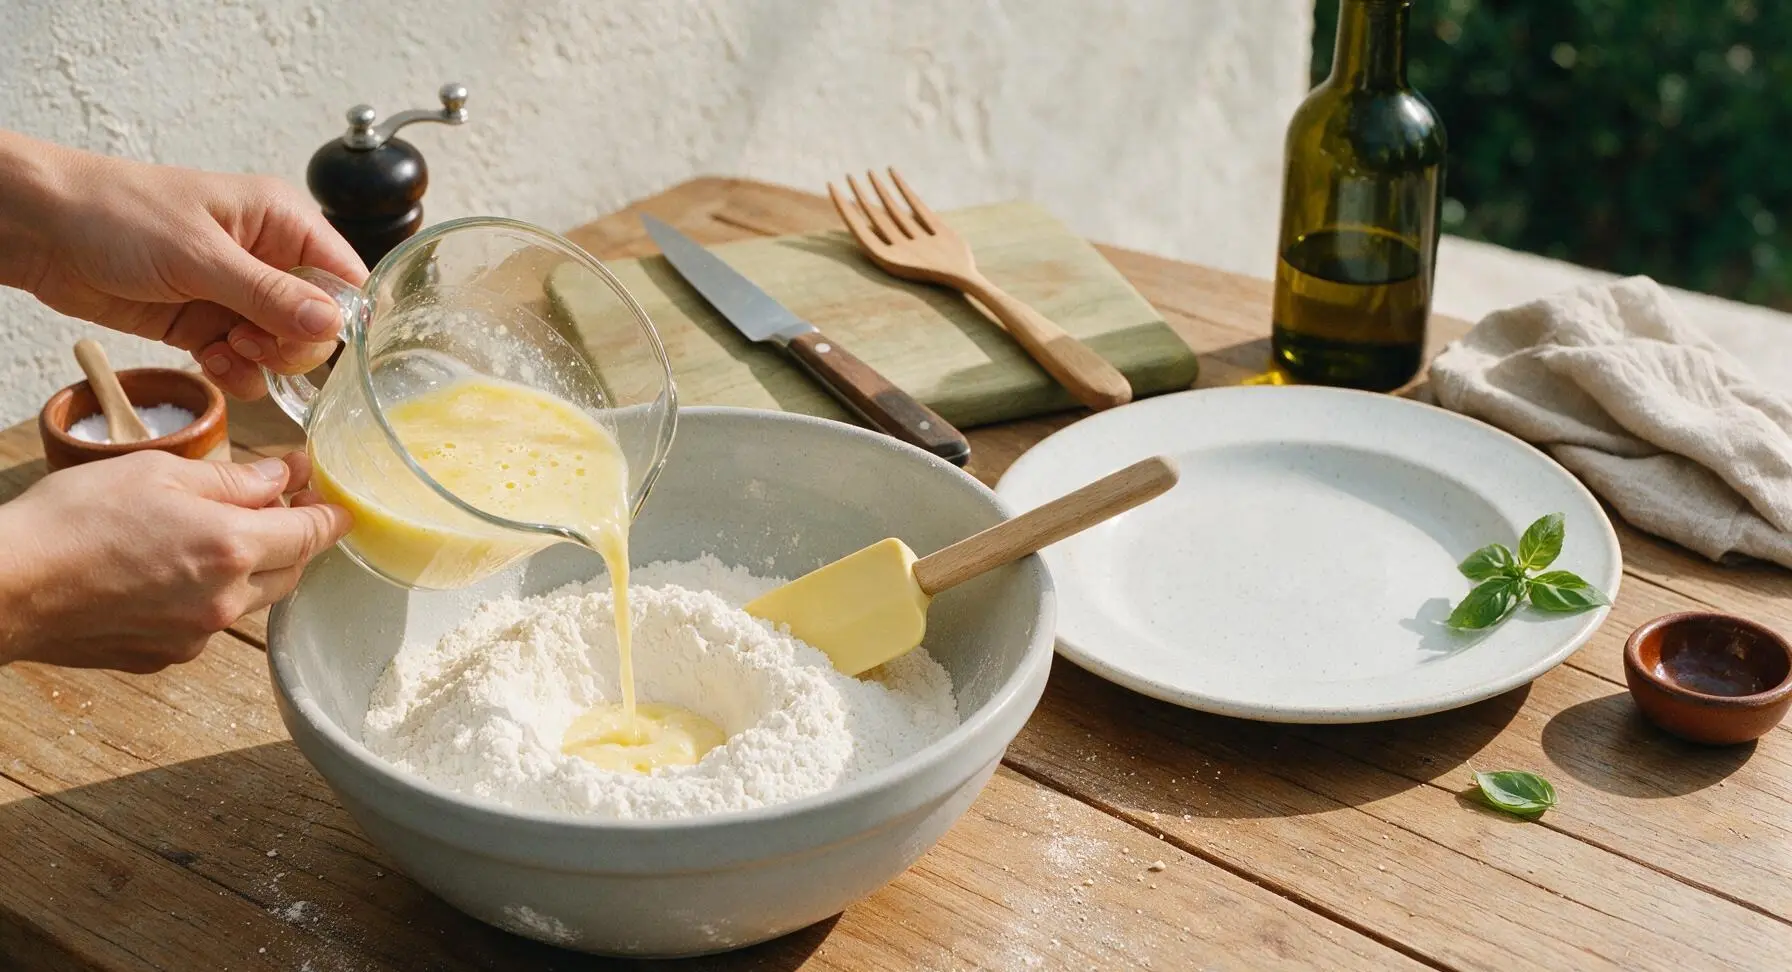
In the clear glass measuring cup, lightly beat the 2 large eggs with the stainless steel dinner fork, then stir in 1 3/4 cups whole milk, 1/3 cup cooled melted unsalted butter, and 1 tsp pure vanilla extract. Whisk gently until the mixture is a uniform pale yellow, with no visible streaks of separated egg white.

Fold Batter Gently
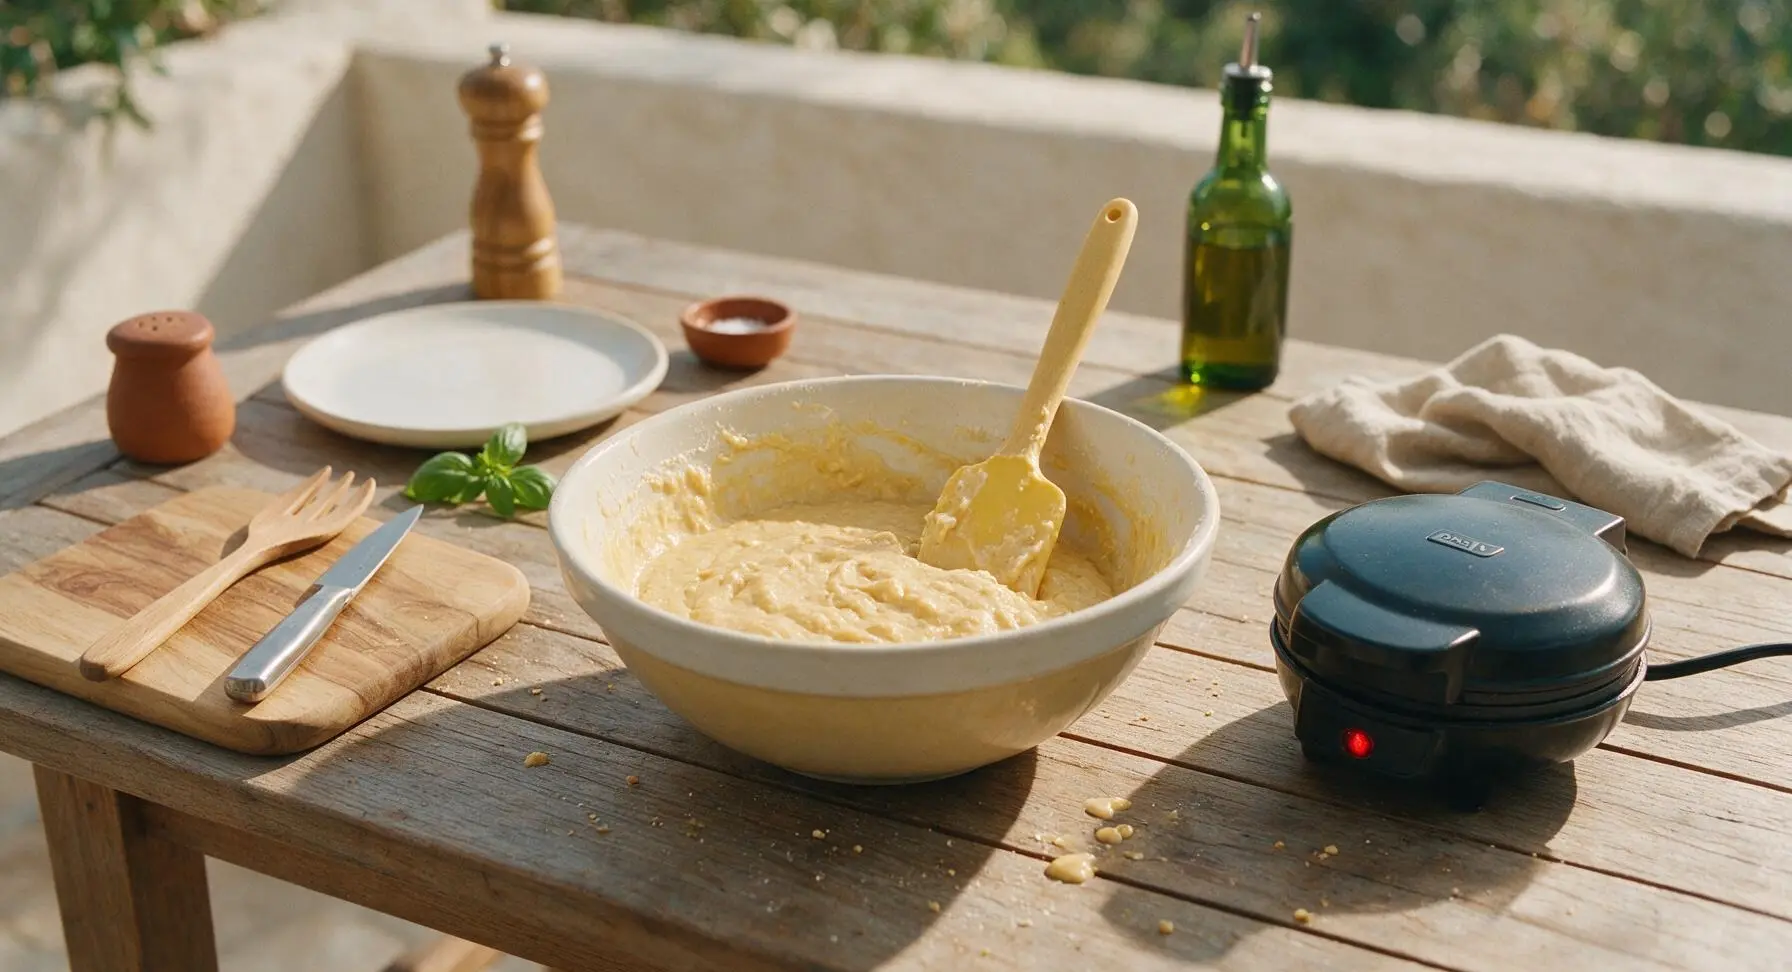
Pour the entire wet ingredient mixture into the bowl of combined dry ingredients. Use the pale butter yellow silicone spatula to fold the ingredients together just until no large dry flour streaks remain; the batter will be thick and slightly lumpy, which is ideal for light waffles. Do not overmix, as this develops gluten and creates tough, dense waffles. Let the batter rest for 3 minutes to allow the baking powder to activate.
Grease Cooking Grids
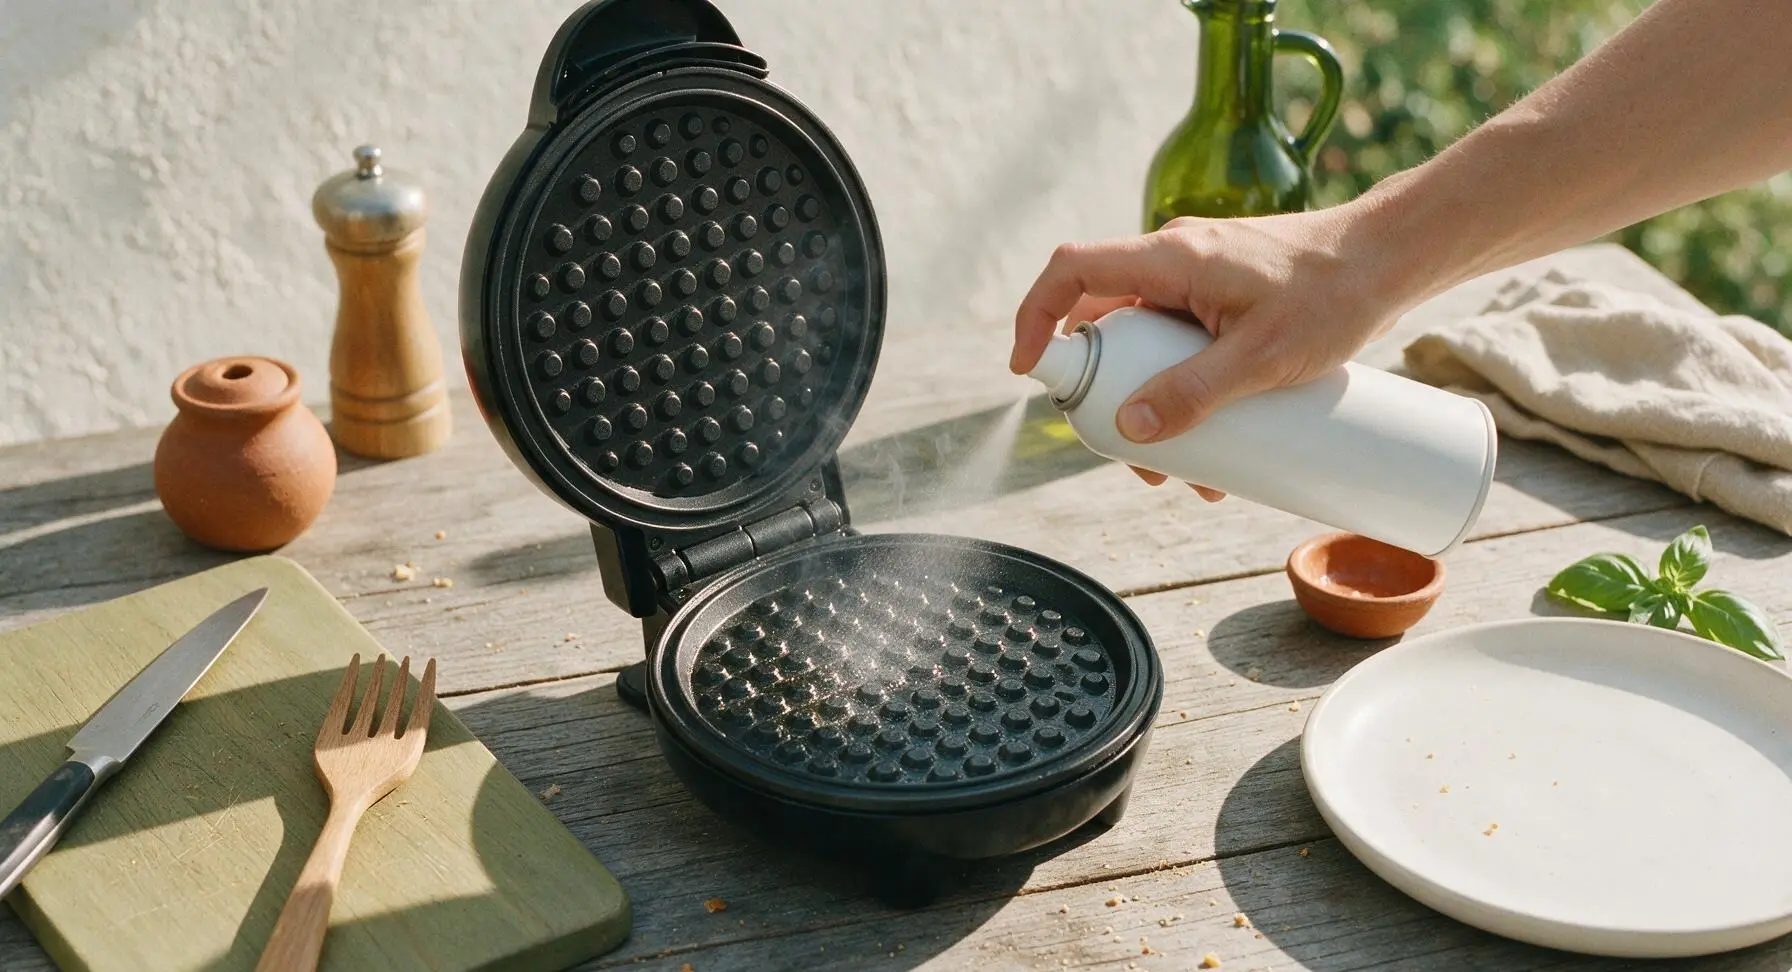
Once preheated, carefully lift the Dash waffle maker lid. Give both the top and bottom cooking grids a single 1-second spray of non-stick cooking spray, or brush lightly with melted butter, to prevent waffles from sticking. Avoid spraying excess oil, which will burn and create dark, bitter residue on waffle edges.
Portion and Pour Batter
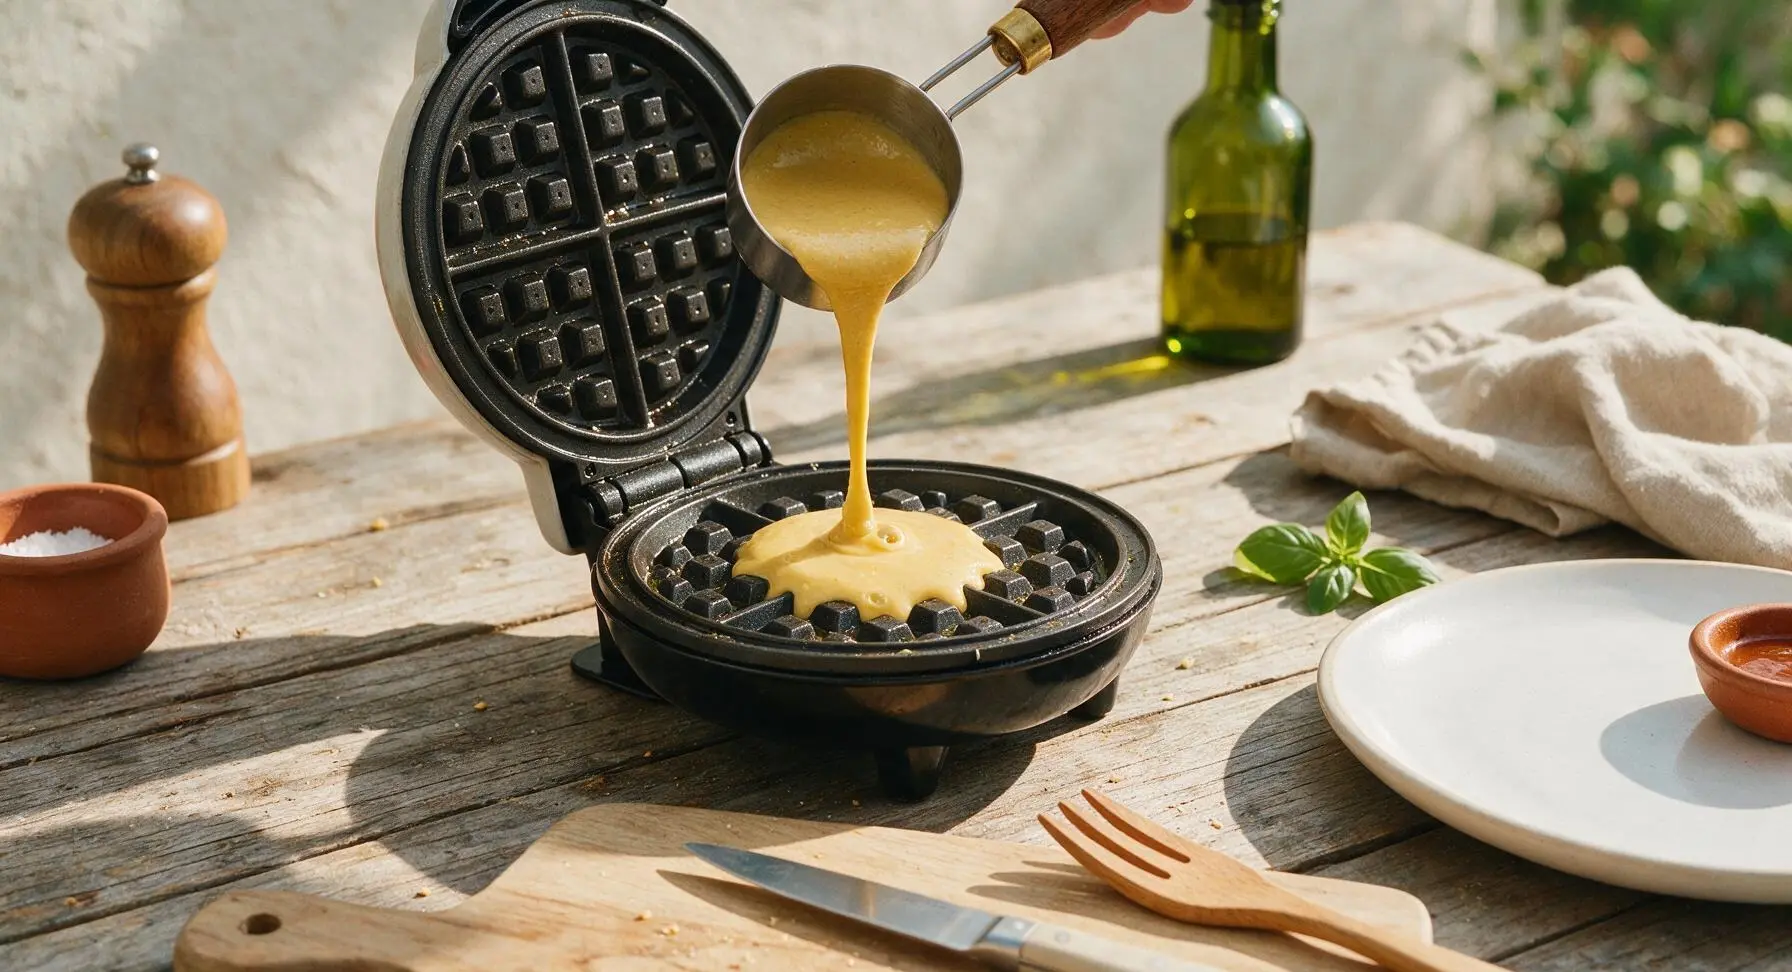
Use the 1/4 cup stainless steel measuring cup to scoop exactly 3 tbsp of rested batter, pouring it directly into the center of the bottom waffle grid. Do not spread the batter; it will spread naturally as the lid closes to fill the 4-inch waffle shape. Overpouring will cause batter to leak out the waffle maker edges and create a mess.
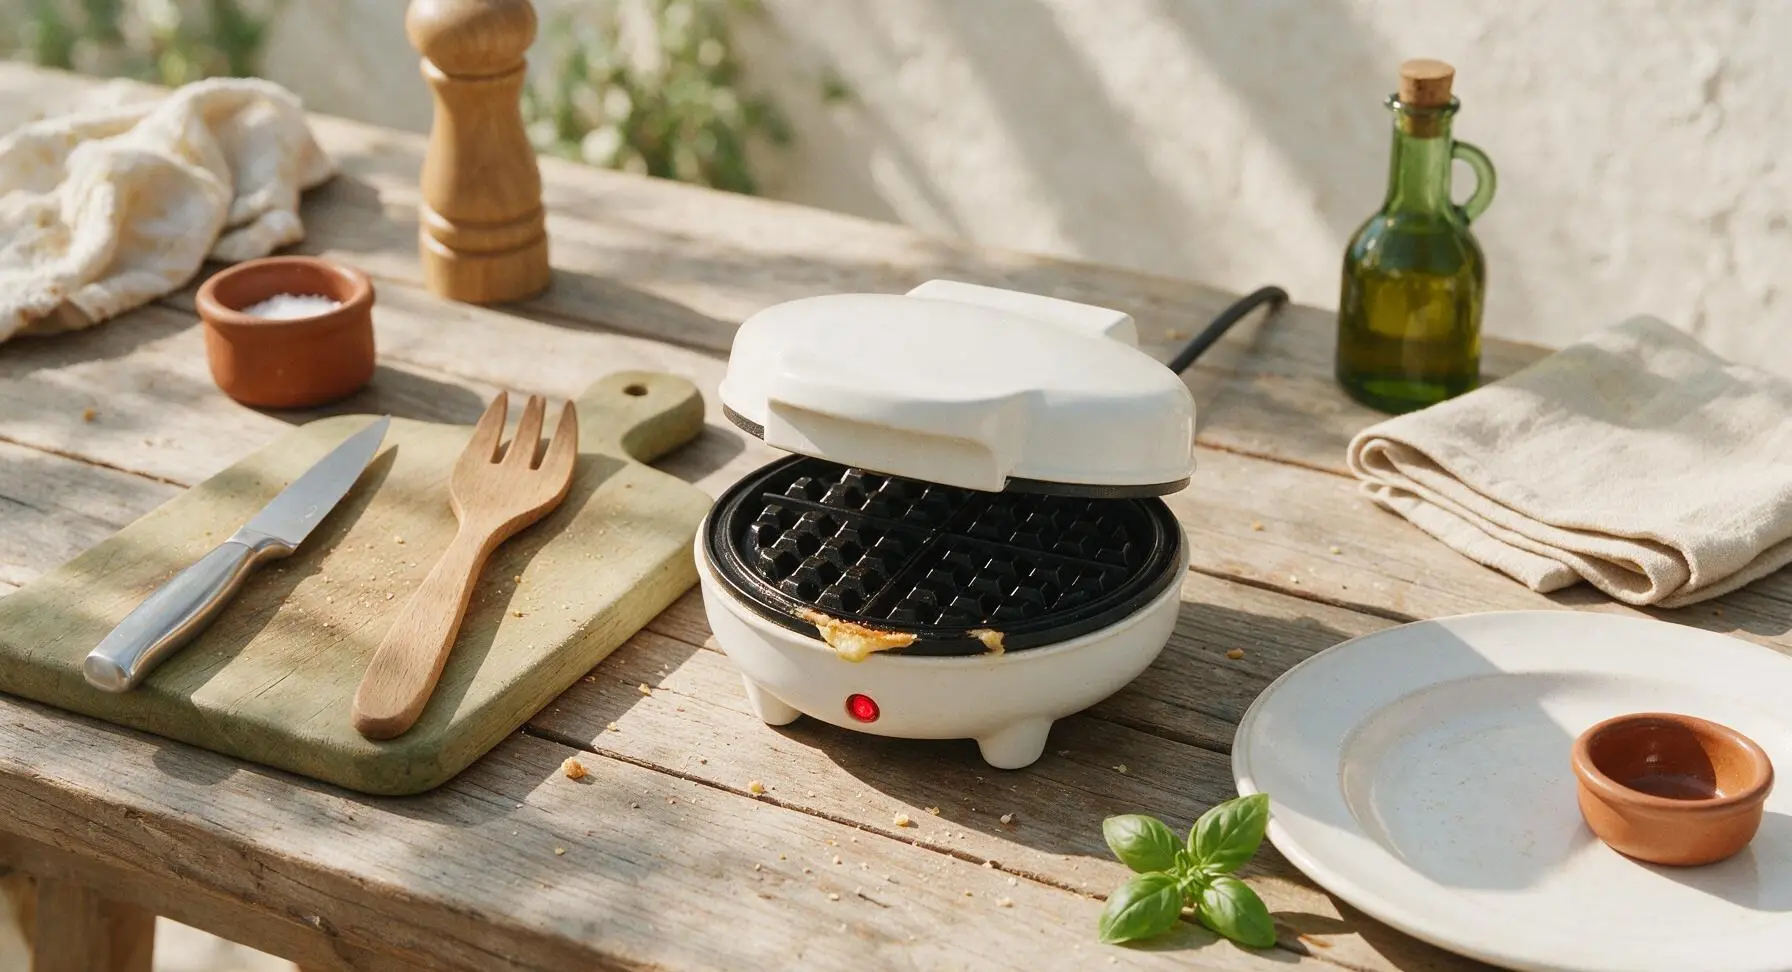
Cook to Golden Crisp
Let the waffle cook for 3 full minutes, until the indicator light turns off again and steam slows to a faint wisp escaping from the waffle maker edges. Do not open the lid early, as this will cause the half-set waffle to split and stick to the grid. The finished waffle will be deep golden brown with crisp, defined raised grid edges.
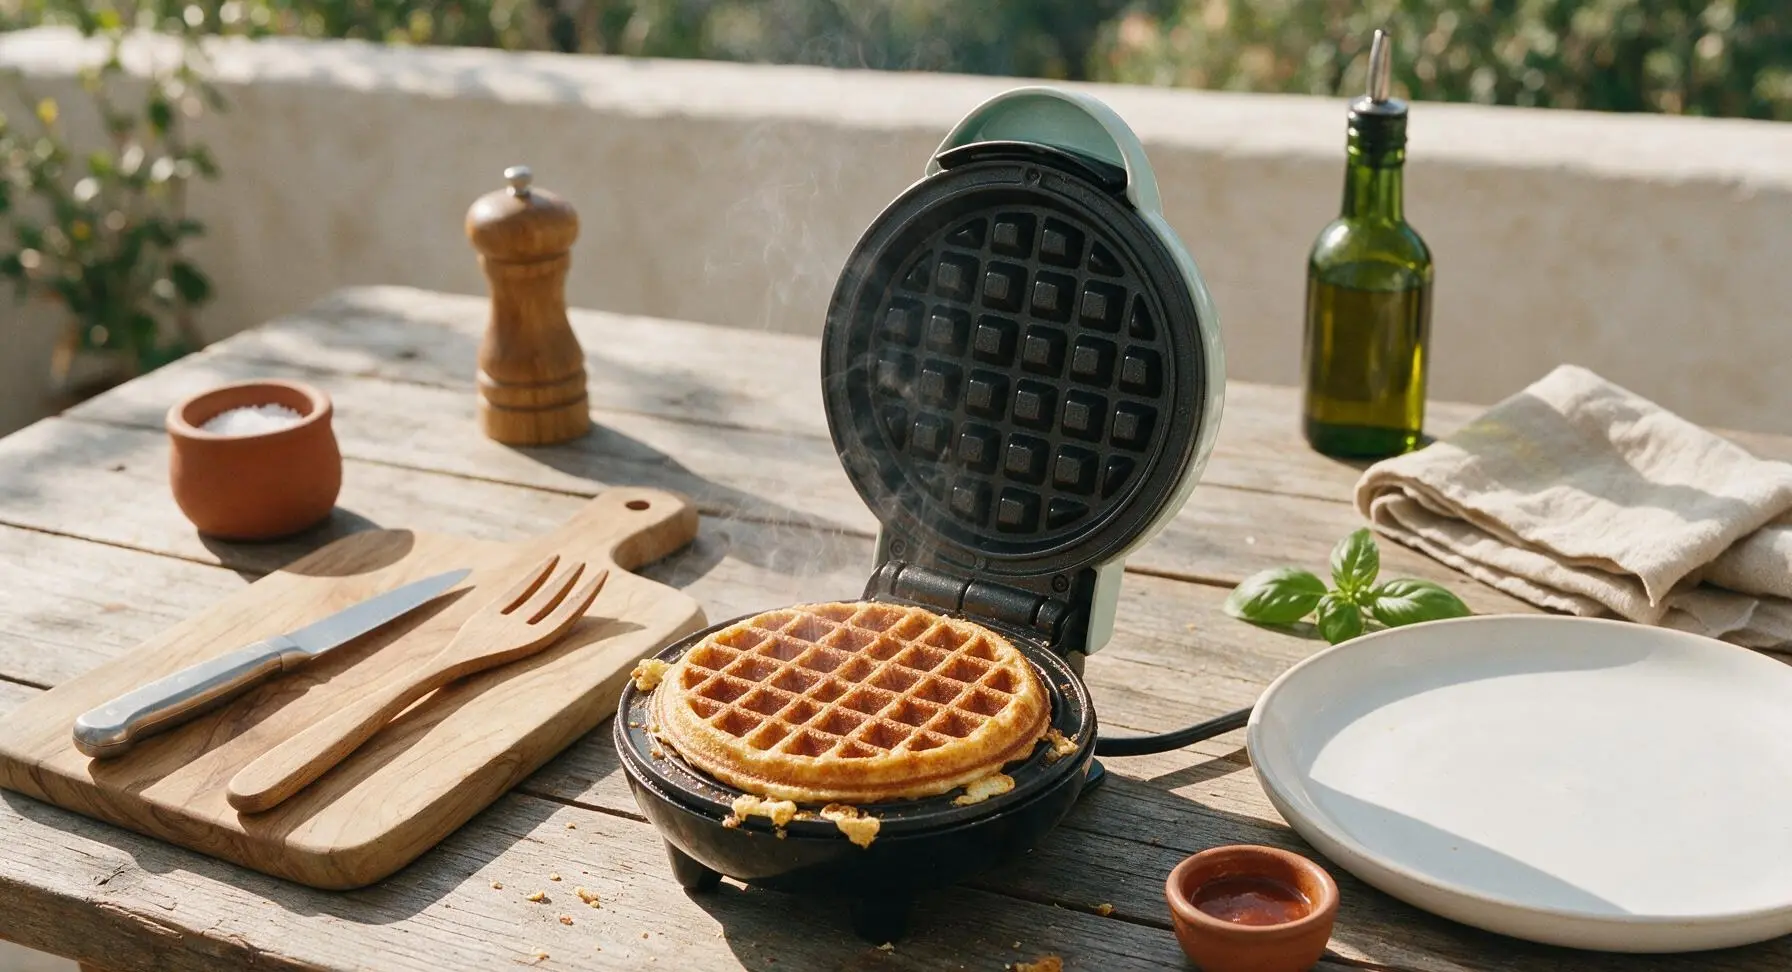
Remove and Repeat
Use the heat-resistant pale yellow silicone spatula to gently lift the finished waffle from the grid, transferring it to the matte cream ceramic plate positioned in front of the waffle maker. Repeat the greasing, pouring, and cooking process with the remaining batter, stacking cooked waffles loosely on the plate to keep edges crisp (do not wrap or stack tightly, as trapped steam will make waffles soggy).
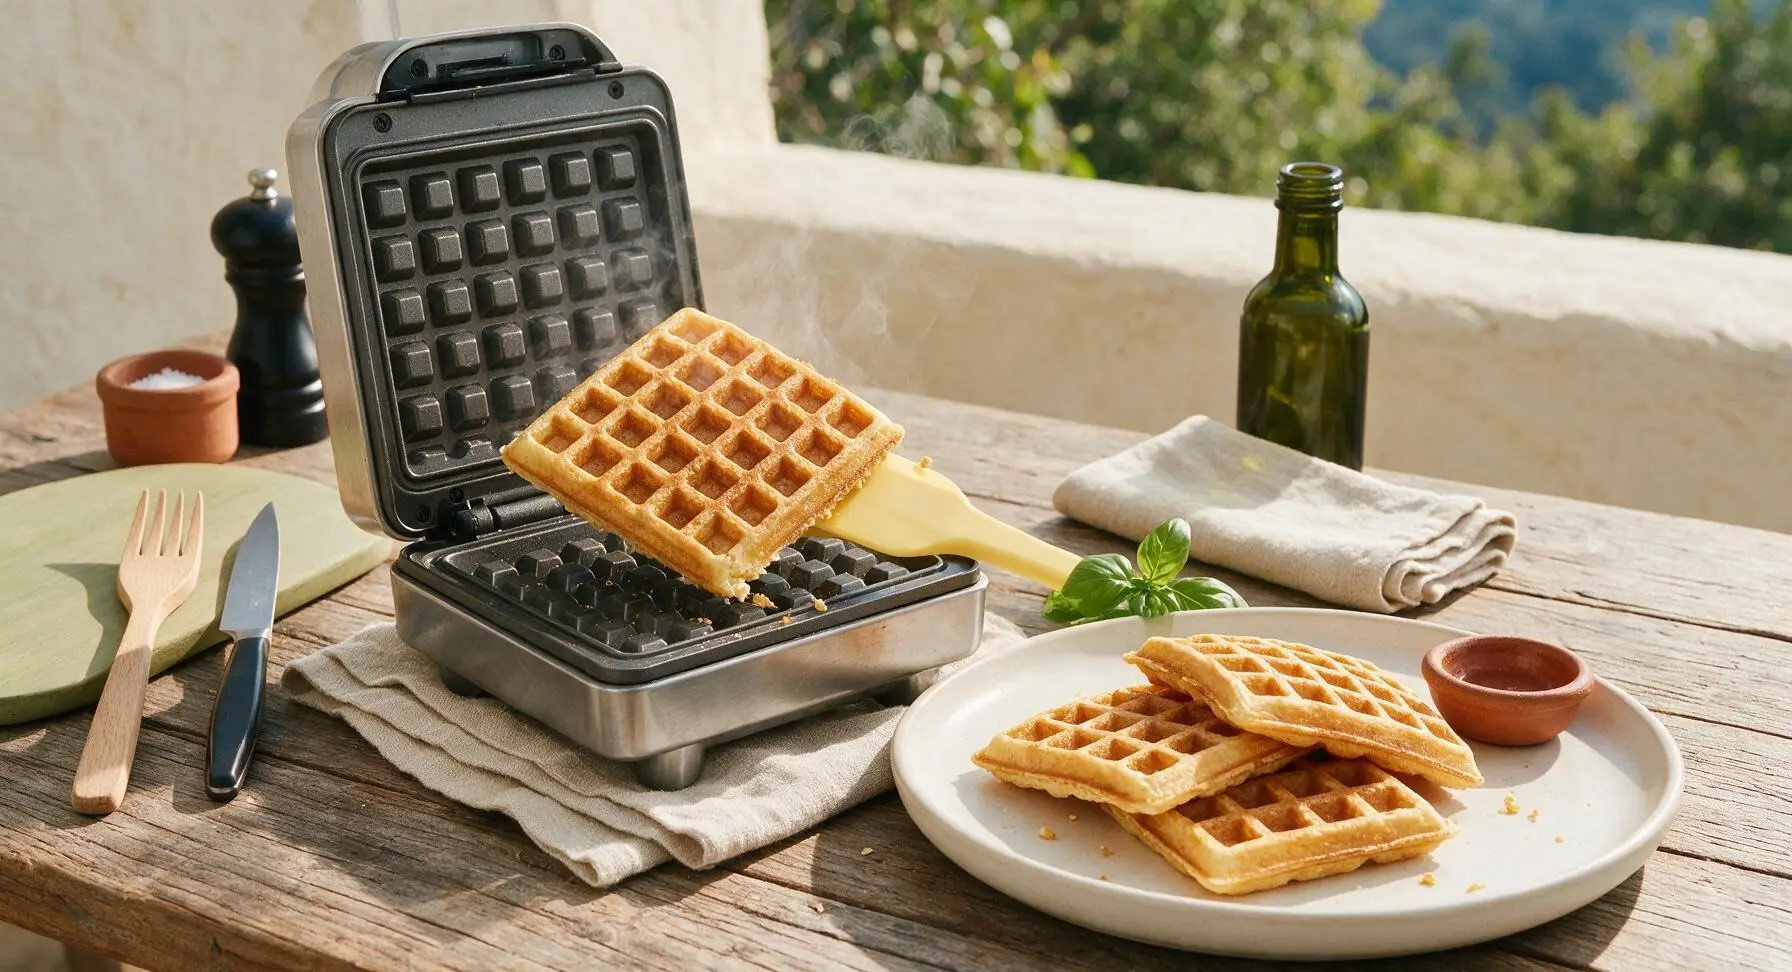
Plate and Garnish
Once all 8 mini waffles are cooked, portion 2 waffles per serving, stacking them slightly offset on the cream ceramic plate. Top each stack with a 1-tbsp pat of cold salted butter, a light pinch of ground cinnamon, and a slow drizzle of warm pure maple syrup, allowing syrup to fill the waffle grid wells and drip slightly down the sides. Serve immediately while waffles are hot, with crisp edges and soft, fluffy centers.
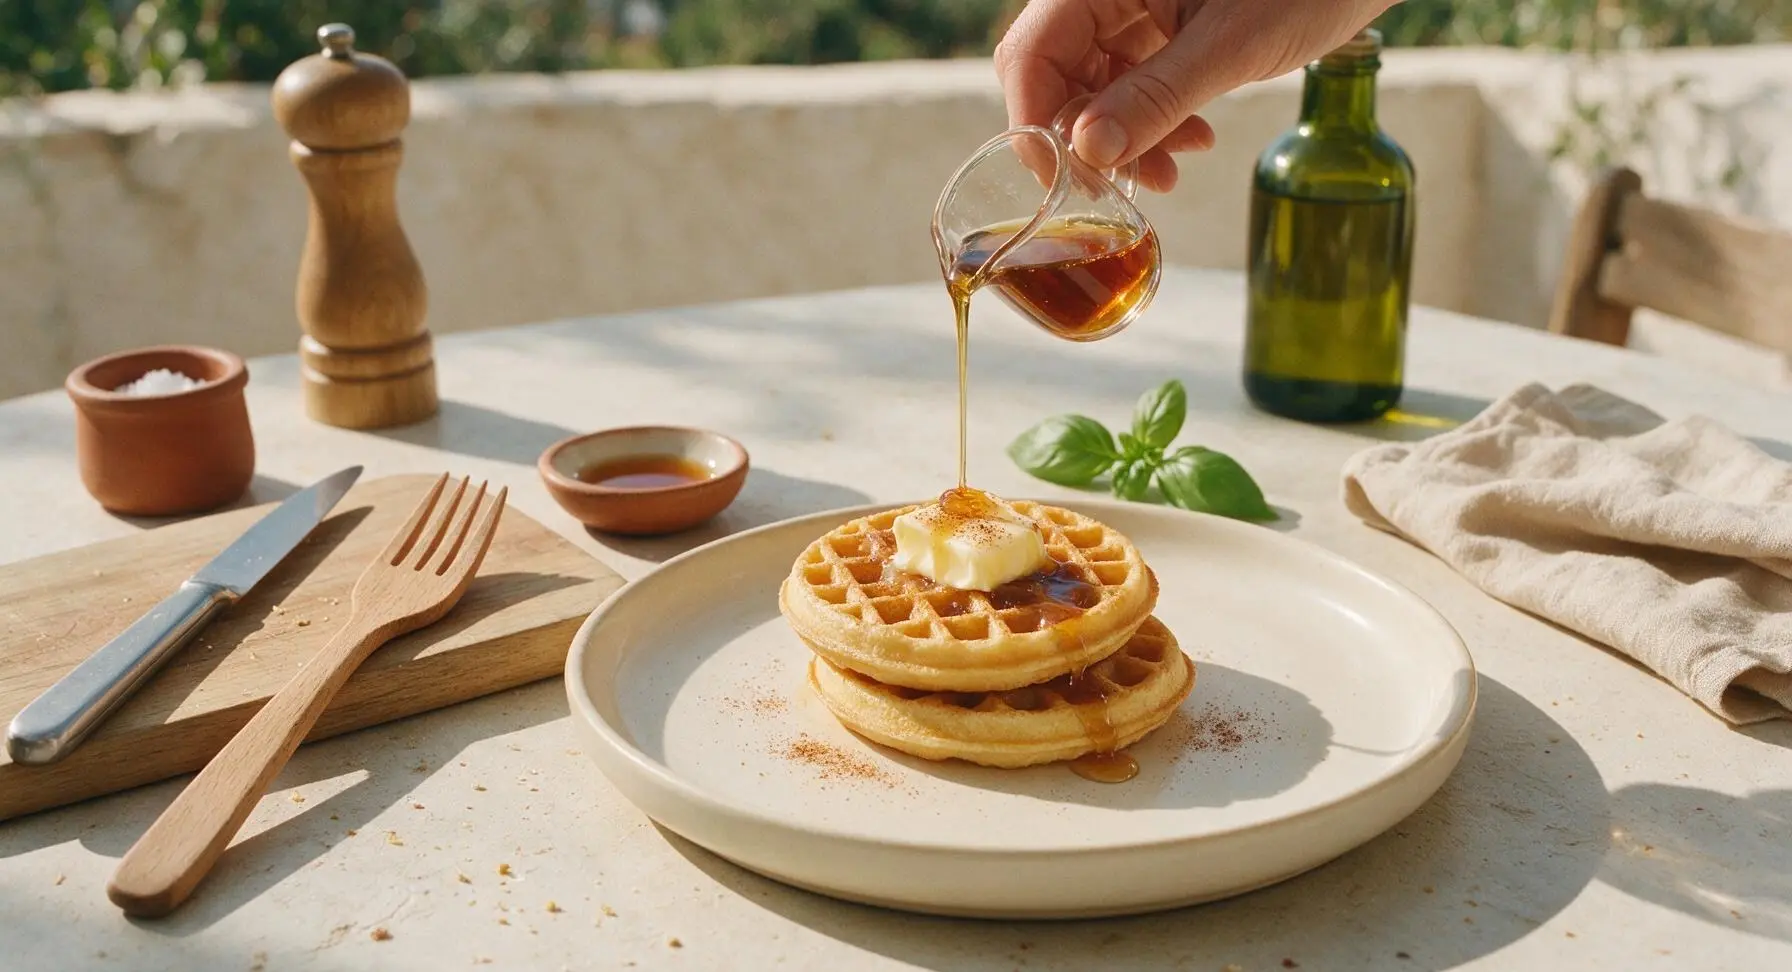
Tips
2.Let the batter rest 3 minutes before cooking: this short rest gives the baking powder time to activate and create tiny air bubbles, which produce taller, lighter waffles with shatteringly crisp edges, rather than flat, dense waffles.
3.Wait for the indicator light before opening the lid: peeking early at cooking waffles will tear the half-set batter and ruin the classic waffle grid pattern. The light turning off is a reliable signal that the waffle is fully cooked and ready to remove.






Made these for my kid’s soccer team potluck last weekend — my kids loved them, and all the other parents were begging for the recipe! They’re the perfect bite-sized size, crisp on the outside, fluffy in the middle, and SO good. I didn’t even have to run to the store — all the ingredients were already in my pantry. So easy even my 10 year old can help mix the batter! 5 stars for sure.
Tried this recipe last minute when my Dash mini waffle maker arrived in the mail and wow — way better than the boxed mix! I added a dash of cinnamon and a drizzle of maple syrup on top, chef’s kiss. Cook time was exactly as written, no burnt edges, no raw batter in the middle. Already made them three times this week.
Perfect easy recipe for my tiny dorm kitchen! The mini waffle maker fits perfectly on my mini fridge counter, and this batter comes together in 2 minutes flat. I make a batch on Sunday and pop them in the toaster all week for quick breakfasts between classes. 10/10, no notes.
Has anyone tested this recipe with a 1:1 gluten free flour blend? I have celiac and have been on the hunt for a mini waffle recipe that doesn’t turn out gummy or totally crumbly. I’d love to not waste ingredients on a flop, so figured I’d ask before I mix up a batch!
Made these for a little impromptu brunch with my roommates yesterday, topped with fresh whipped cream and sliced strawberries, and they all said these were better than the waffles at our favorite diner down the street! Only hiccup: my first batch’s batter felt really thick, like it didn’t spread easily when I closed the waffle maker. Did I mess up a measurement?
How well do these freeze? I love doing big Sunday meal prep for my three kids so our school mornings aren’t chaotic, and these look perfect for quick breakfasts. Just don’t want them to get all freezer burnt and gross after a couple days!
Quick question — do I have to use melted butter for the batter? I only have vegetable oil on hand right now and I really don’t feel like making a grocery run just for waffles, lol. Has anyone tried this swap and had it turn out okay?
My 6 year old is the pickiest eater on the planet and usually refuses any breakfast that isn’t neon-colored sugary cereal, so I was fully shocked when he ate three of these mini waffles this morning! I stirred a handful of rainbow sprinkles into the batter to make them fun, and he thought it was such a special treat. Total game changer for our chaotic weekday mornings!
Total cooking newbie here — I got a Dash mini waffle maker for my birthday last week and this was the very first recipe I tried! I was so worried I’d mess it up, but the instructions were so straightforward and easy to follow. One mishap though: I way overfilled the first waffle and batter oozed out all over the sides, made a huge sticky mess. How much batter are you supposed to pour per waffle?